Nearly every connection to the internet is dependent on the Domain Name System. DNS, as it's more commonly called, translates domain names like gadgethacks.com into IP addresses, which is what network devices use to route data. The problem with DNS servers is that they don't have your privacy in mind.
How Regular DNS Works
When you type a "friendly" URL into your browser's address bar (e.g., gadgethacks.com), your phone first connects to a DNS server. This acts as an internet phone book of sorts, replacing the friendly name you entered with the website's IP address, which is typically a series of numbers.
By default, this connection is unencrypted. This means you're susceptible to man-in-the-middle attacks where hackers make their device appear to be a Wi-Fi hotspot. If you accidentally connect to one, they can reroute your DNS requests to malicious websites where they can infect your phone or trick you into revealing personal info.
As a result, the industry created tools to secure the interaction between your device and the DNS server. These include DNS over HTTPS (DoH) and DNS over TLS (DoT), which encrypt communication between the your phone and the DNS server. Encrypted data is unreadable without a private key, which hackers shouldn't have.
The problem is many ISPs and wireless carriers aren't using these security tools, leaving you in danger of these types of attacks. A big reason for this is ISPs often sell your DNS logs to advertisers, so proper security would cost them money.
How Private DNS Works
In Android 9 Pie, Google added two very important things to protect its users even when ISPs don't: support for DNS over TLS and Private DNS. By default, as long as the DNS server supports it, Android will use DoT. Private DNS lets you manage DoT usage along with the ability to access public DNS servers.
Public DNS servers offer many advantages of the DNS servers provided by your wireless carrier. Some will not log any information about how you use their servers. This means no tracking of your whereabouts online and no third-party ads using your data. Many support DoT and DoH so your data is encrypted.
Prior to Android 9, the only way to use private DNS servers was to configure them for individual saved Wi-Fi networks or use a local VPN. The former method had the limitation of only being applicable to Wi-Fi, meaning your phone was vulnerable on cellular data. The latter meant you needed to pay a subscription fee for a reputable provider. Thanks to Private DNS support, all these disadvantages are gone, as Private DNS applies to all data connections and is usually free.
How to Add a Private DNS
Since native support for private DNS is a newer feature, you'll need to be running Android 9 or higher. If so, go to Settings –> Network & Internet –> Advanced or Settings –> Connections –> More Connection Settings and tap "Private DNS."
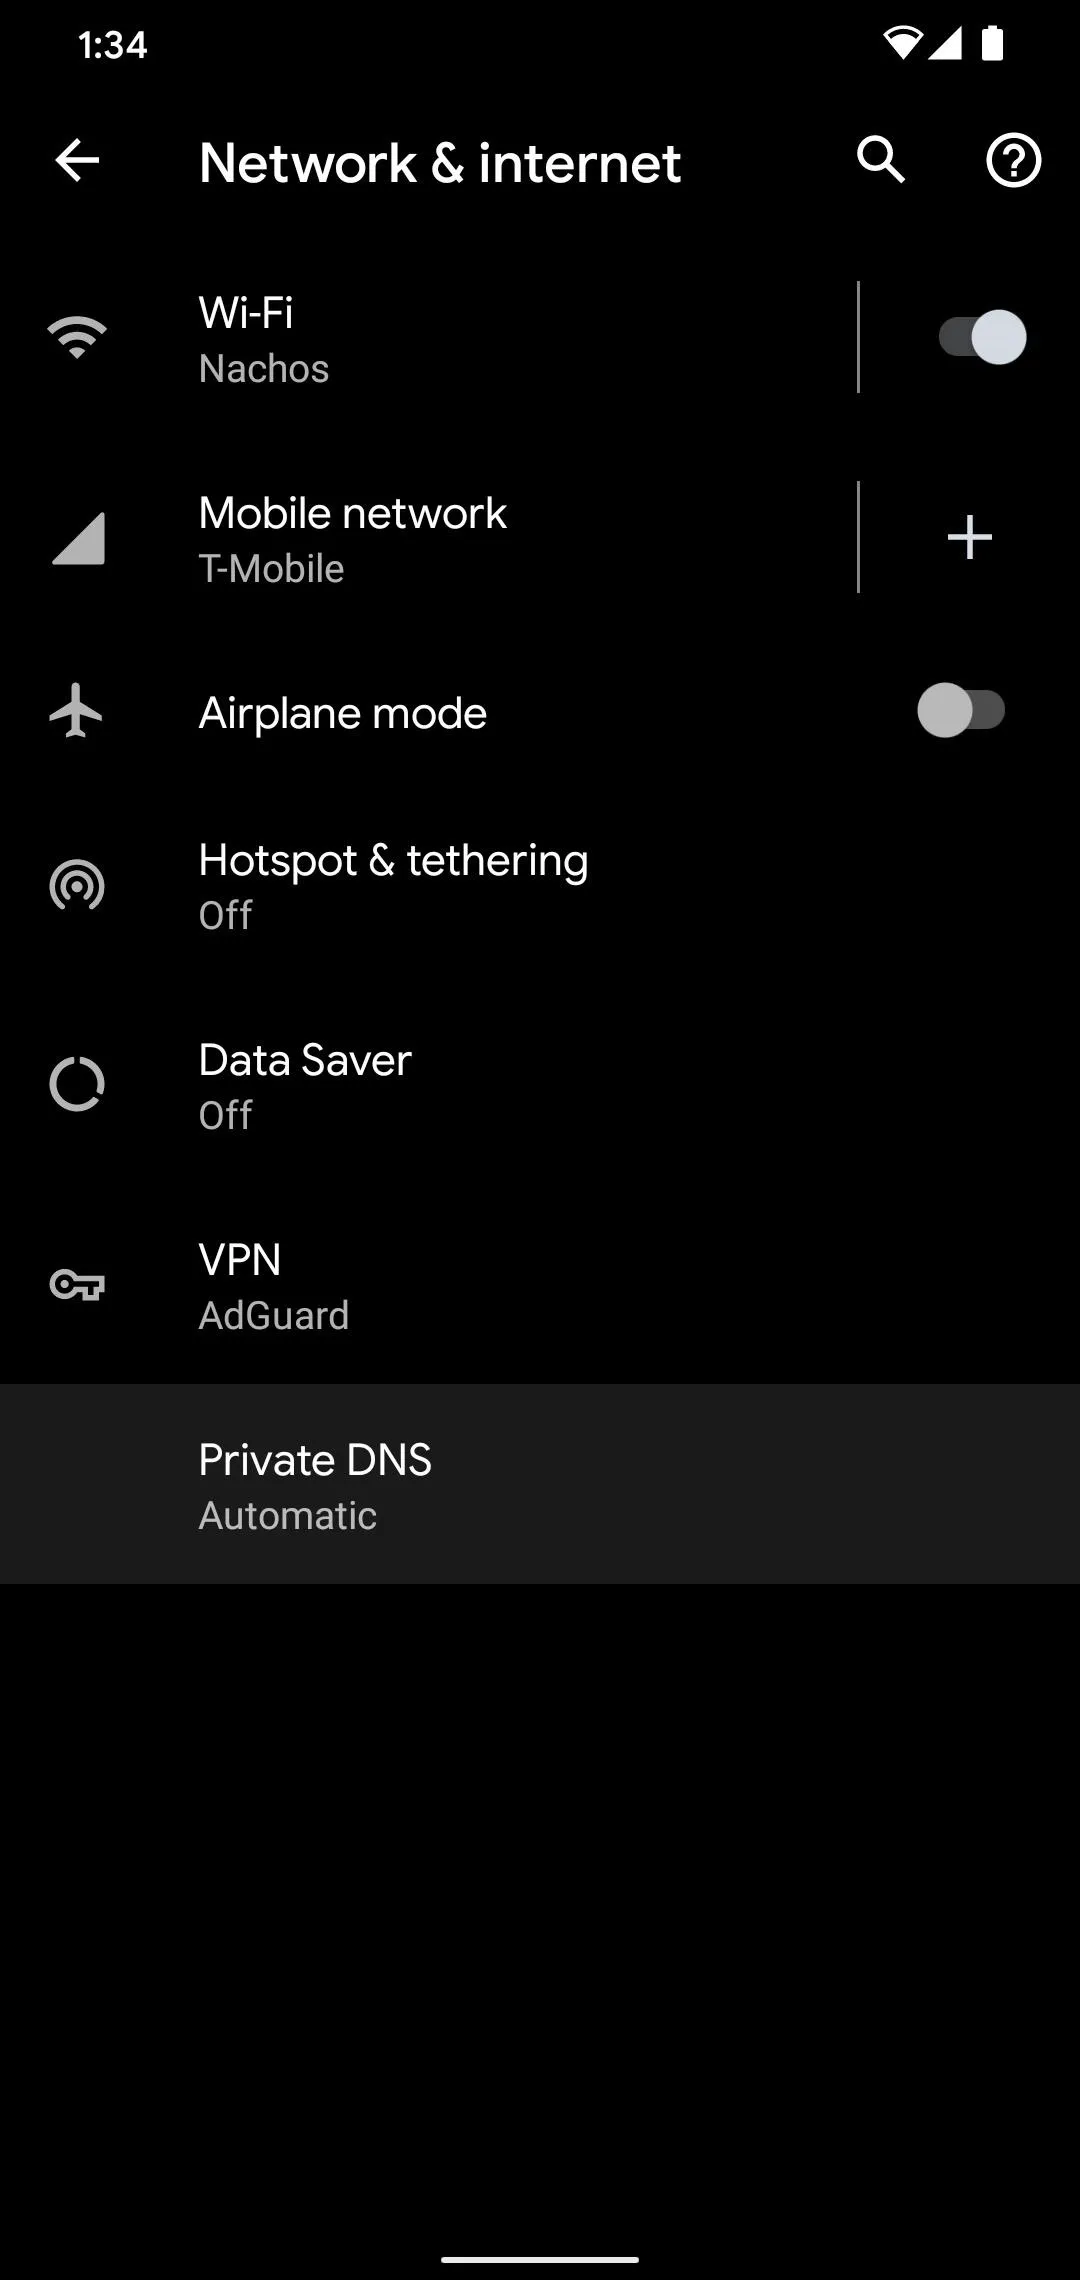
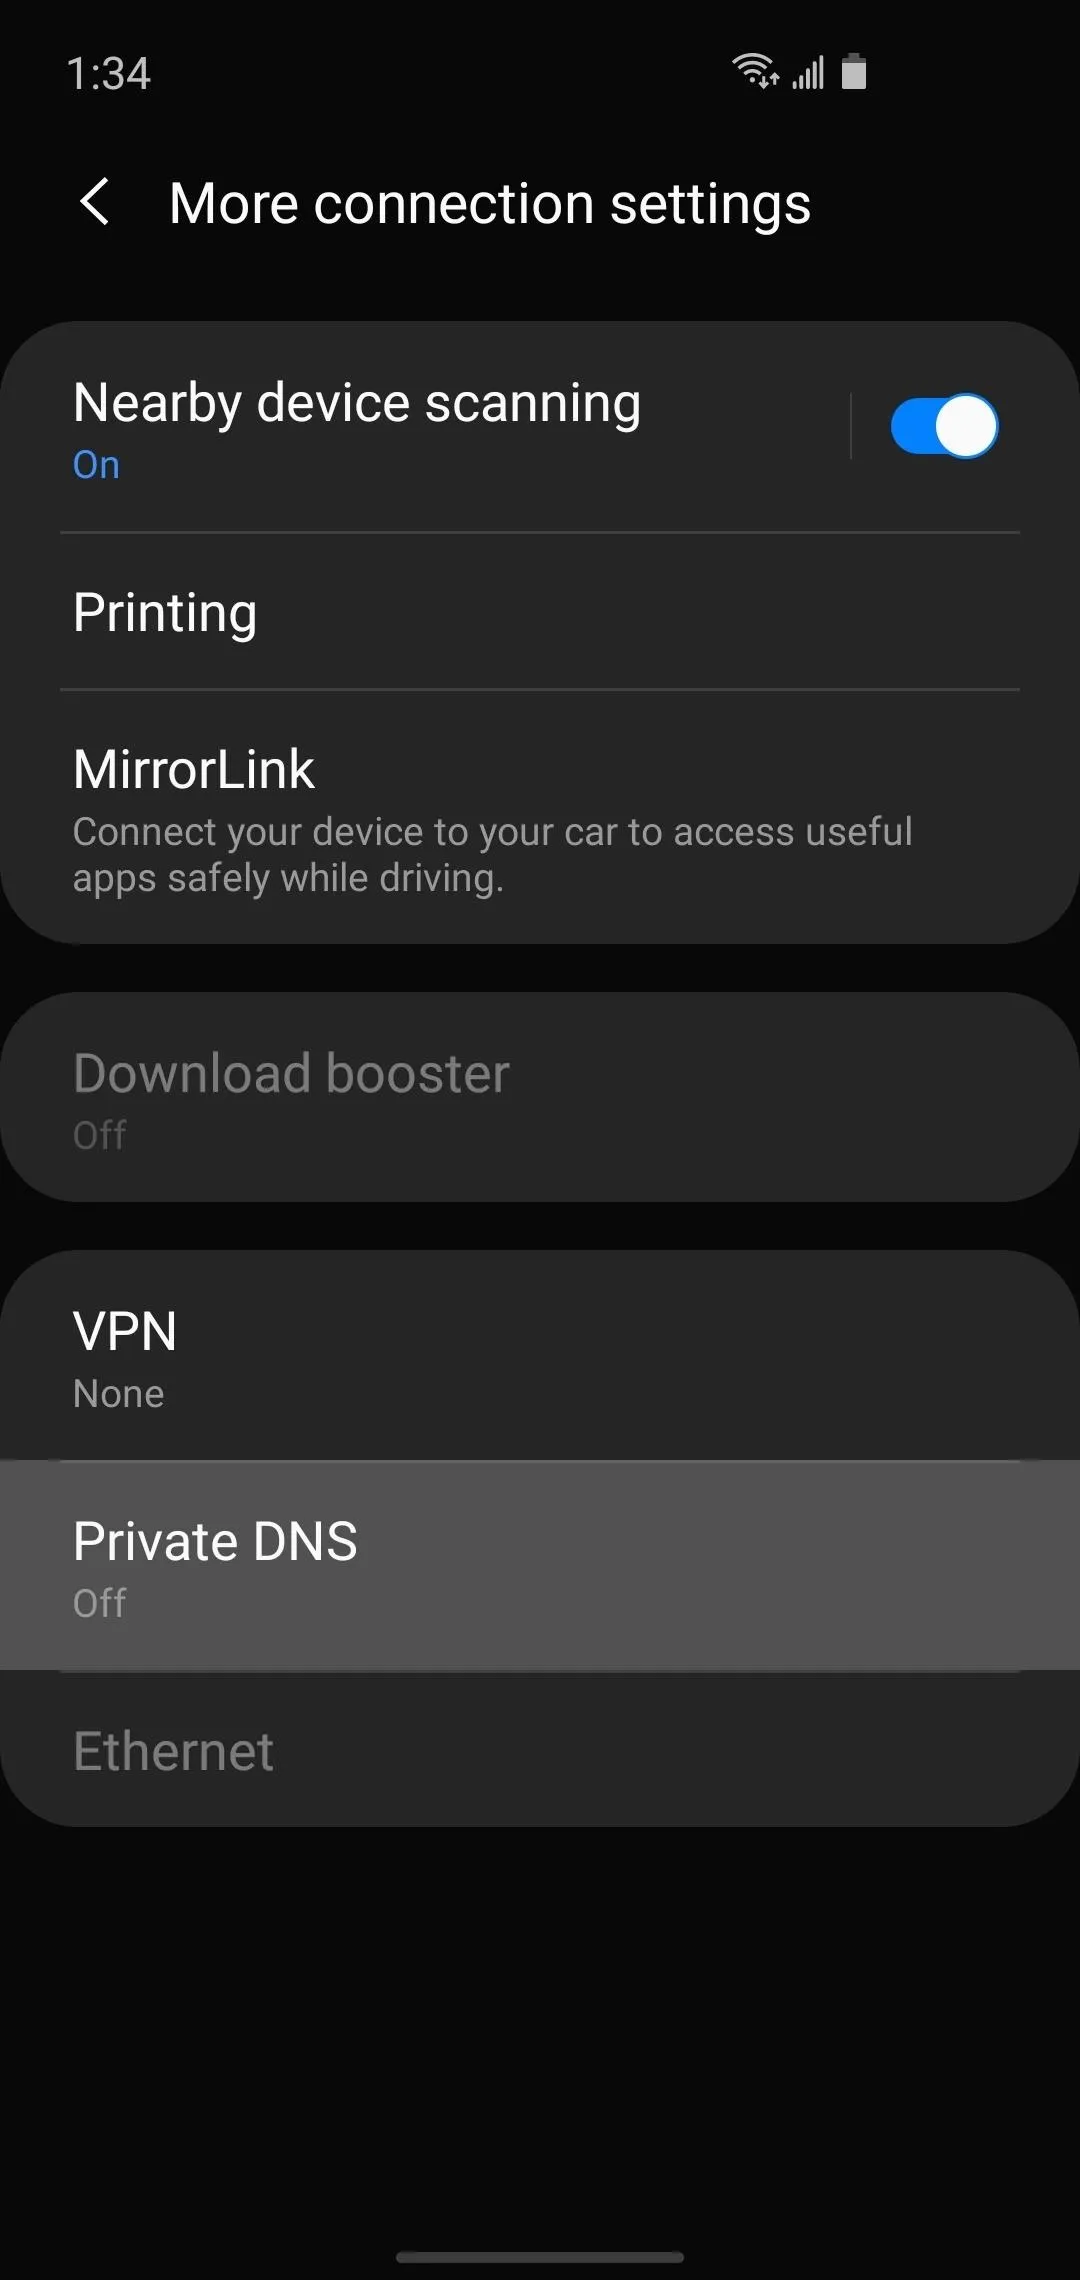


Now, choose "Private DNS provider hostname" on the popup and enter the URL of your private DNS service. The most common one is Cloudflare's free 1.1.1.1 service, so if you want to go with that, just copy the text in the code box below and paste it into your settings.
1dot1dot1dot1.cloudflare-dns.com
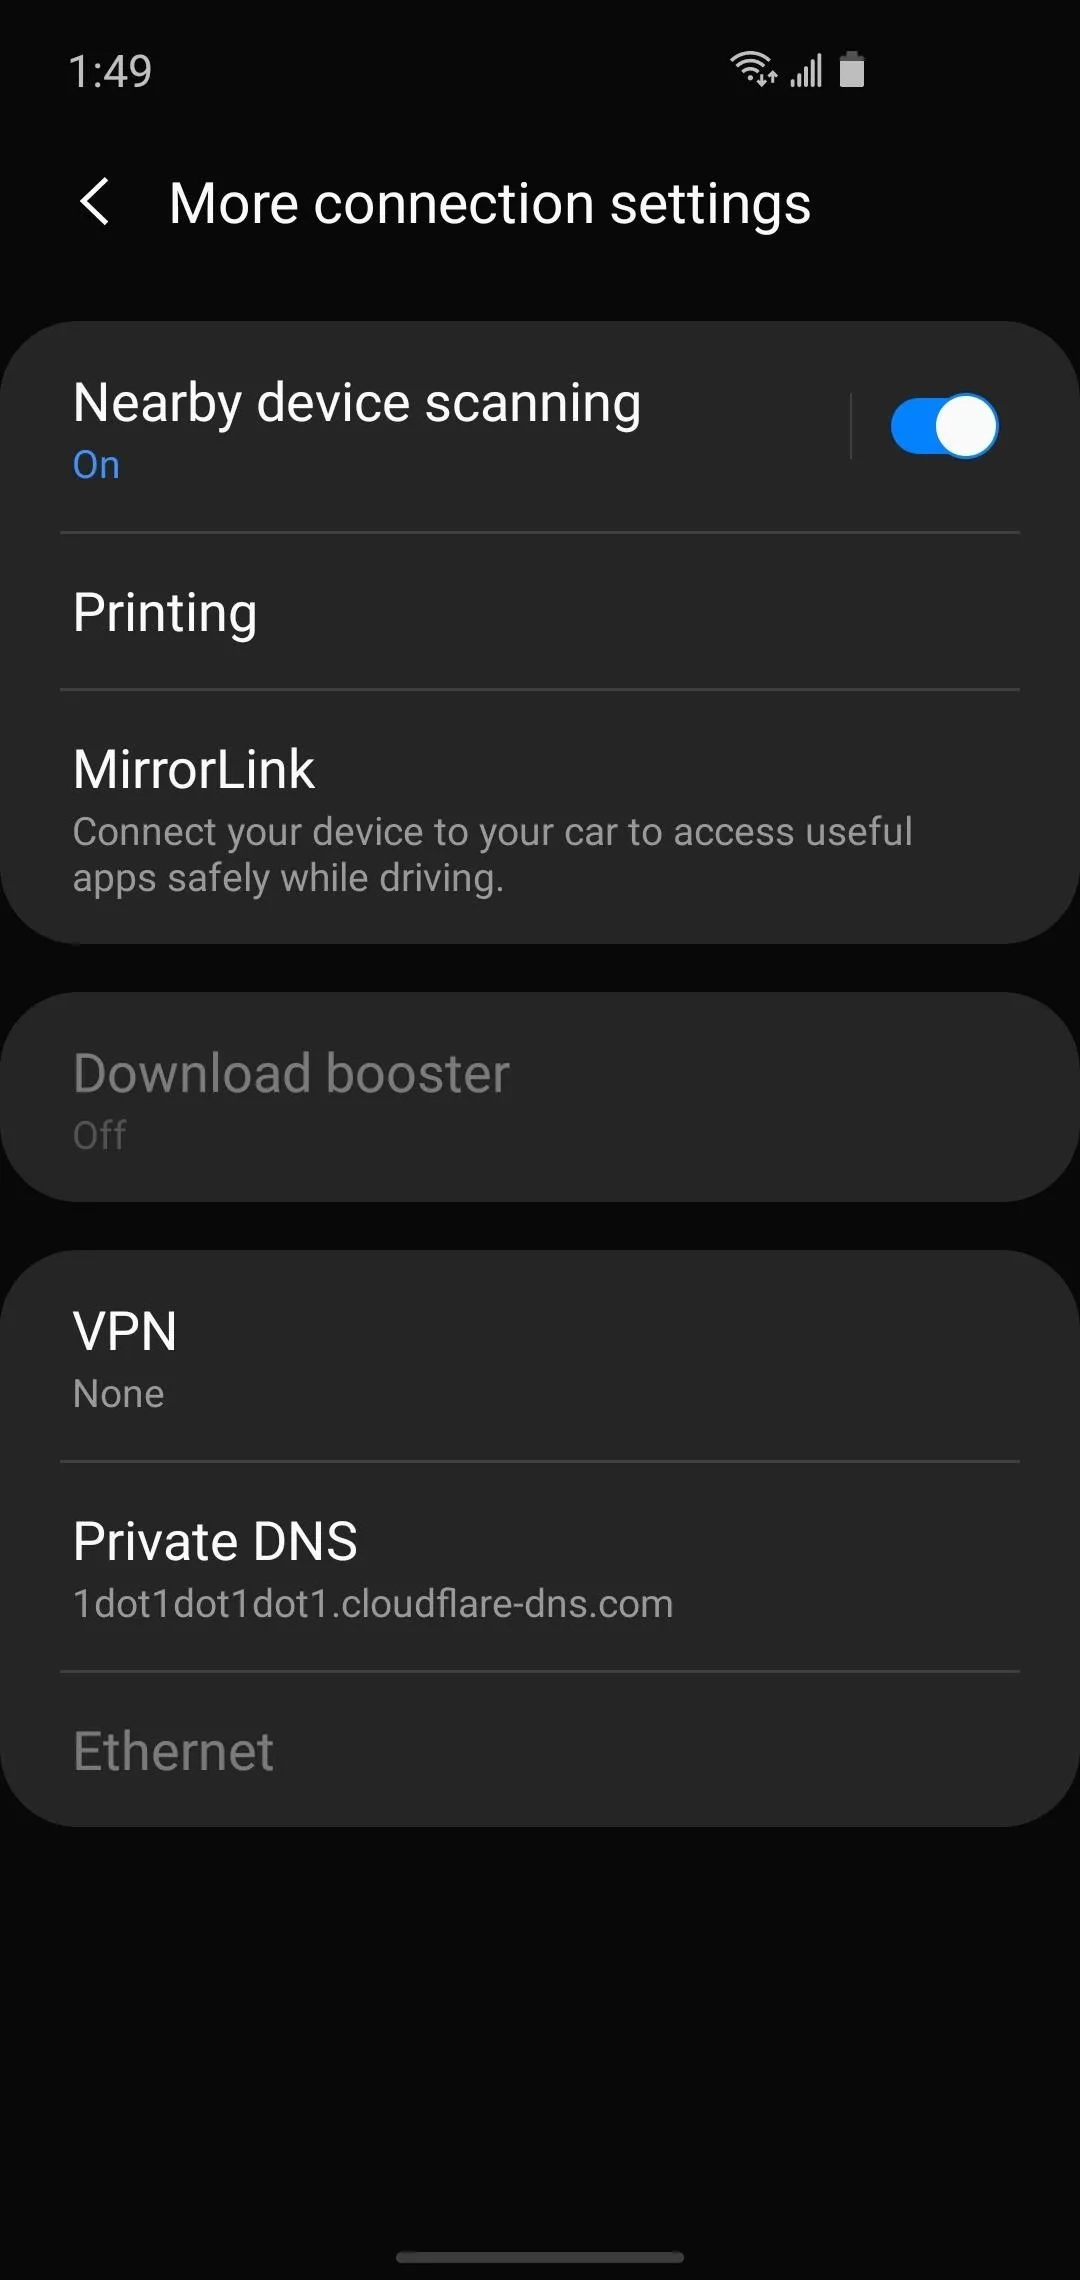


We recommend Cloudflare since they support DoH and DoT and access to the server is completely free. The only issue is they do some logging. Most of the logging is deleted after 24 hours, but there are a few data points (which you can check out here) that are stored indefinitely.
If you'd like to use the Cloudflare DNS service, but you're on an older Android version without the above setting, you can still get things done by installing a local VPN app. It sounds a little complicated, but it's not that bad — just check out the instructions at our full tutorial below.
Another great option is NextDNS, which actually lets you configure the level of protection. You can get around restrictions (such as countries blocking certain social media platforms) and once again, it is totally free. If you'd like to learn more, check out how we used NextDNS to protect against a shady app on Samsung phones.
Cover image, screenshots, and GIFs by Jon Knight/Gadget Hacks







Comments
Be the first, drop a comment!