With the rise of OLED displays, Android users have been begging Google for a true system-wide dark mode for years. While a system-wide solution is still somewhat unlikely, Google has given in by providing a dark mode for certain apps, including Contacts.
With most phones rocking either an AMOLED or POLED display, dark mode has never been more important. Because the pixels in OLED displays emit their own light, the brighter they are, the more power they consume. Ultimately, dark mode can greatly improve battery life by reducing the battery consumption of the screen.
The three methods below assume you're using an Android phone that comes with Google's Contacts app pre-installed. This includes Pixel phones, Nexus devices, the Essential Phone, and other devices running Android One. If you have a phone that uses its own OEM-specific Contacts app, the steps will be different — for instance, here's how to enable dark mode on newer Samsung phones.
Turn on Dark Mode in Contacts
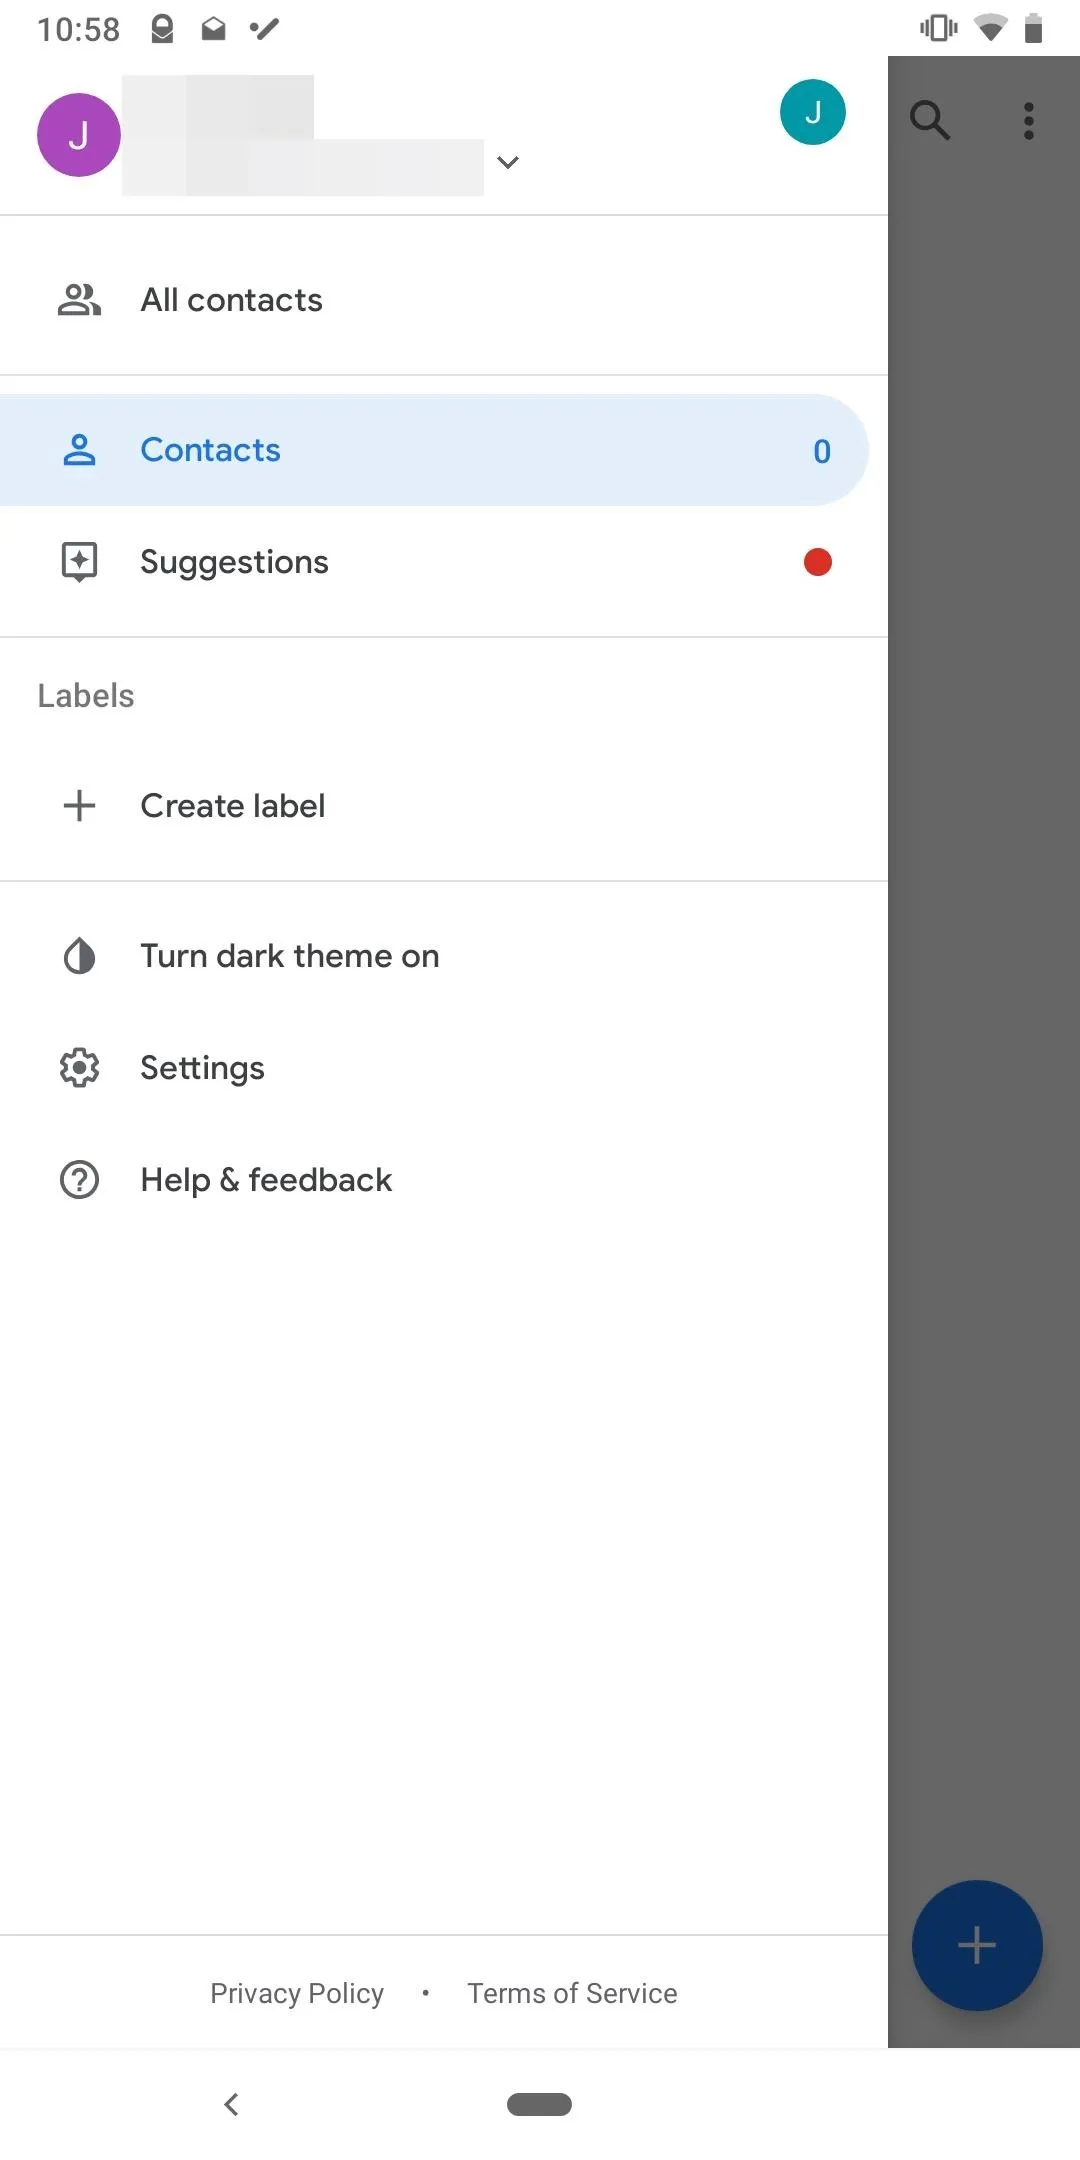
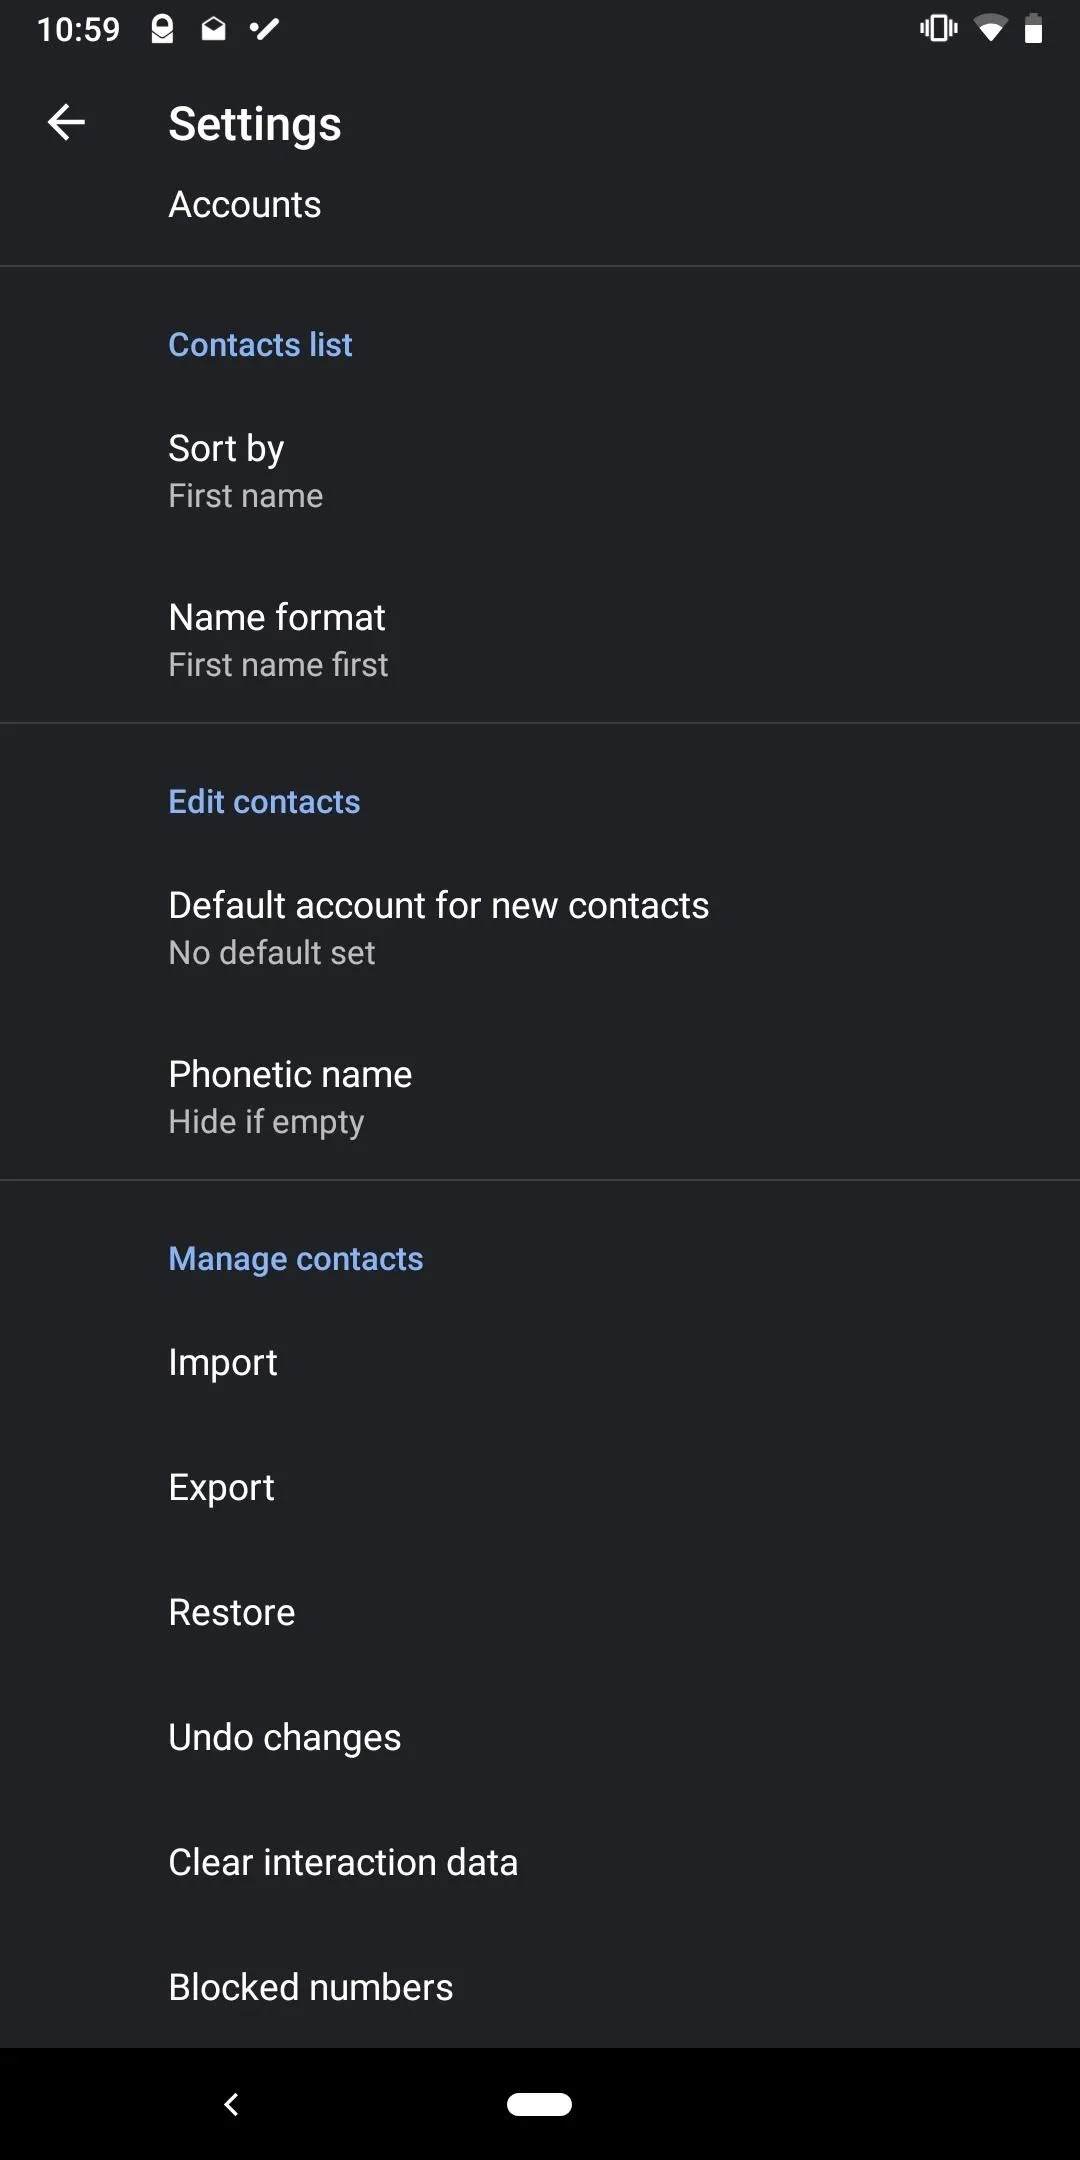
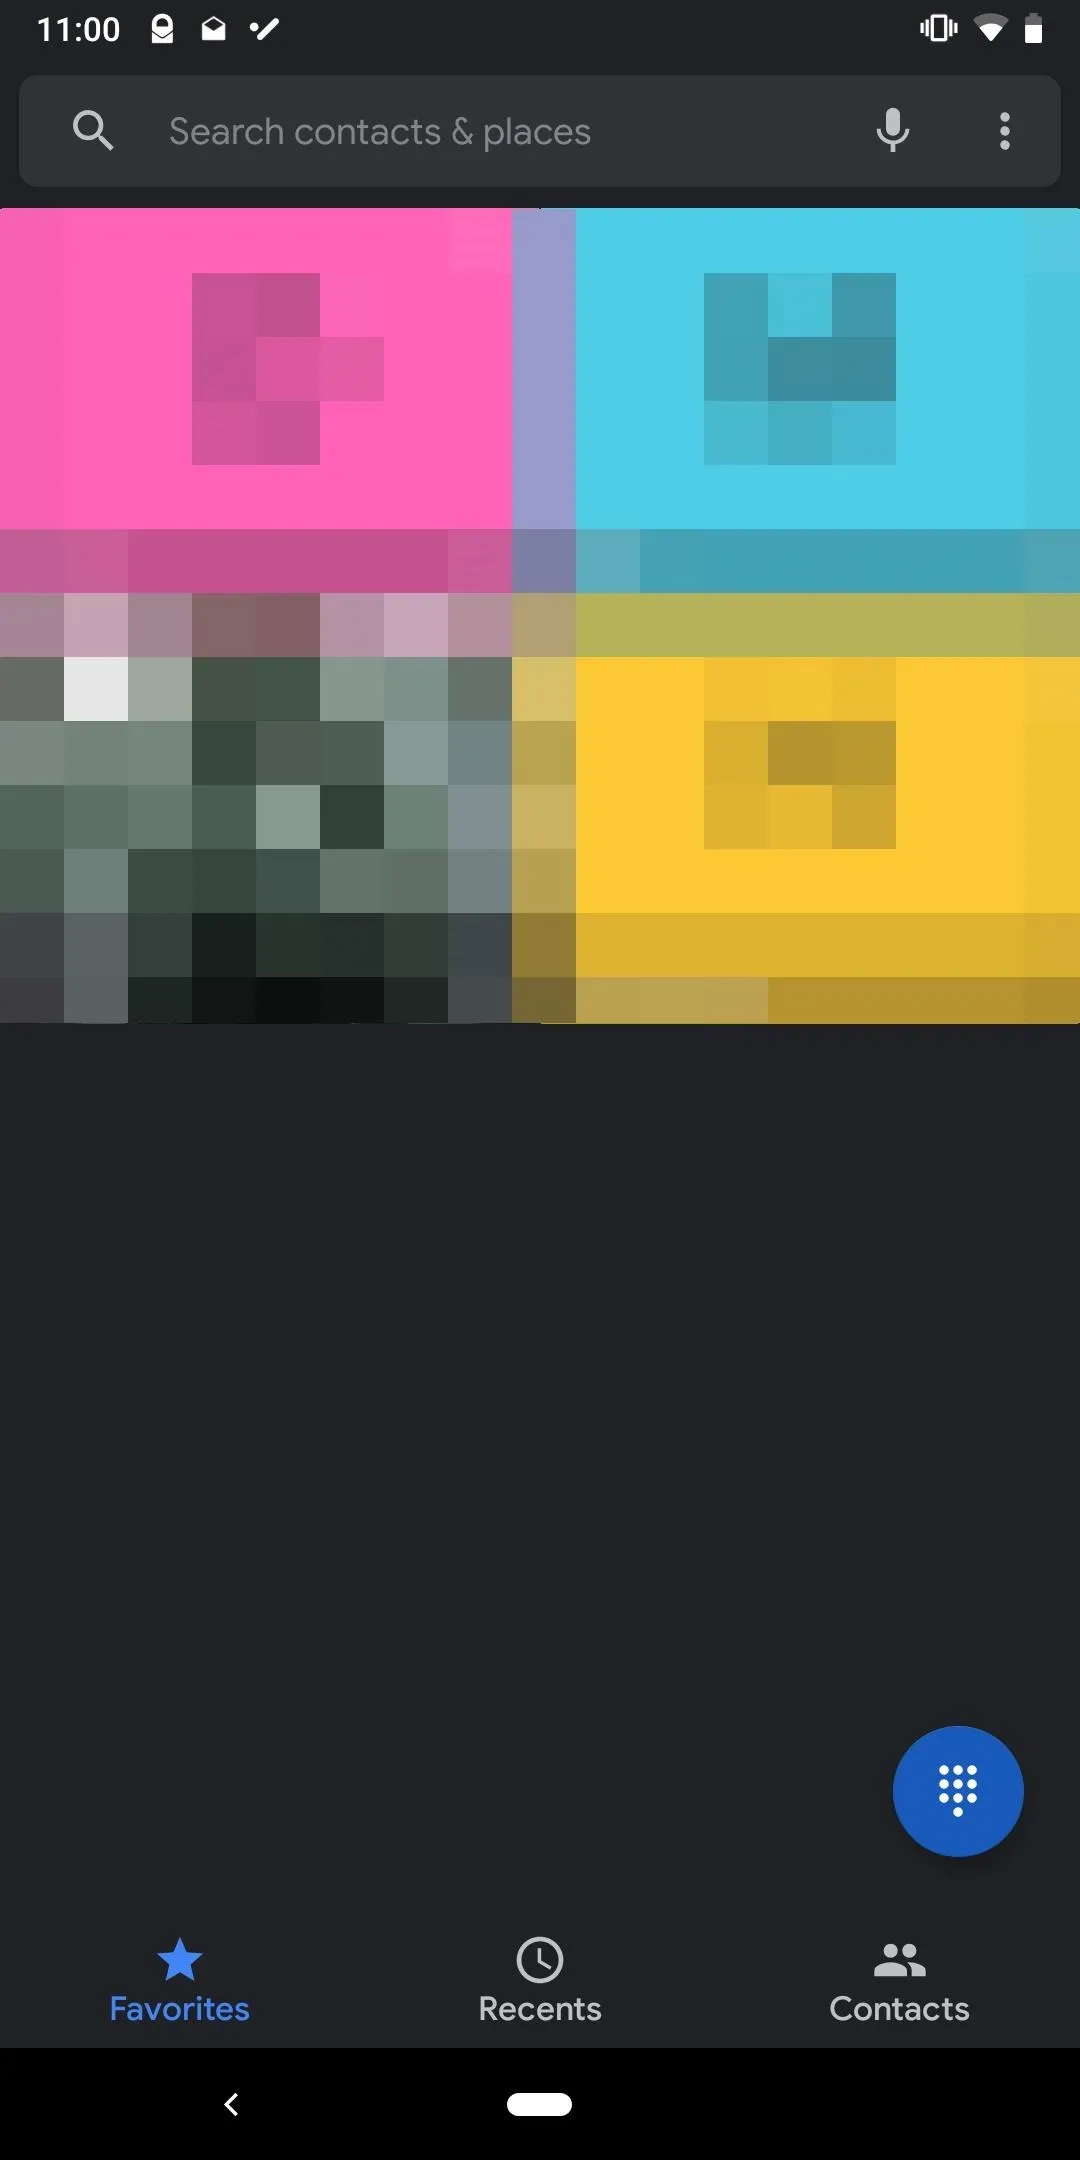
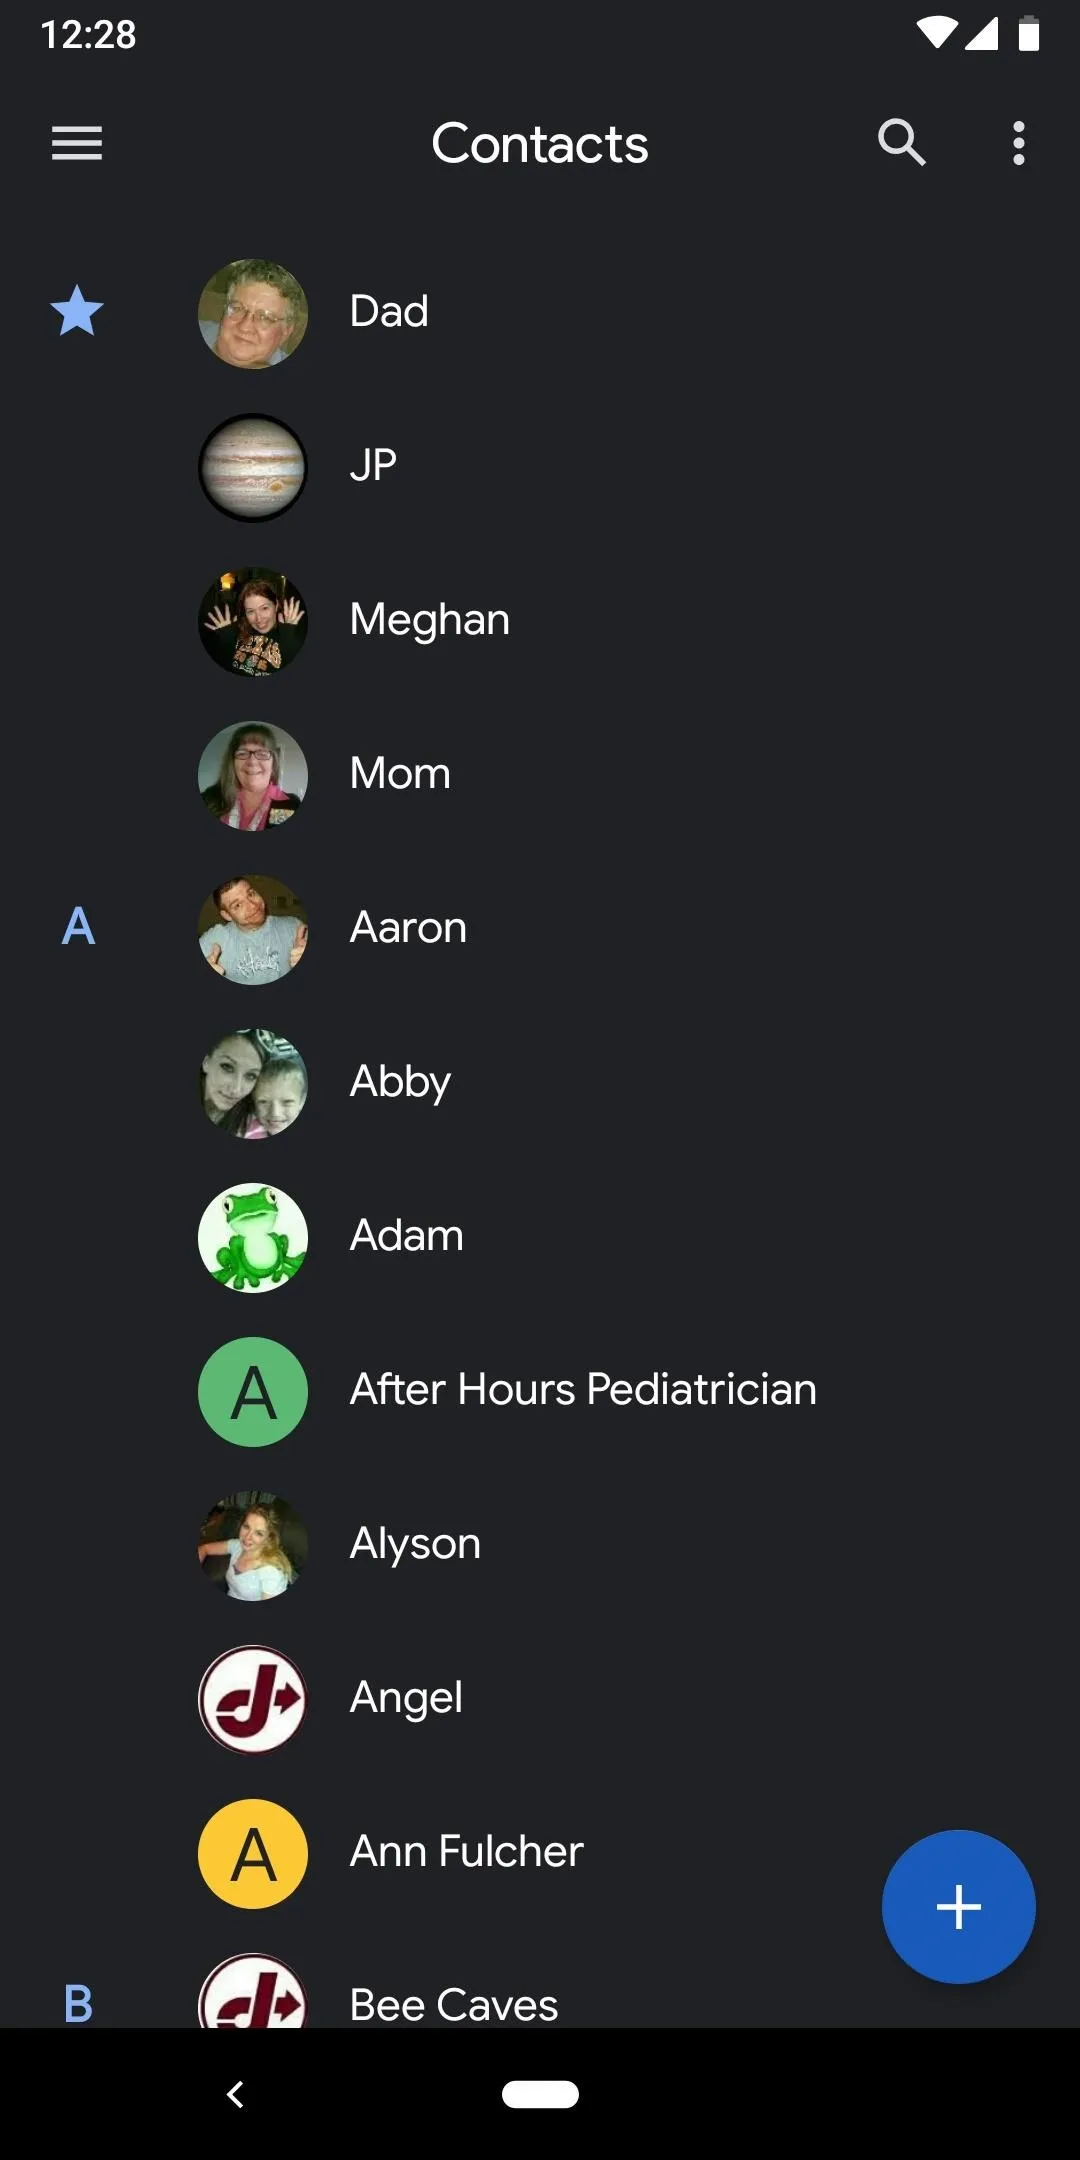
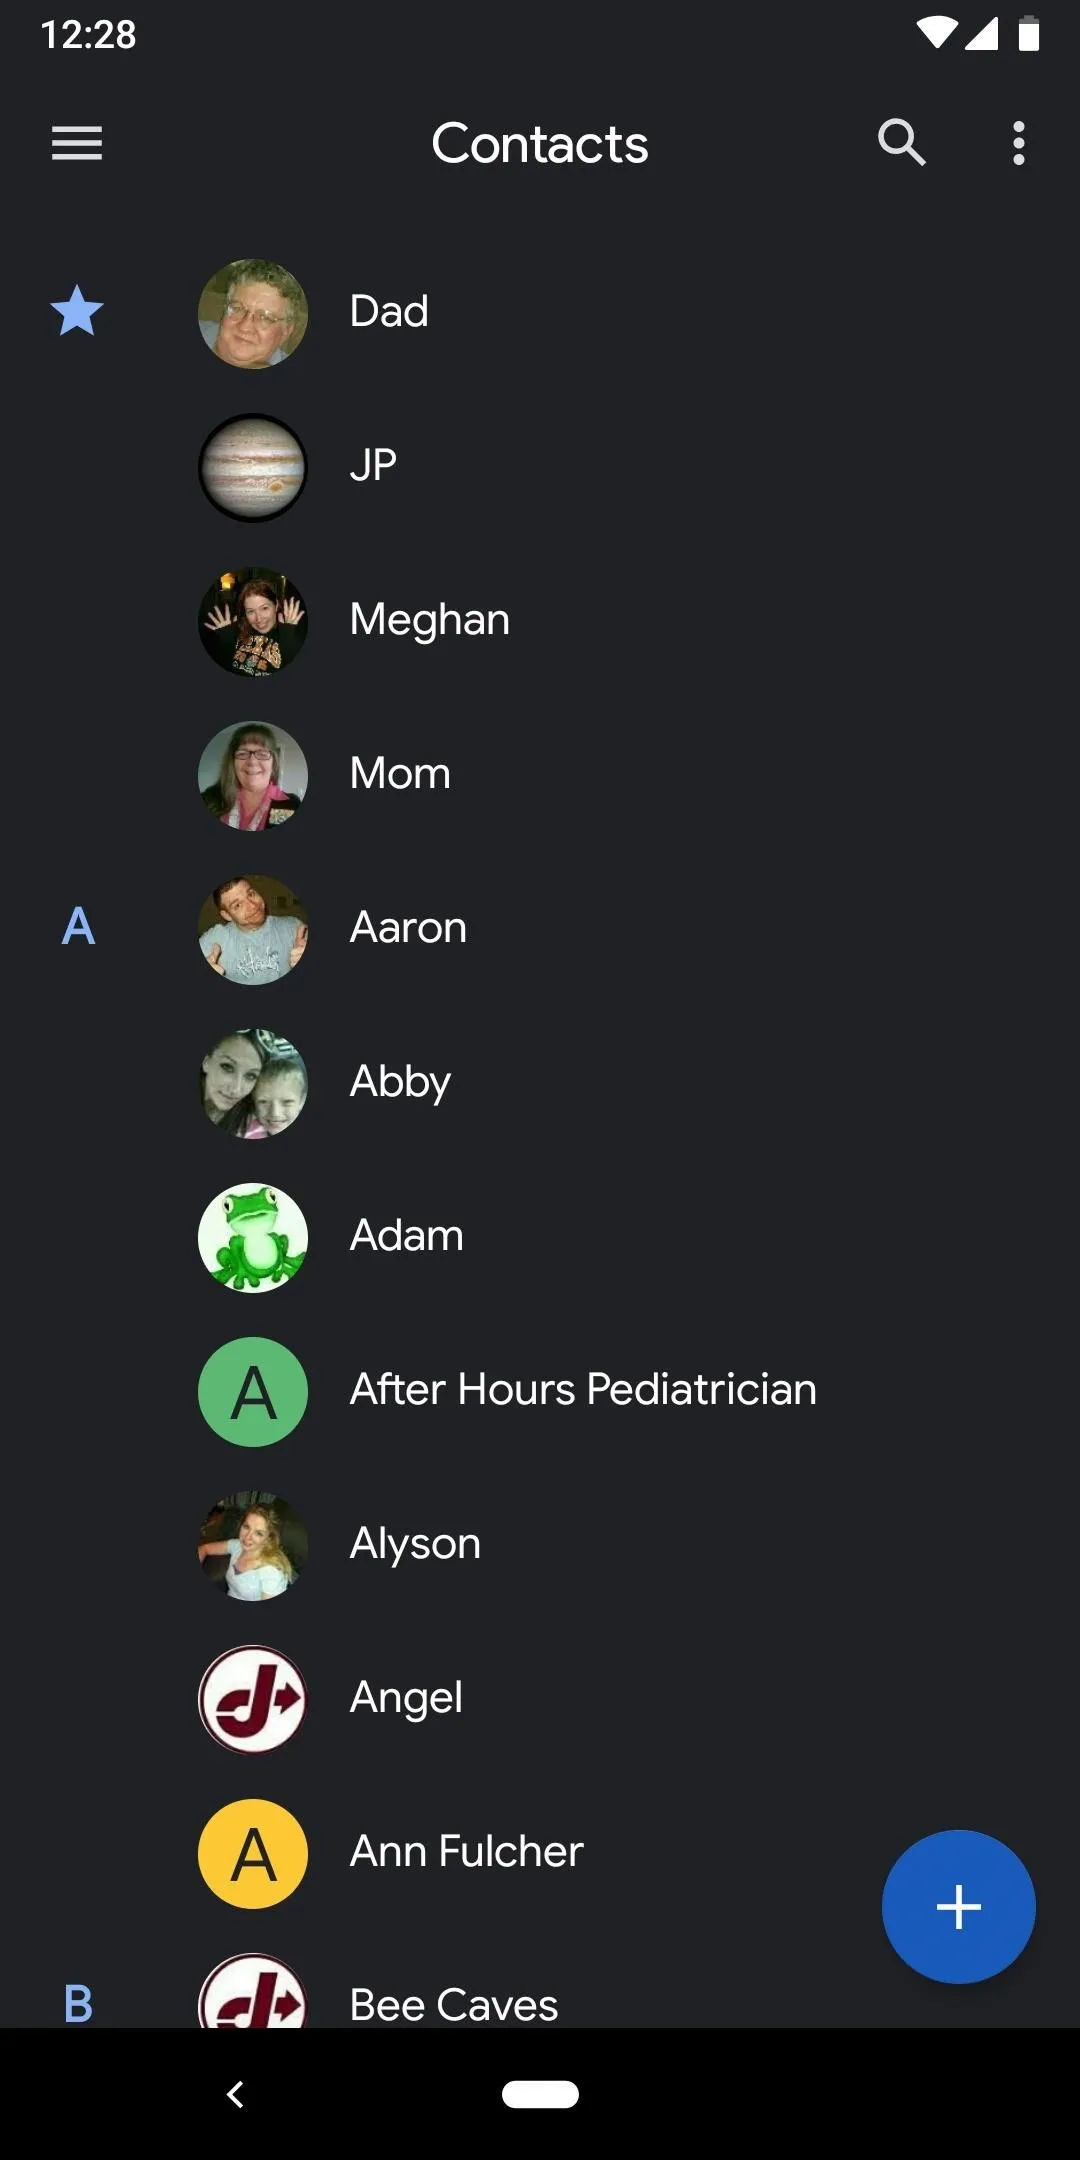
To begin, make sure you're using the latest version of Google's Contacts app from the Play Store. From there, open Contacts and select the hamburger menu in the top-left corner of the screen. Tap "Turn dark theme on," and that's all there is to it.
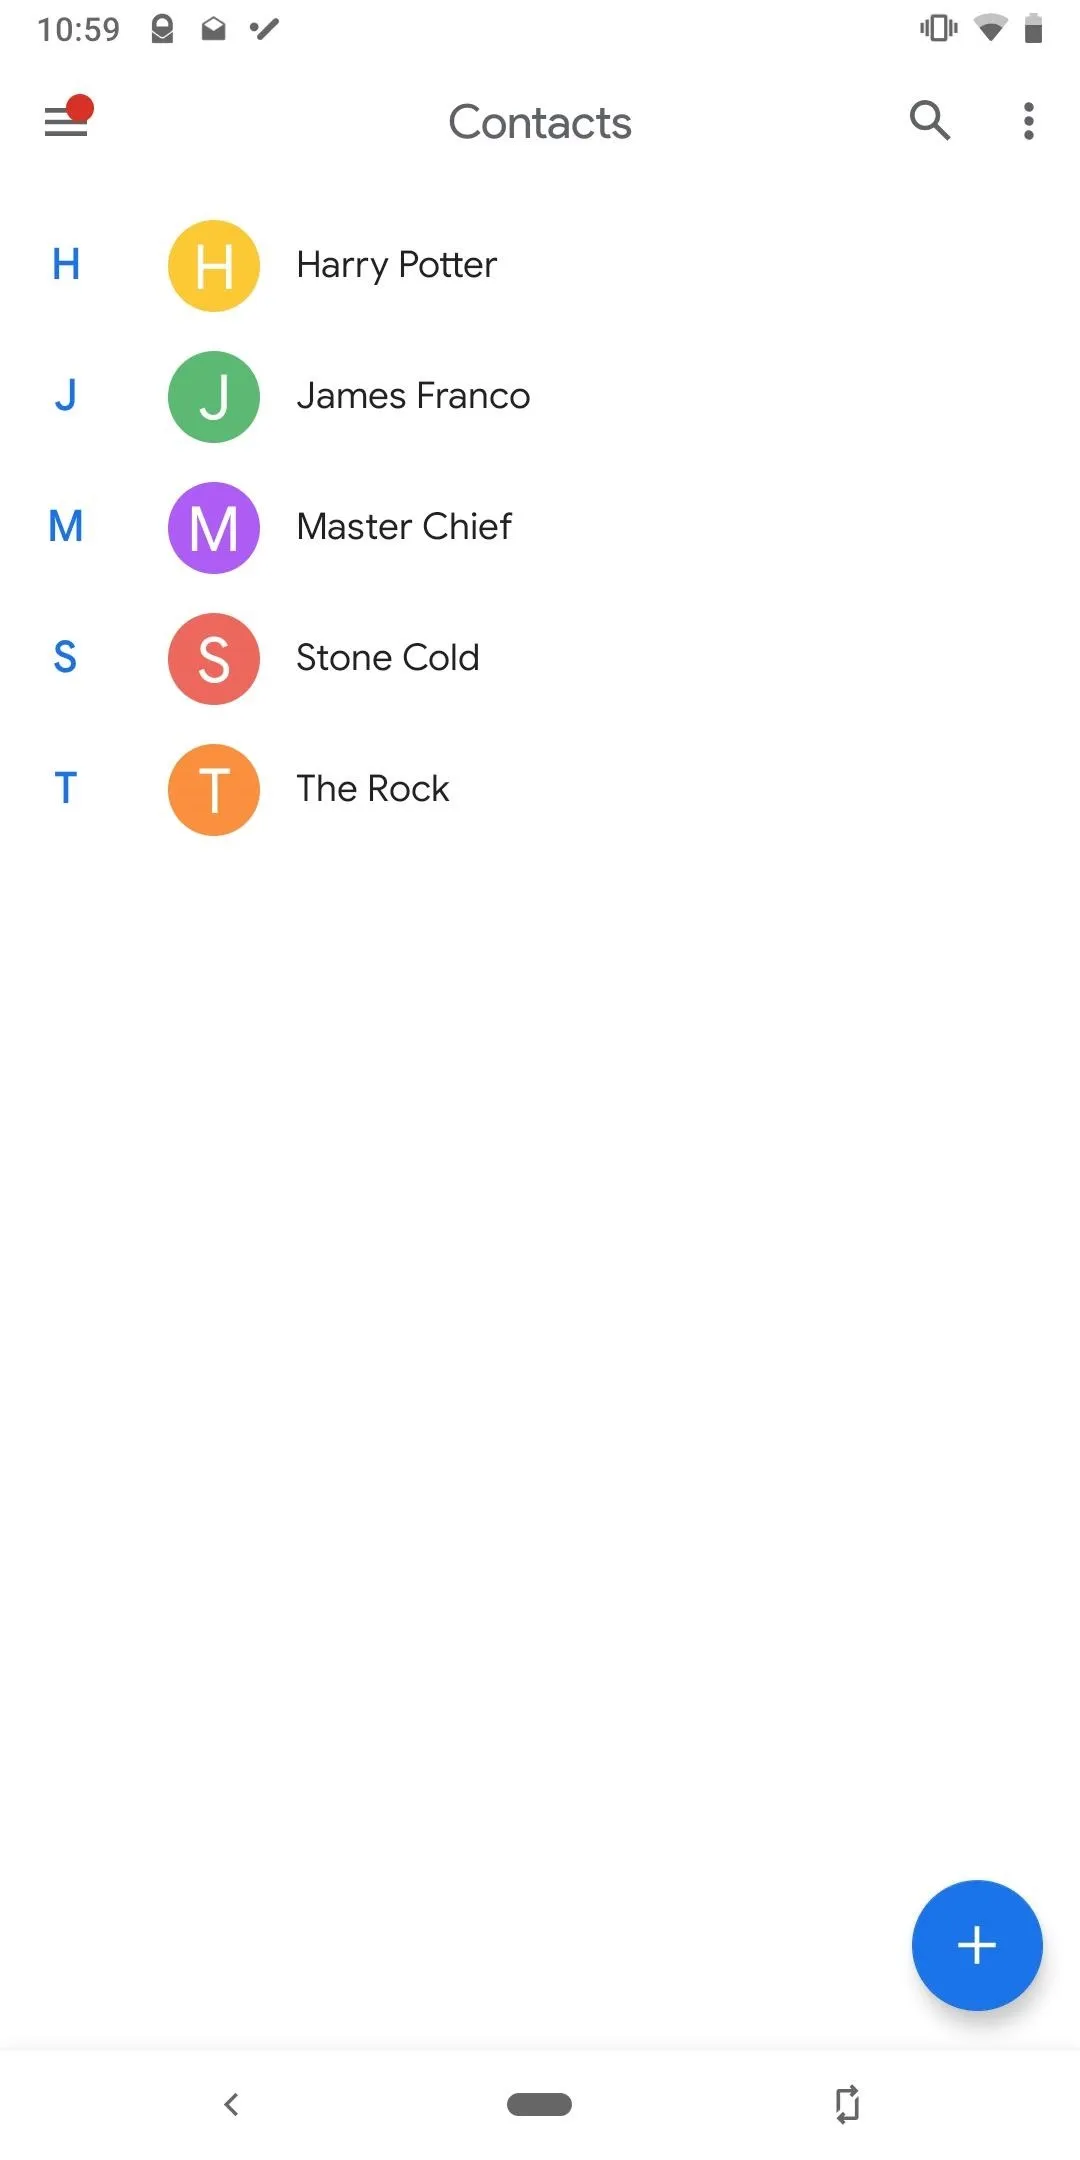
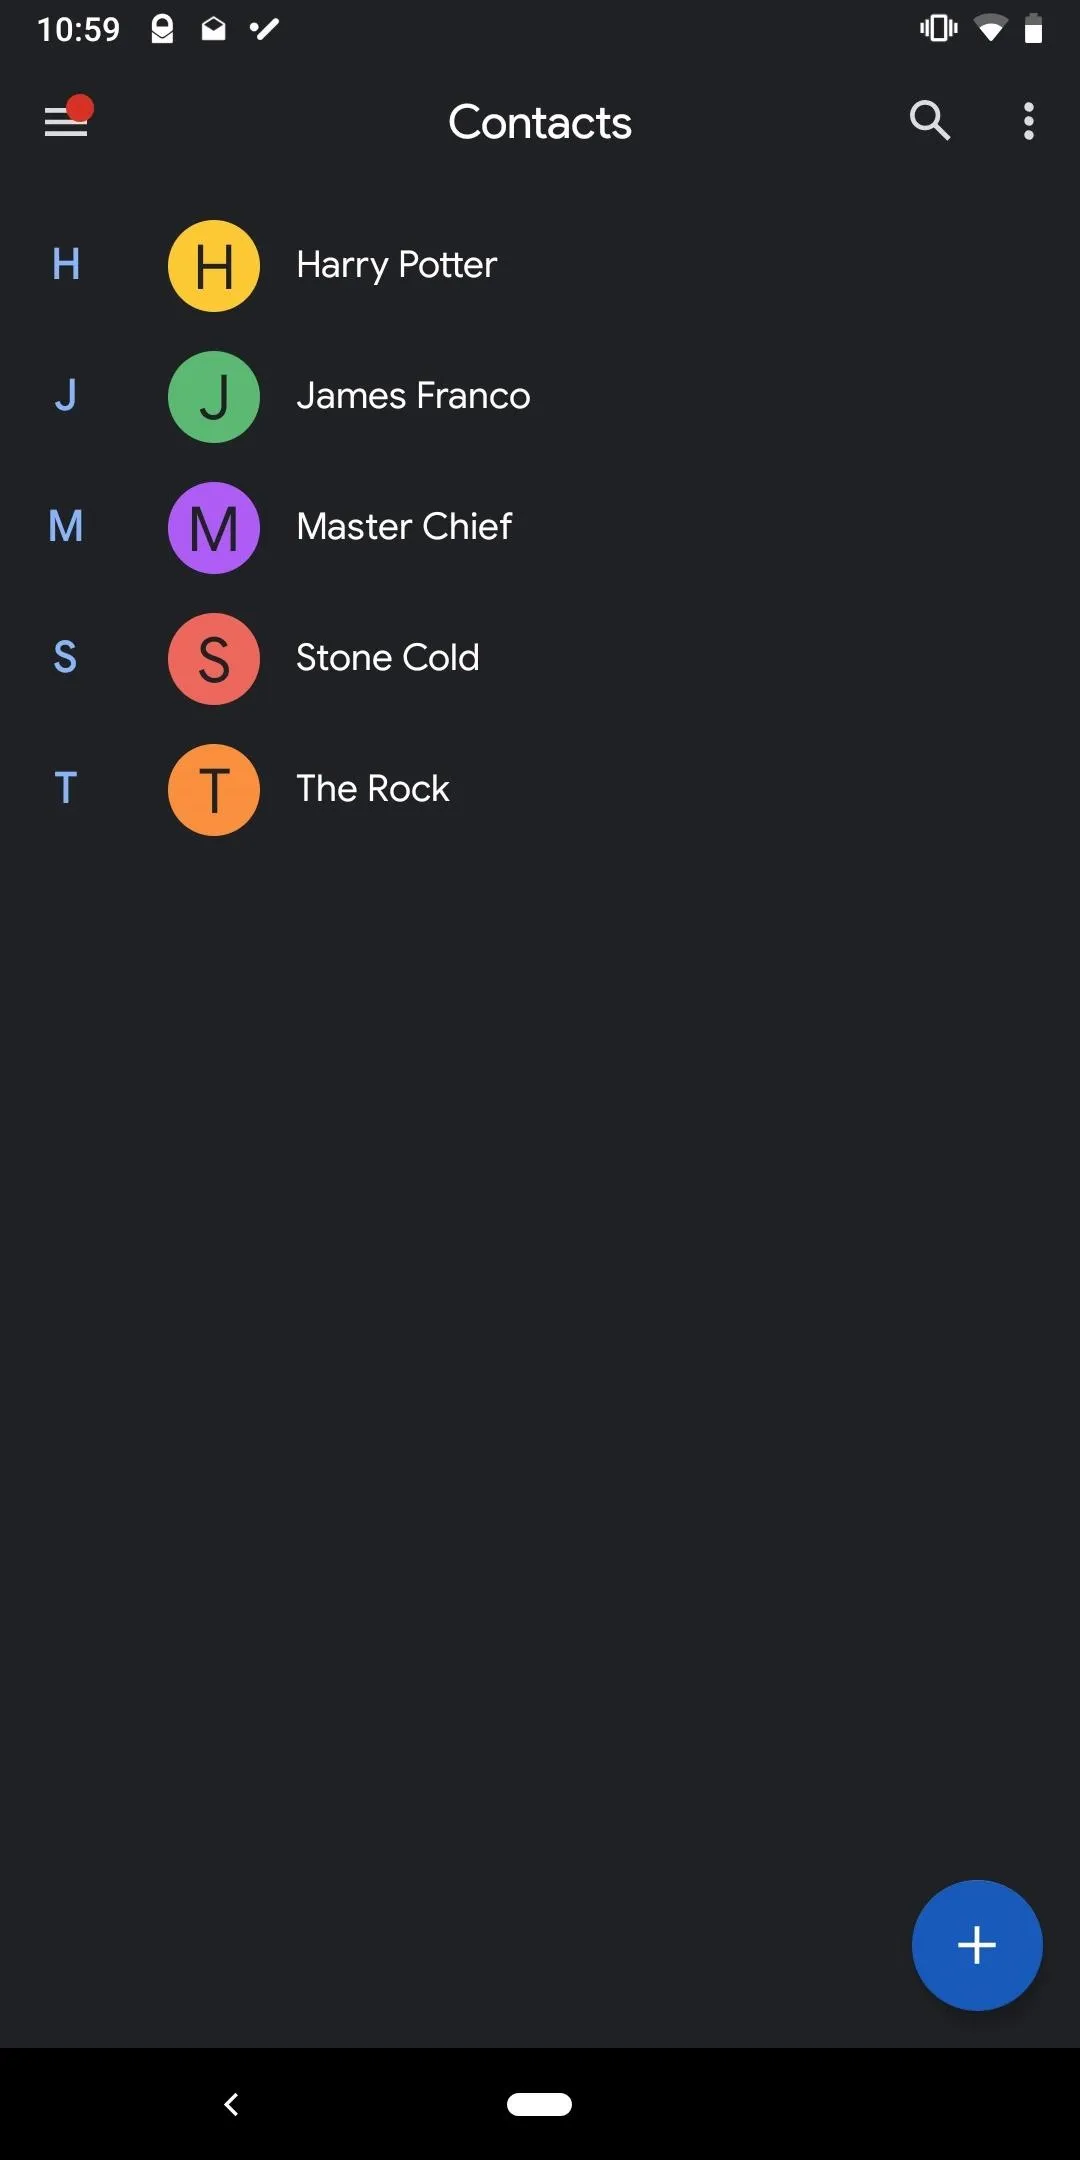


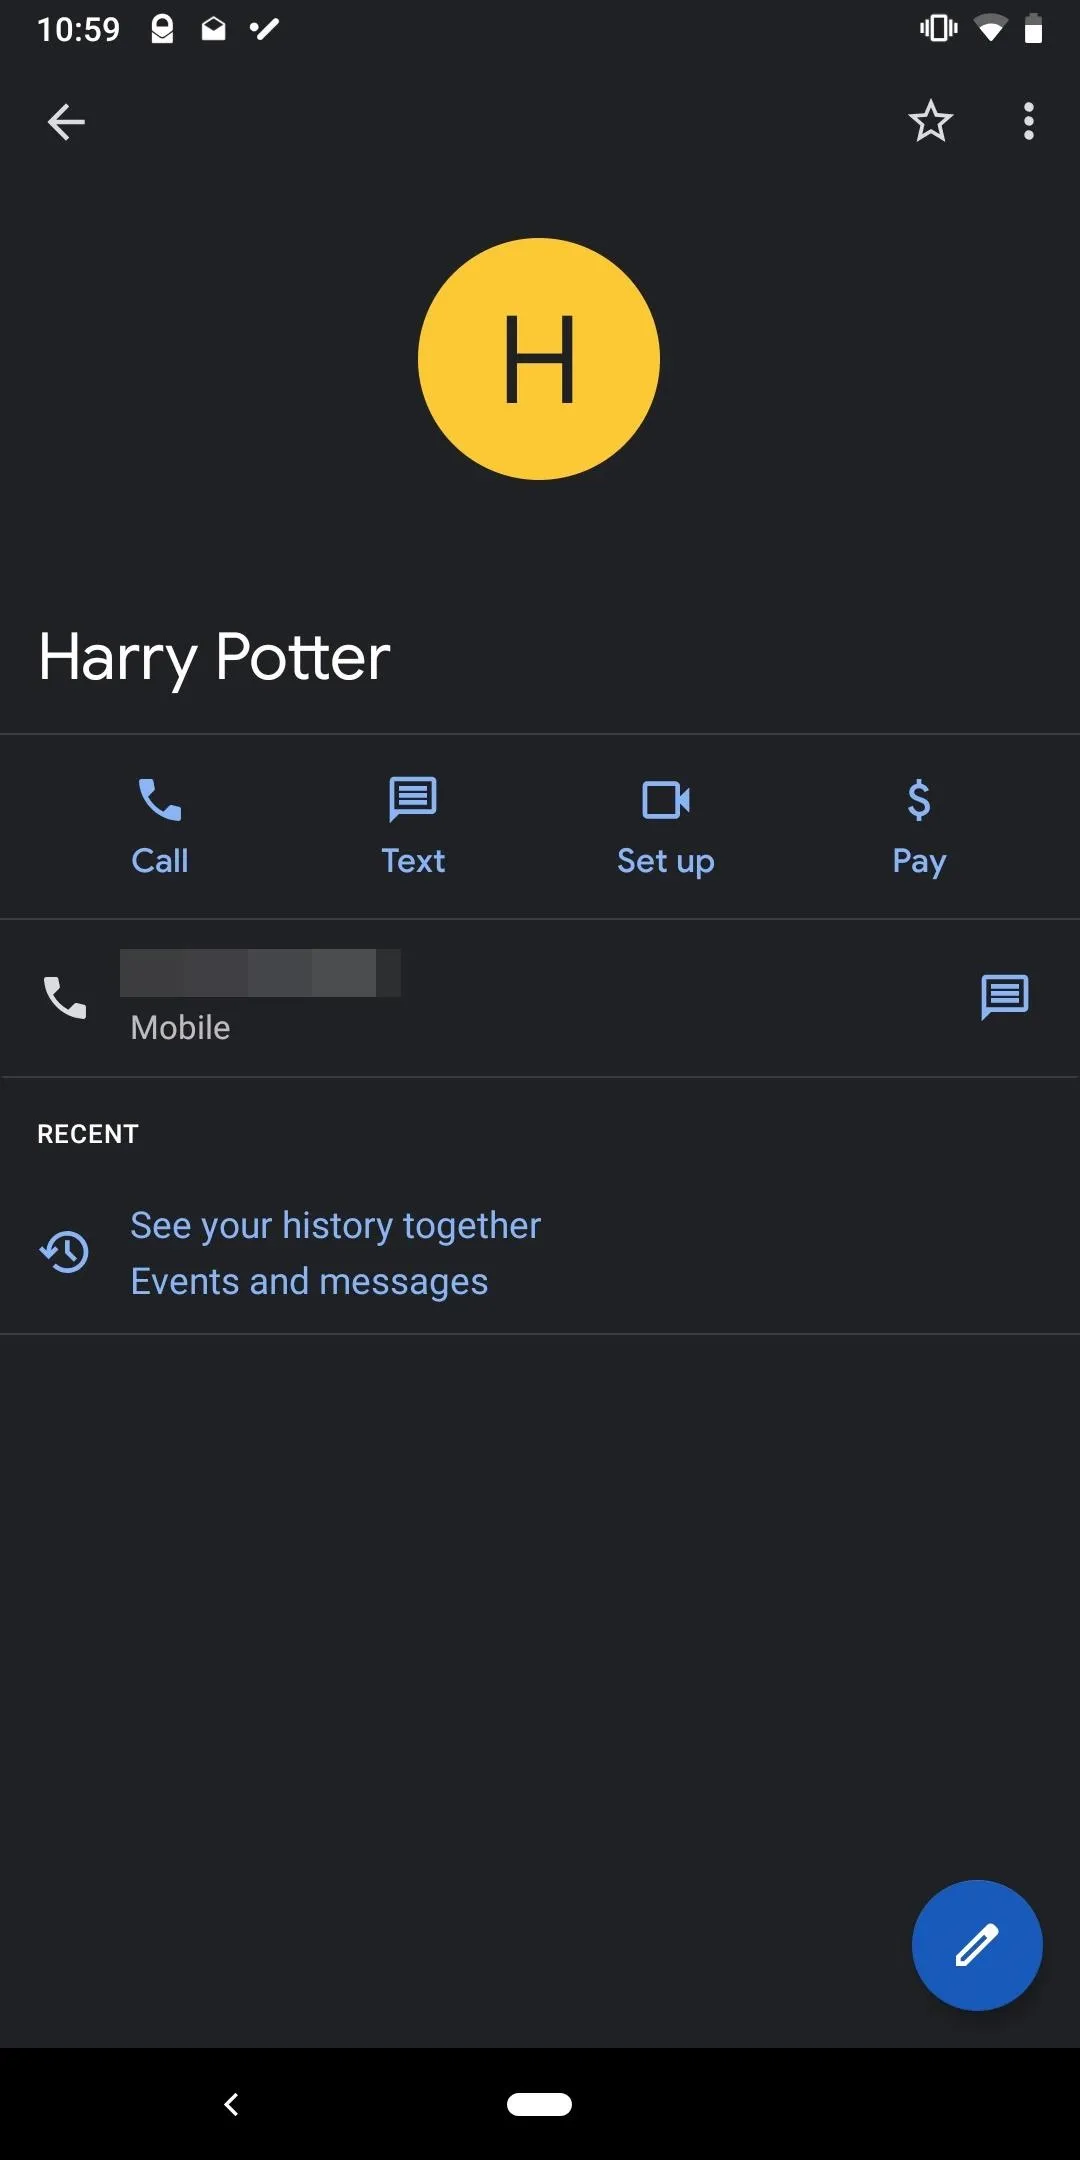
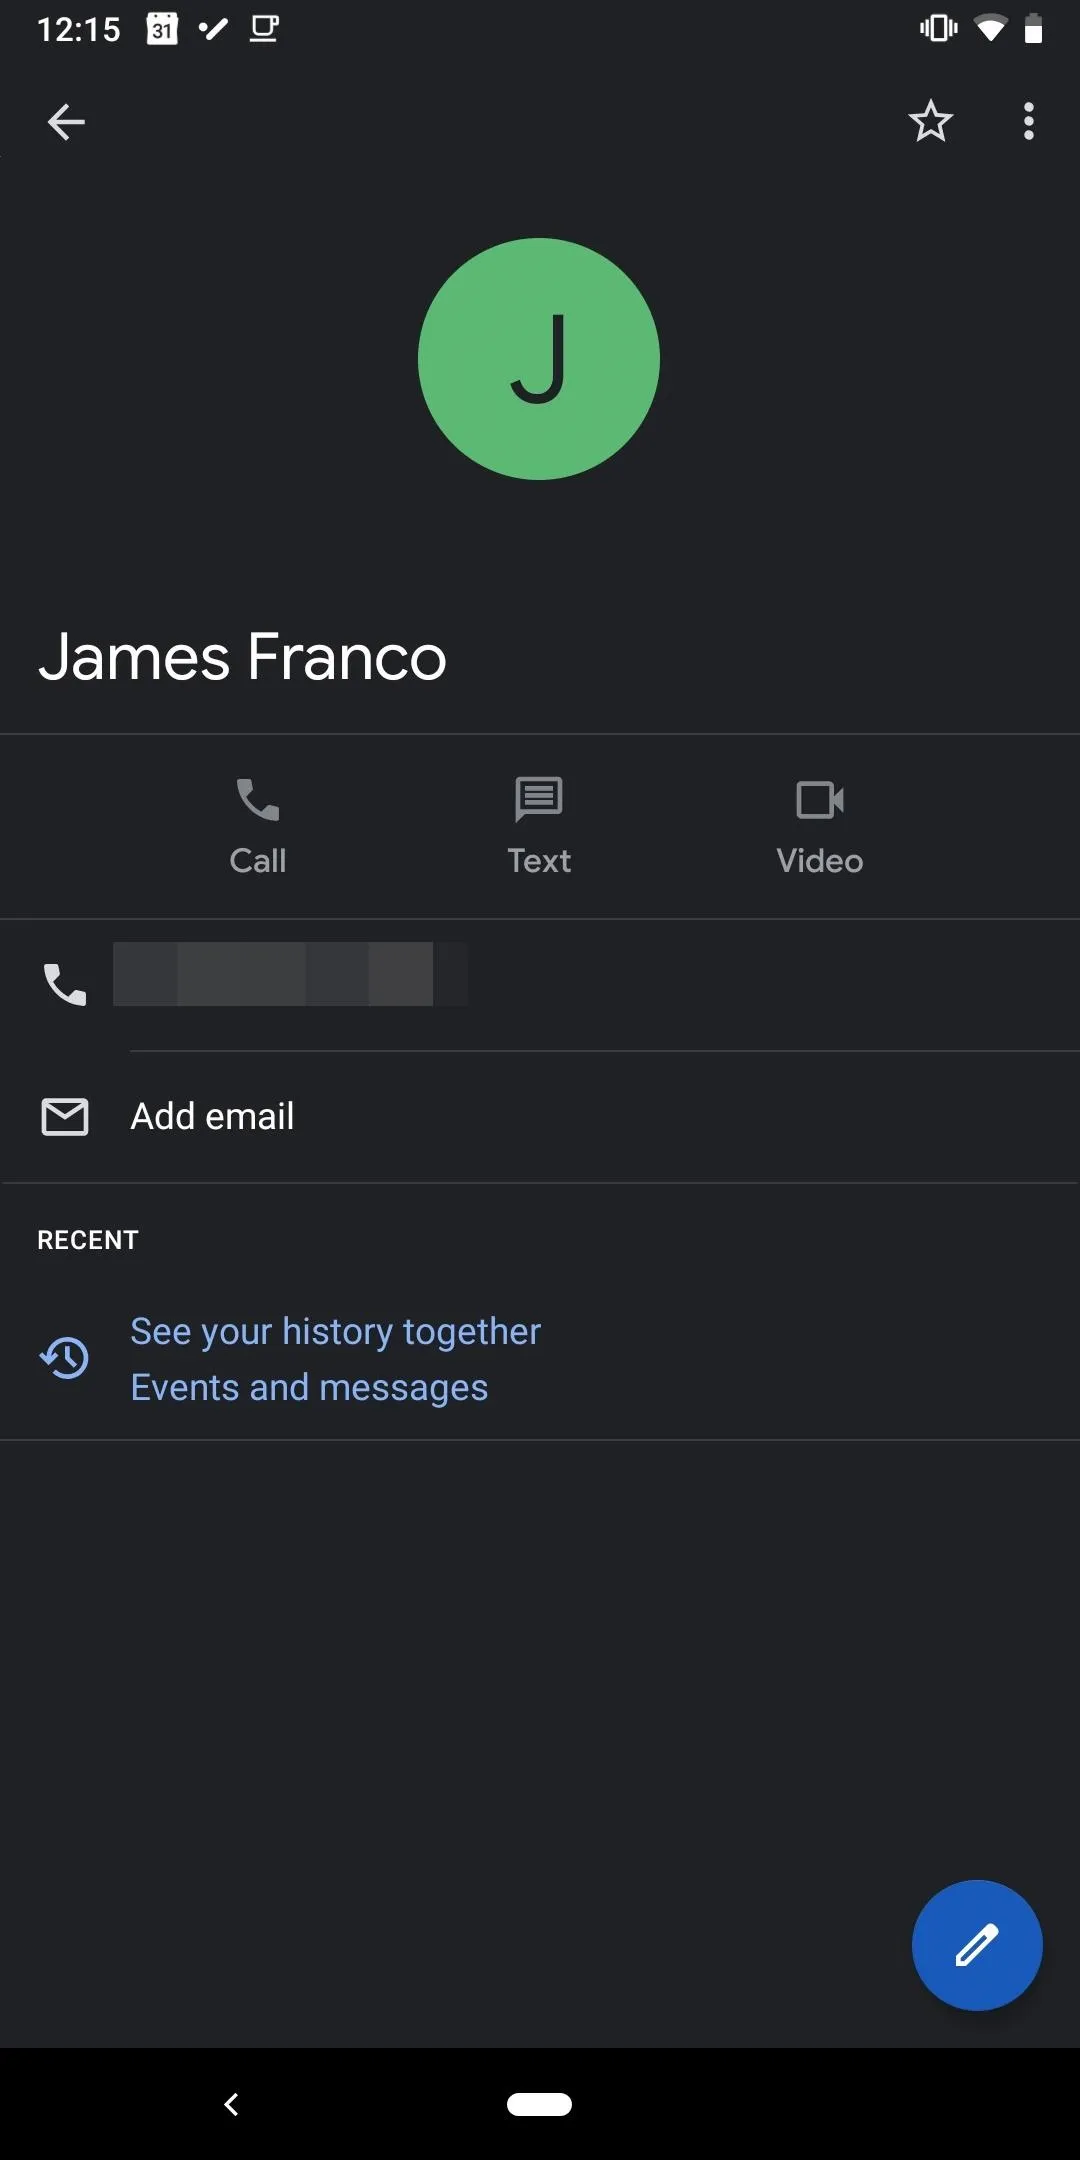
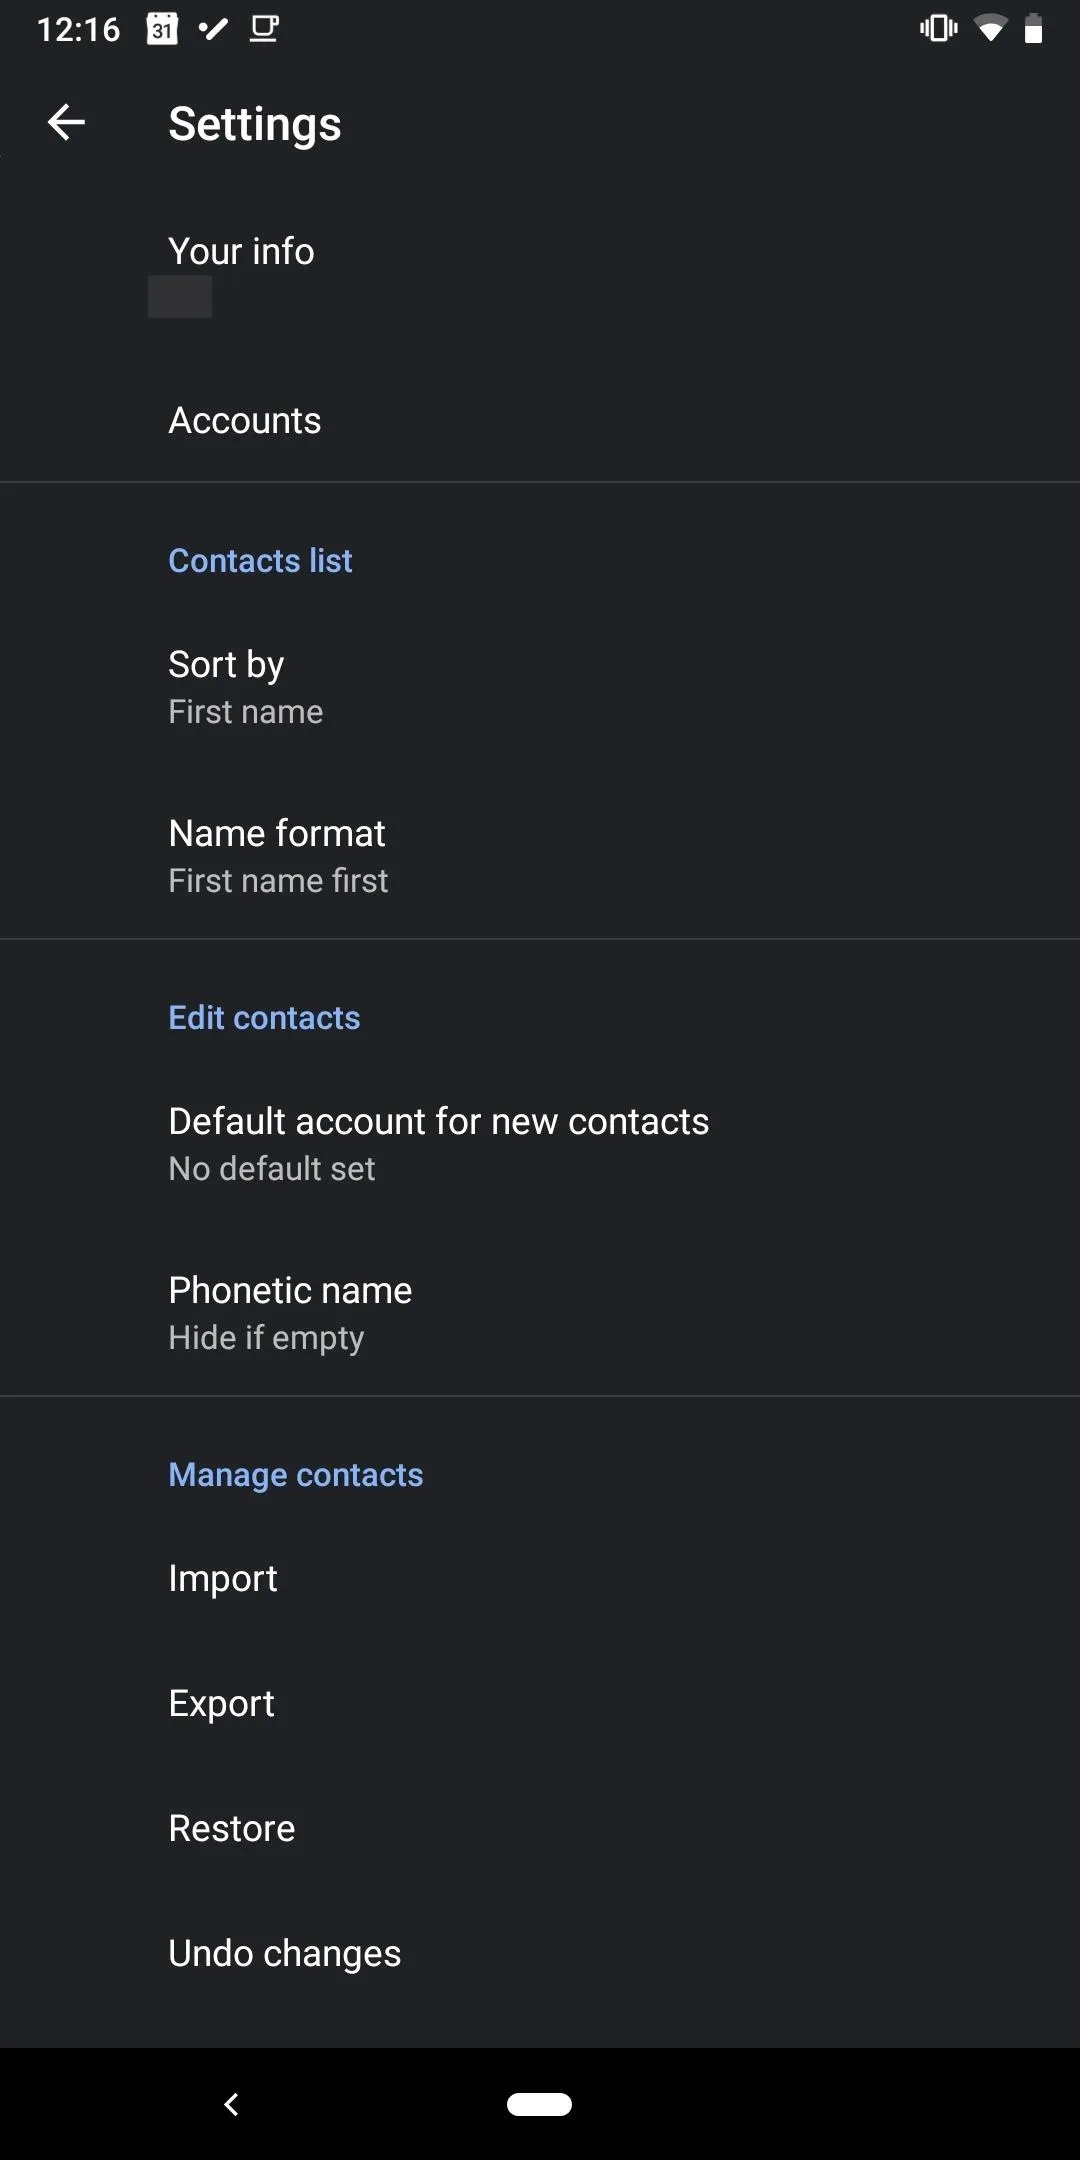
Once enabled, the main menu, settings, and each saved contact entry will have a black background with white, gray, and blue text. Dark mode will also turn on for the phone (AKA dialer) as well.


Turn on Night Mode in Developer Options
Another way to turn on Dark mode is to use Developer Options. This method is only available on devices running Android 9 Pie or higher. If your device isn't running this version, Methods 1 and 3 are still available. Again, you'll also need to make sure you're running the latest version of Google's Contacts app from the Play Store.
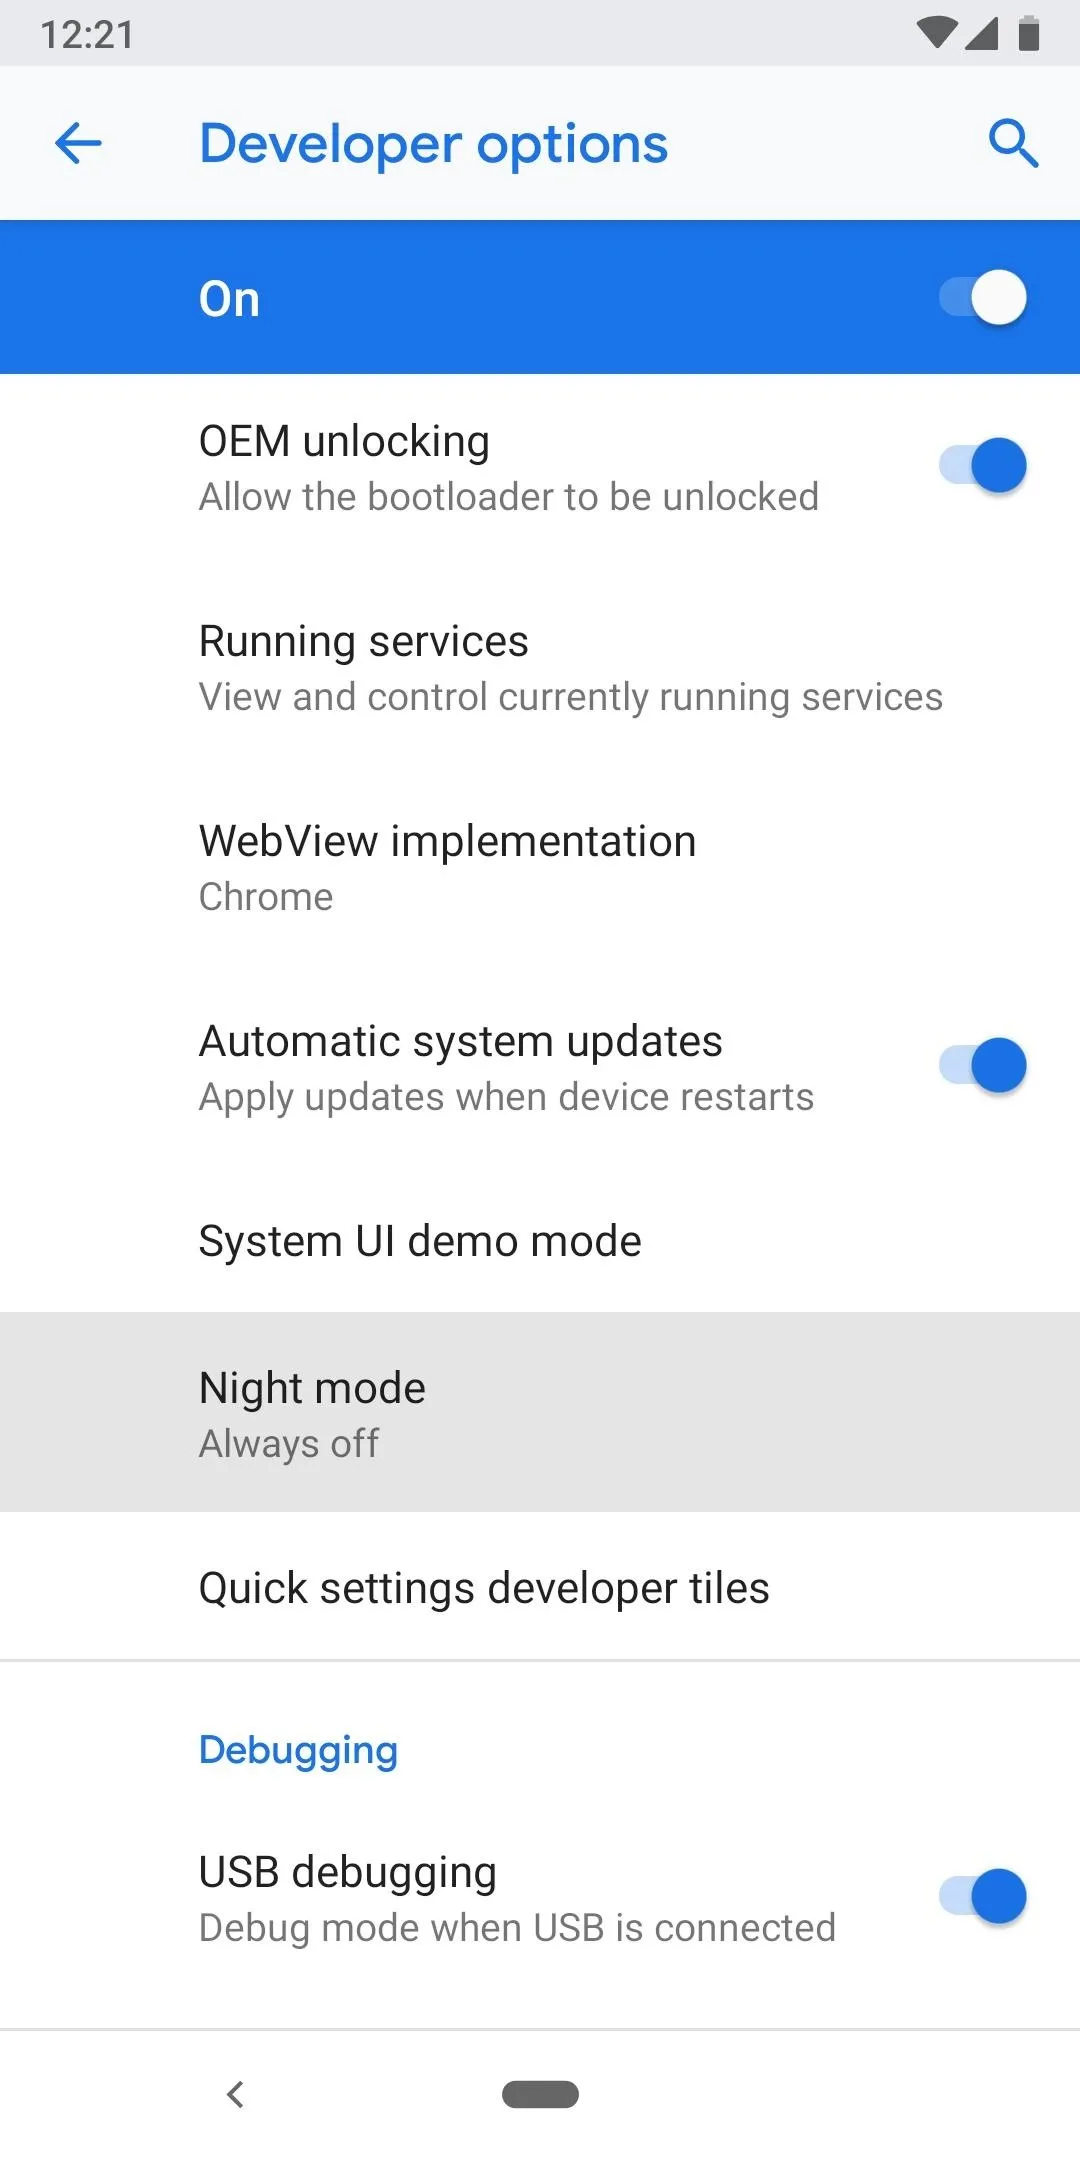
For this method, you'll need to enable Developer Options on your device. Once enabled, open the Developer Options menu in Settings –> System. From there, scroll down a tiny bit and locate the "Night mode" option towards the end of the first section (just above the Debugging header). Tap this option, then choose "Always on" from the popup.
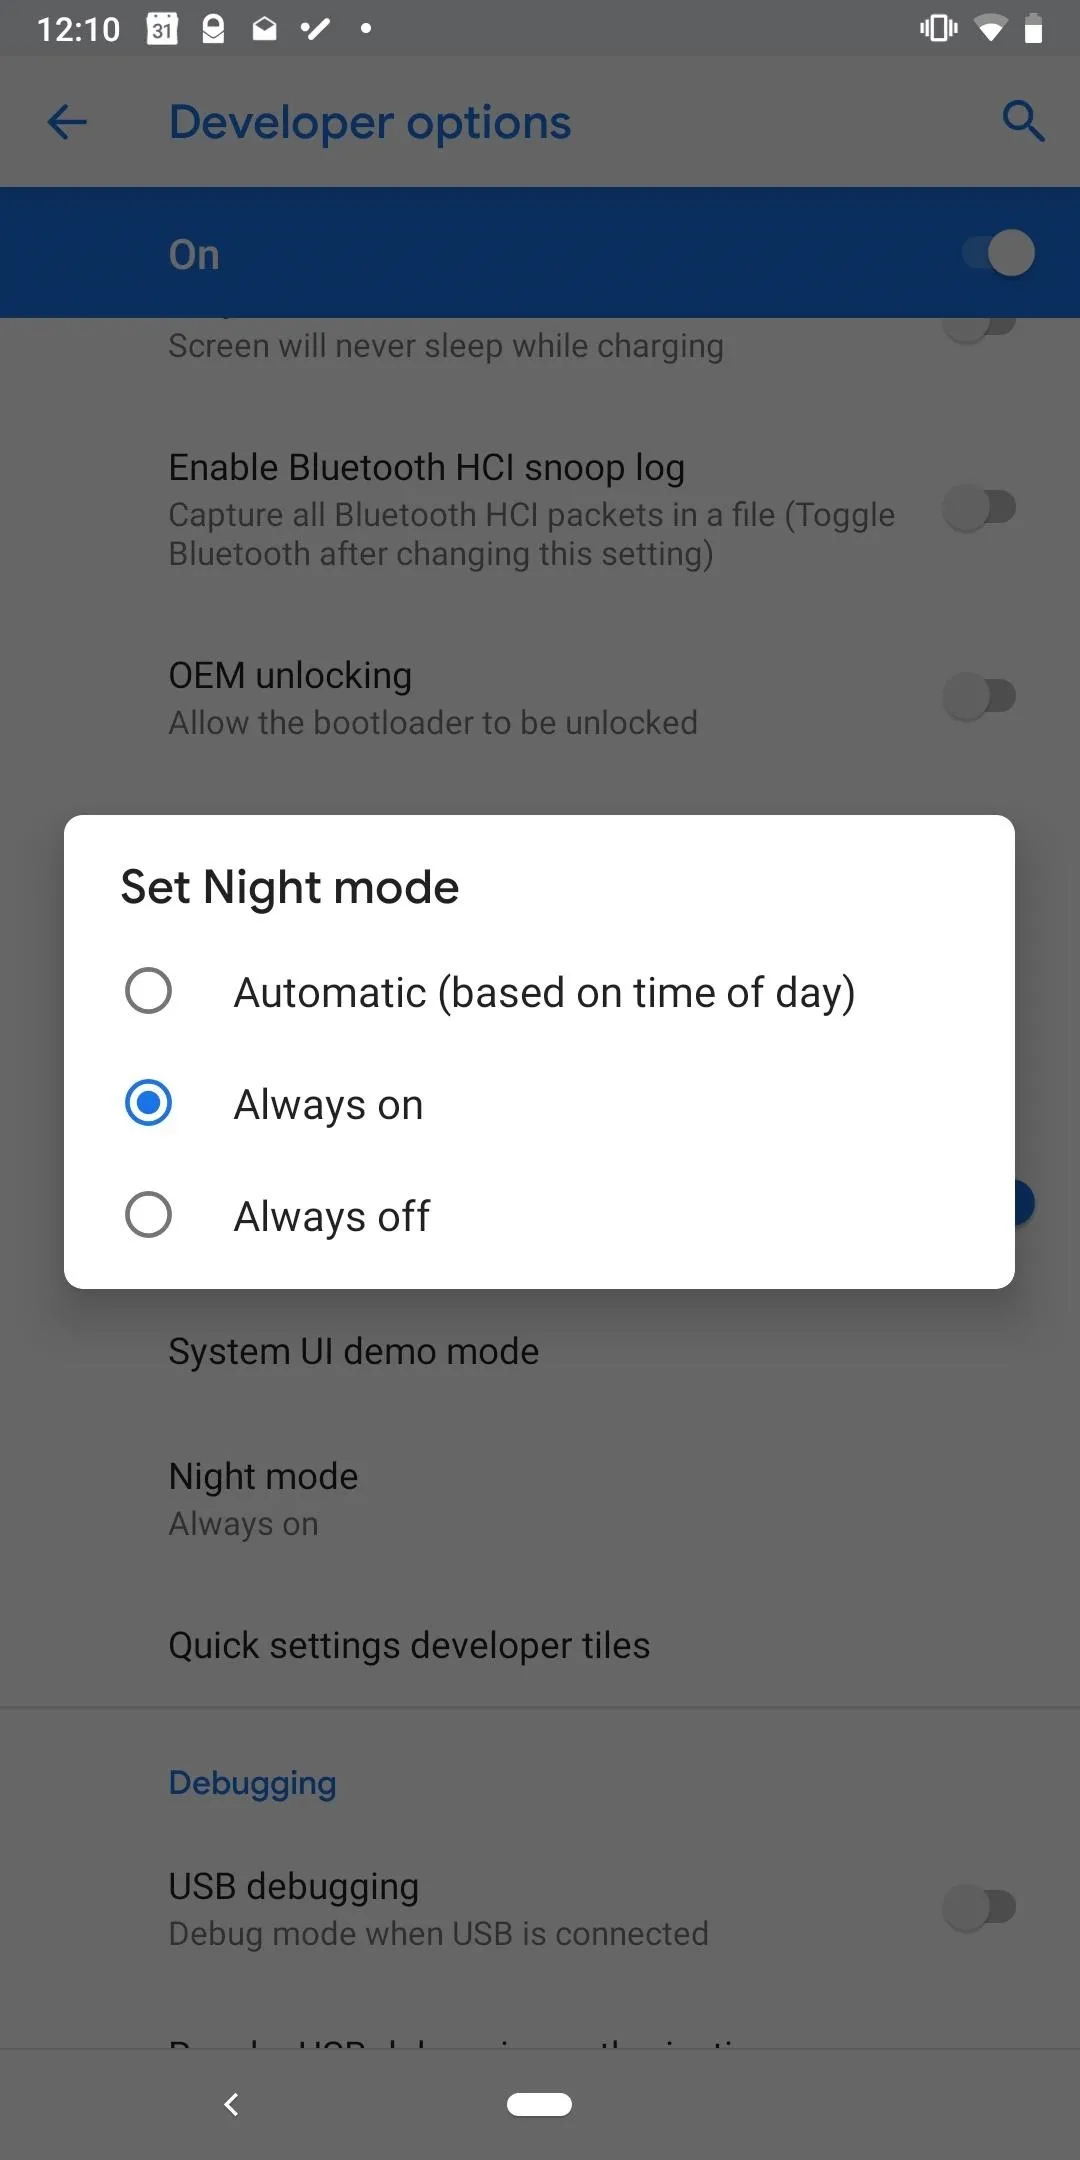


At this point, you'll likely have to close and reopen the Contacts app before dark mode will fully kick in. If the main menu is still white, either restart your phone, or open the multitasking screen (either swipe up from the bottom of your screen or hit the square button on the bottom-right), then swipe away the Contacts app card. Once you reopen the Contacts app from here on out, all of the menus and contacts will have dark backgrounds.


Turn on Battery Saver
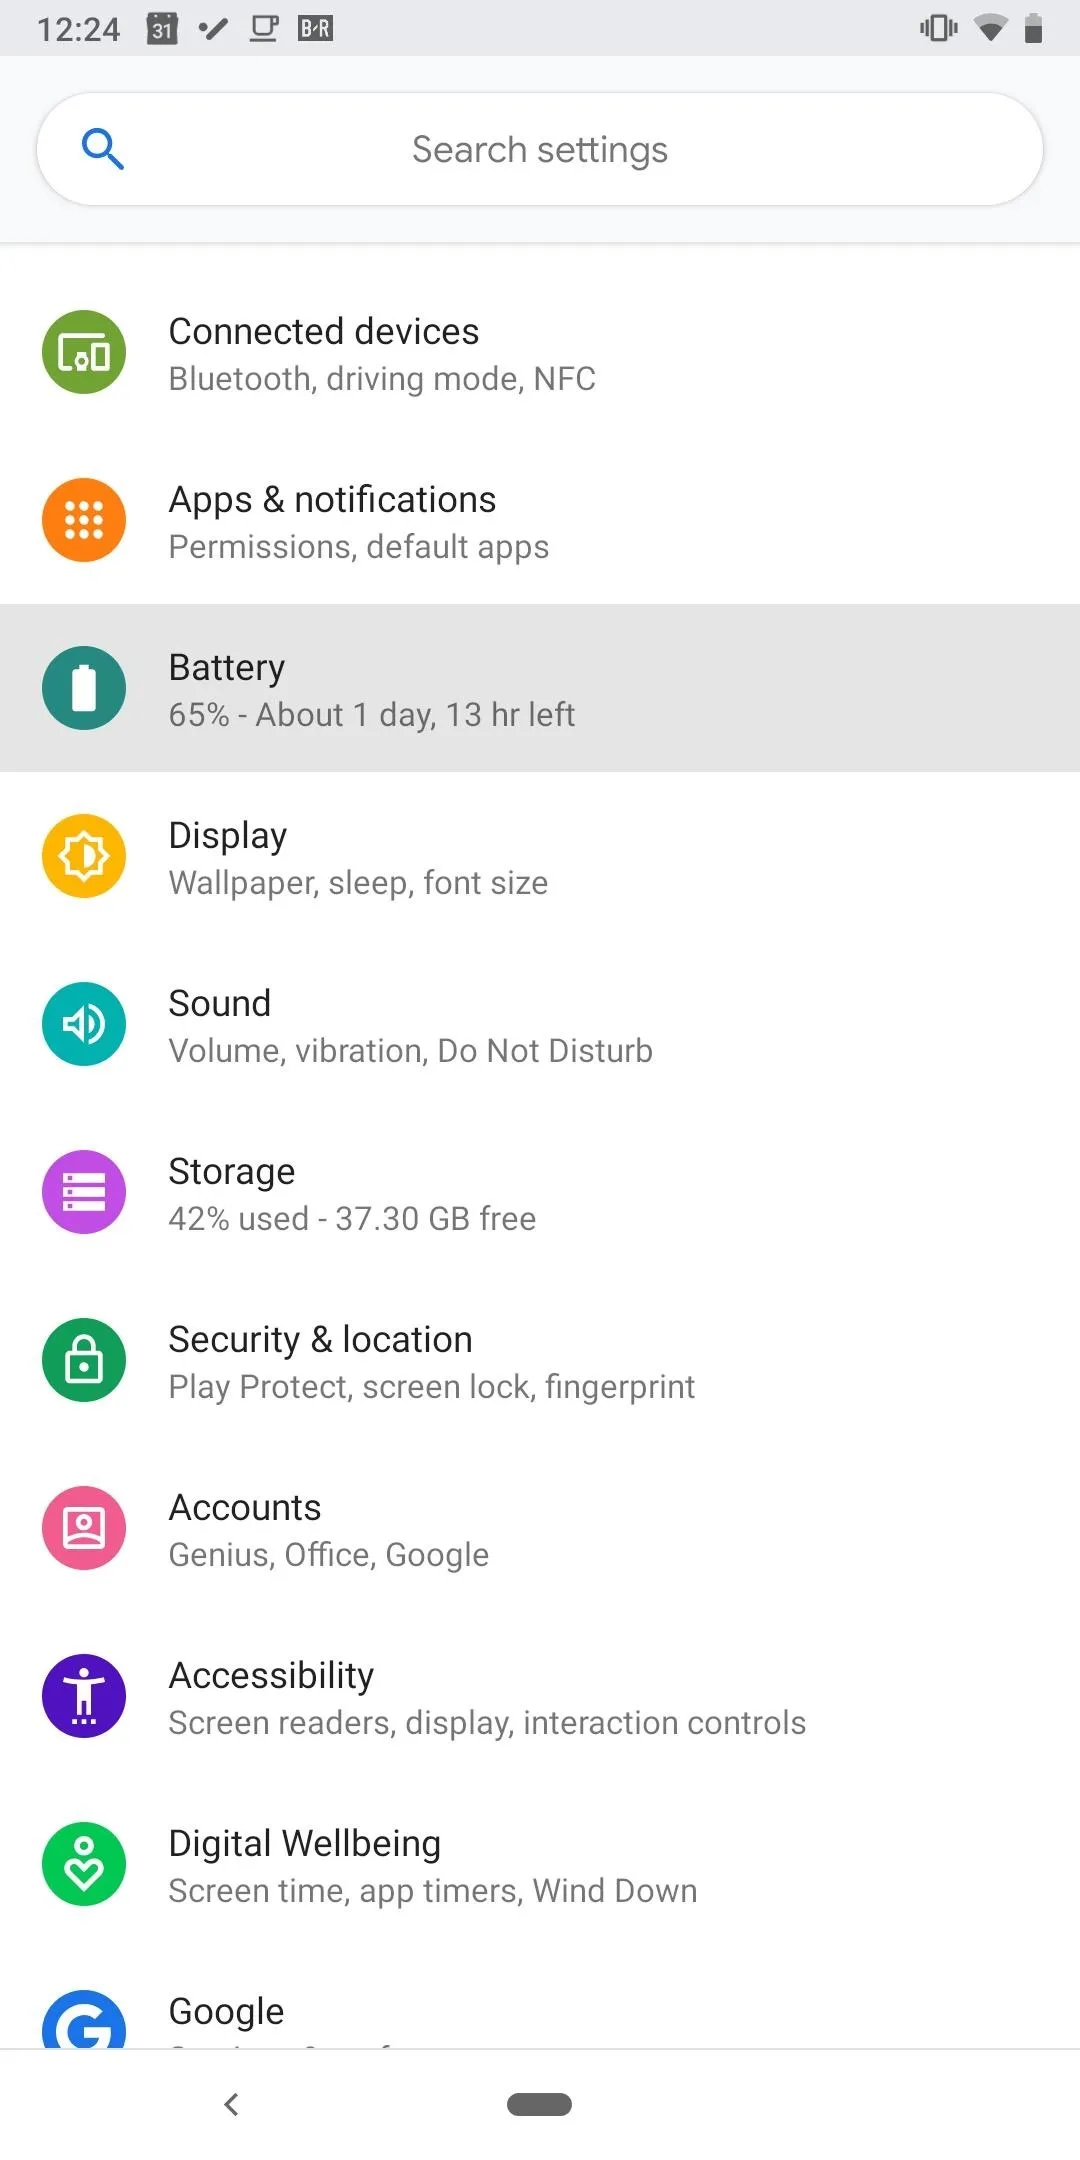
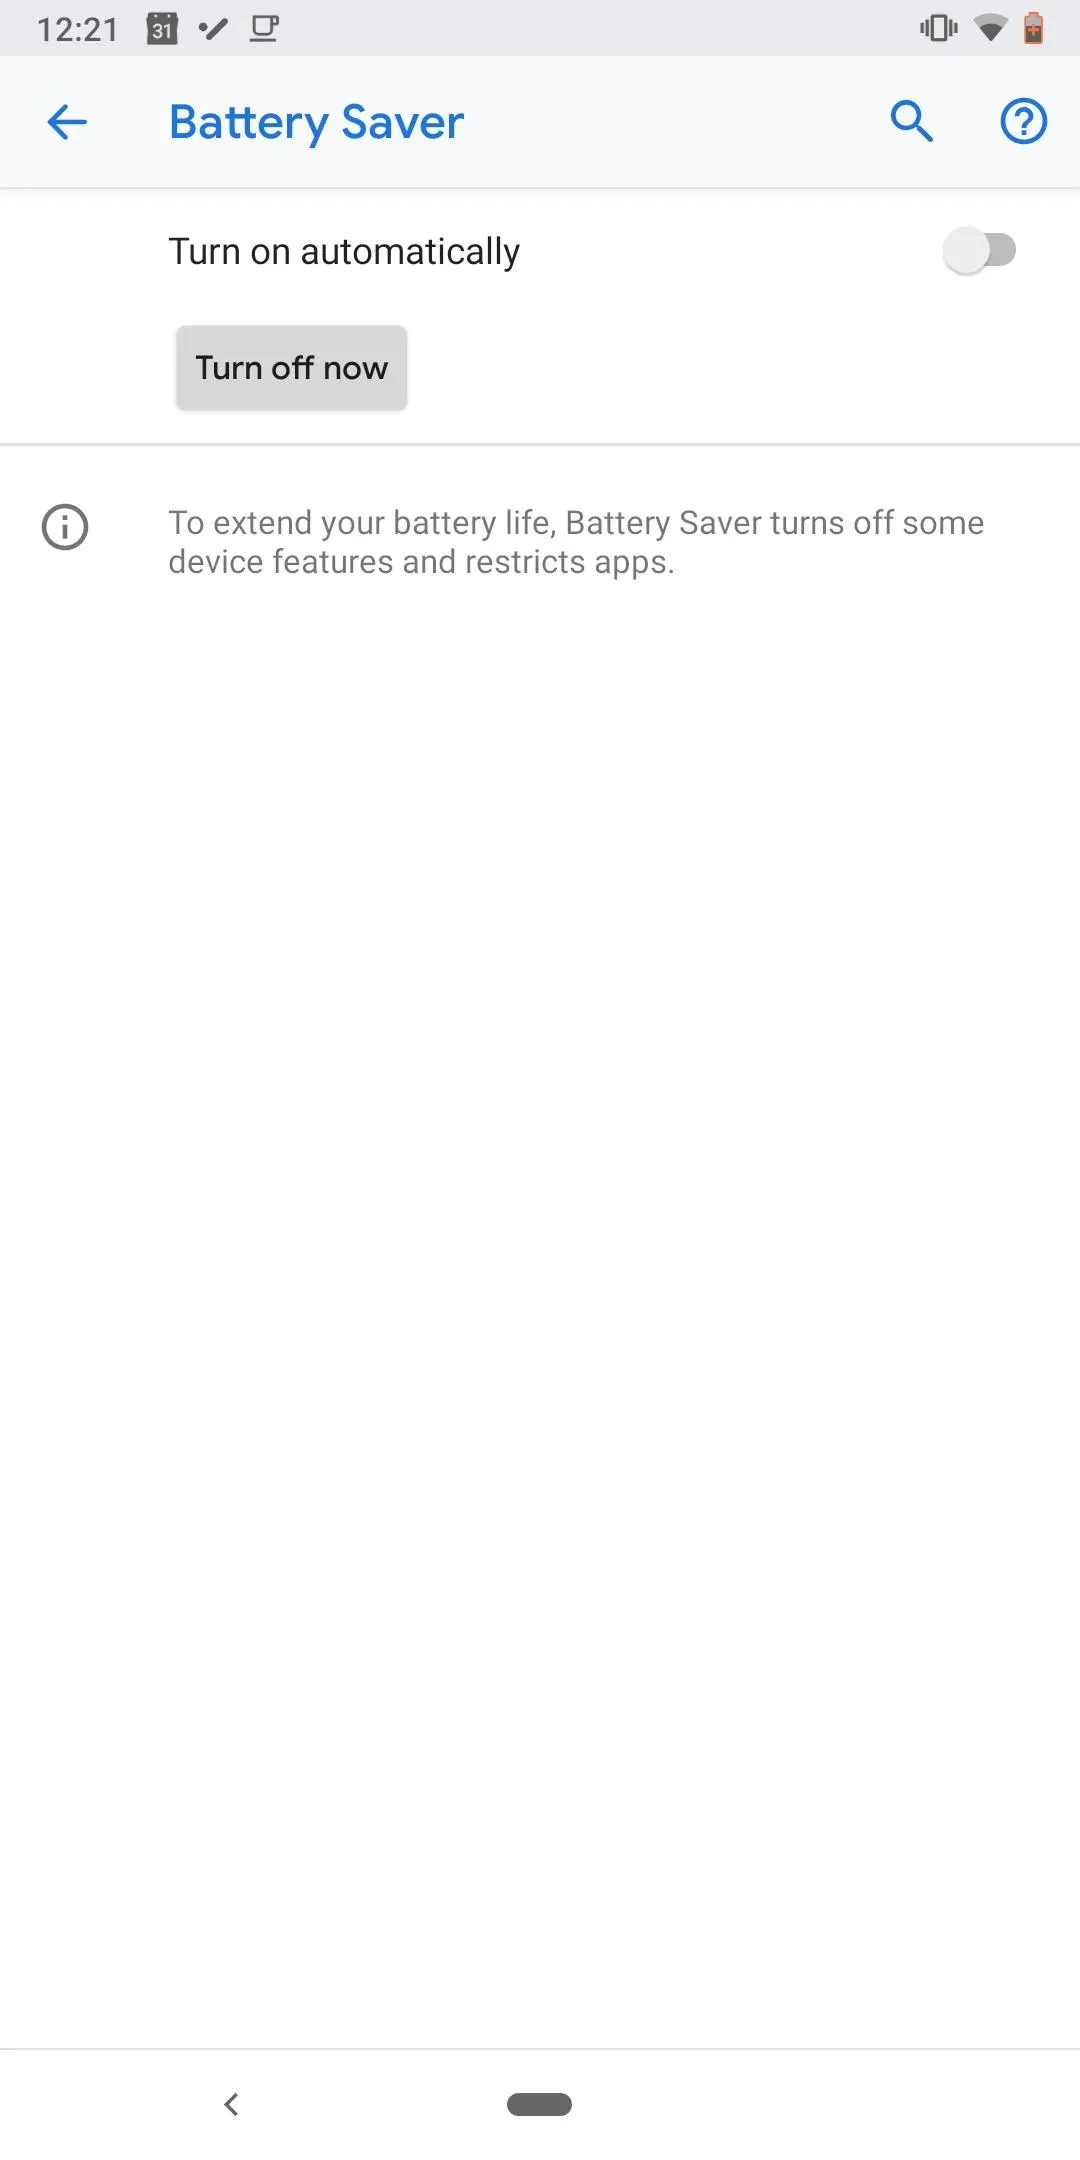
Finally, the last method to enable dark mode in Contacts app is to turn on Battery Saver. Once enabled, dark mode will turn on automatically in Contacts on most phones. To do this, open your Settings app, choose "Battery," then select "Battery Saver." Select the button "Turn on now," and Battery Saver will be enabled.
Now, make sure to update Google's Contacts app from the Play Store. Just like Method 2, you may have to close and reopen the Contacts app (by opening the multitasking view and swiping away the Contacts card) before dark mode will kick in. Dark mode will apply to the main Contacts menu, saved contacts' individual entries, the settings menu, and the Phone app.


- Follow Gadget Hacks on Pinterest, Reddit, Twitter, YouTube, and Flipboard
- Sign up for Gadget Hacks' daily newsletter or weekly Android and iOS updates
- Follow WonderHowTo on Facebook, Twitter, Pinterest, and Flipboard
Cover image and screenshots by Jon Knight/Gadget Hacks









Comments
Be the first, drop a comment!