The YouTube app will default to 480p playback when you first open a video. It's supposed to switch to your screen resolution a few seconds in, but this isn't always the case. The regular YouTube app doesn't let you change this behavior, but like most things with Android, there is still a way.
There's a modified version of YouTube, known as YouTube Vanced, that packs a number of features not found in the version available on the Play Store. One of those features includes changing the default video quality for when you are on cellular data and Wi-Fi, removing the need to wait for the app to switch over. While there is a method for rooted users, the process we will discuss below does not require root.
Download YouTube Vanced & Install MicroG
YouTube Vanced relies on a second app called MicroG for features like saving your resolution setting. You can get them both from the link below, but you'll need to make sure you have "Unknown Sources" or "Install Unknown Apps" enabled before you can sideload the apps.
- APK Link: YouTube Vanced and MicroG Vanced (free)
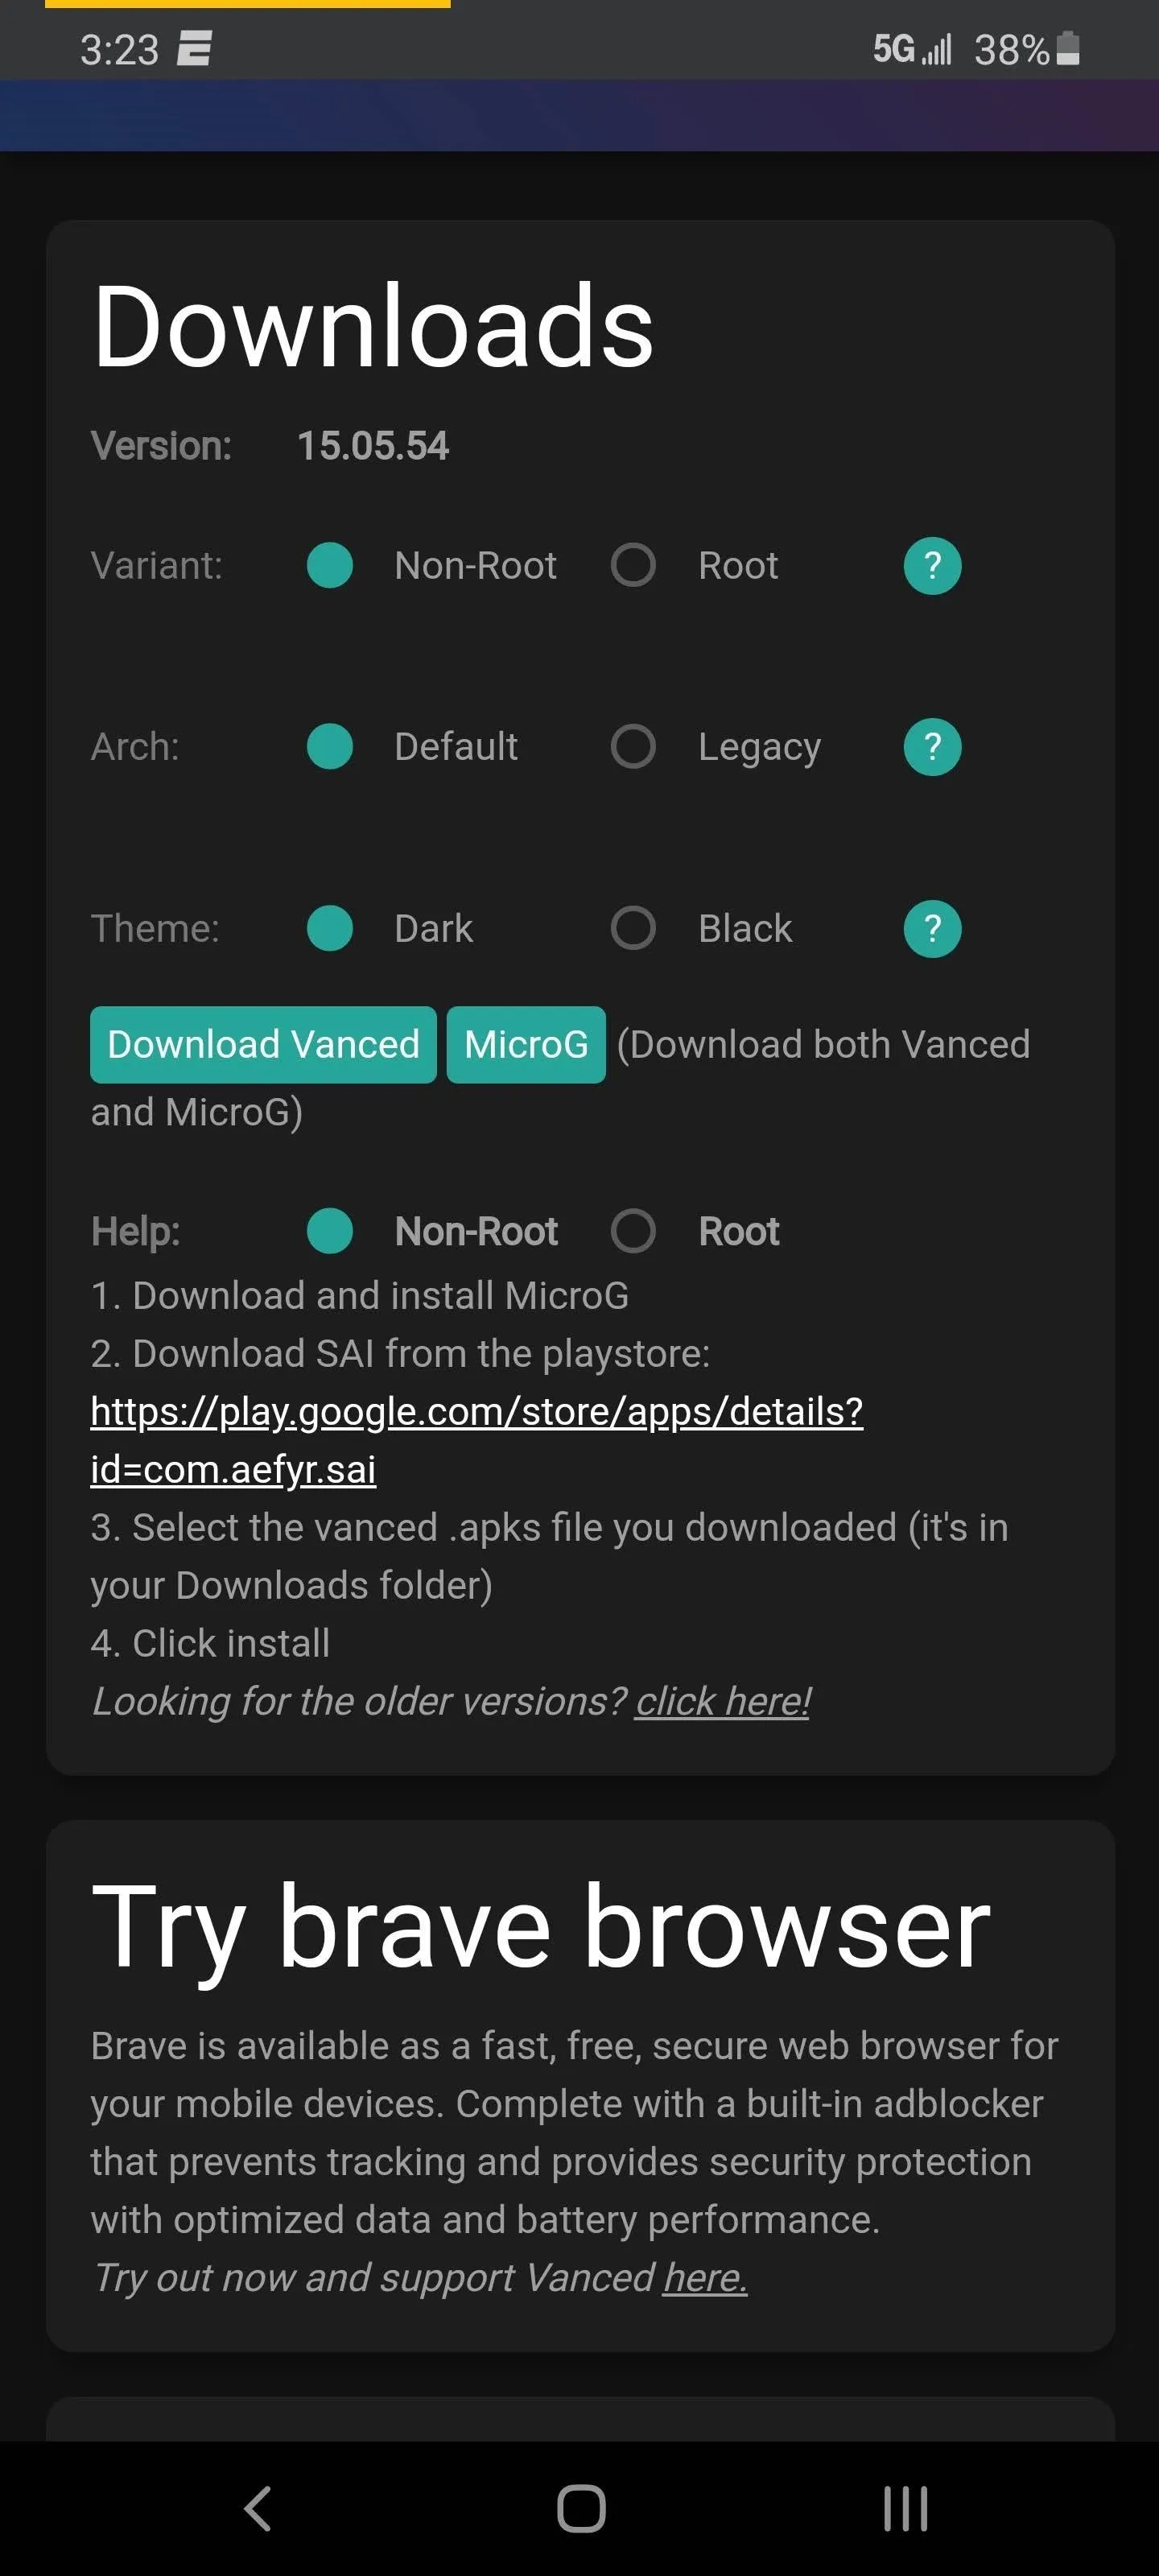
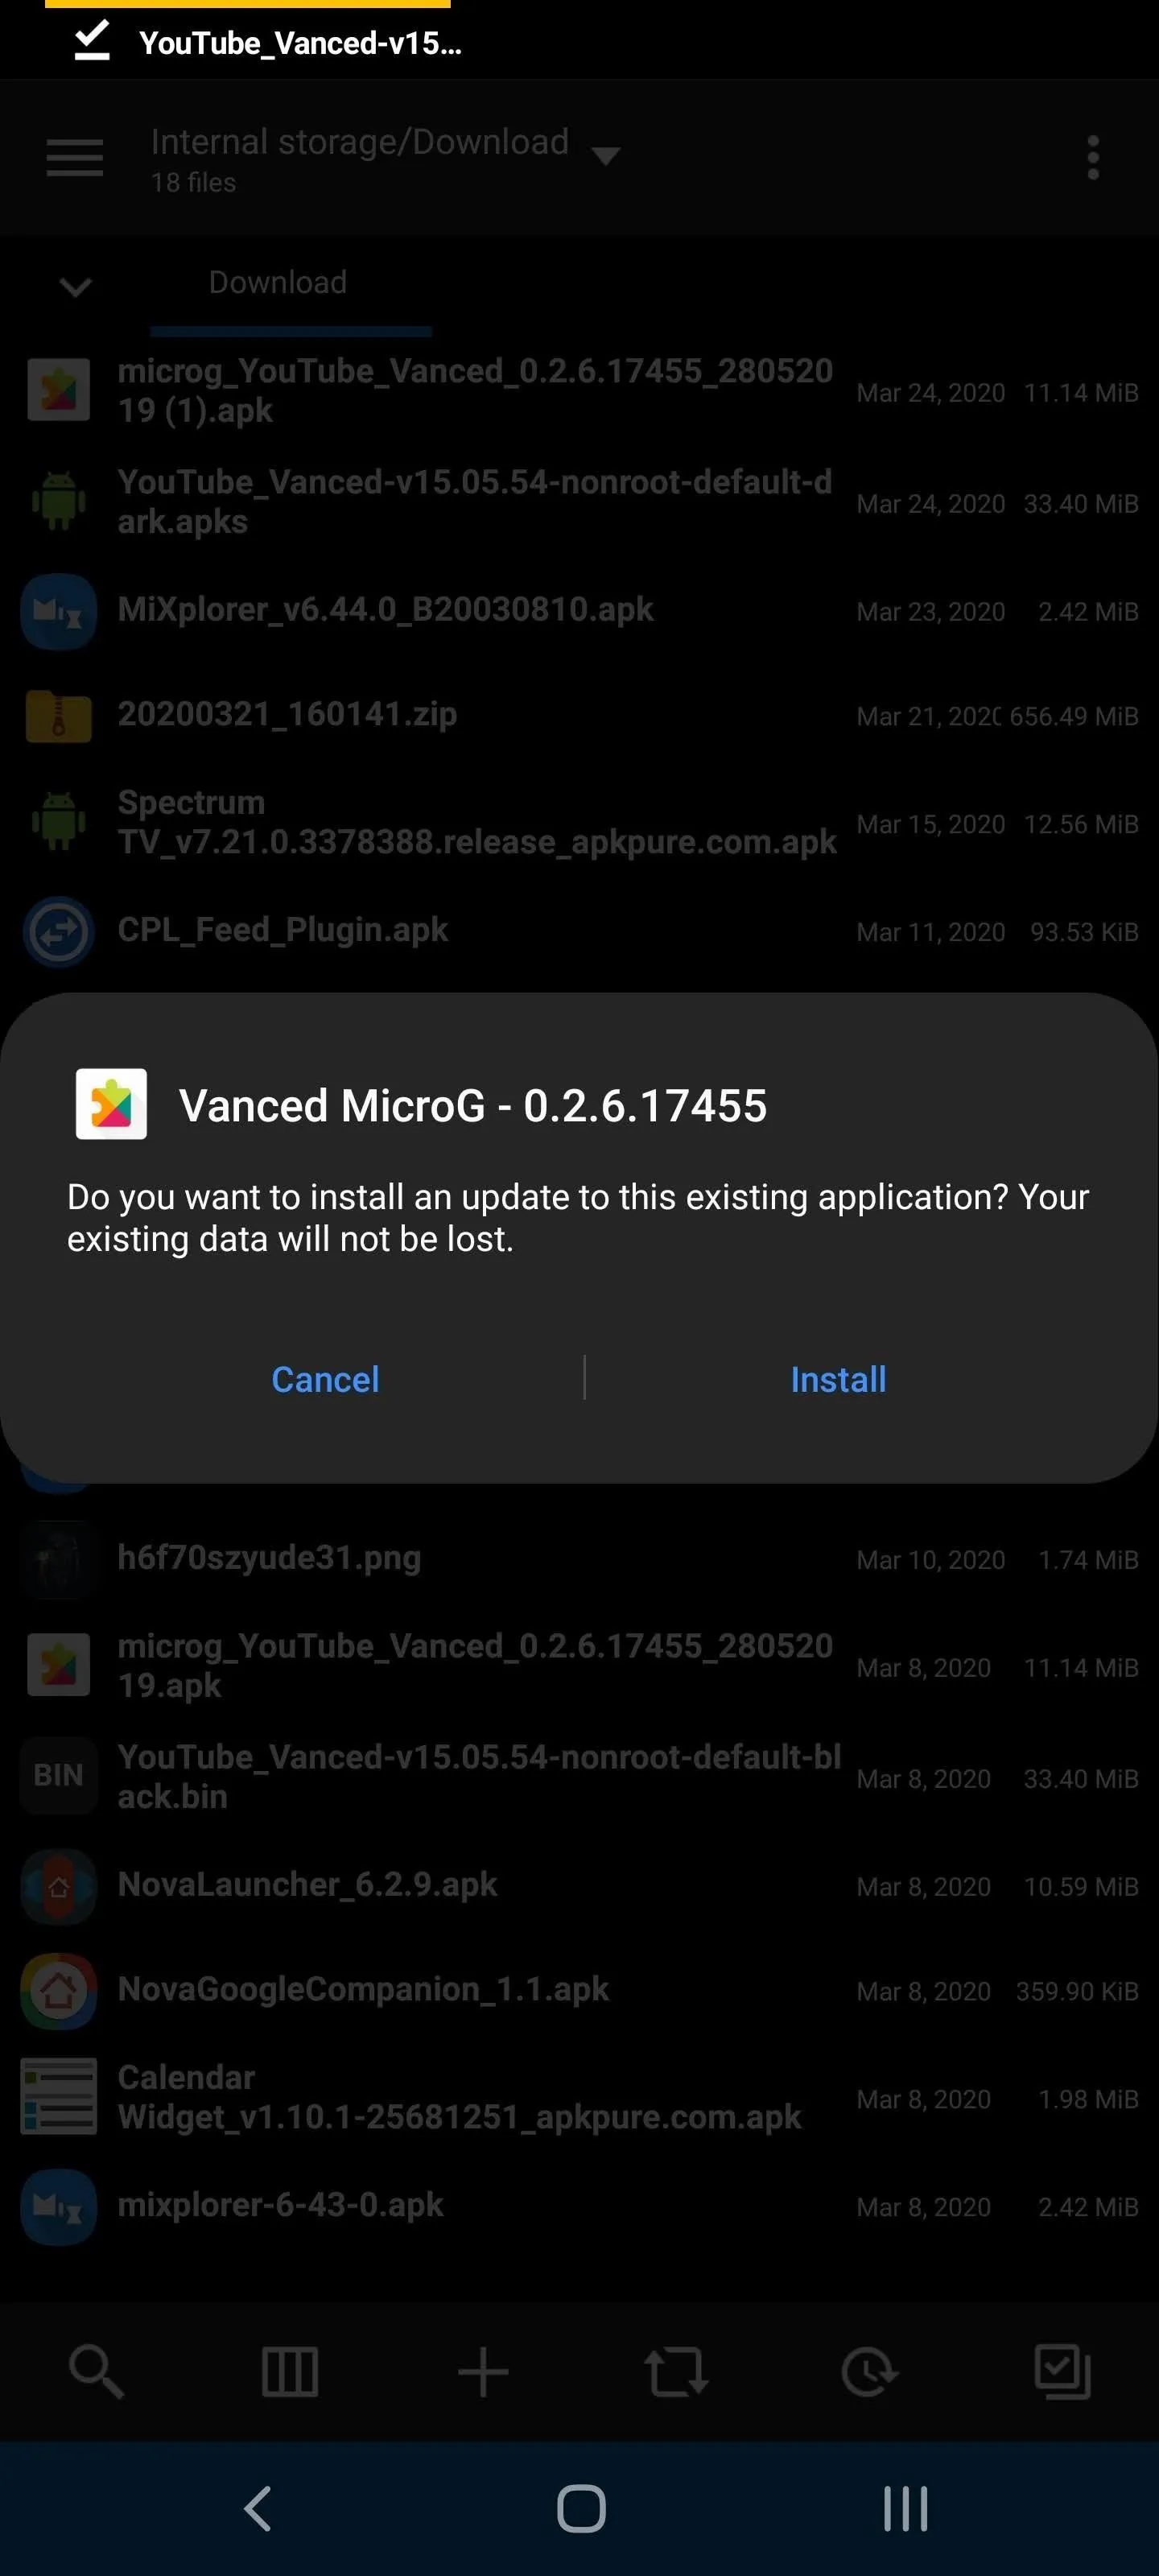
Once at the YouTube Vanced download site, leave everything selected as it is, then tap both "Download Vanced" and "MicroG." Now, open the Download folder in your Files app and tap the MicroG APK file, then select "Install" on the prompt.


Install YouTube Vanced
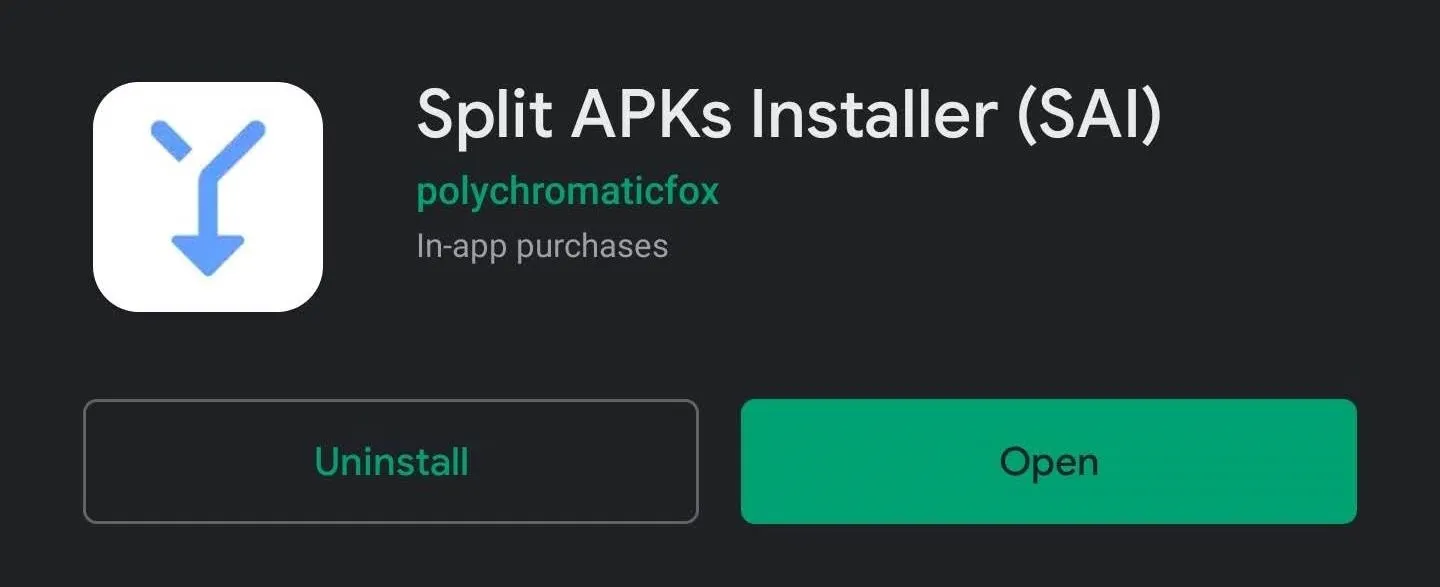
You'll notice that tapping the APK for YouTube Vanced doesn't cause the "Install" prompt to appear. It's because the APK is split, so to install it, you'll need to use an app called SAI, or Split APKs Installer.
- Play Store Link: Split APKs Installer (SAI) (free)
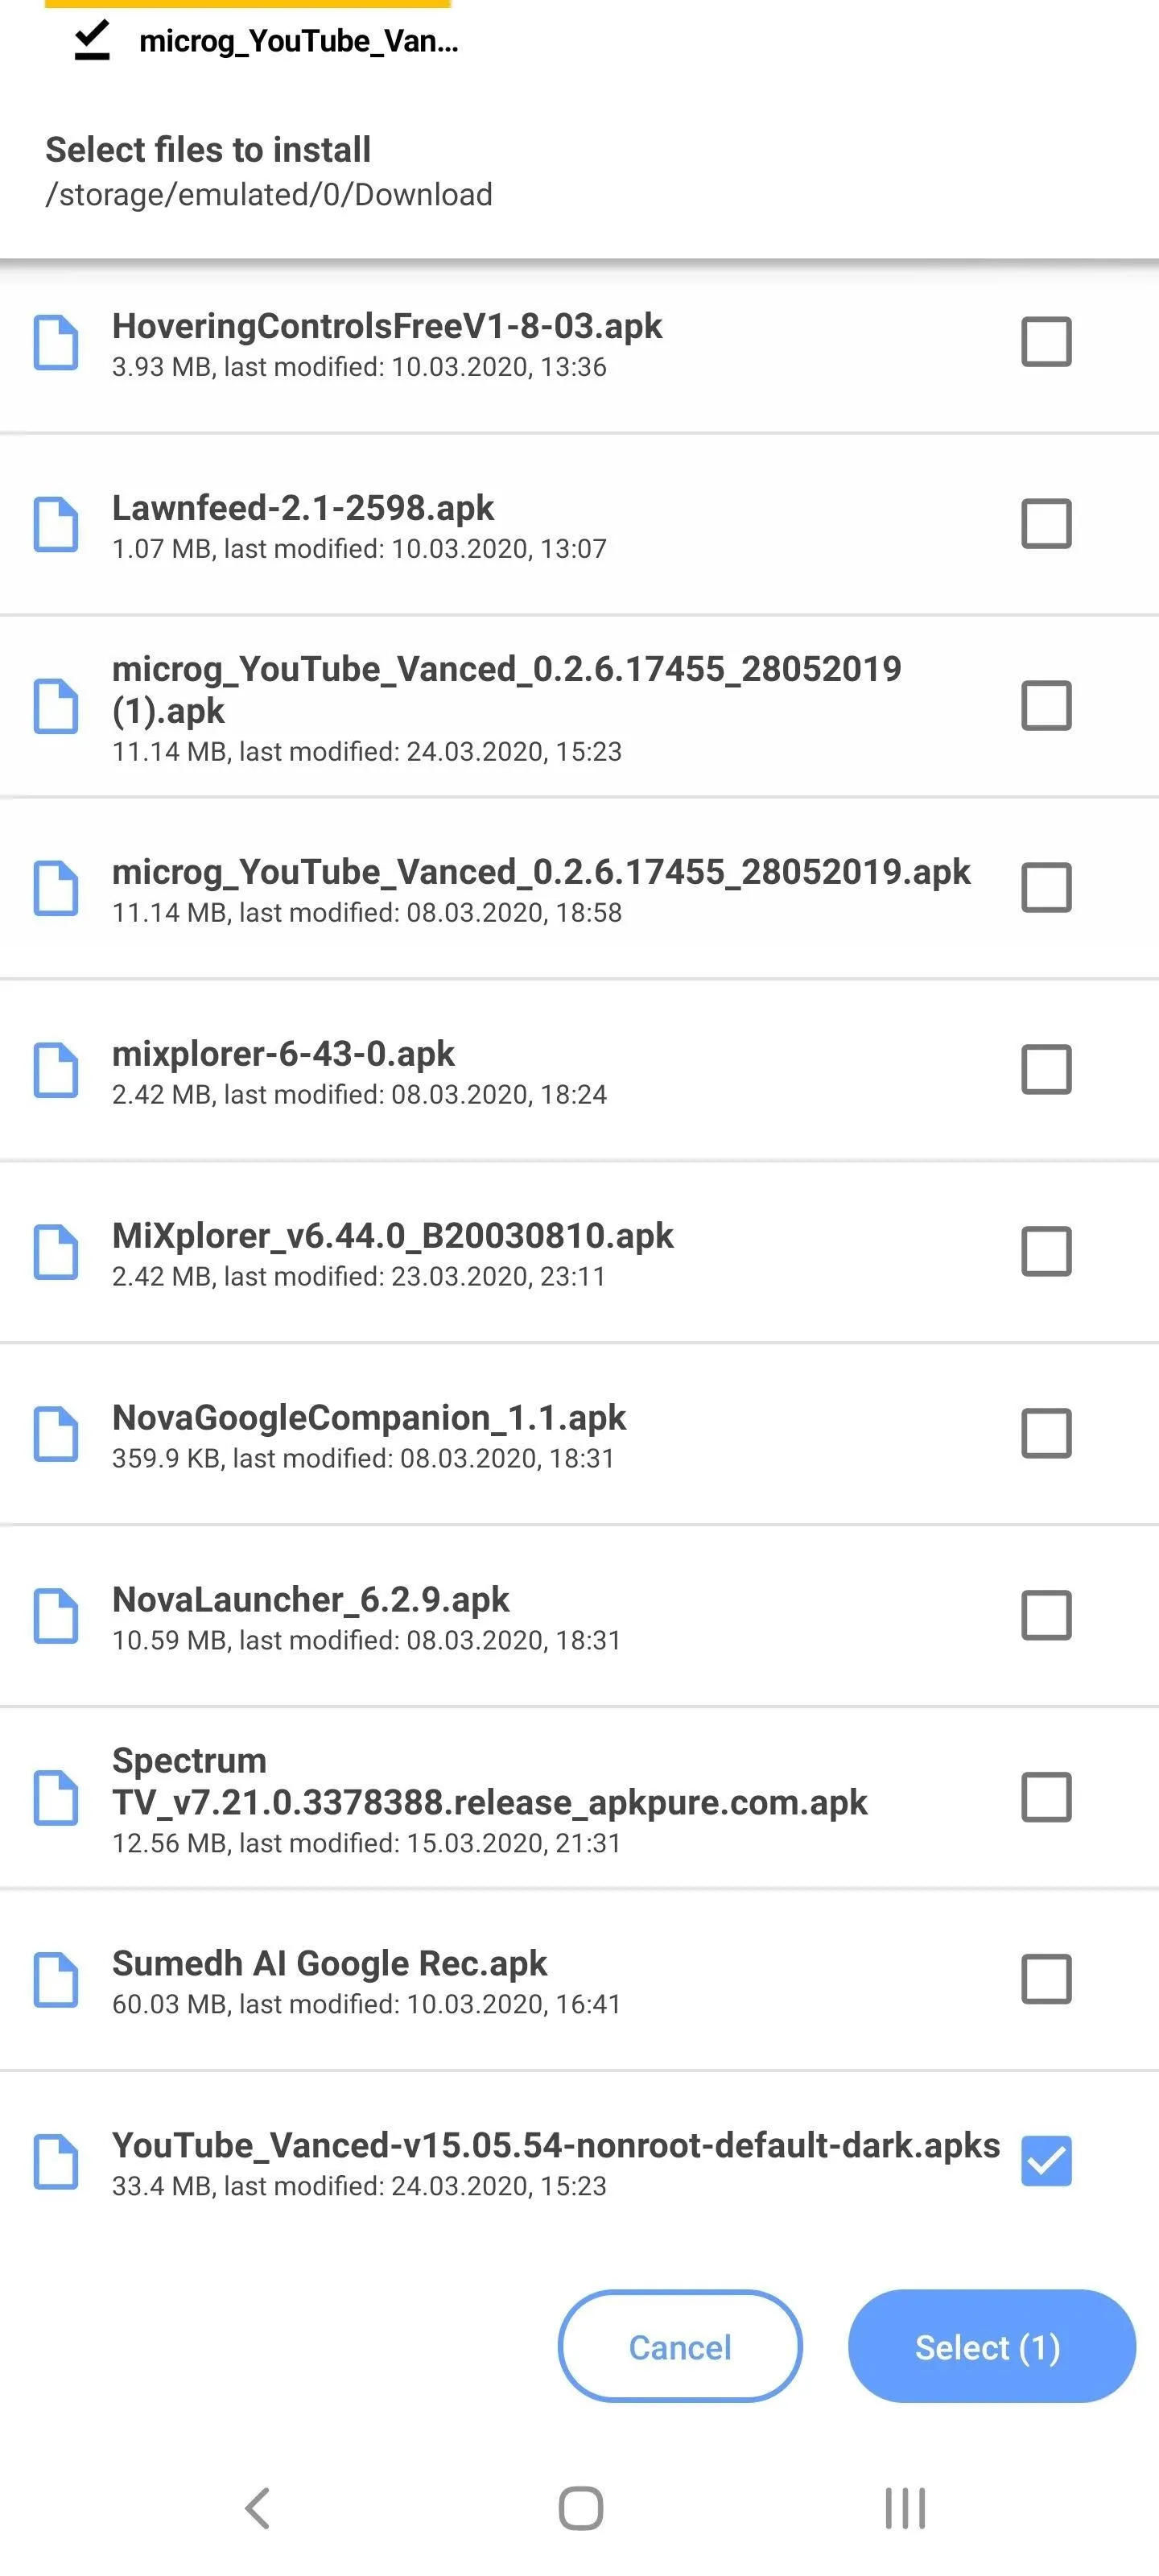
Open the app and choose "Install APKs." Head to the Download folder and select the YouTube Vanced file you downloaded in Step 1. After a few seconds, a prompt will appear (similar to when you sideloaded microG) asking you to install YouTube Vanced. Choose "Install," and once the installation is completed, open the app.
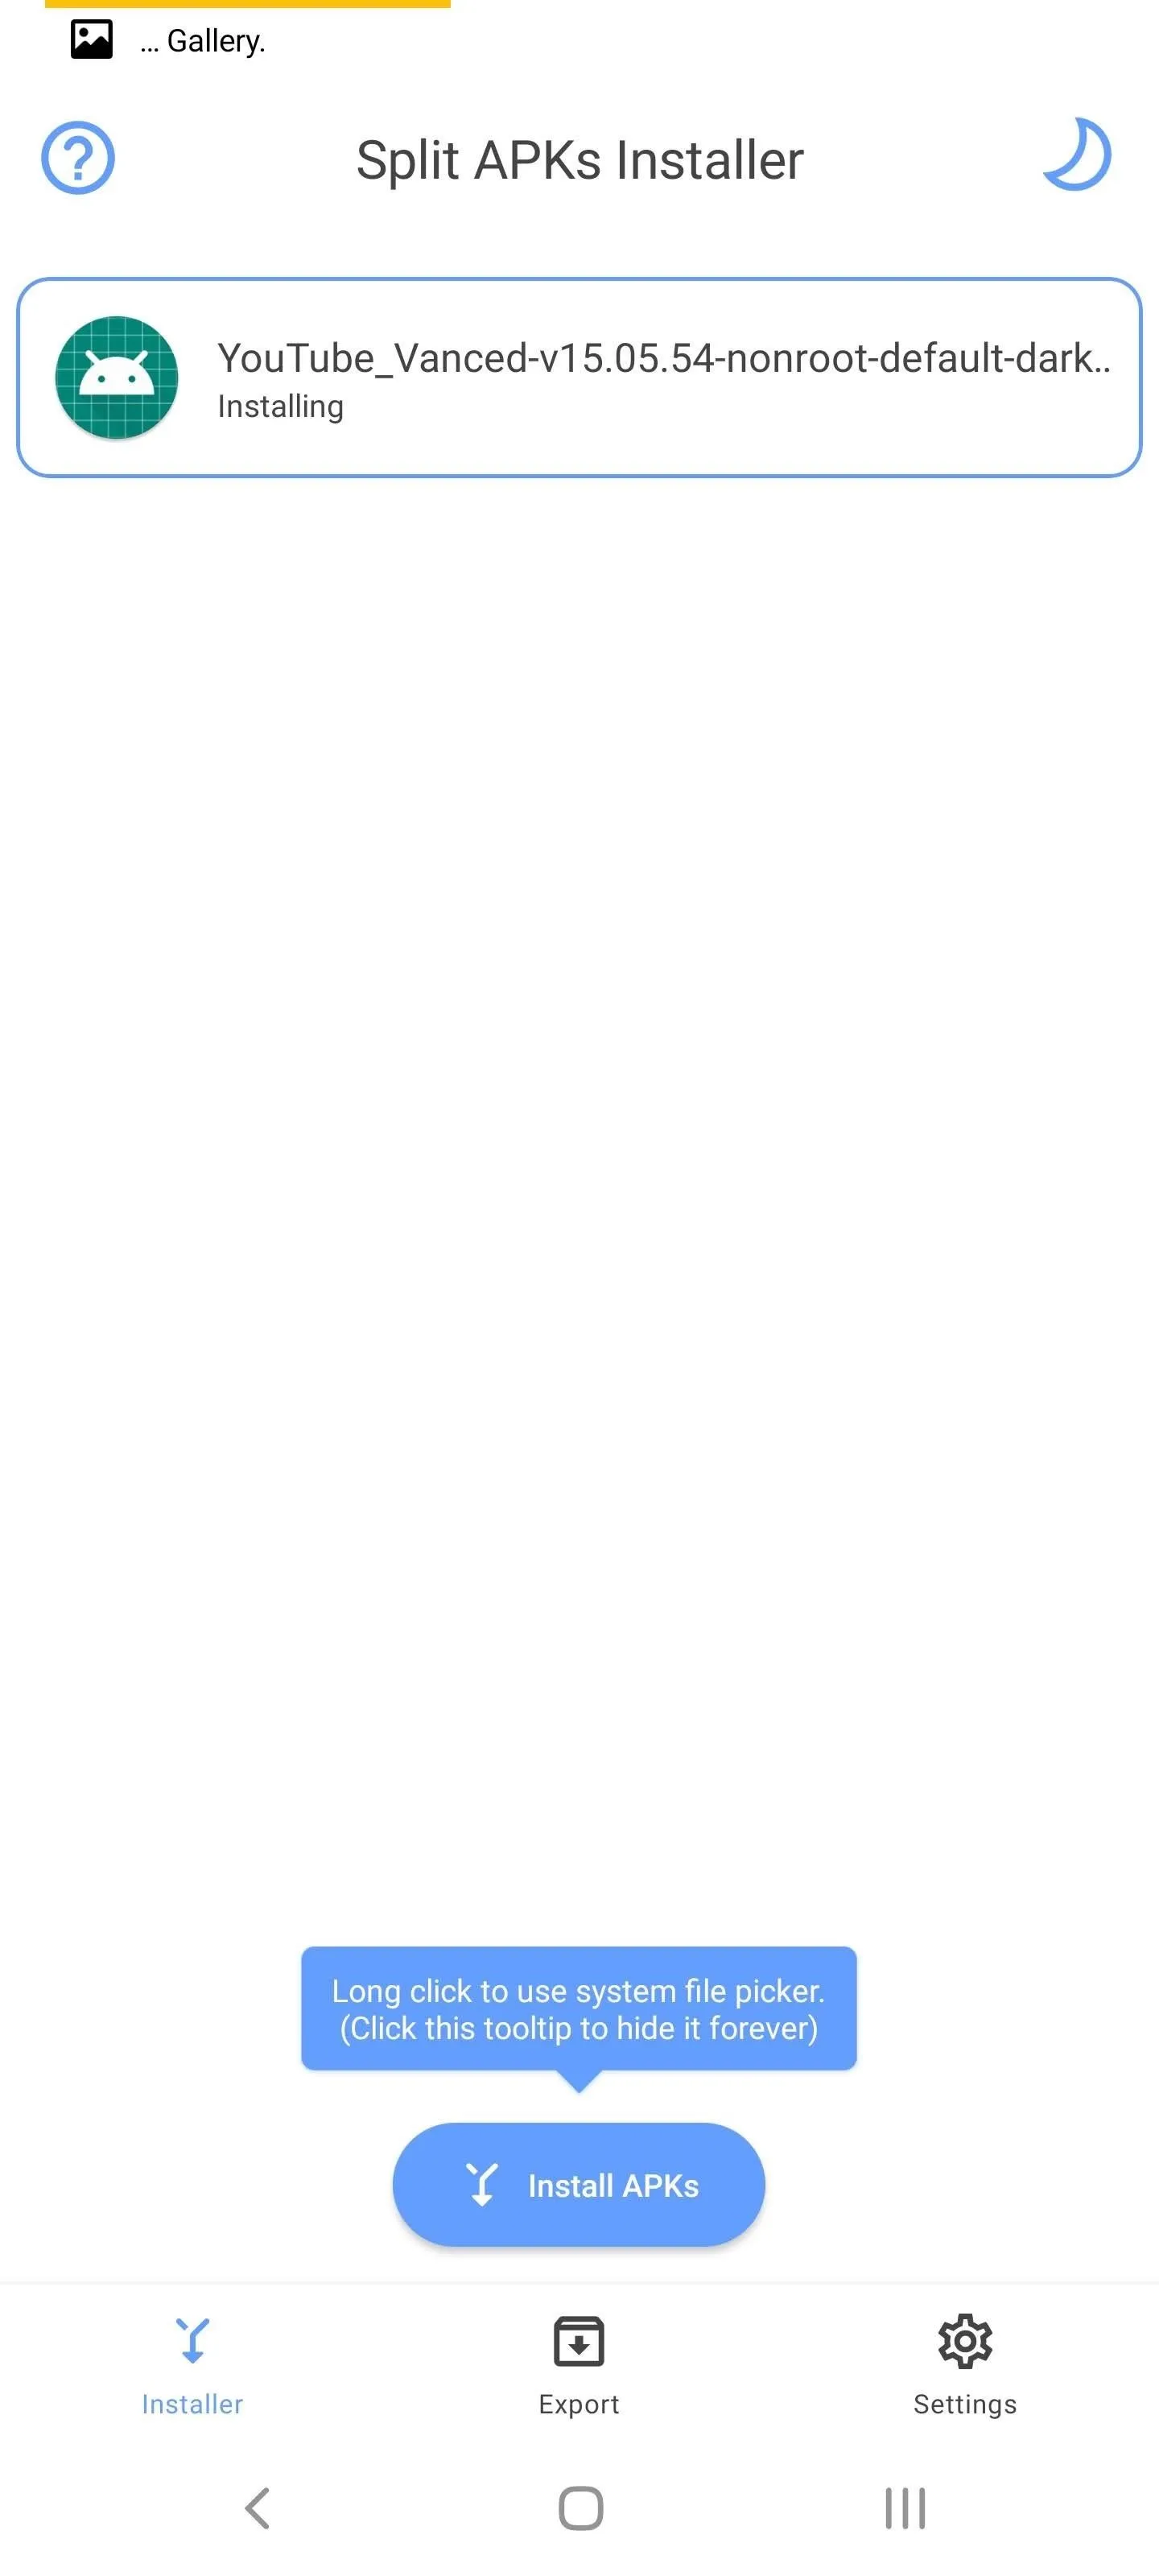


While you don't need to log in at all, we recommend signing into the app with a throwaway Google or YouTube account. There's an outside chance Google could decide people using Vanced are violating their TOS and start deleting accounts, so you don't want to lose your main one. But signing in gives you a much better experience, so tap the blue icon in the top-right to add a burner account.
Change Default Playback Quality
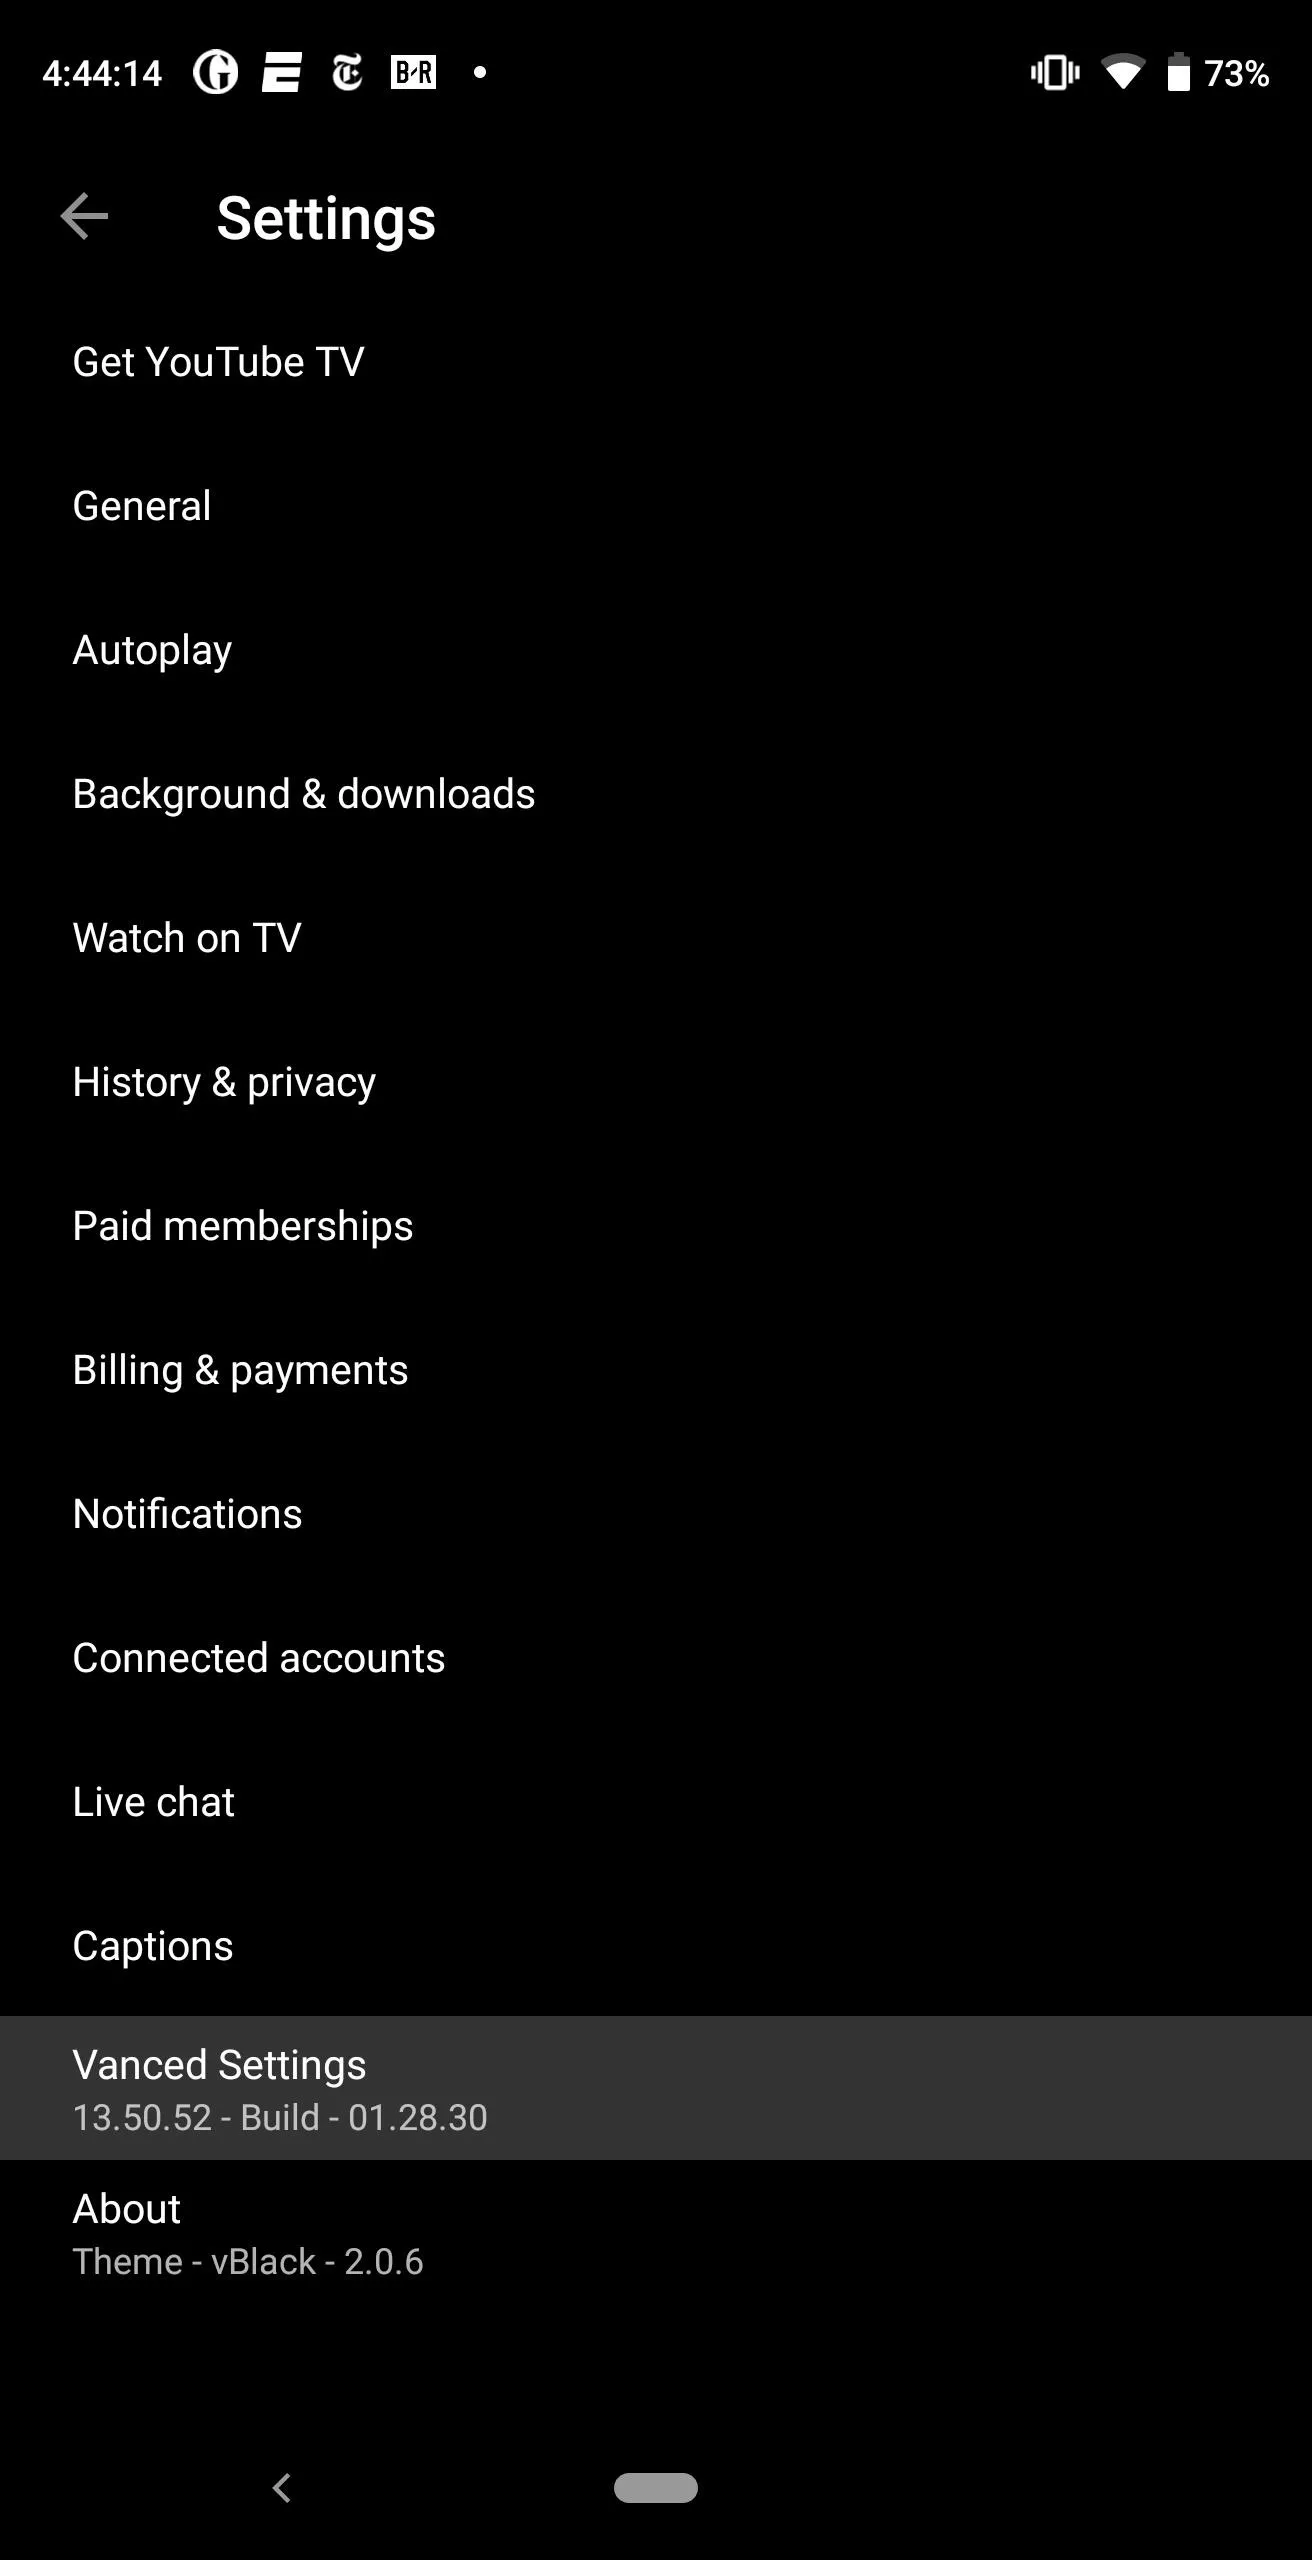
Now, open YouTube Vanced, and in the upper-right corner, select your profile picture (or the silhouette icon), then choose "Settings." Select "Vanced Settings," then choose "Video Settings."
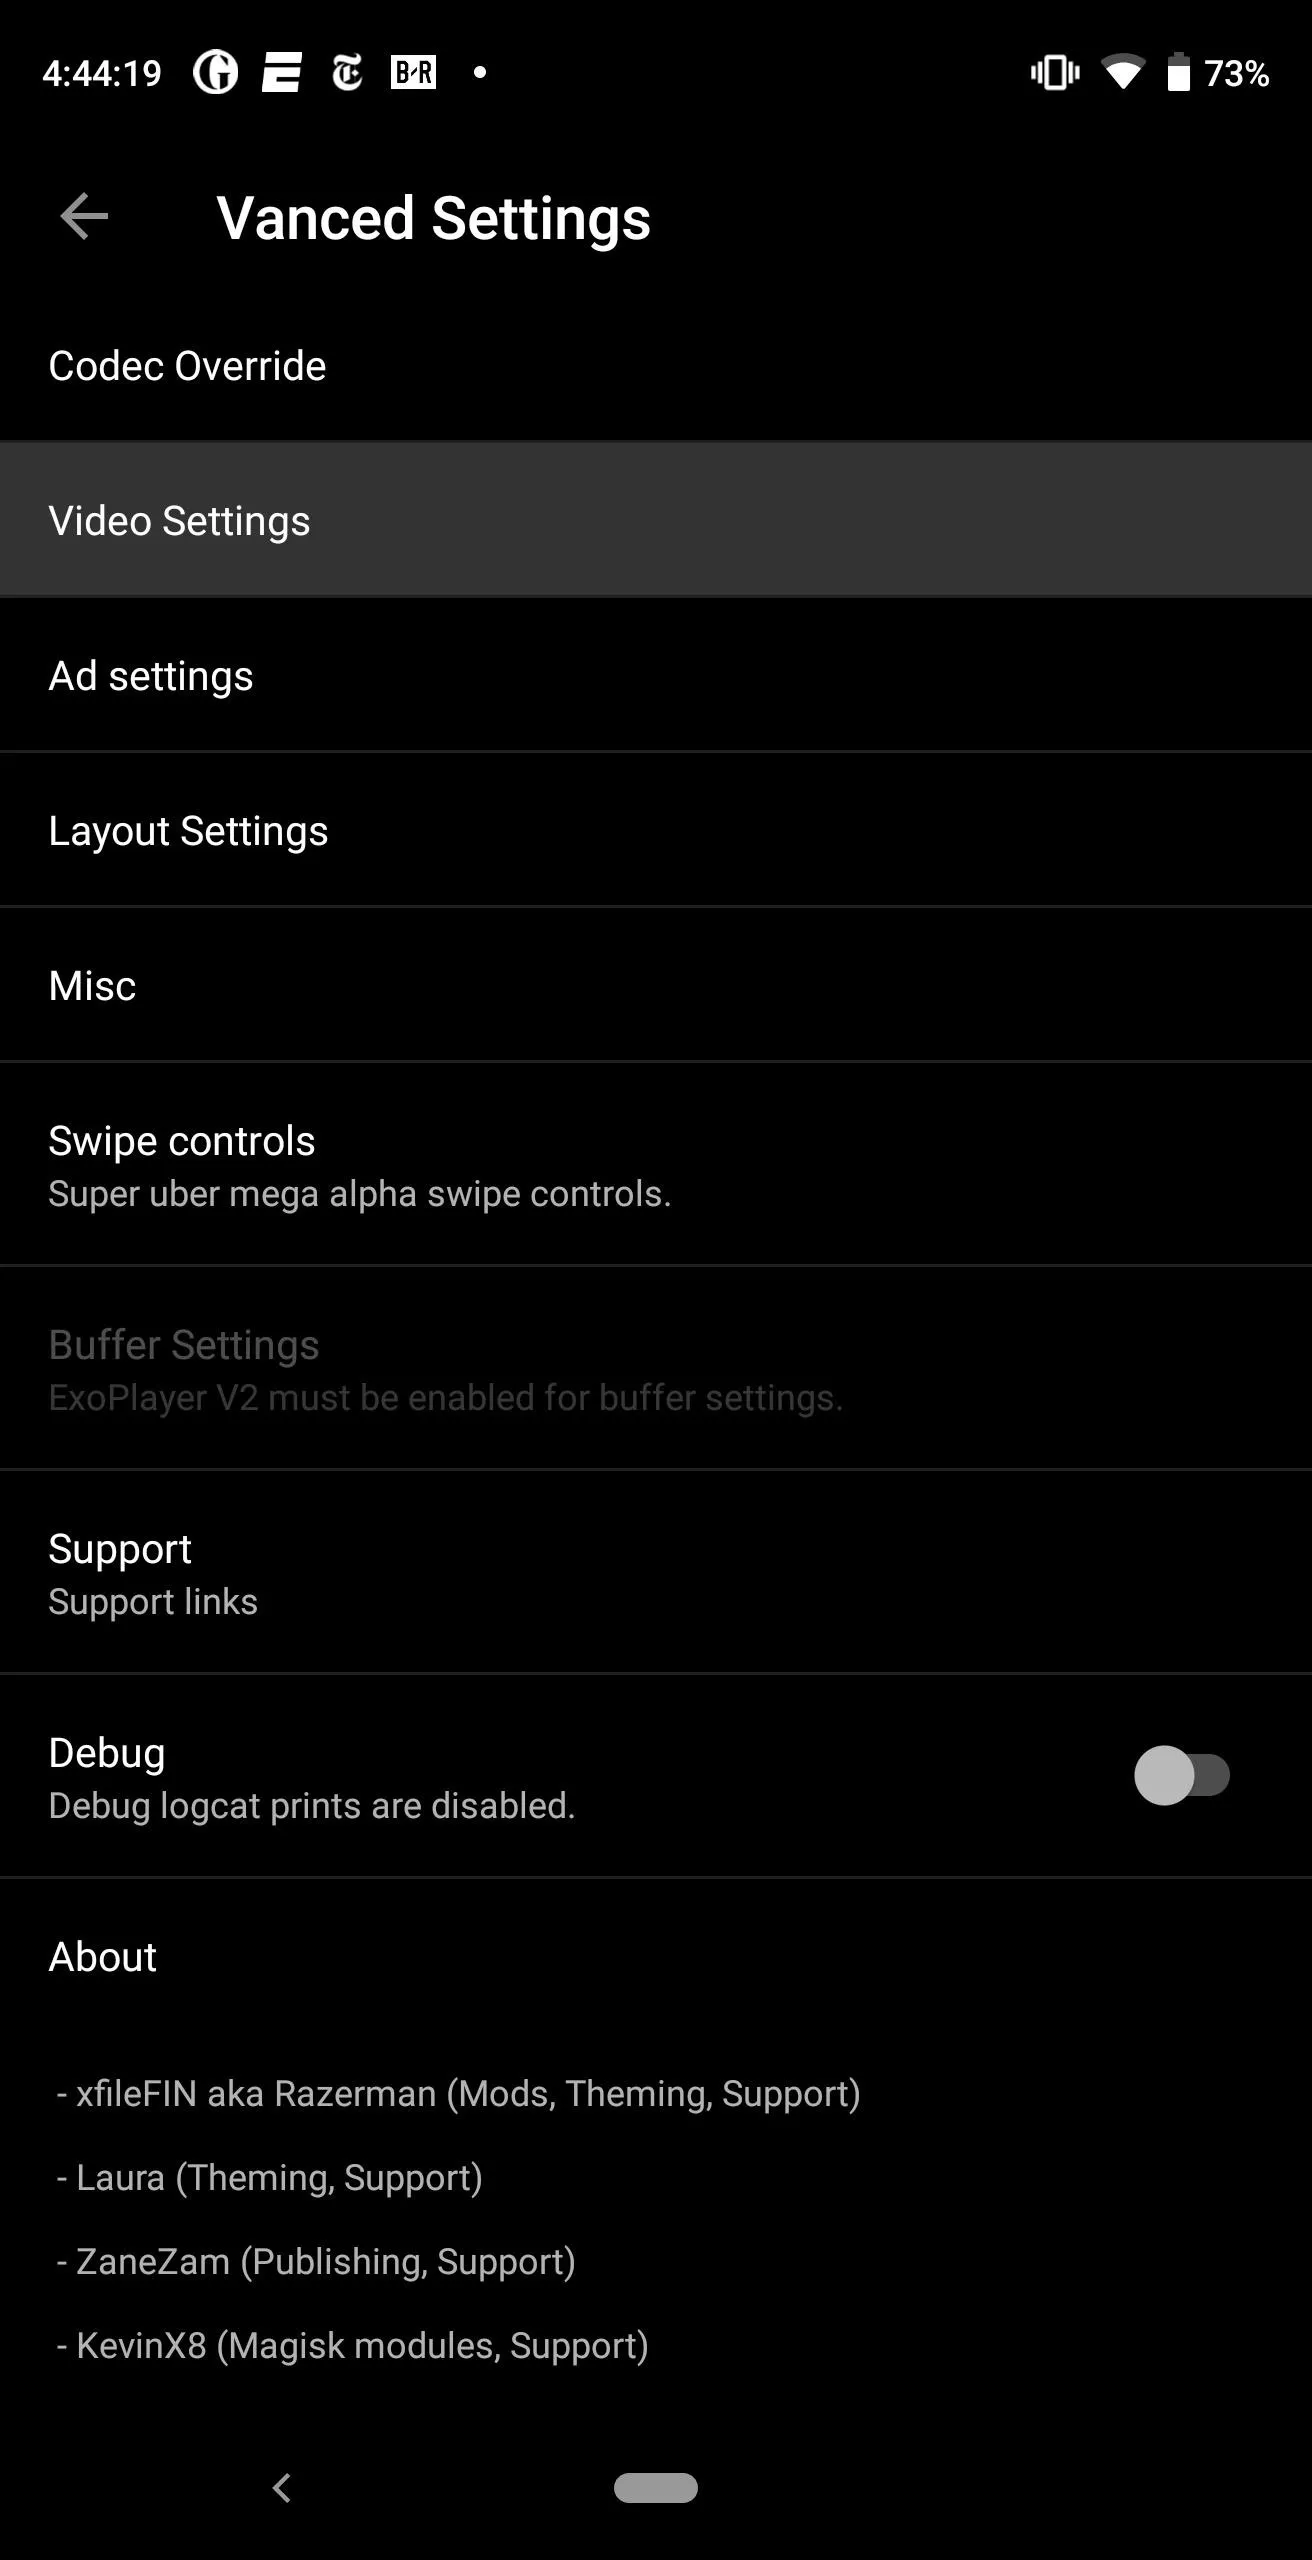


Select "Preferred video quality Mobile" and choose your desired screen resolution for videos that you watch while you're connected to cellular data. After that, select "Preferred video quality Wi-Fi" if you'd like to change the default resolution when using a Wi-Fi connection, then choose a resolution.
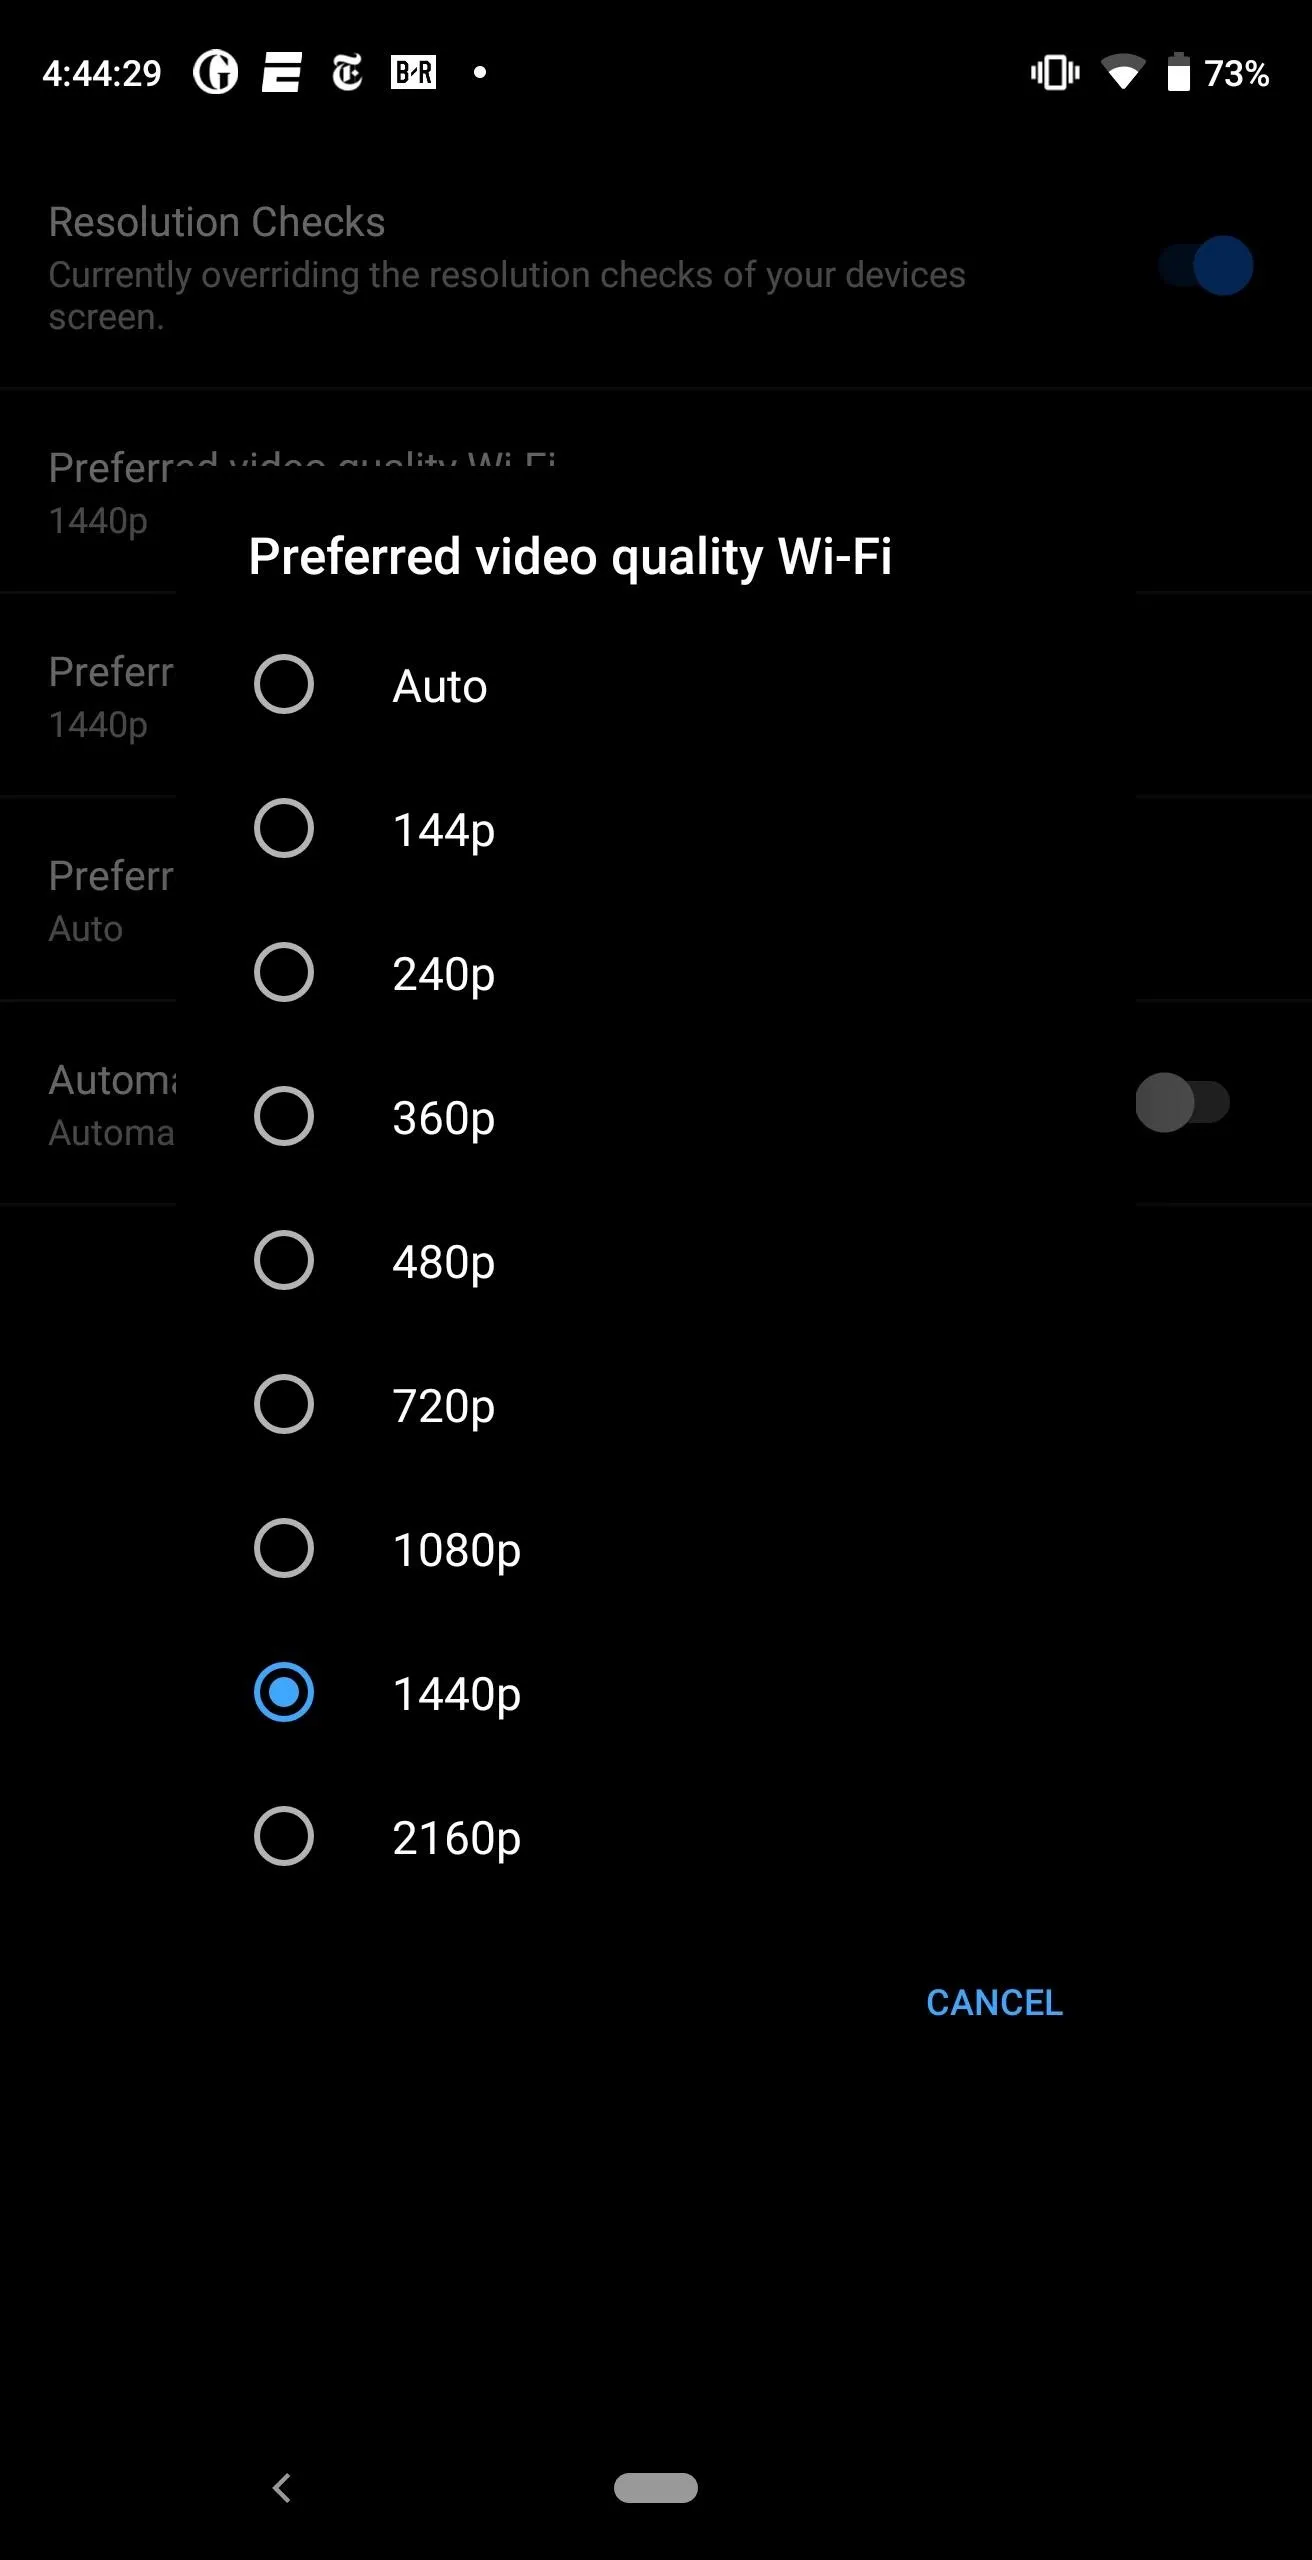
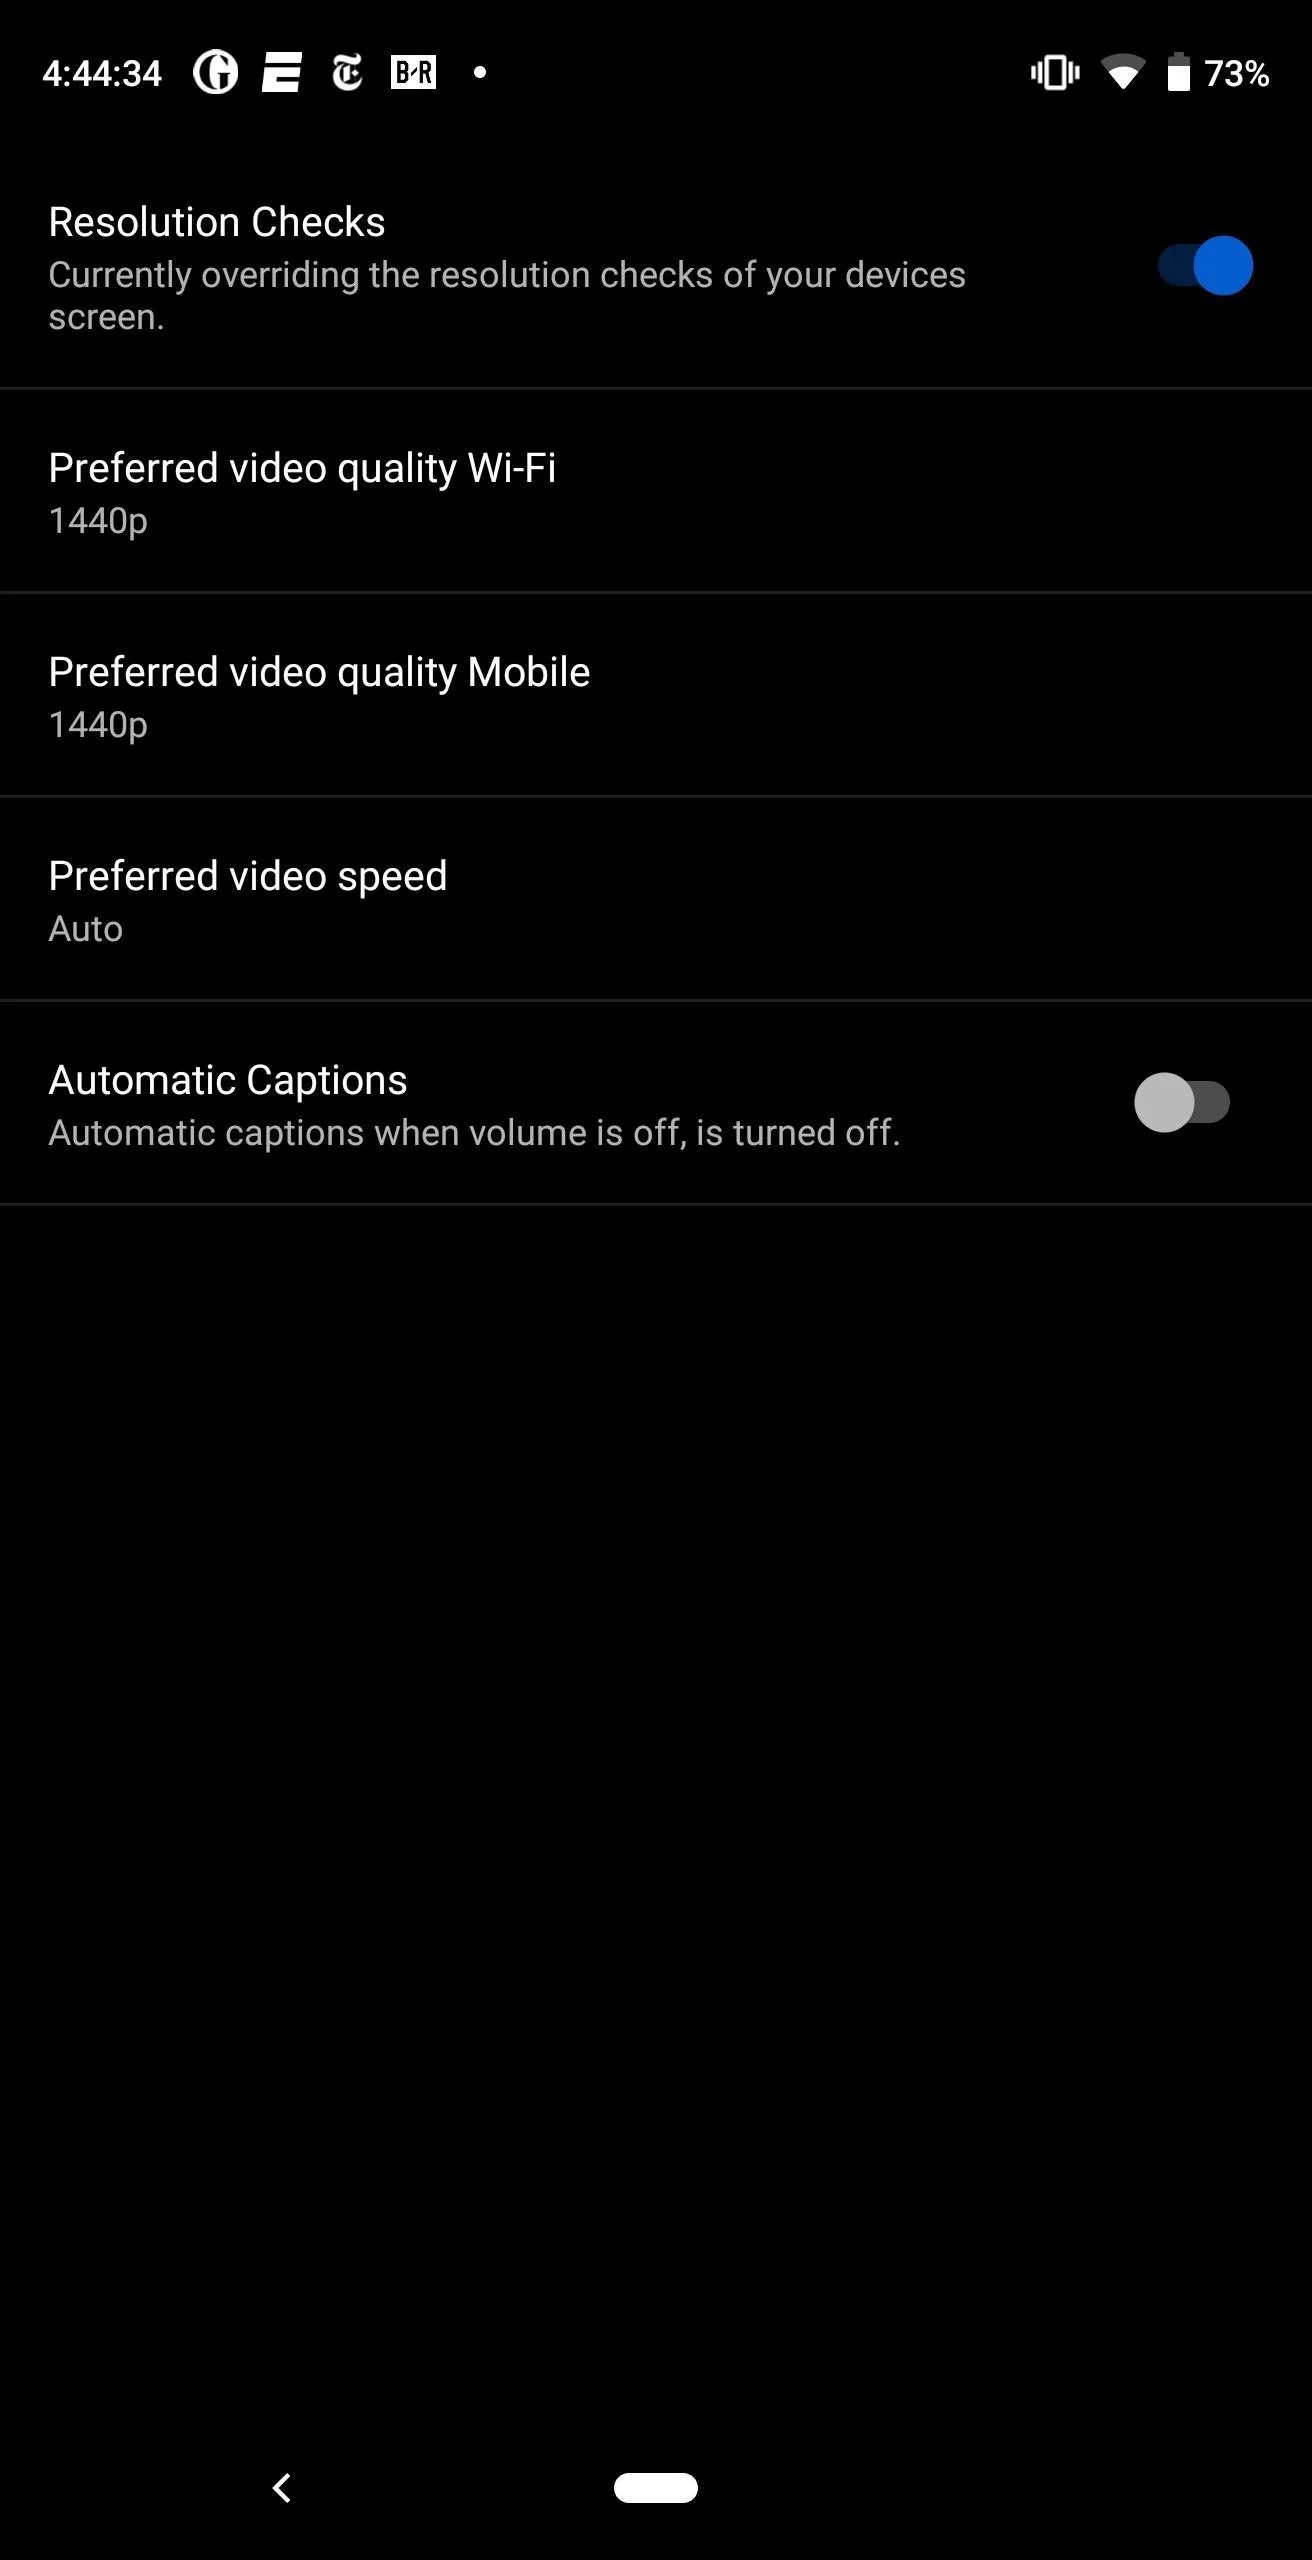


Besides changing the default playback resolution, you can also let your device play videos of higher resolution than your screen. With this extra resolution, the video will be reduced to your screen's resolution, resulting in a sharper image thanks to the additional data. However, be aware that using a higher resolution will consume more data. Therefore, unless you have an unlimited data plan, only default to the higher image (such as 2160p or 4K) on Wi-Fi connection.
Enjoy High-Resolution Videos Every Time
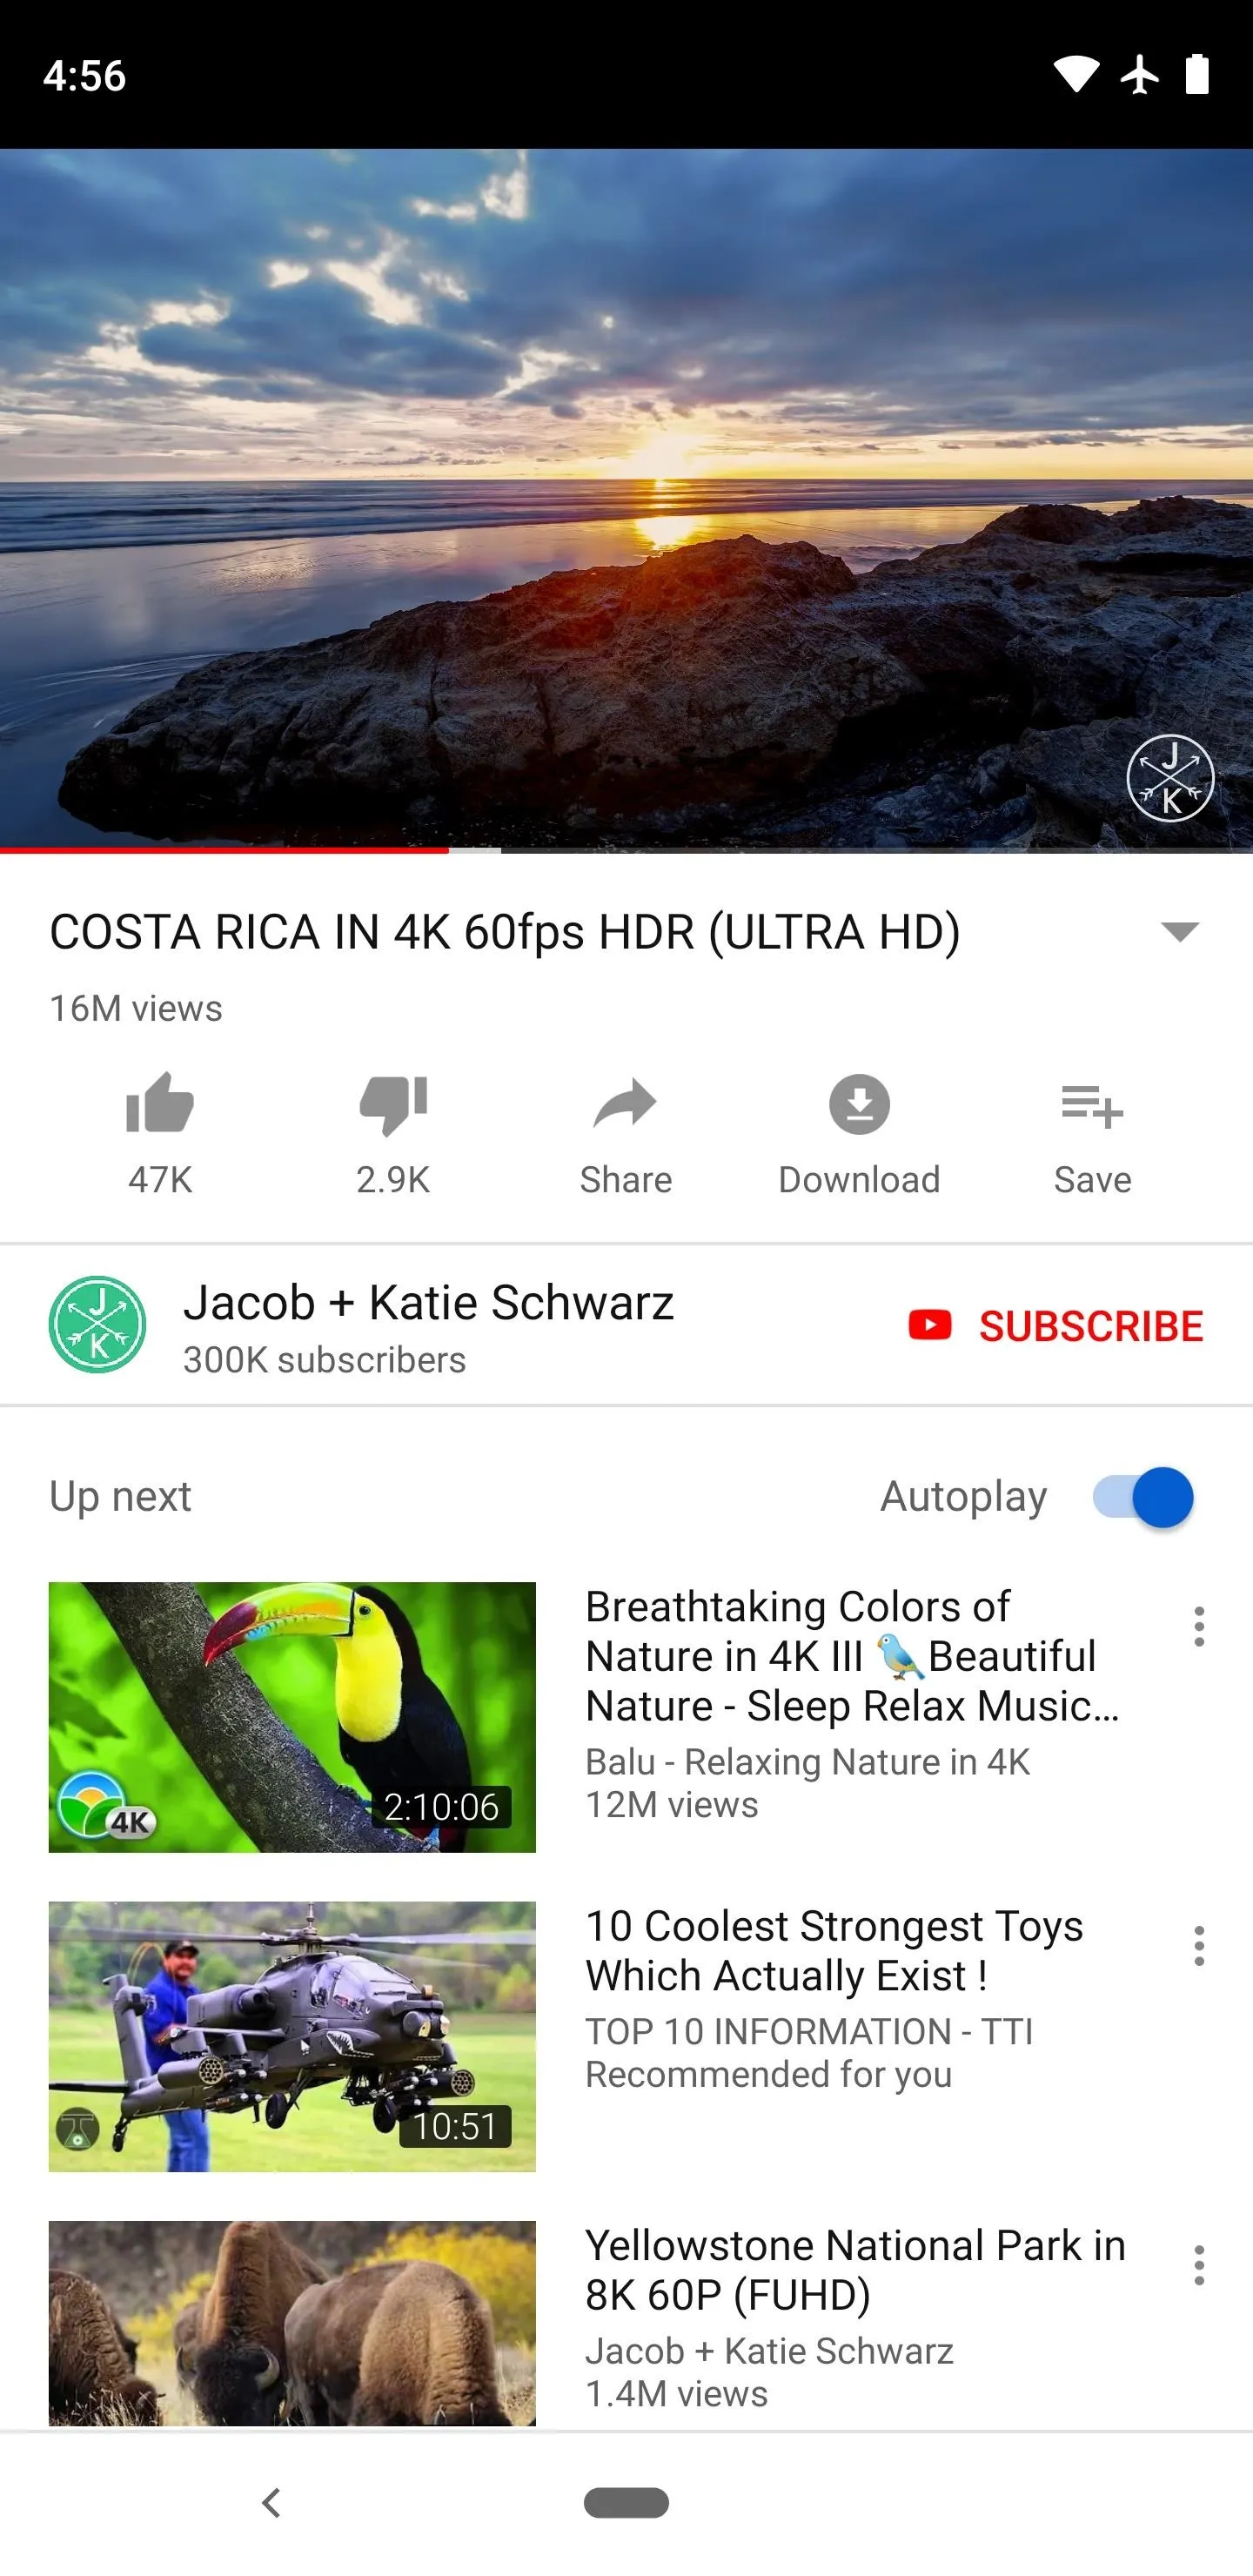
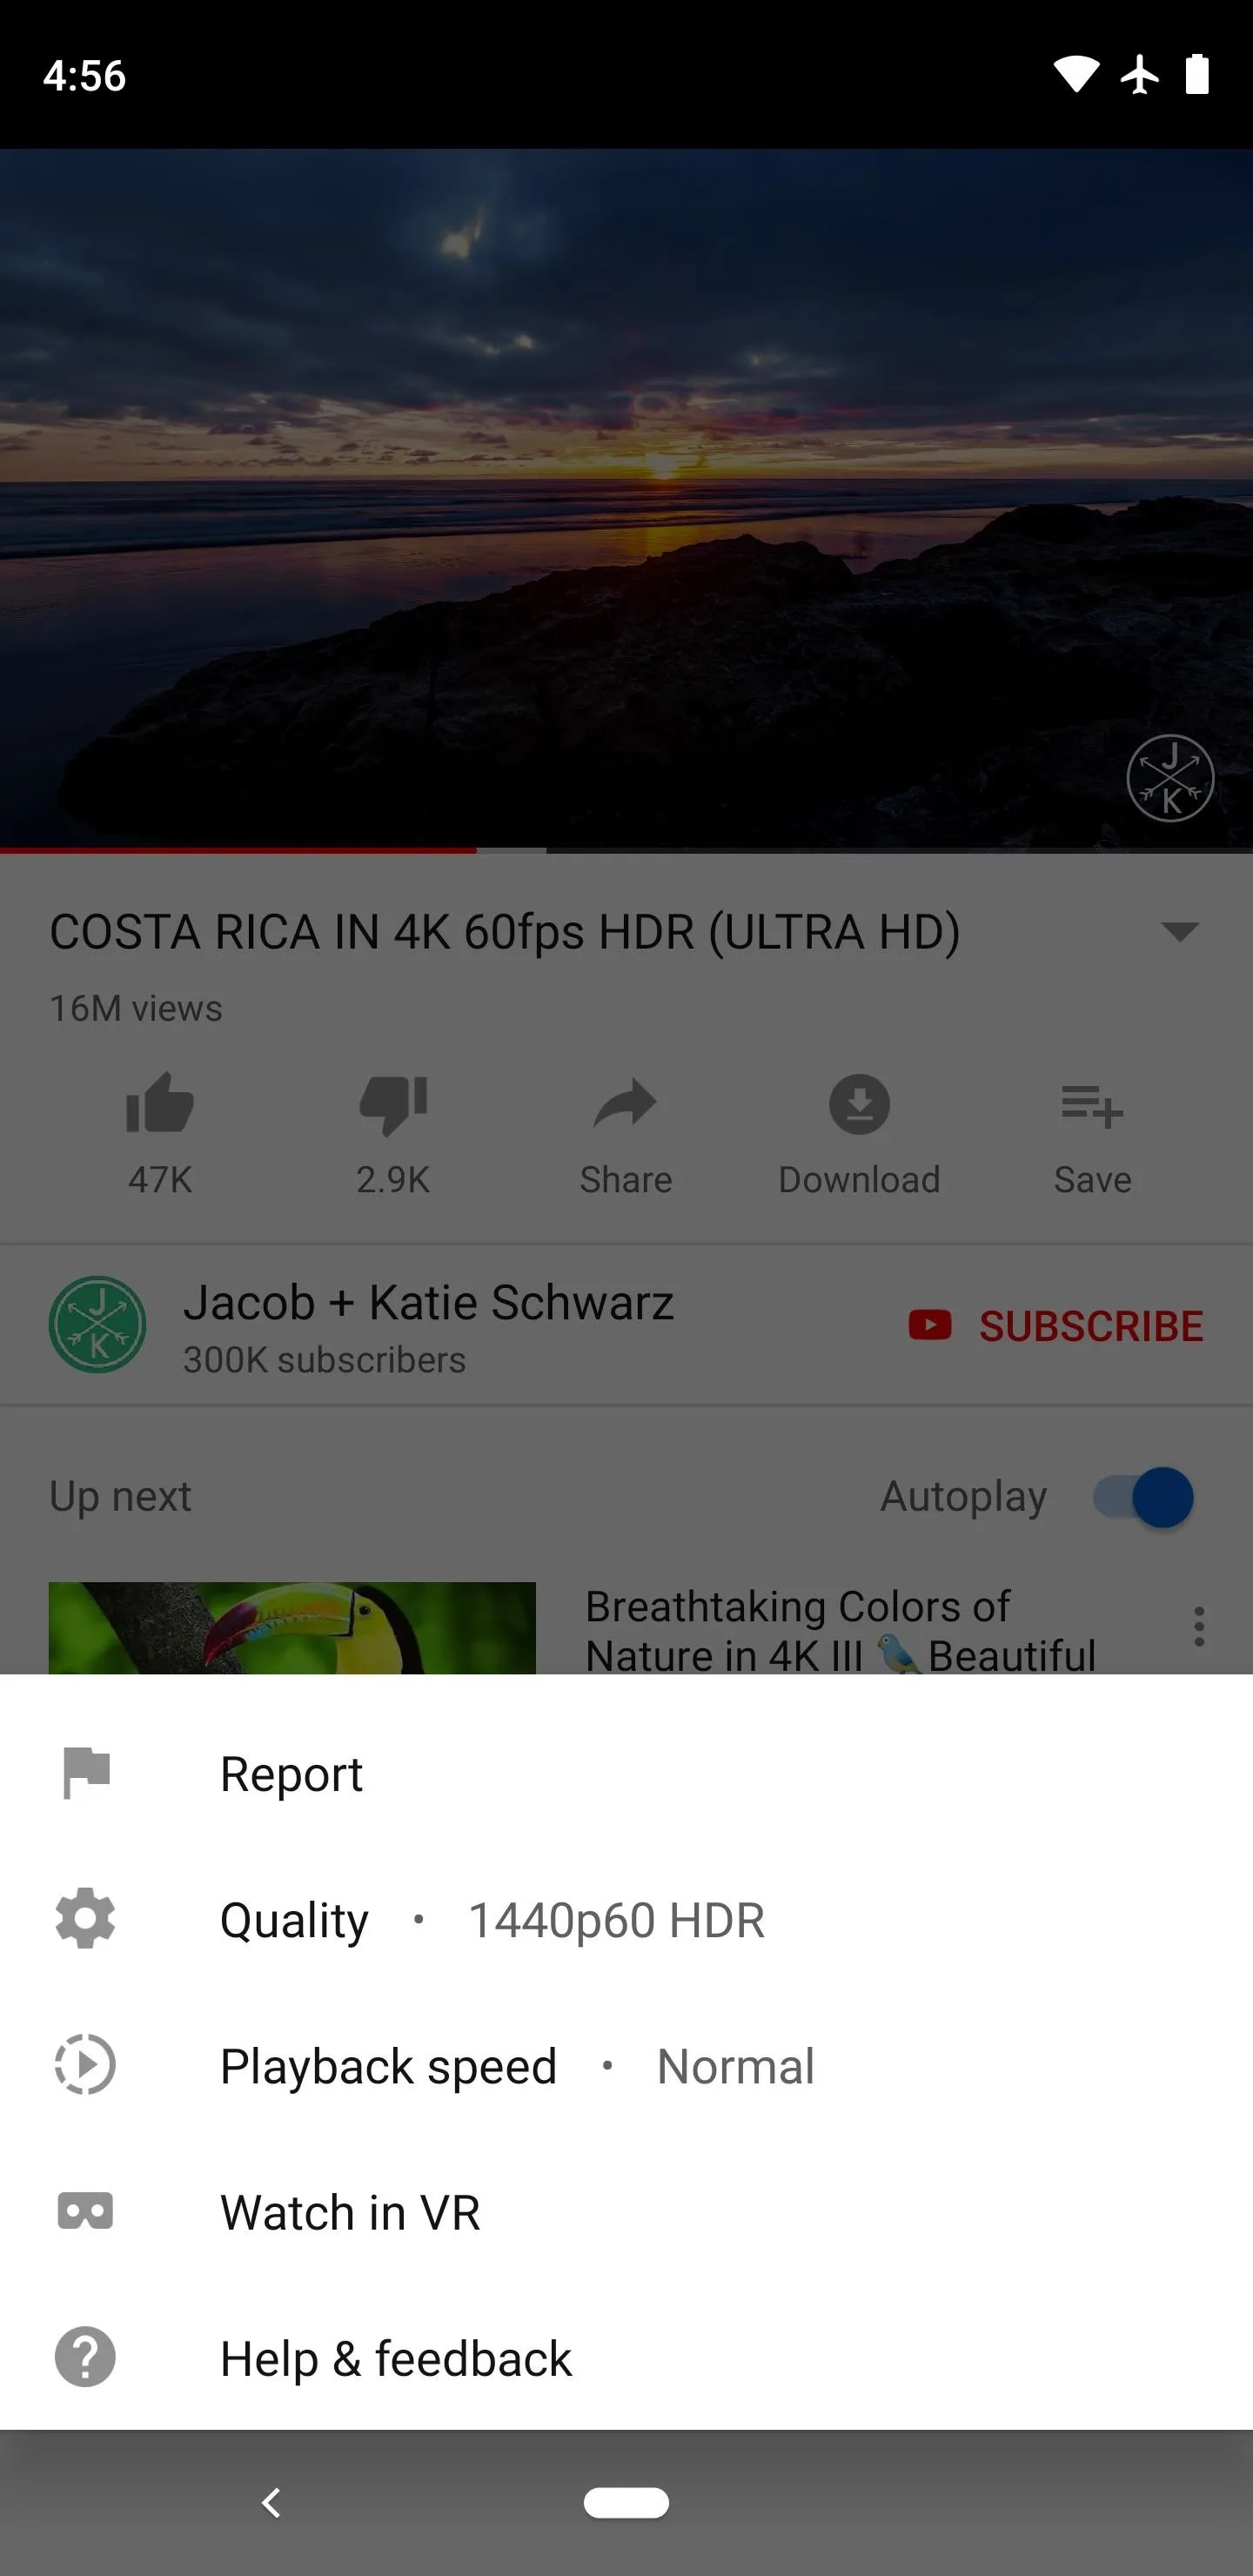
Once selected, tap your back button until you return to the main page, then open a video. As long as the video creator uploaded the video at your desired resolution (or higher), it should start at that resolution instead of 480p. If you selected a different resolution for Wi-Fi, join a Wi-Fi network and watch another video. Once again, the resolution should default to your choice.


- Follow Gadget Hacks on Pinterest, Reddit, Twitter, YouTube, and Flipboard
- Sign up for Gadget Hacks' daily newsletter or weekly Android and iOS updates
- Follow WonderHowTo on Facebook, Twitter, Pinterest, and Flipboard
Cover image and screenshots by Jon Knight/Gadget Hacks







Comments
Be the first, drop a comment!