
The idea of a world without passwords used to be a pipe dream. But as we inch closer to making that a reality, we have services now that securely store all of our passwords under a single master password. It's a convenient way to keep our accounts safe and sound without having to remember all of their credentials. And there's no reason to be afraid — I'll explain why.
Some people may be a little hesitant to use a recommendation from Chrome's built-in password manager over another service, such as LastPass. Google has been focused on bringing privacy and security features to their platforms and services for a while now. Their strive to increase user security is a top priority for the new Android 10 update, for example, which will be releasing to the public shortly.
Google's work in security sometimes doesn't get the recognition it deserves, as they often implement new unique features. For example, you can now log into your Google account and services through the Chrome for Android app with your fingerprint. This means you'll soon be able to use your fingerprint to sign in to other accounts from the web as well, just like you do with apps on your phone.
This is precisely the step forward we need for an online connected world without passwords bogging us down. It'll be a while until we start seeing the feature for every single website and service out there, though. Until then, I'll explain how you can go about using the Chrome password manager. Follow along with the guide to learn how to manage your passwords for both convenience and security.
Make Sure Google Is Set to Autofill Passwords
The first thing you need to do is to make sure your Google account is the default password service for Autofill. This means you'll need to be running Android 8.0 or higher. If you have been using a third-party service, such as LastPass, you'll need to set it back to your Google account before moving on.
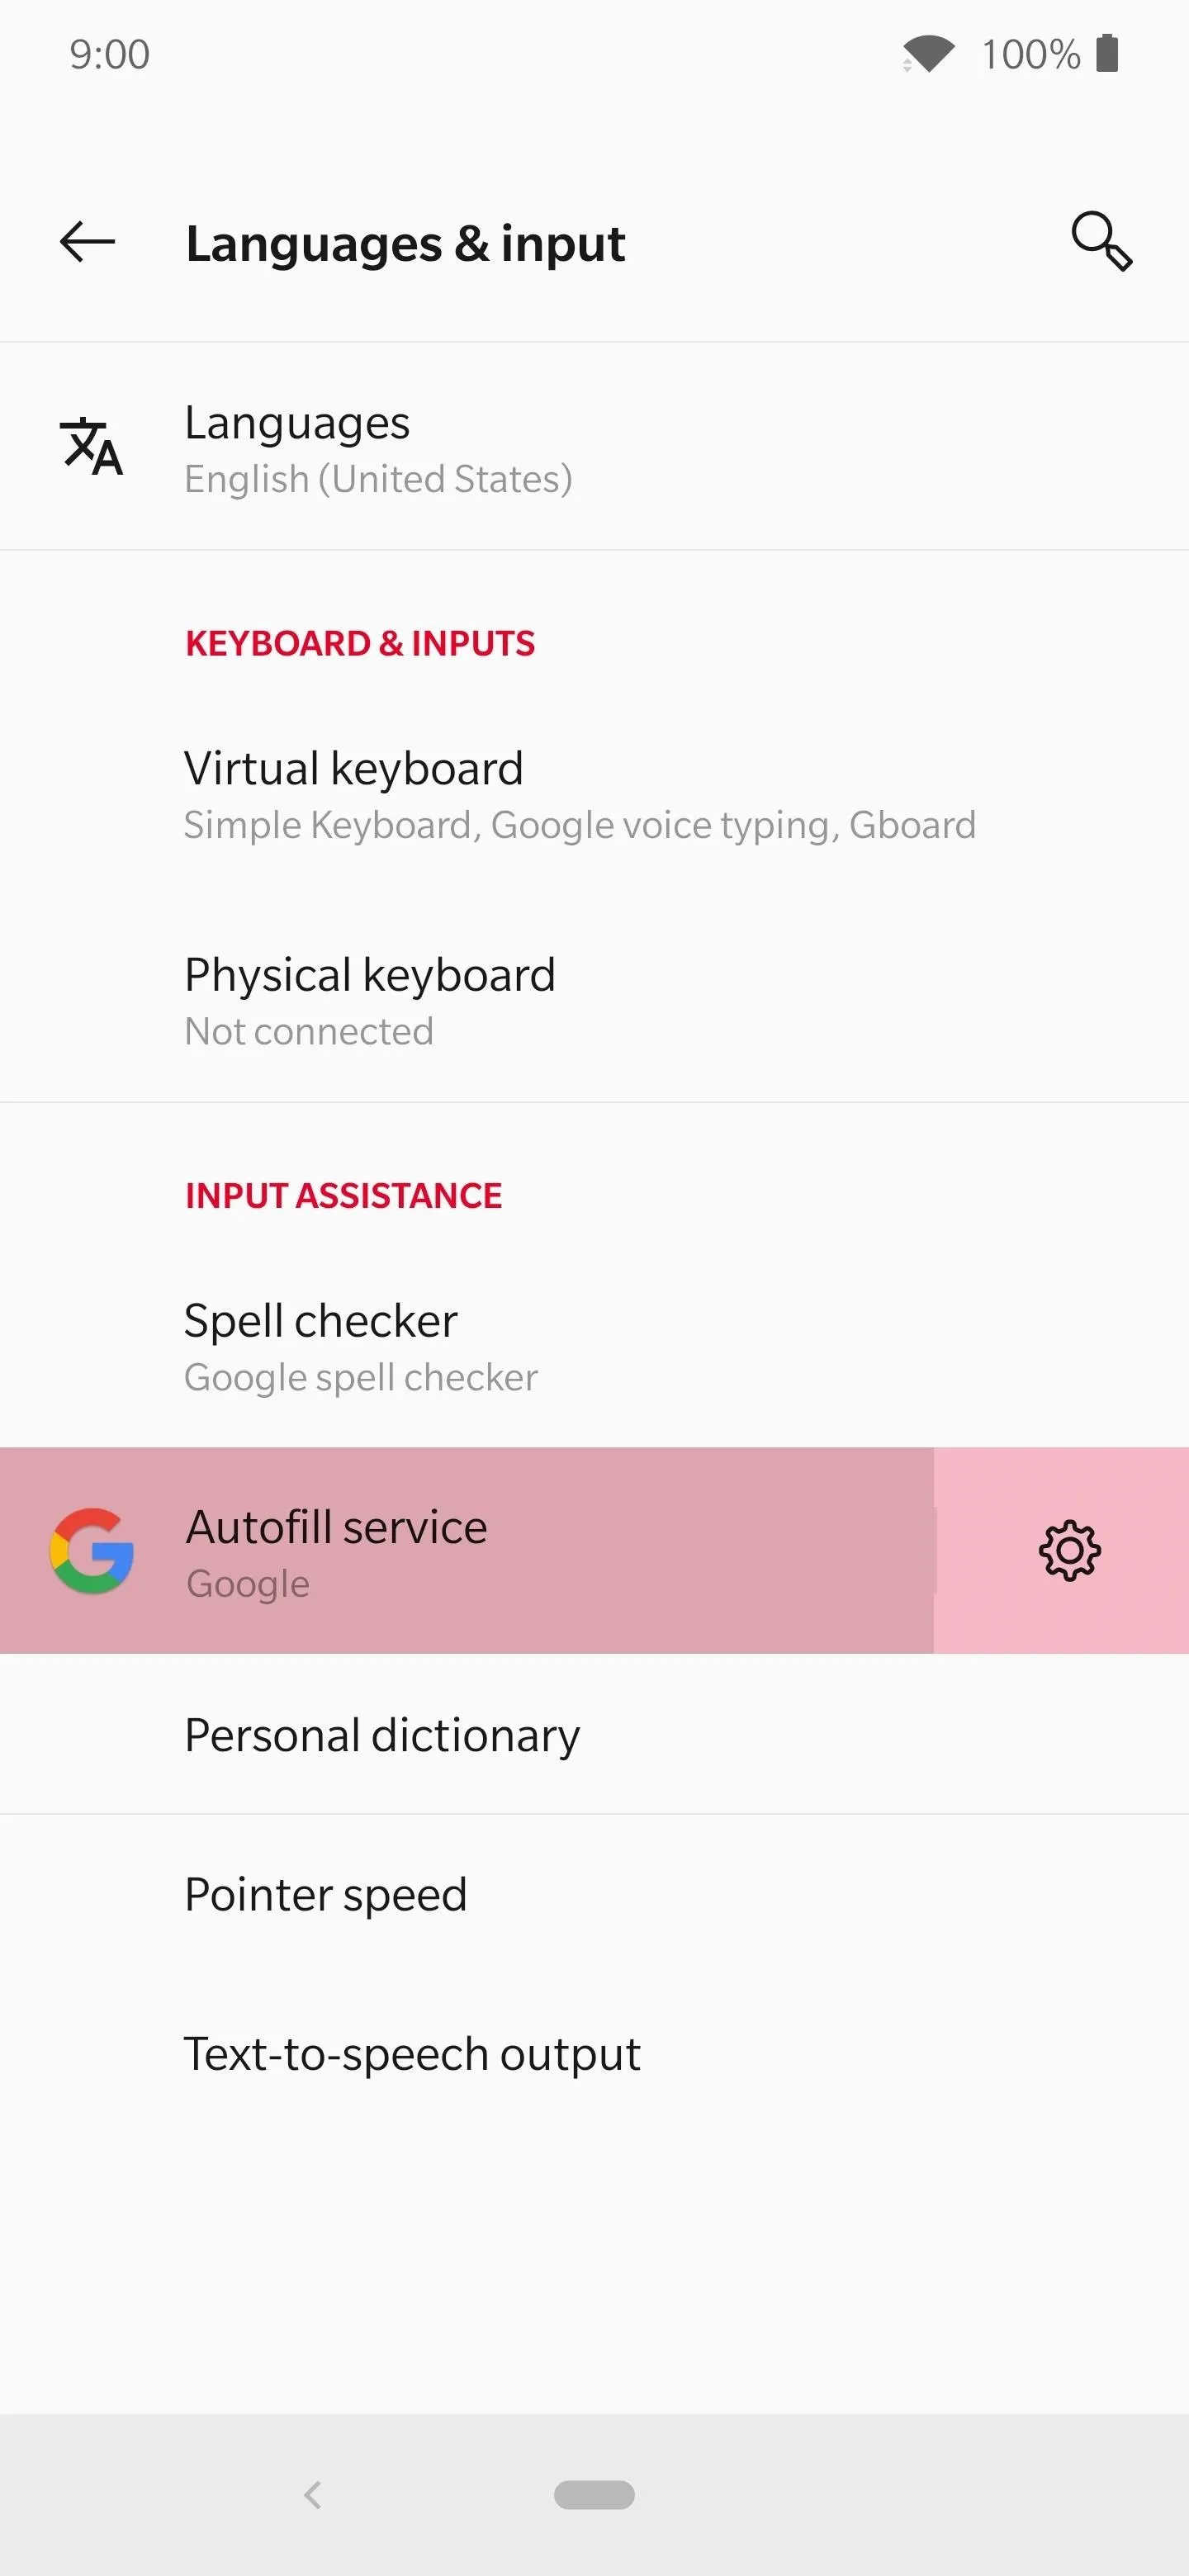
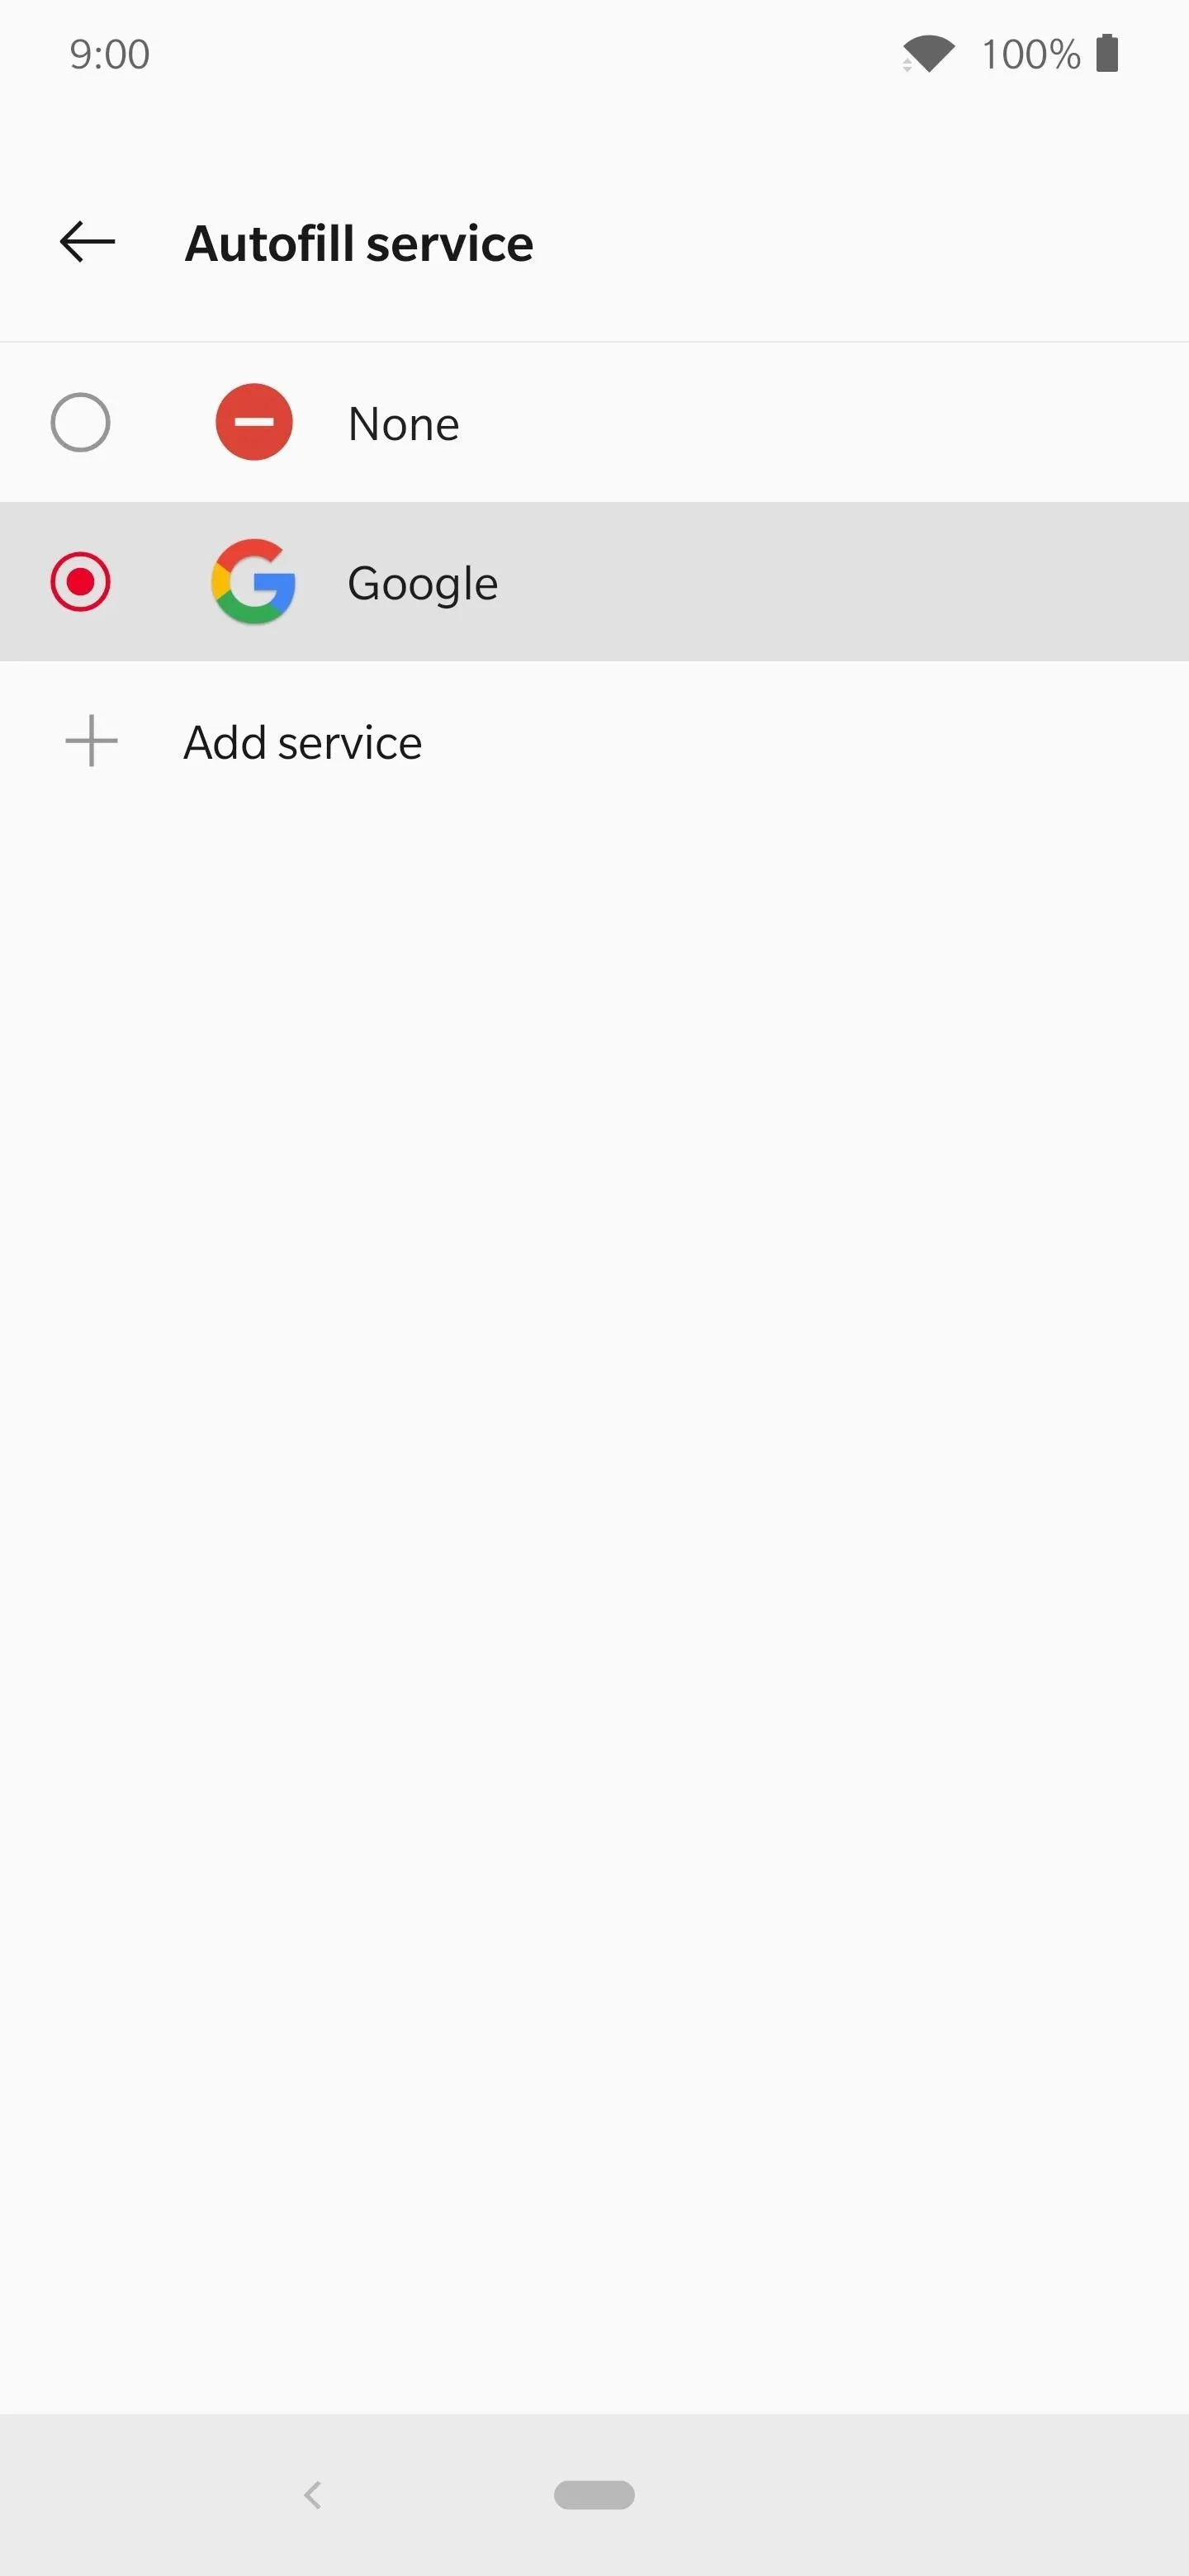
The easiest way to change this is to open up your system settings, tap the search box, then search for the term "autofill". Tap the Autofill service entry, then tap the "Autofill service" section within "Language and input" to reach your final destination. Tap the "Google" entry to enable the service, then you can hit the back arrow once to go back to the previous screen.



Make Sure You Have Fingerprint Security Enabled
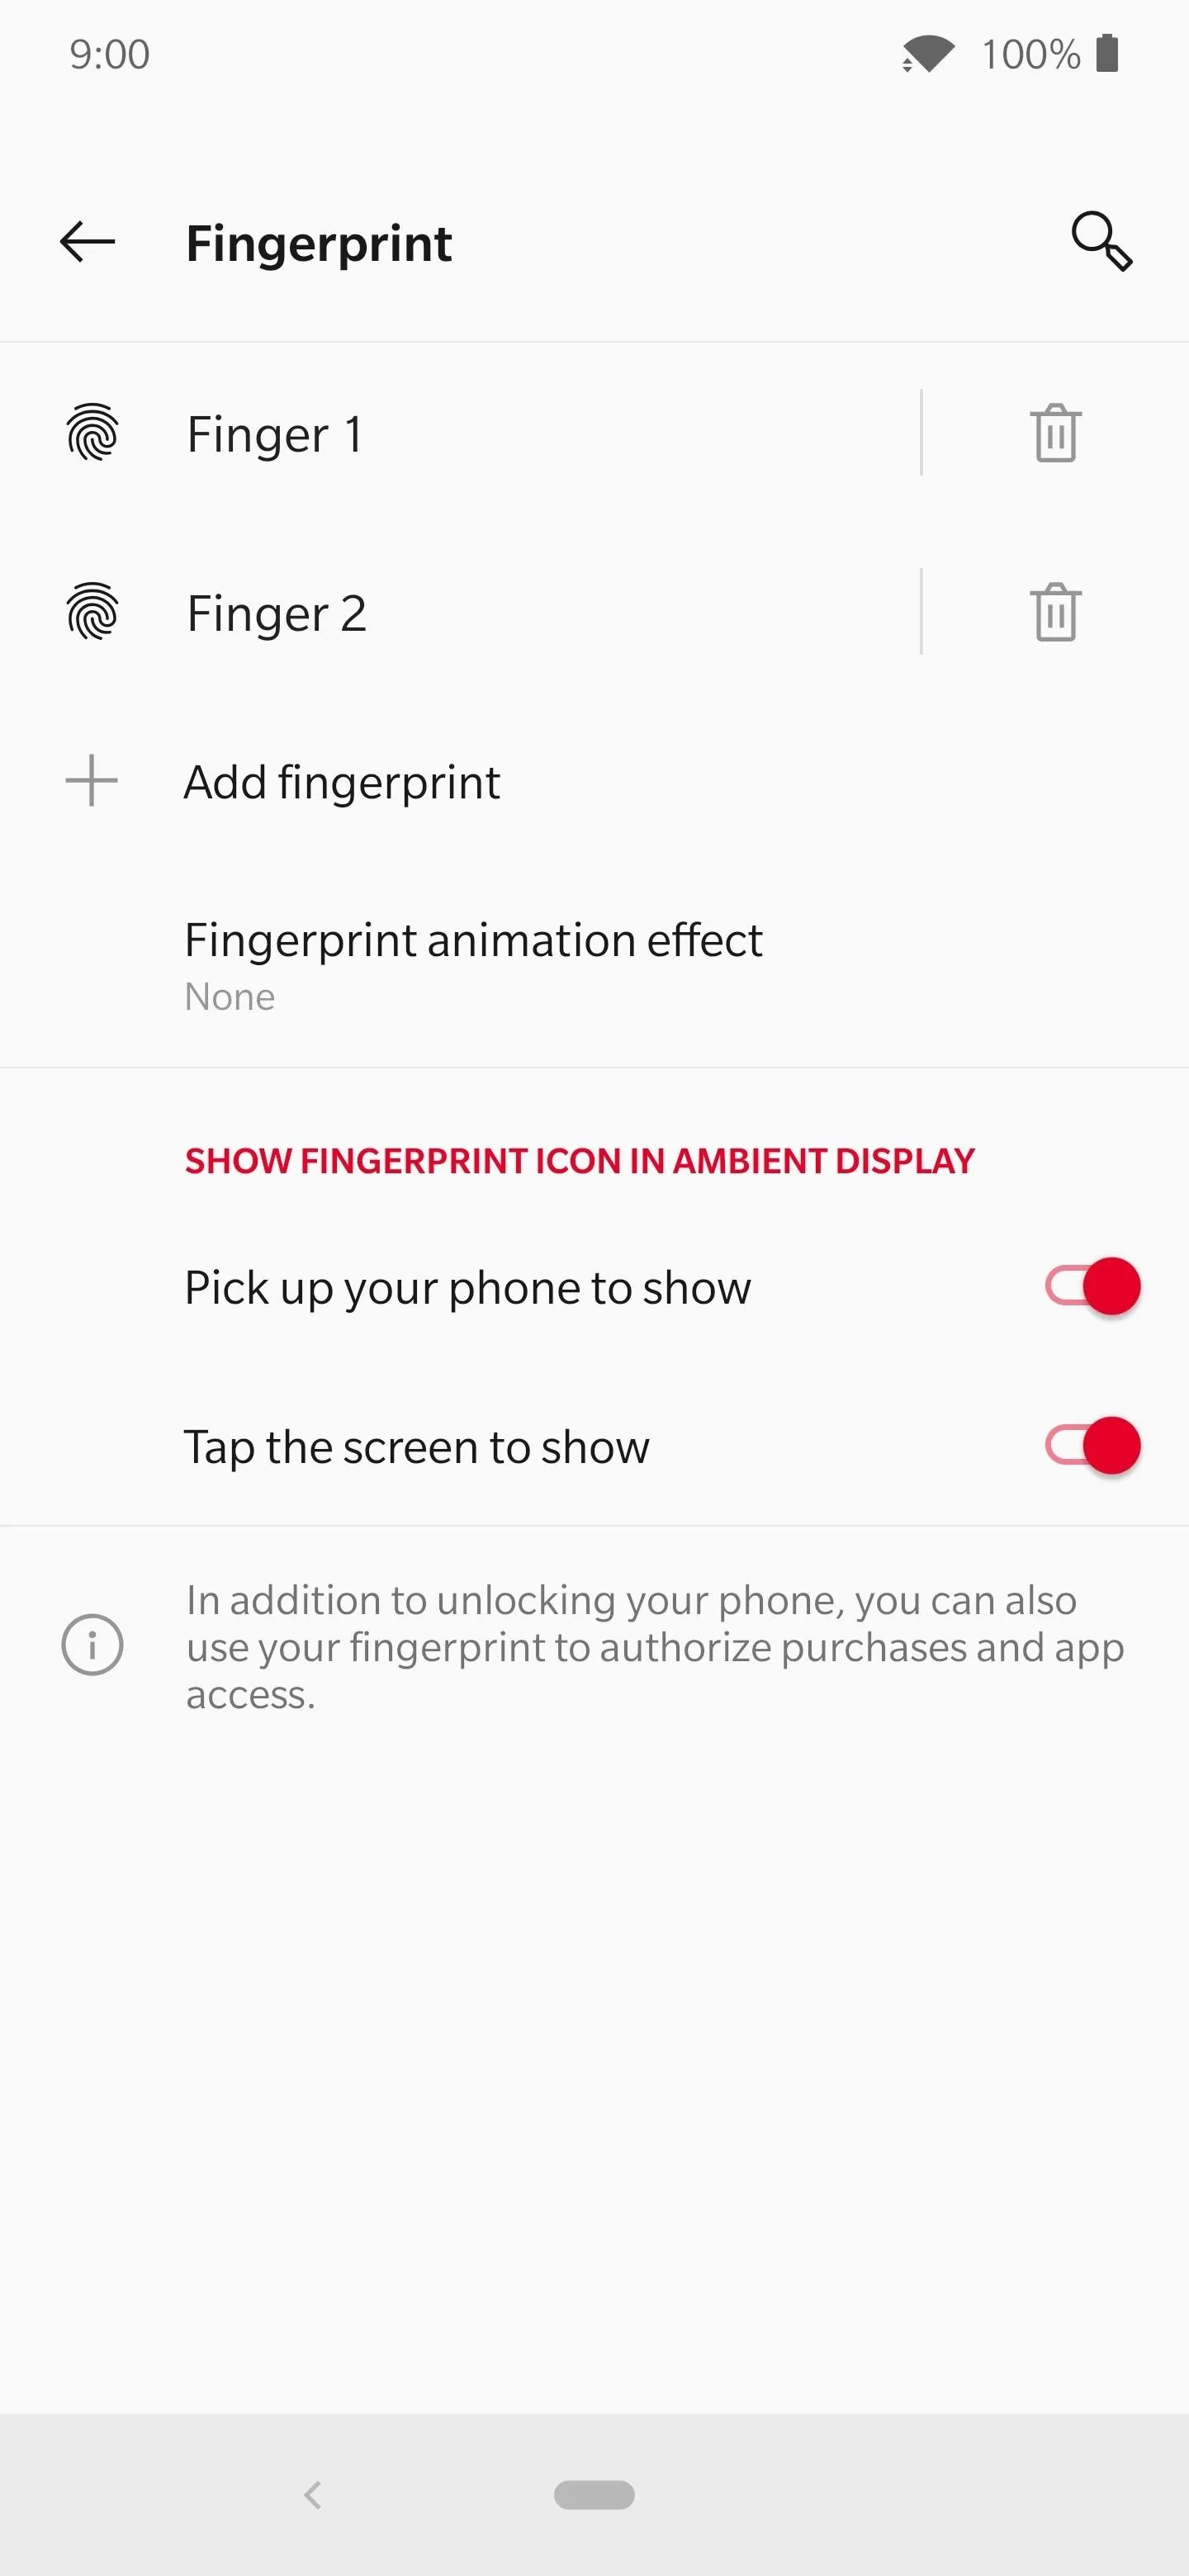
What's one of the best things about using Google services to autofill passwords and manage them with Chrome? Being able to lock them behind biometrics with your fingerprint, of course! Since the fingerprint data is stored locally on your device, the level of security is much higher than before. Every time you edit or change anything password related, you'll be prompted to scan a fingerprint.
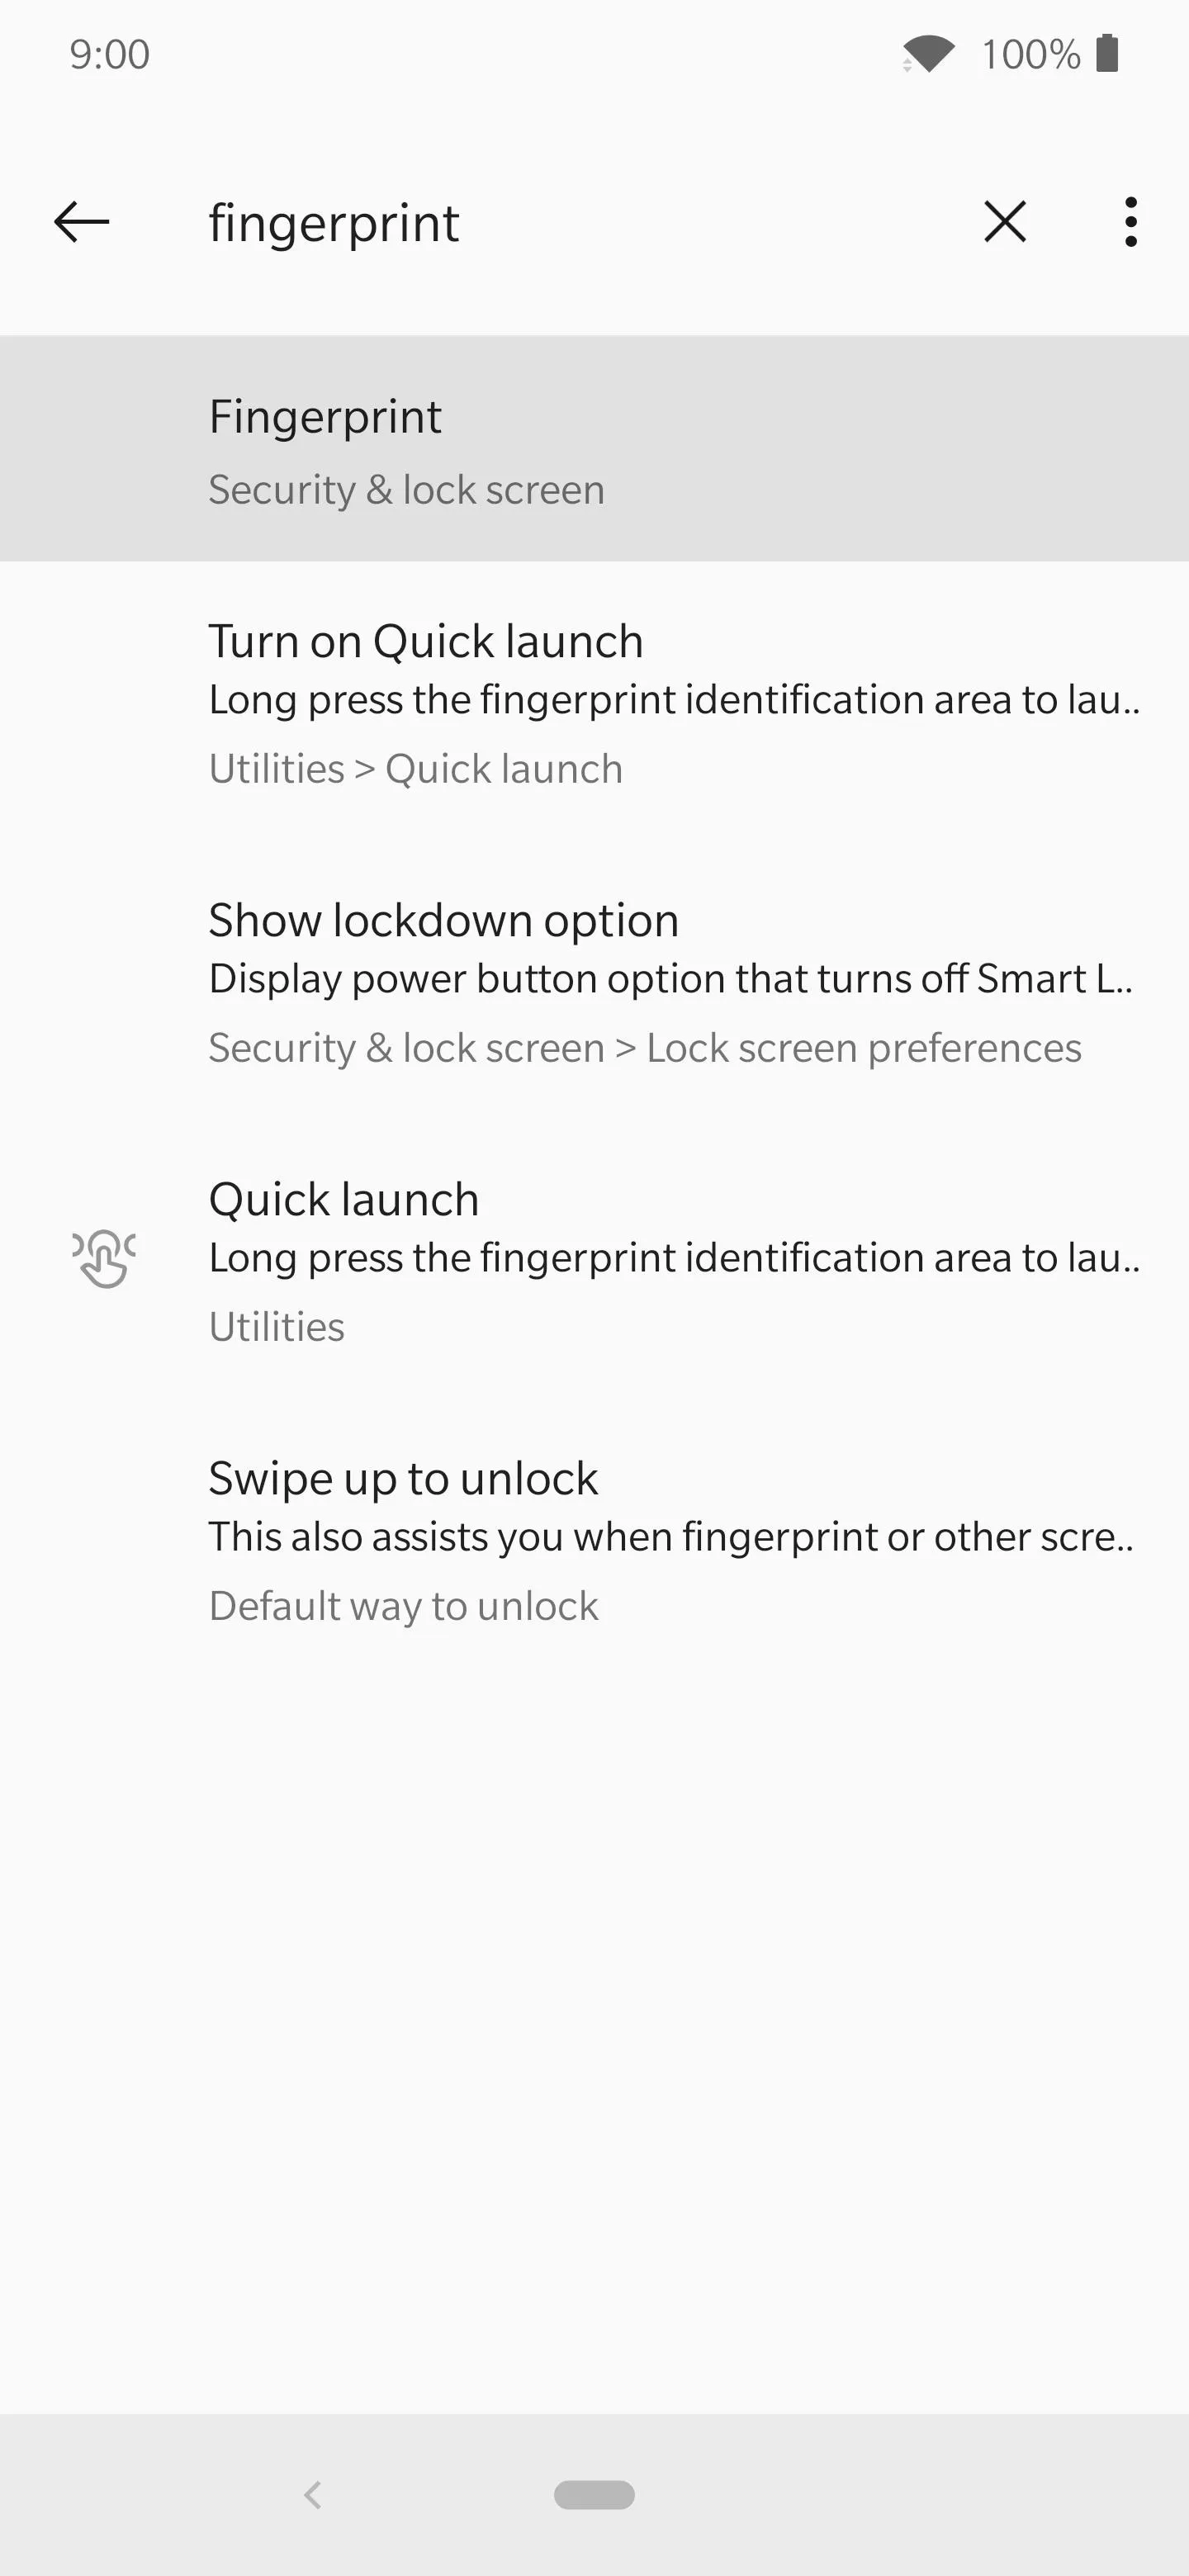
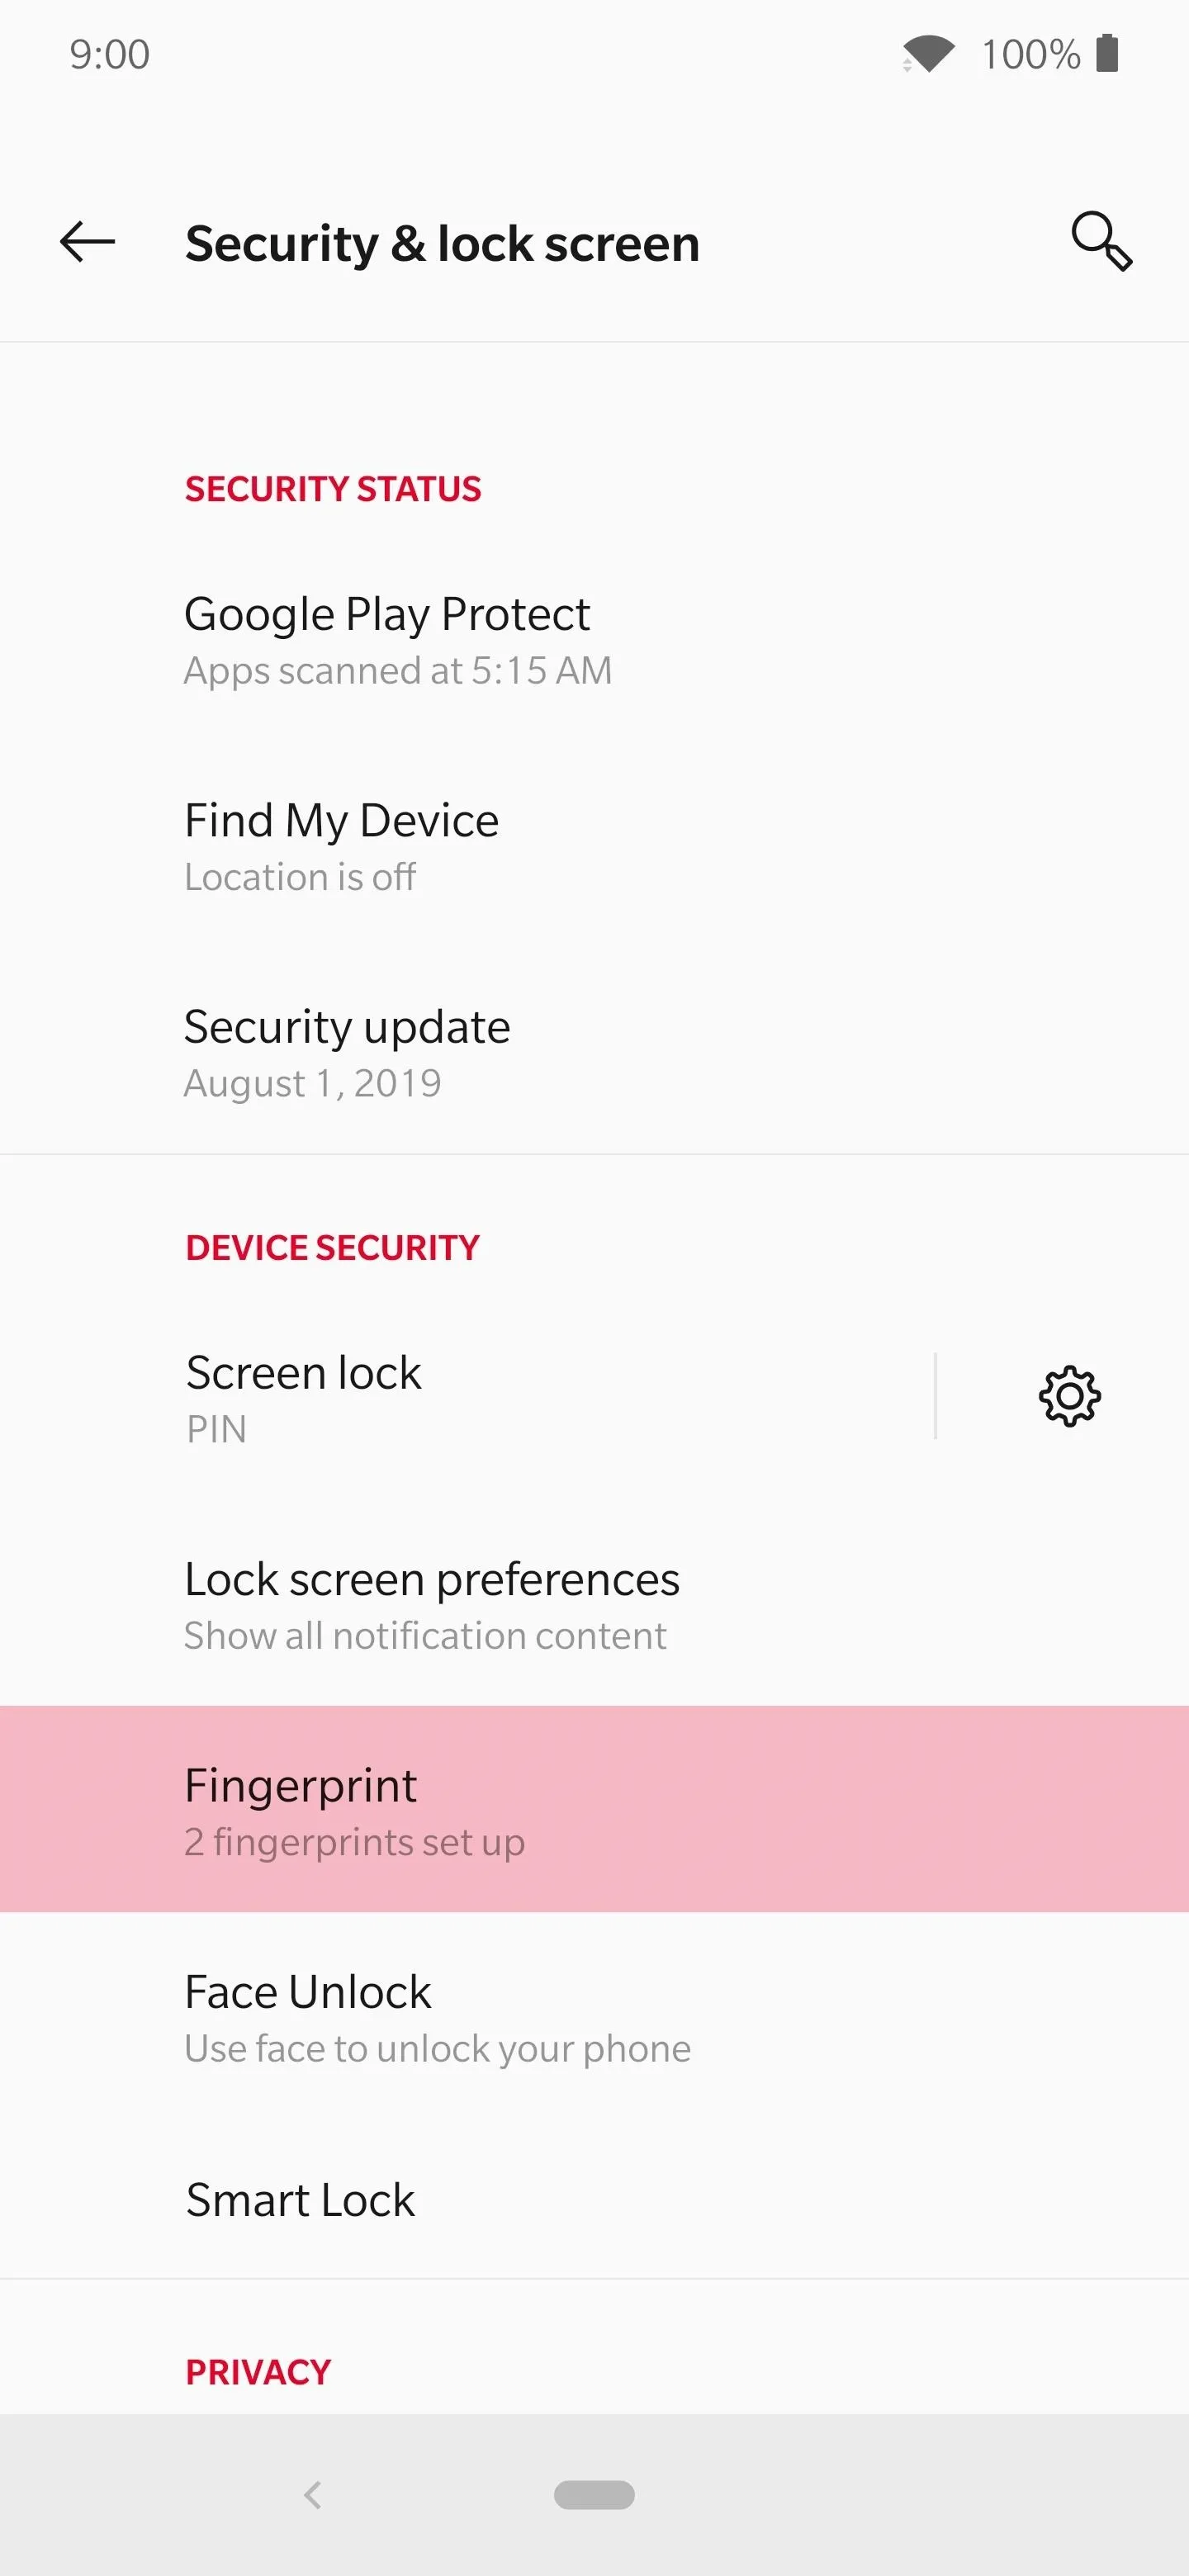
Since different Android skins store their security settings in various areas of the system settings, you'll have to locate it on your device. Once again, though, use the search box in your settings to get quick access to anything in an instant. Do a search for "fingerprint," and you should find the security settings right away. Now set that up if needed and you can move on.


Use the Autofill Feature
Now that Google is set for the Autofill service and your fingerprint security good to go, it's time to start using the password saving feature! The basic process is simple — just save passwords to your Google account when prompted, then the next time you go to log into that app or website on your phone, you'll be asked to verify your identity by scanning your fingerprint. Simply scan your finger, then the password will be auto-populated.
Whenever you sign in to an account for the first time on the web or within an app, it will ask you to save your password. Confirm your choice to save the password by simply tapping "Save," and it will now be stored and encrypted safely on your account.
Passwords that you have previously saved in Google Chrome — either on mobile or desktop — will automatically be included among the saved passwords that you can use to log into apps on your phone.
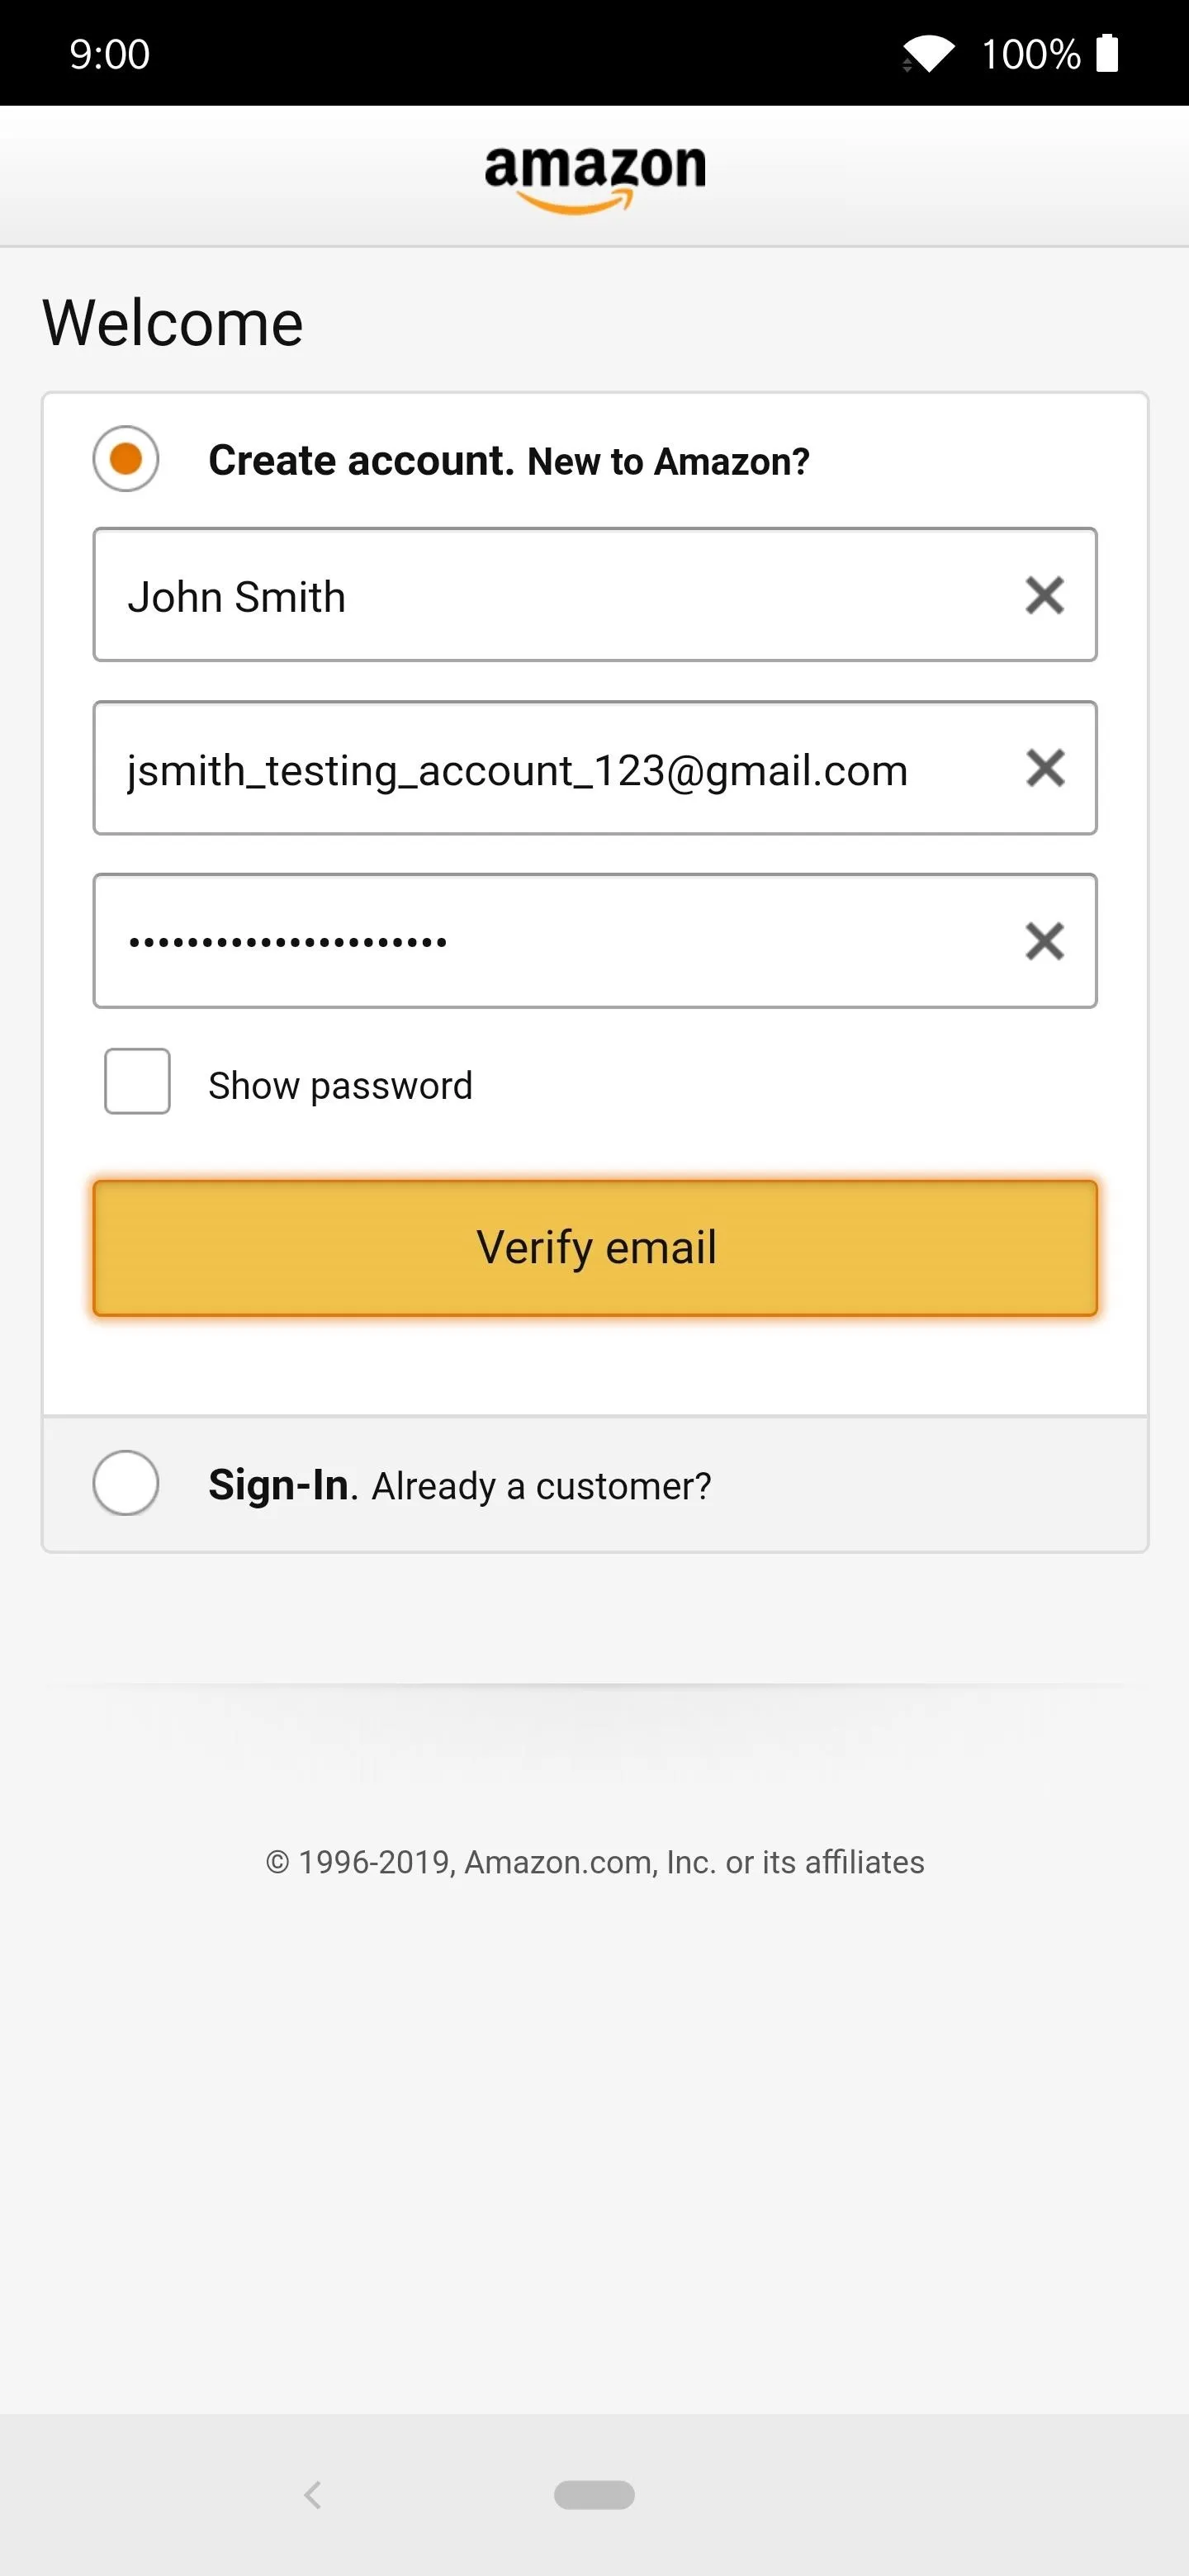
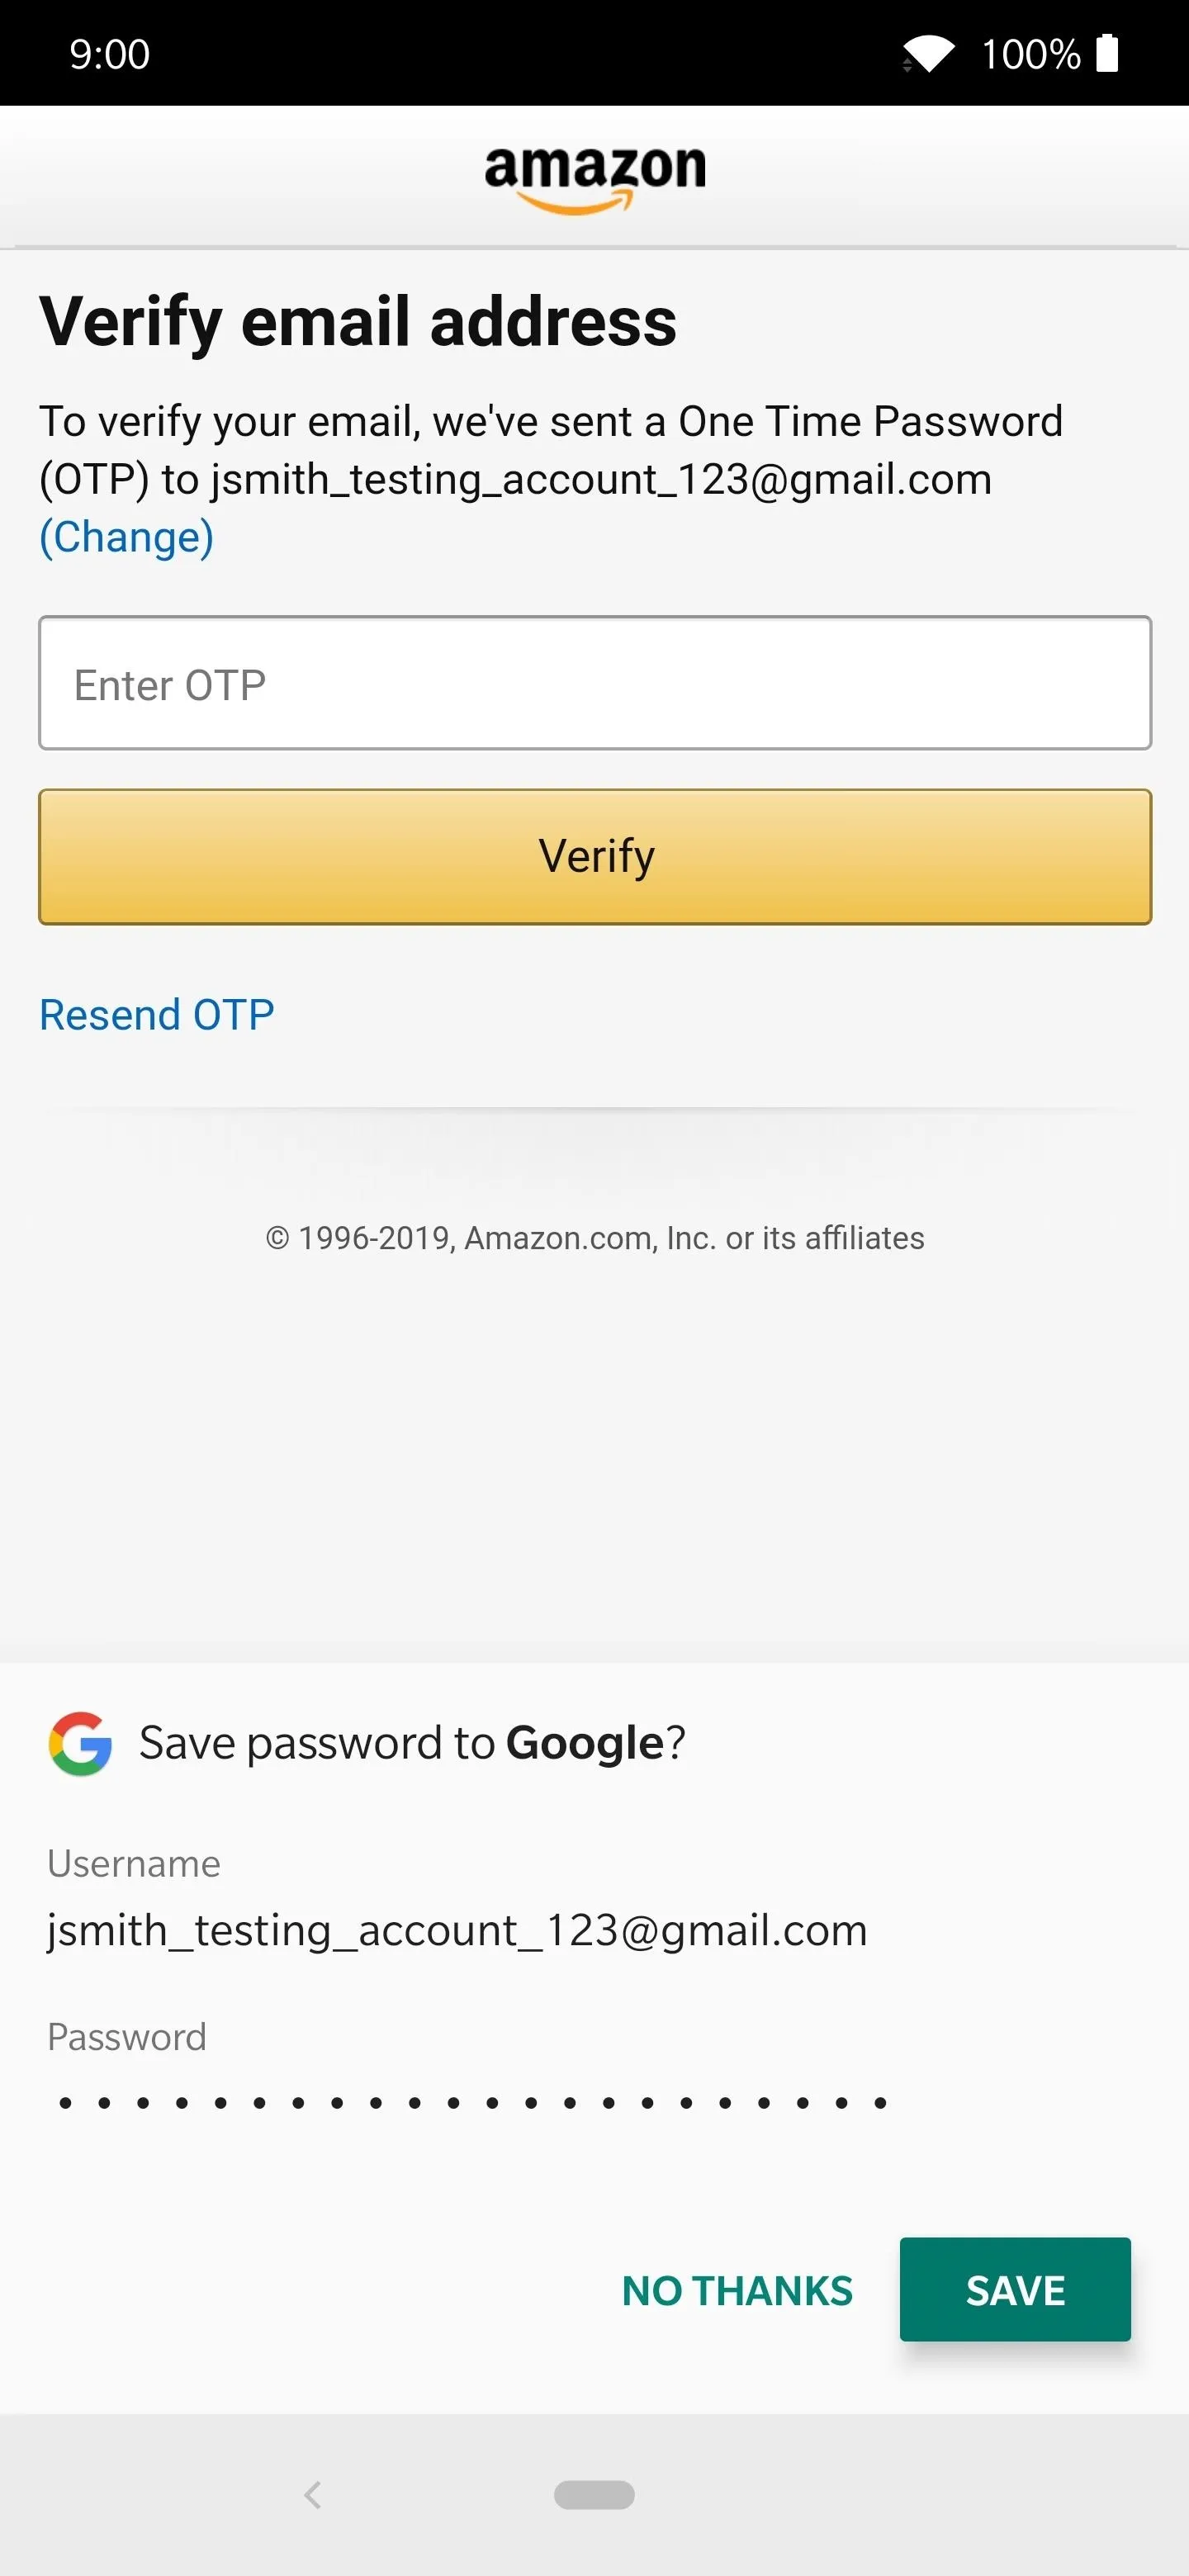


When creating a new account, you'll also want to start using the new random generation password system that comes with the Autofill feature. Any time you are tasked with creating a password for a new account on Android, you should see a key icon pop up on that keyboard. Tapping this will bring up the "Suggest strong password" feature, which you should then select.
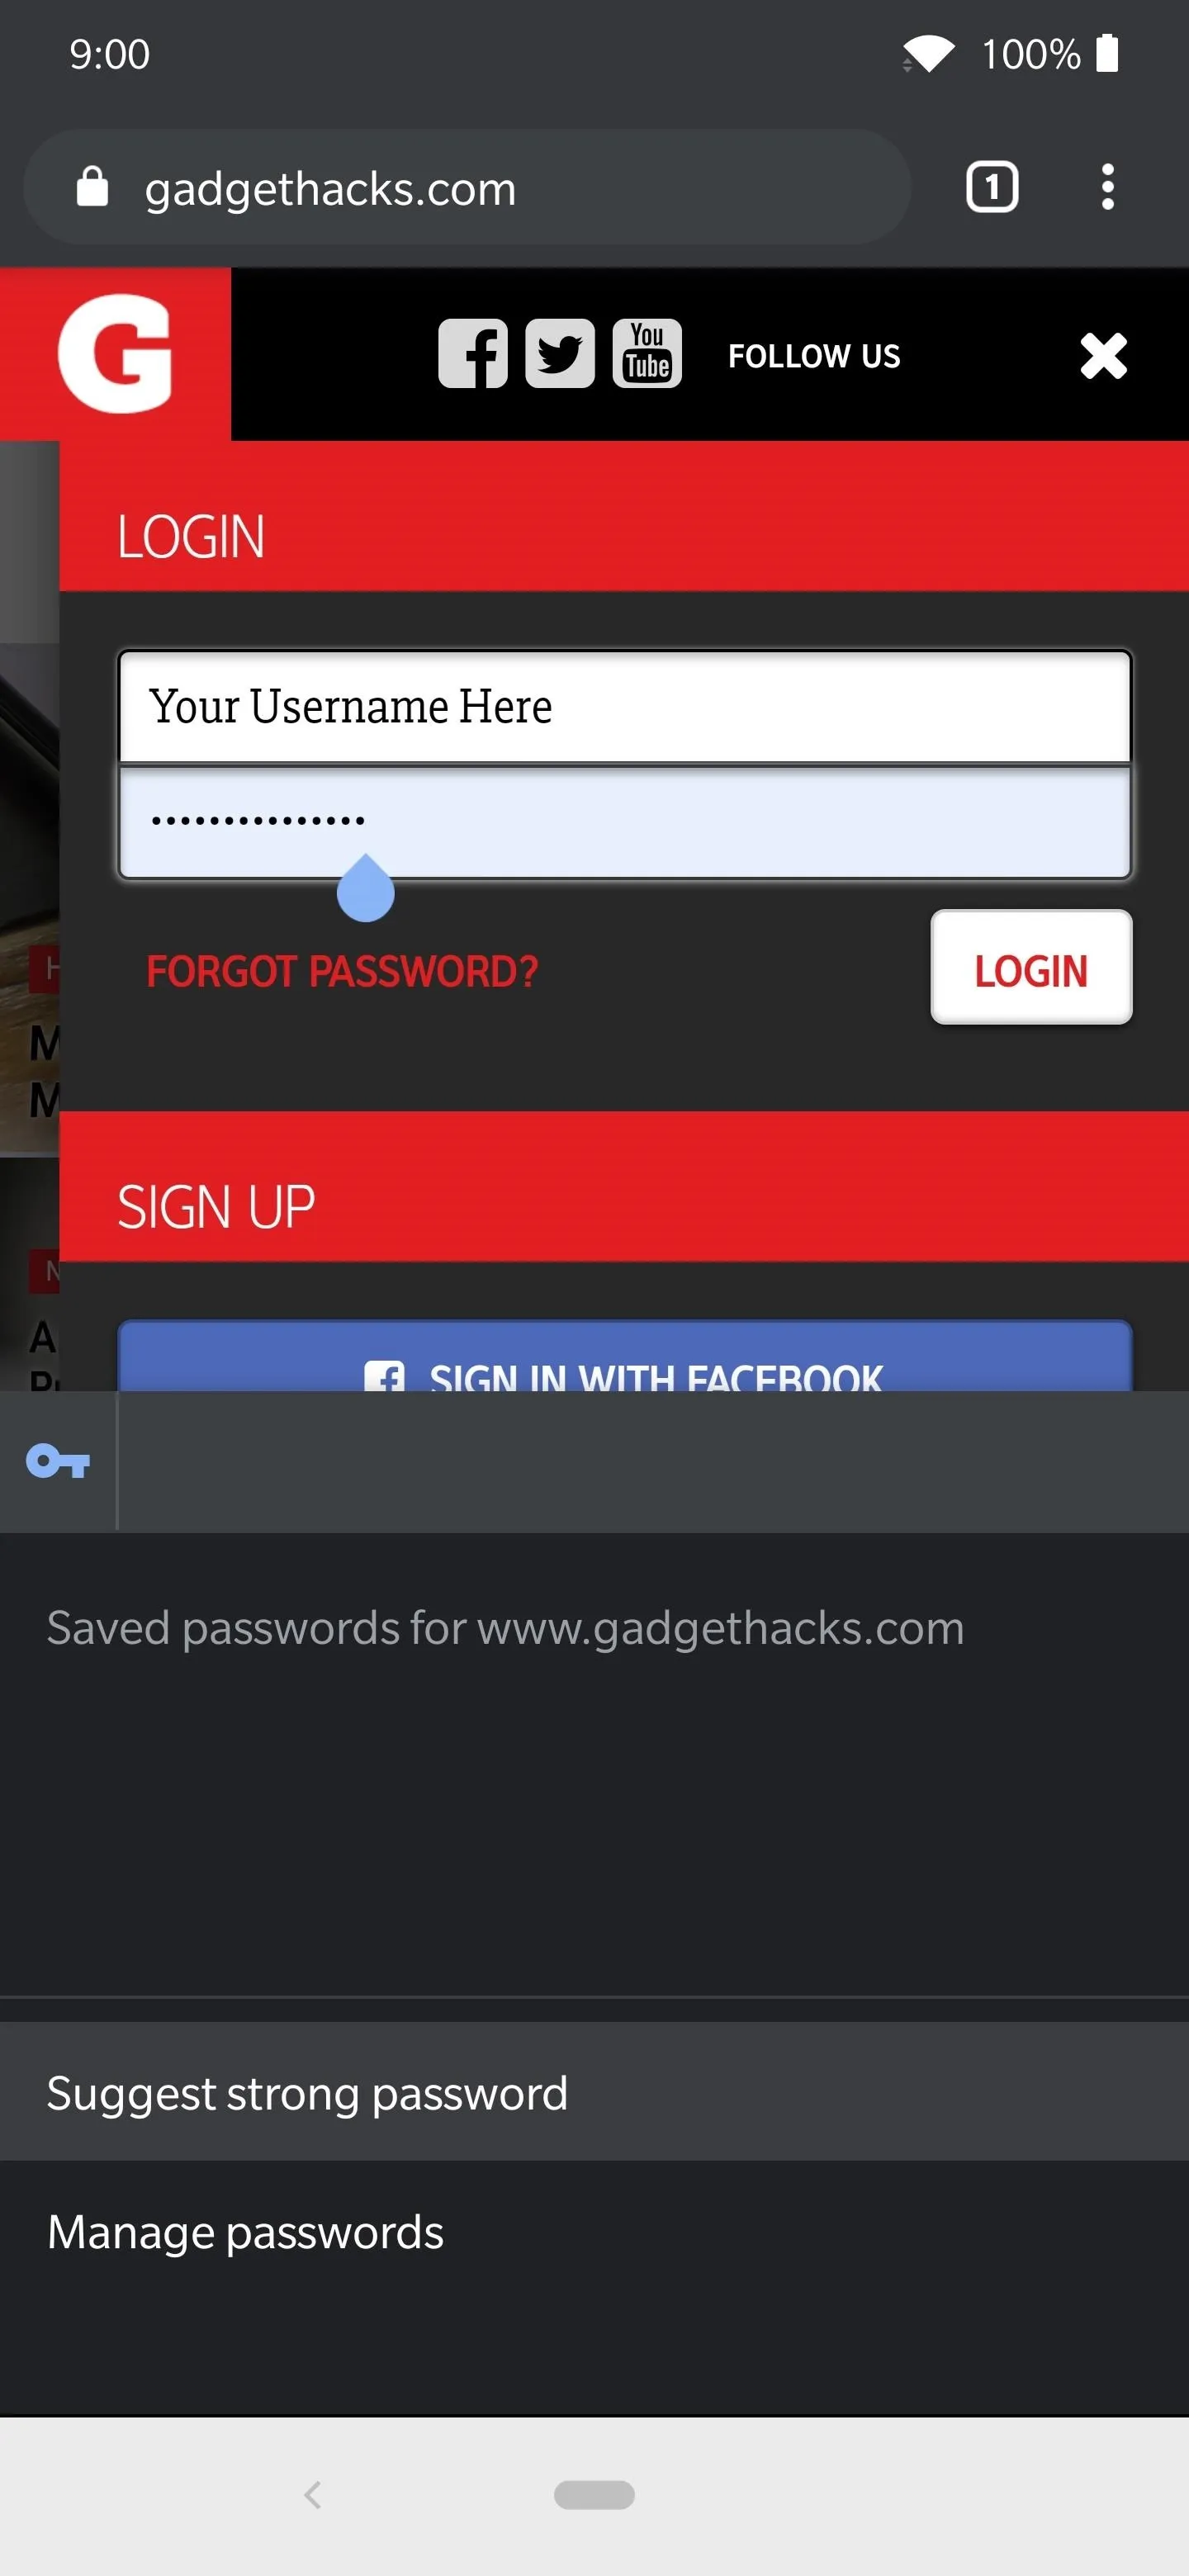
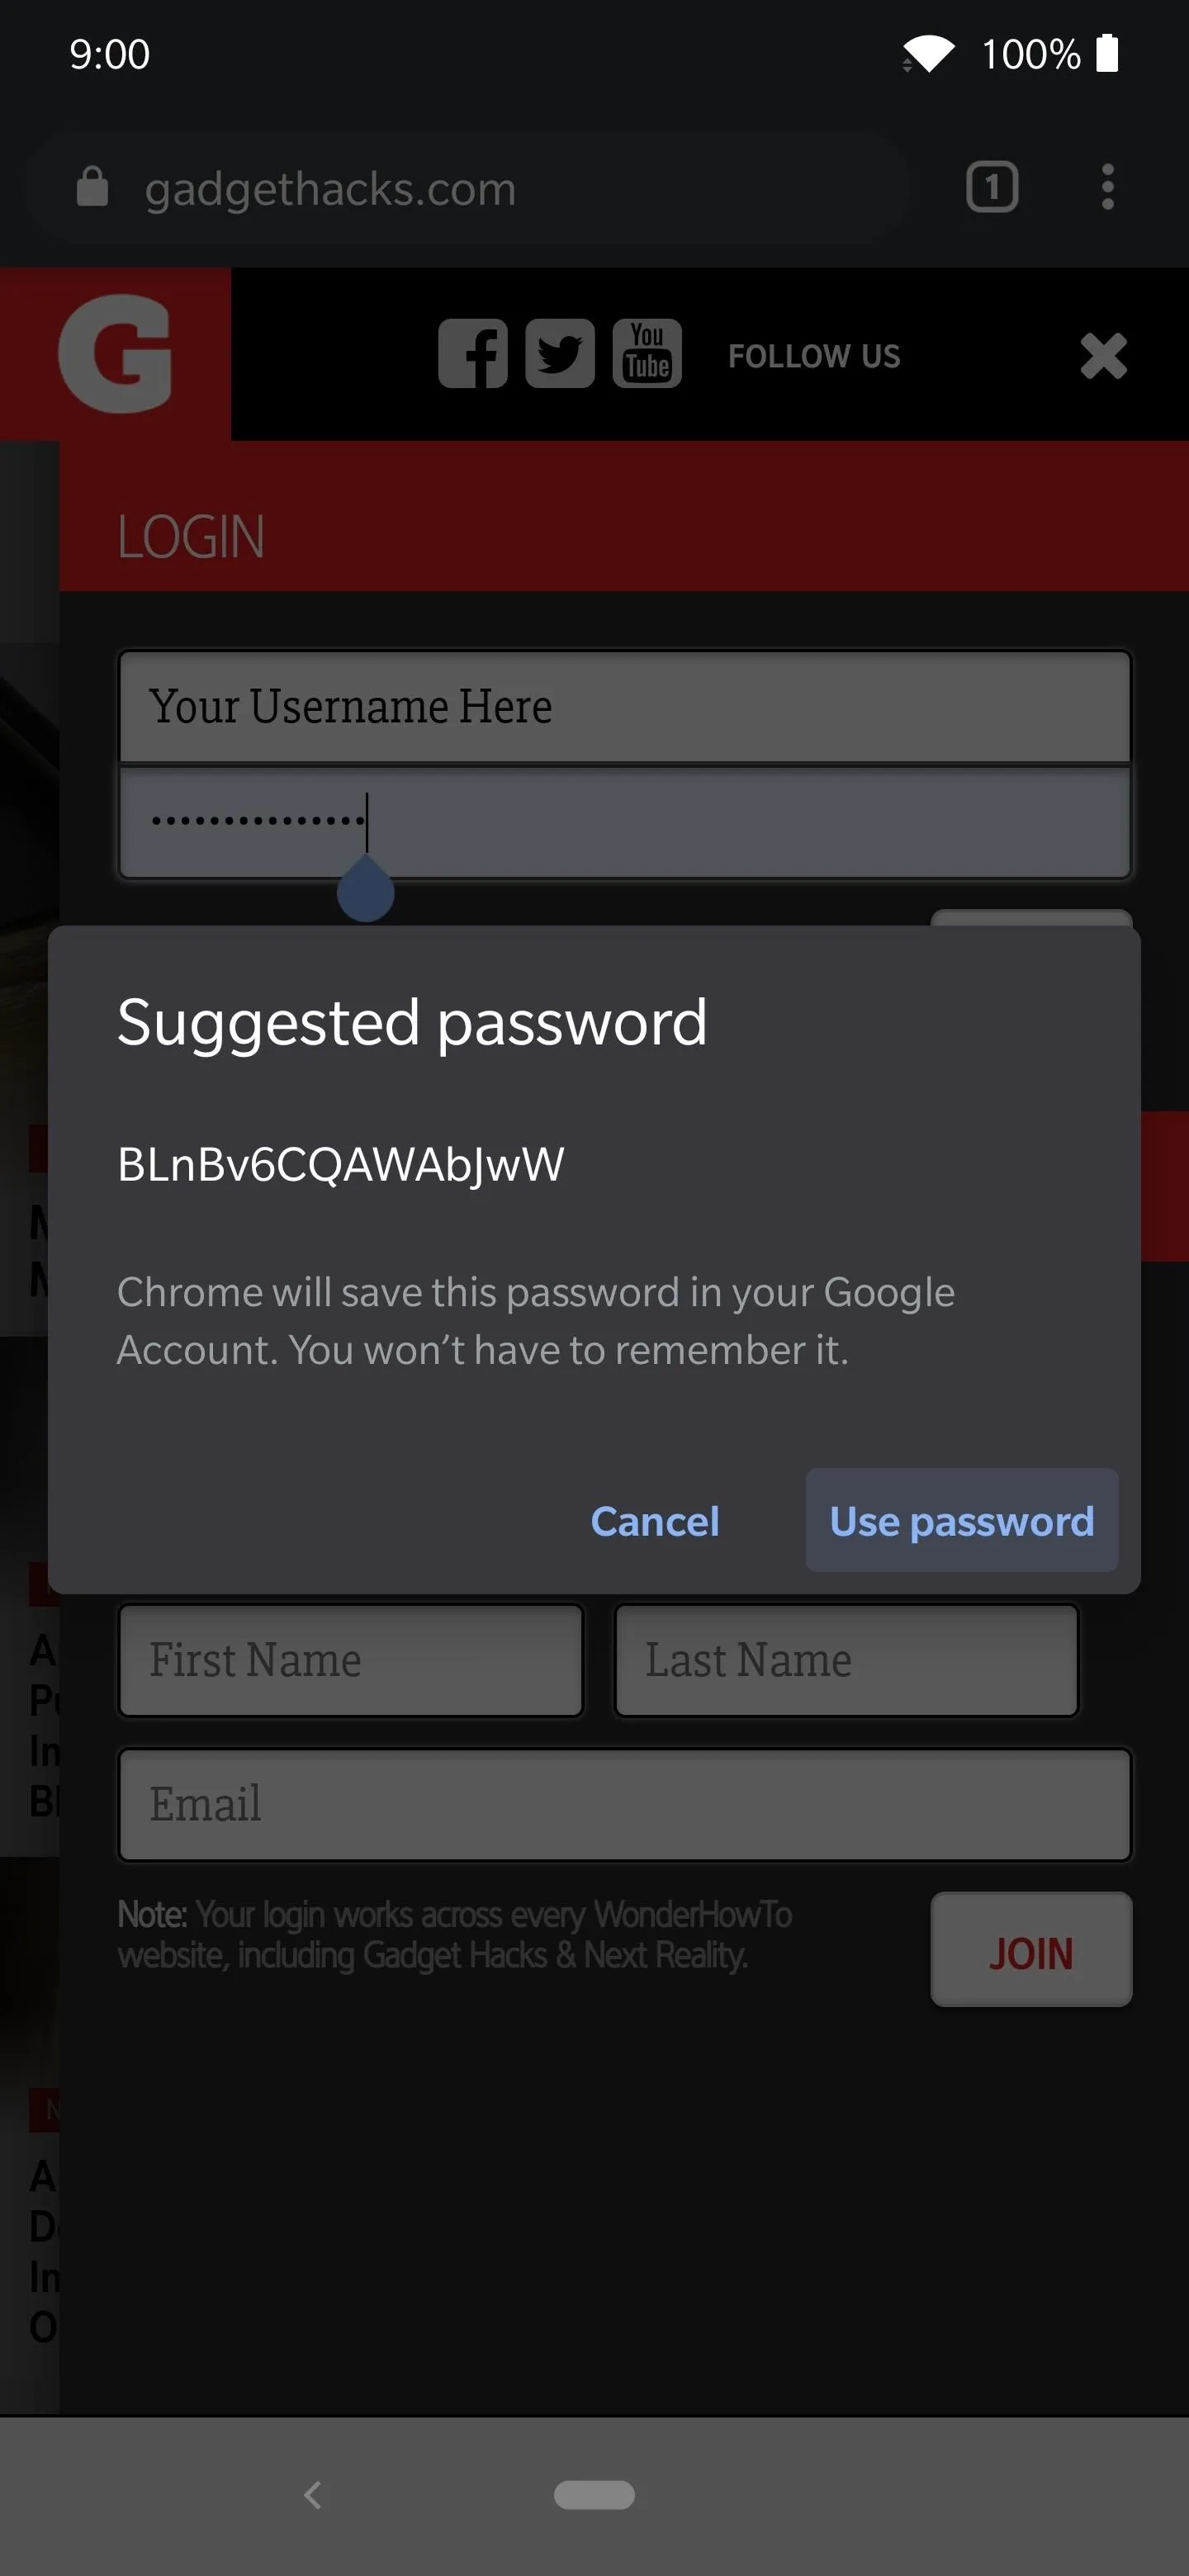


Once you randomly generate a password and create the account, it will then save to your account just like any other password. Do the same thing with all new accounts, and eventually, update your old accounts using a randomly generated password too. If all your primary accounts have random passwords and are locked behind your fingerprint, you've got a strong barrier of protection!
Manage Your Passwords with Chrome
If you want easy access to your saved passwords for viewing or editing, Chrome's got you covered. Open the Chrome for Android app, tap the three-dot menu, then head to "Settings." Locate the "Passwords" section, then from here, you will find all of the saved passwords you currently have. You can even tap the search icon in the upper-right to find specific apps or services easily.
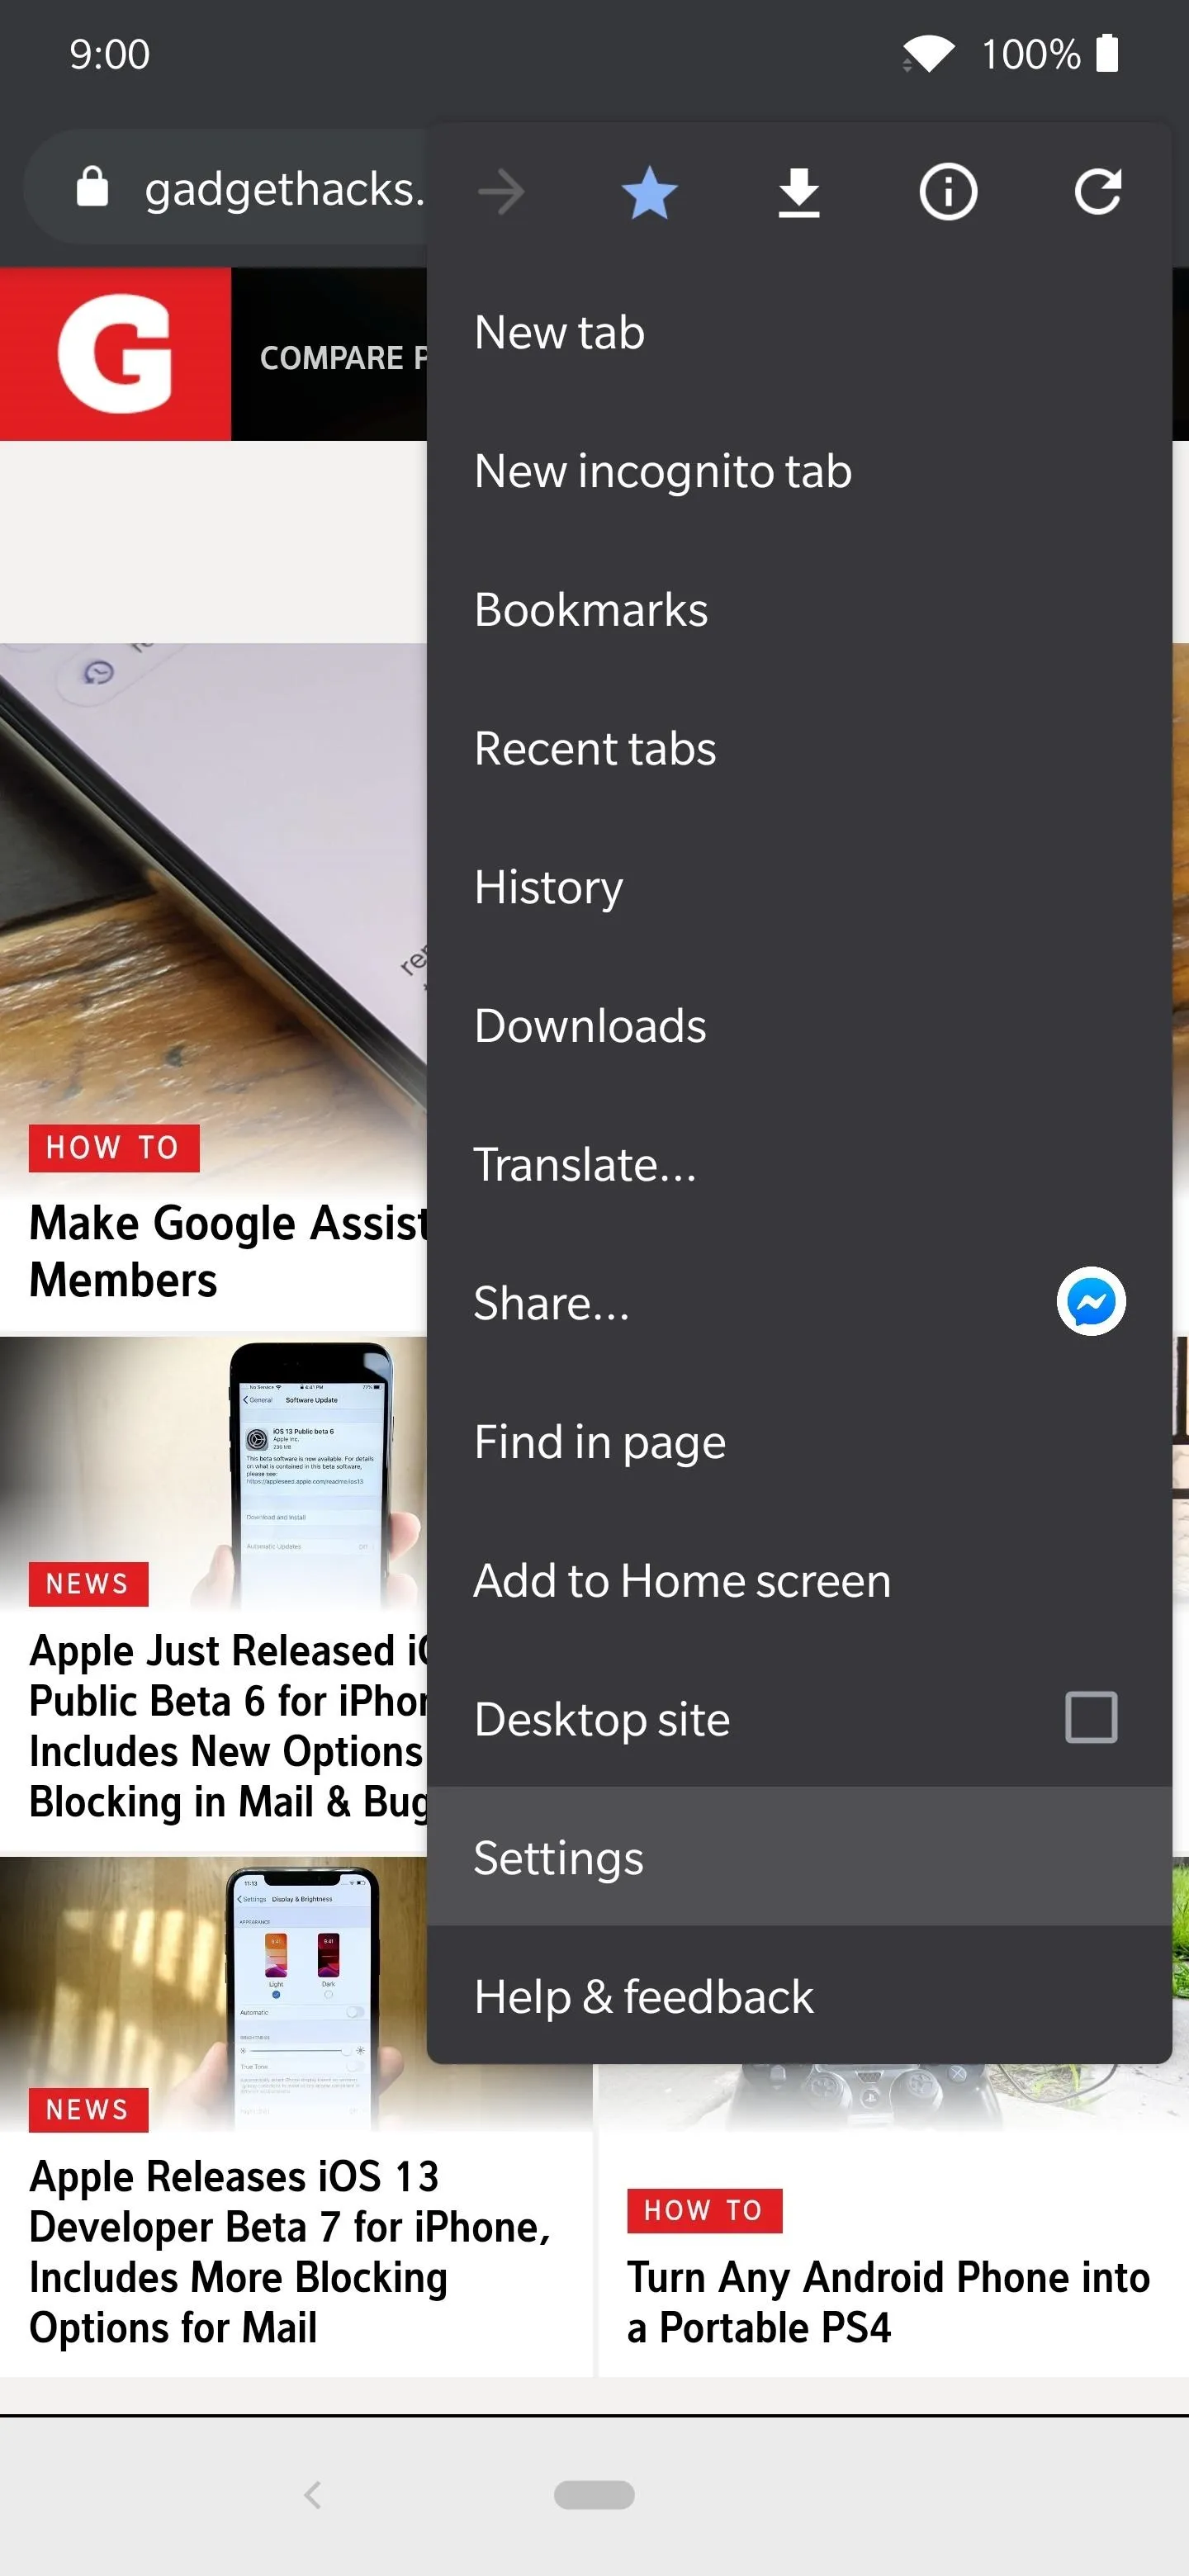
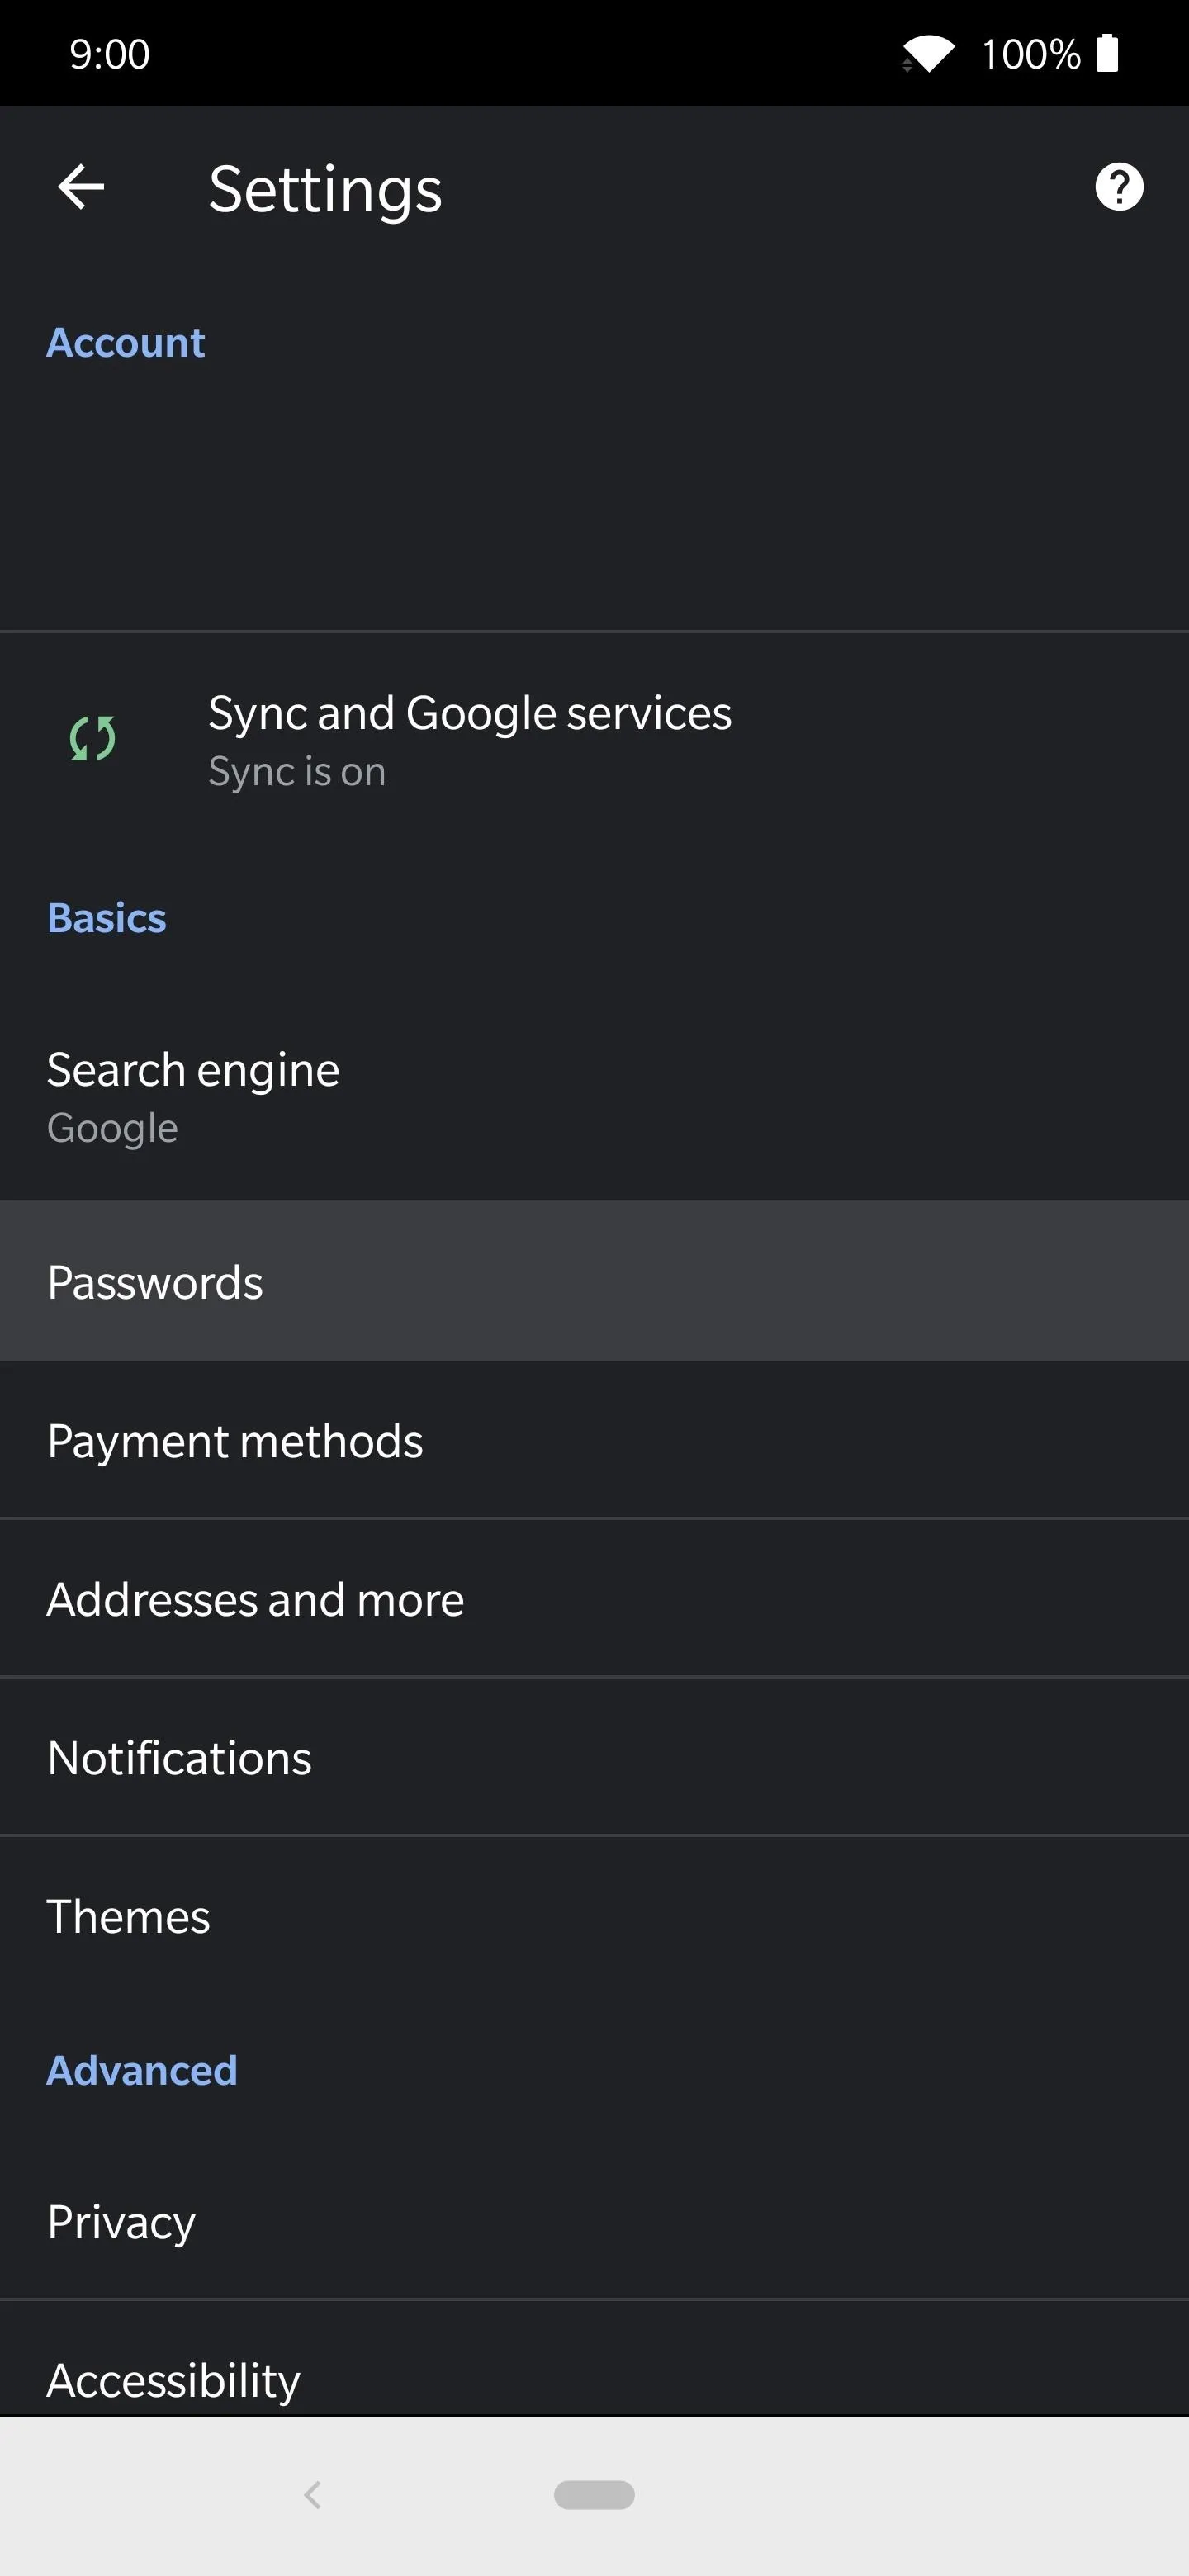
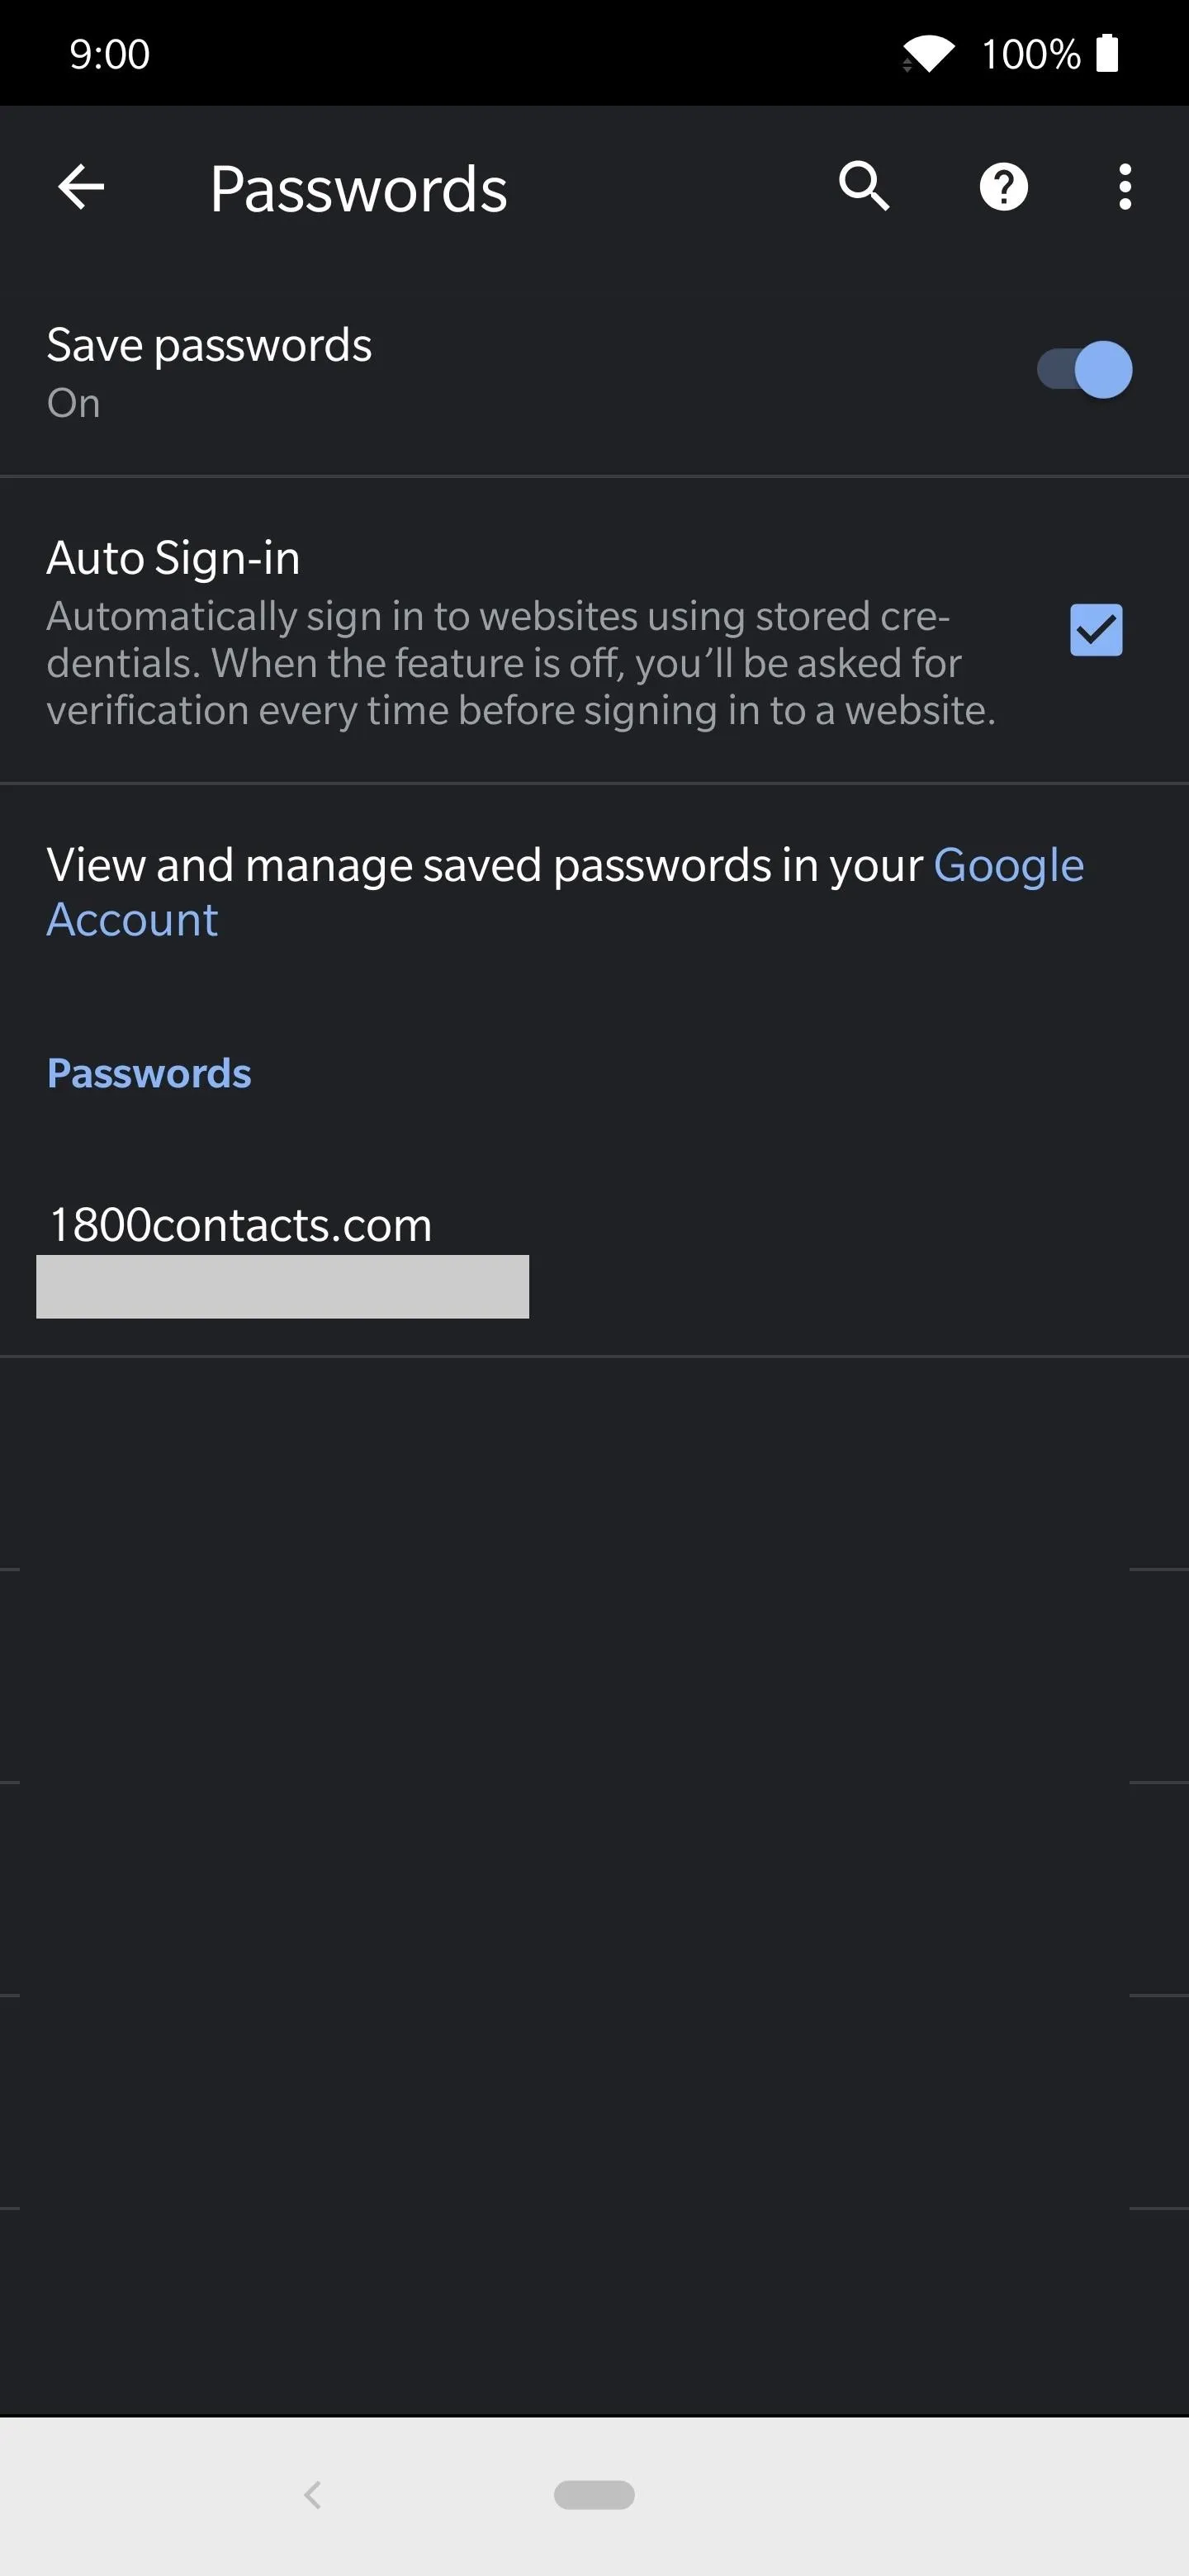


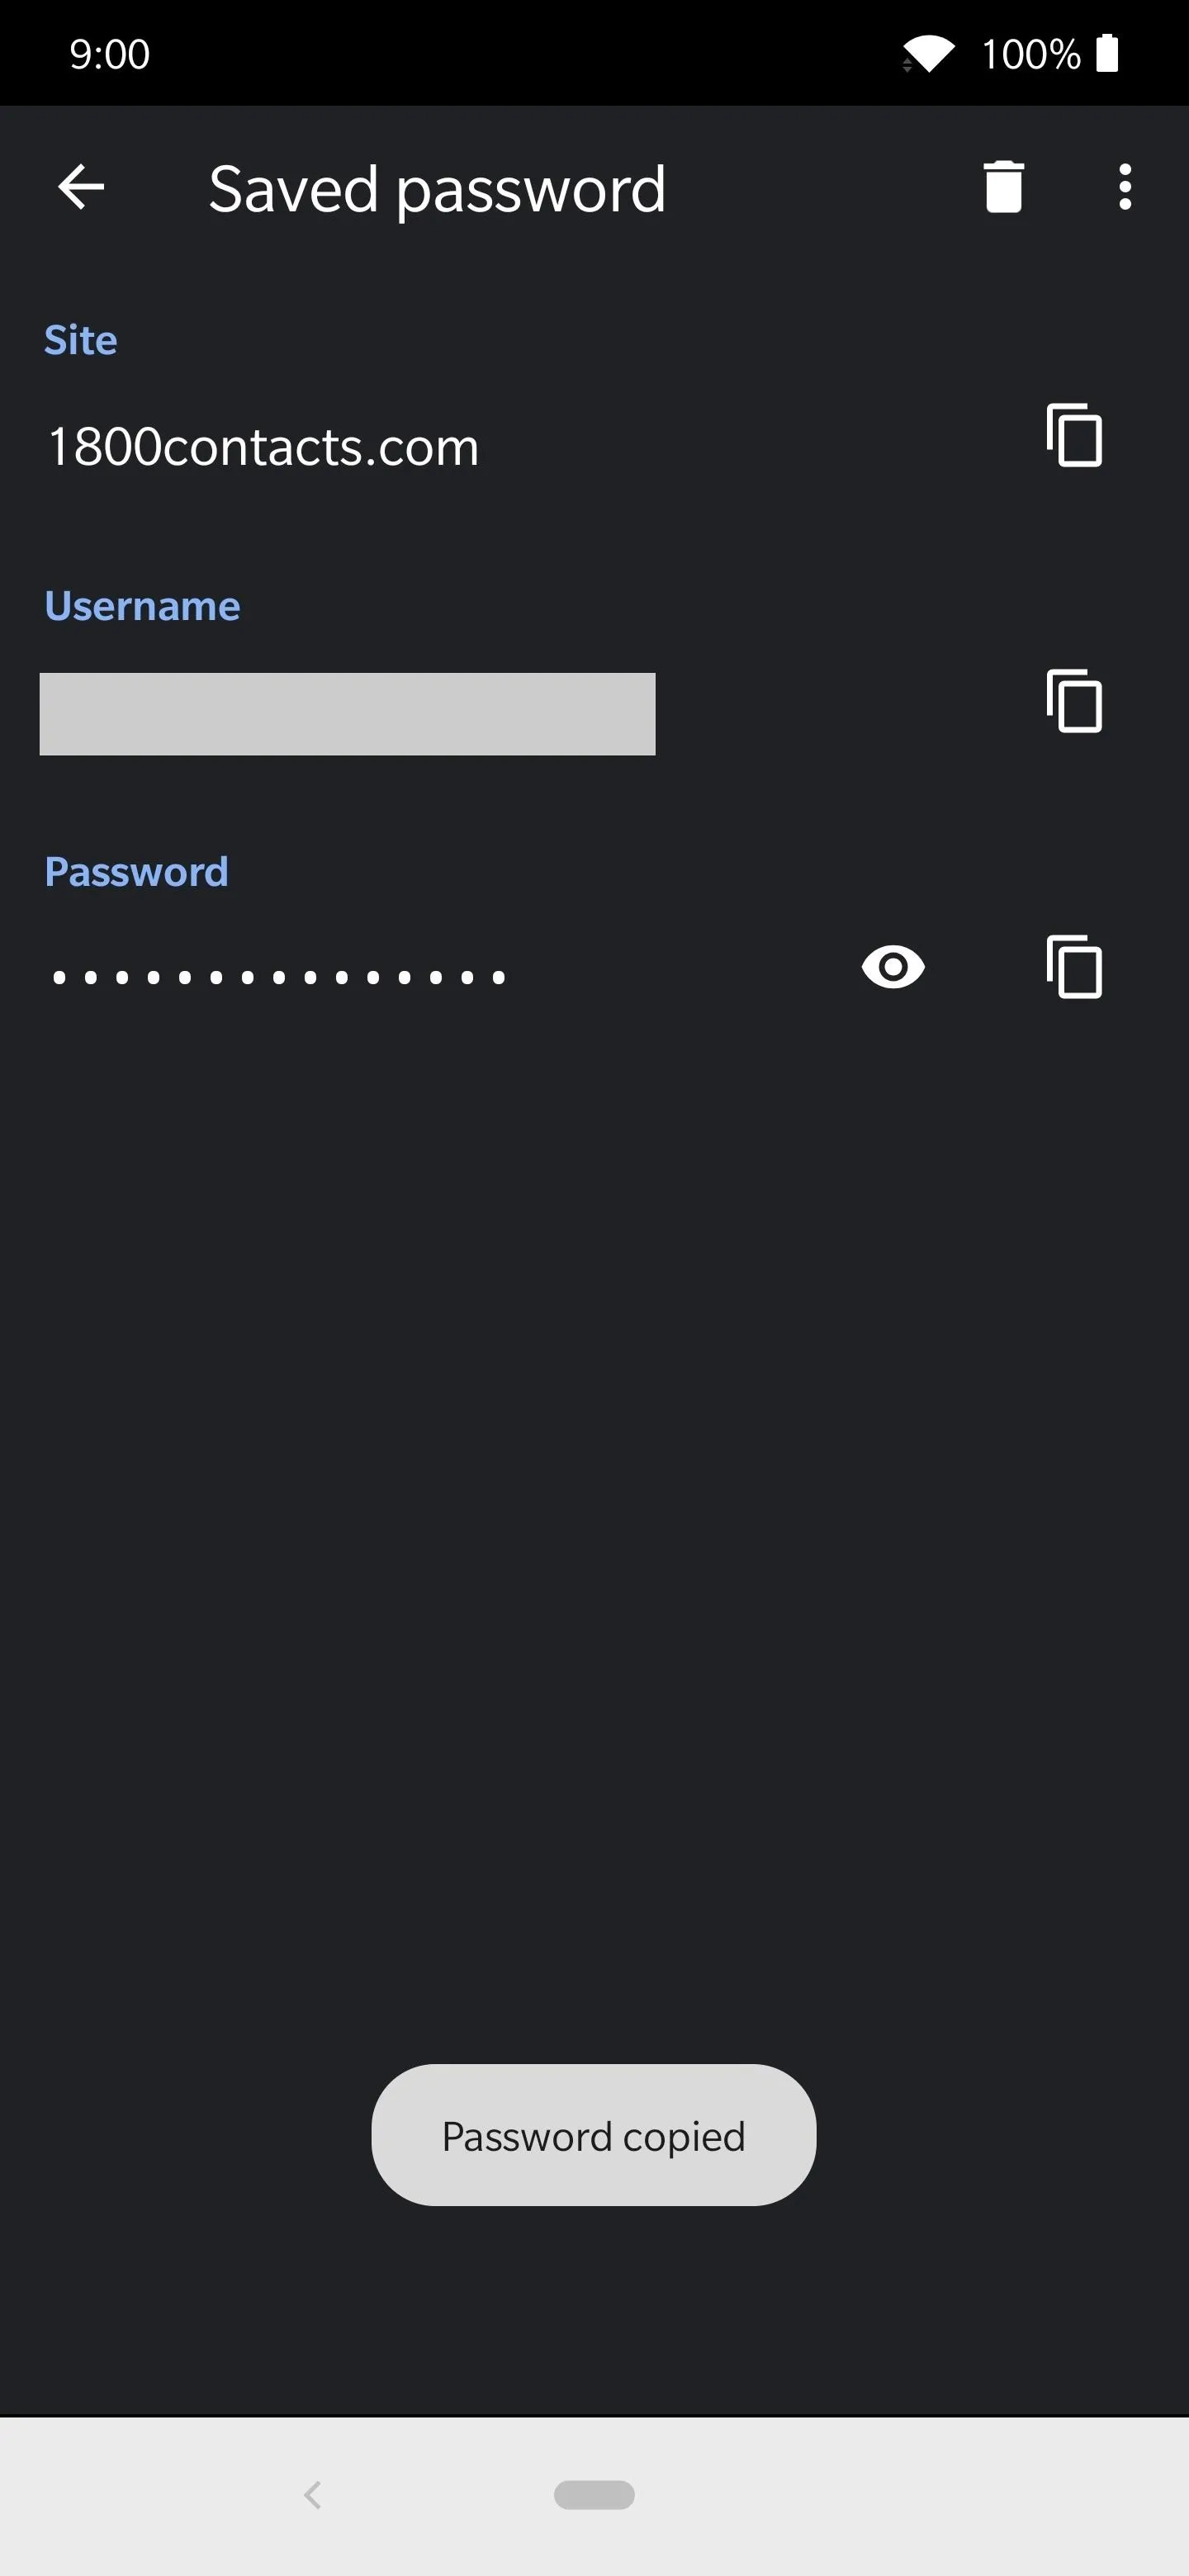
Whenever you tap the entry for one of the accounts, it will bring you to the main page that shows the website name, the username, and the password for that account. Of course, the password is blocked out, but the two icons next to the the "Password" section are beneficial. Tapping the eye icon will reveal the password, and the clipboard icon on the right will copy the password.
Selecting either of these options will prompt for your fingerprint authentication to confirm it's you trying to access the password. Once you confirm your biometrics, your password will be revealed or copied to the clipboard just the same.



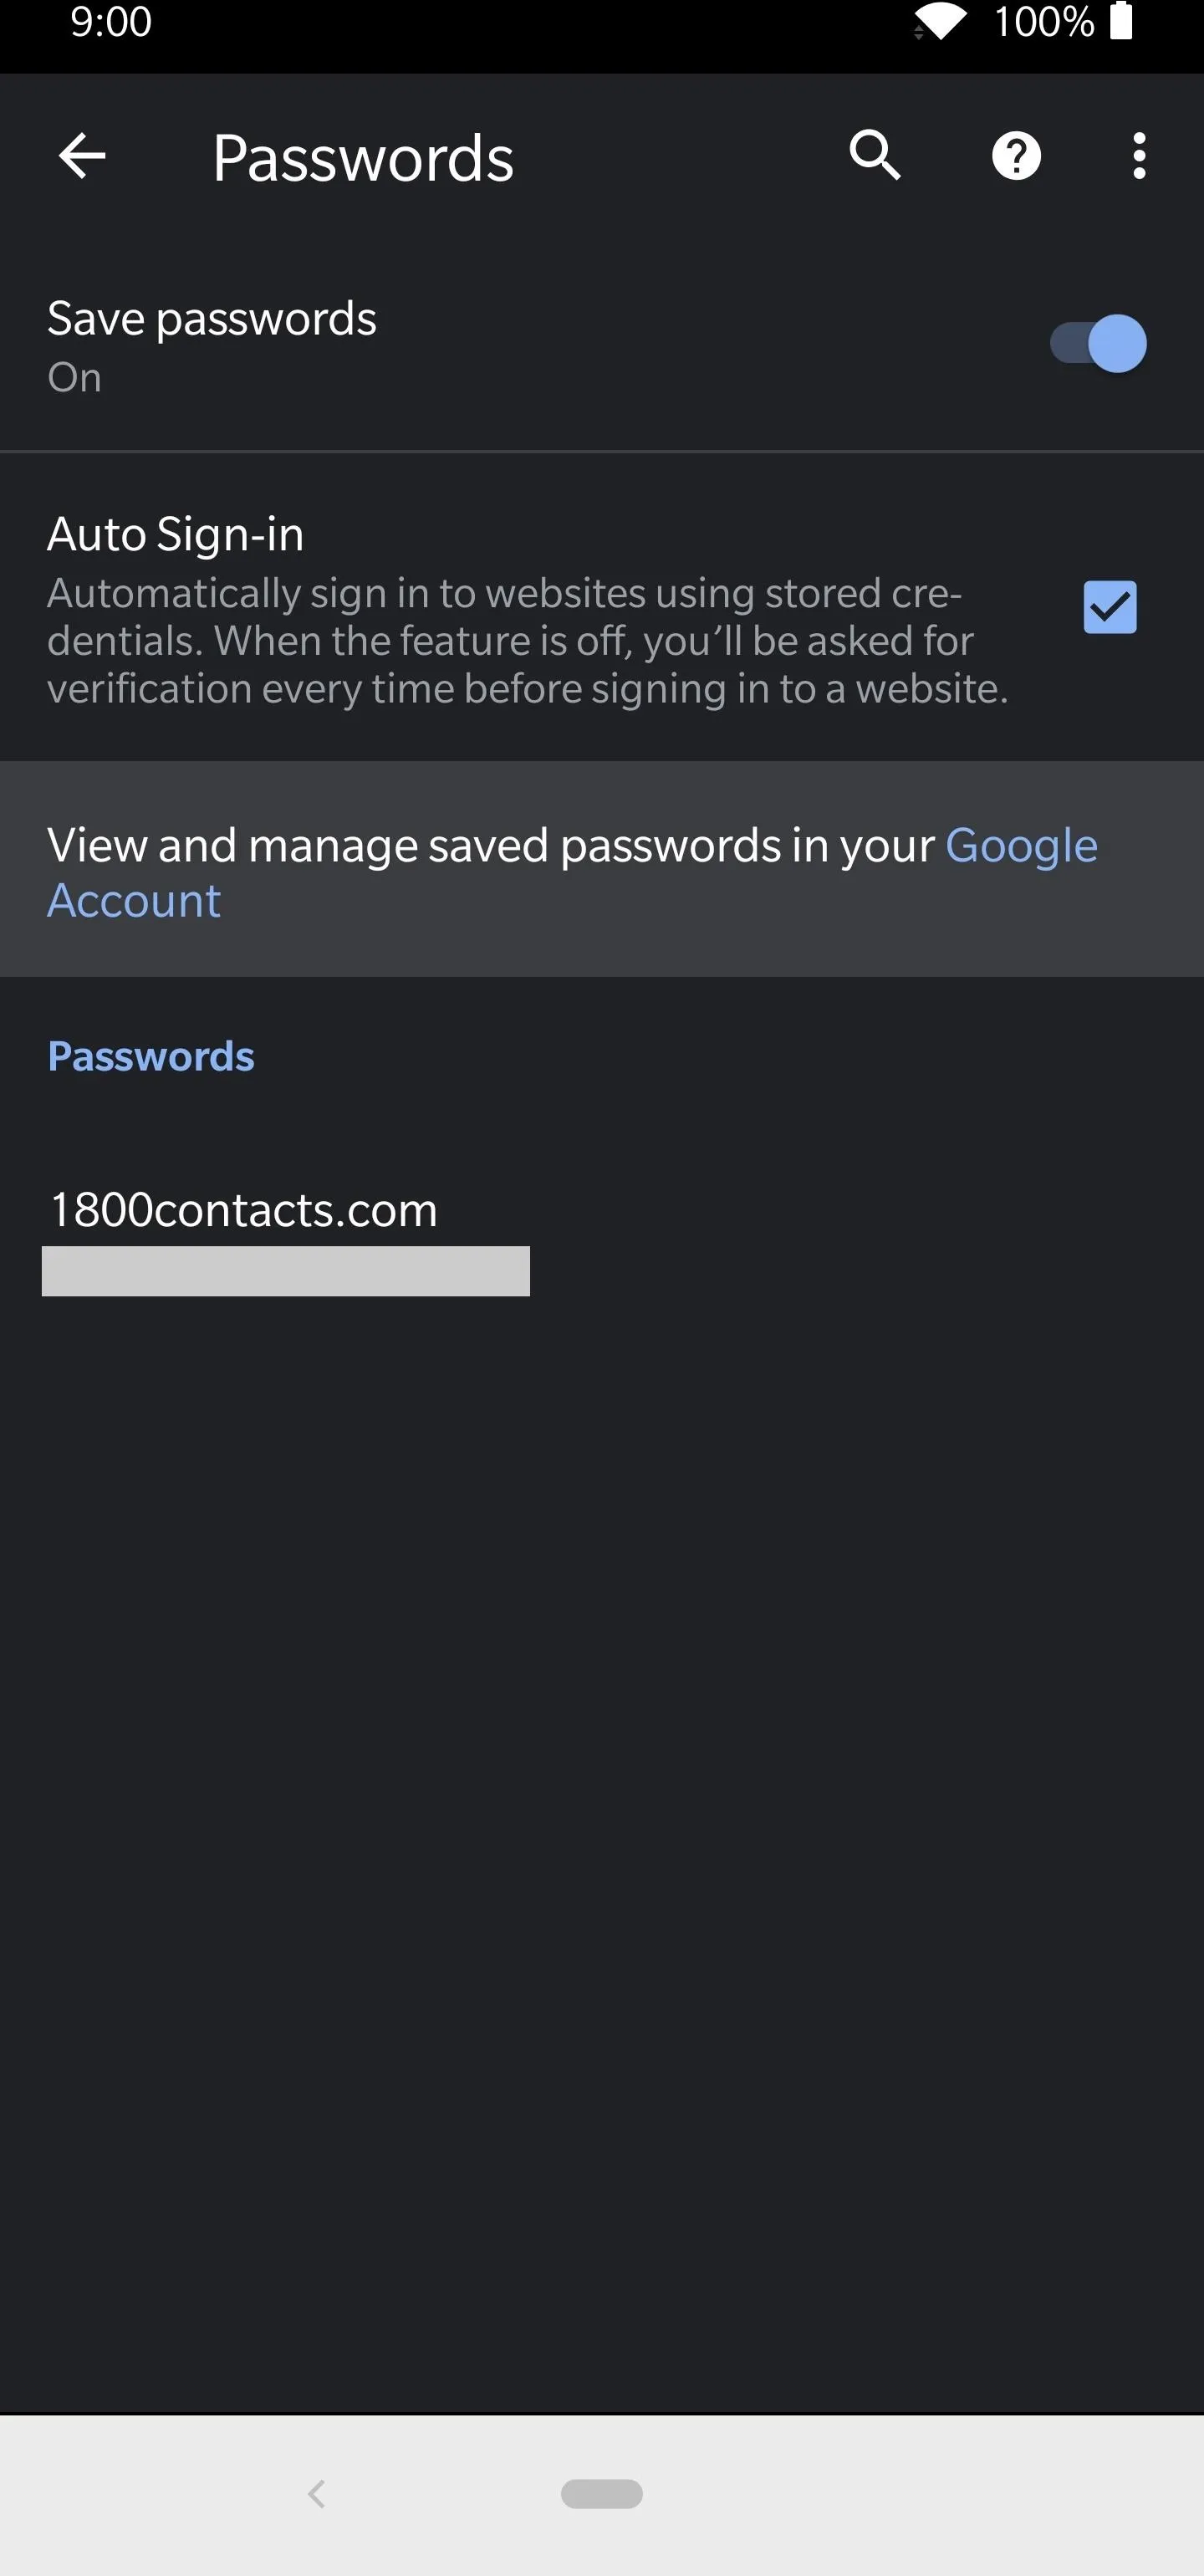
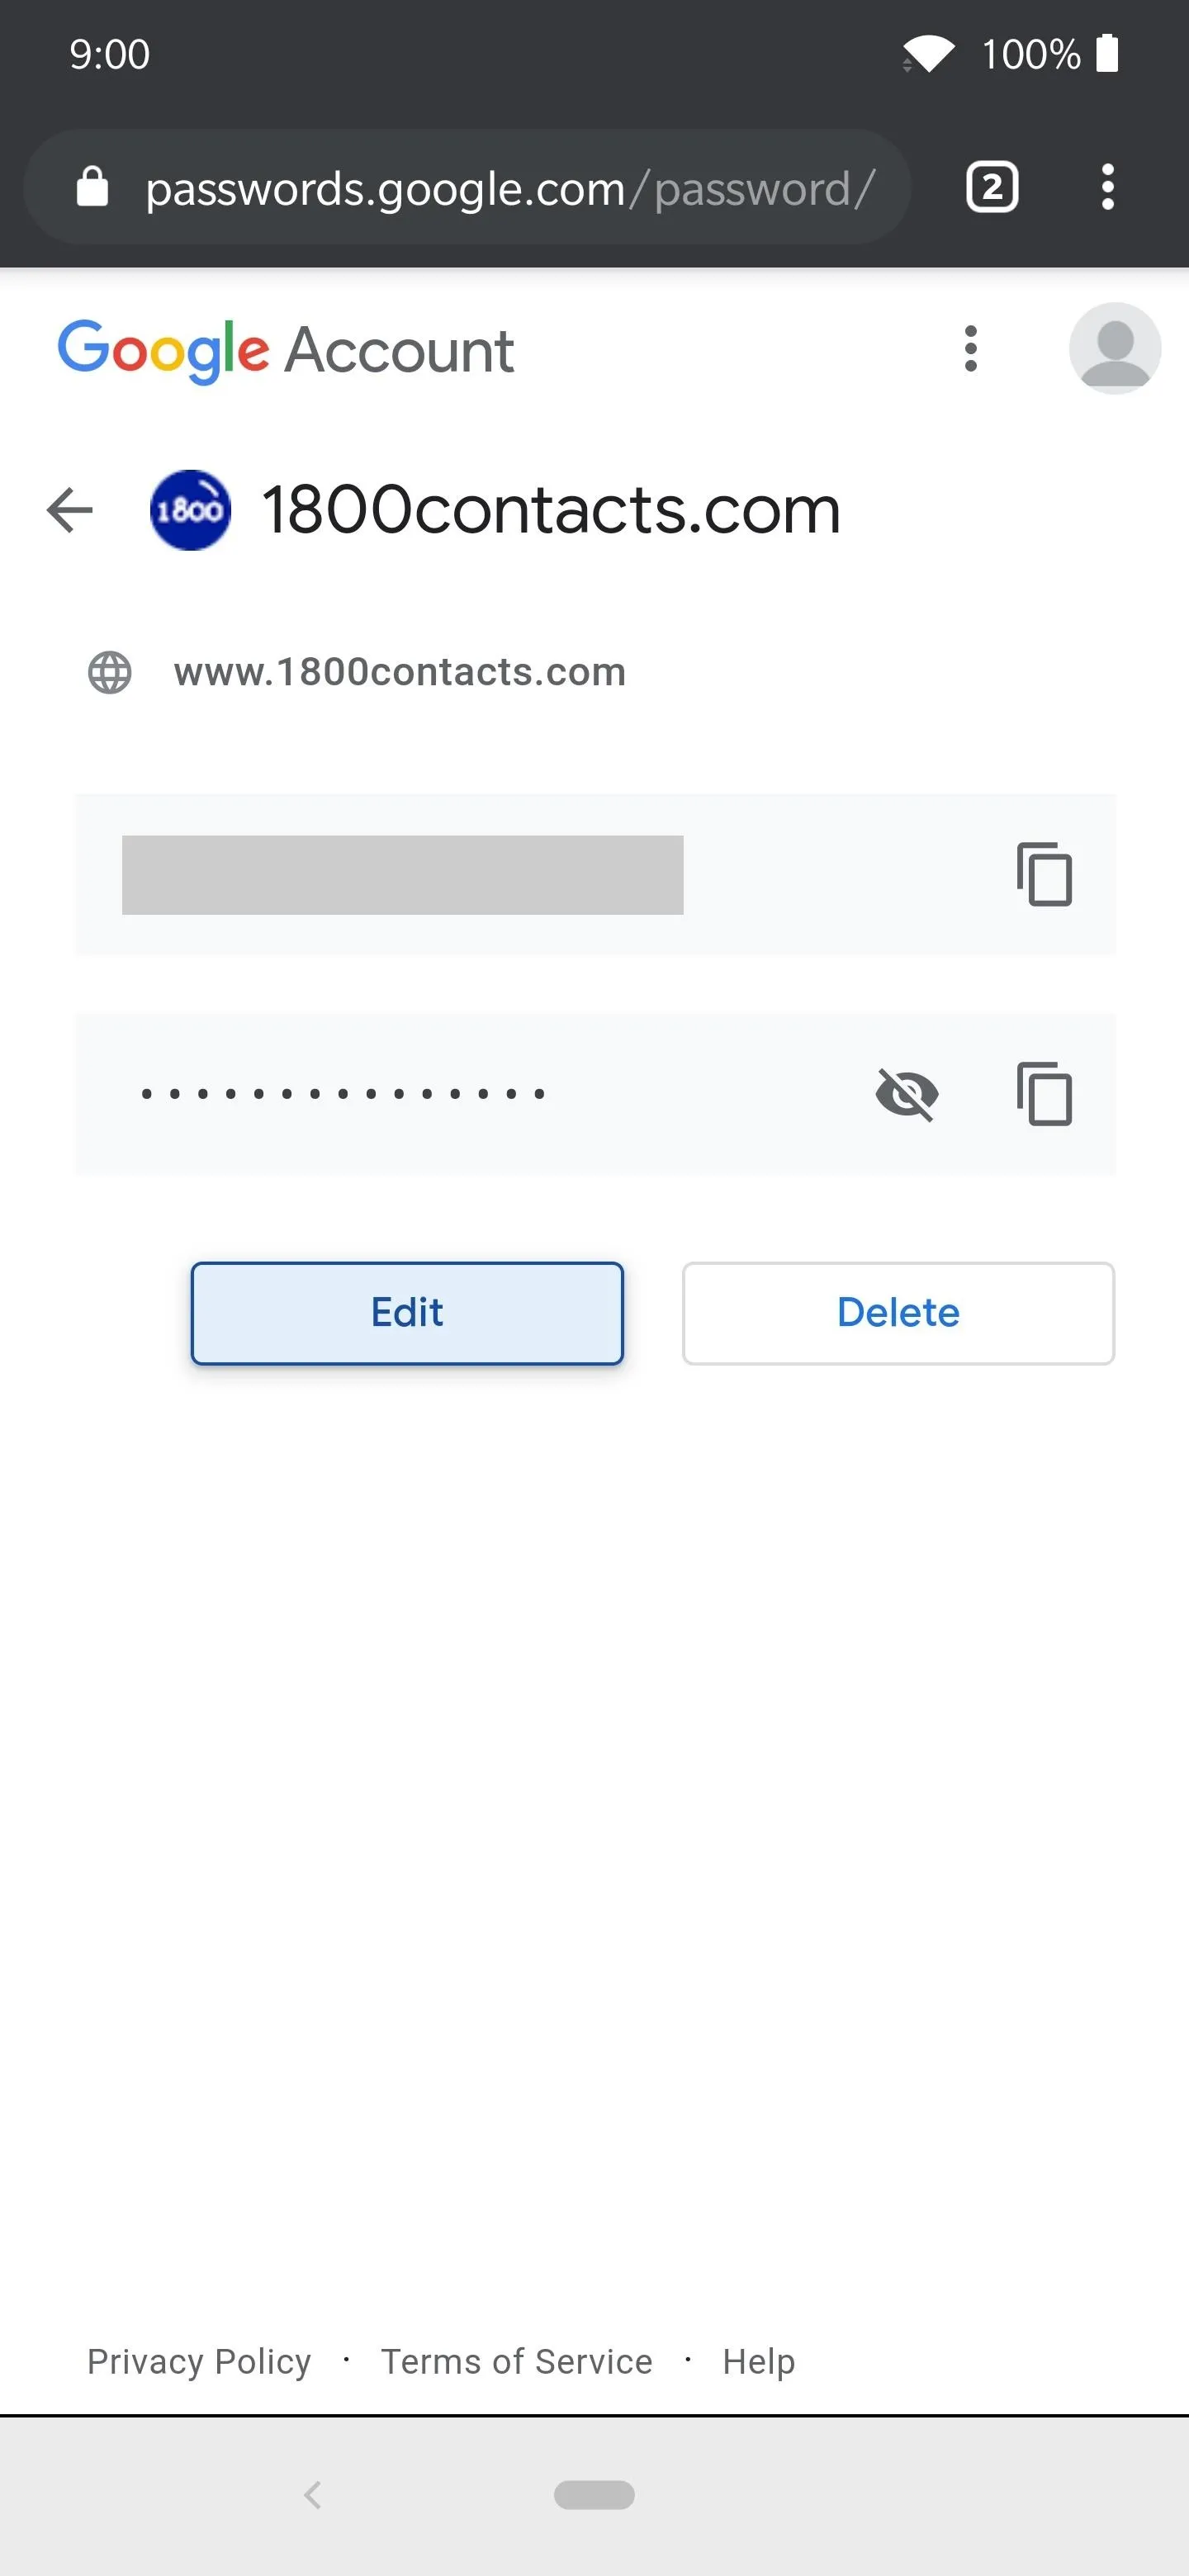
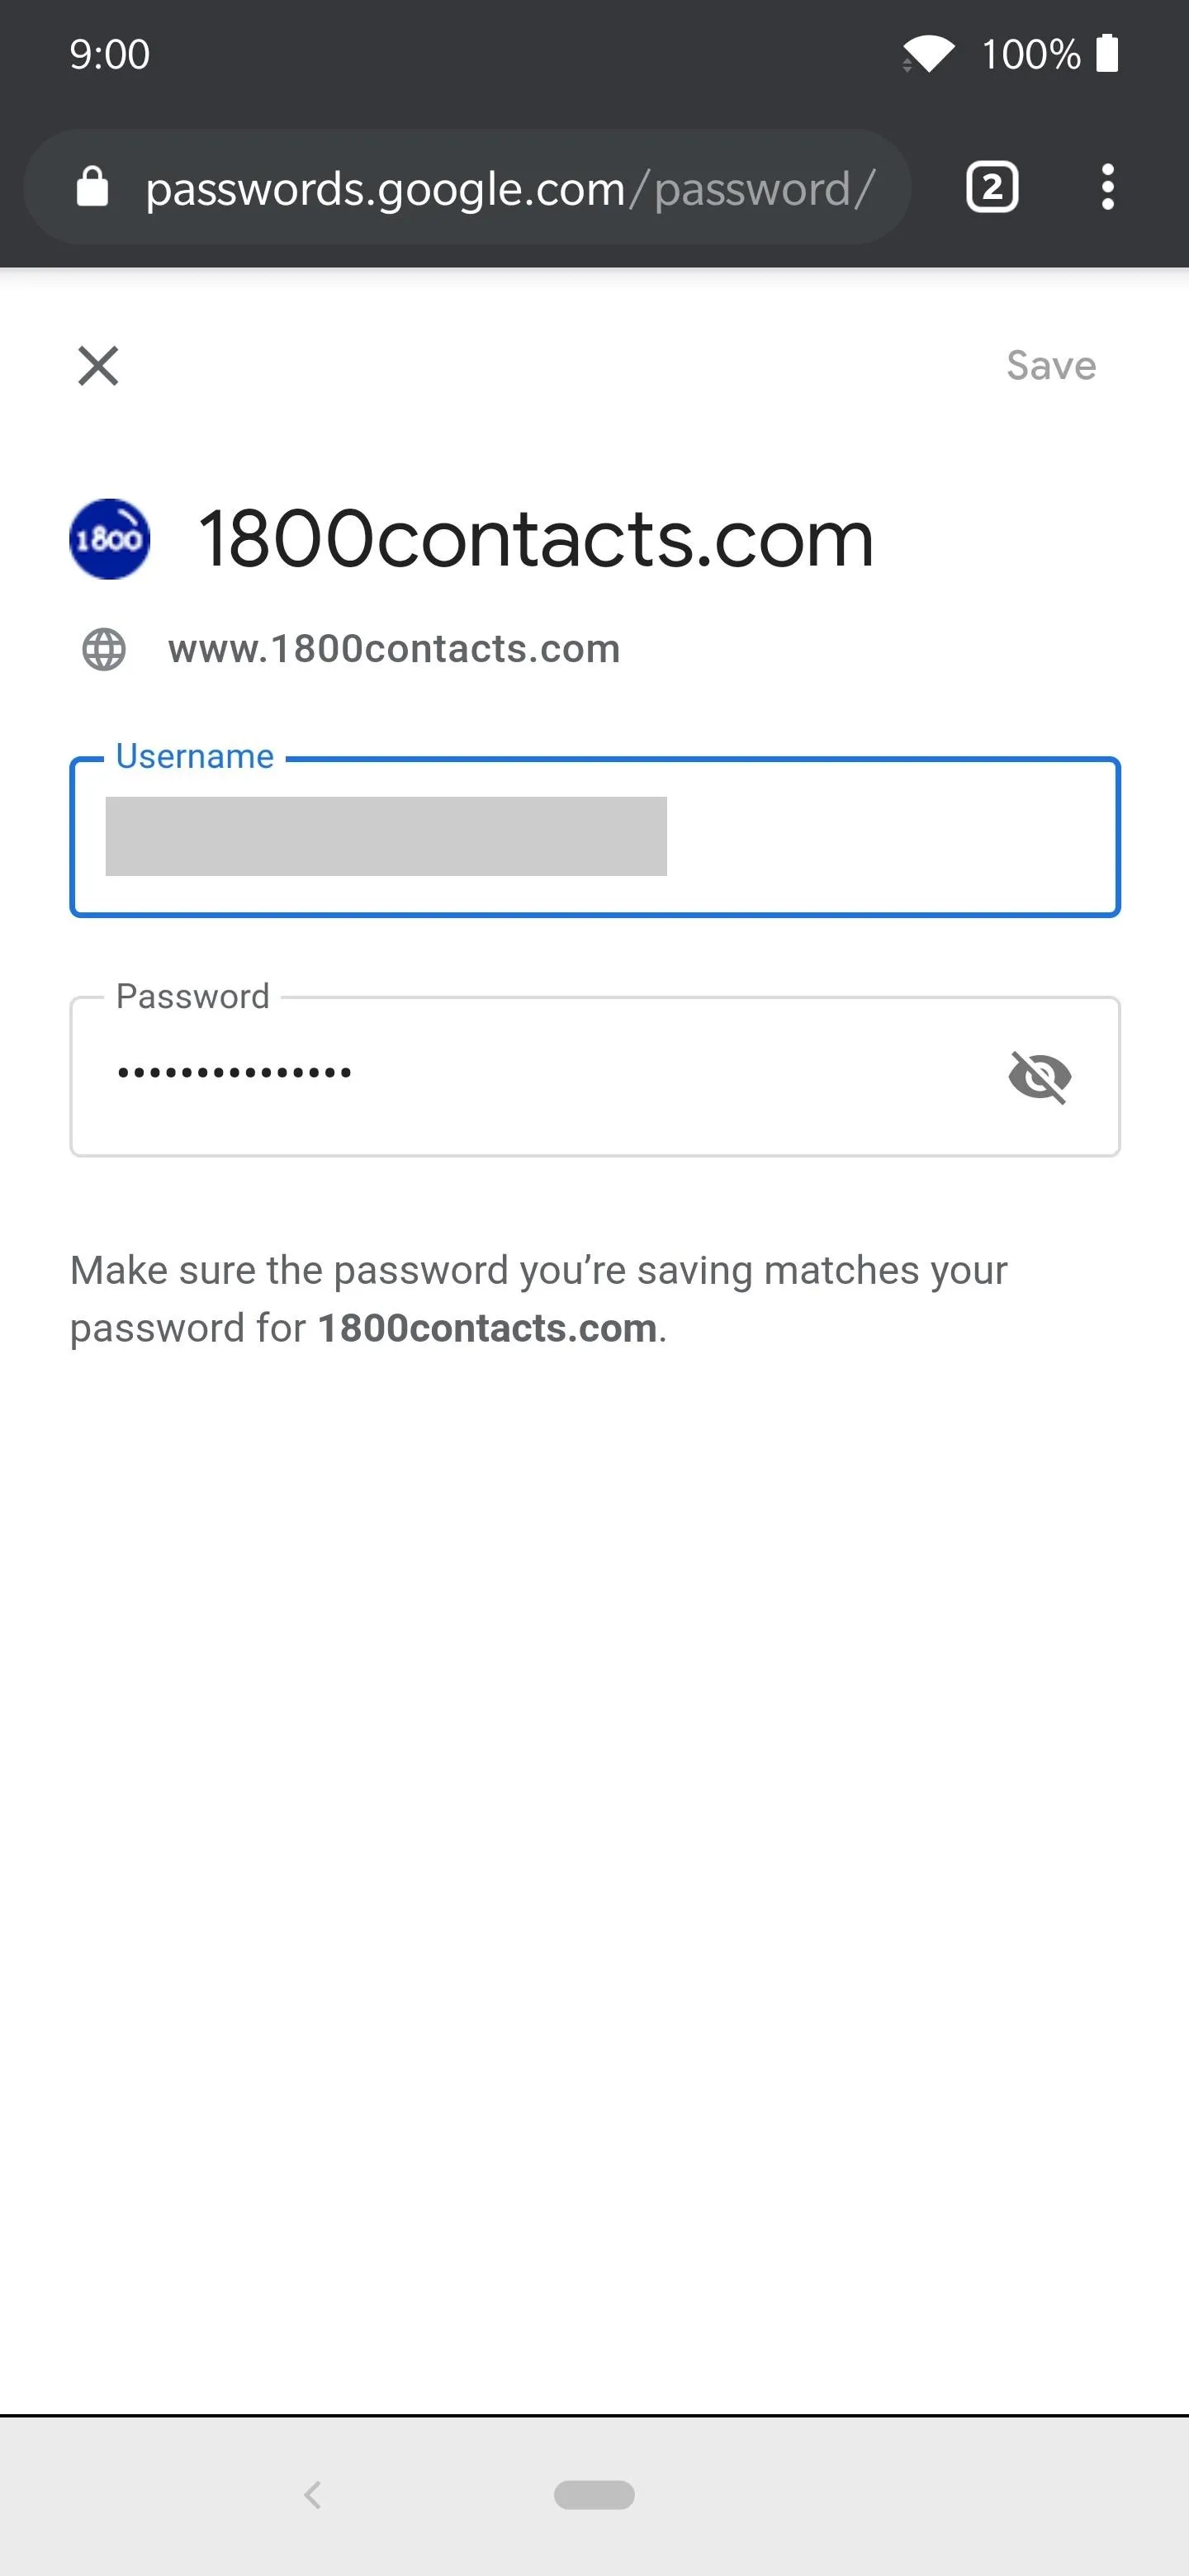
If you want to make changes to your passwords at any time, from the main passwords page in Chrome, tap "View and manage saved passwords in your Google Account." This will bring you to the actual Password Manager section of your Google account, which is where you will be making the edits. You'll need to confirm your login credentials for the Google account before making any changes here too.


When you combine all the security features Google has brought to the table in the past year, a new level of data encryption, and locking passwords down with your biometrics, you can be sure your data is quite safe. In fact, thanks to all of these things combined, it's much more secure than you could ever get if you were still using the old password method of the past. Stay protected out there!
This article was produced during Gadget Hacks' special coverage on using your smartphone to boost productivity. Check out the whole Productivity series.
Cover image and screenshots by Stephen Perkins/Gadget Hacks









Comments
Be the first, drop a comment!