Not all threats to our privacy come from hackers thousands of miles away. Often, we just want to keep our data safe from those around us, who may snoop in our phones or demand we reveal our secrets. That's where BlackBerry Locker comes in.
Starting with the BlackBerry KEYone, every BlackBerry smartphone manufactured by TCL (including the new KEY2) comes preinstalled with BlackBerry Locker, a password-protected folder. Integrated into the hardware, BlackBerry Locker is a well-protected folder that can not only keep files locked away, but hide entire apps. It's with this level of protection that it can guard your most sensitive data.
Password-Protect Your Locker
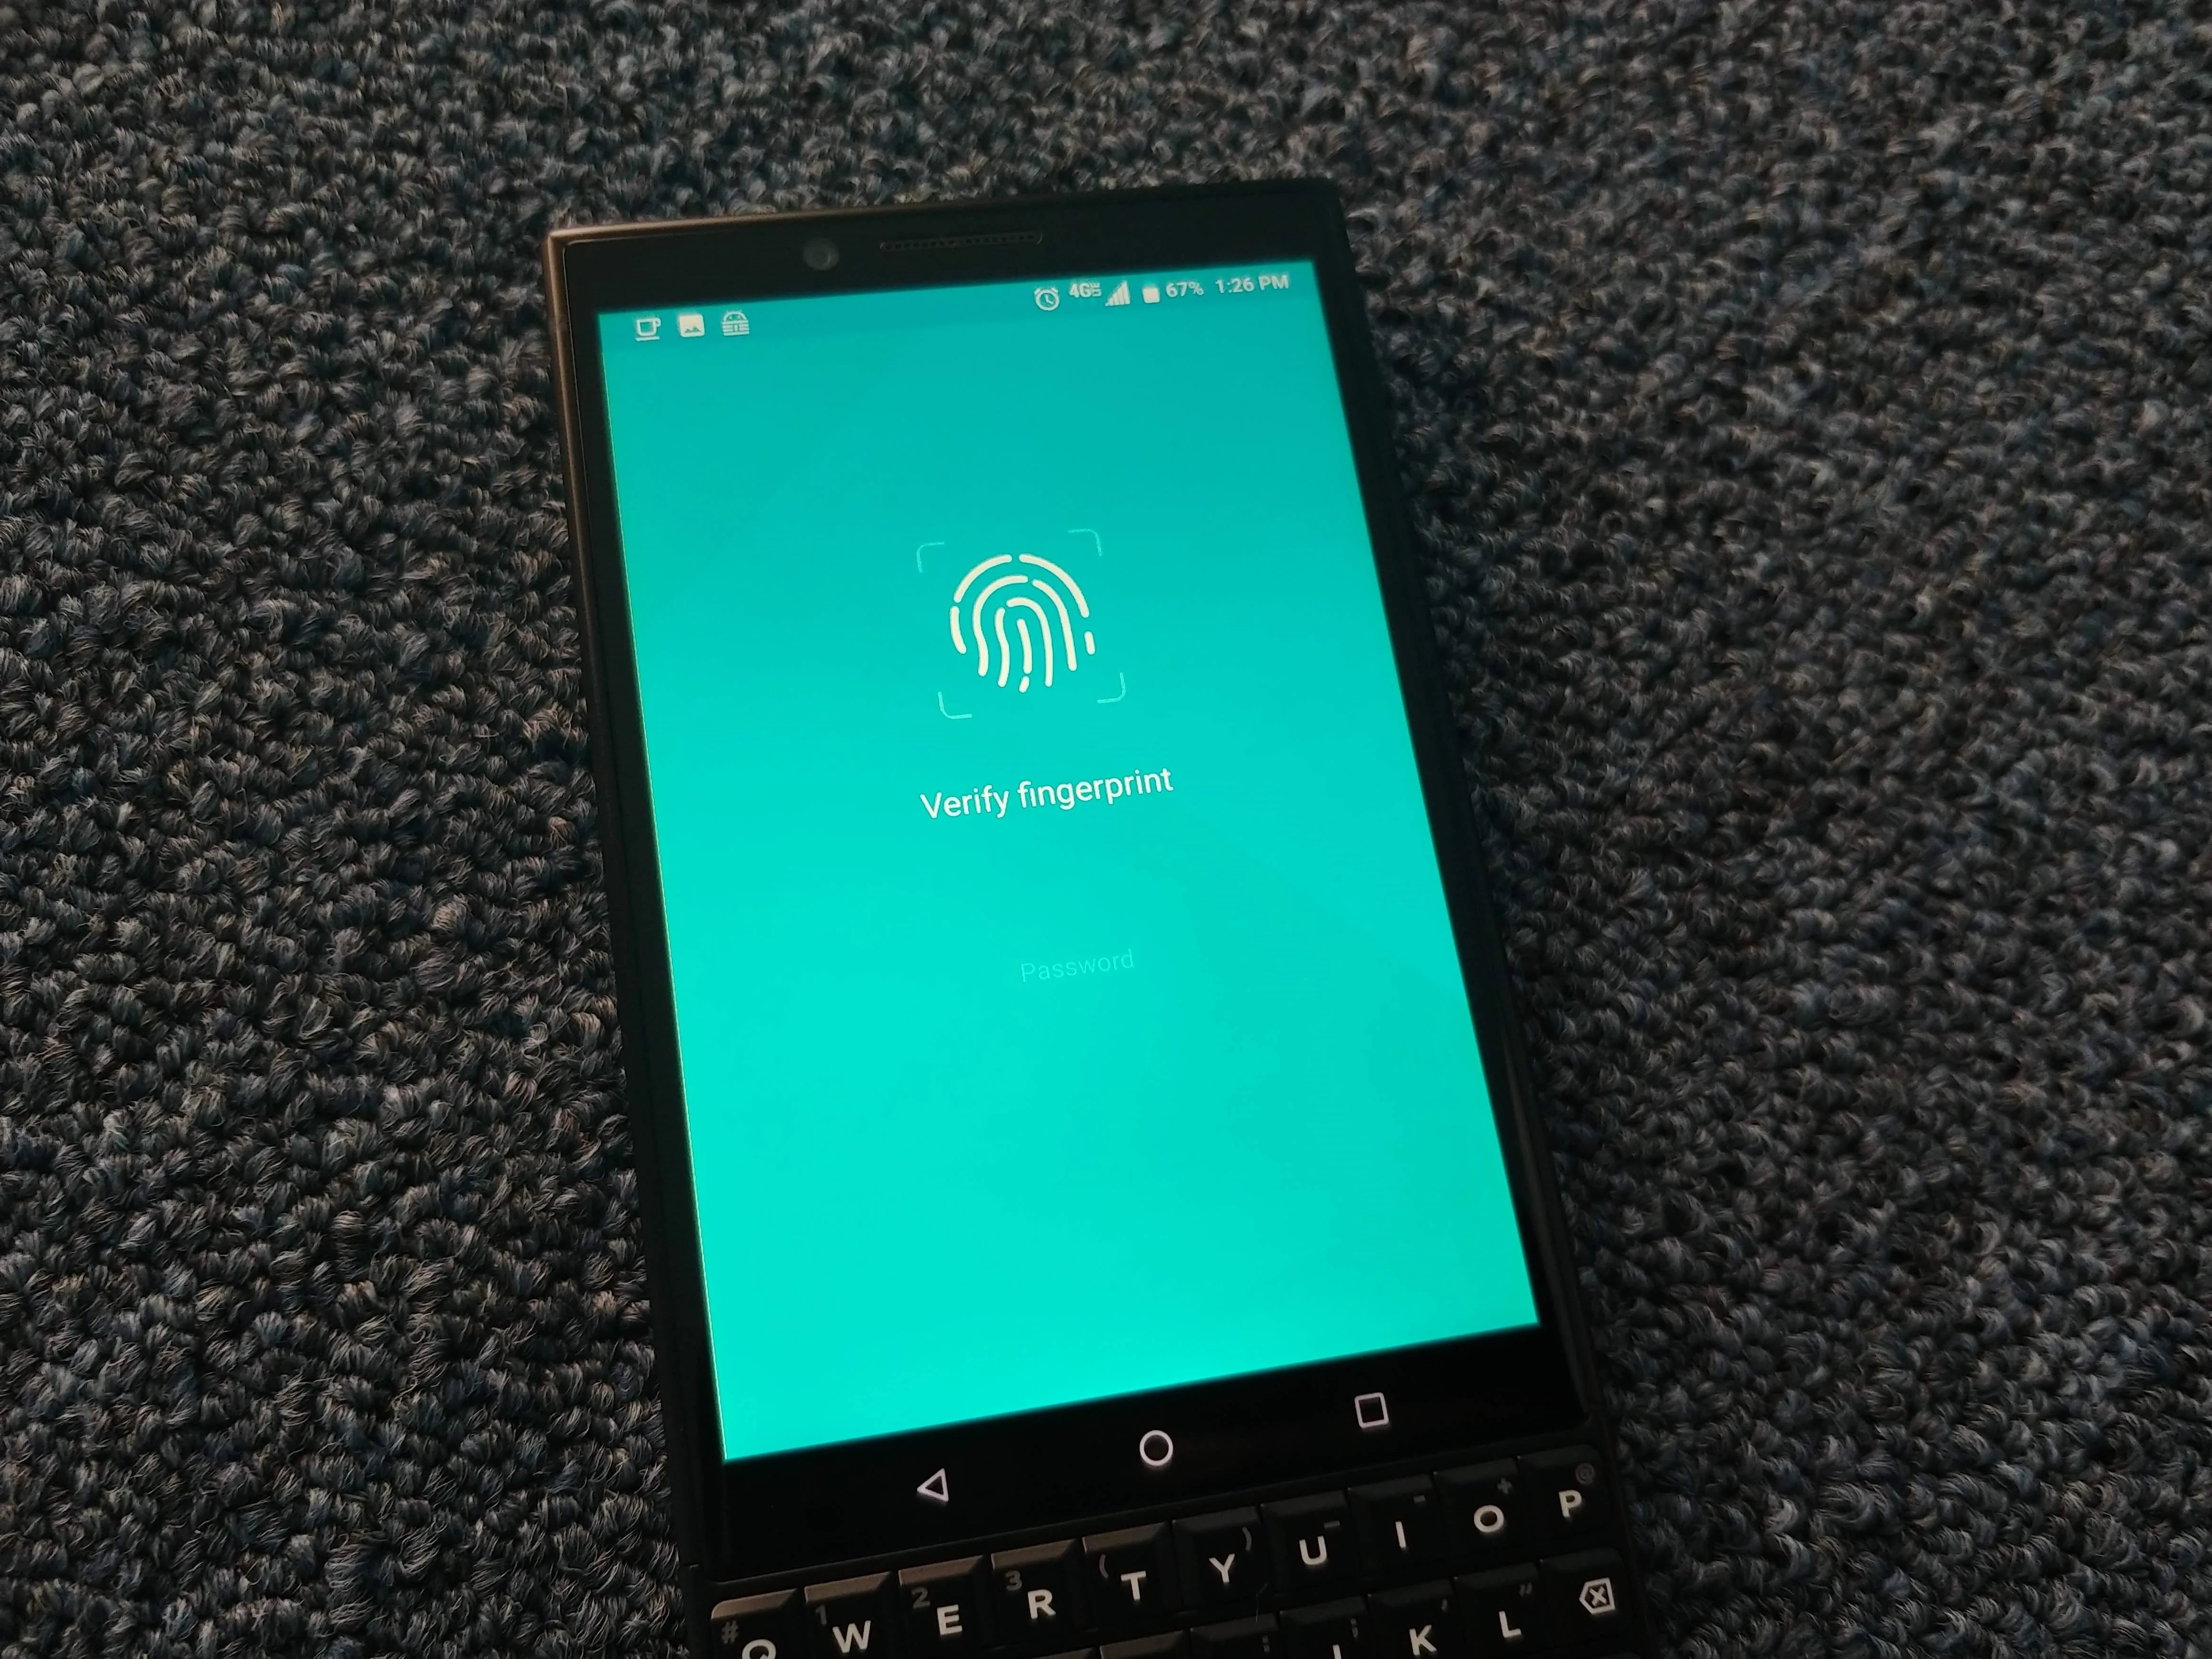
When you first open Locker, you'll be prompted to create a password. This password is used in the encryption of your Locker and should be stored safely (preferably in a password manager).
After inputting your password, BlackBerry Locker will ask if you wish to activate fingerprint authentication, which you can accept by placing your registered finger on the scanner. Once completed, your Locker is secured and will be populated with three icons: Photo Gallery, Private Files, and Firefox Focus (for private browsing).
Protect & Hide Files and Apps
Any app installed on your device can be relocated to BlackBerry Locker. After opening Locker, select the floating action button located in the bottom-right corner and choose "Add Apps." Select the apps you wish to move to the Locker, then tap the checkmark in the upper-right corner when you're finished. Now, to use the apps you moved, you must first unlock Locker.
Locker can also hide these apps to prevent them from being found in other areas of your phone like your app drawer. By selecting the gear icon in the upper-right corner of the main page and choosing "Hide private apps," your apps will only be accessible via keyboard shortcuts and the Locker. Therefore, unless someone knows the shortcut, an unauthorized user won't even know about the app. And if they do know the shortcut, it's still password-protected.
Files of any type can also be transferred to the Locker in a similar fashion. Using the same floating action button on the main page, select "Add Files." A new screen will emerge showing common file types, including "Installers" (APK) and "Archives" (ZIP). If the file you are looking for is one of those file types, you can select the corresponding option to reveal a list of all files of that type. However, you can also select "Others" to access all non-root folders to locate any file.
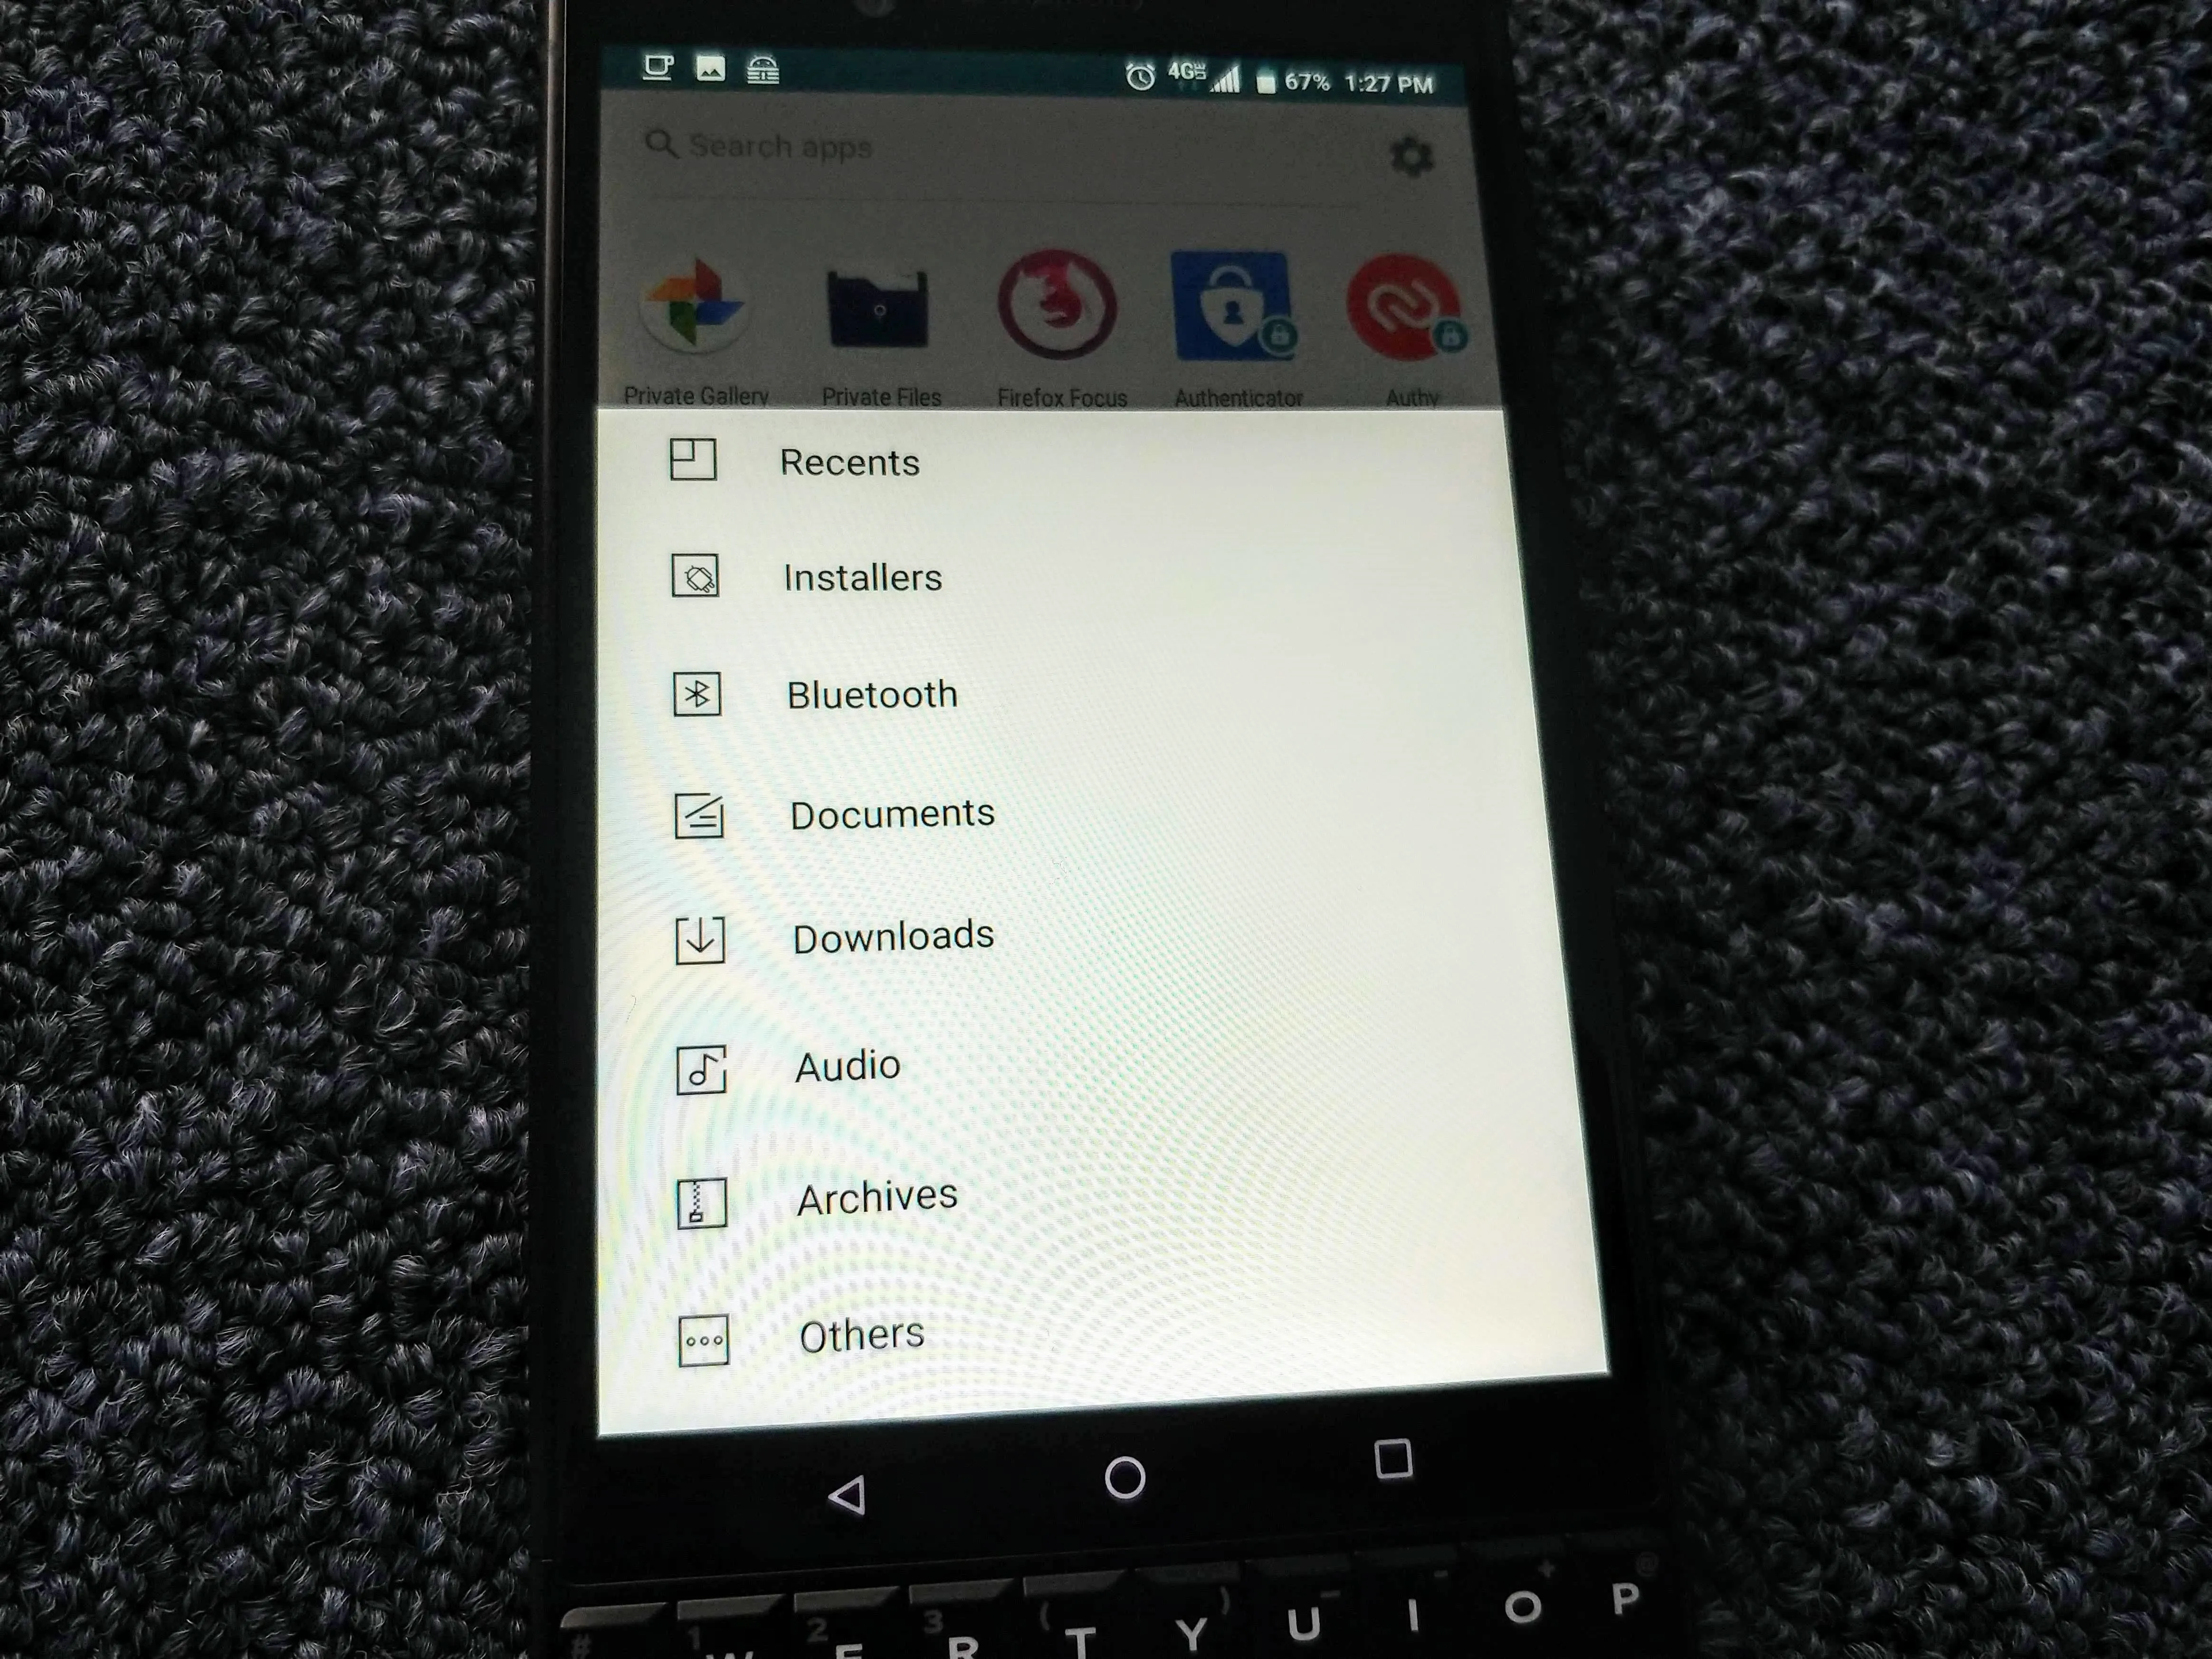
When you move files into the Locker, they're automatically hidden from other areas of your phone, so you don't need to go through the additional step of hiding them like you did with the apps.
Hide Locker (Optional)
Let's say you hide personal apps and files in Locker and lend your phone to your significant other, believing it's safe and sound. If they are already suspicious and see the Locker app, they may demand access to it, revealing all the information you were trying to hide. Thankfully, this can be avoided by hiding Locker itself.
Using the gear icon in the upper-right corner of the main page, choose "Advanced settings." Select the checkbox next to "Hide Locker in launcher" to hide the Locker app. With this feature enabled, Locker will no longer appear on the BlackBerry launcher or in your app drawer. You will need to either search for the app in the app drawer or use a custom shortcut to launch the app.
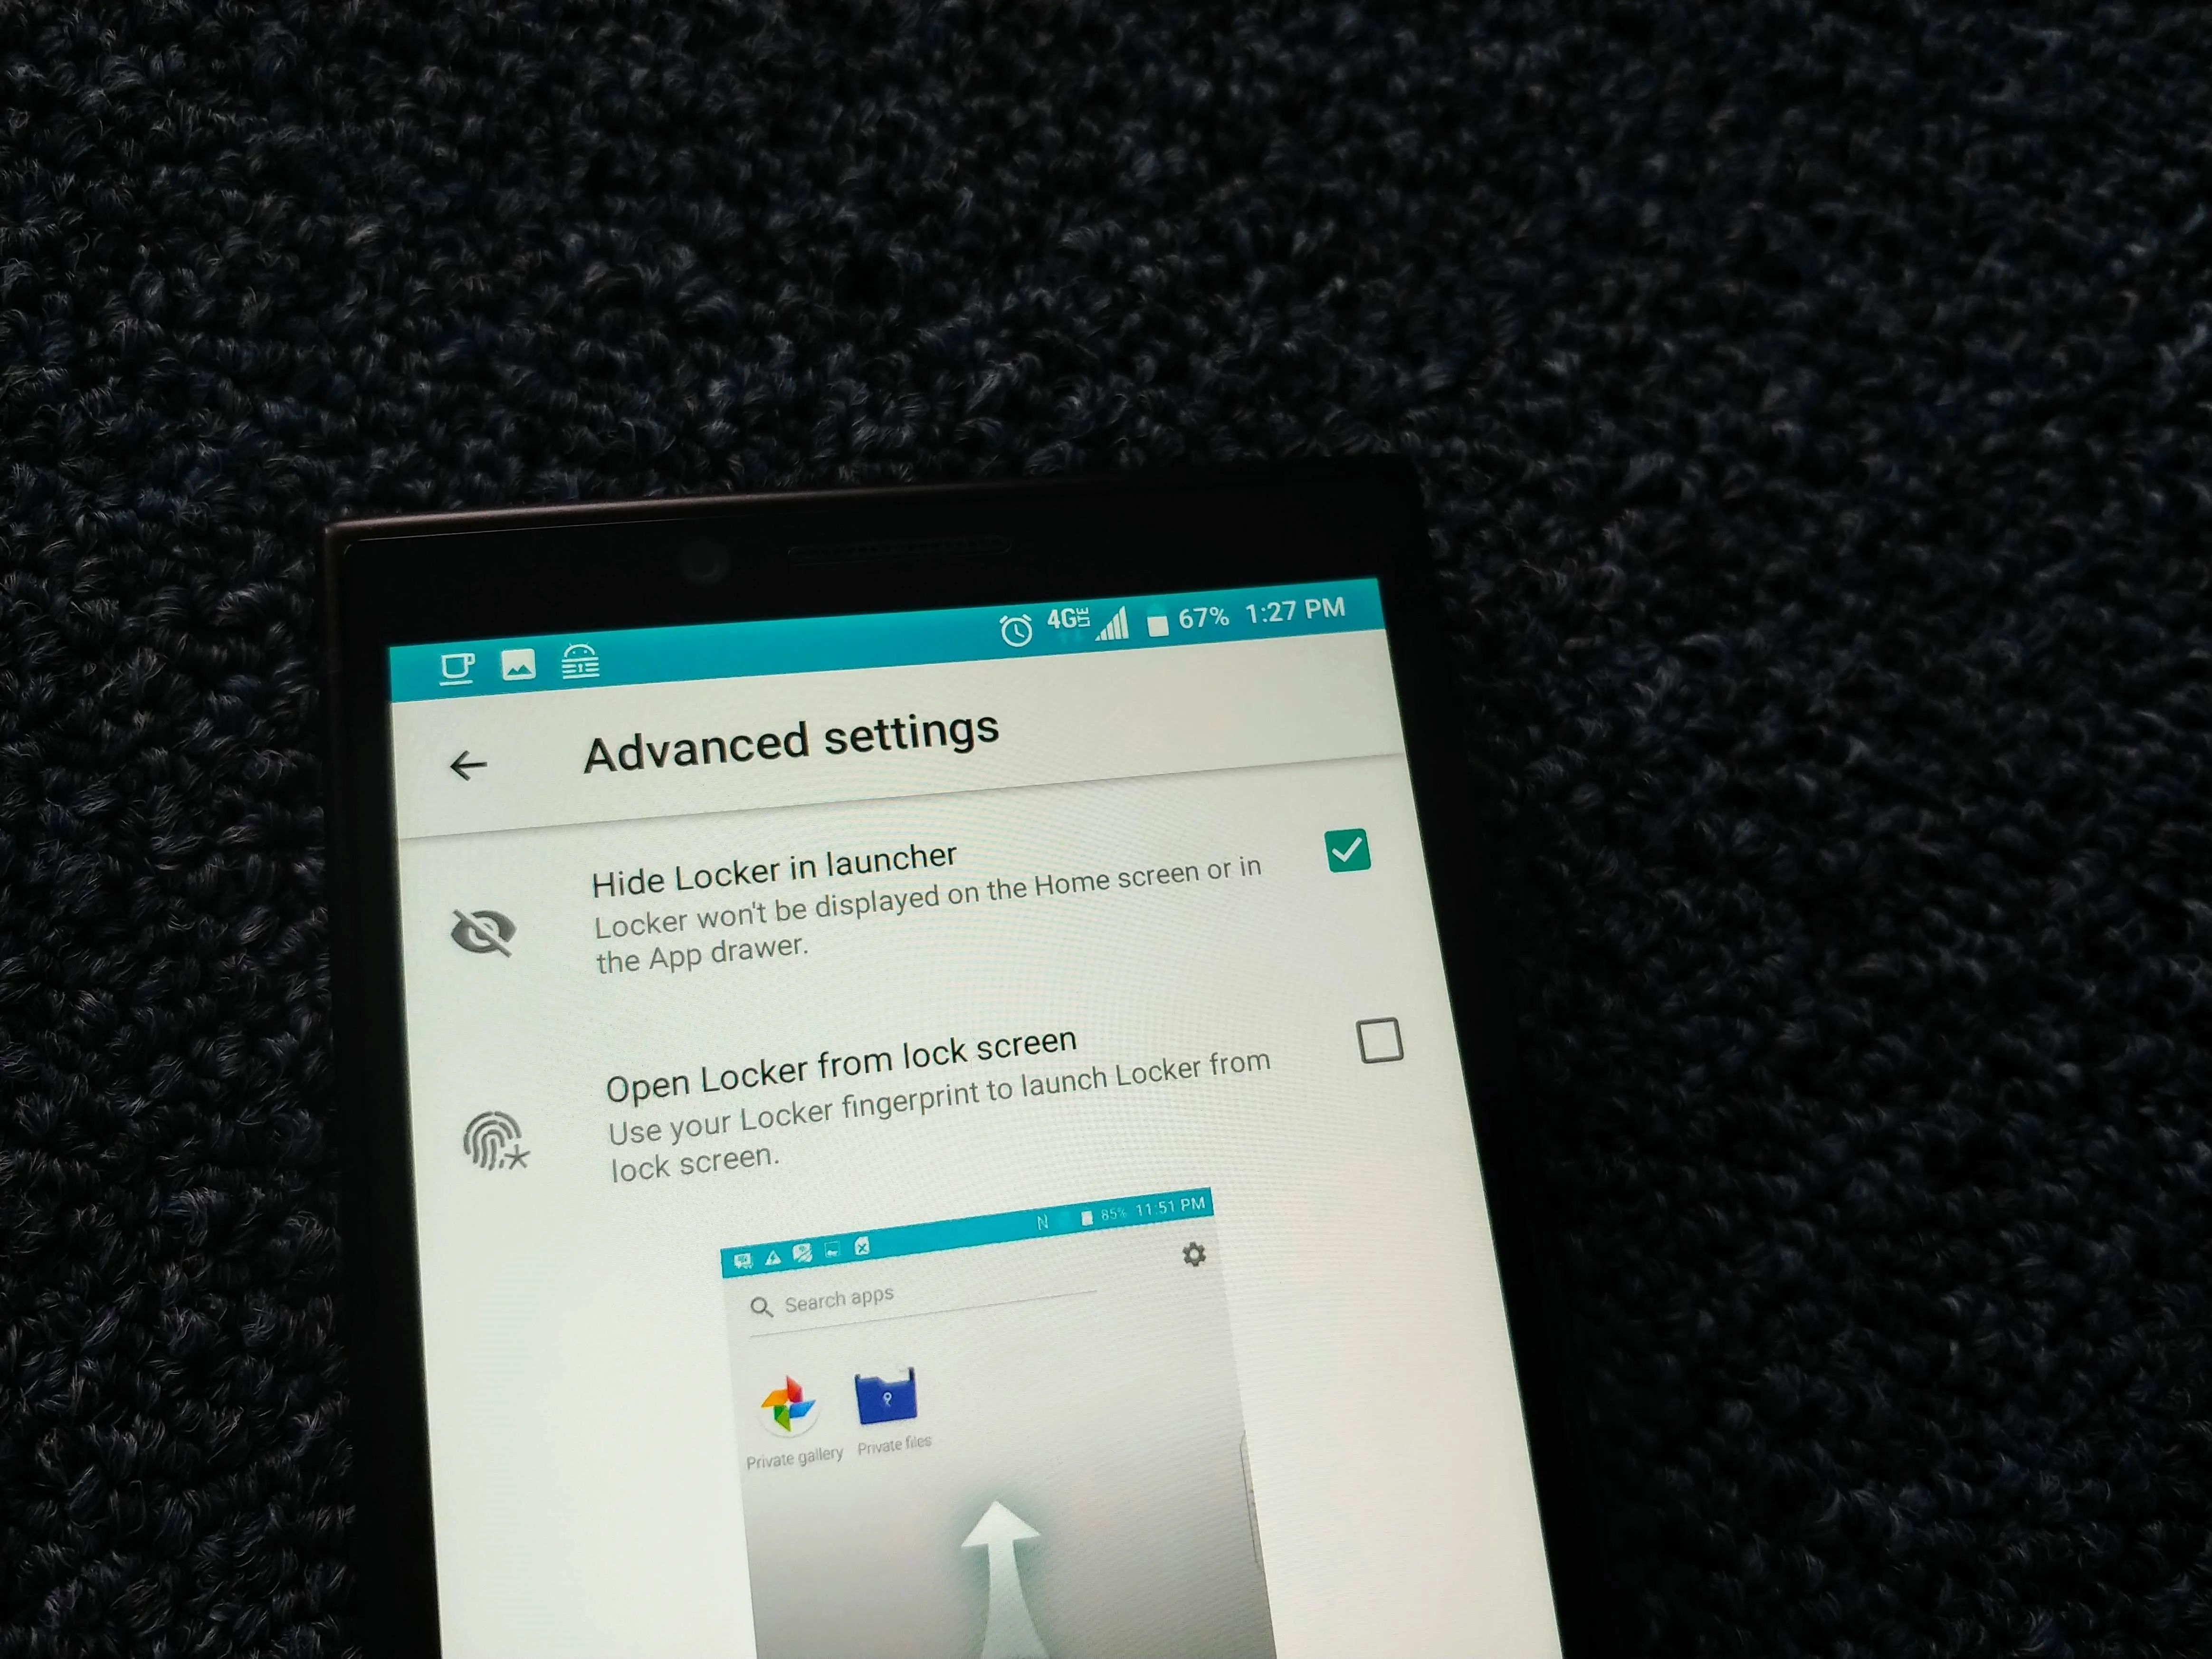
Notice how I said BlackBerry launcher. This feature doesn't always work with third-party home screen apps such as Nova Launcher. For those, you will need to use the launcher's built-in ability to hide the app as well.
Don't Miss: How to Hide Apps in Nova Launcher
Launch Locker from the Lock Screen (Optional)
If you'd like faster access to your Locker, select the gear icon in the upper-right corner of the main page and choose "Advanced settings." Tap the checkbox next to "Open Locker from lock screen."
Once selected, you will be prompted to touch the fingerprint sensor with a finger. This finger is important, as it will be the only finger you can use to launch Locker from the lock screen. I would suggest not using the thumb you typically use to unlock the phone unless you want to always jump into Locker. I would also suggest to not use the other thumb if you often switch hands to grip the phone.
Instead, use another finger (such as your index finger) so you can easily separate the authentication and not accidentally unlock the Locker unintentionally. You will need to register the new finger if it is currently not registered on your BlackBerry phone, but you can do that within the same prompt.

Automatically Store Pictures in the Locker (Optional)
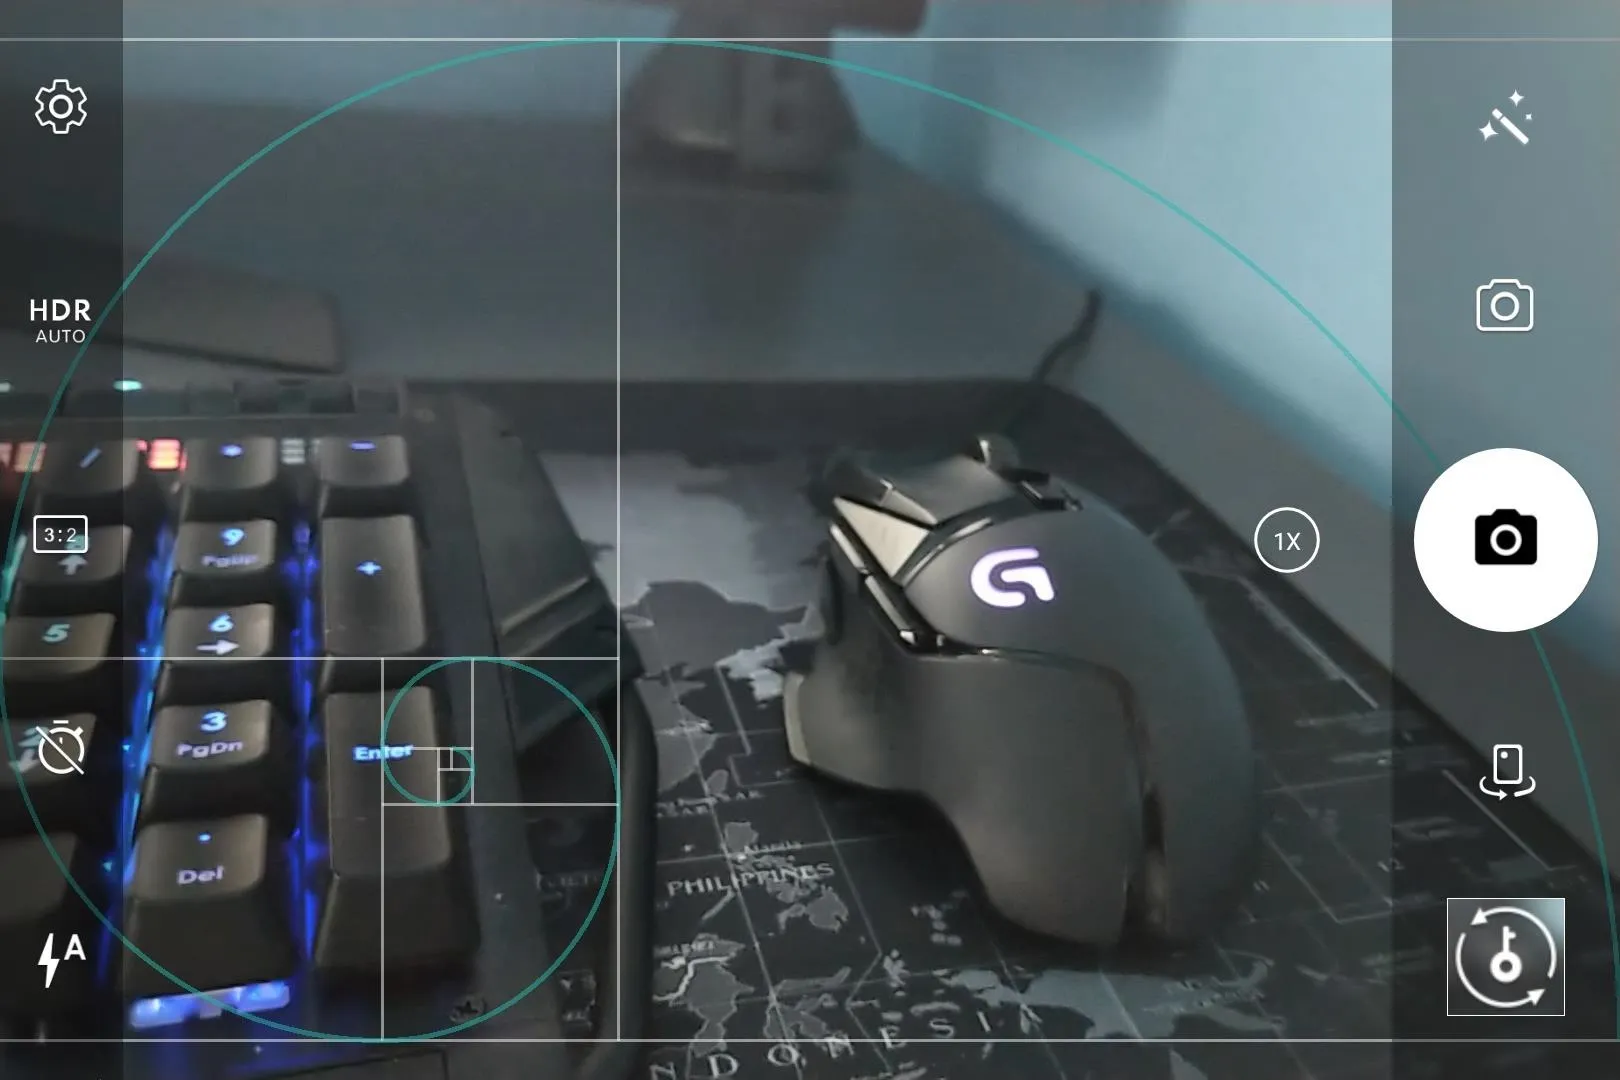
One of the niftier features of Locker is the ability to send pictures directly to the Locker. Specifically, pictures you just captured. With the BlackBerry camera app open, lightly tap the space bar. The phone will capture the picture but will store the image directly in the Locker. When done correctly, you will see a key icon over a blurred out image indicating this is a protected picture.
BlackBerry Locker offers top-tier protection for your local files and apps. Recognizing the need of their users to protect their information from people around them, BlackBerry provided the ability to not only password-protect their data, but to hide it from plain sight. What do you think about BlackBerry Locker? Let us know in the comments below.
- Follow Gadget Hacks on Facebook, Twitter, YouTube, and Flipboard
- Follow WonderHowTo on Facebook, Twitter, Pinterest, and Flipboard
Cover image and screenshots by Jon Knight/Gadget Hacks






Comments
Be the first, drop a comment!