Samsung has the Bixby key, Pixels have the Google Assistant squeeze gesture. It's nice having a hardware button just for your assistant so you don't have to say "OK Google" or press an on-screen button. If your phone doesn't have such a shortcut, though, you can remap an existing hardware button to trigger the Google Assistant.
There are many benefits of having a dedicated button for Google Assistant. For instance, if you have many Google devices in the proximity, you can trigger the correct device by pressing the hardware button. Maybe you just hate saying "OK Google" and you want an alternative way to trigger the assistant outside of your current methods.
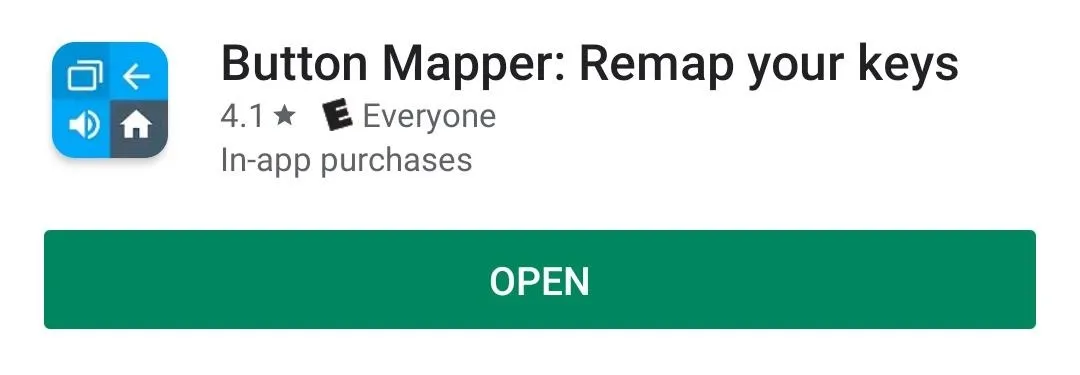
Download Button Mapper
The best app for making one of your buttons open the Google Assistant is called Button Mapper. It was created by one of our favorite developers, flar2, AKA Aaron Segaert. The app gets constant updates, so it should be compatible with the vast majority of Android devices.
- Play Store Link: Button Mapper (free)
Enable the Accessibility Service
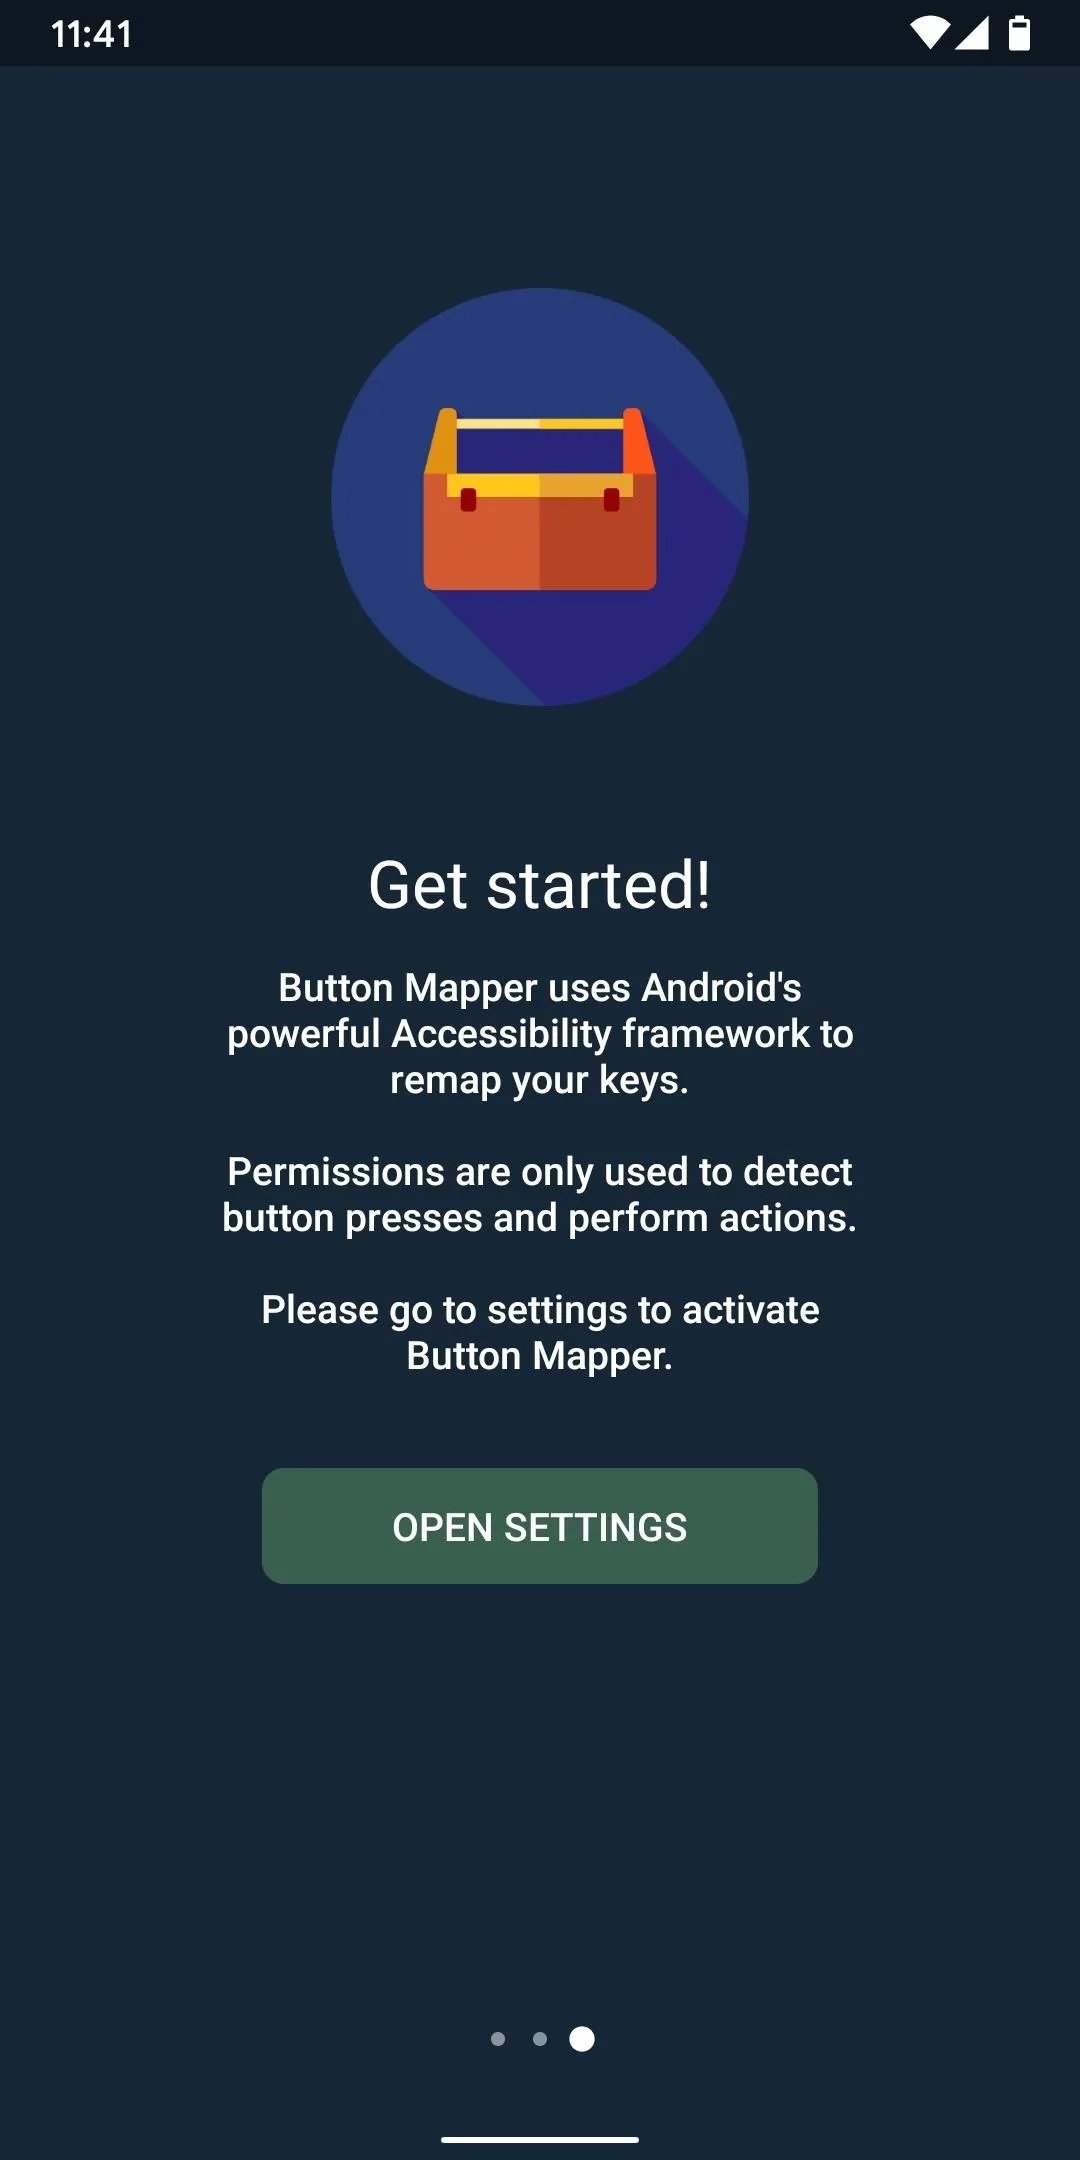
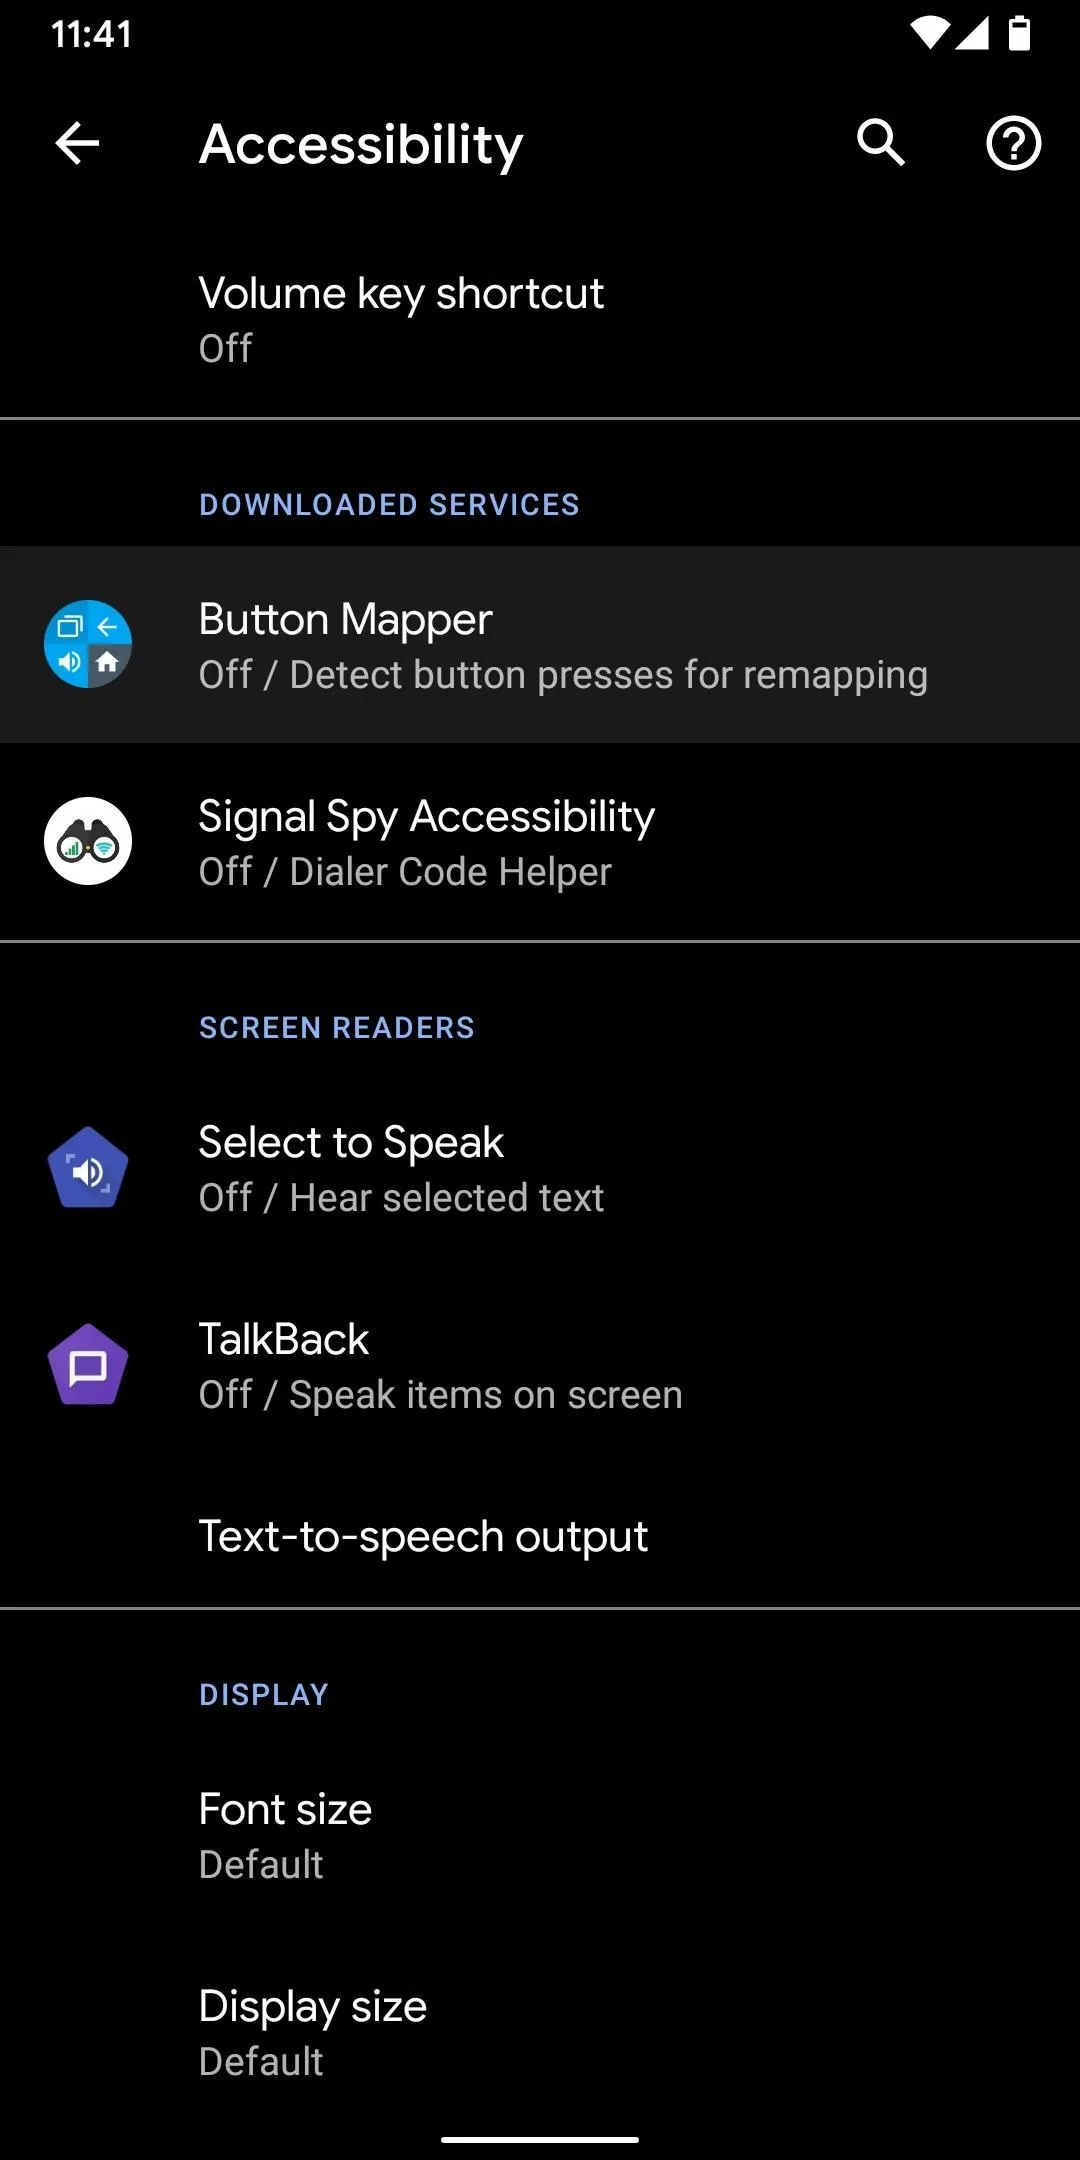
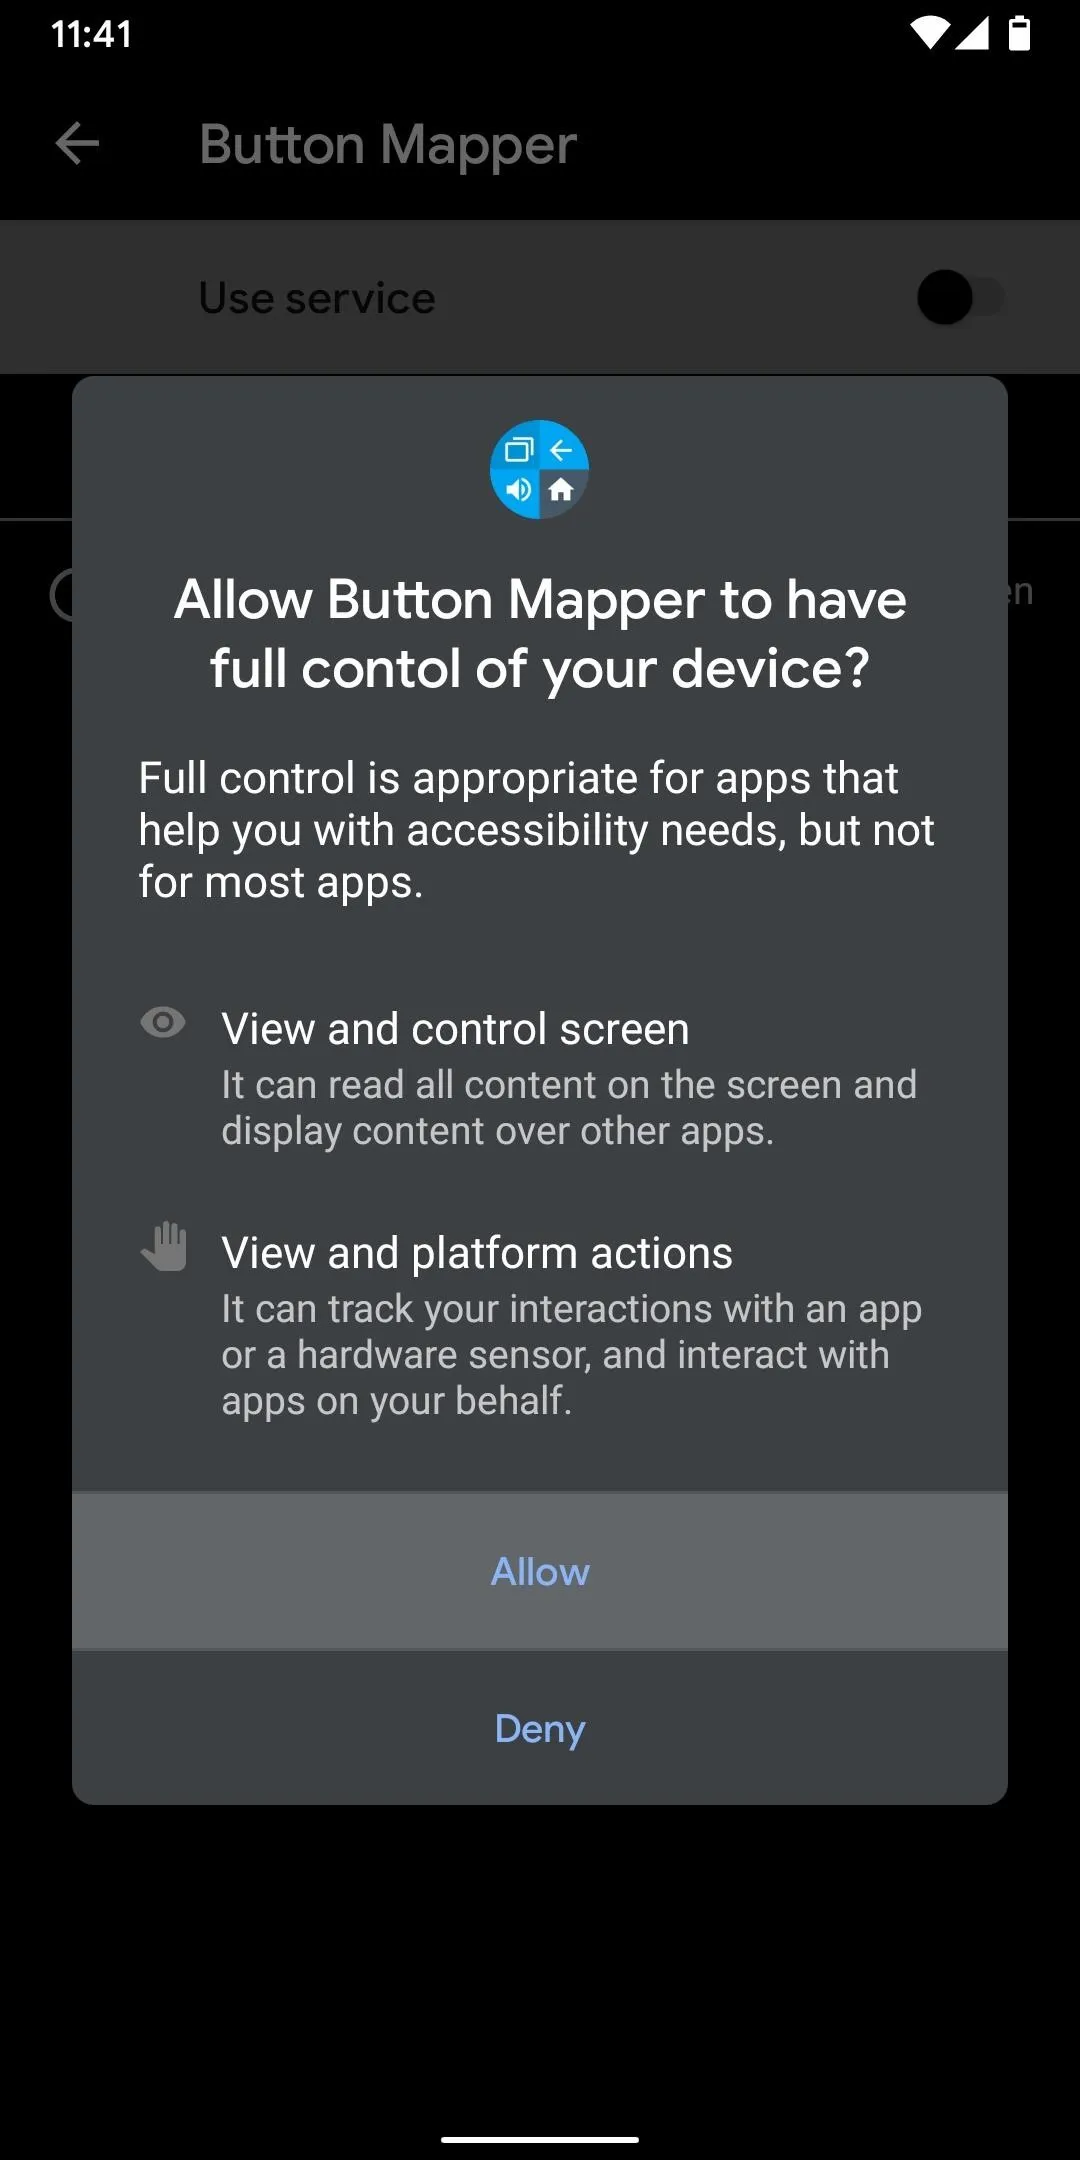
Launch the Button Mapper app and swipe left to go past the first two screens. When you make it to the "Get started!" screen, tap "Open Settings," then select Button Mapper on the following page. From there, enable the toggle switch next to "Use service," then tap "Allow" when prompted and back out to the app. This accessibility service is what allows the app to change what actions your hardware buttons perform.


Remap a Hardware Key
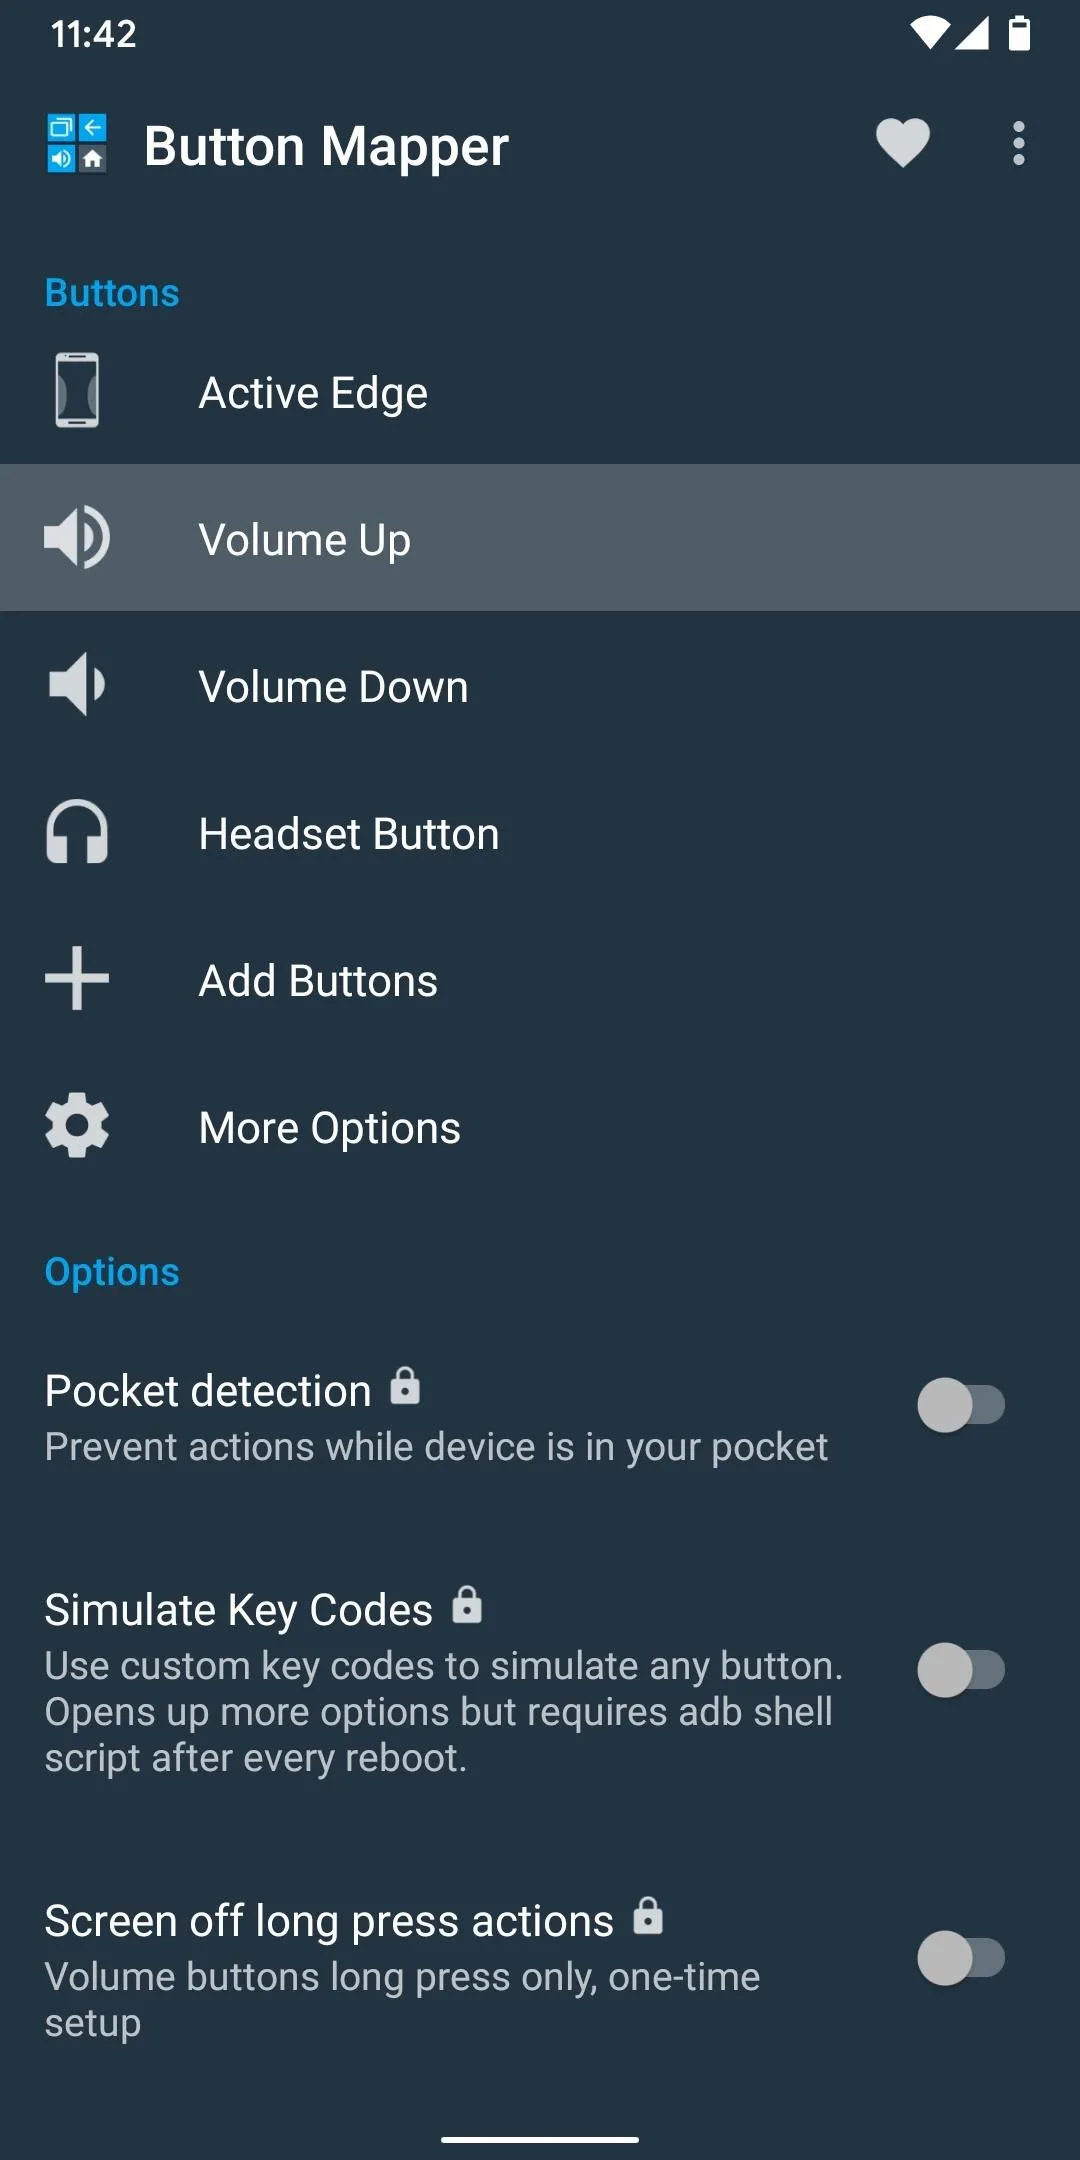
From Button Mapper's main screen, choose a hardware key that you want to use to launch the Google Assistant. All of the available buttons on your device should be listed under the Buttons header. Then, at the top of the next screen, enable the switch next to "Customize."
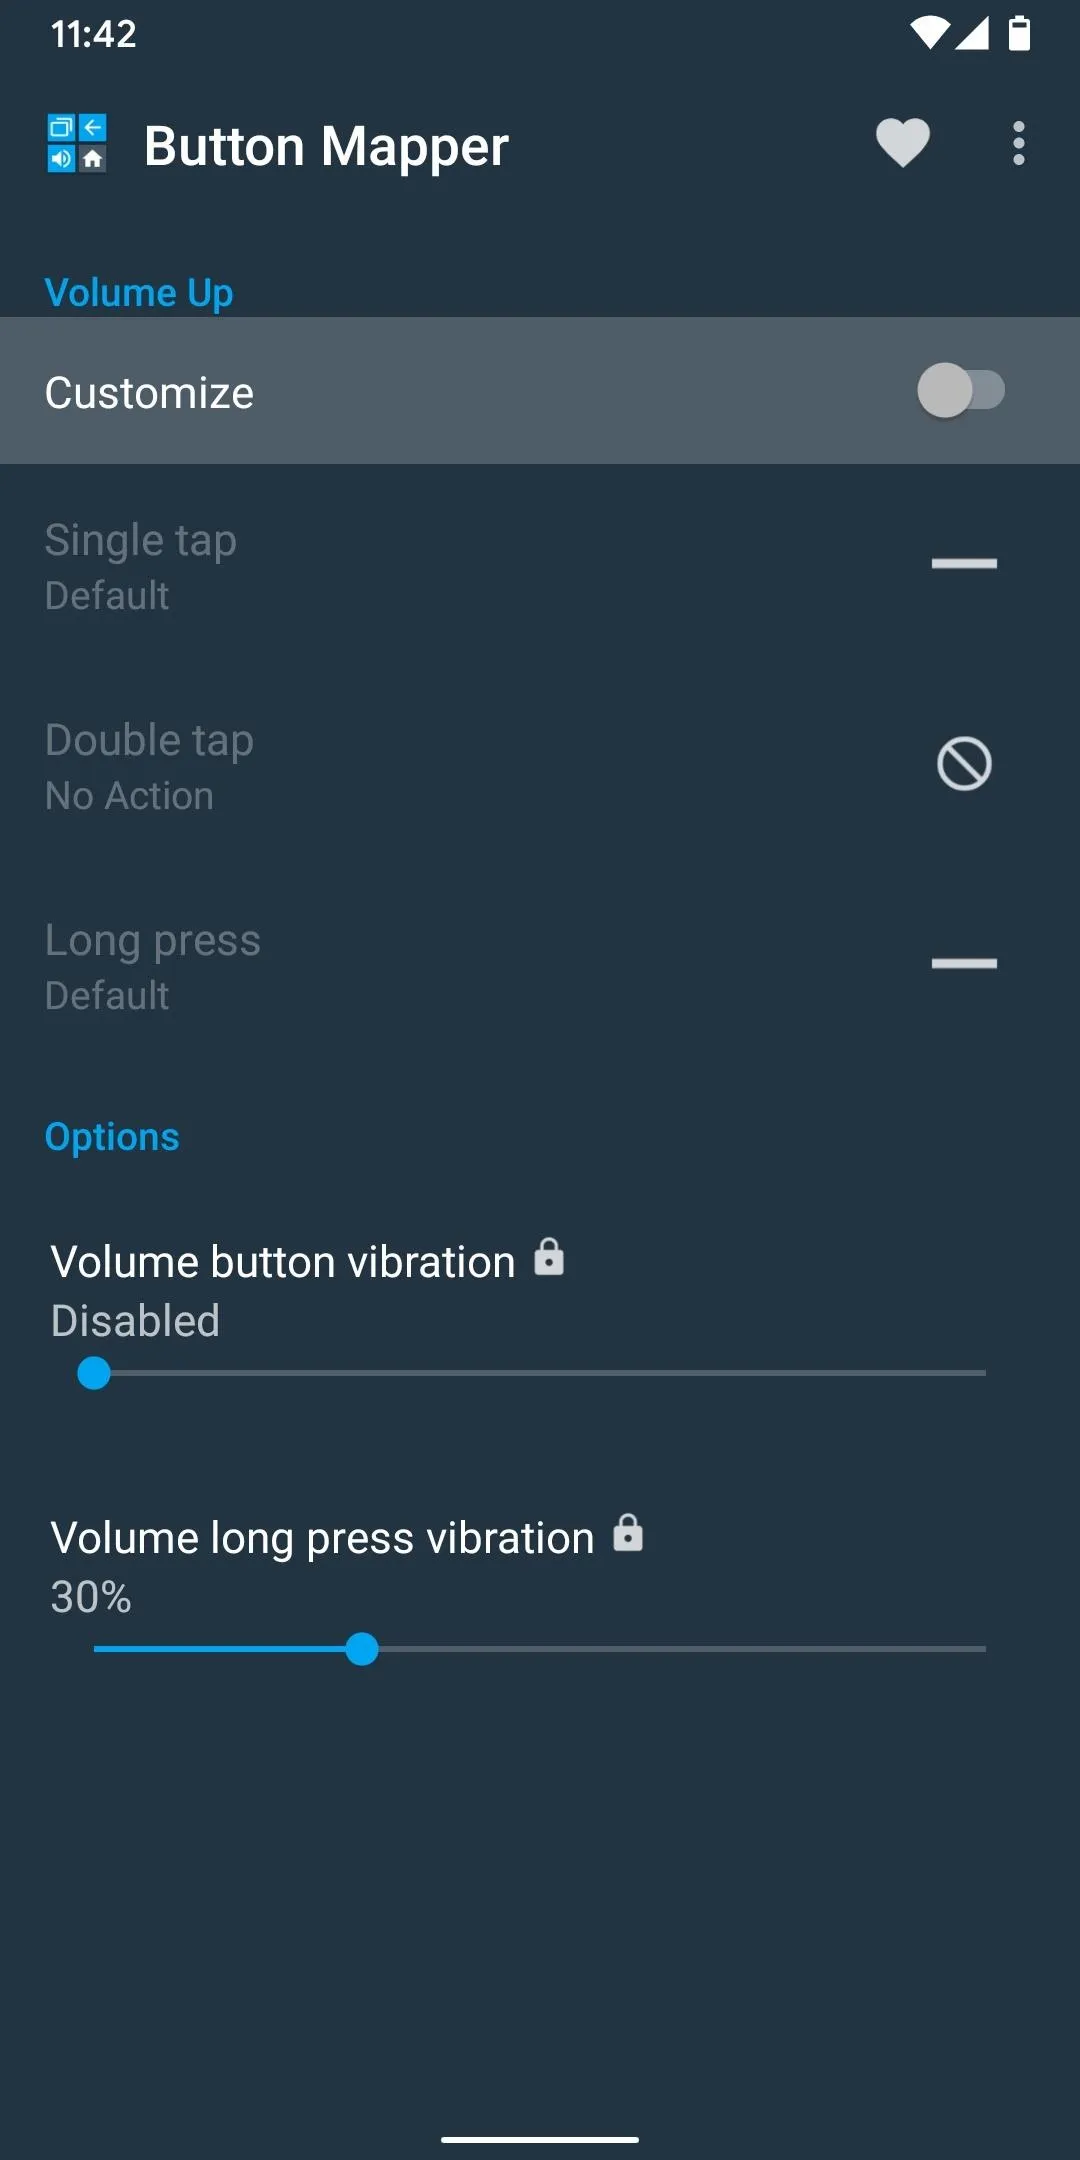


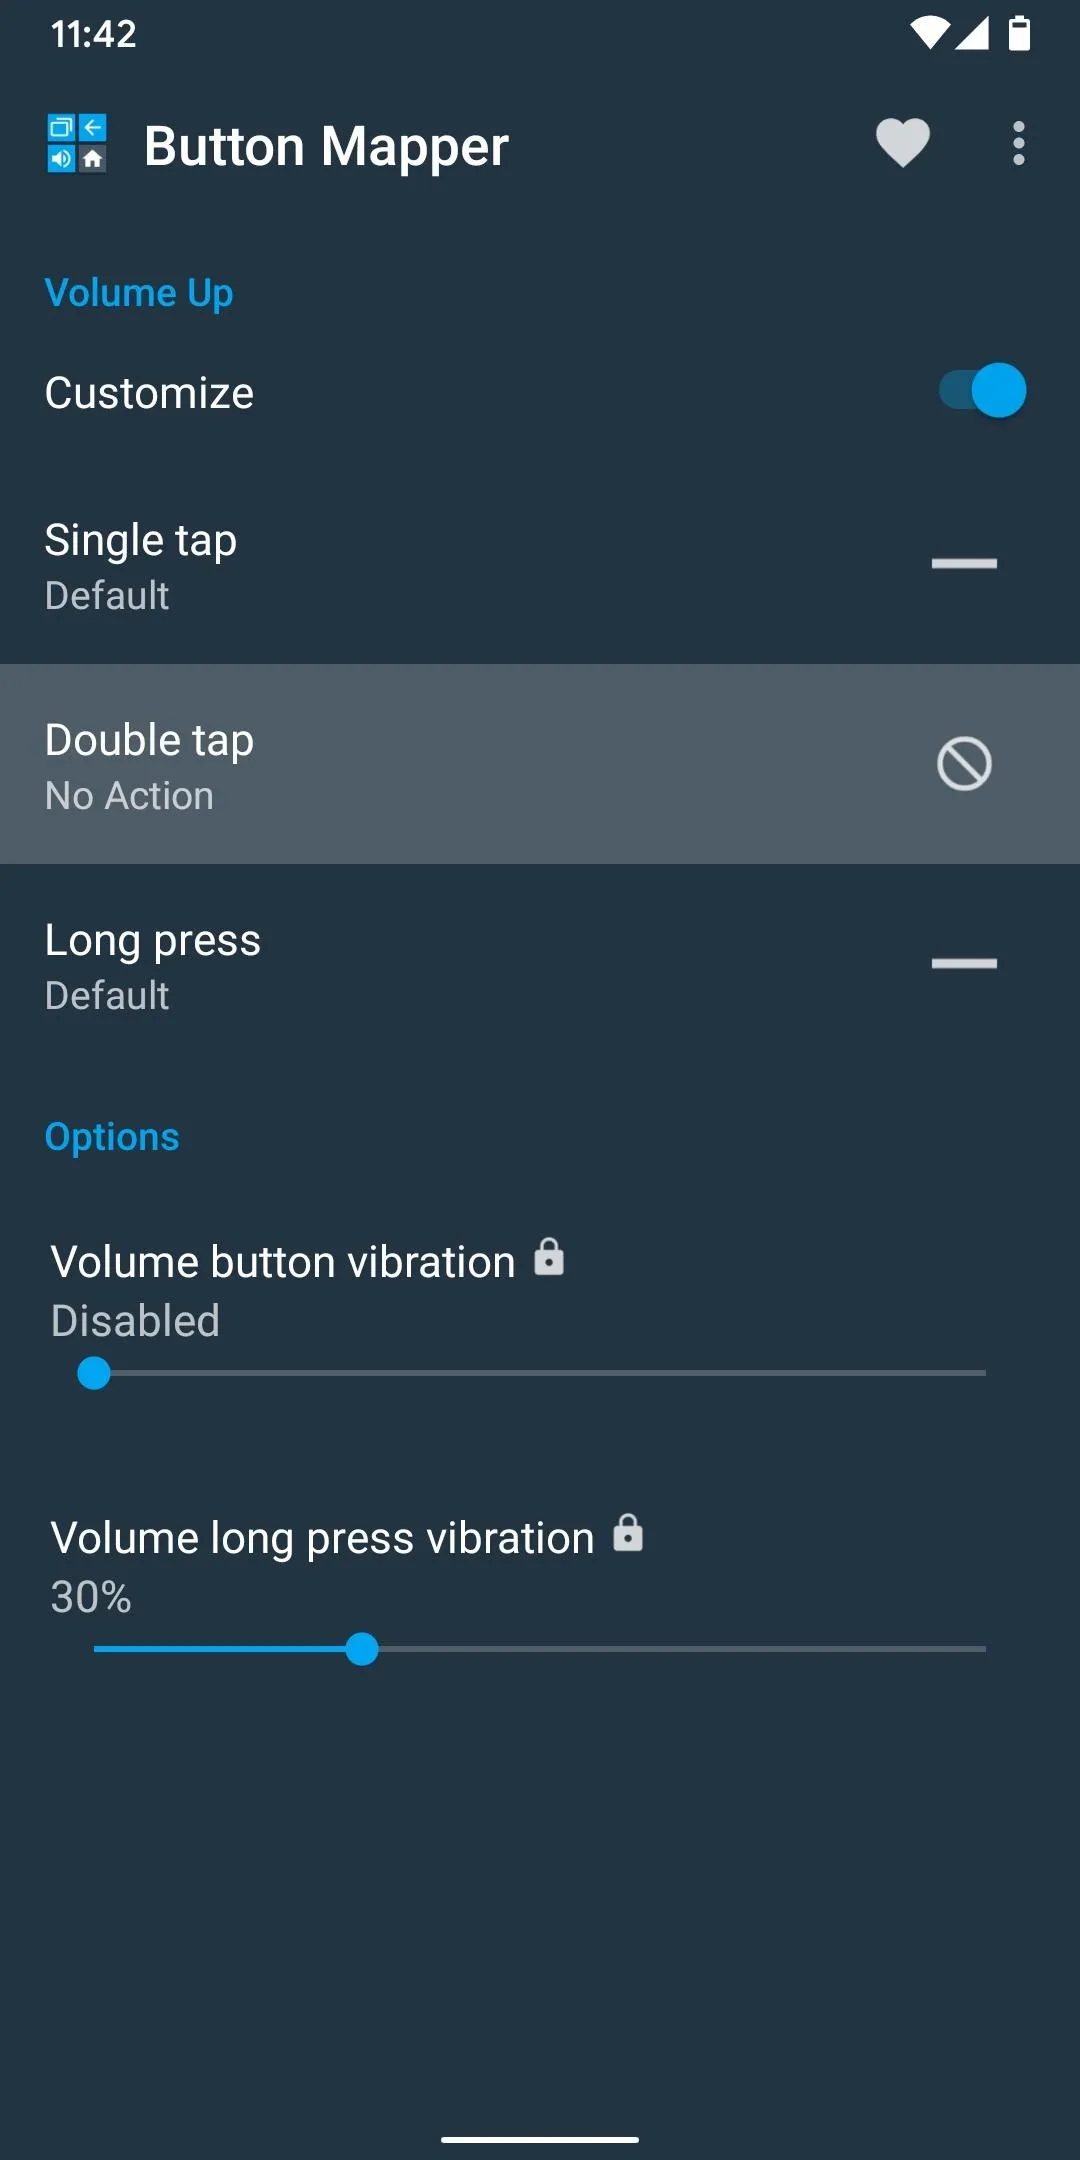
From here, you'll want to choose the exact type of button press that will activate the Assistant. Typical options here are Single tap, Double tap, and Long press.
Keep in mind that overriding anything that's already set to "Default" will cause that button's main functionality to change. For example, if you selected the volume up button, changing "Single tap" would cause the volume up button to stop adjusting volume when you press it once. It would still adjust volume when you long-pressed it.
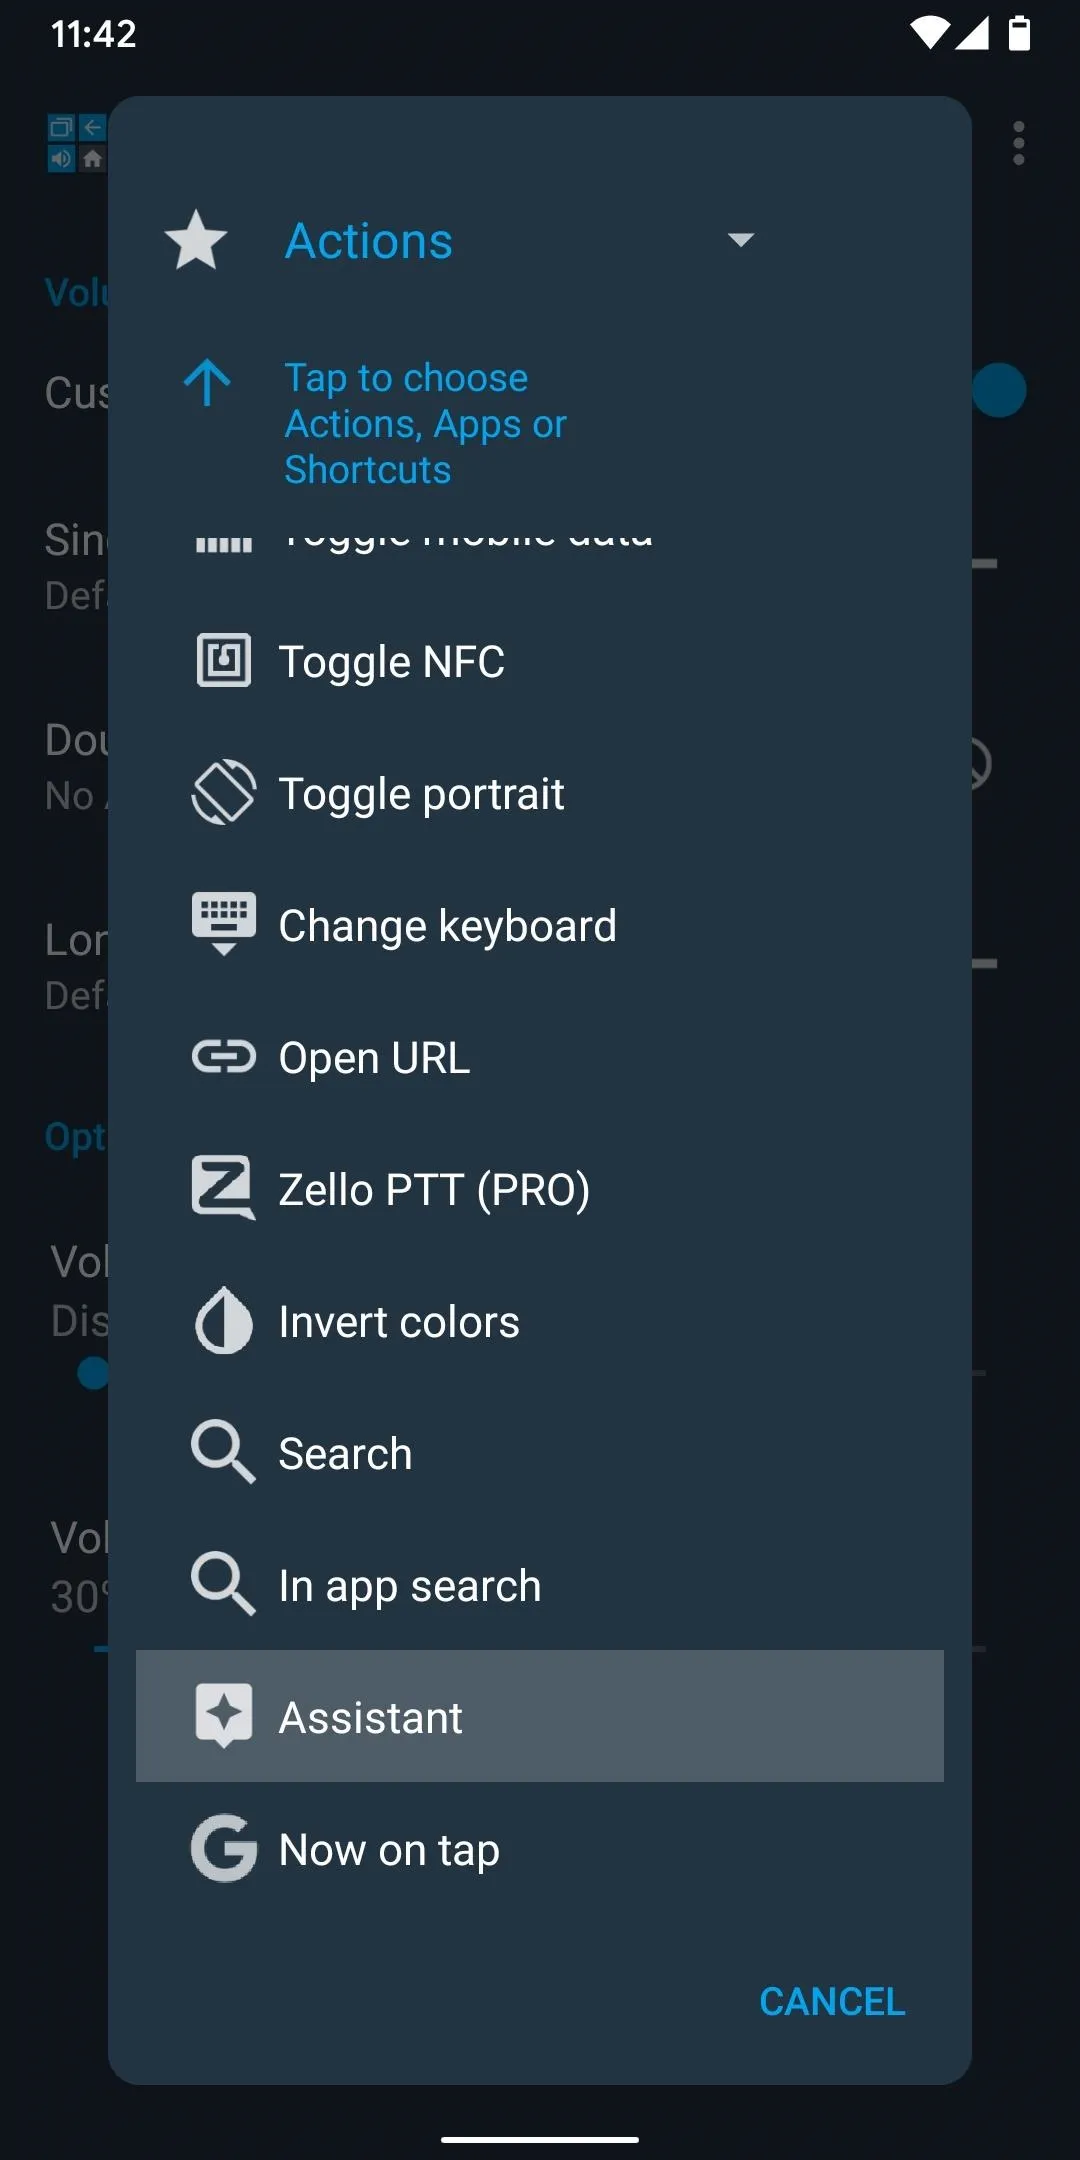
So with that in mind, tap the button press you want to use for opening the Assistant. I'd recommend going with any option that currently says "No Action," but it's totally your call. When you do that, a popup will appear. Scroll to the bottom of this list and select "Assistant."


Launch the Google Assistant Faster
Now when you single tap, double tap, or long press the button you chose, your Google Assistant will be summoned. By default, this only works when the screen is on, but for certain buttons, you can purchase the pro version of Button Mapper and send an ADB command to enable screen-off control as well.
In our example, we chose the volume up key to be a new Google Assistant button and set the action to double tap. As you can see, the Assistant immediately appears after double tapping the volume up button!

Dallas Thomas/Gadget Hacks
Cover image and screenshots by Spencer Depas/Gadget Hacks






Comments
Be the first, drop a comment!