Is your smartphone taking over your life? Do you need help putting your Pixel down at night? Well, update to Android Pie! Android 9.0 comes with Digital Wellbeing, a new tool to both help you understand your smartphone habits and perhaps step away from the apps, games, and notifications every now and then.
As you'll soon see, Digital Wellbeing is still in beta. You'll need to be patient with the tool — even though it looks complete, it may ship with some bugs and glitches. If you encounter anything strange, you can always tap the three dots at the top-right corner of the main Digital Wellbeing screen and select "Send feedback."
To access Digital Wellbeing, you'll need to enroll in the beta program. There are two signup links you can use, or you can simply sideload the APK. We've outlined that process at the following link.
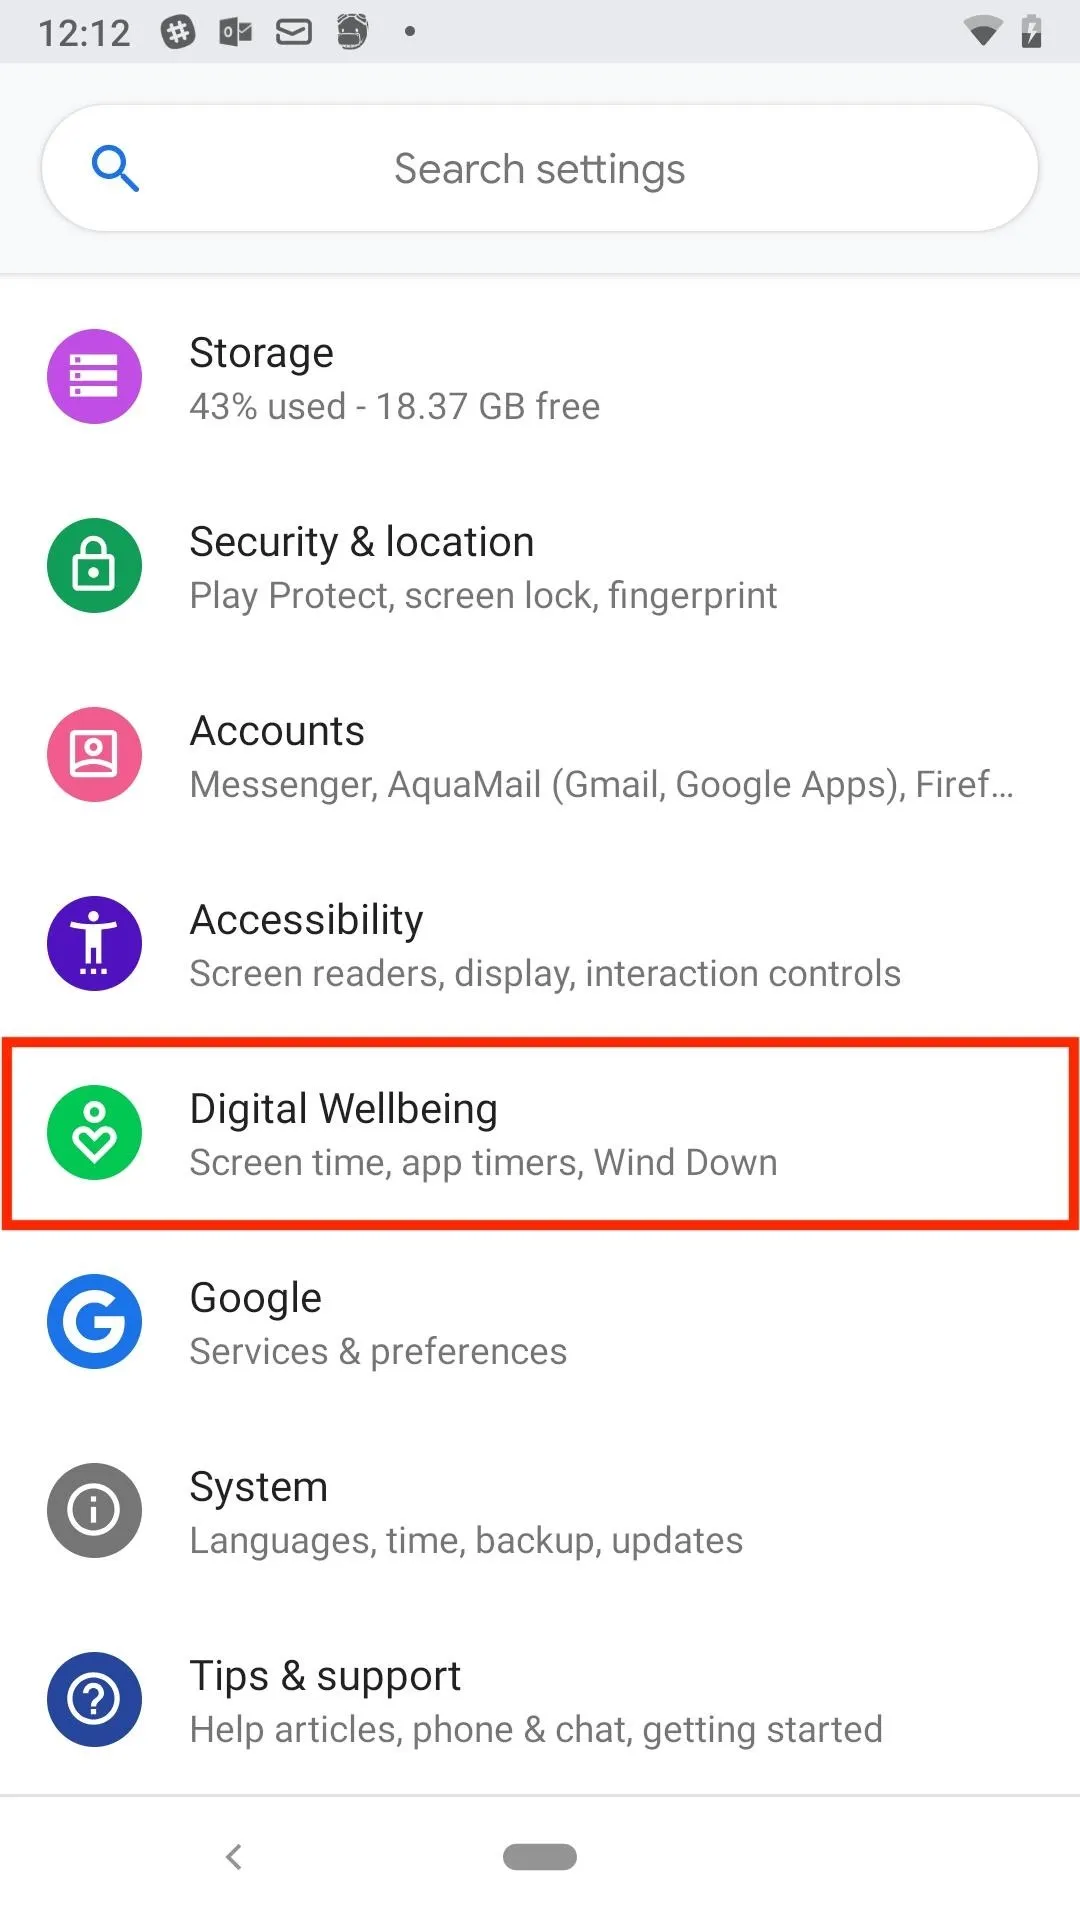
Once you have Digital Wellbeing installed, simply open your Settings app, then locate and select "Digital Wellbeing" from the list. If you don't see it right away, use the search feature at the top of Settings to look for "Digital Wellbeing," then the menu should show up. Once selected, the tool will then load, with the Digital Wellbeing wheel the first thing to see.
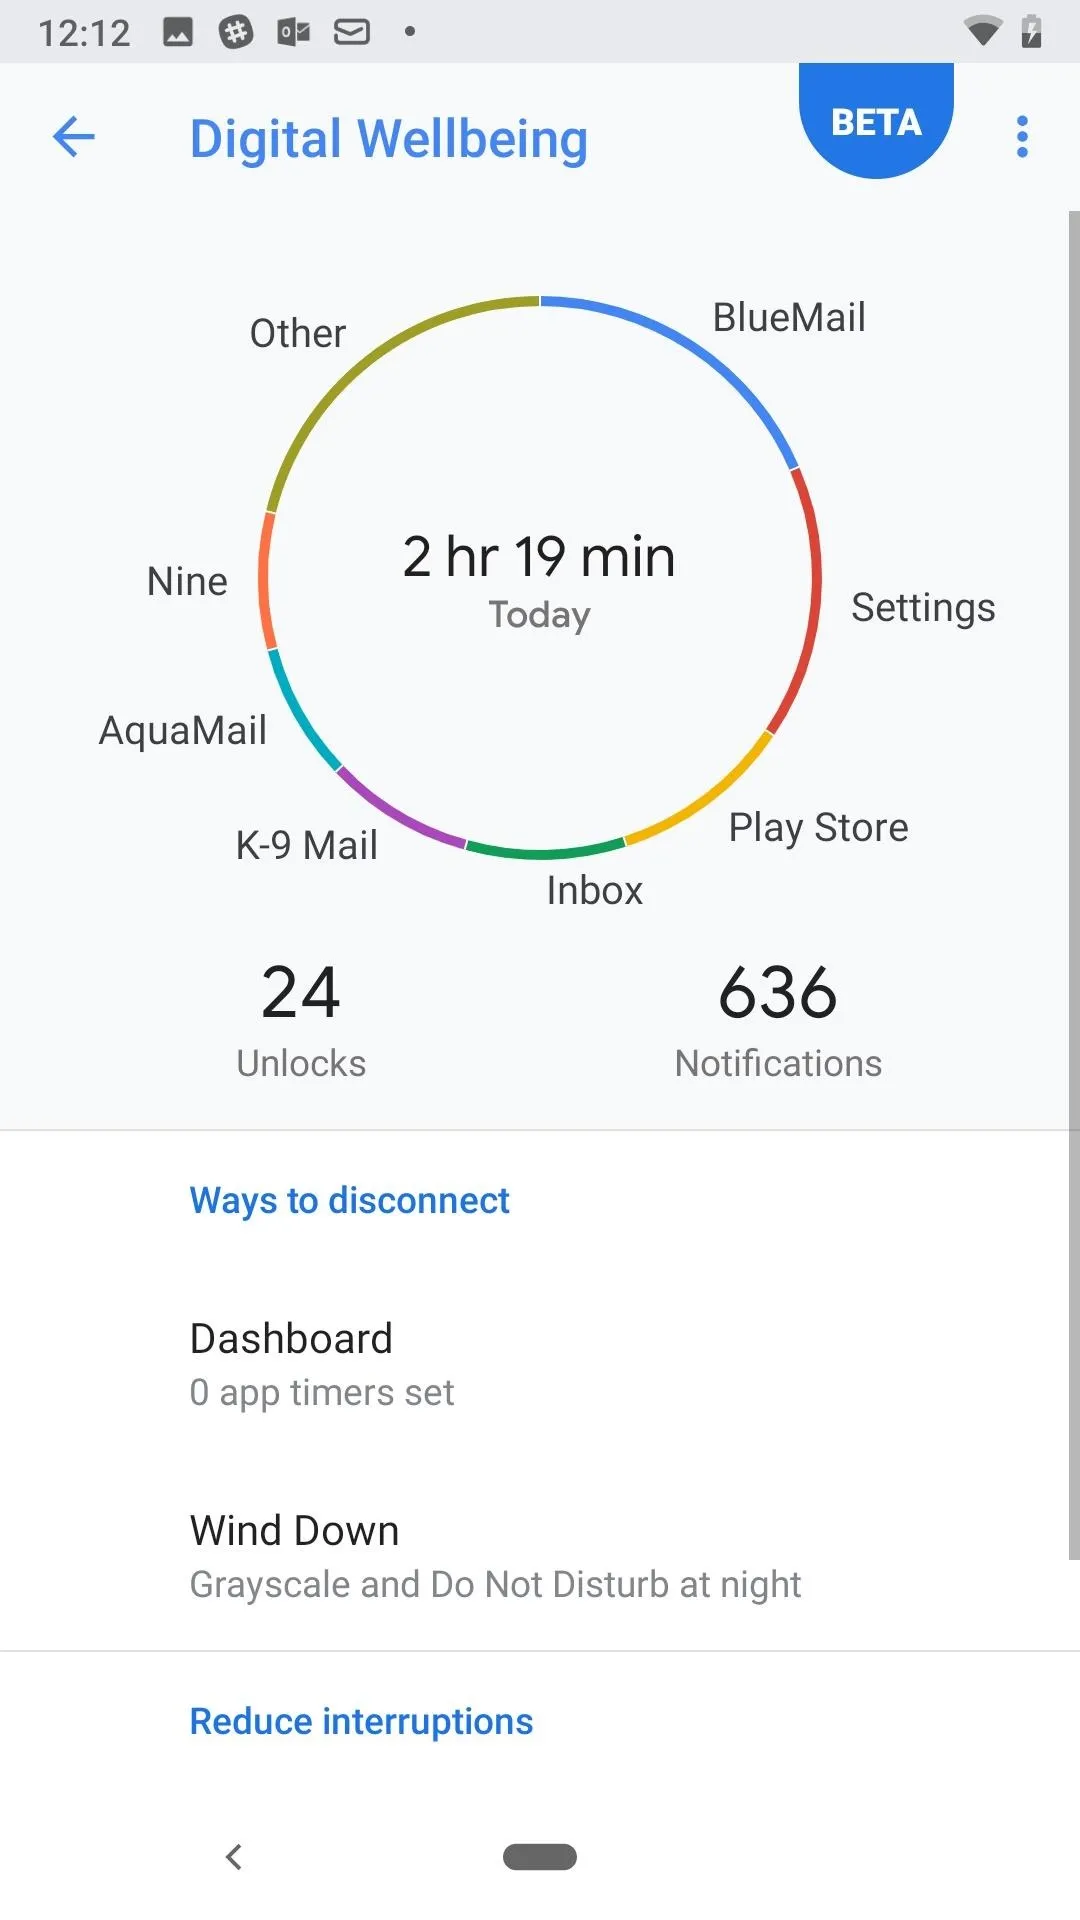
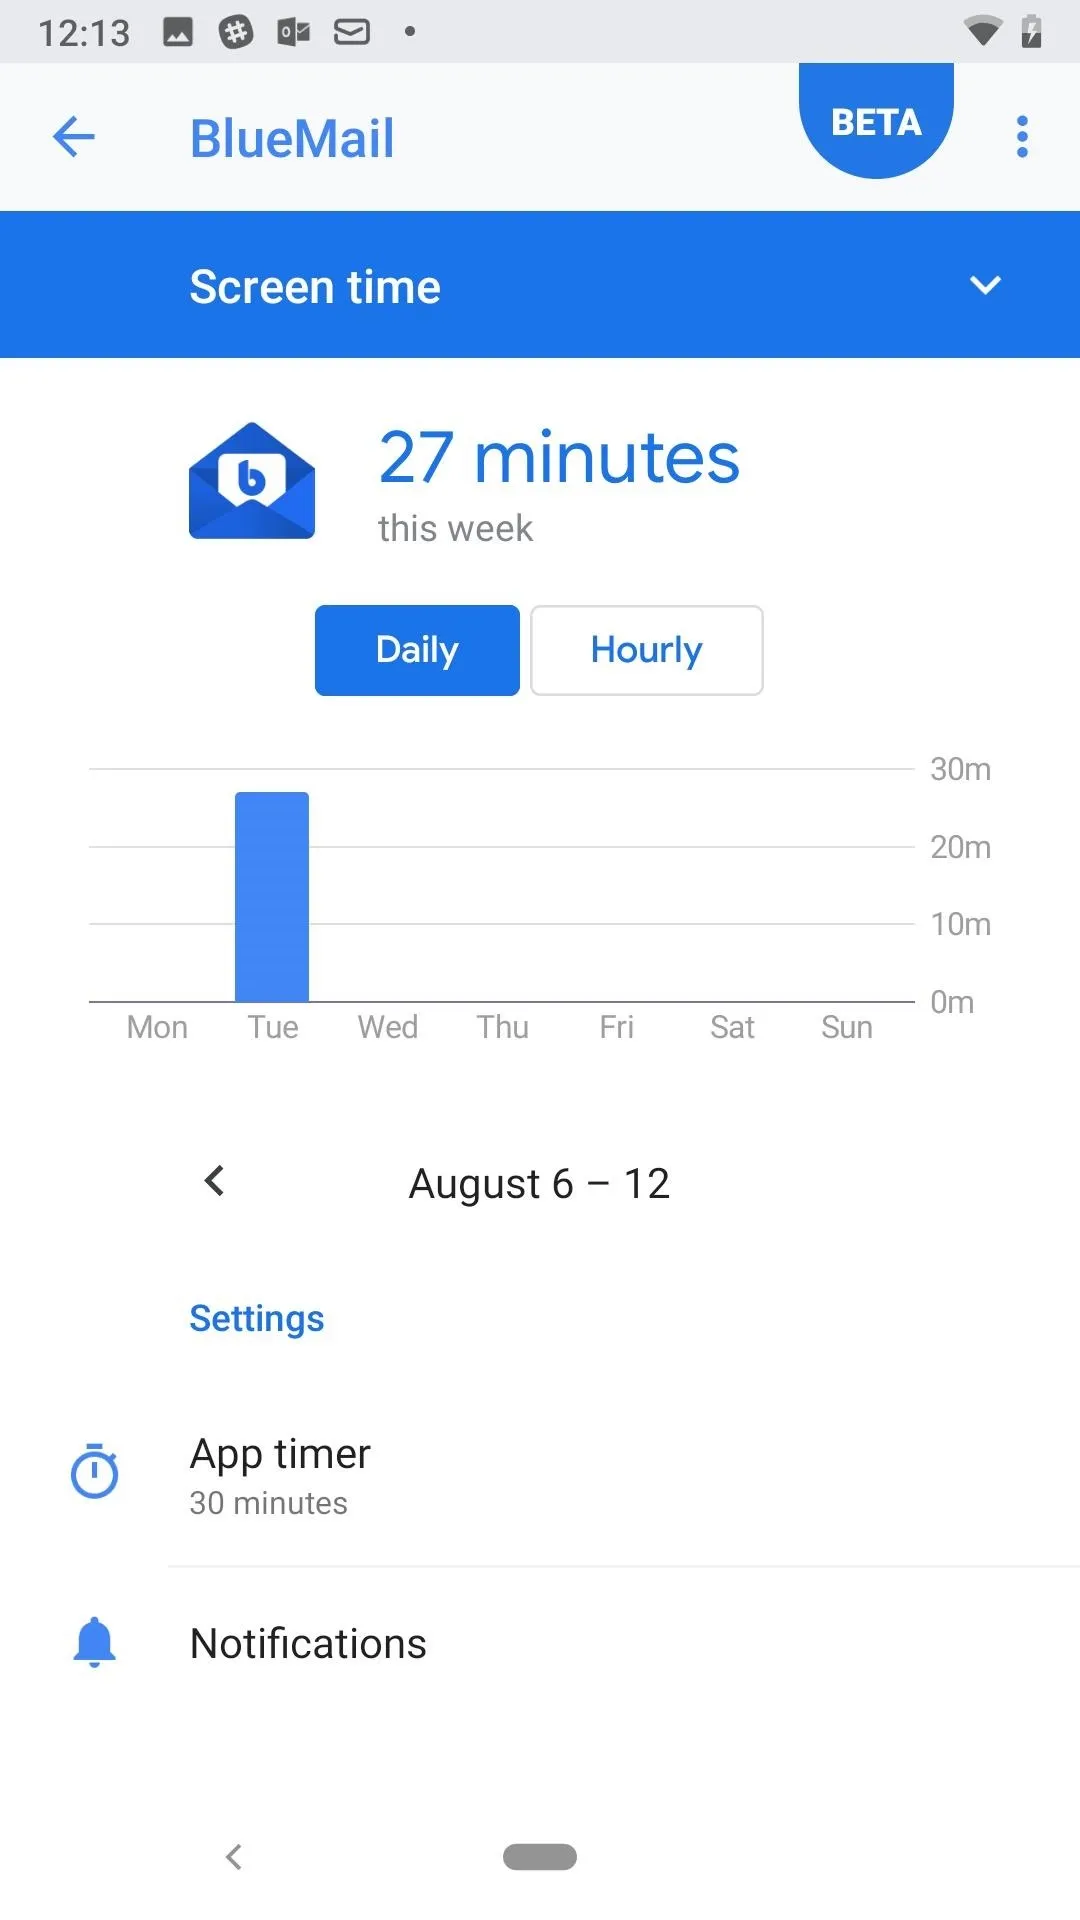
The wheel contains your top used apps as well as a total amount of phone use for the day. You can tap on any of the apps around the wheel to open an individualized page for that app (but more on that later).


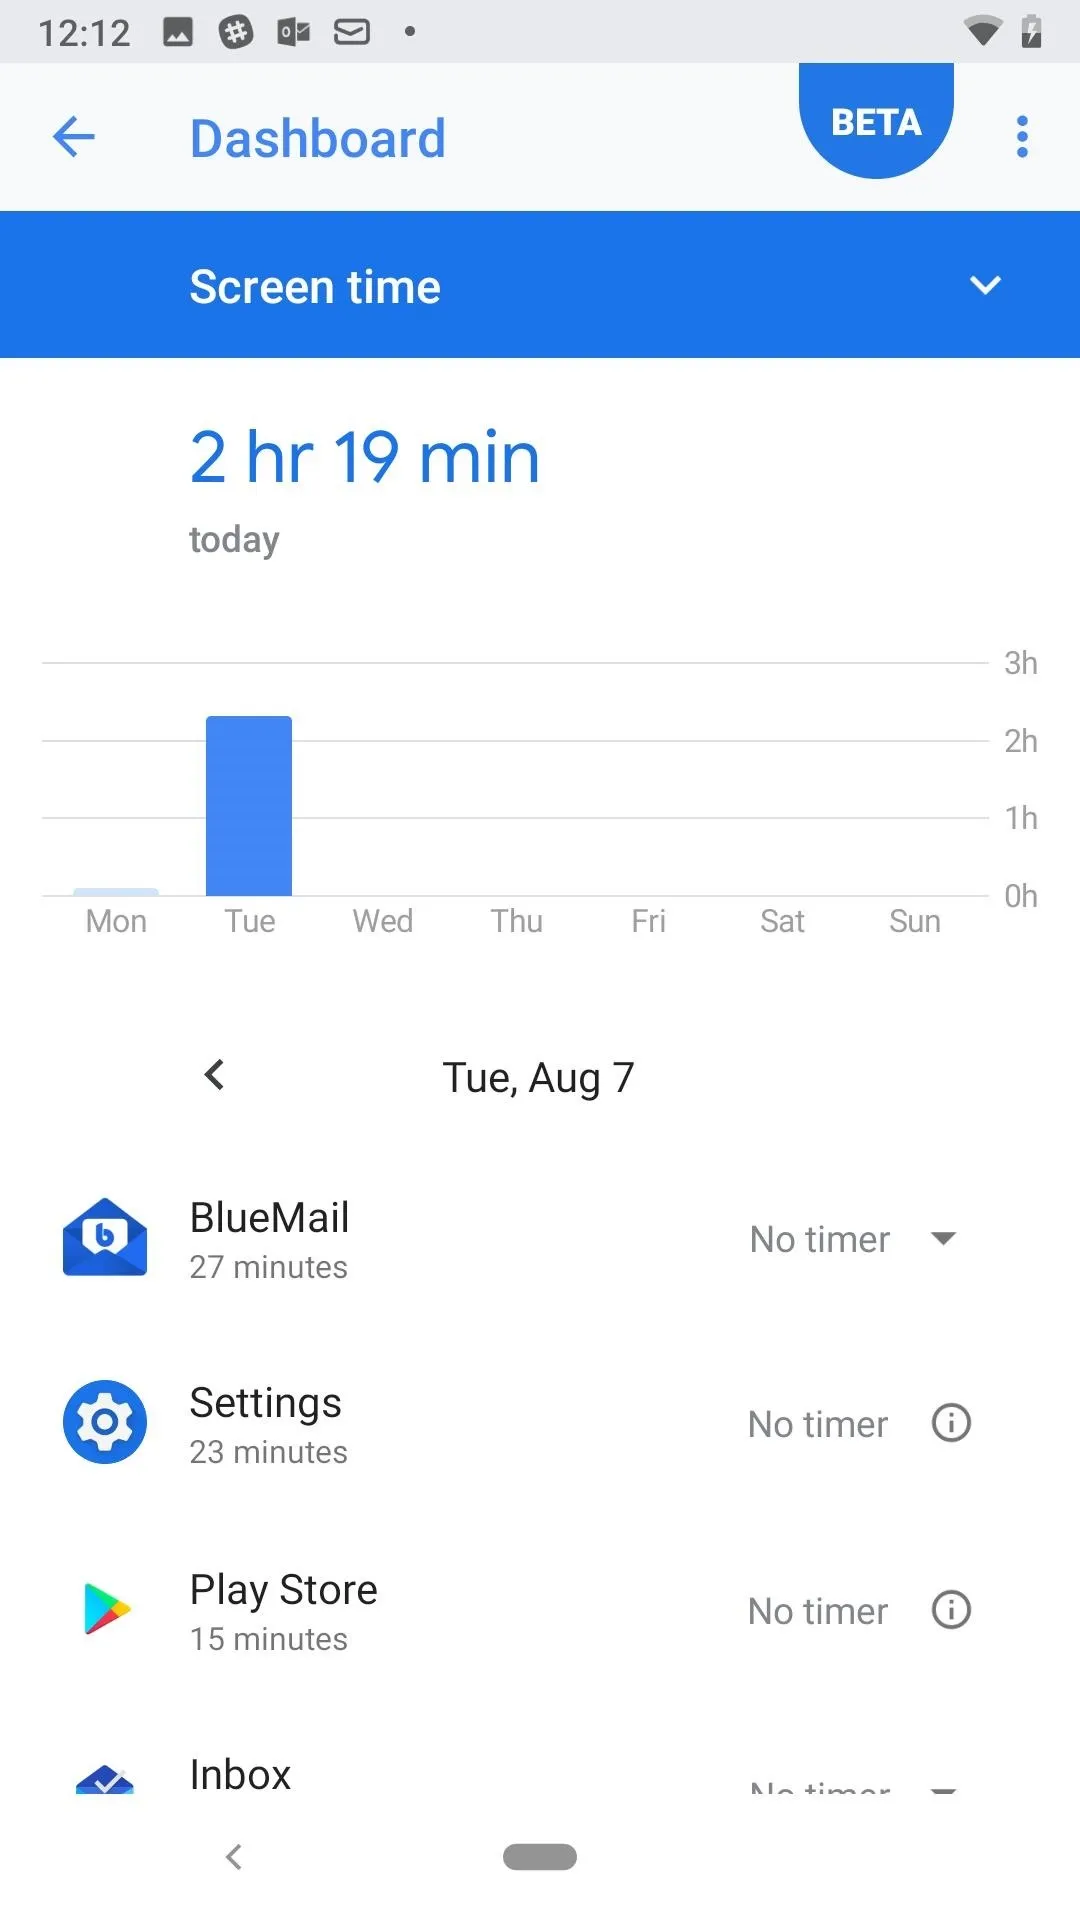
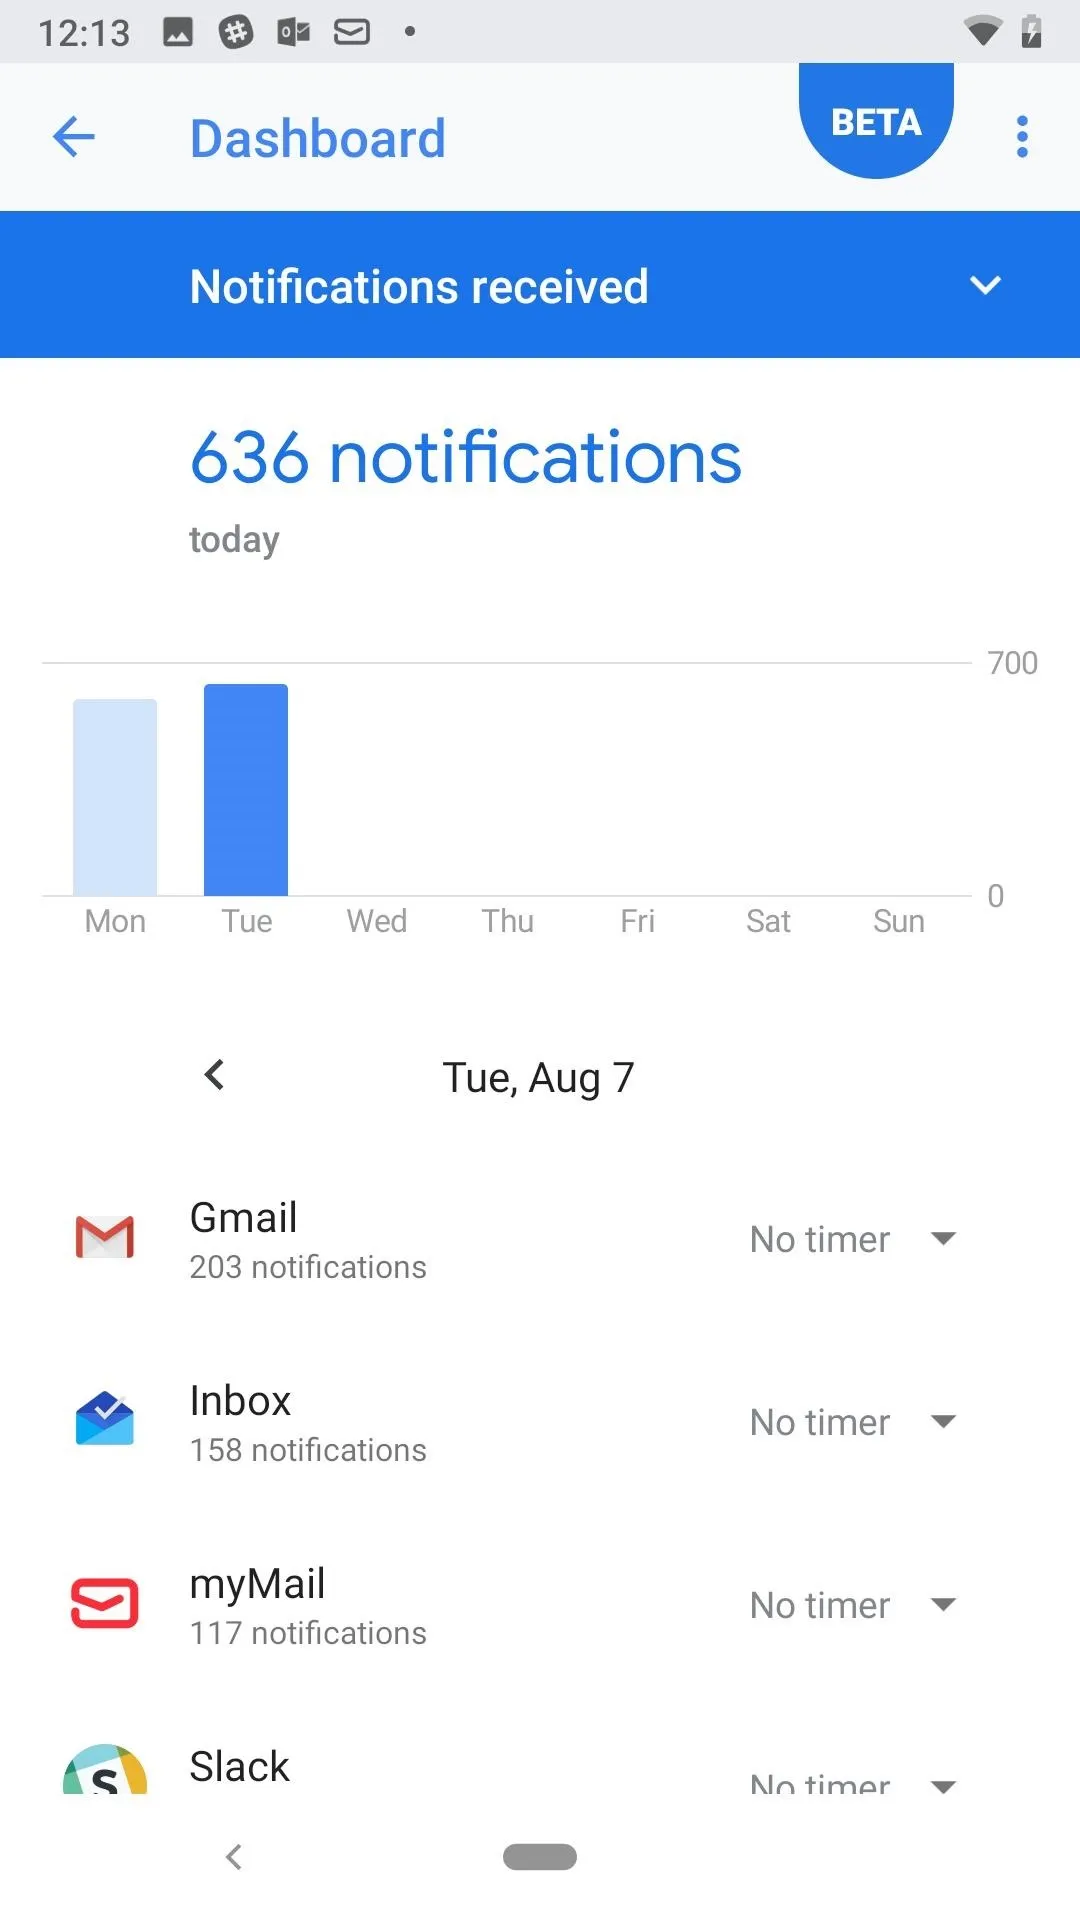
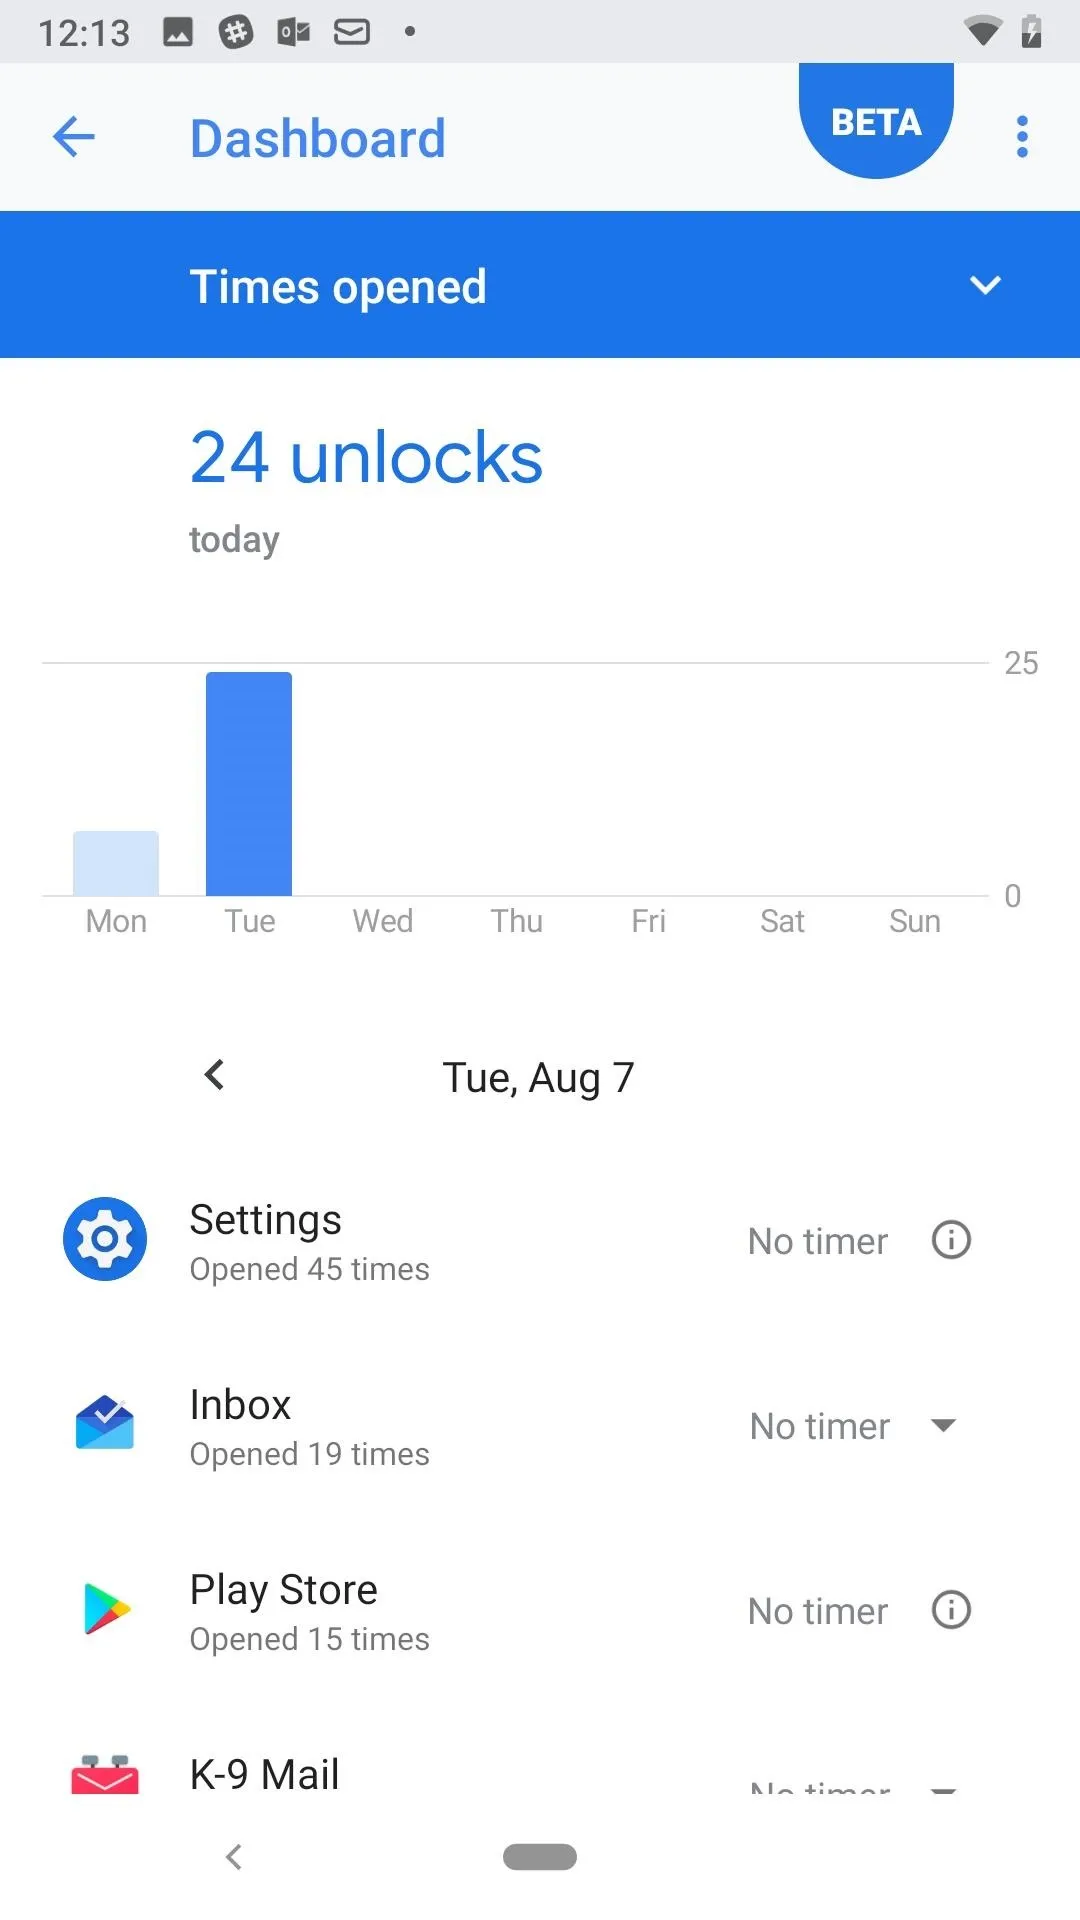
Under the wheel, you'll find "Dashboard." Here, you can get a full layout of data for your phone use. By default, you'll see your phone use for the current day, but you can simply tap the arrow next to the date to move through your recorded days.
Screen time is the first metric you will see, which is a measure of how much time you've spent looking at your phone. But tap the arrow in the blue "Screen time" box, and you'll also be able to see "Notifications received" and "Times opened" data for your apps, listed beneath the charts below. Tap any to open its individual page mentioned above, as well as view any of the three data sets mentioned above.


Set App Timers
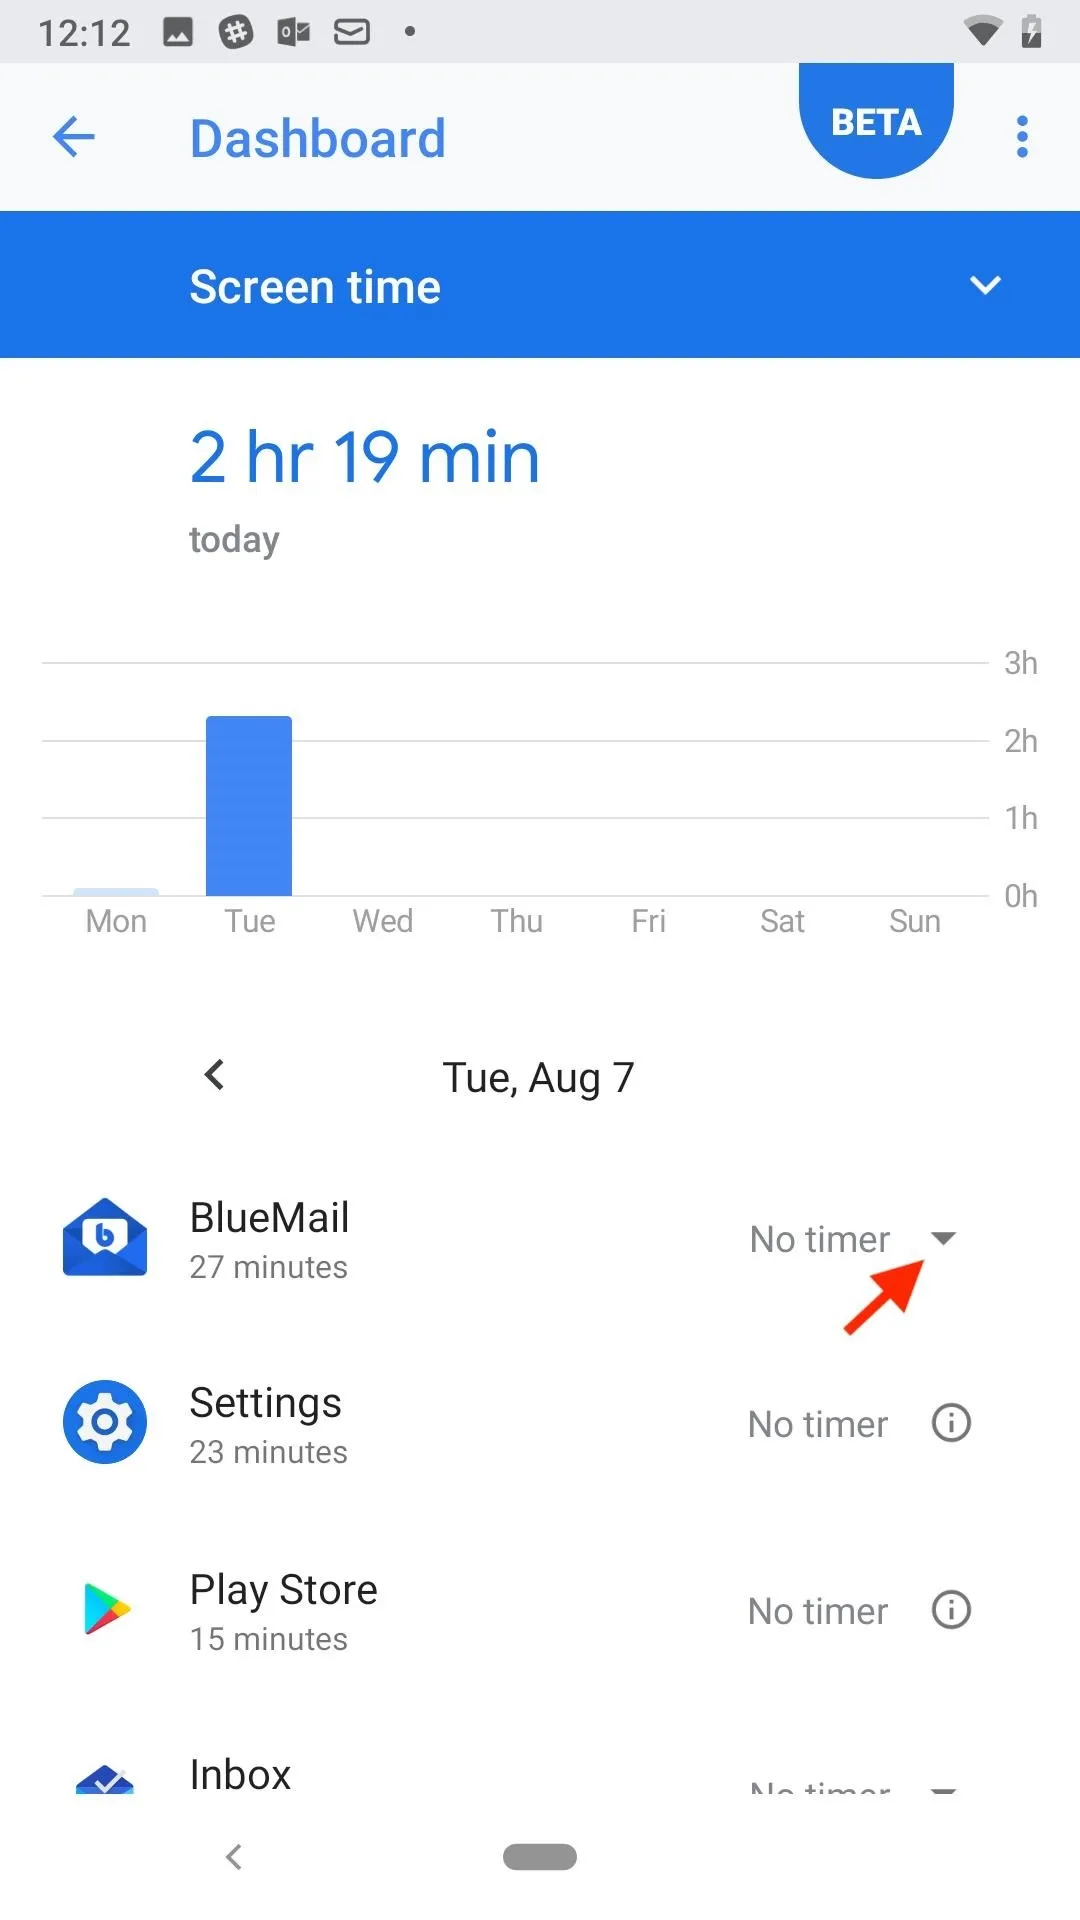
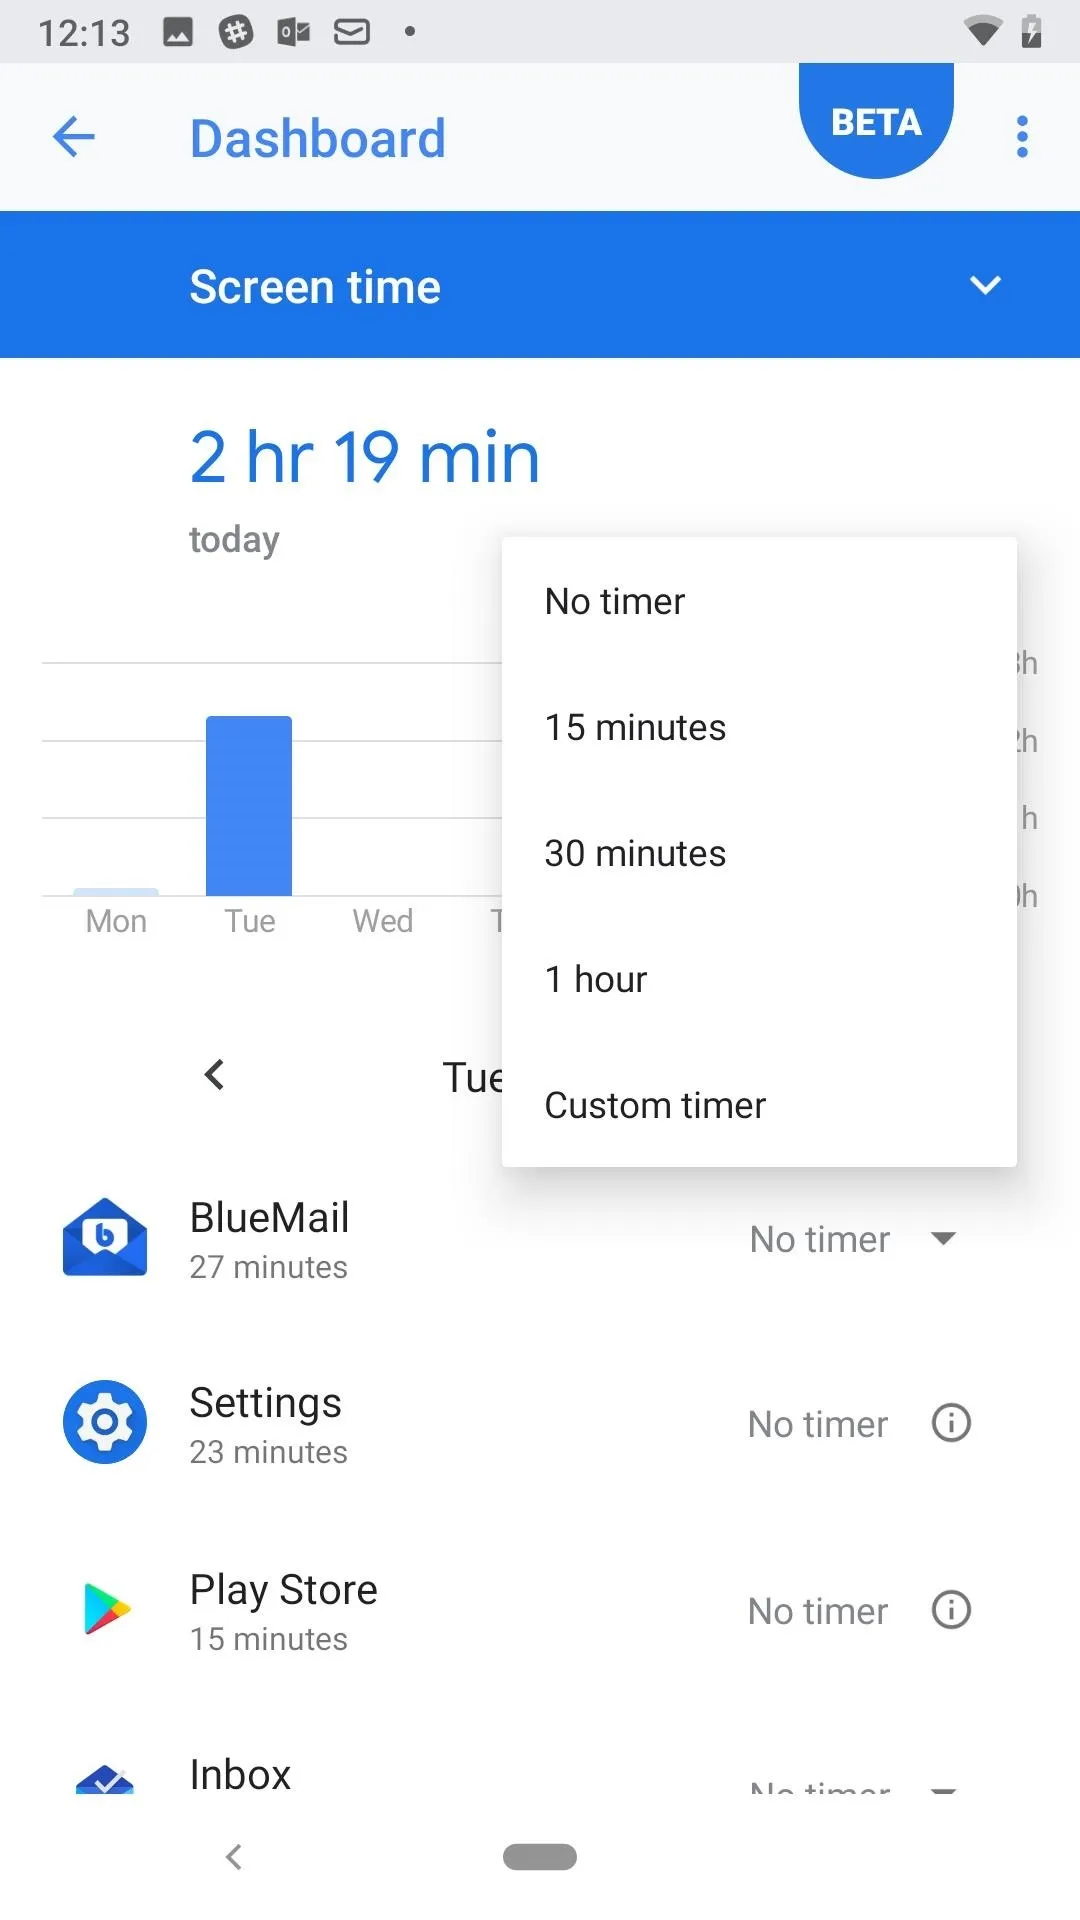
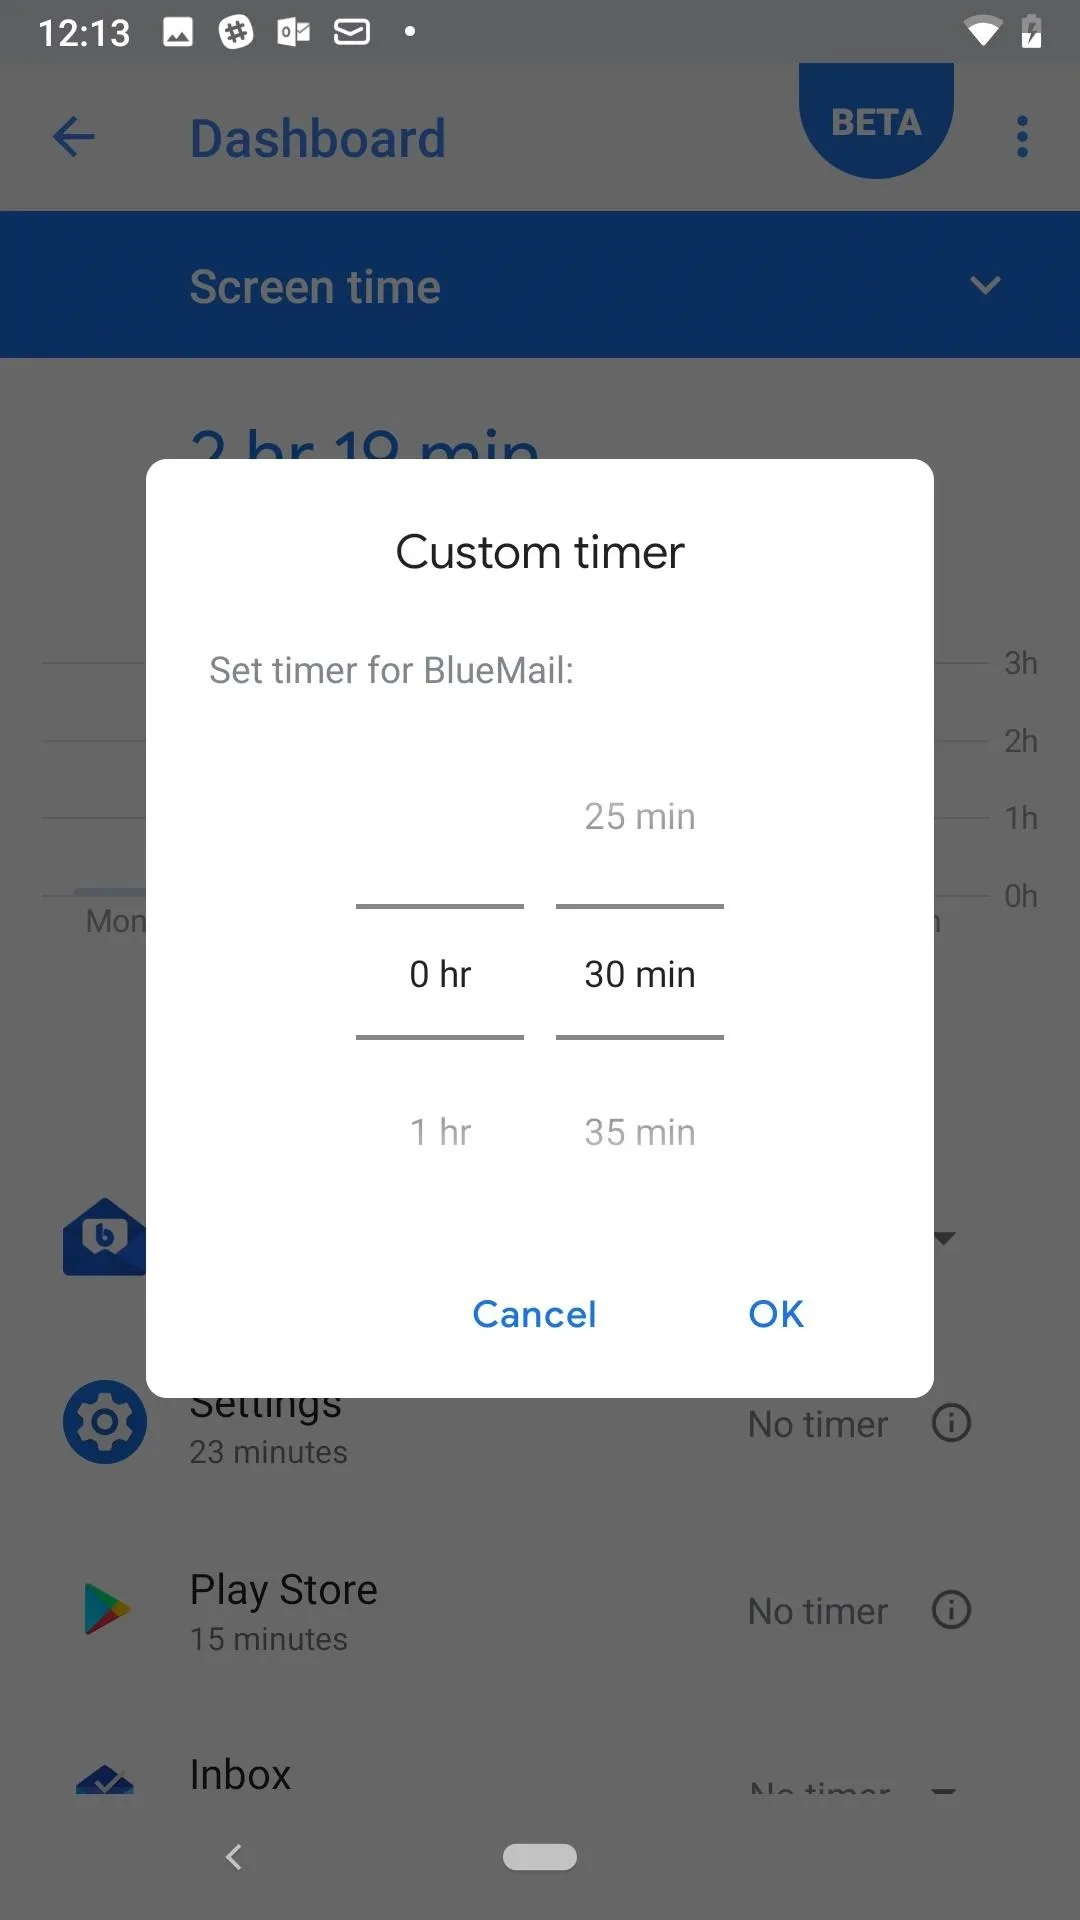
From the dashboard, you can also set app timers. These timers keep your use for specific apps in check by locking you out after a set time. For example, if you allot yourself 15 minutes of Facebook time, Facebook will deactivate after 15 minutes of use until midnight. Be careful when setting timers for yourself, especially with apps that you need to access at any point.
To set a timer, tap the "No timer" arrow next to the corresponding app in the Dashboard. Next, select from 15 minutes, 30 minutes, 1 hour, or a custom timer. Once set, you can return to this page to check in on how much time you have left with the app for the day. This same action is available from any app's individual Digital Wellbeing page.


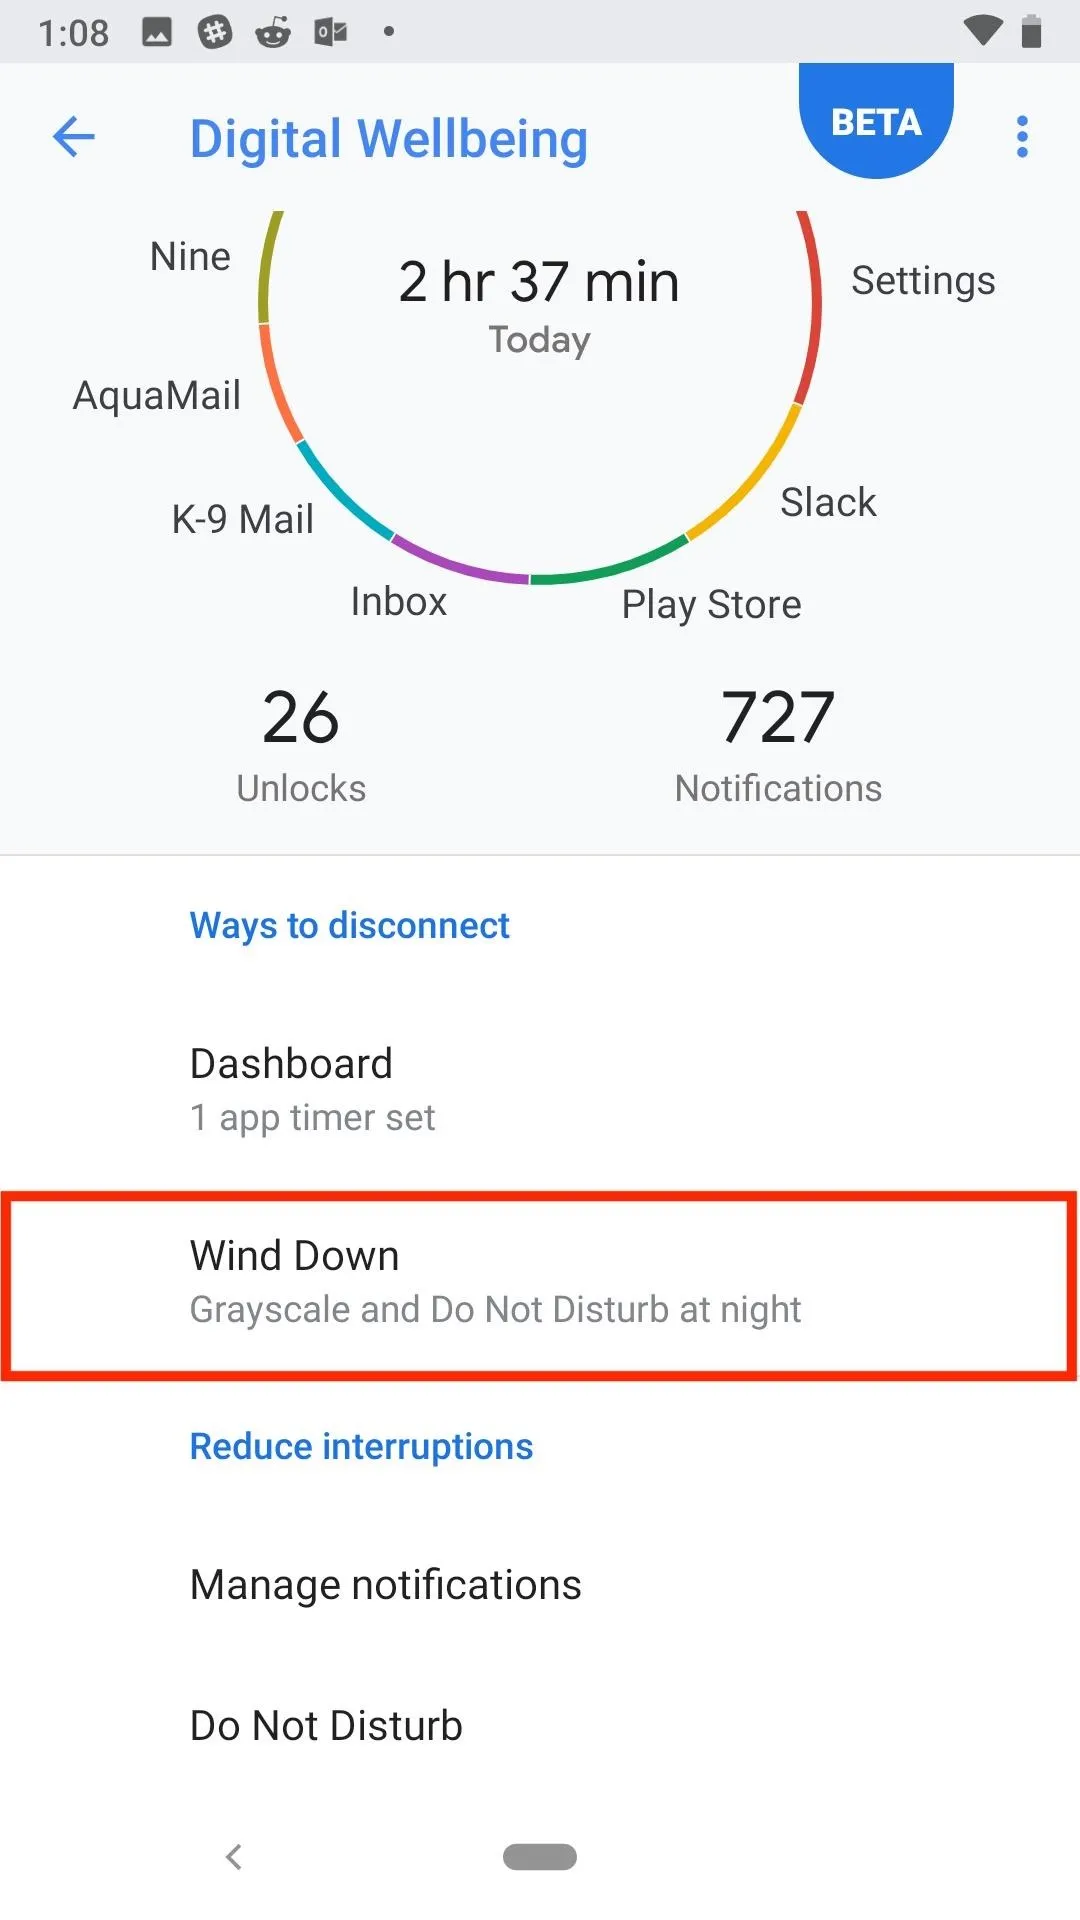
Wind Down & Do Not Disturb
Digital Wellbeing also lets you control when you want your phone to begin wrapping up for the day, by creating a more relaxing environment to use your phone in. To start, you can set an automated period of time for Wind Down to start and end. You can also choose to use "Grayscale" and add a Night Light schedule during this period, to make your phone's display easier on your eyes.
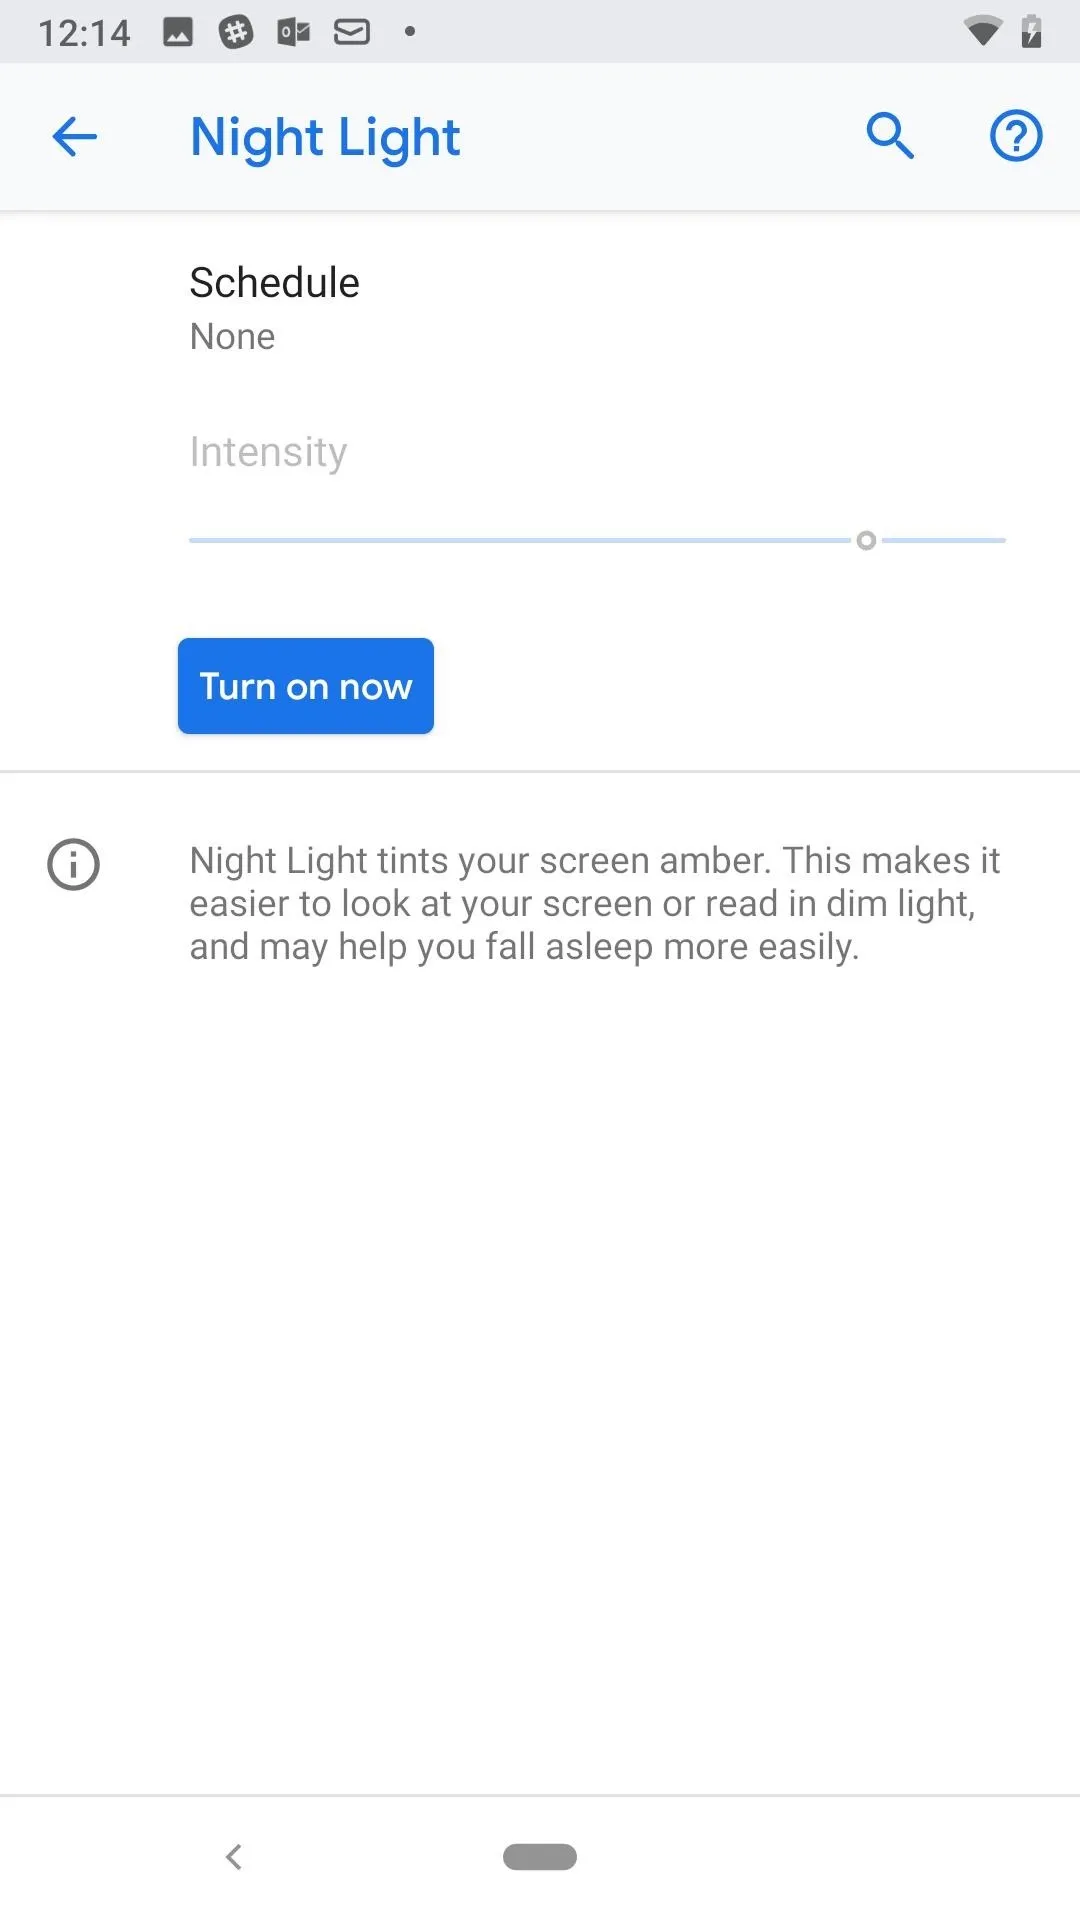
When you enable Night Light, your change the tint of your device to become more orange. You can choose the intensity of that tint after selecting "Turn on now" in the "Night Light" setting.
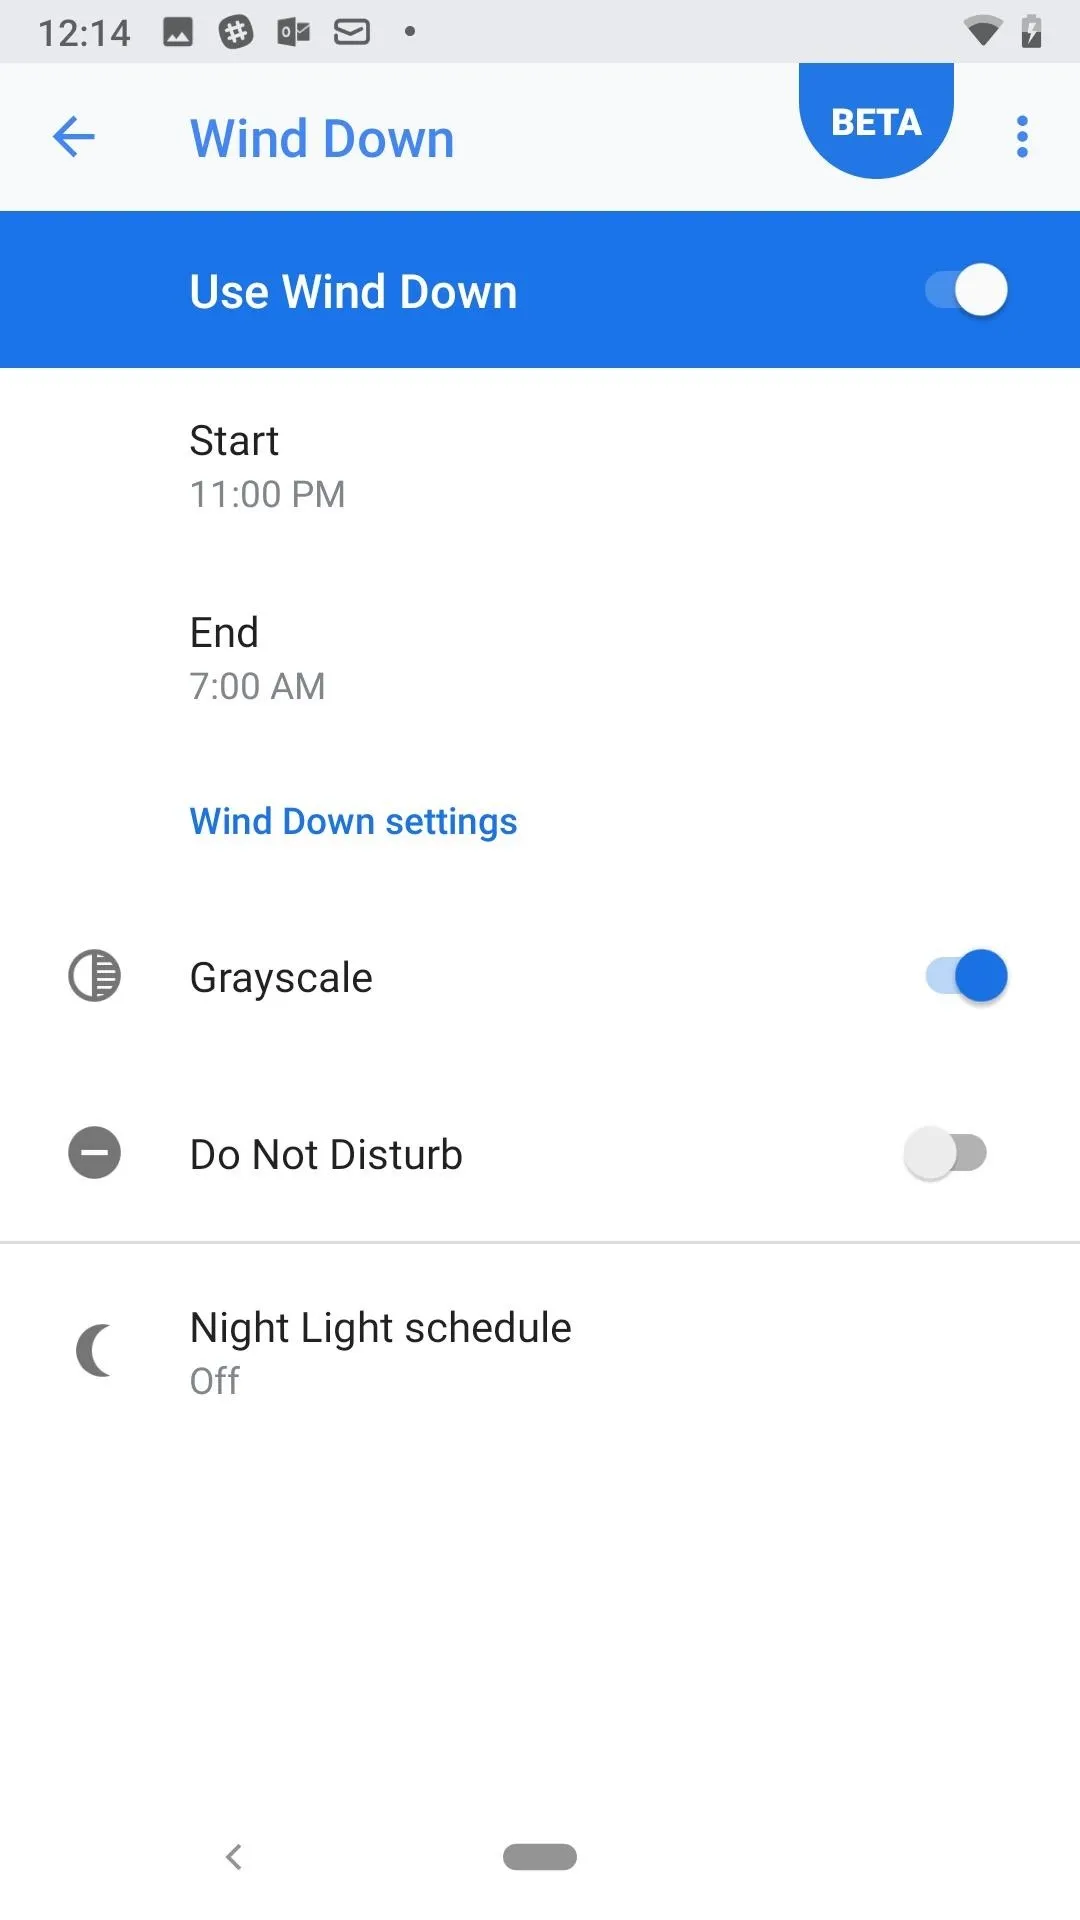


Of course, you can also enable Do Not Disturb settings for Wind Down as well. You can't change Do Not Disturb's settings from Wind Down, however, so unless you simply want to enable or disable the feature, make sure to access it from the main Digital Wellbeing page to change all settings.
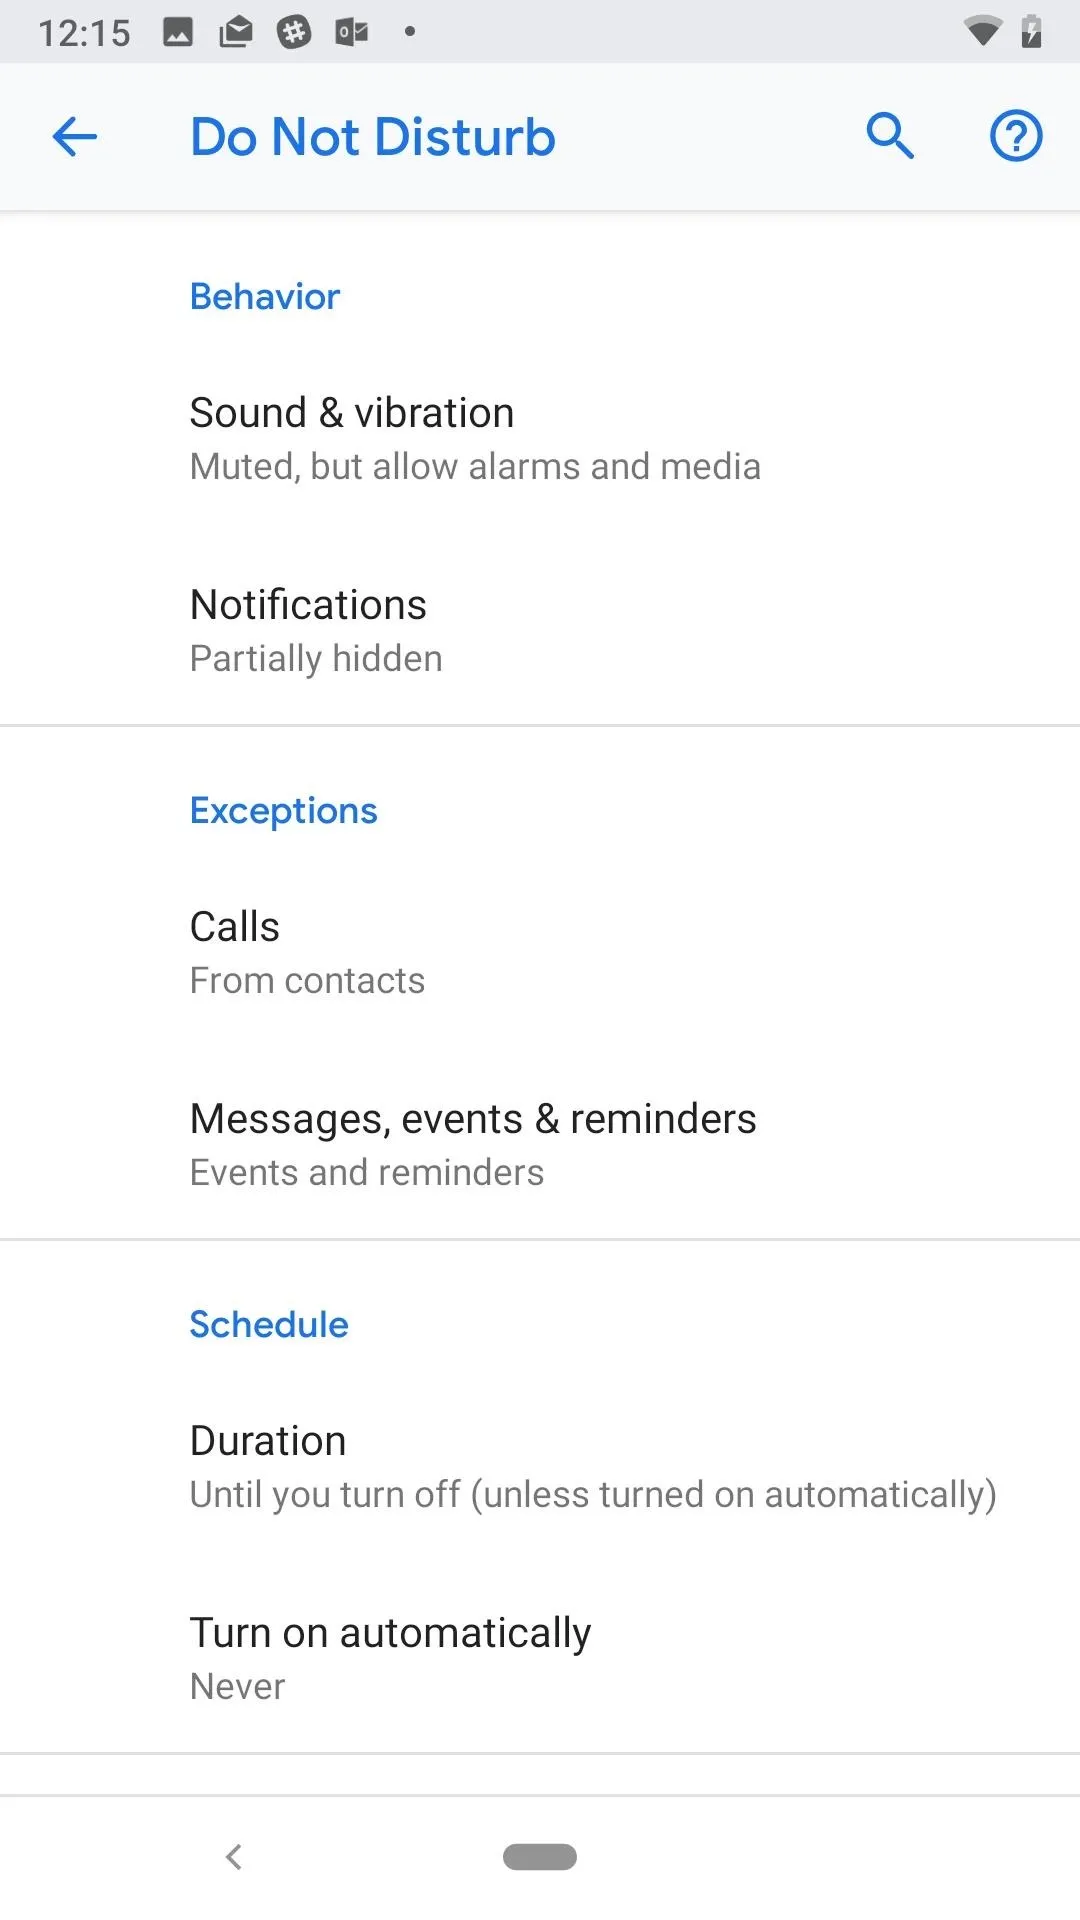
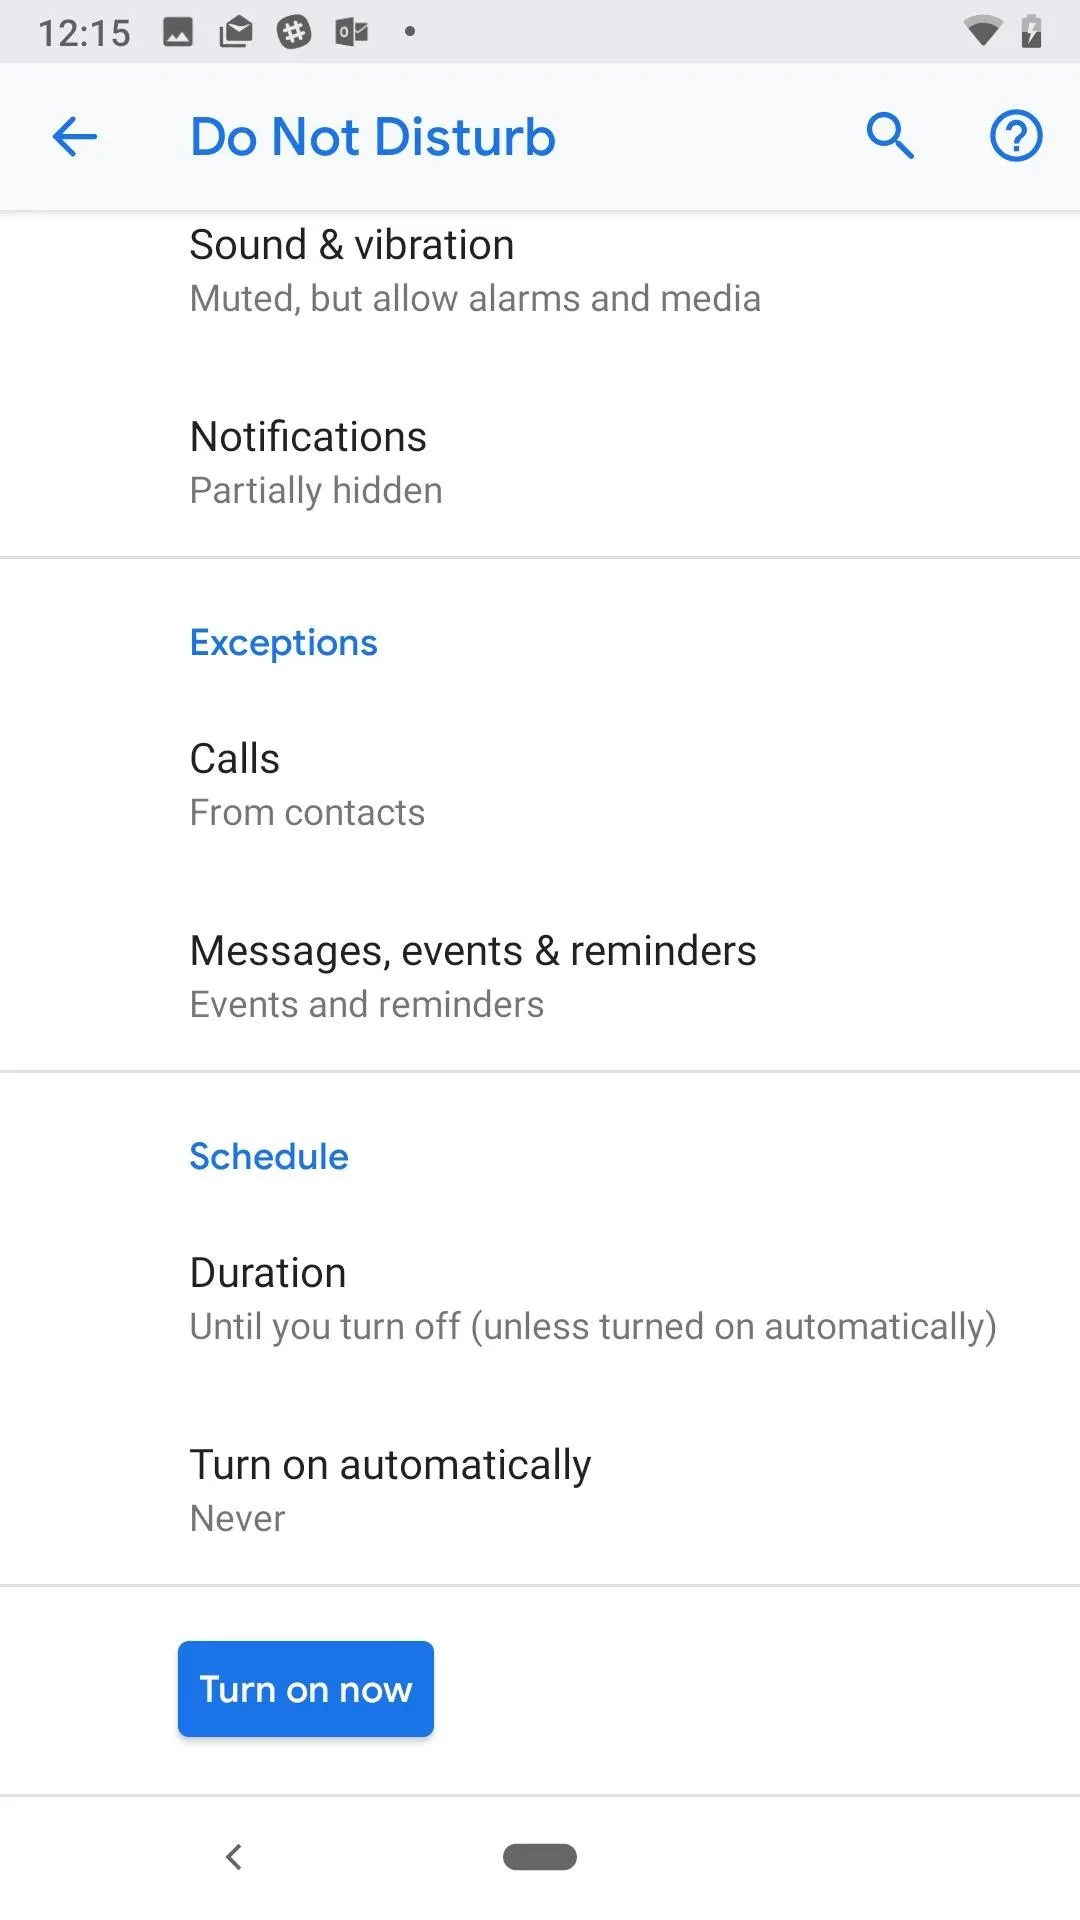
Under Do Not Disturb, you have the option to choose sounds and vibrations that remain enabled, how notifications sound (if at all), how calls are allowed to come through, if messages, reminders, and events are allowed, Do Not Disturb's schedule, and whether or not to enable the feature automatically.
When you're ready to enable Do Not Disturb, tap "Turn on now" at the bottom of this page, or return to Wind Down and enable the Do Not Disturb slider.


Notifications
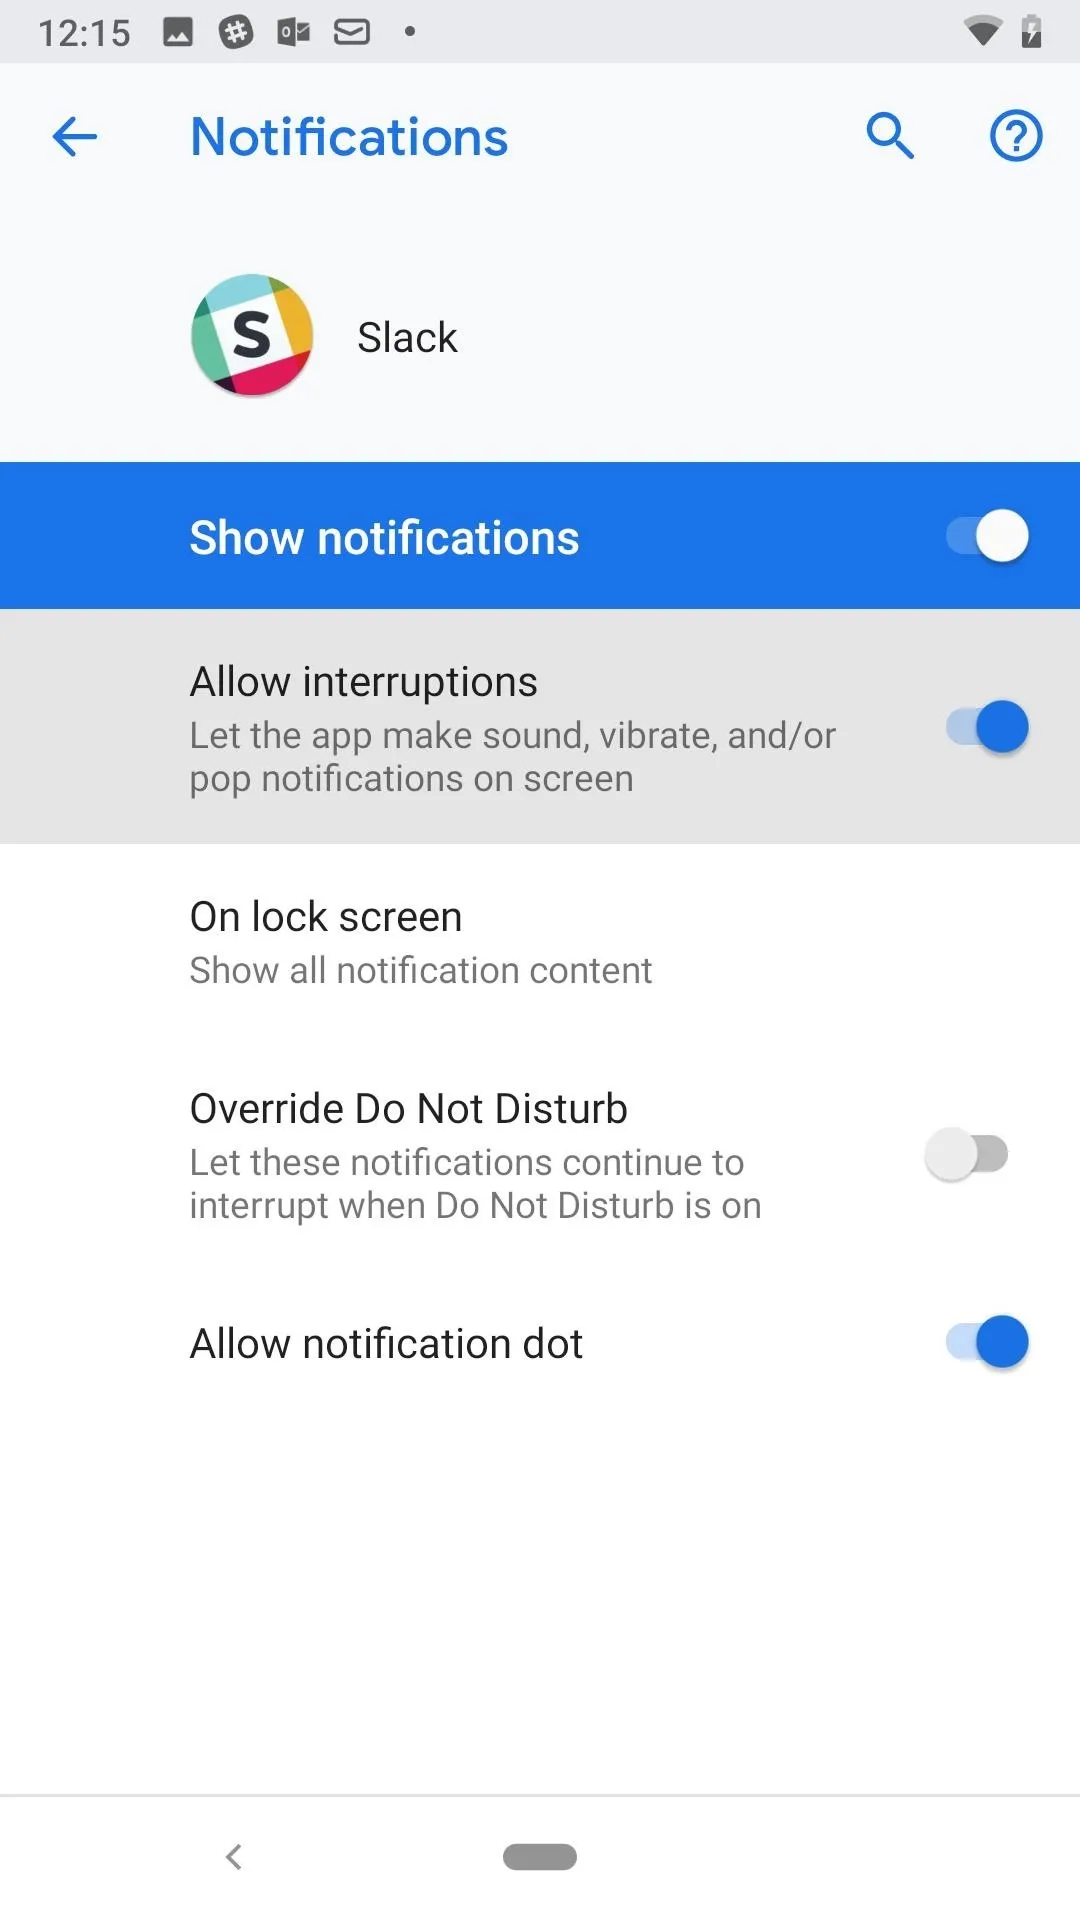
Finally, there's notifications. If you've ever customized your app's notifications in Android before, you'll be right at home here. The only difference is Android conveniently rounds up all of your apps into the Digital Wellbeing tool, so you can access their notification settings while working on your other settings too.
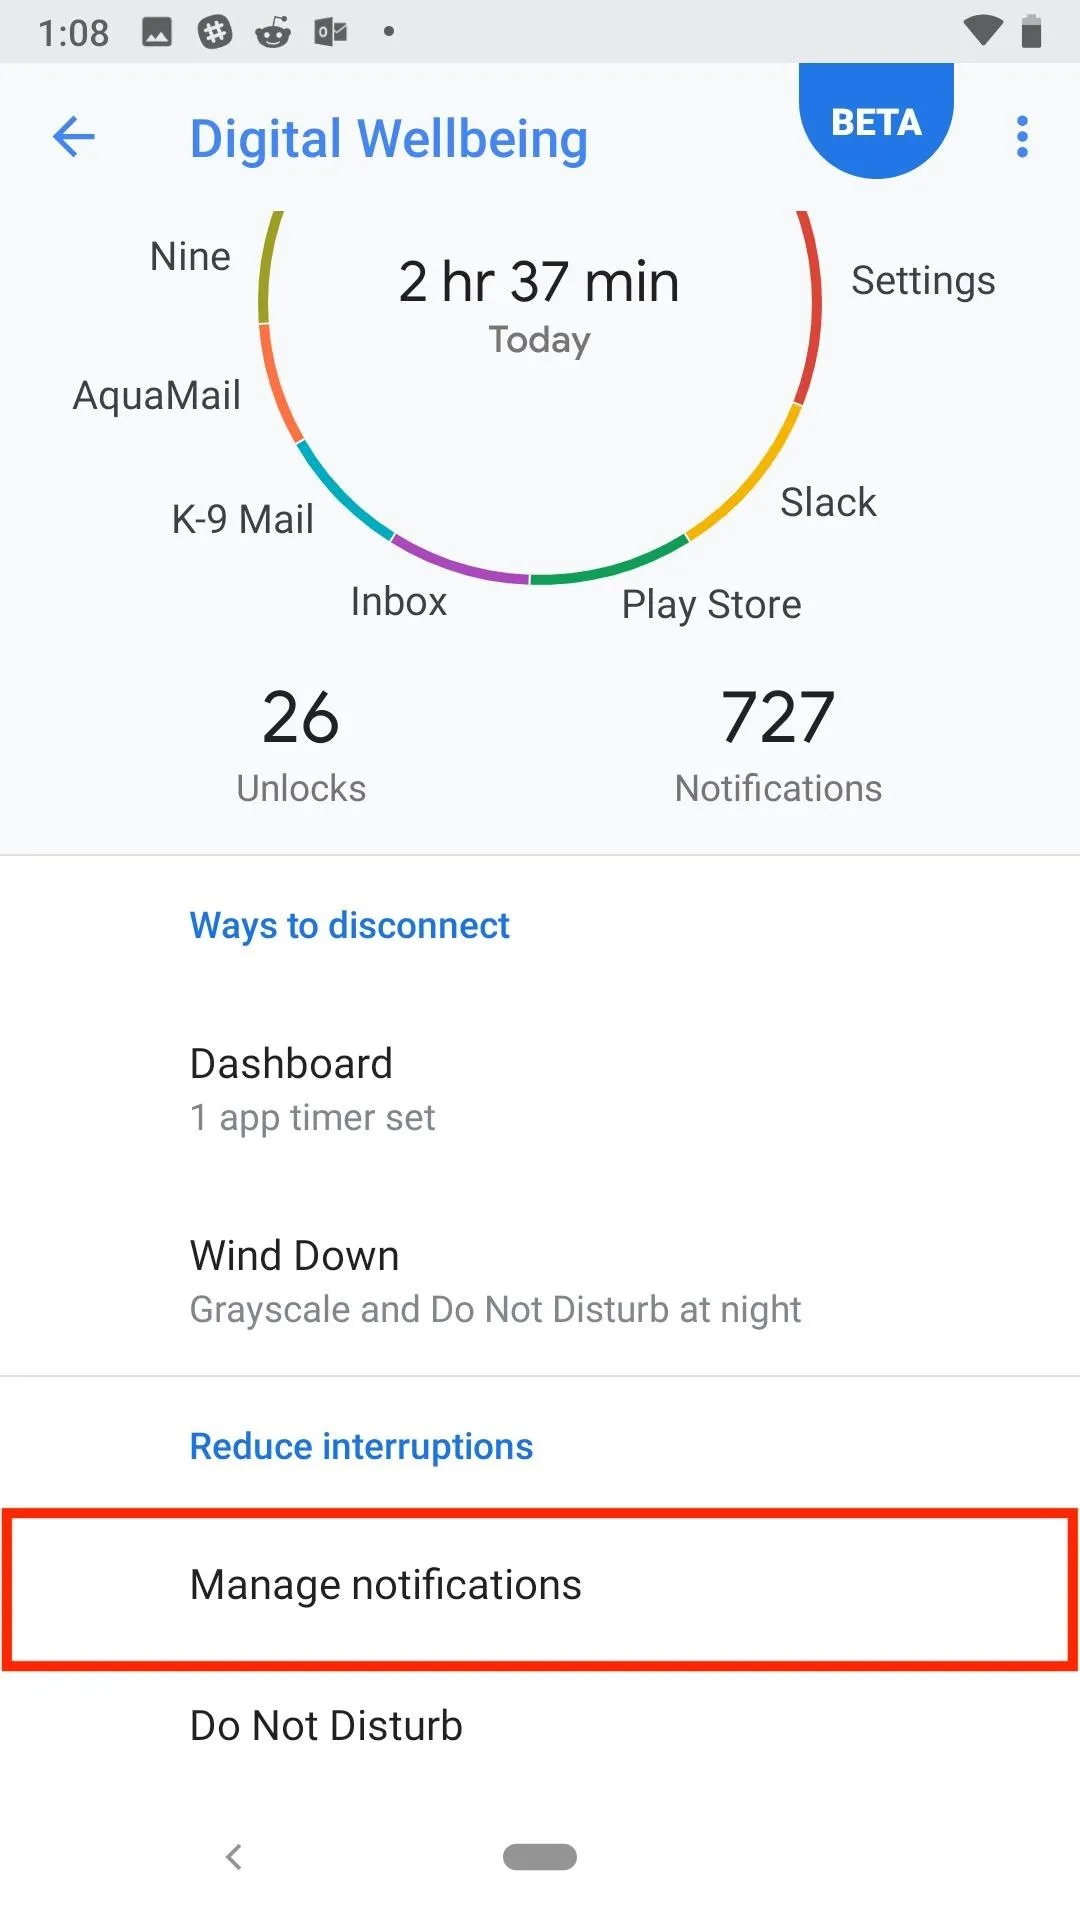
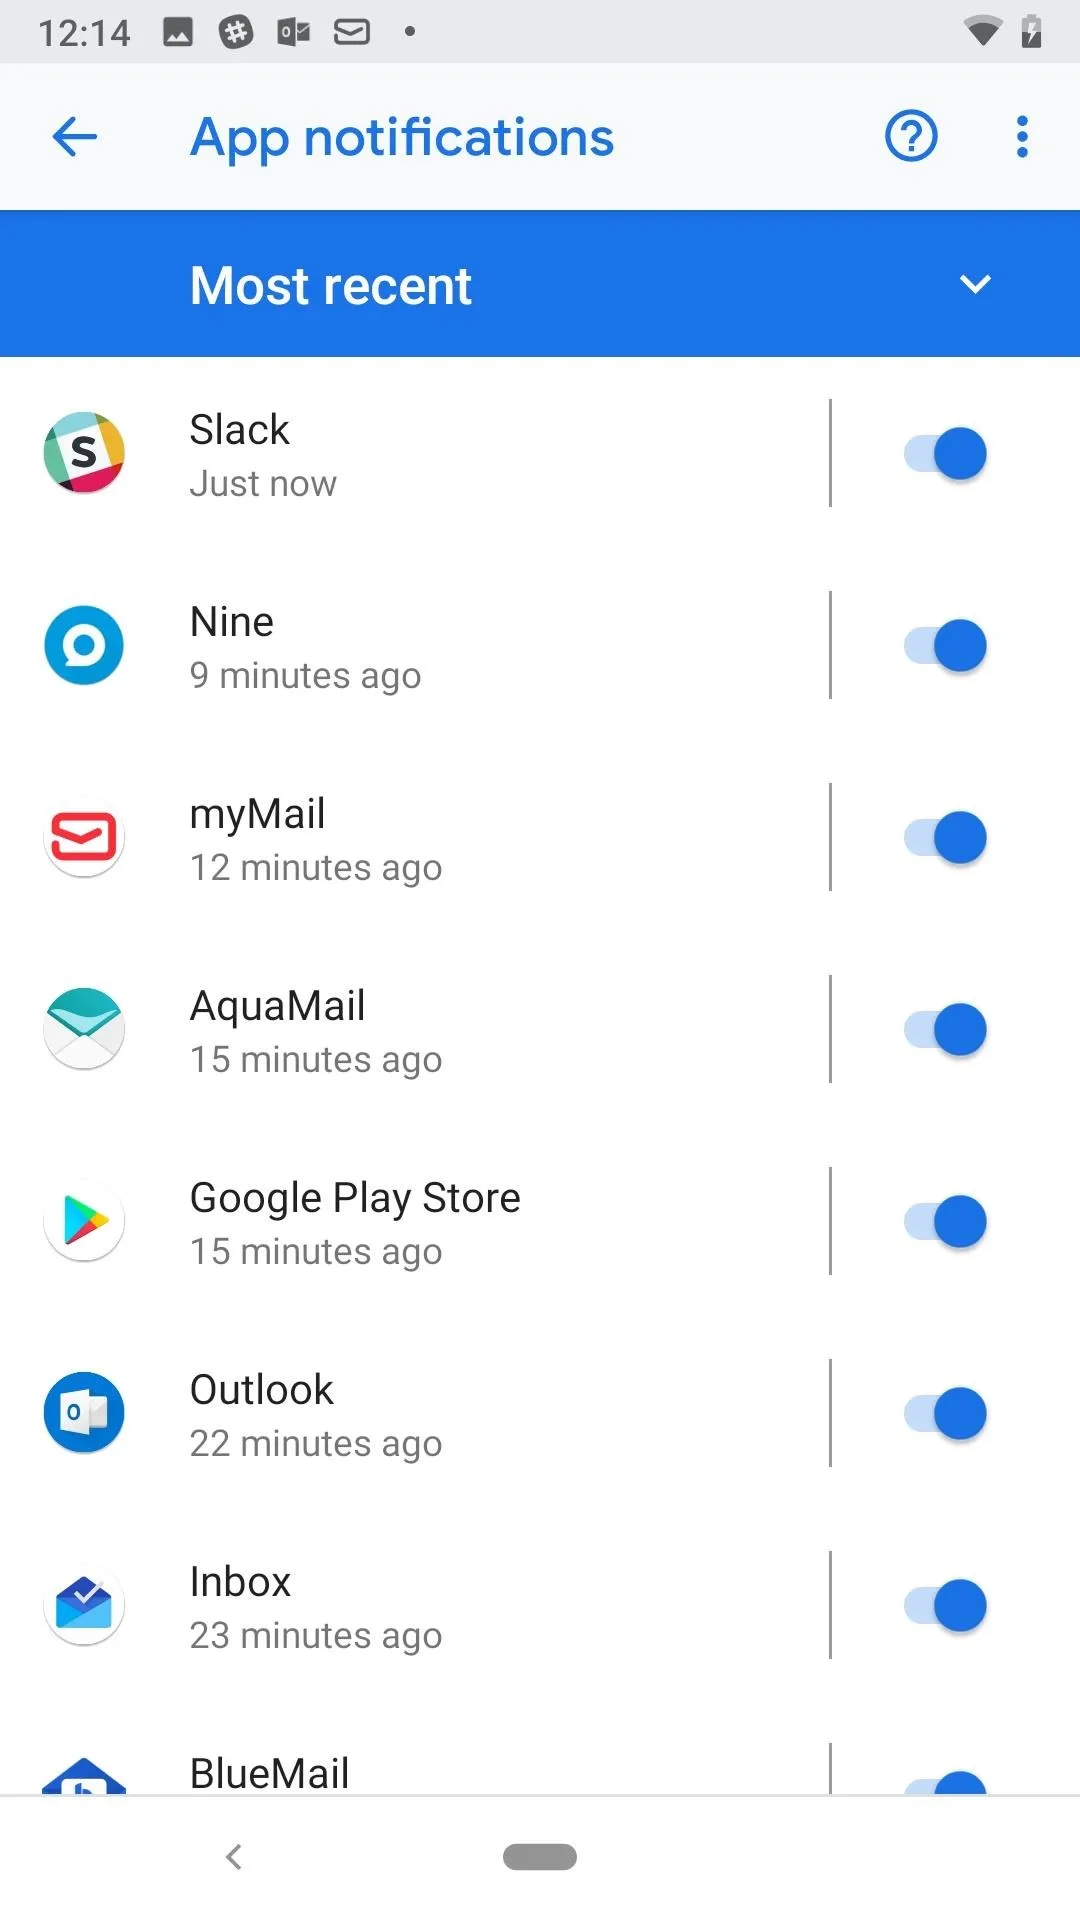
From the main Digital Wellbeing page, tap "Manage Notifications." You'll see a complete list of all of your Android device's apps. You can tap the three dots in the upper-right corner and tap "Show system" to show system notifications settings as well. You can sort this list by "Most recent" or "Most frequent" by tapping on the blue bar at the top of the display.
Tap the slider next to each app to enable or disable notifications for each. To see more detailed notification settings, simply tap on the name of the app. You can access an app's notification settings from its individual Digital Wellness page, as well.


- Follow Gadget Hacks on Facebook, Twitter, YouTube, and Flipboard
- Follow WonderHowTo on Facebook, Twitter, Pinterest, and Flipboard
Cover image and screenshots by Jake Peterson/Gadget Hacks








Comments
Be the first, drop a comment!