With all Android updates, there's a considerable wait before most phones get the new version, and Android Pie is no different. Until then, most of us are stuck just looking at videos of the newest update. Well thanks to developer Trey Dev, we can enjoy the new notification shade and Quick Settings menu while we wait.
We here at Gadget Hacks at very familiar with Trey Dev's apps. We've already covered a similar app which brought Android Oreo's Quick Settings and notification shade to phones running older versions, and it was quality work.
Fun fact, I learned about this new app after emailing the developer about an issue with his other app — specifically, how it wouldn't run on Android 8.0. He pointed me to his new app, and I've been using it since. Unlike Material Notification Shade, this app will run on Android Oreo and higher (or lower, for that matter).
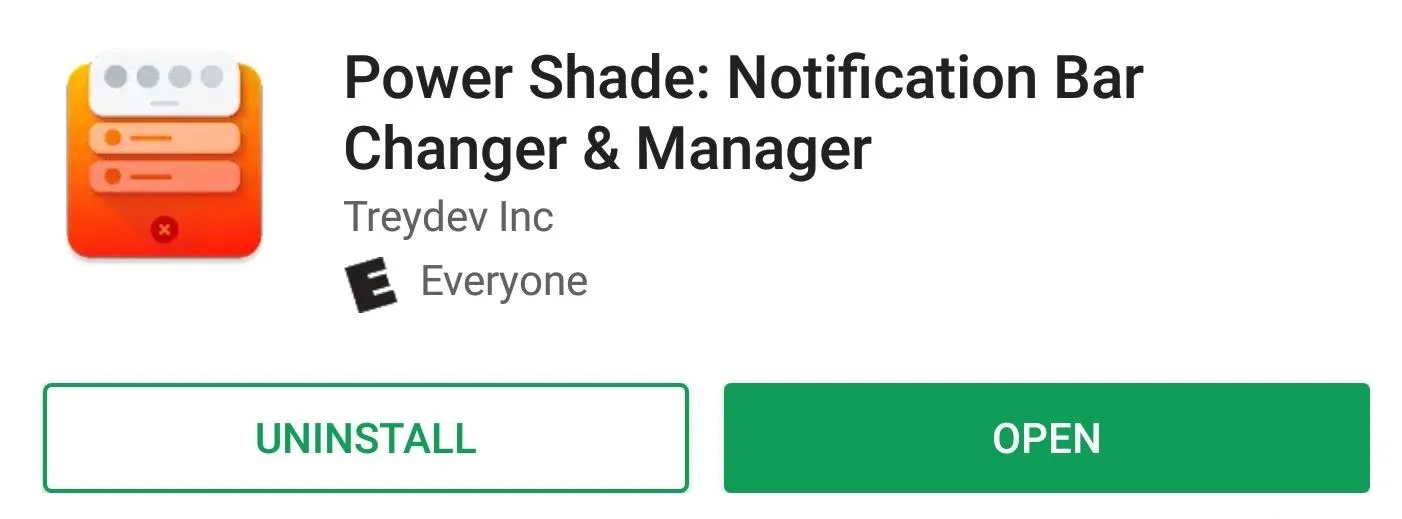
Install Power Shade
You'll first need to install Trey Dev's app, Power Shade. You can find it on the Play Store using the link below. While the app does have a pro version, these aren't needed to get Android Pie's look. However, if you want to further customize your shade, we would recommend making the upgrade.
Enable Power Shade
When you first open the app, you'll see a slider labeled "Not running" and four buttons. By default, the app is set up to display Android 9.0 Pie's new notification shade with any configuration. All you need to do is enable the app.
Swipe the slider to the right to turn on Power Shade. This action will bring you to a new page with a list of permissions that need to be enabled for Power Shade to work. Selecting each toggle will bring you to the corresponding page in Settings, where you can give Power Shade the necessary access.
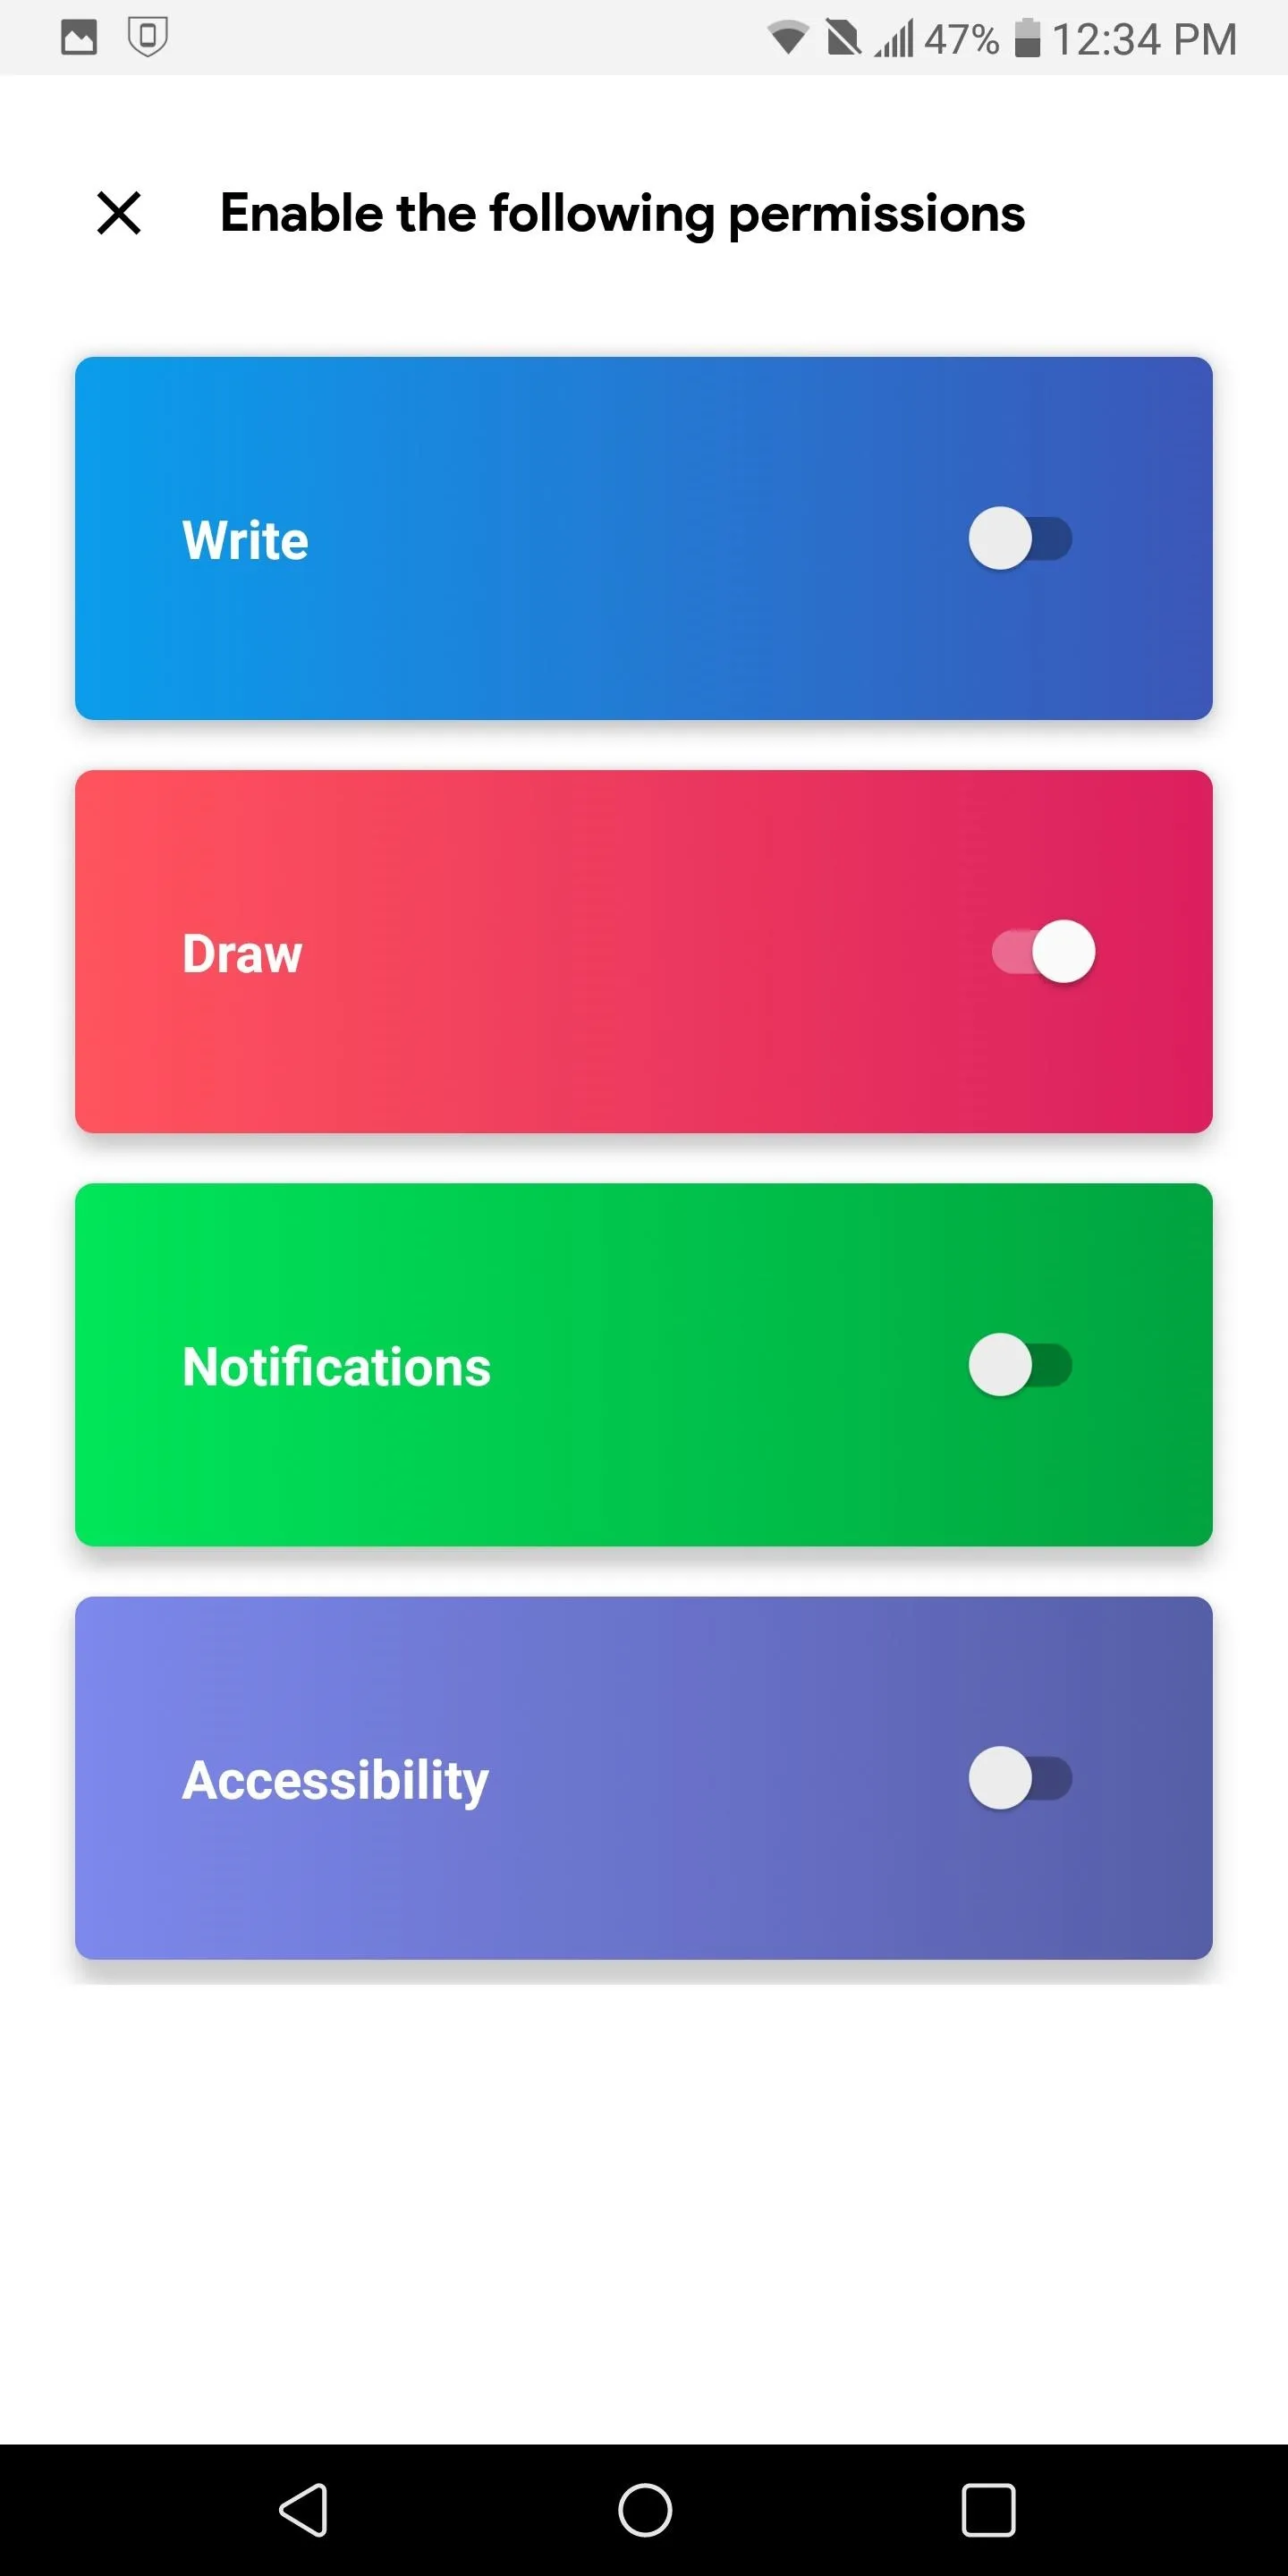
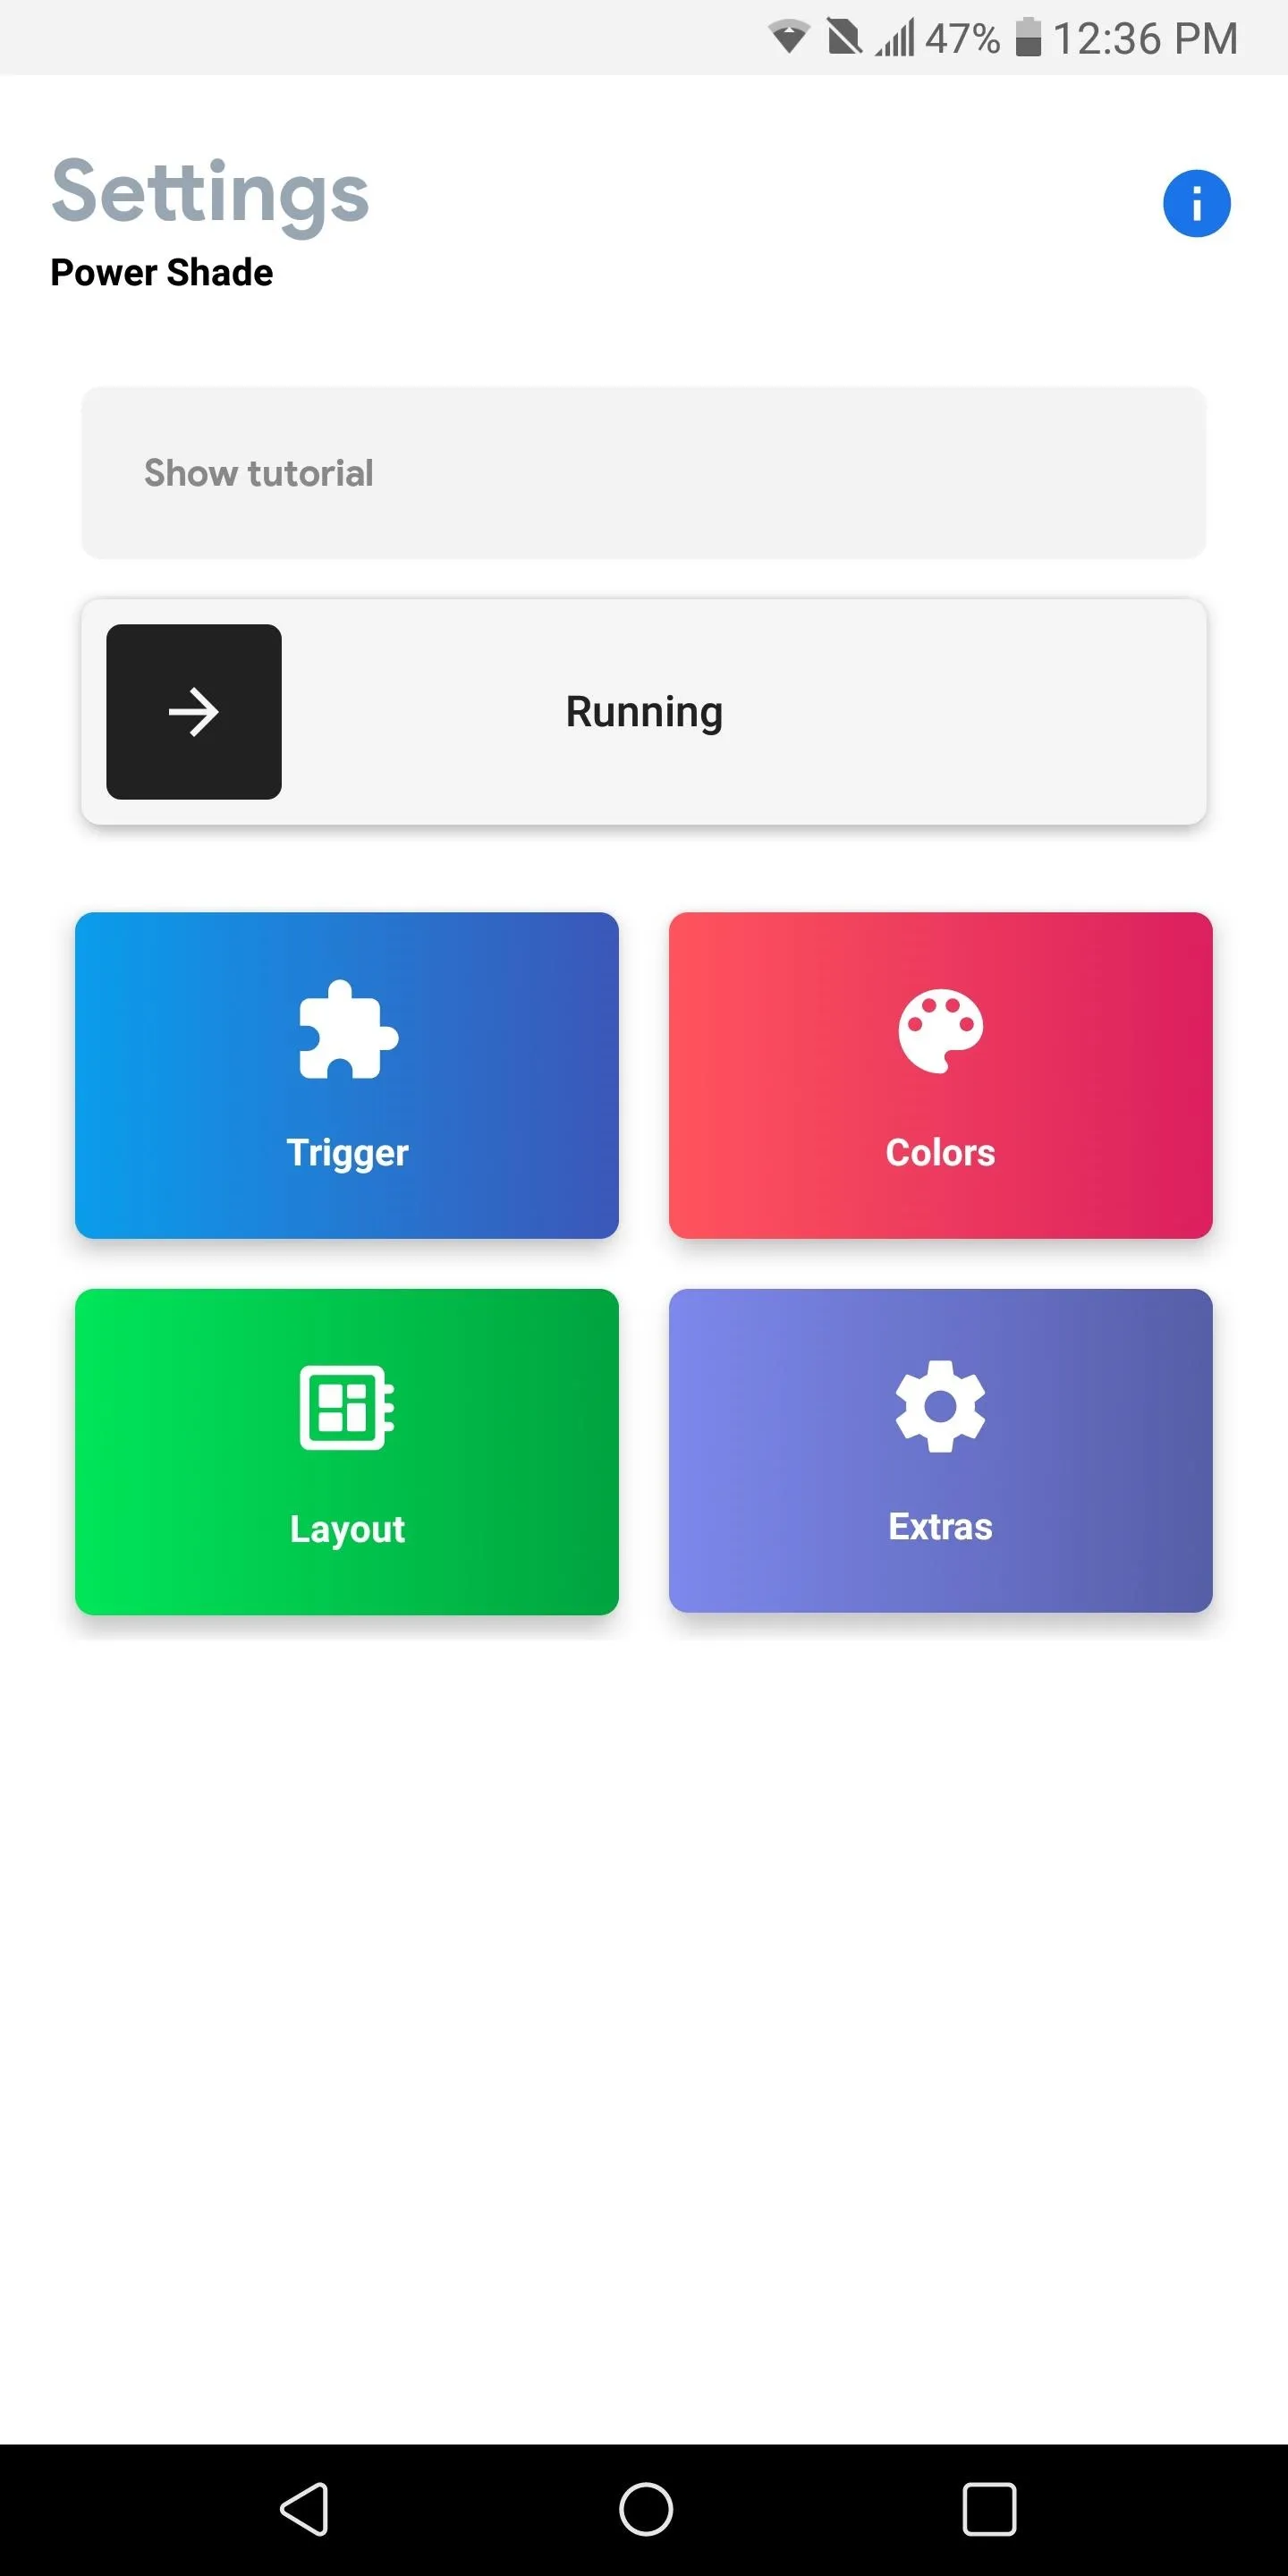


Once you've enabled all four permissions, you will return to the previous page with the slide which now labeled "Running." In the future, simply swipe this slider again after restarting your phone to re-enable the shade.
Adjust Settings (Optional)
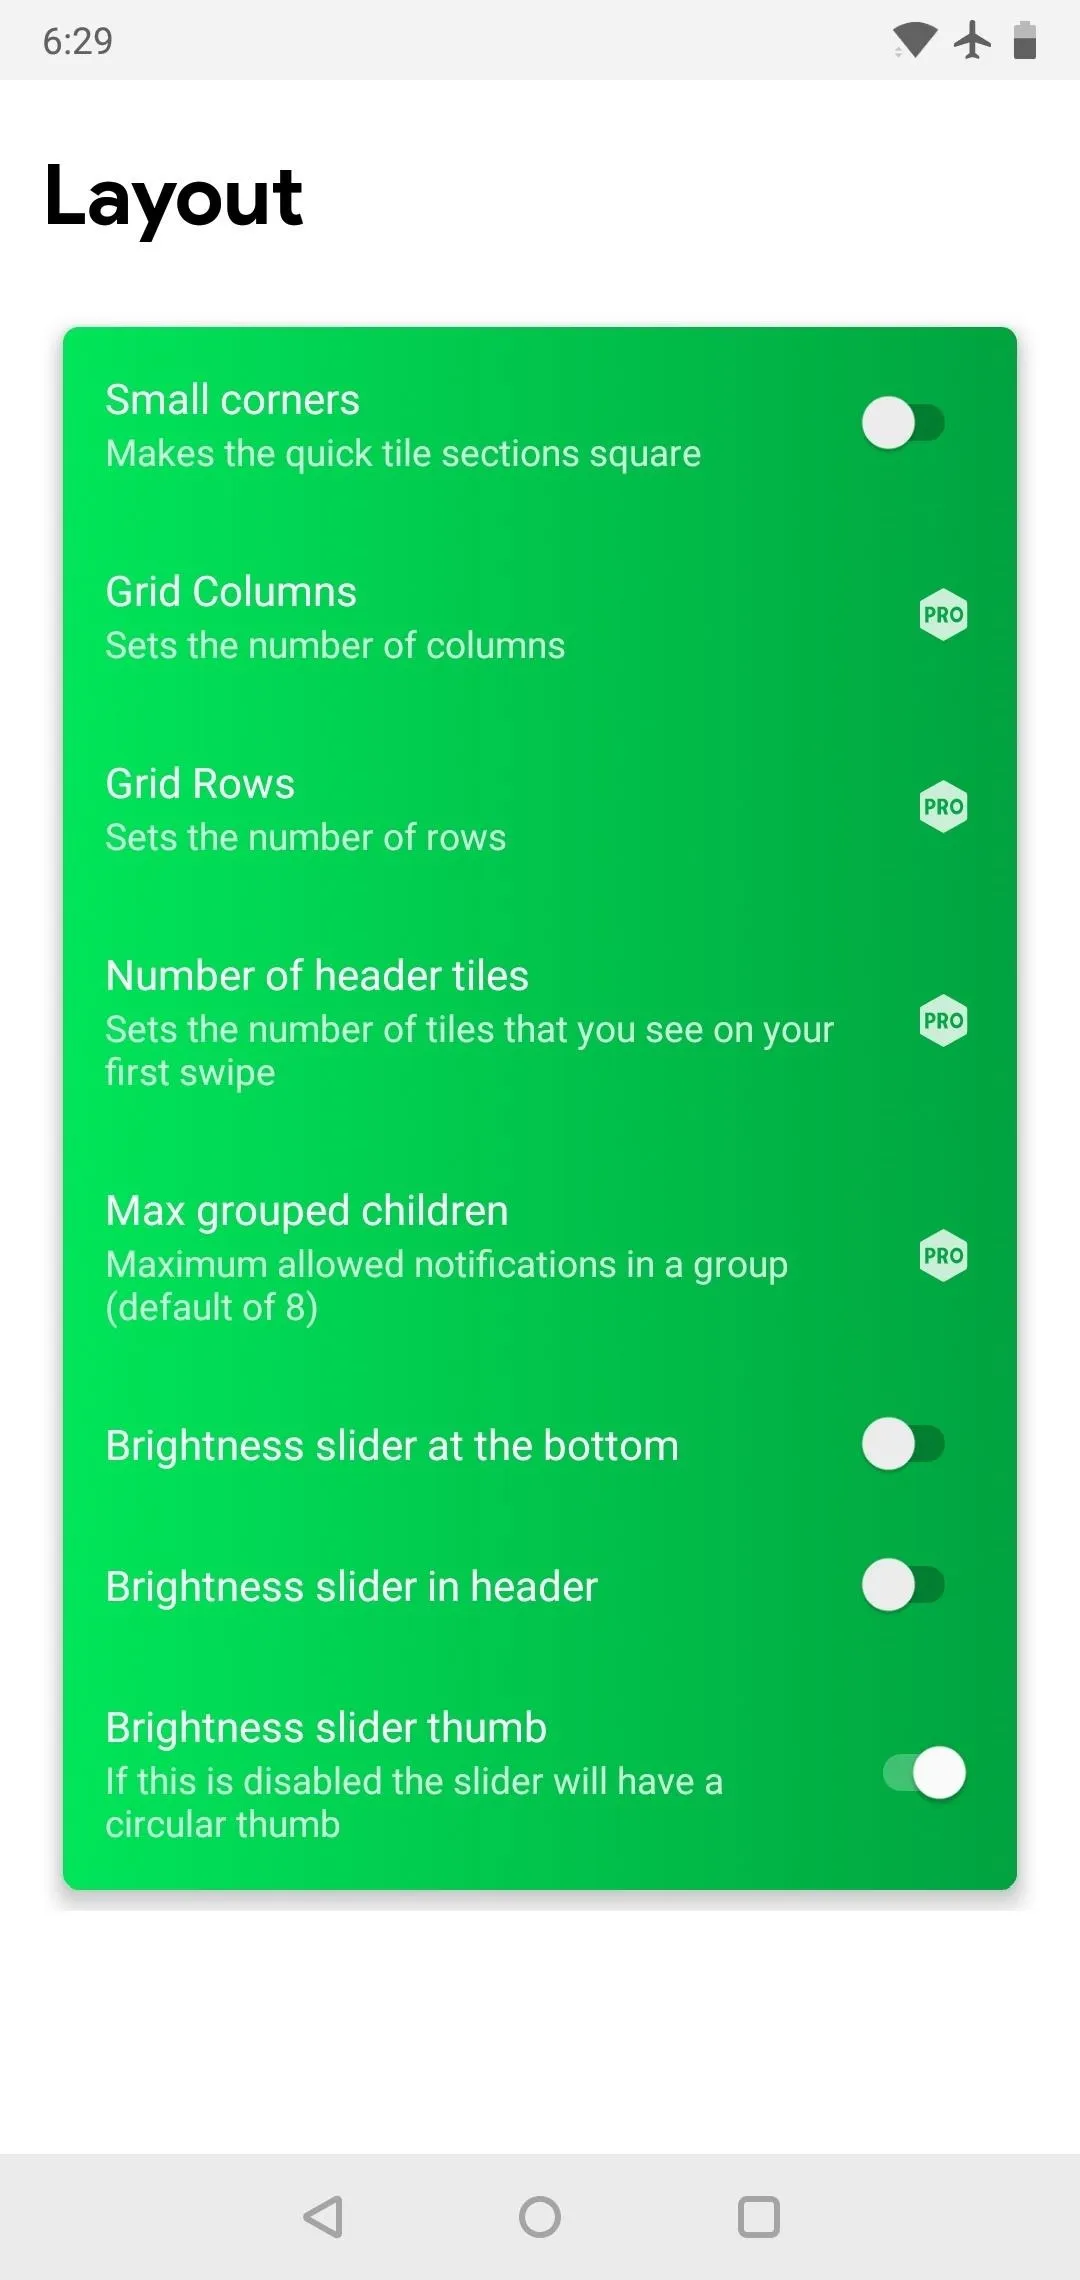
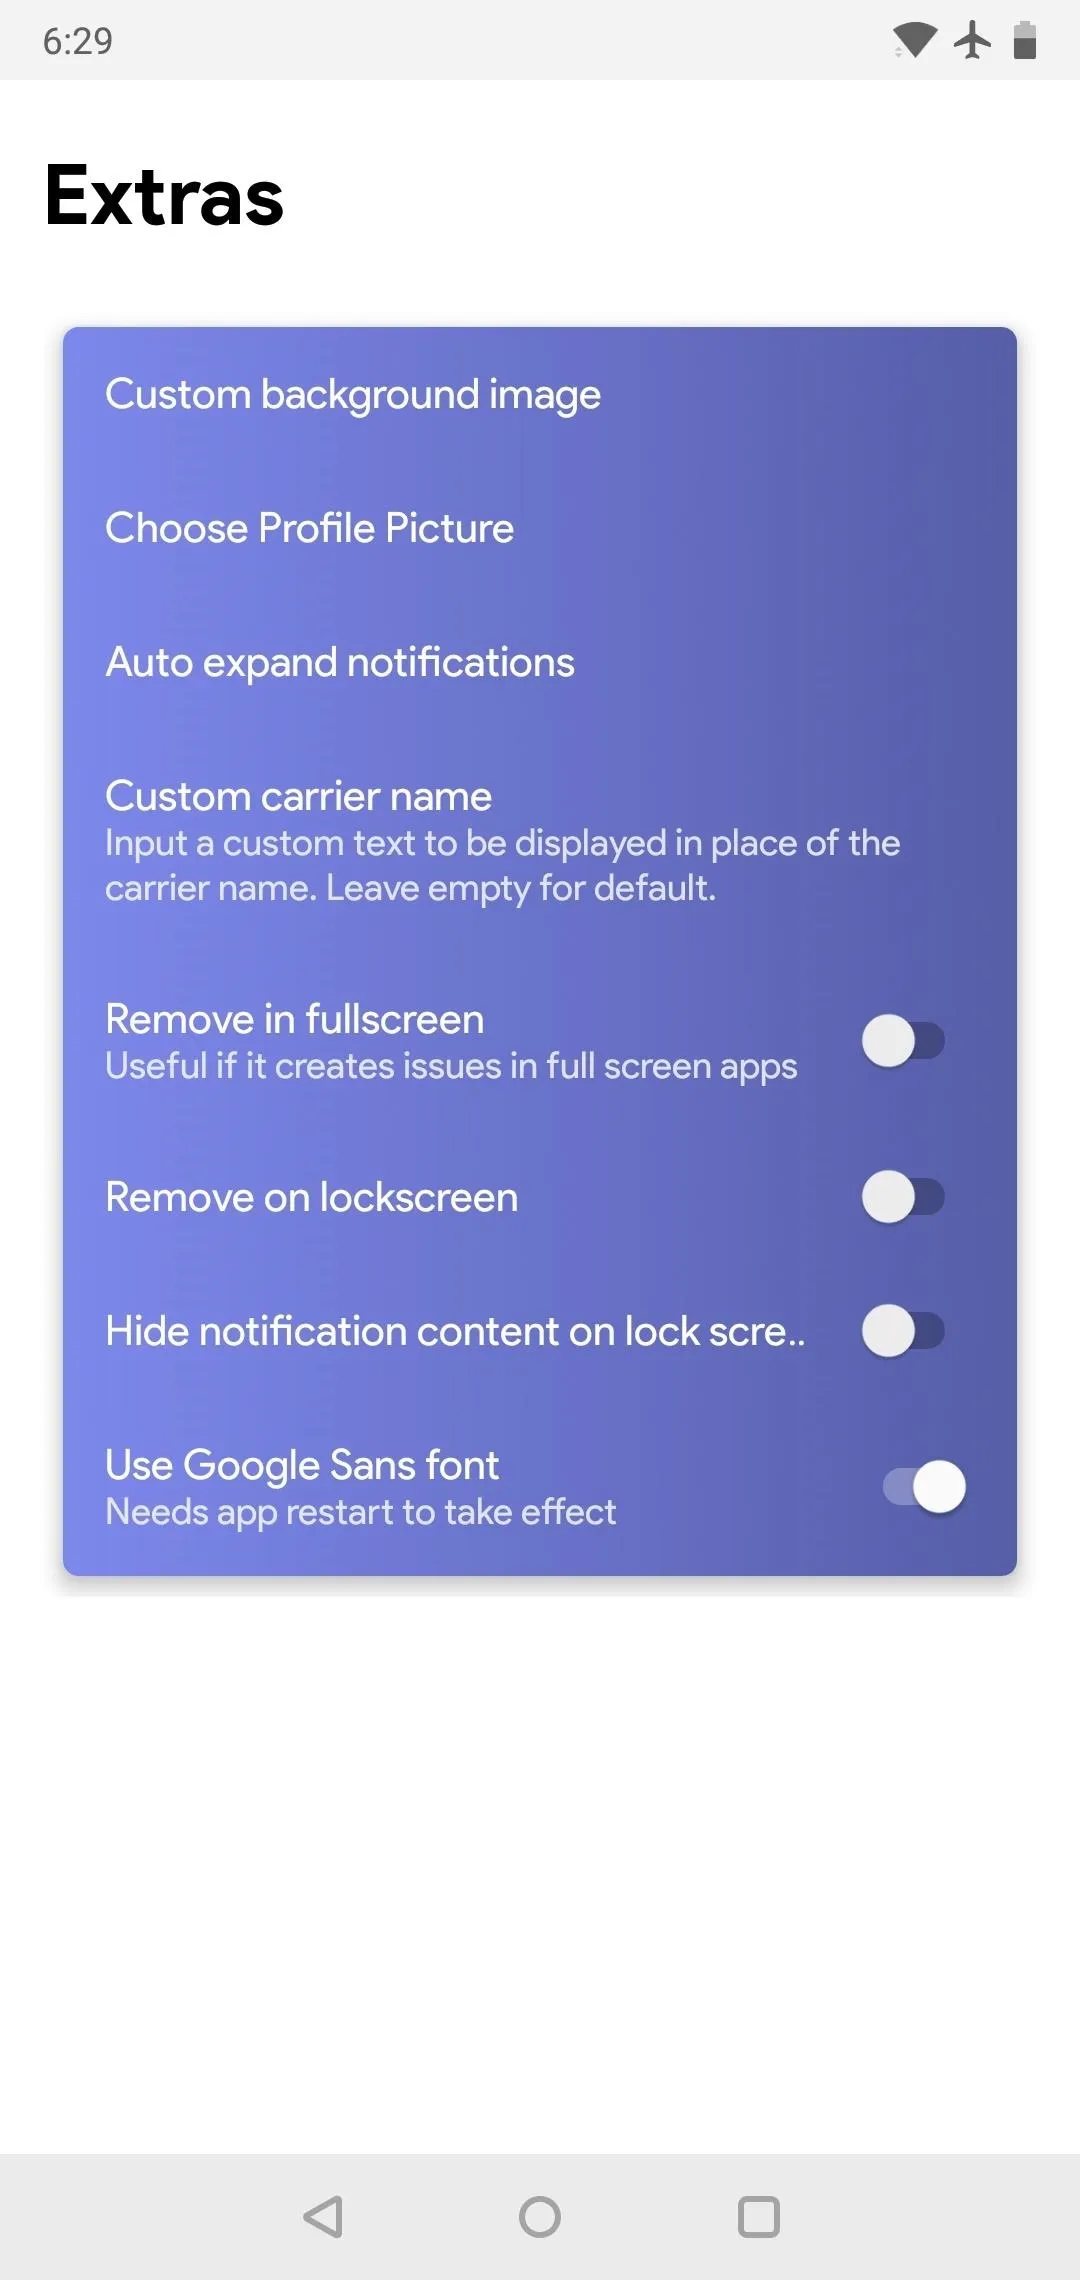
After enabling Power Shade, take a look at the four options on the main menu: Trigger, Colors, Layout, and Extras. You can poke through these now, though you don't have to adjust any settings here if your only goal is to get Android Pie's notification shade and Quick Settings, since the defaults will do that already.
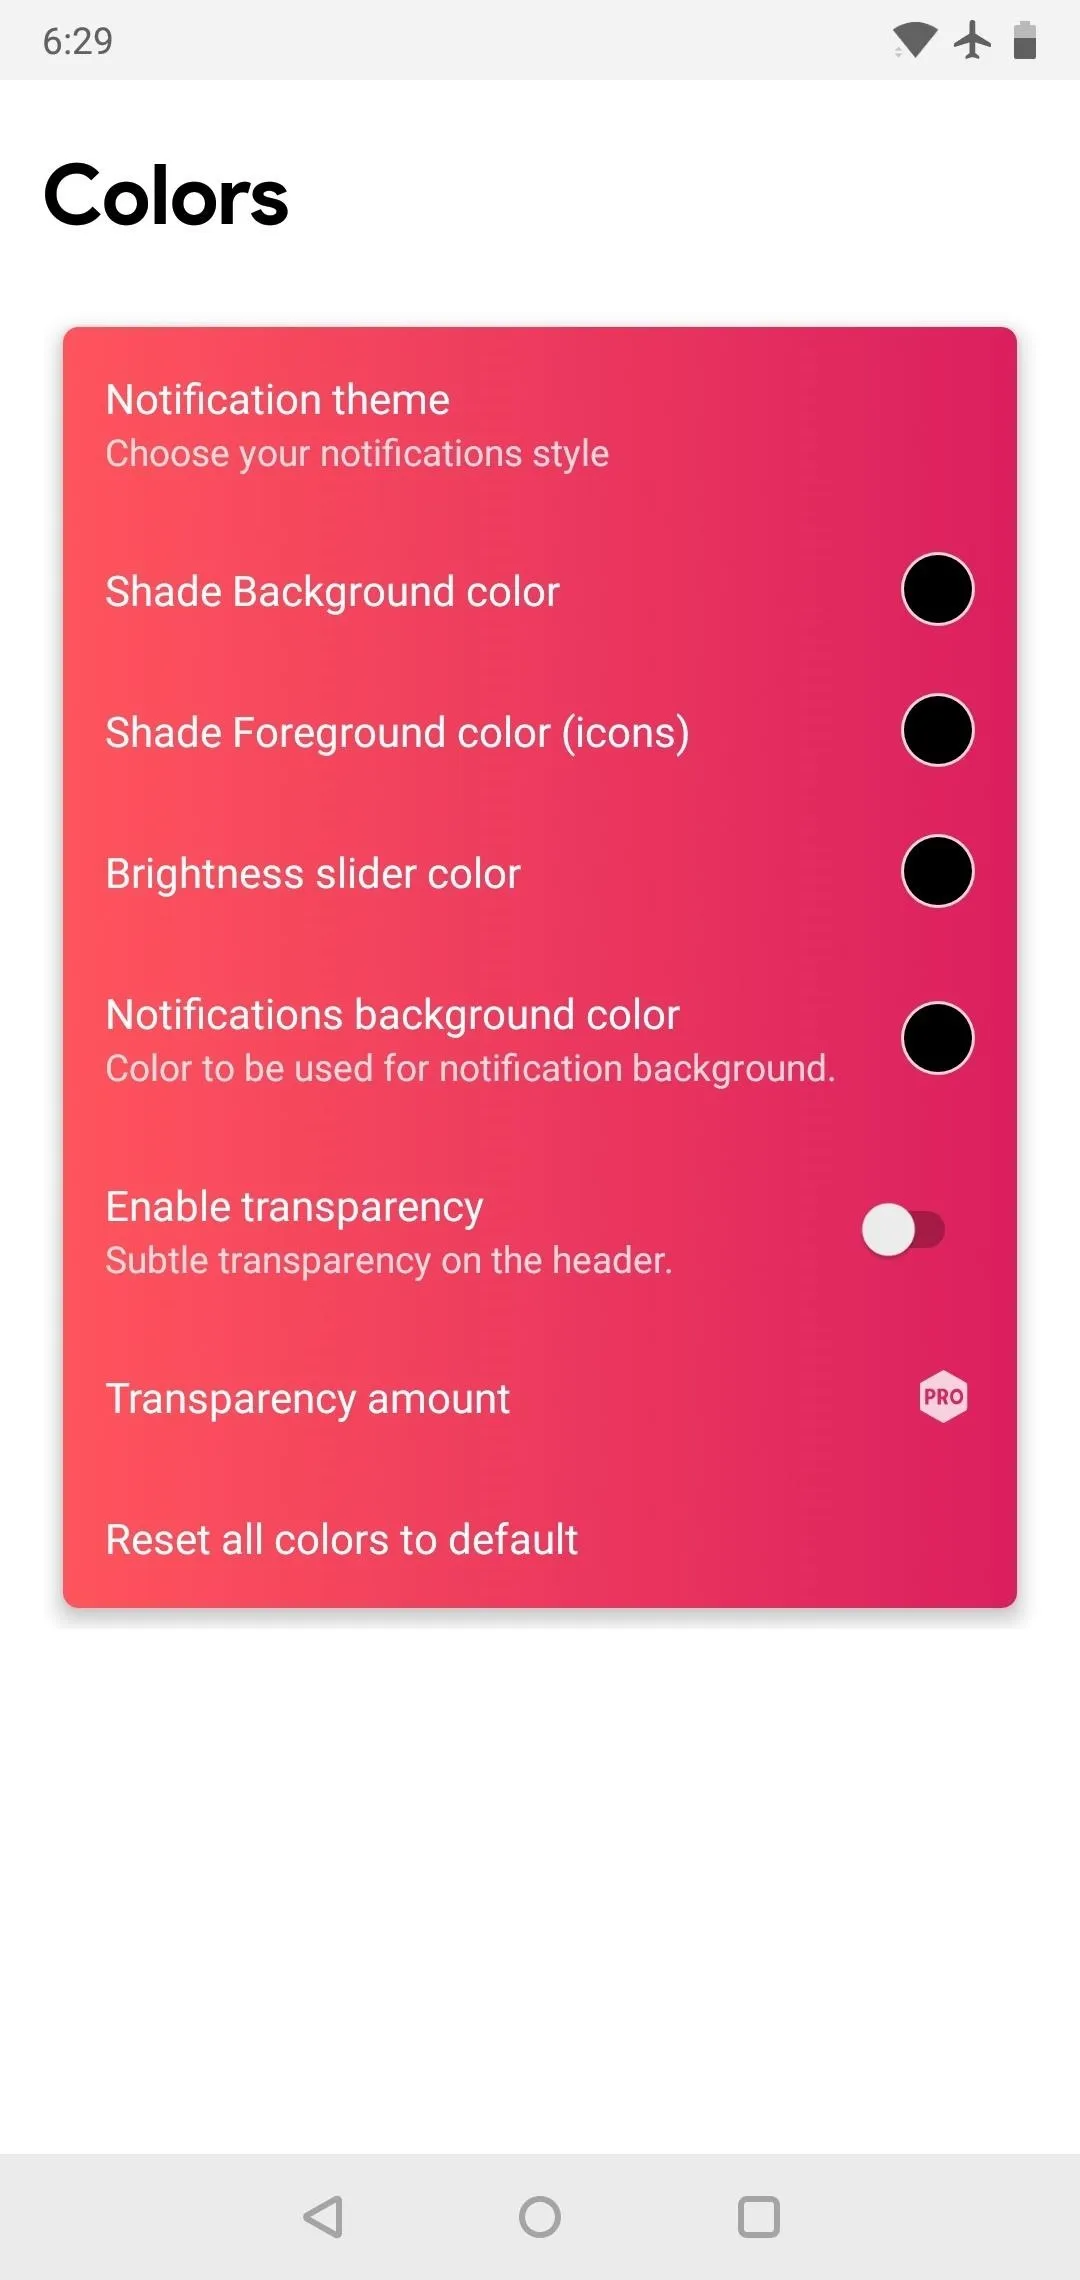
Trigger has options for a swipe gesture that opens your notification tray without needing to reach up to the top of your screen. Colors lets you change the color of almost any element in your notification shade, though you'll need to buy the pro version for $4.49 if you want to tweak transparency. Layout lets you move elements around, but most features here require the pro version. Finally, Extras lets you pick a custom background image for your shade and perform other minor tweaks.


Check Out Your New Notification Shade
With everything set up, it's time to test out the changes. Swipe down from the top of your screen once to see the new notification shade, then pull down a second time to check out the new Quick Settings — they'll look just like Android Pie!
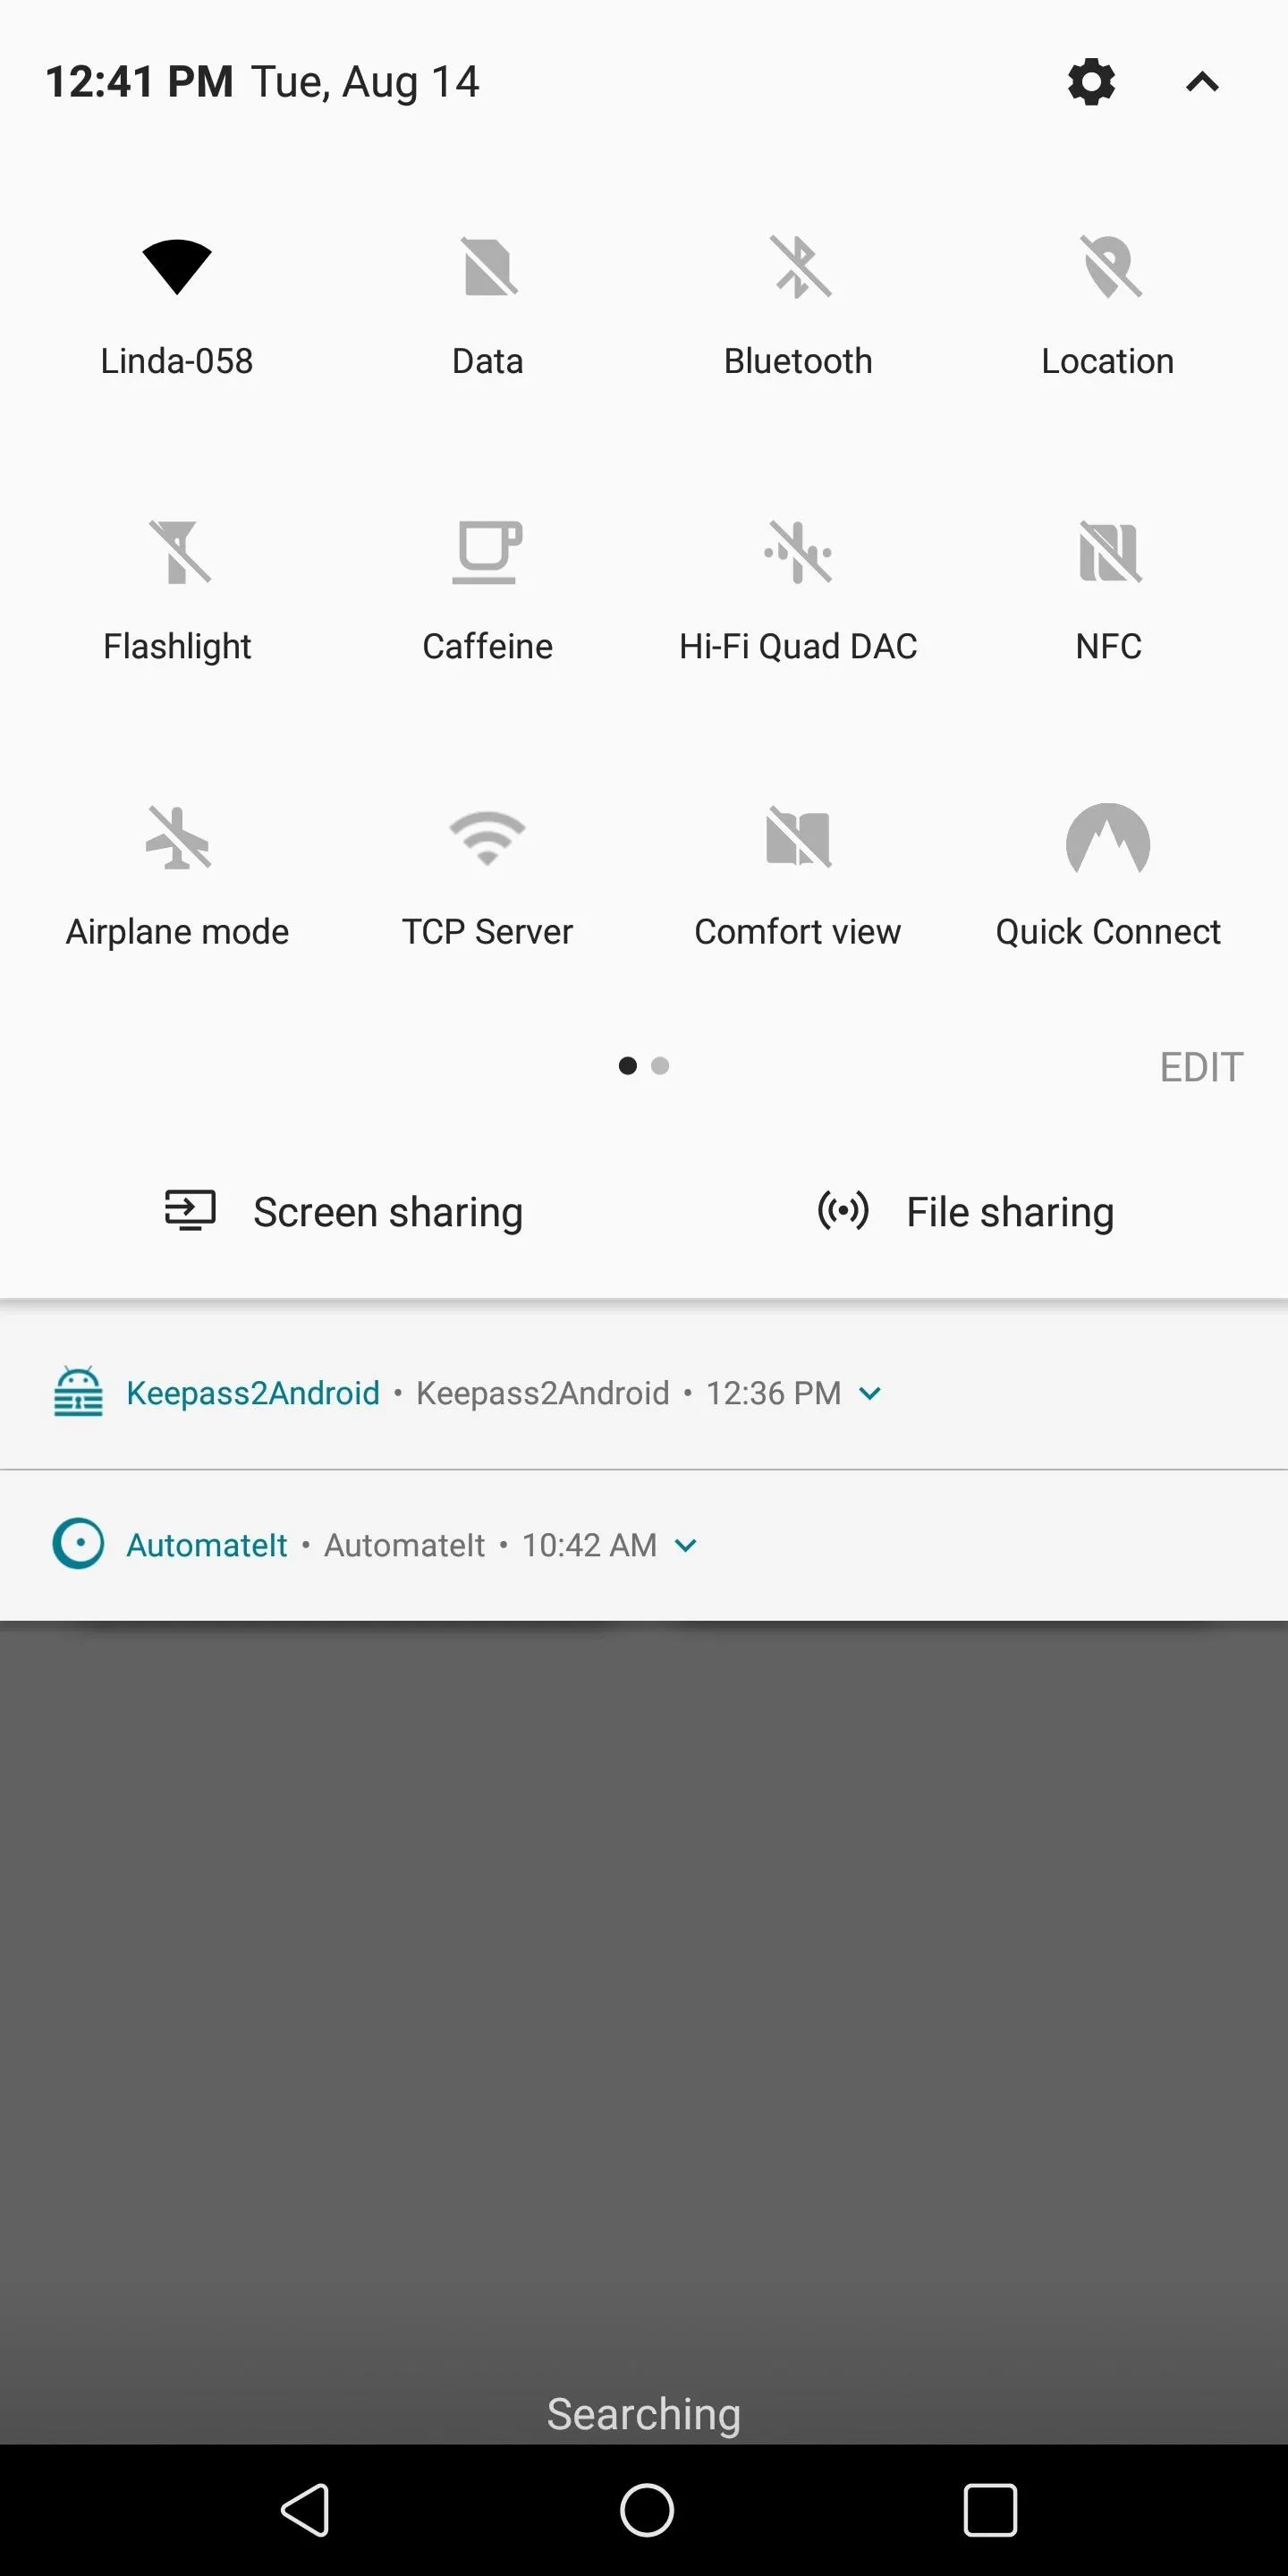
Before:
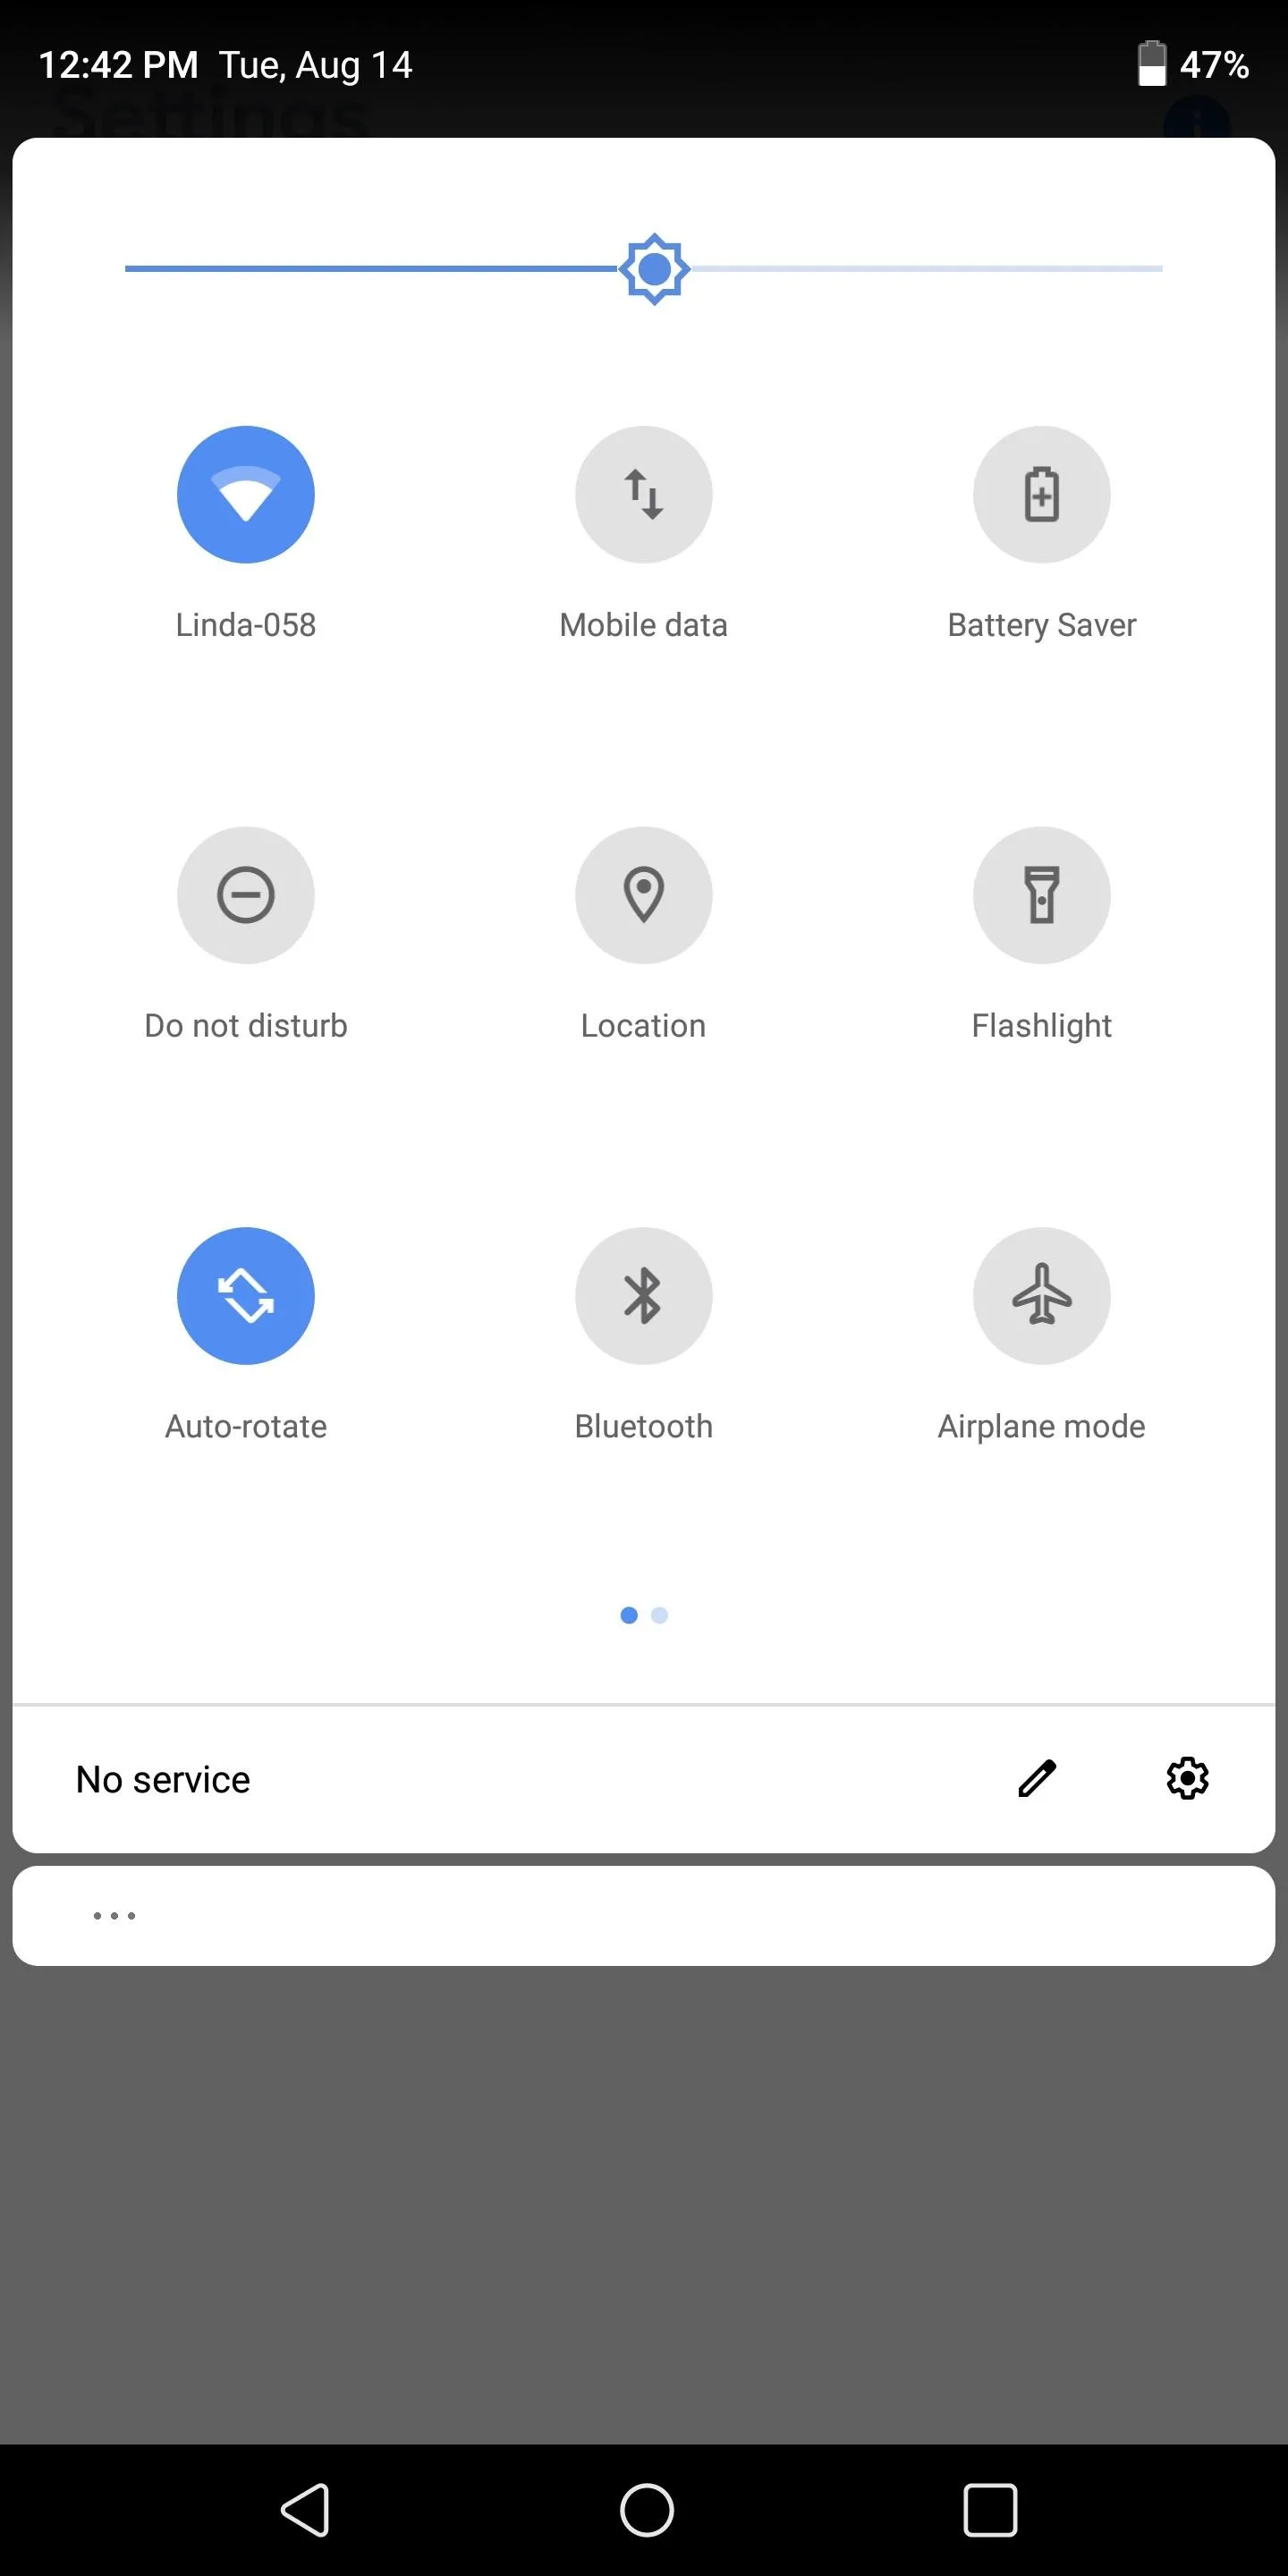
After:

Before:

After:
Just a small note, your new notification theme won't show on your lock screen, the system notification shade will display instead. Also, how well it works will depend on your device. For example, on my LG V30, the app works perfectly, while on the BlackBerry KEY2, the notifications won't expand. Also, Google Cast will appear to be enabled, even though it isn't.
This is just the tip of the iceberg when it comes to Power Shade. Trey Dev has included a number of customization tools that would otherwise be impossible without rooting. But just with the steps shown here, you can at least enjoy the new visual look of Android 9.0 Pie while you wait (hopefully, not too long) for the update to hit your device.
- Follow Gadget Hacks on Facebook, Twitter, YouTube, and Flipboard
- Follow WonderHowTo on Facebook, Twitter, Pinterest, and Flipboard
Cover image and screenshots by Jon Knight/Gadget Hacks





Comments
Be the first, drop a comment!