Android's share intents system is great in theory, but the execution can sometimes be frustrating. When you tap the "Share" button next to a link, app, or file, you see a list of apps you can share that item with. But it seems like every time you use this function, the list of apps is in a different order — especially when it comes to the Direct Share targets at the top.
As it turns out, you can easily pin items to the top of your share menu to keep it a lot more organized. After setting things up, when you tap the share button, your favorite apps will be listed at the top of both the regular share menu and the new Direct Share menu. It only takes a few seconds, so I'll show you how it works below.
This Trick Works With:
- Android 7.0 through Android 9
Pinning Items to the Top of Your Direct Share Menu
First introduced with Android 6.0, the Direct Share menu lets you send items to a specific submenu within an app. For instance, instead of just sharing a file to your messaging app, then selecting a contact to share it with, you can now share the file directly to the specific conversation with that contact in one tap.
As more apps have been updated to support this feature, the Direct Share menu is starting to become crowded. Most apps don't offer settings to disable their Direct Share functionality, so a lot of times, the direct share targets that show up in the share menu are from apps that you don't usually want to share an item with.
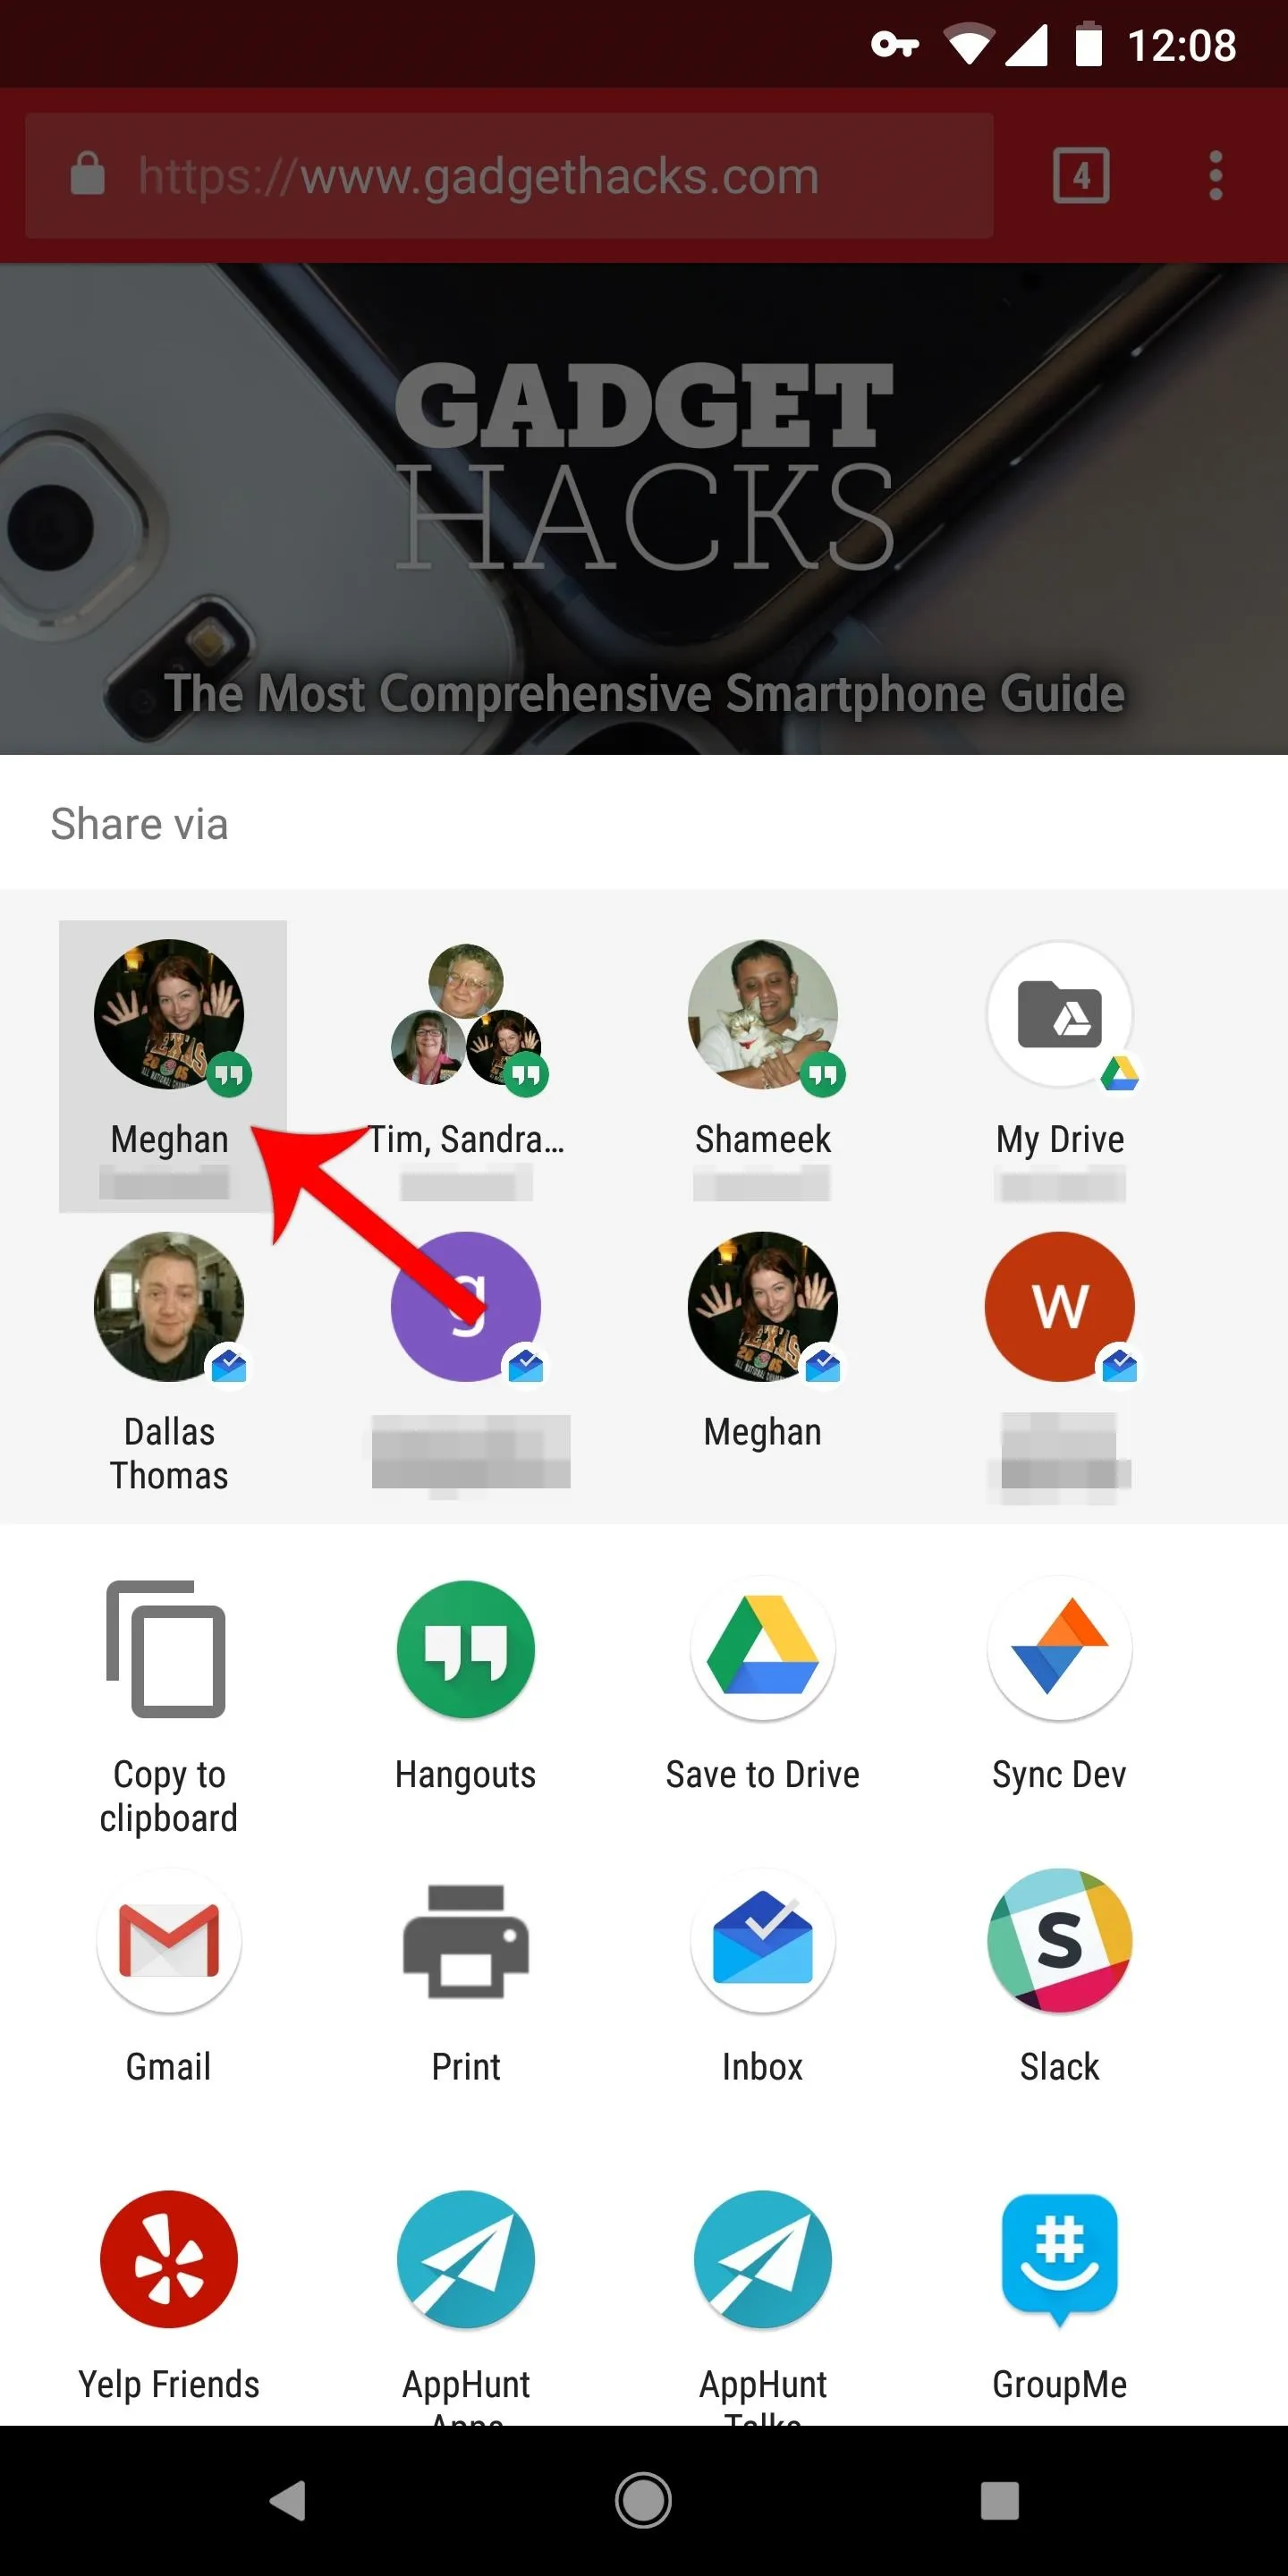
So if this menu has started to become cluttered for you, start by sharing an item as you normally would. The Direct Share targets will appear at the top of the share menu with a slightly darker background. Find the app you most commonly share things with and long-press it. Next, tap "Pin" on the popup, then this app will be bumped to the first position in your Direct Share menu.
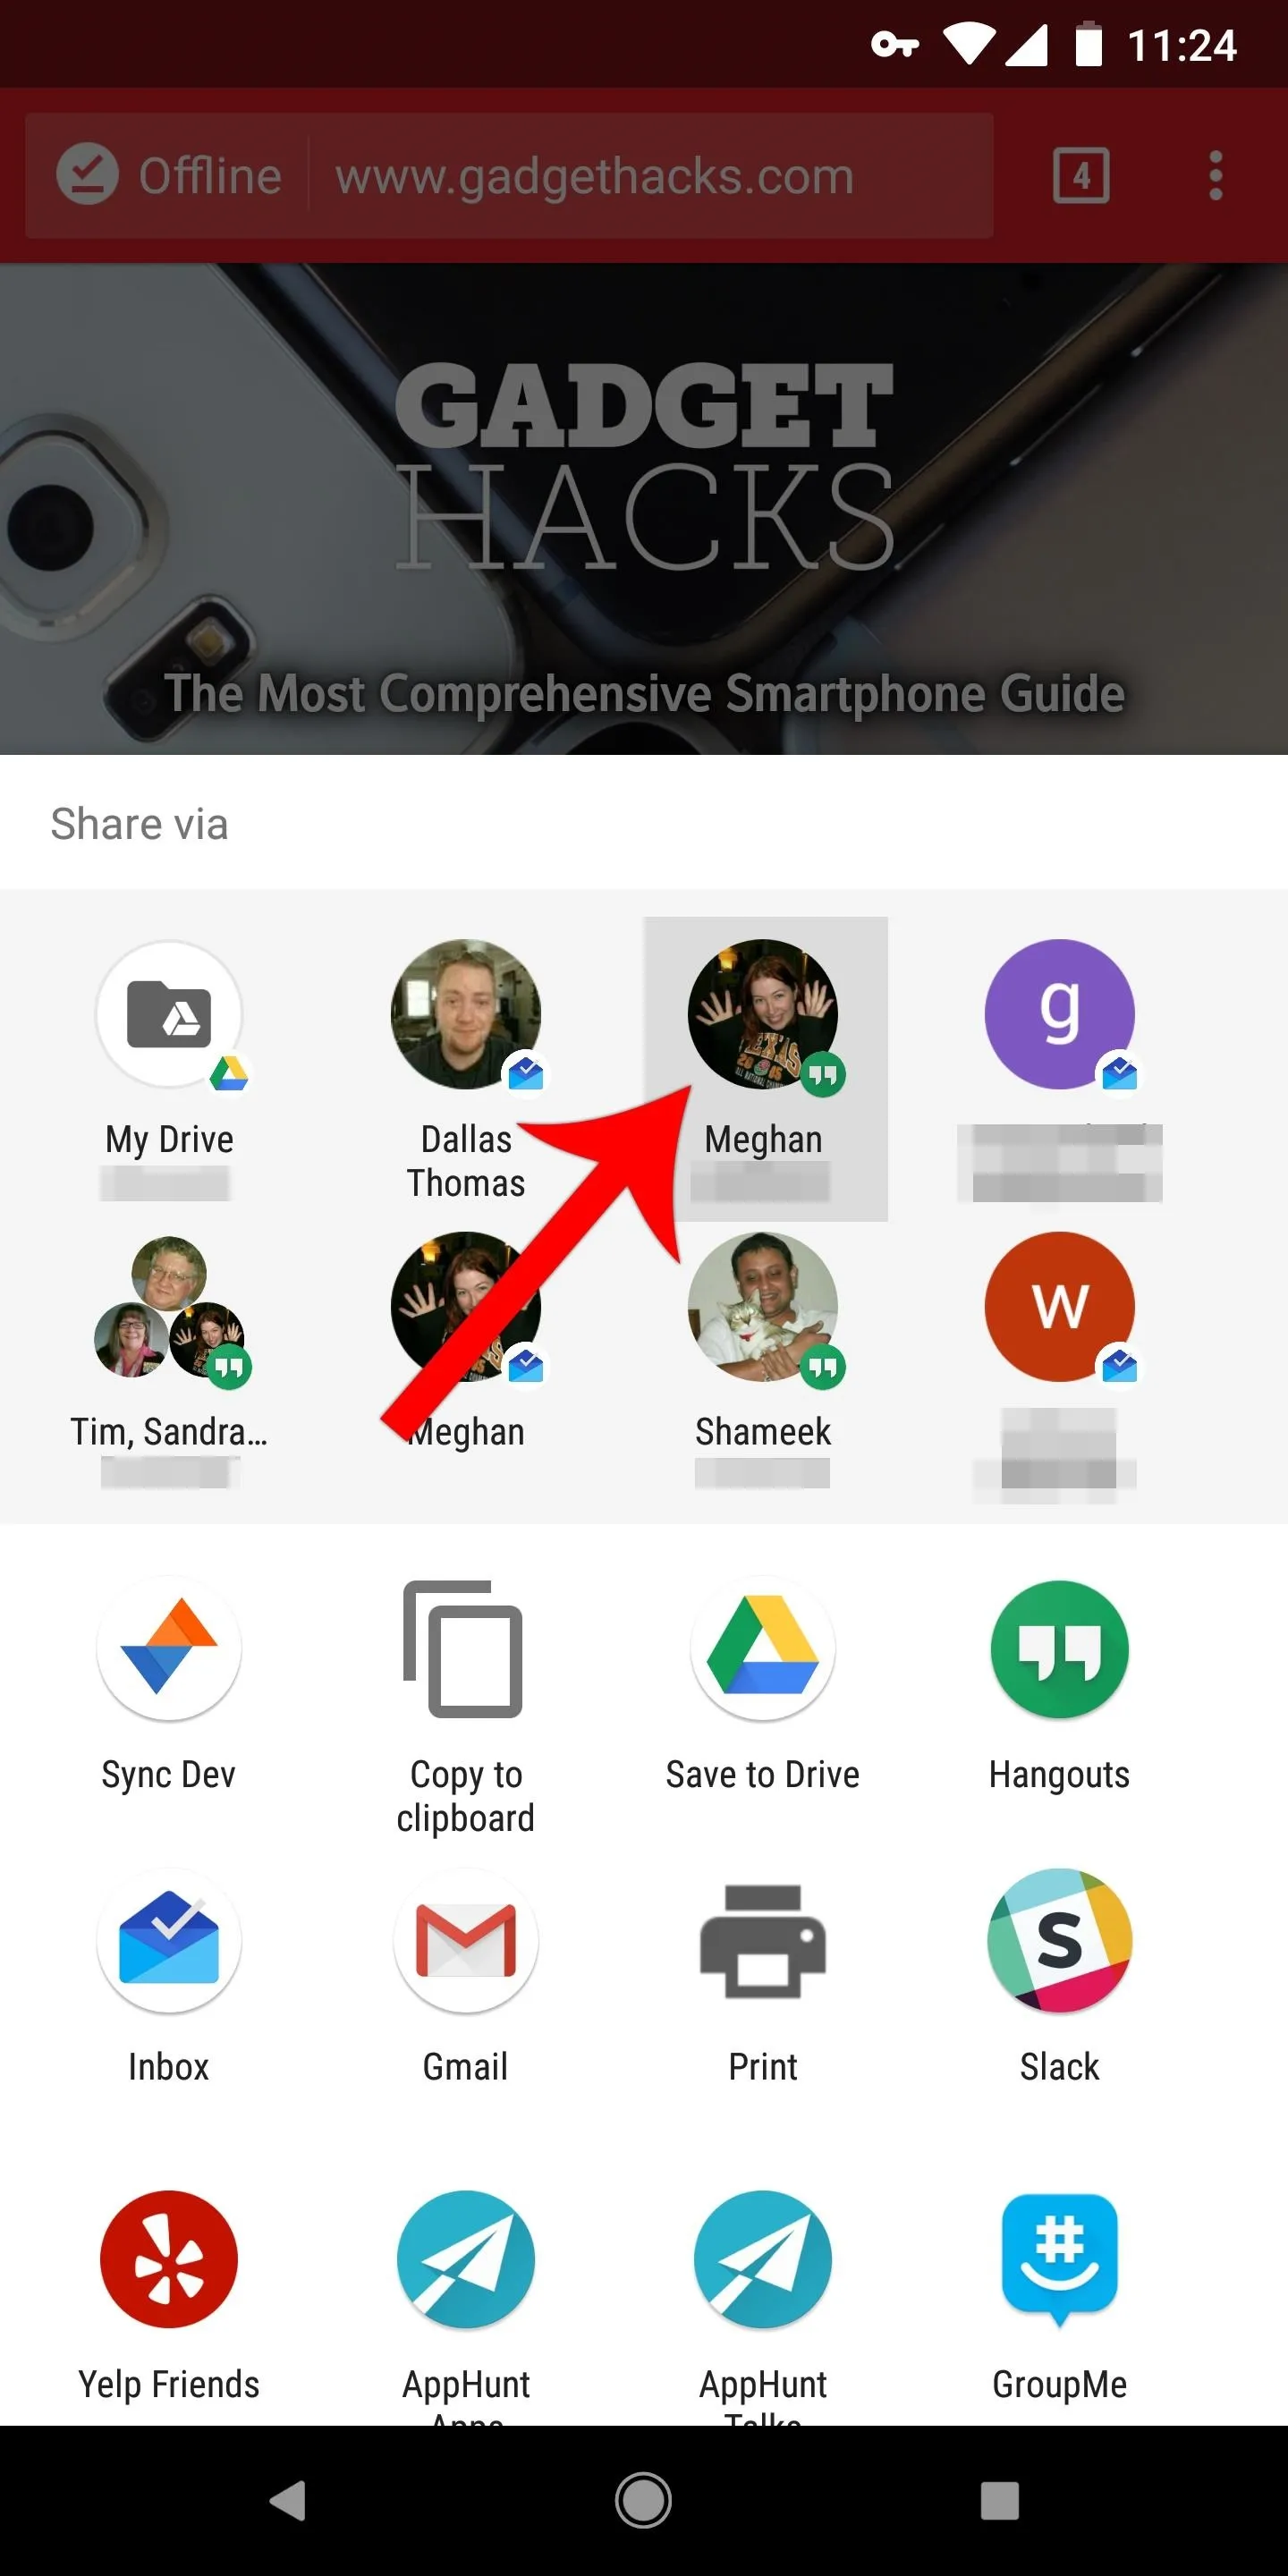
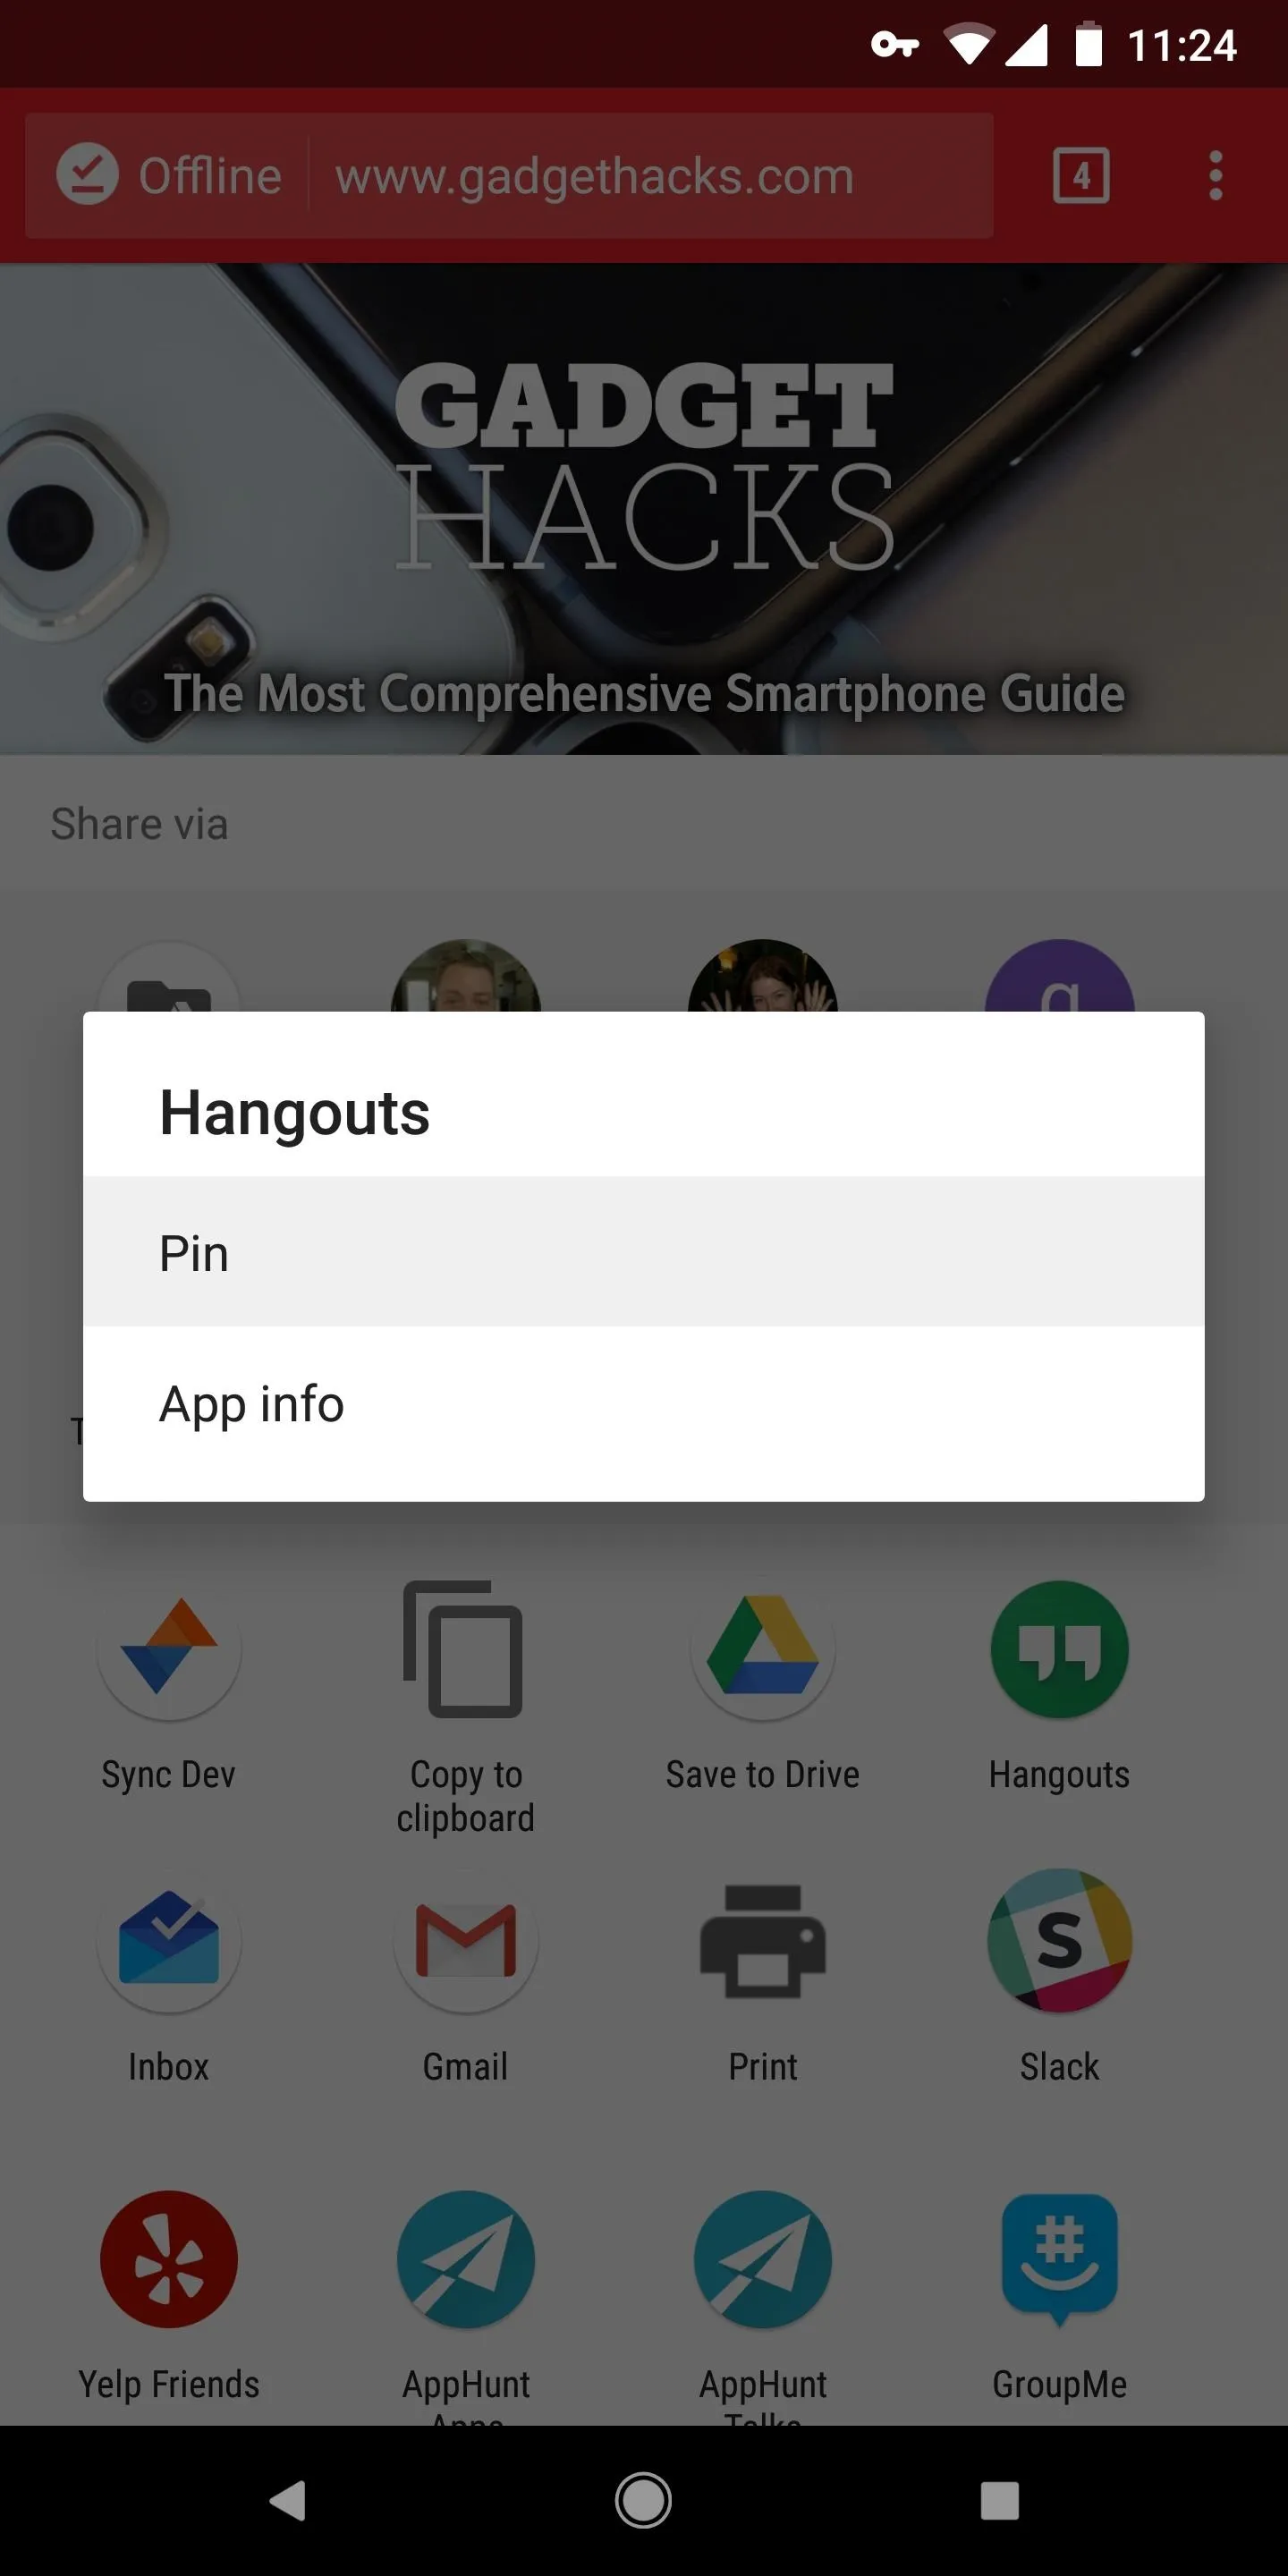
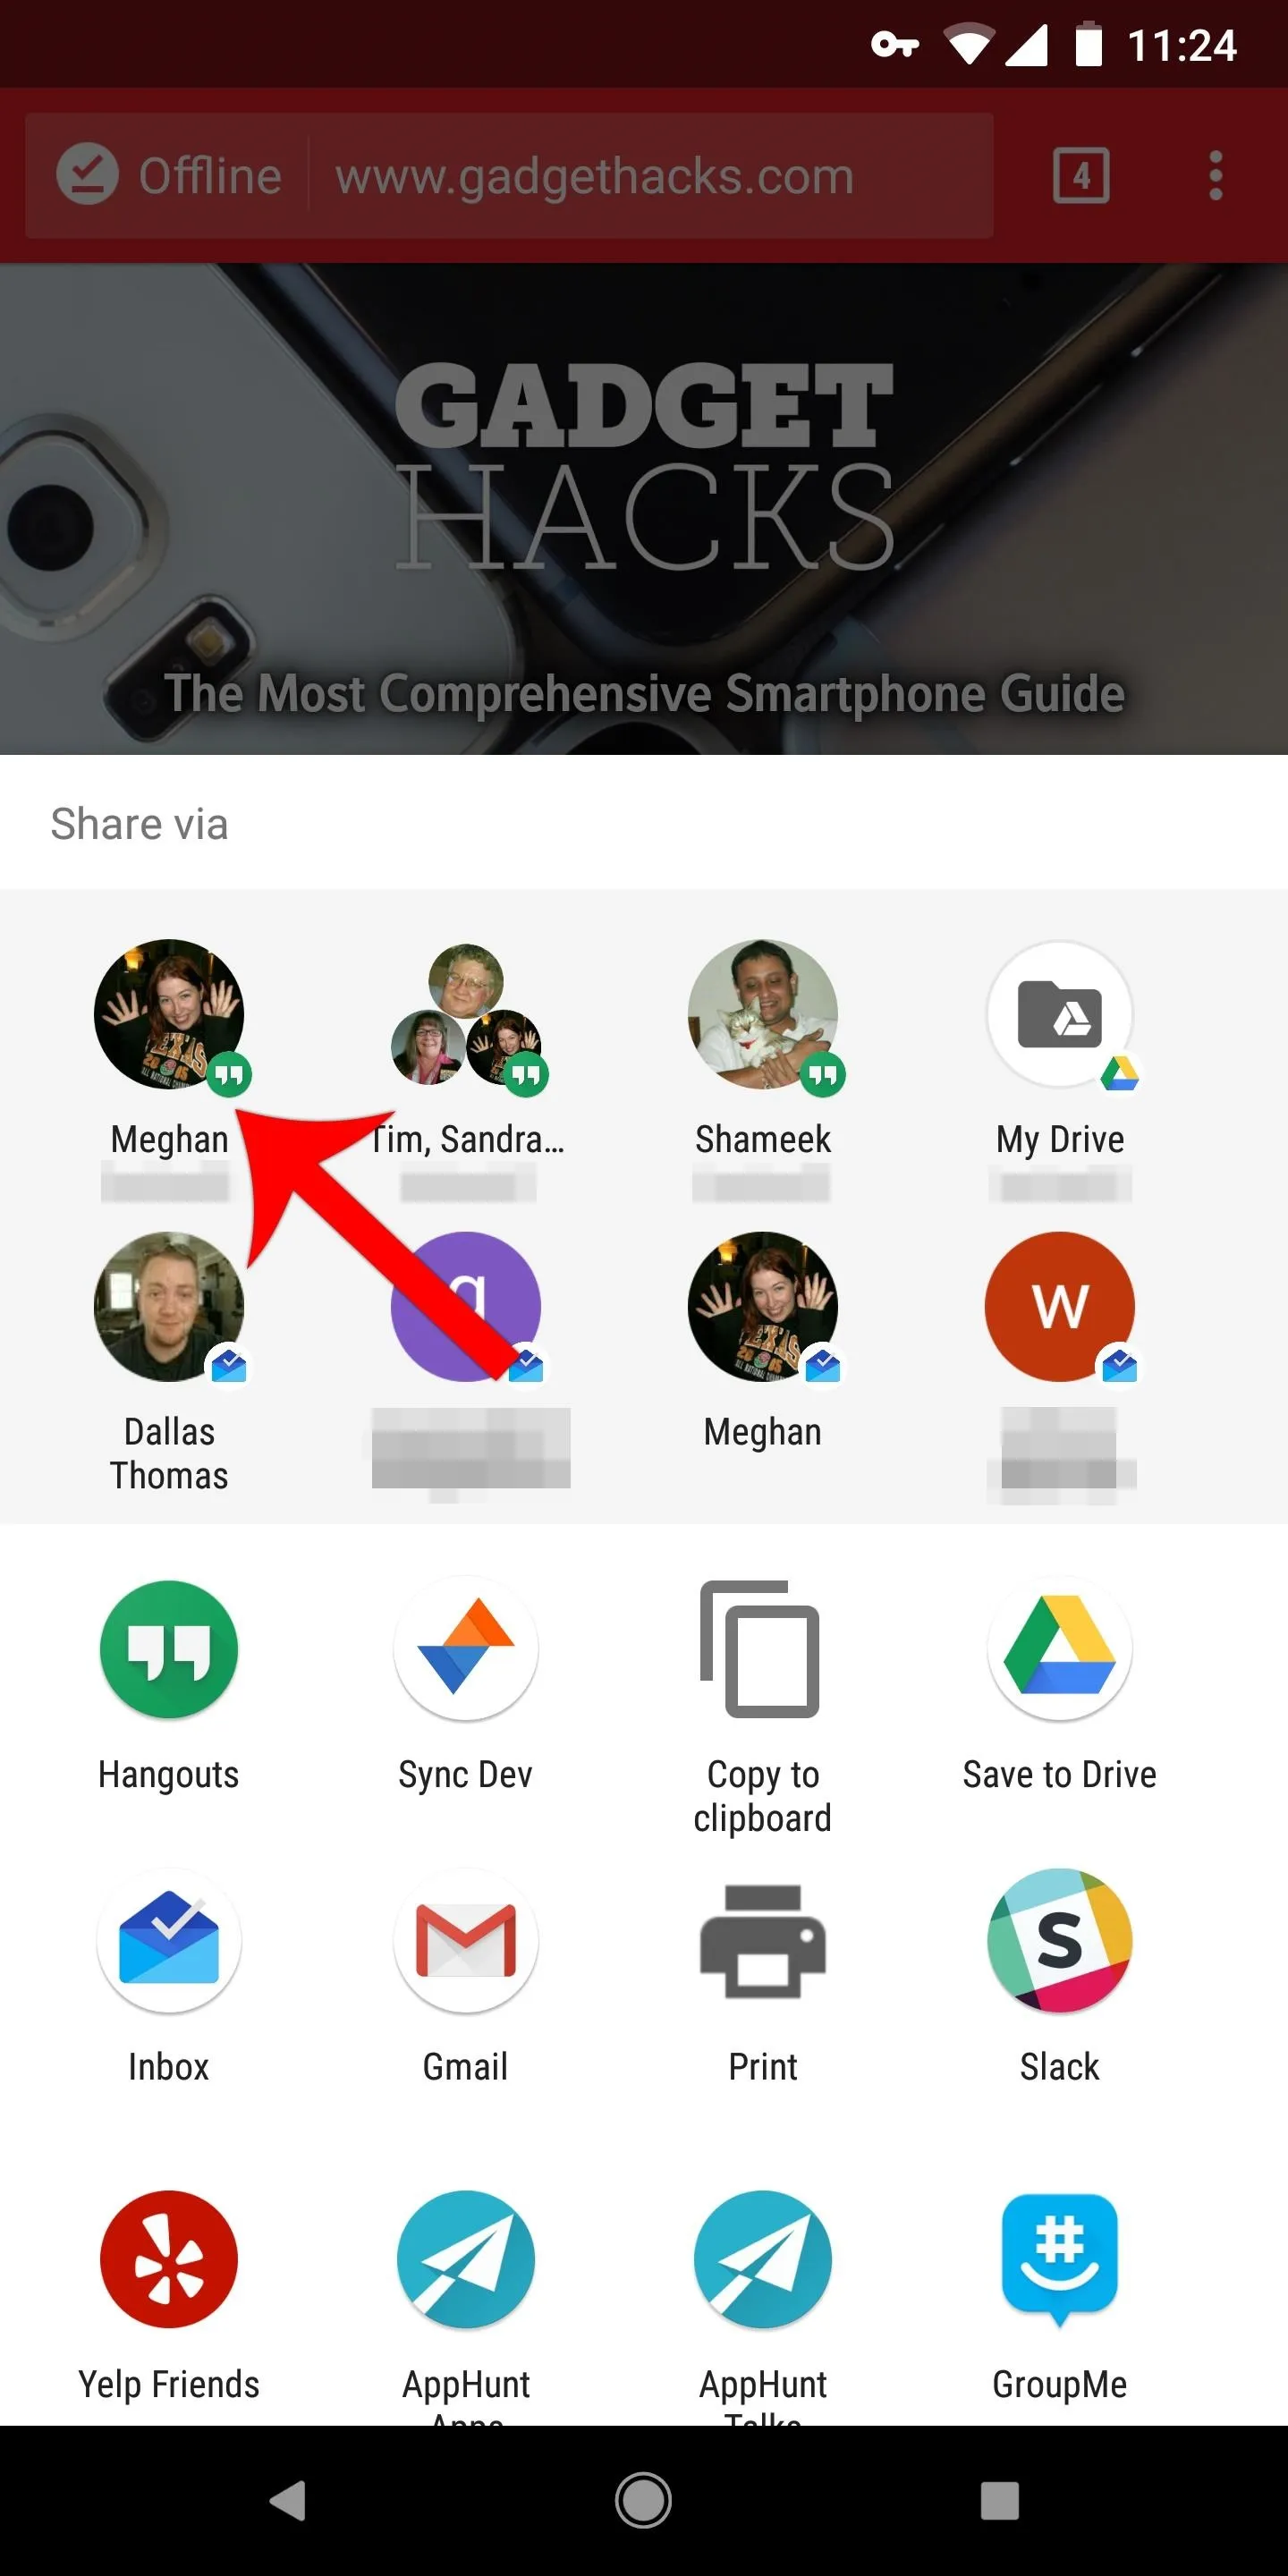


If you want, you can repeat this same process for other apps you commonly use. But note that pinned apps will be listed alphabetically by app name — in other words, if you pin Pushbullet and Inbox, Inbox will show up in the first position, while Pushbullet will show up in the second position.
Pinning Items to the Top of Your Regular Share Menu
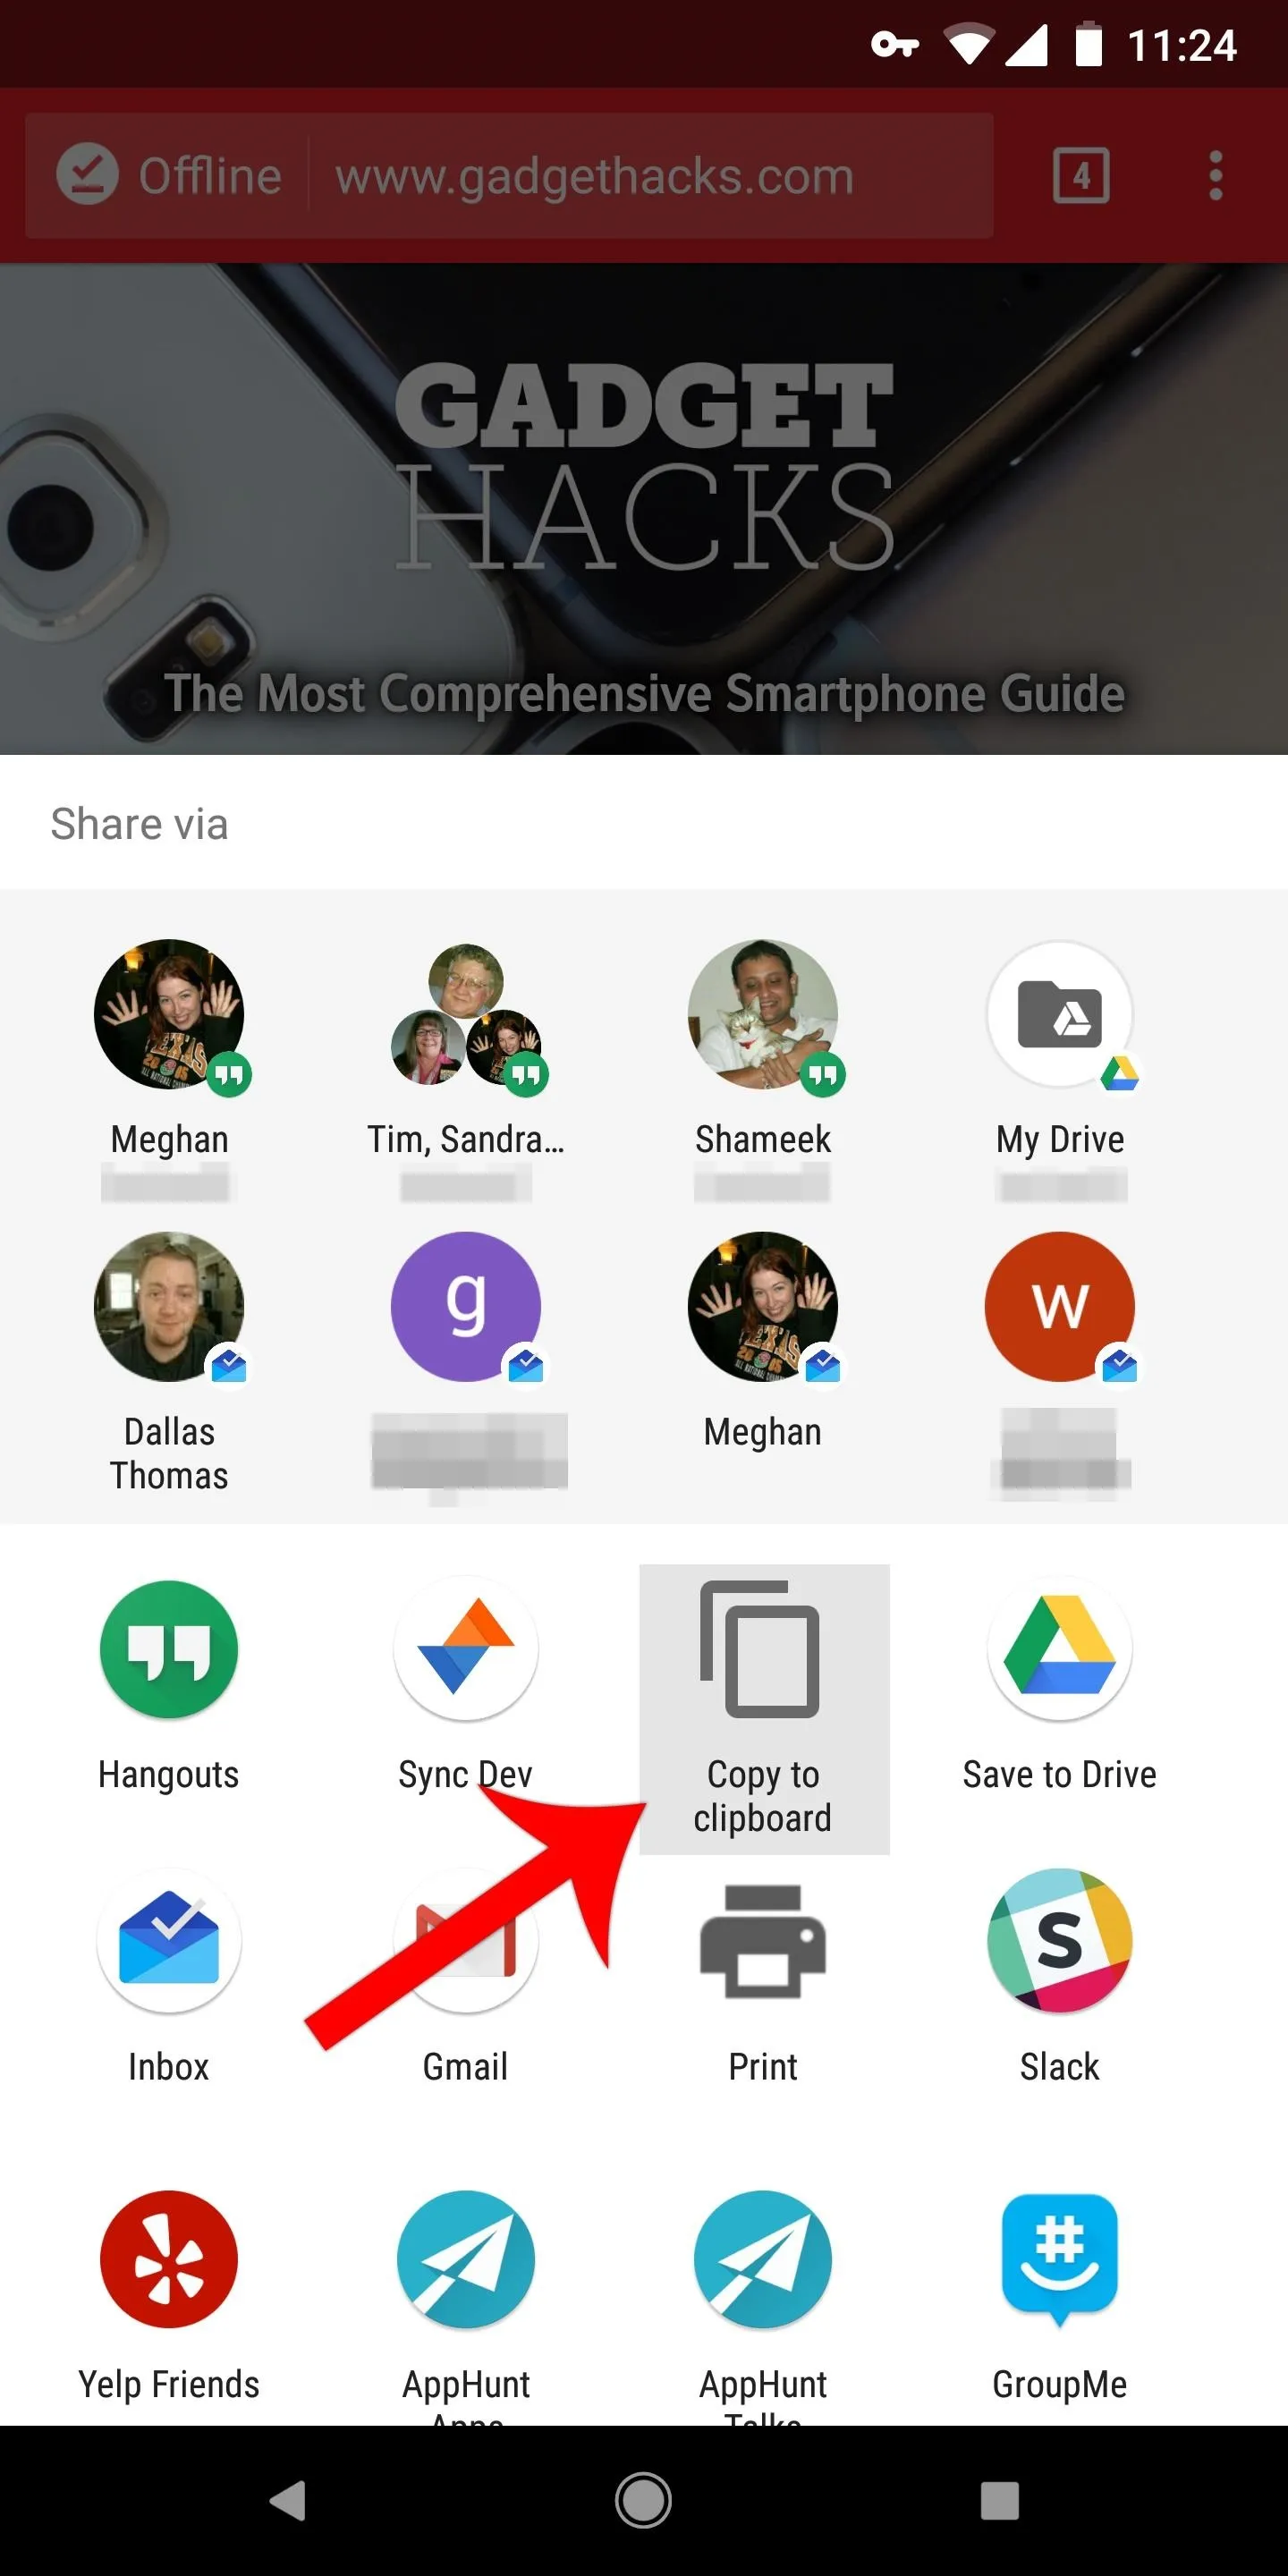
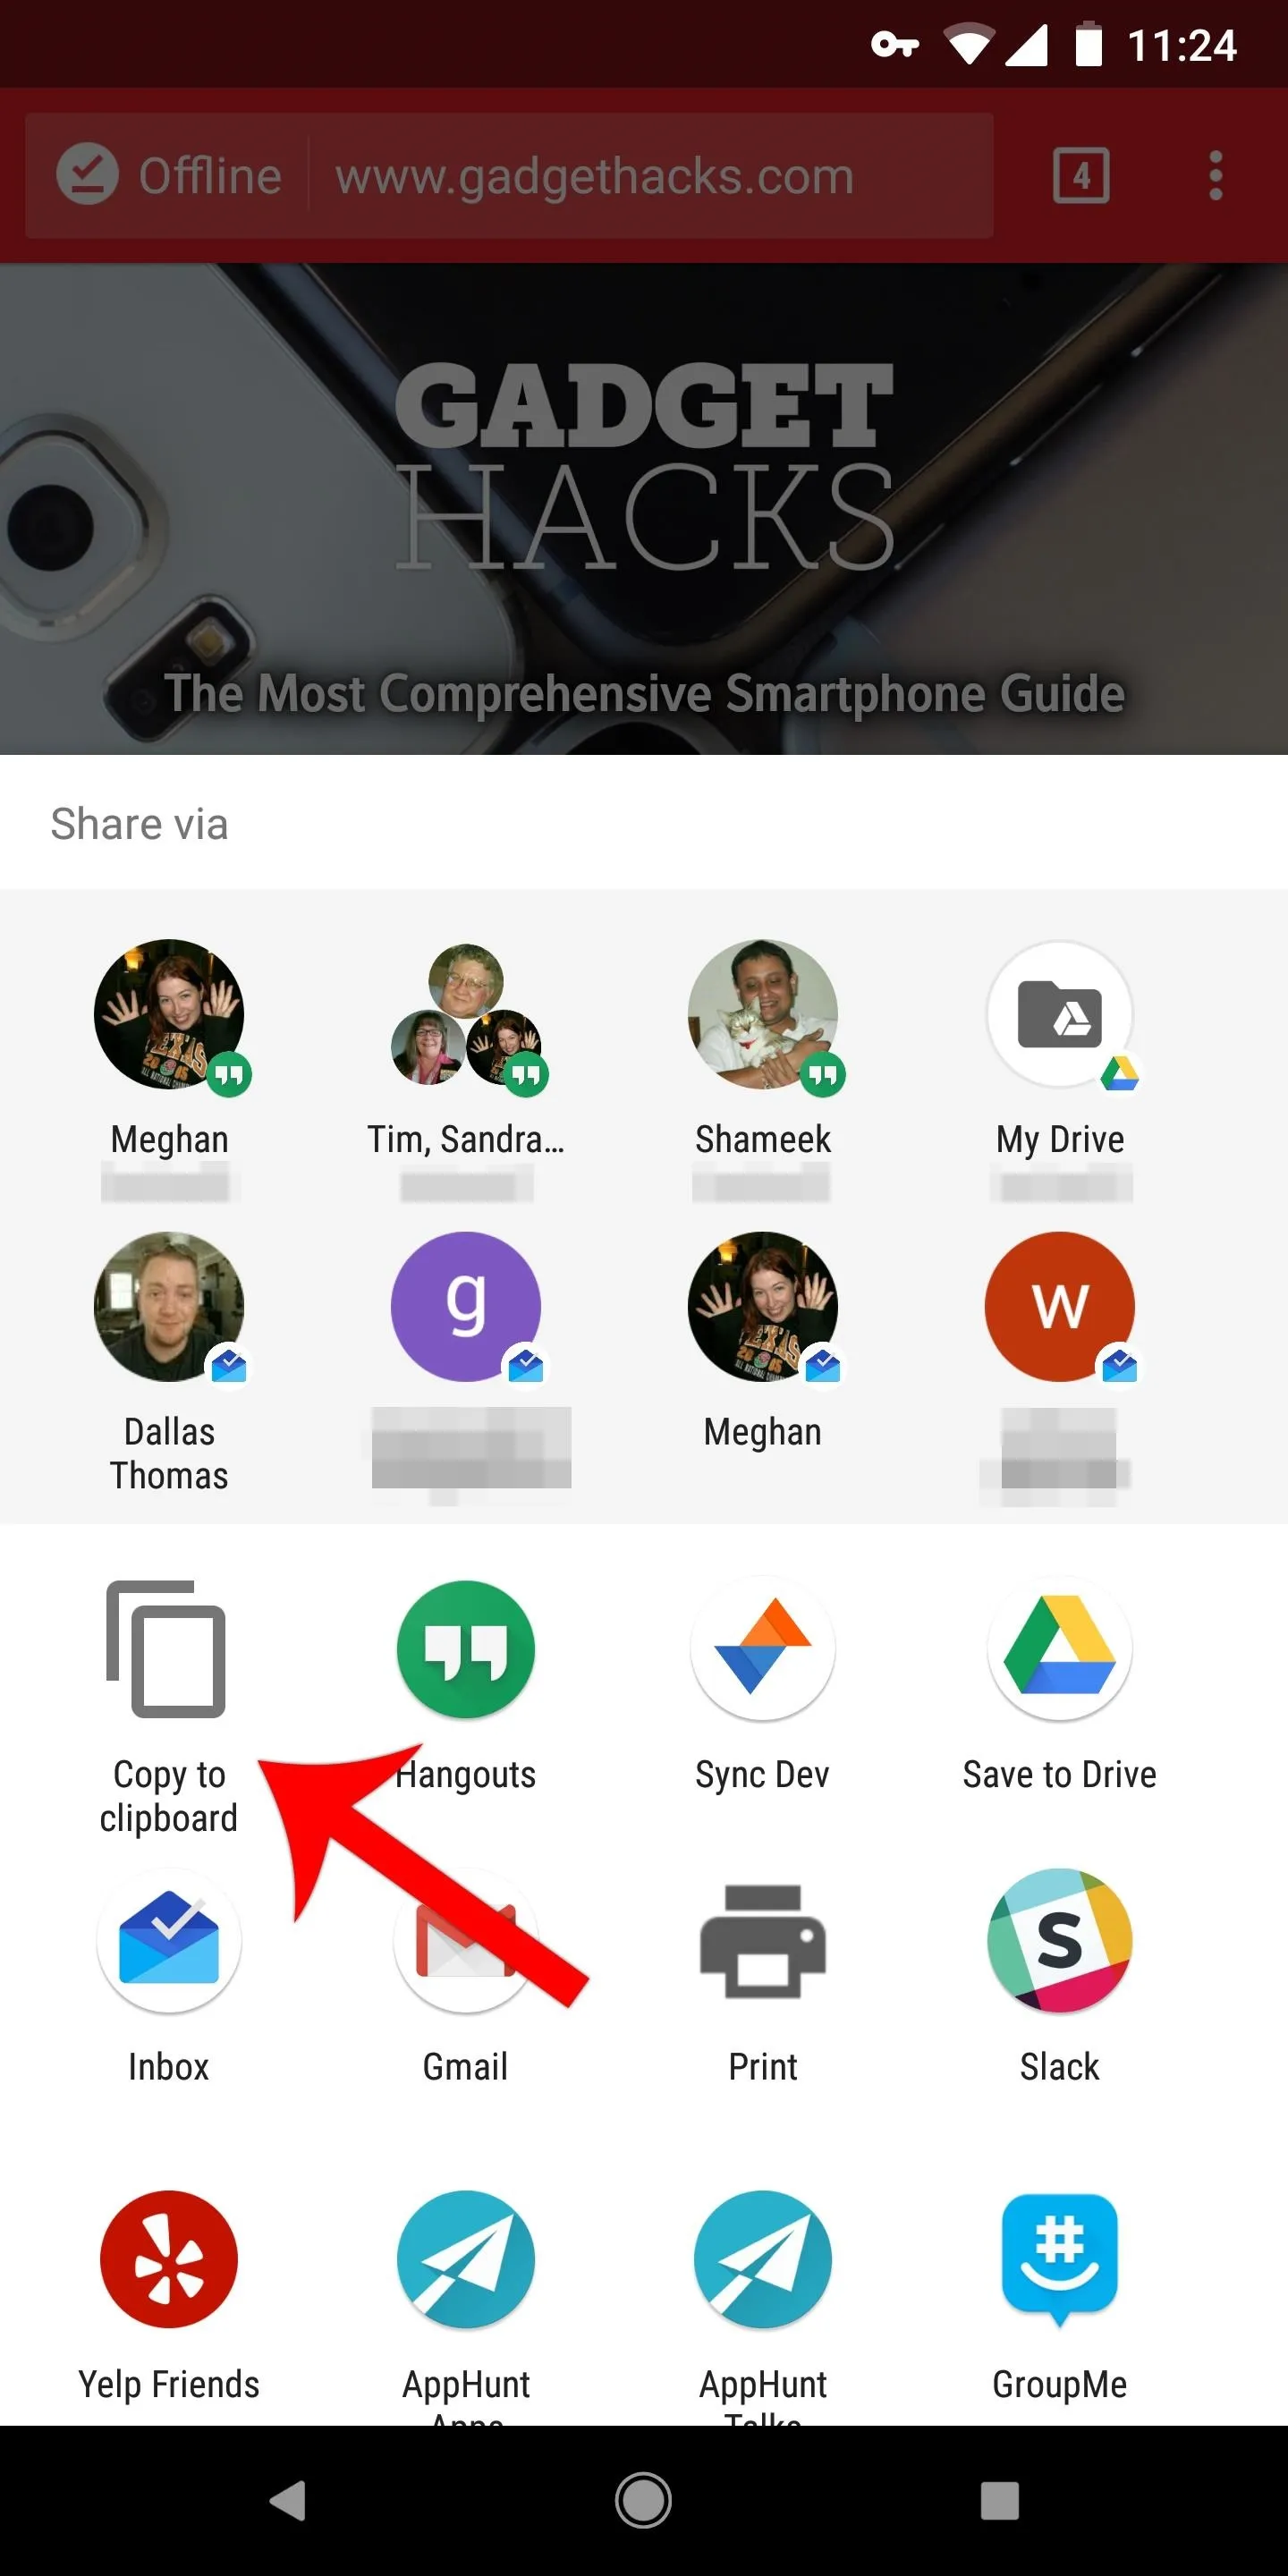
Reordering the items in your regular share menu works just the same. The regular share menu is the lighter portion of the popup — the bottom half of the share menu.
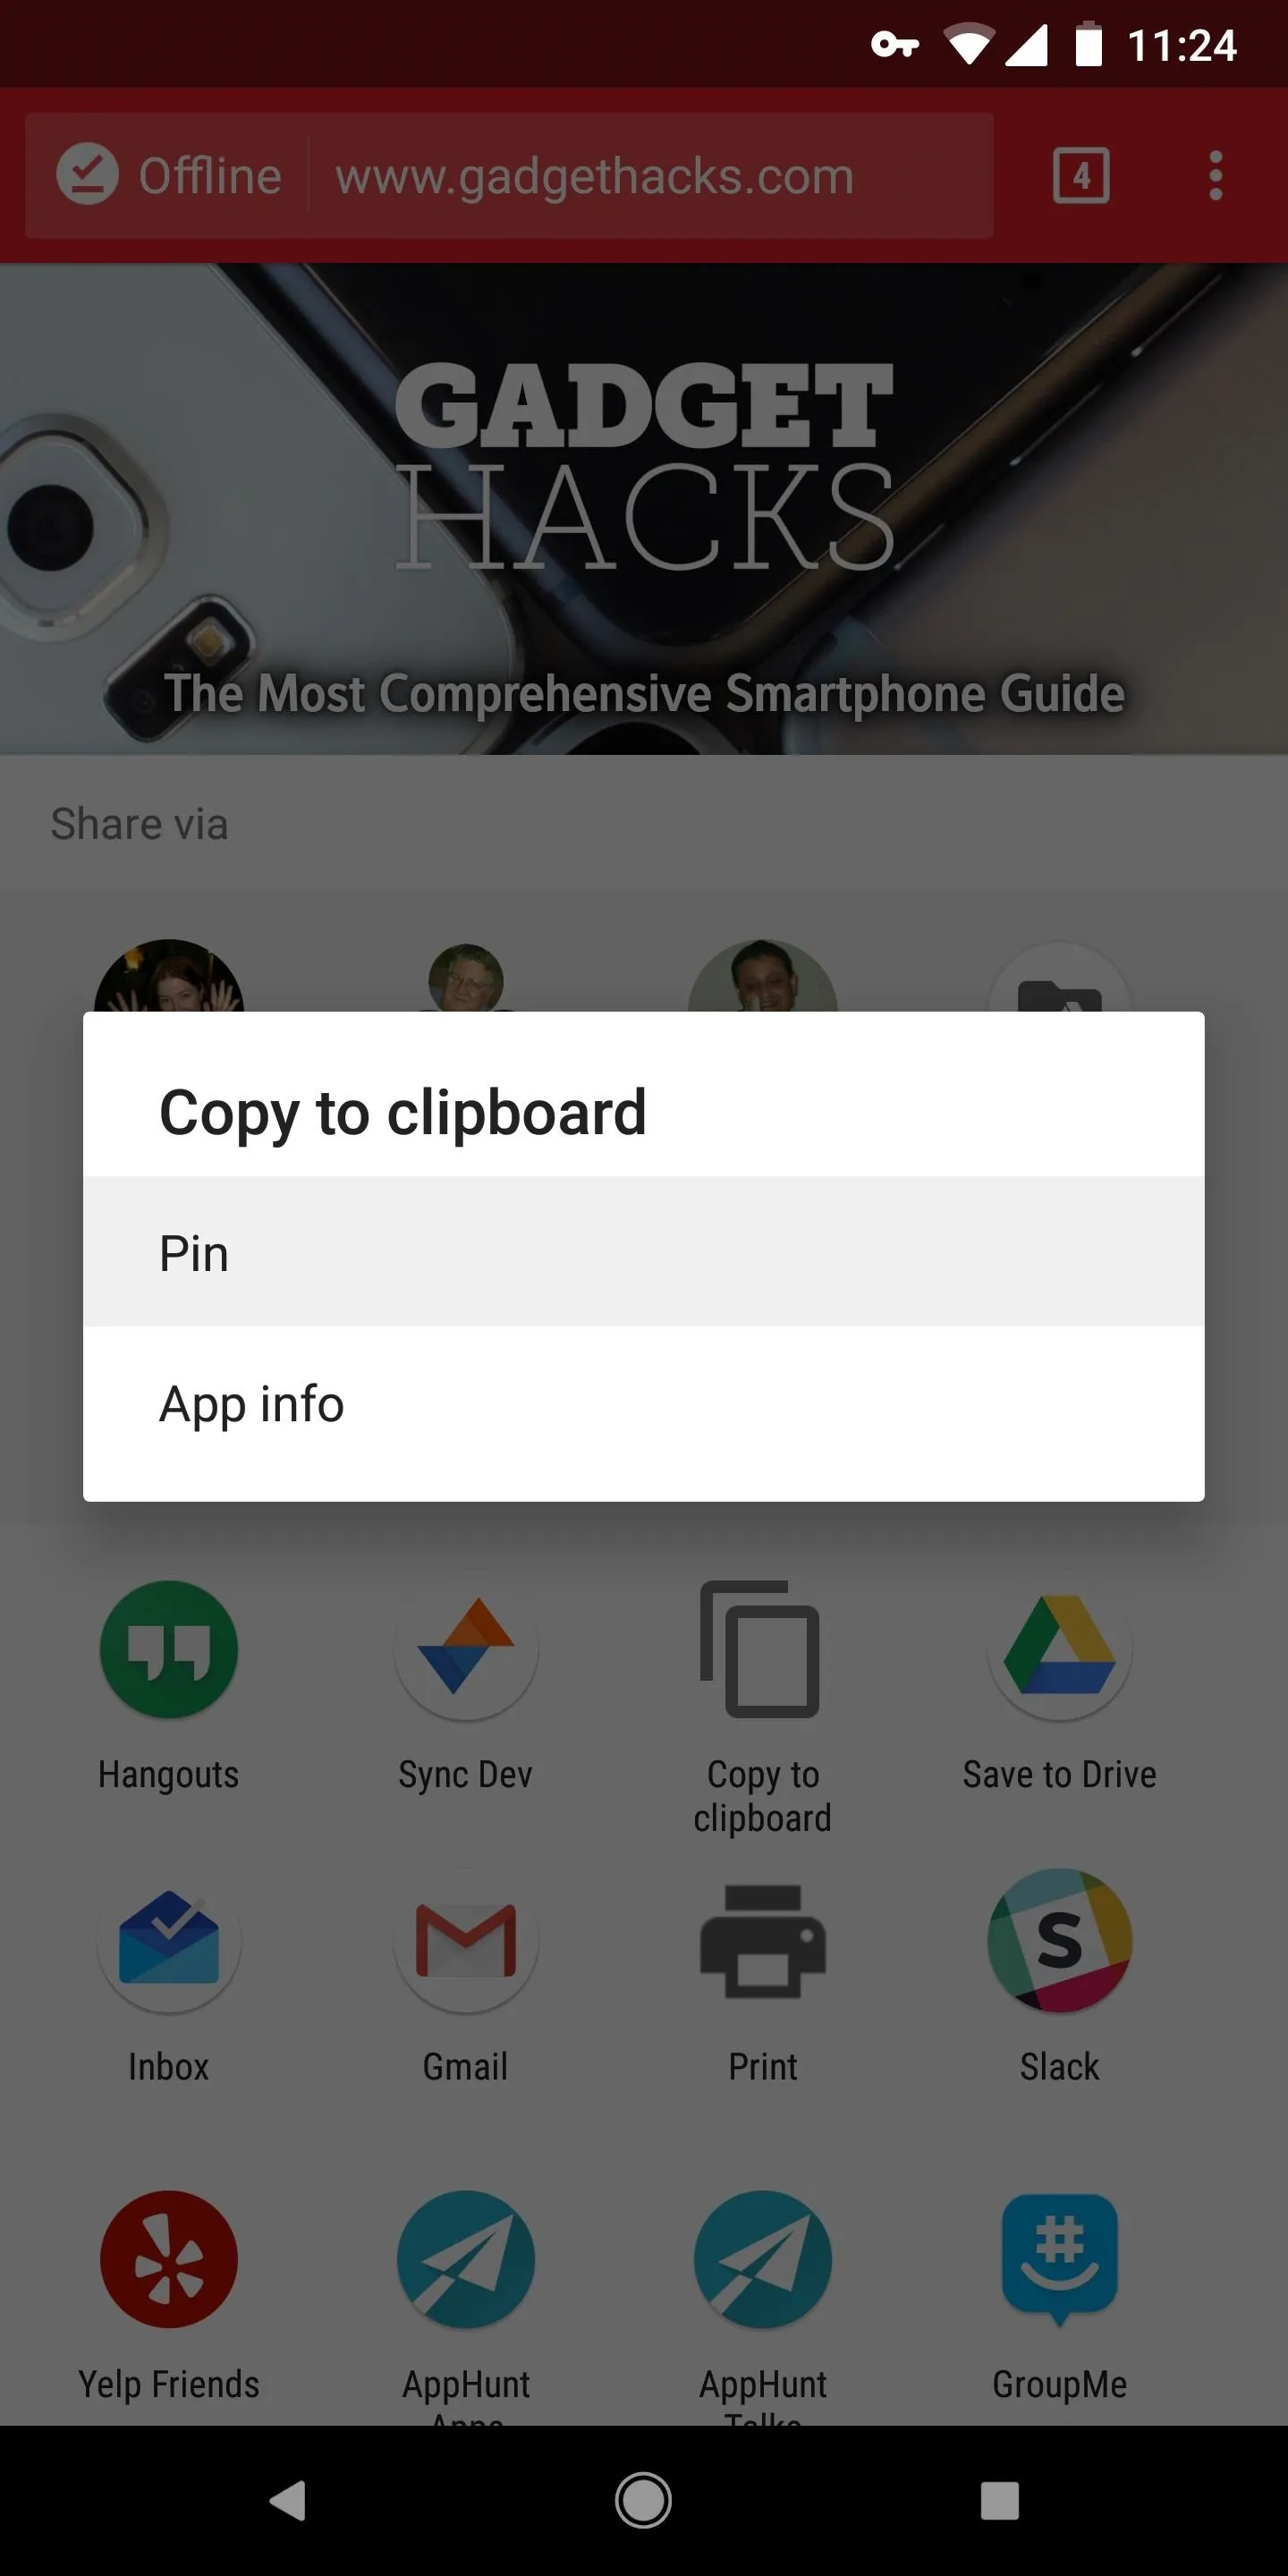
If you'd like to move an item to the first position in this section, just long-press it, then select "Pin" from the popup. Again, pinned items are listed alphabetically by app name, but at the very least, the apps you actually use will now appear without having to scroll down on this menu.


Unpinning Items
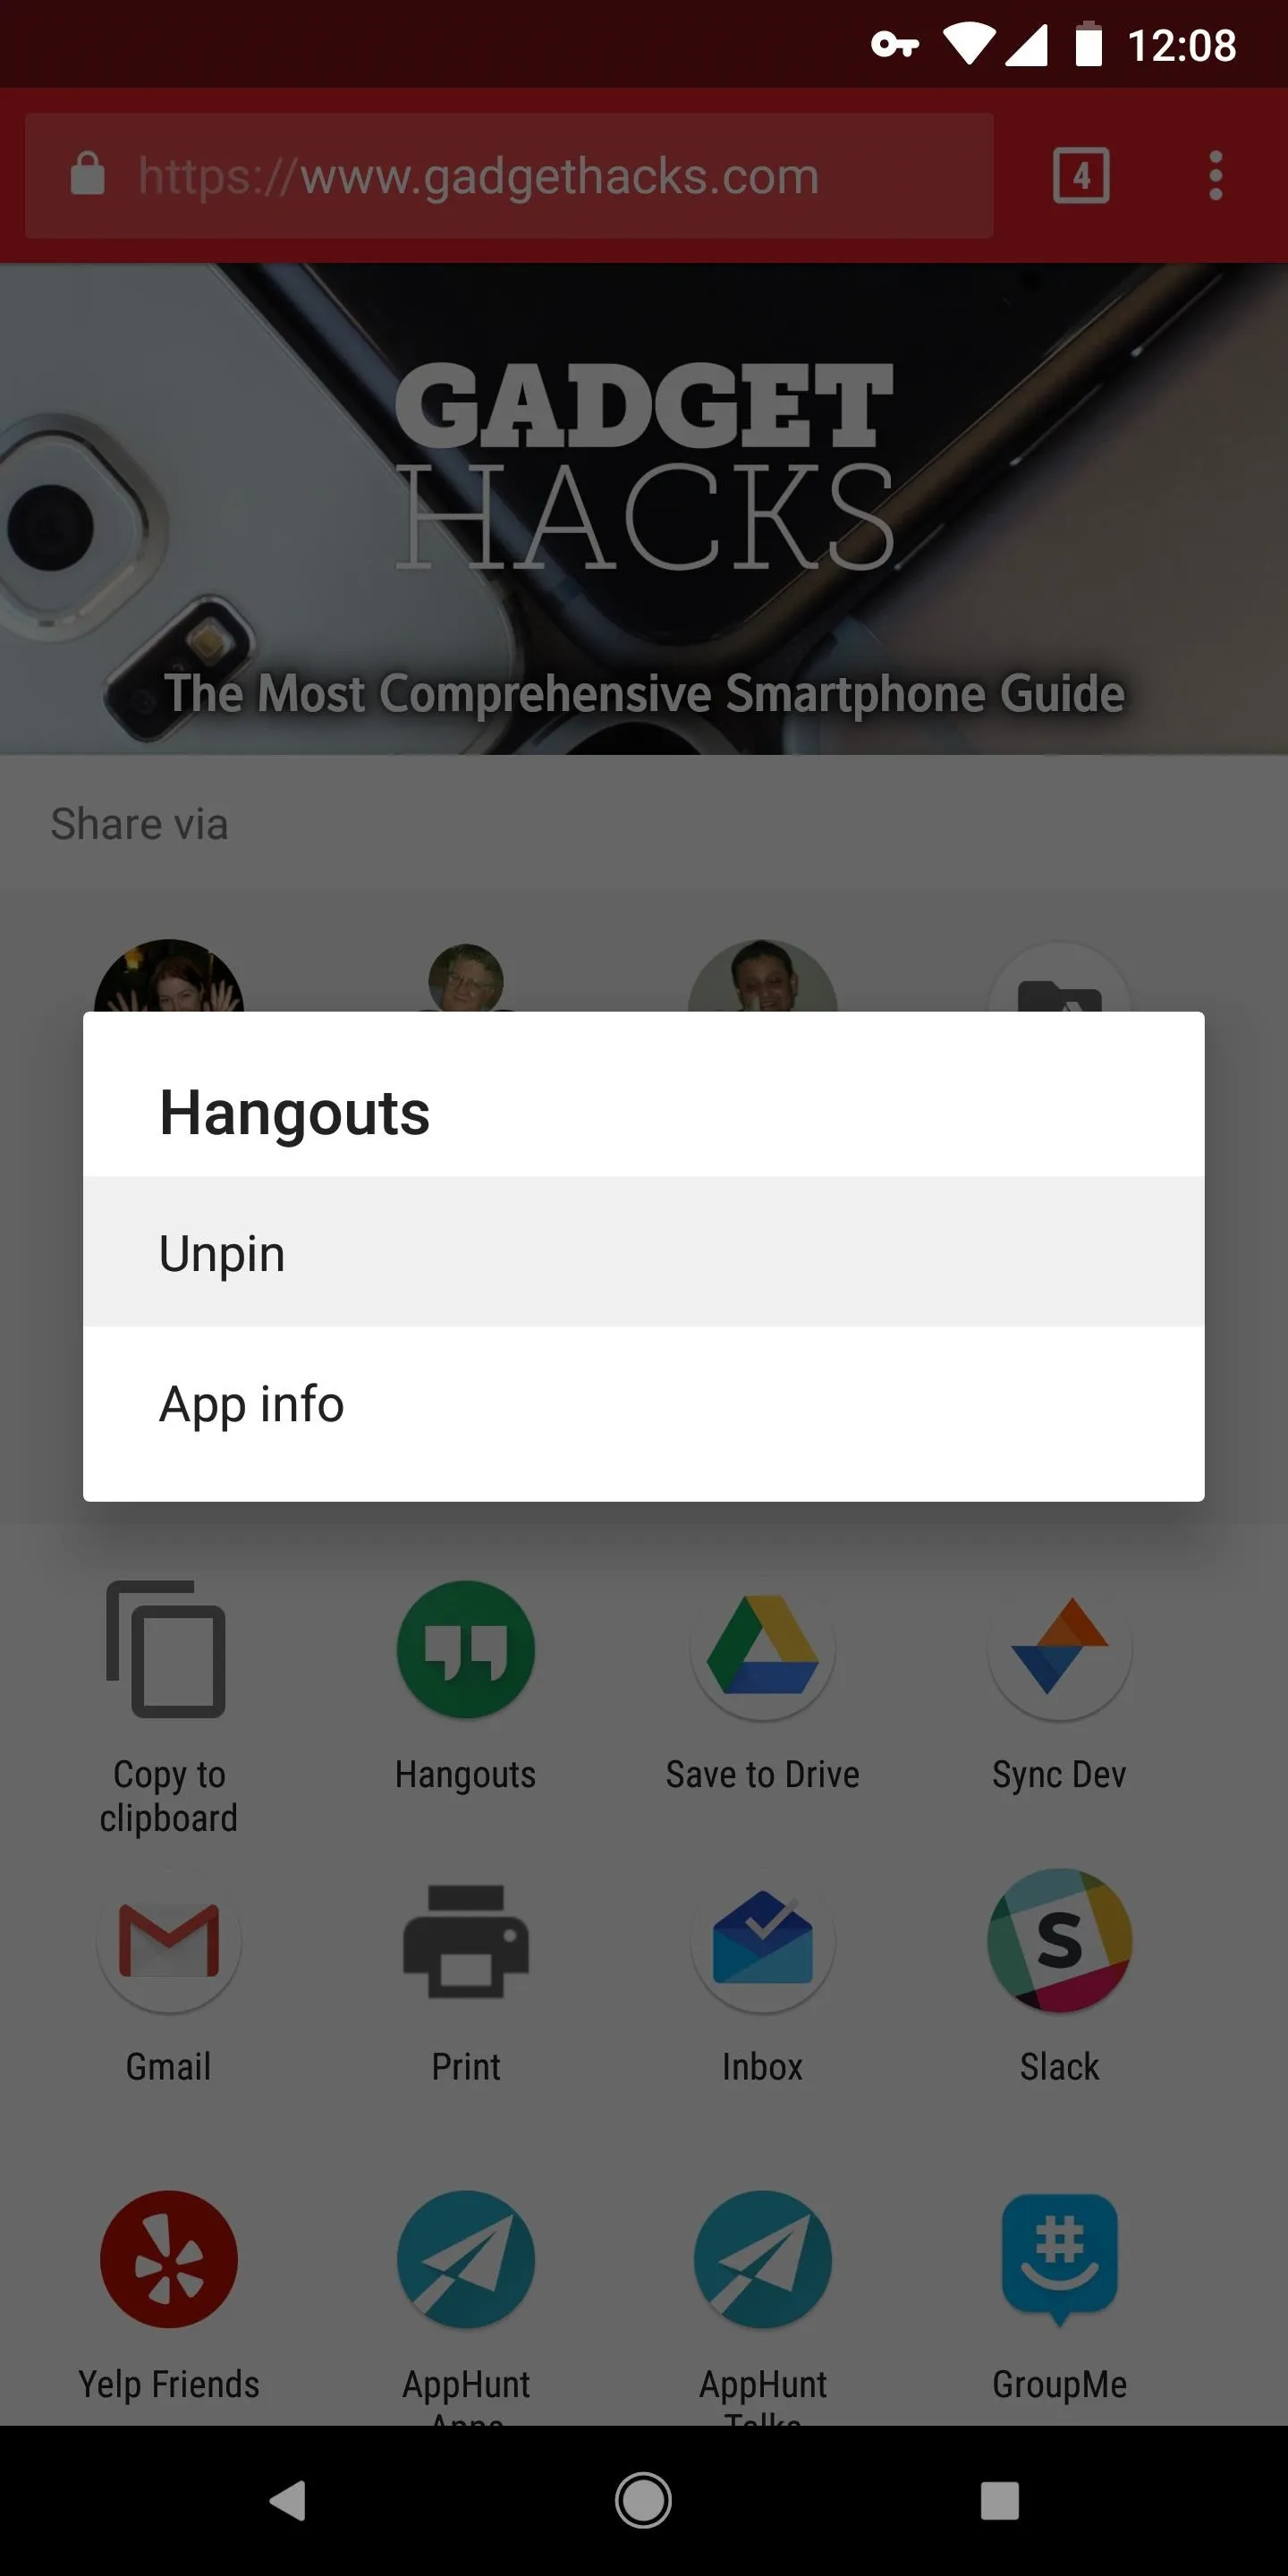
If you decide you don't want a particular app at the top of either of these sections anymore, it's easy to unpin an item. Just long-press it (from either the Direct Share portion or the regular share portion), then select "Unpin." After that, it will go back to the position that Android decides it should be in, which varies depending on the type of item you're sharing.


By pinning items, you can finally regain some control over your share menu. Items you pin will always be available, which is particularly useful for the Direct Share menu, as it only shows 8 share targets by default. Which items have you pinned? Let us know in the comment section below.
Cover image and screenshots by Dallas Thomas/Gadget Hacks











Comments
Be the first, drop a comment!