One of the biggest causes of smartphone battery drain is the mobile data connection—particularly if you live in an area with poor reception. But, chances are, you don't actually need this connection most of the time, because you're probably connected to Wi-Fi for a good chunk of the day, which uses far less battery life.
Nonetheless, even when your phone is connected to a Wi-Fi network, it still maintains its connection to the cellular network so that you can receive phone calls and SMS messages. Yet, many carriers—AT&T, T-Mobile, Sprint, and Project Fi, among others—offer Wi-Fi calling these days, so if you use WhatsApp or Facebook Messenger instead of SMS, you don't really need to maintain this battery-sucking secondary connection.
With all of this in mind, developer Nikhil Paranjape created a root app that automatically disables cellular data when you connect to a Wi-Fi network, then turns it back off when you leave. This effectively severs the battery-sucking cellular connection while you don't need it, saving tons of juice in the process.
Requirements
Install RadioControl
To get started, the first thing you'll need to do is install the app, which is called [root] RadioControl.

Grant Root Access
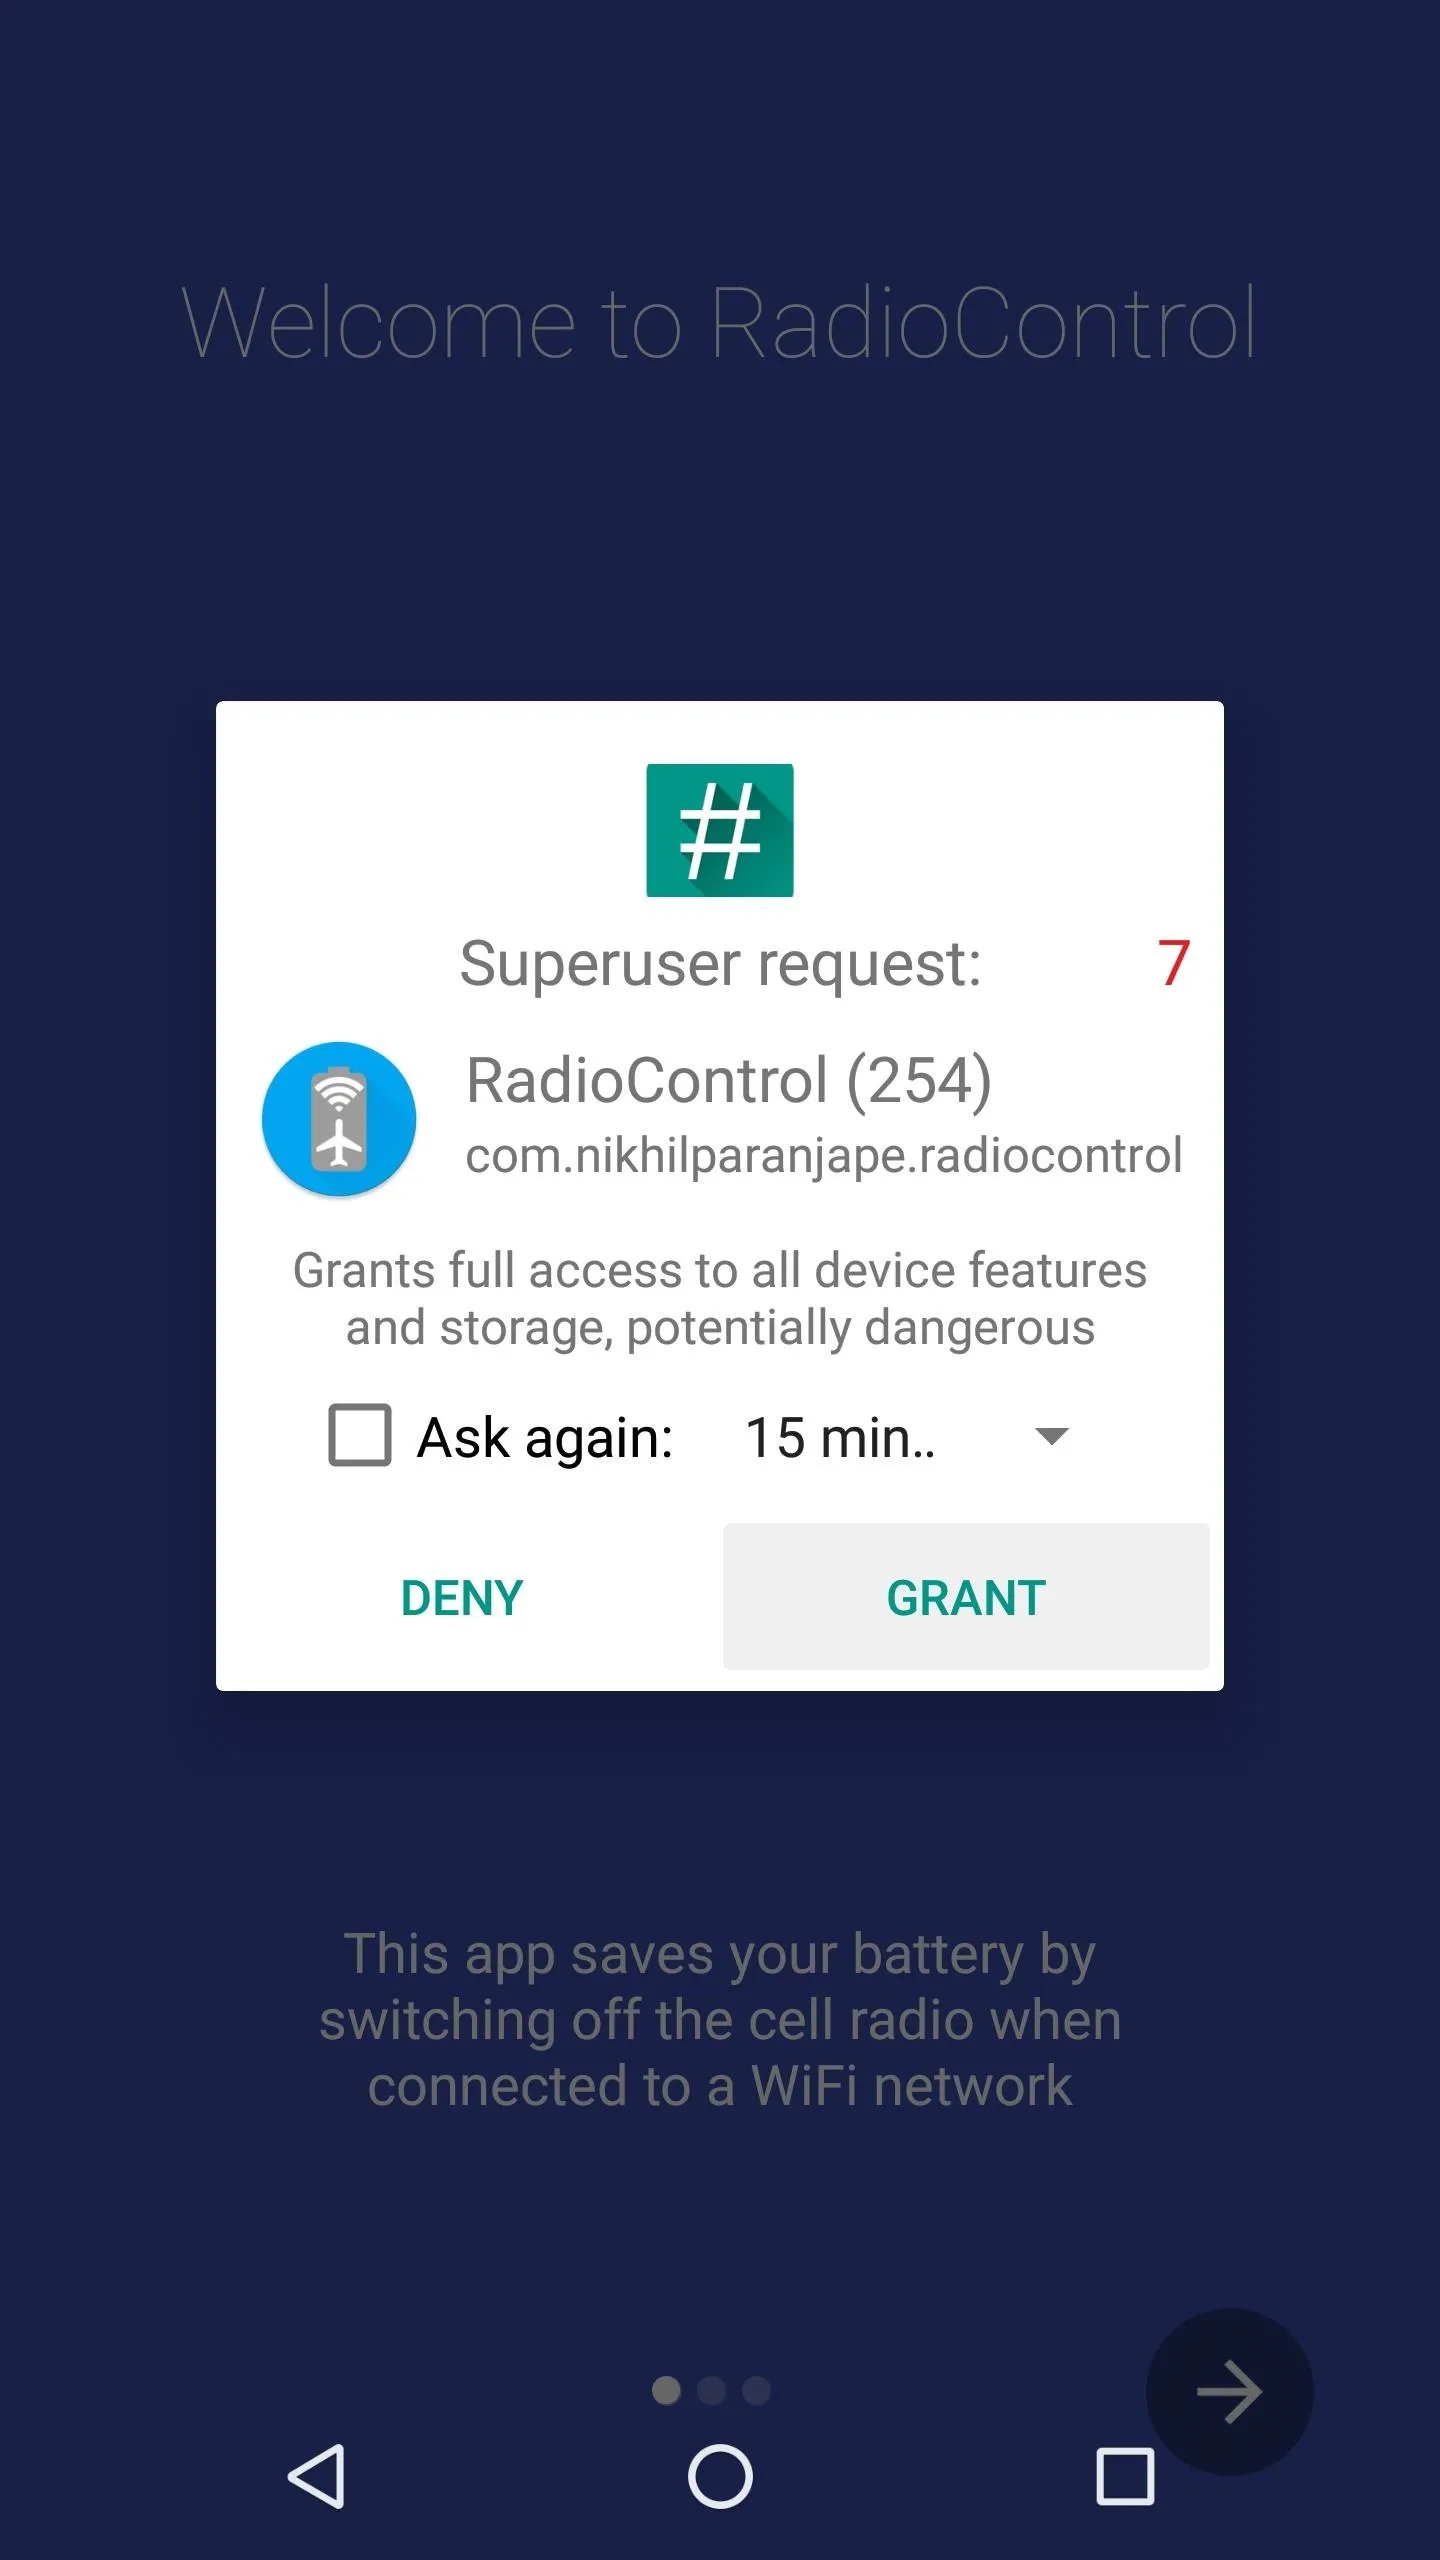
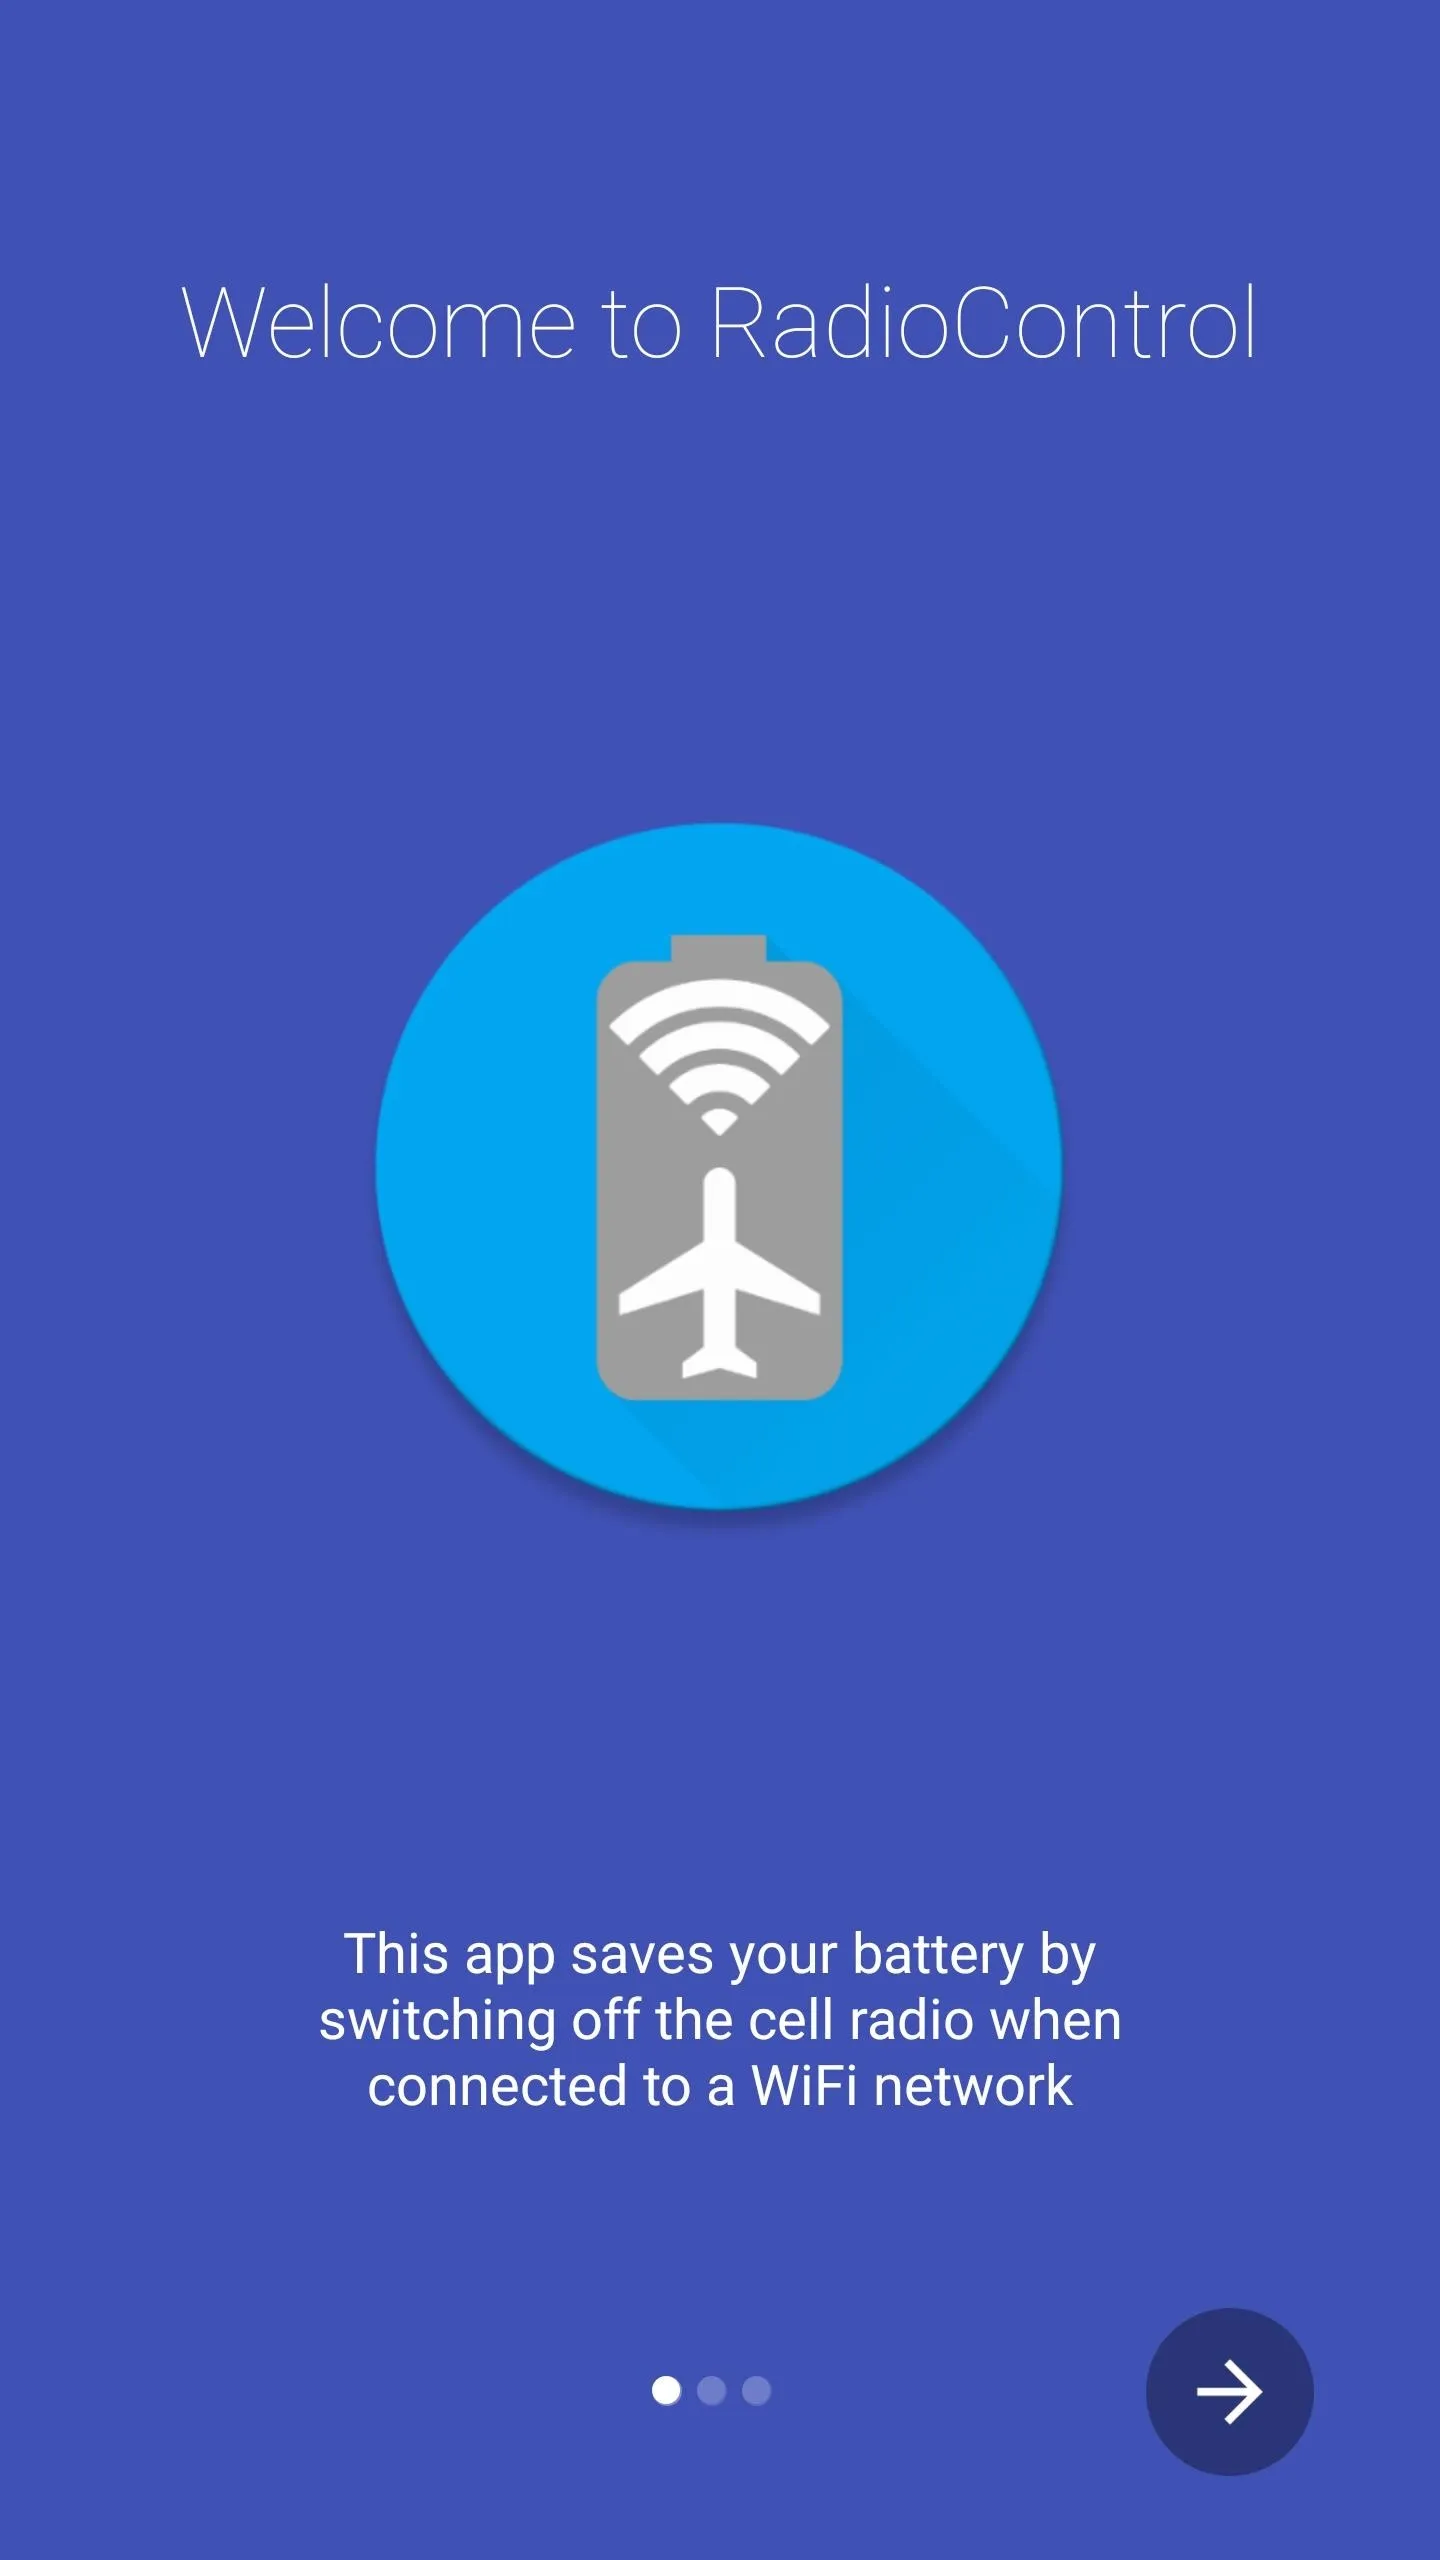
When you first launch RadioControl, the app will ask for Superuser access, so tap "Grant" on the popup. From here, you'll be greeted by a set-up guide, so go ahead and read through this, then head to the app's main menu.


Enable RadioControl & Adjust Options
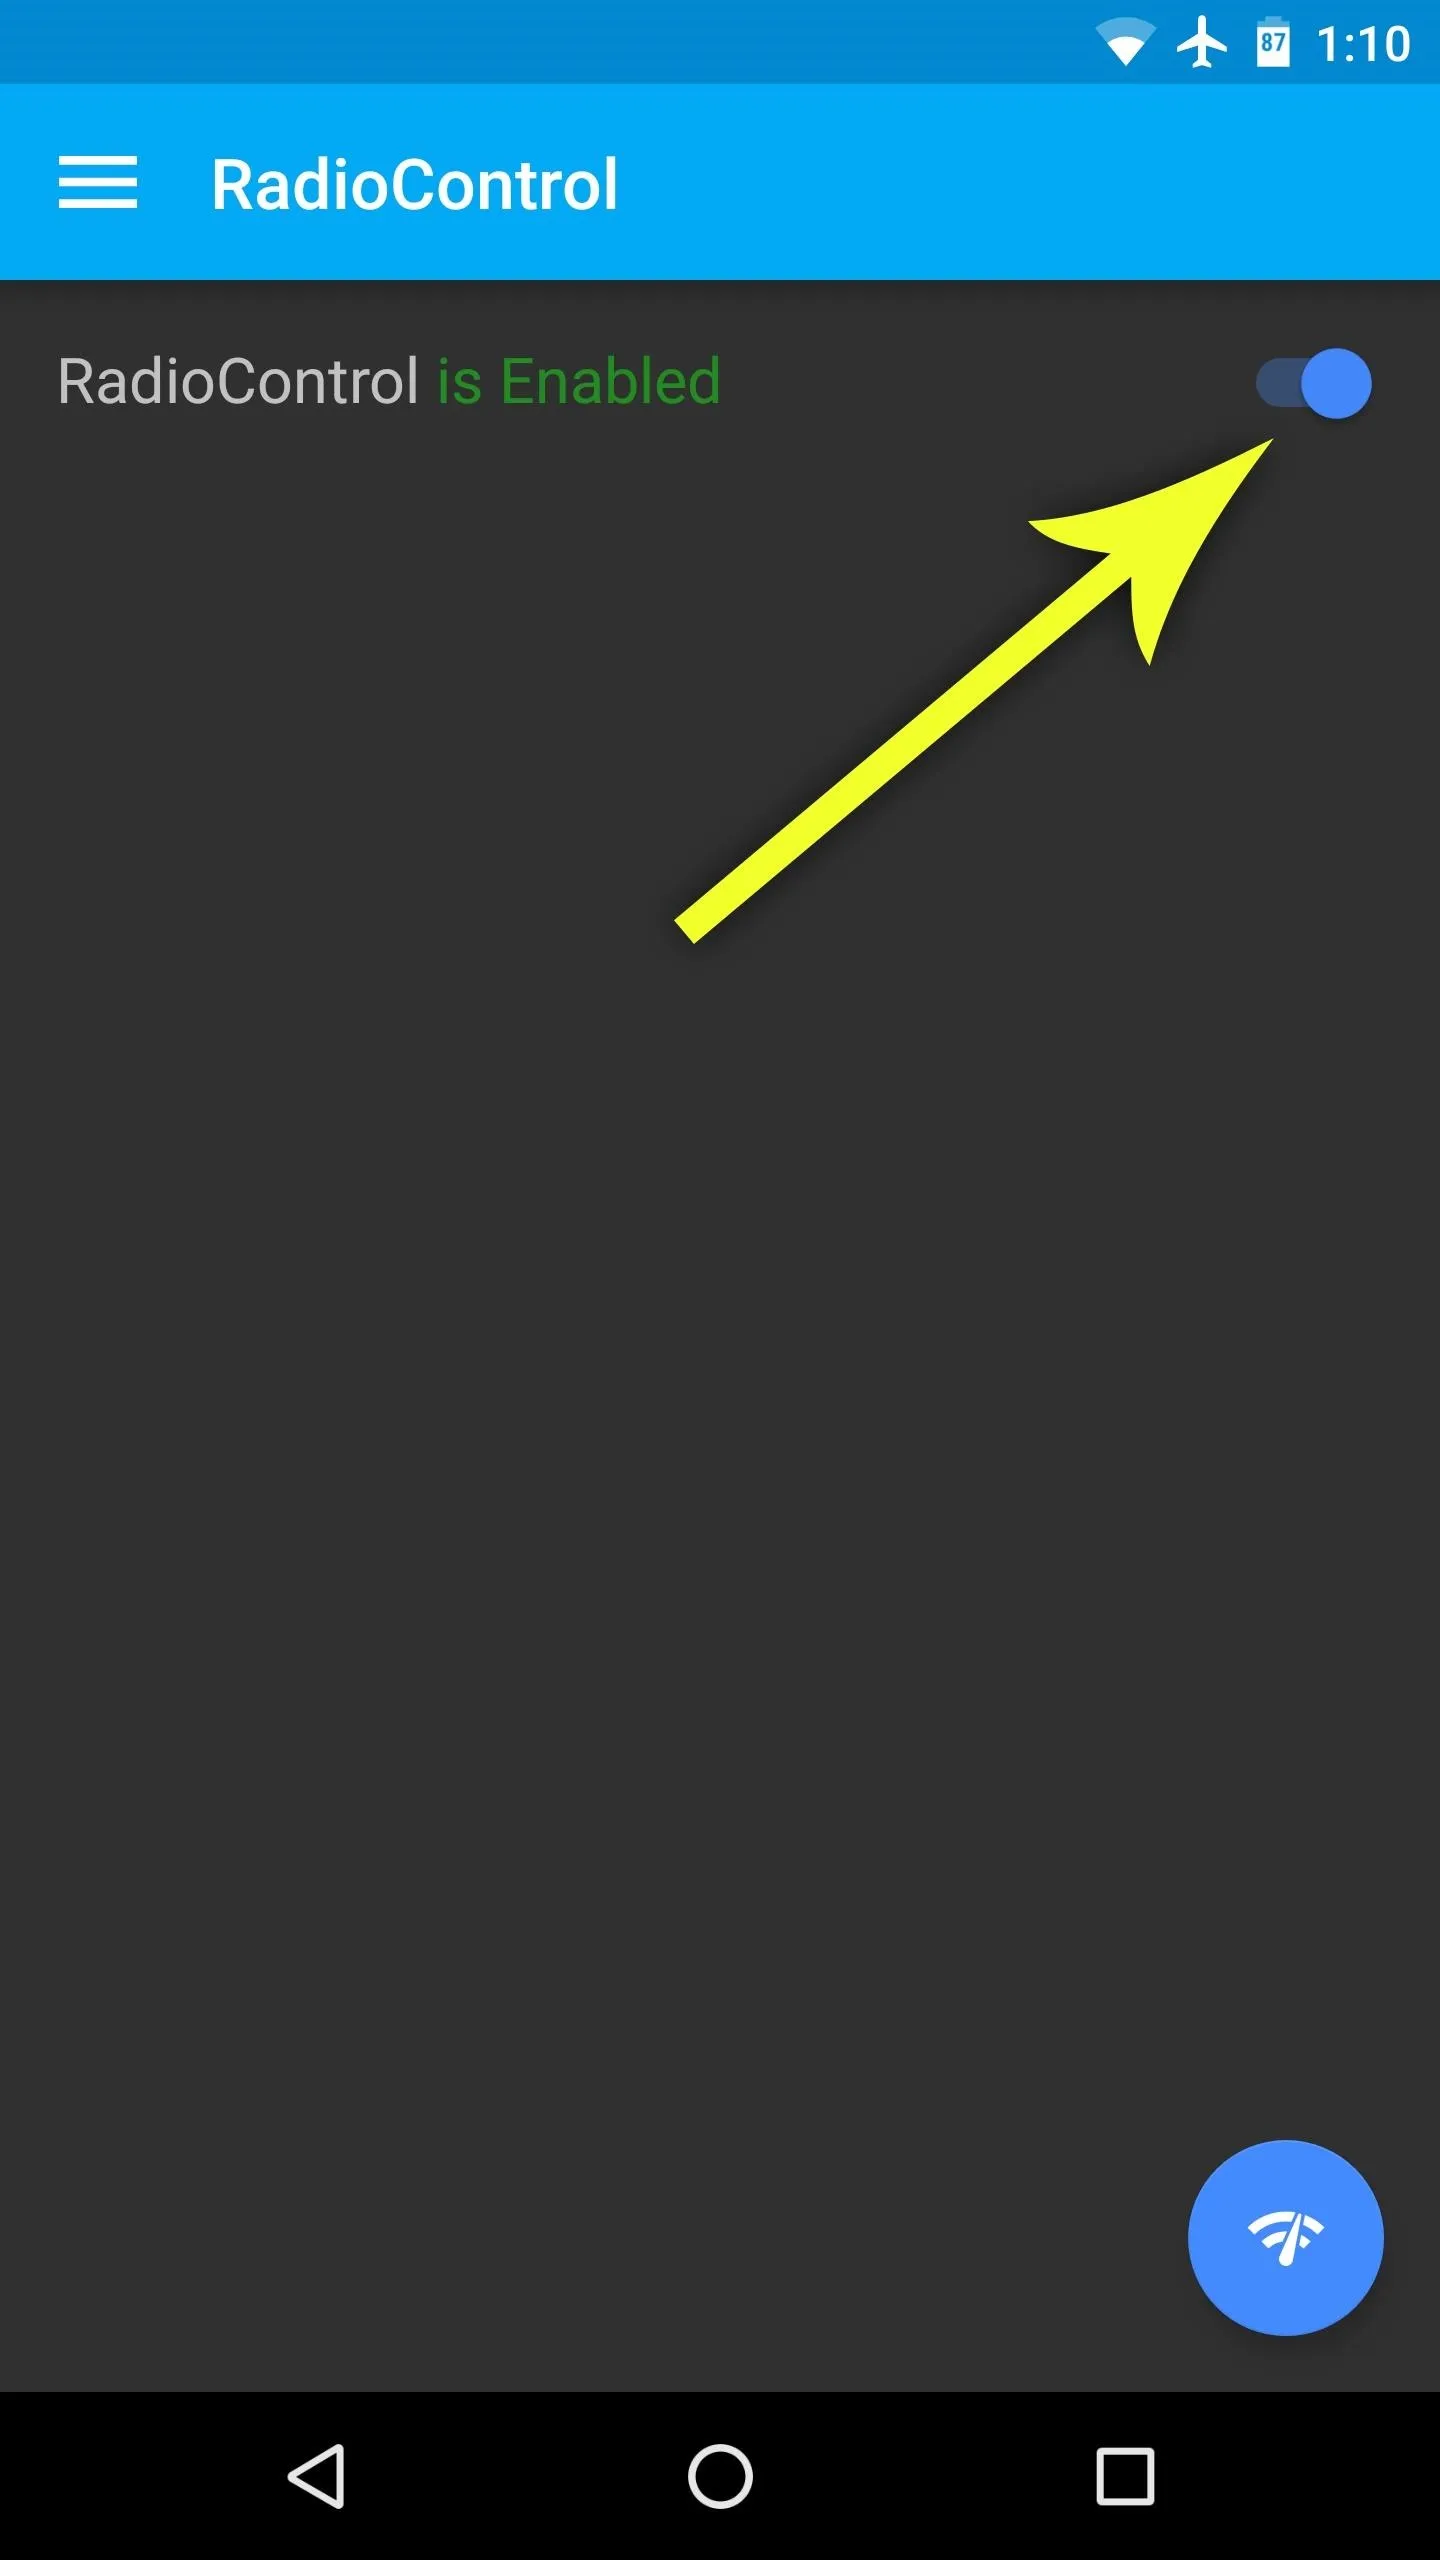
To start saving battery by automatically disable cellular radios when you're on Wi-Fi, simply make sure the switch at the top of the app's main menu is enabled. Aside from that, you can blacklist certain Wi-Fi access points if you don't want this mode to be enabled automatically in some locations. To do that, head to the "Settings" entry in the side navigation menu.
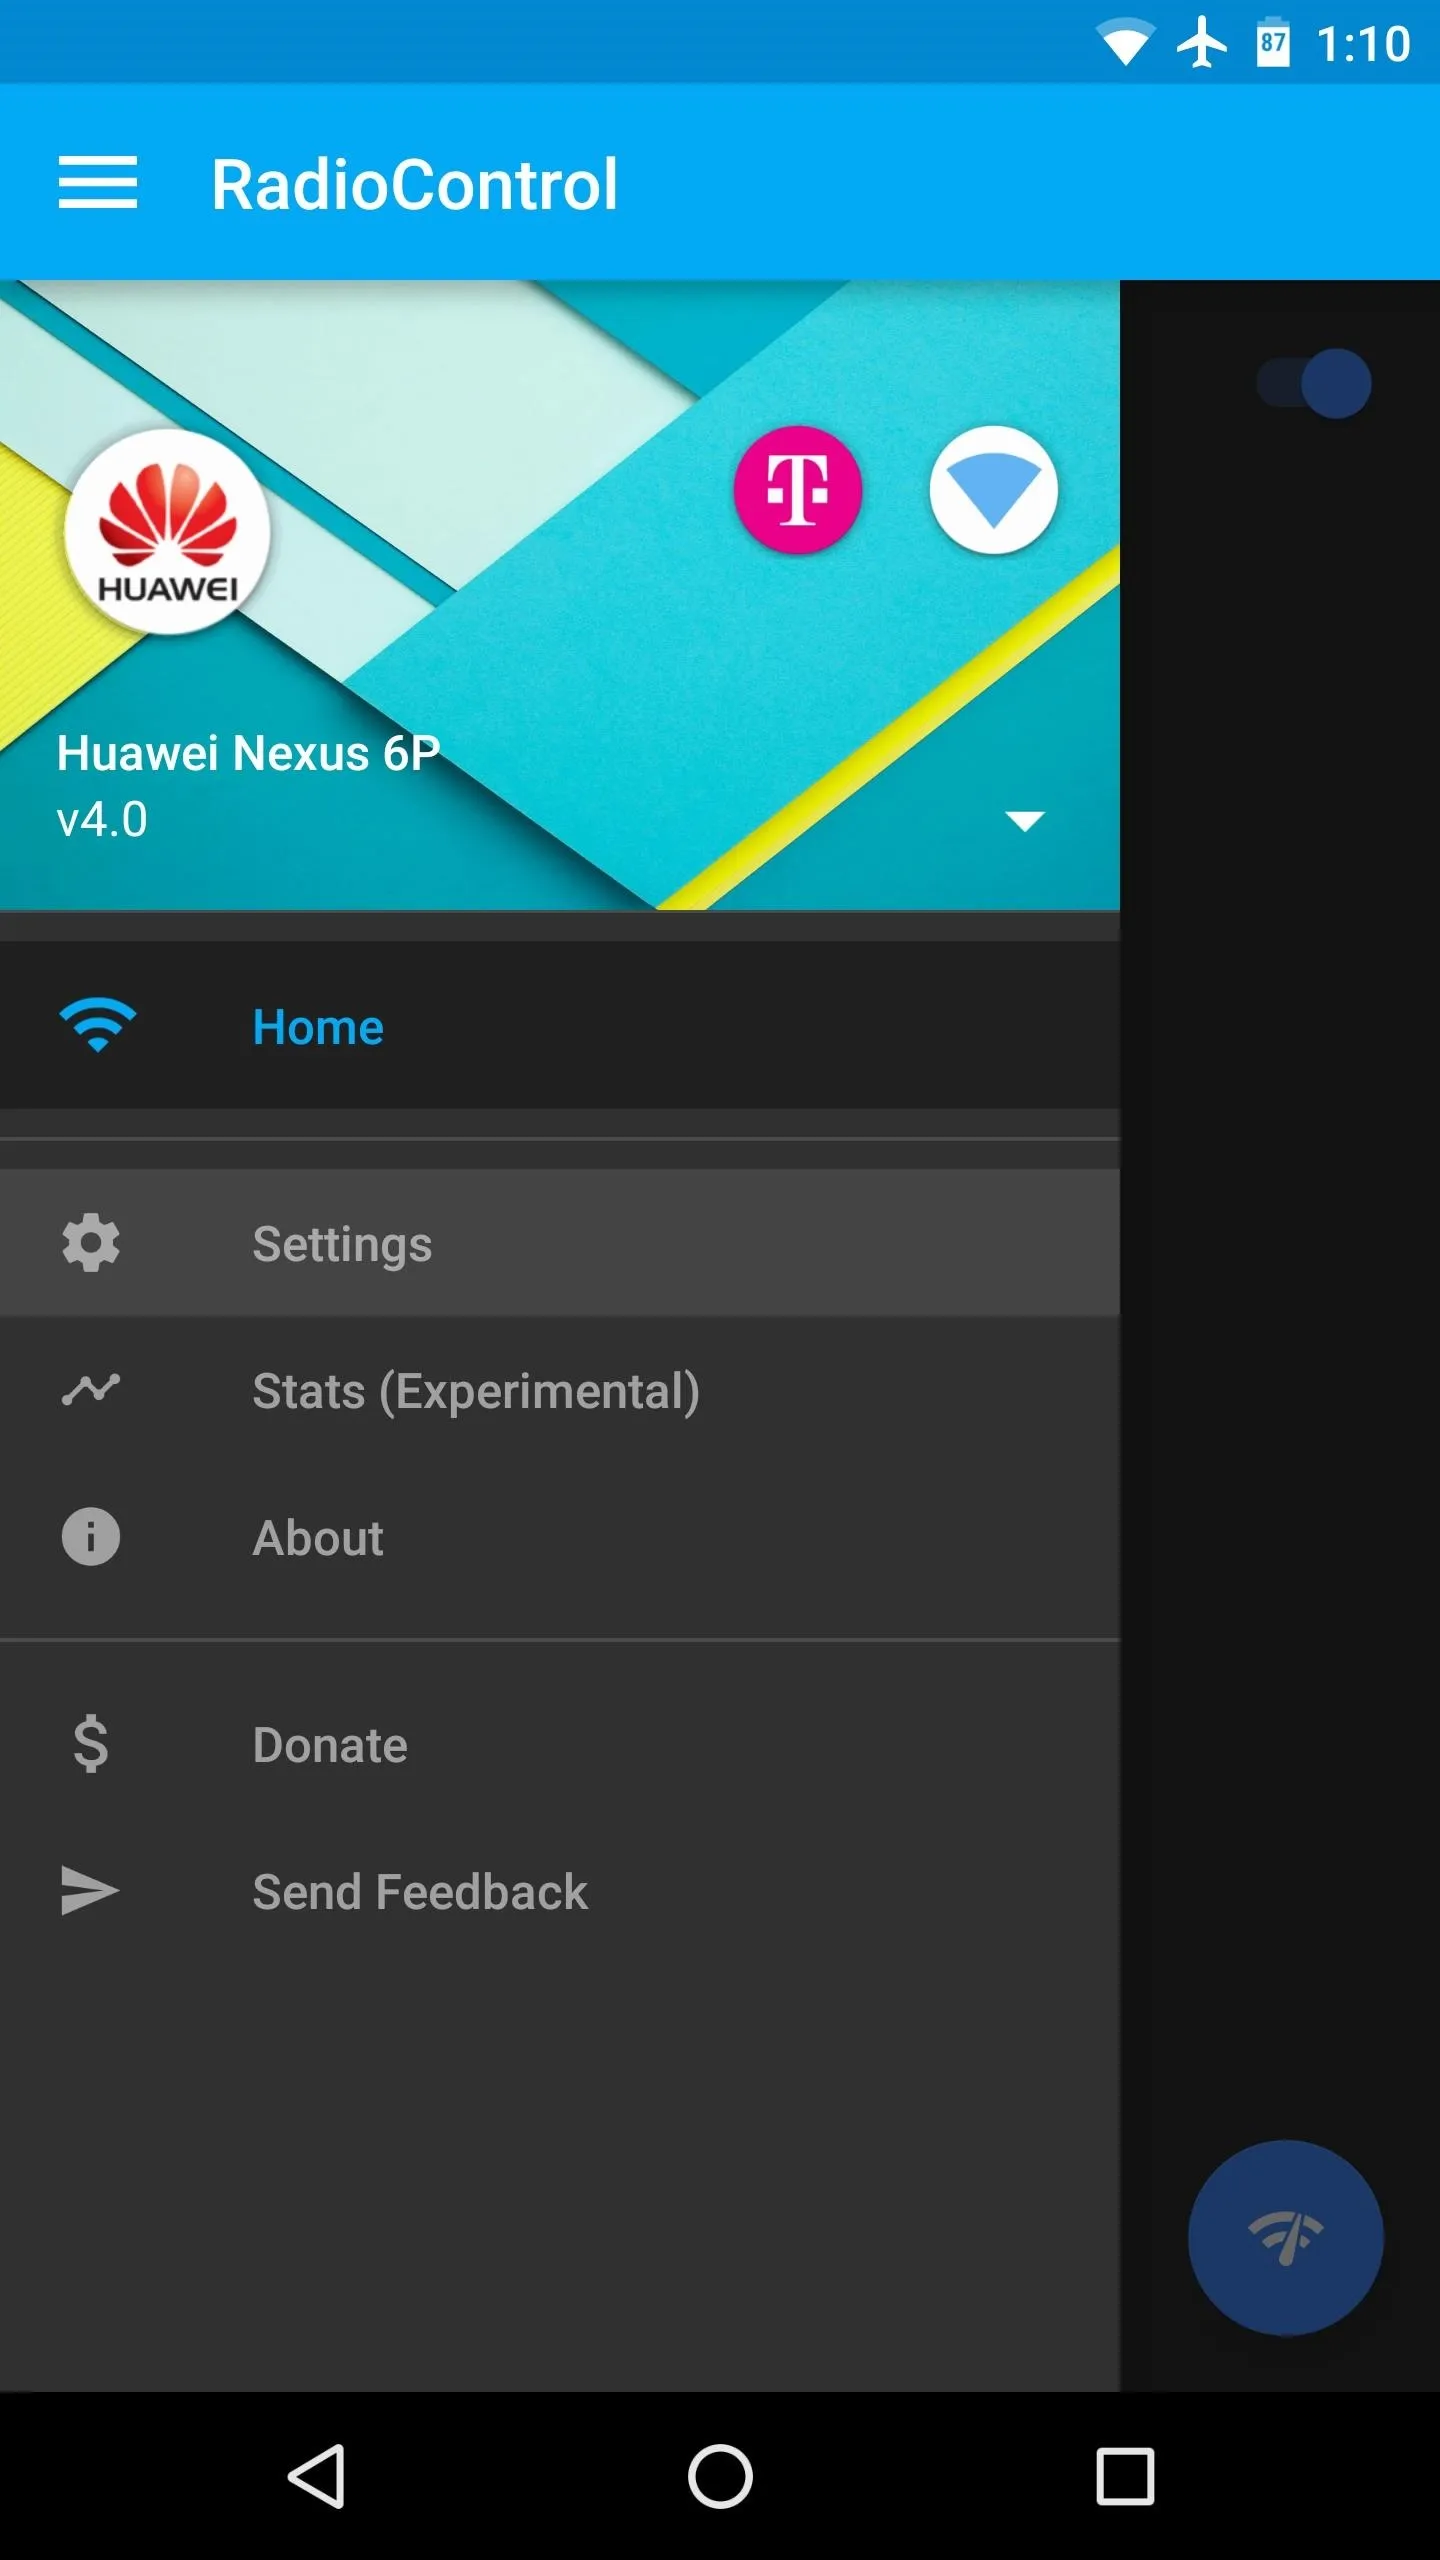


From here, select "Network Settings," then simply chose any Wi-Fi access point that you'd like to blacklist.
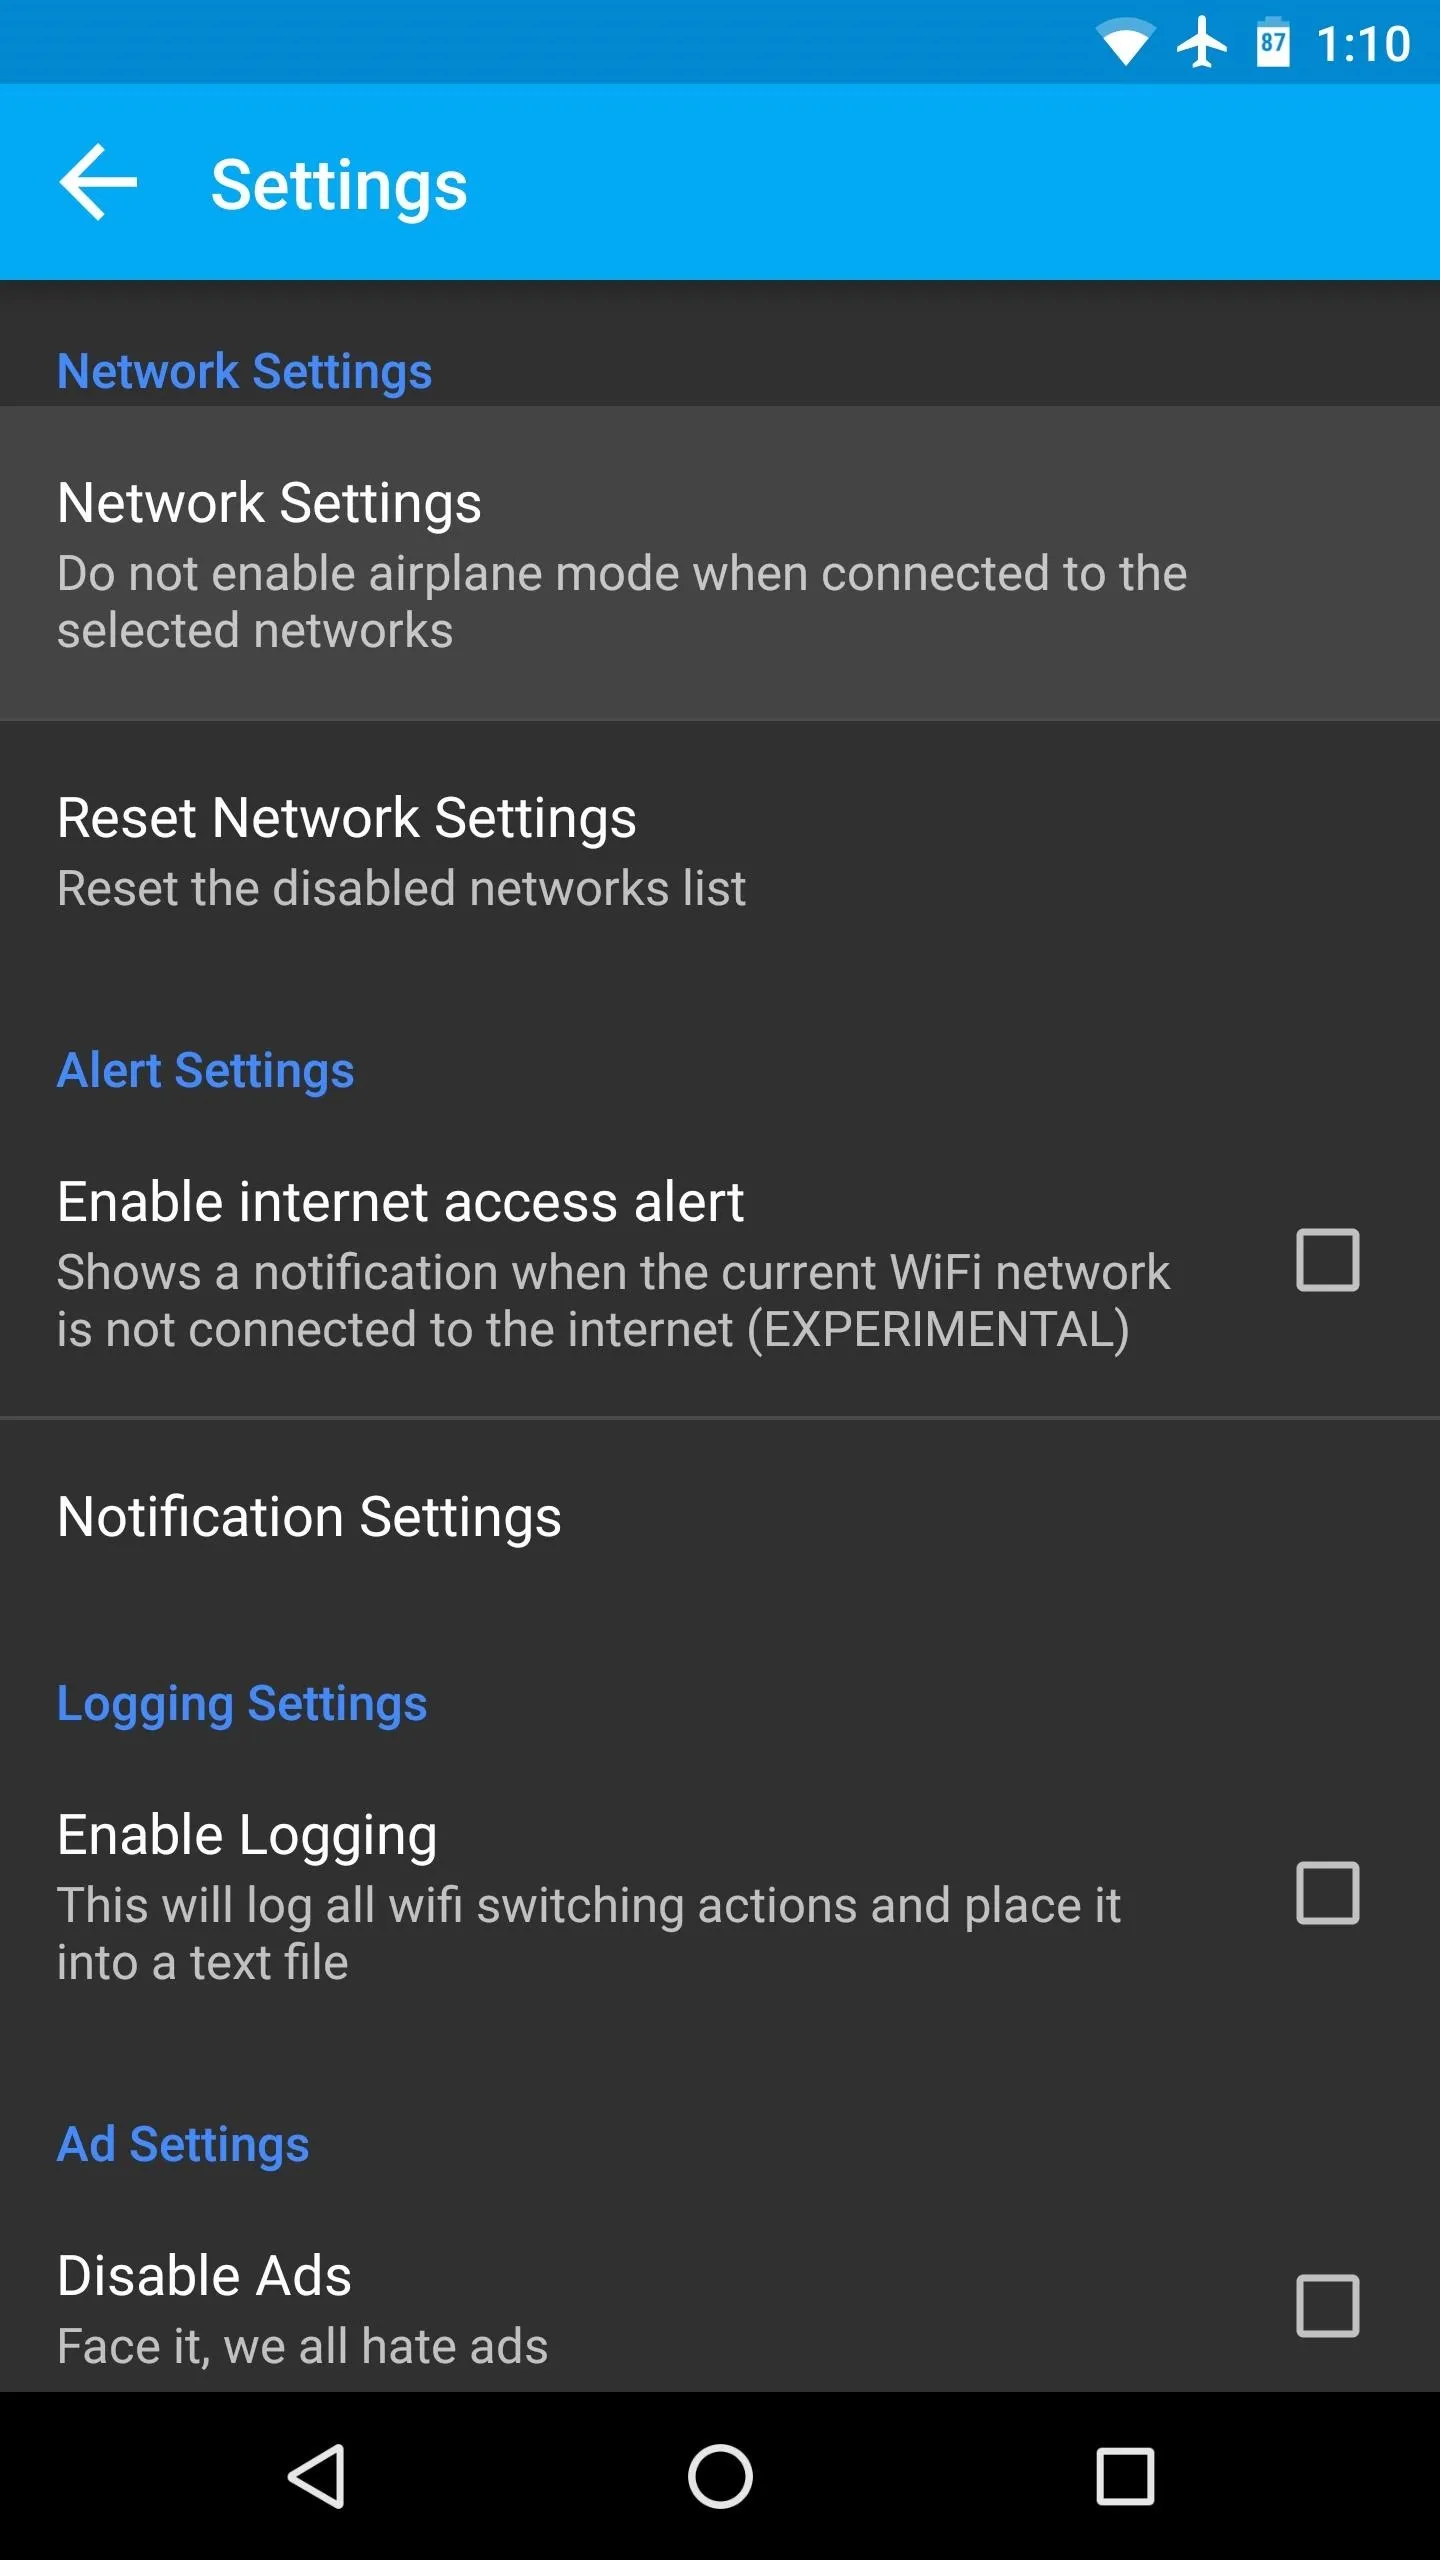
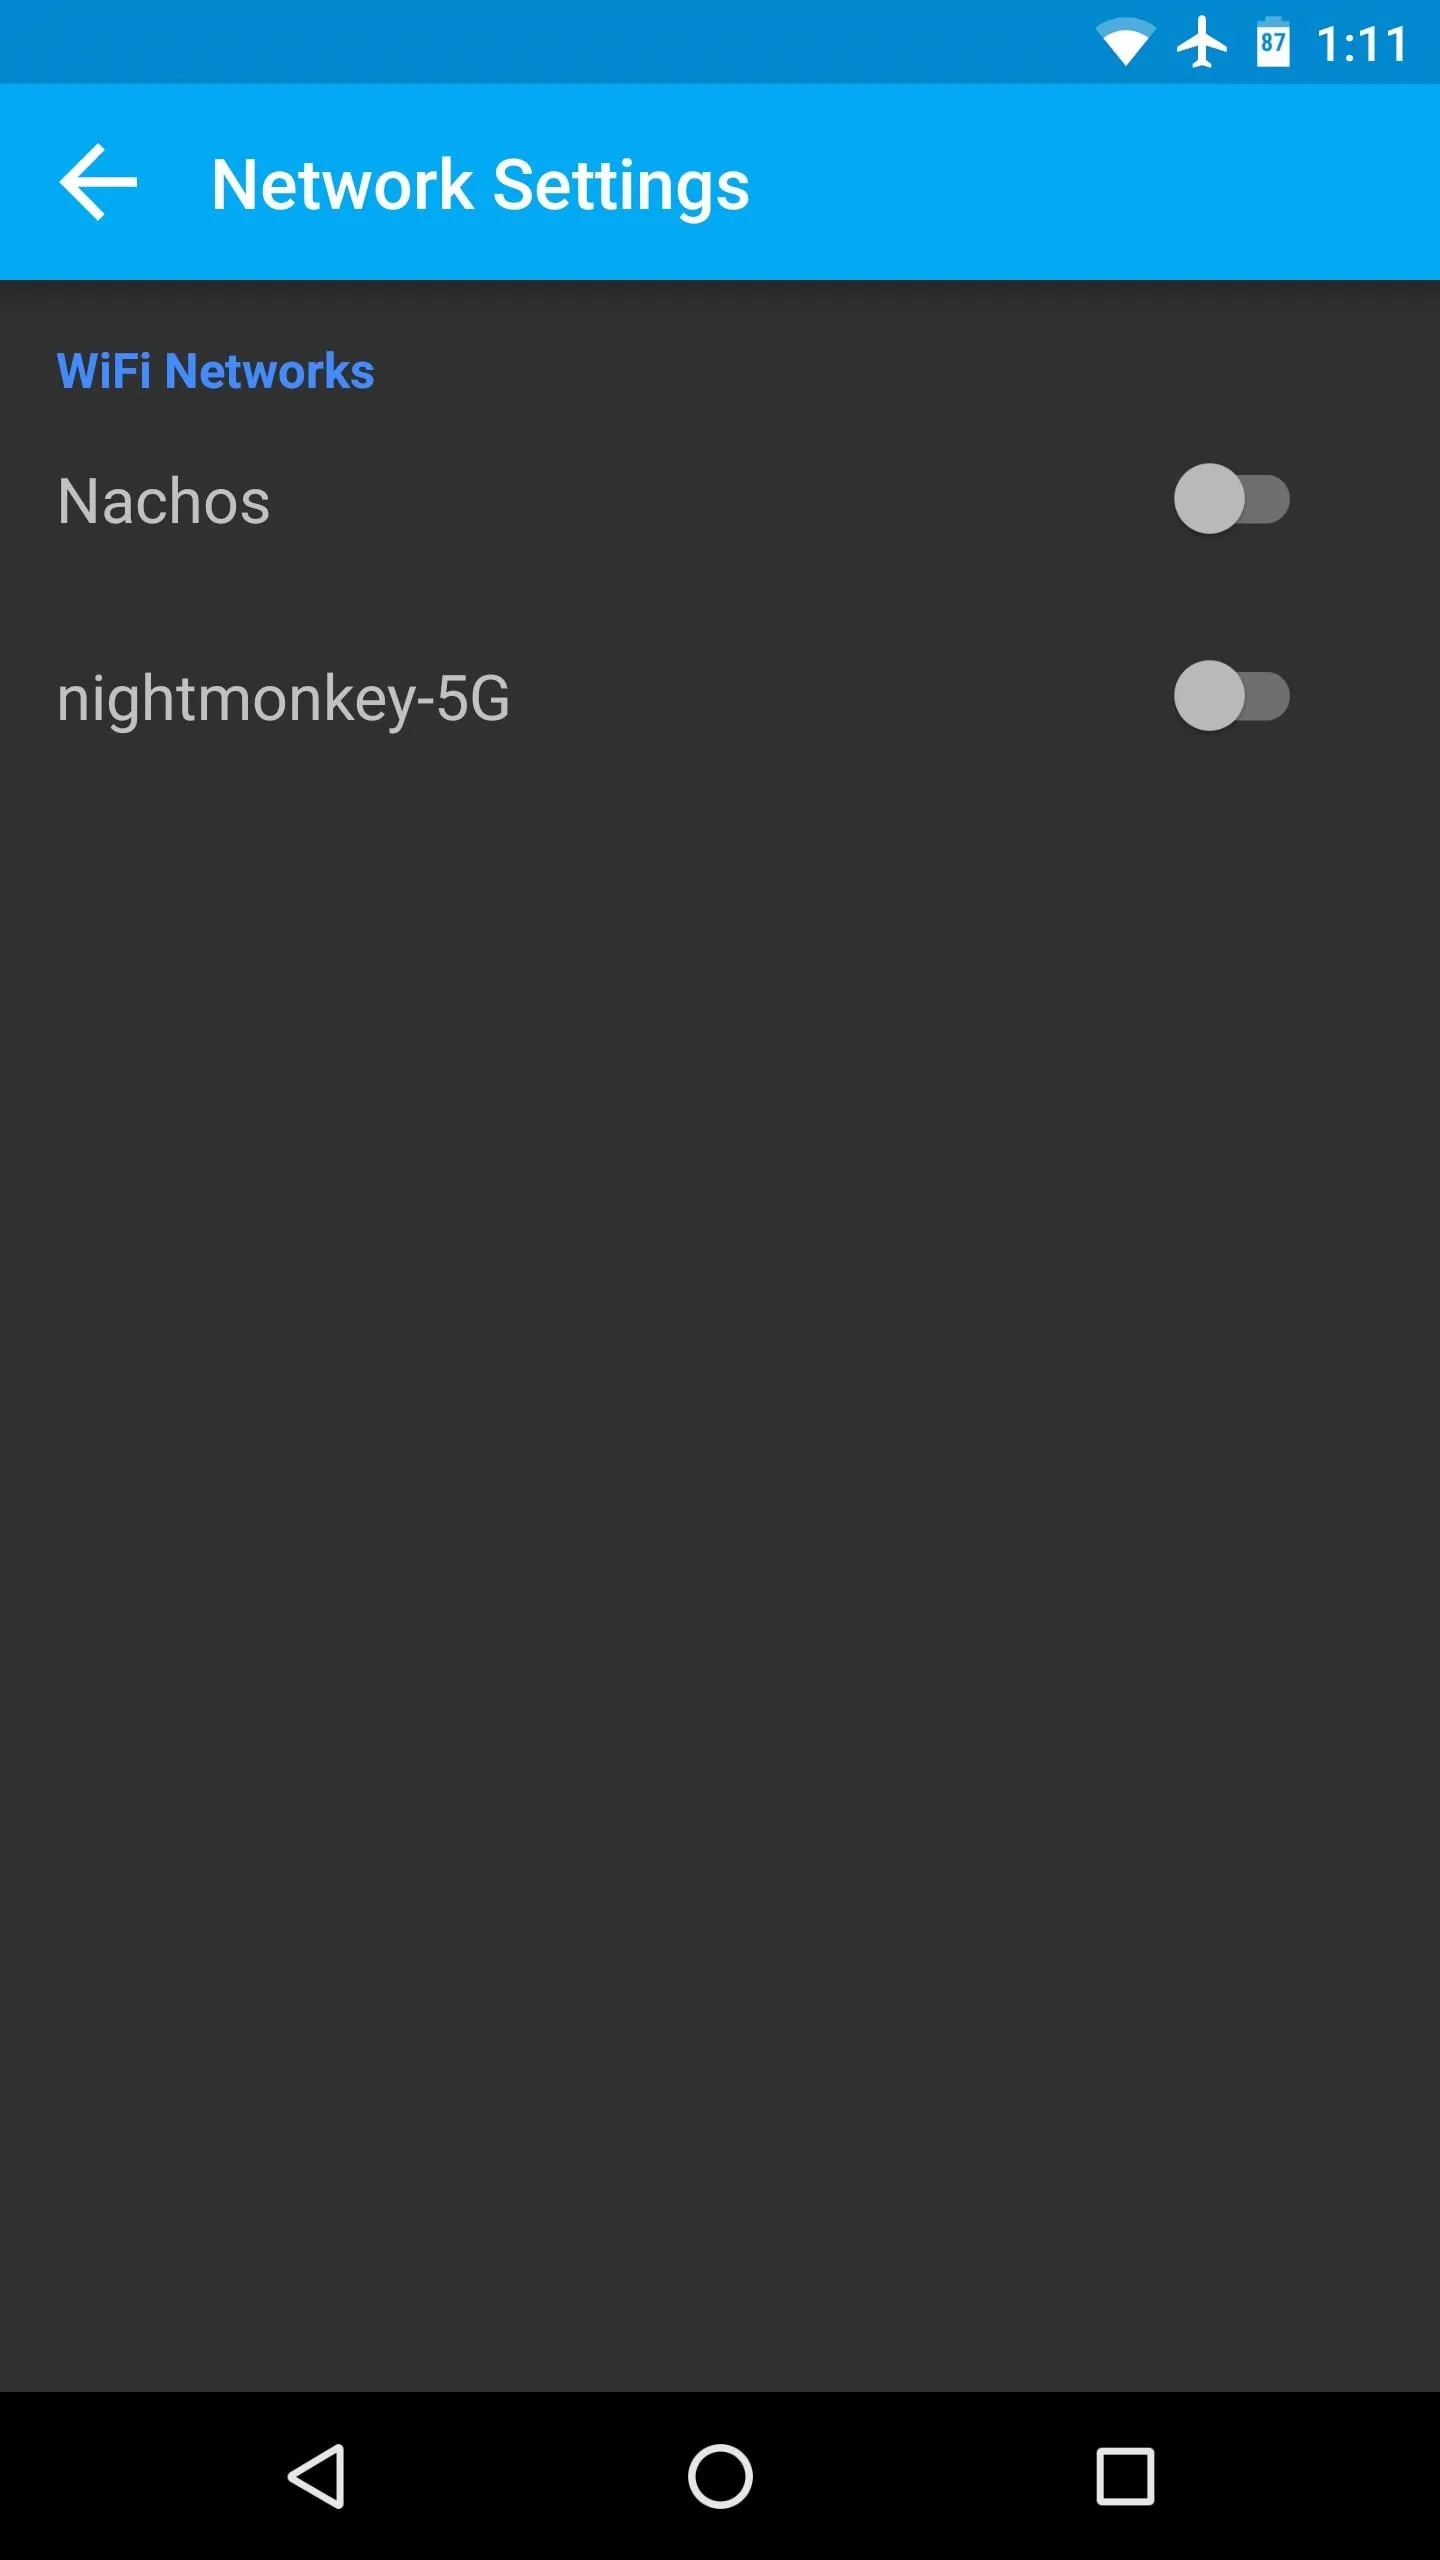


From now on, your device will almost instantly enter this RadioControl mode when you connect to a non-blacklisted Wi-Fi network, but when you get out of range, cellular connectivity will be restored automatically.
Enable Wi-Fi Calling (Optional)
Without a connection to the cellular network, you won't be able to make or receive phone calls in most cases. So to prevent this from becoming an issue, you should probably enable Wi-Fi calling at this point.
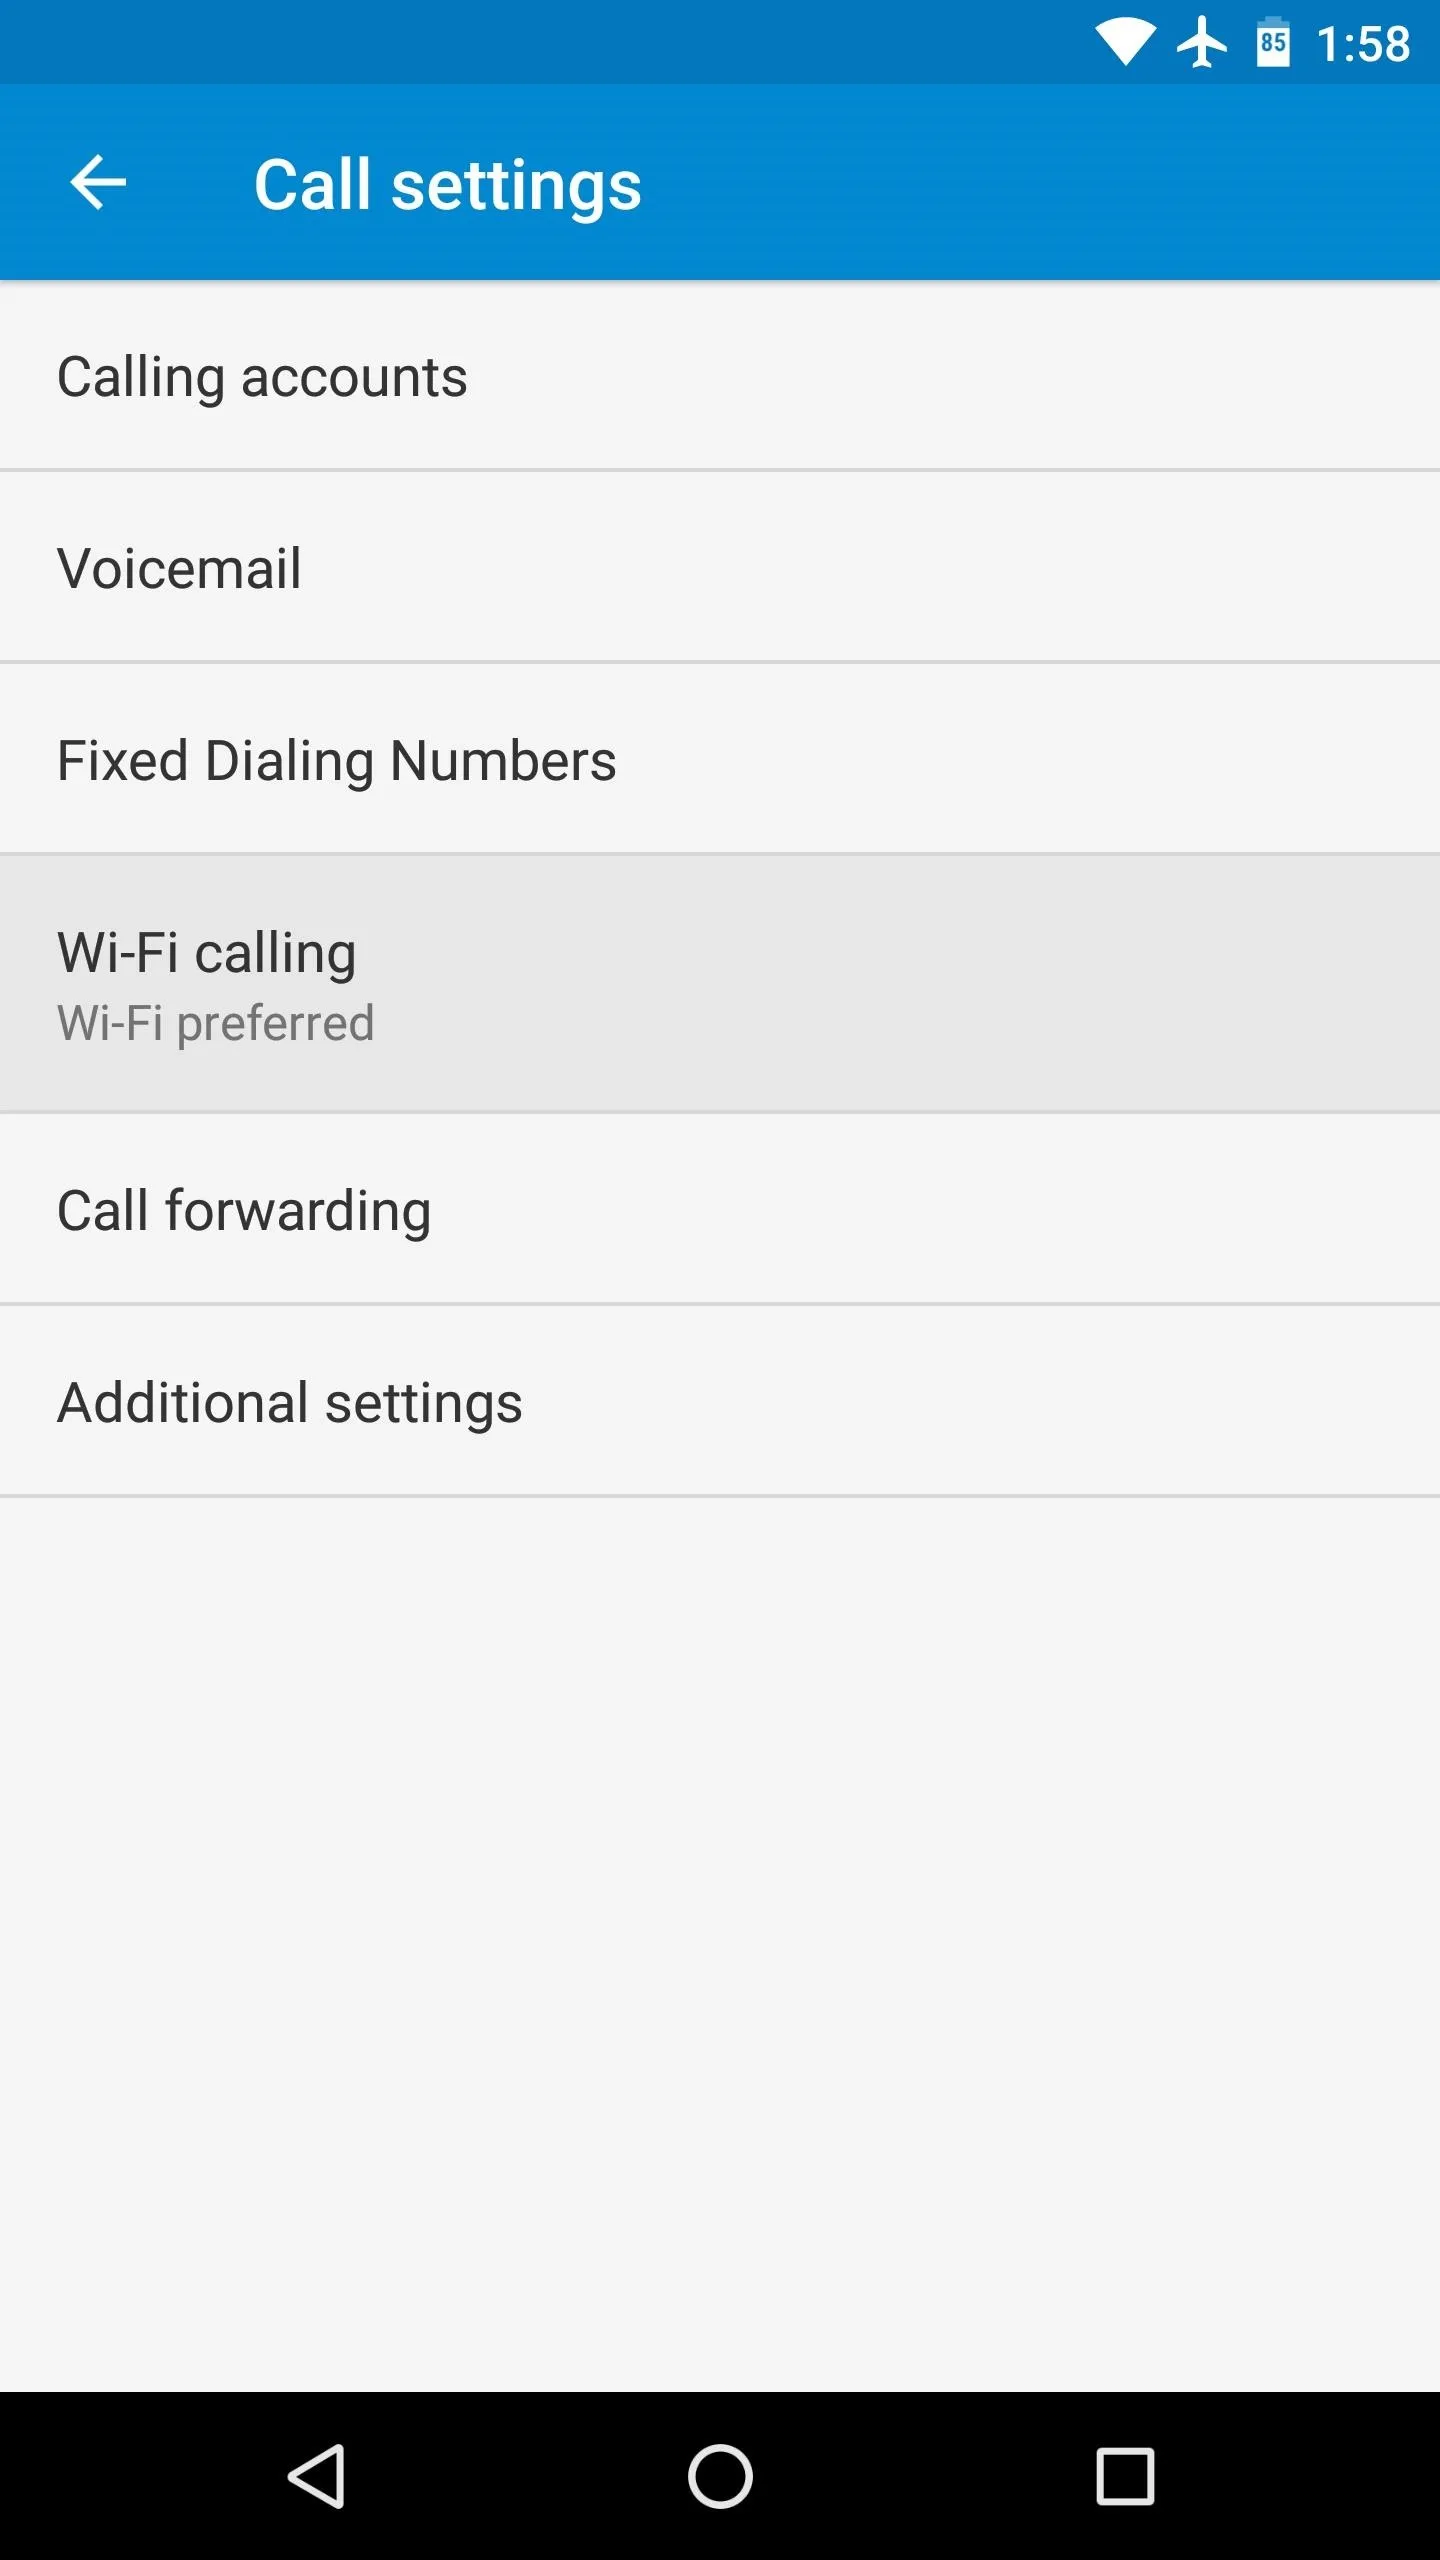
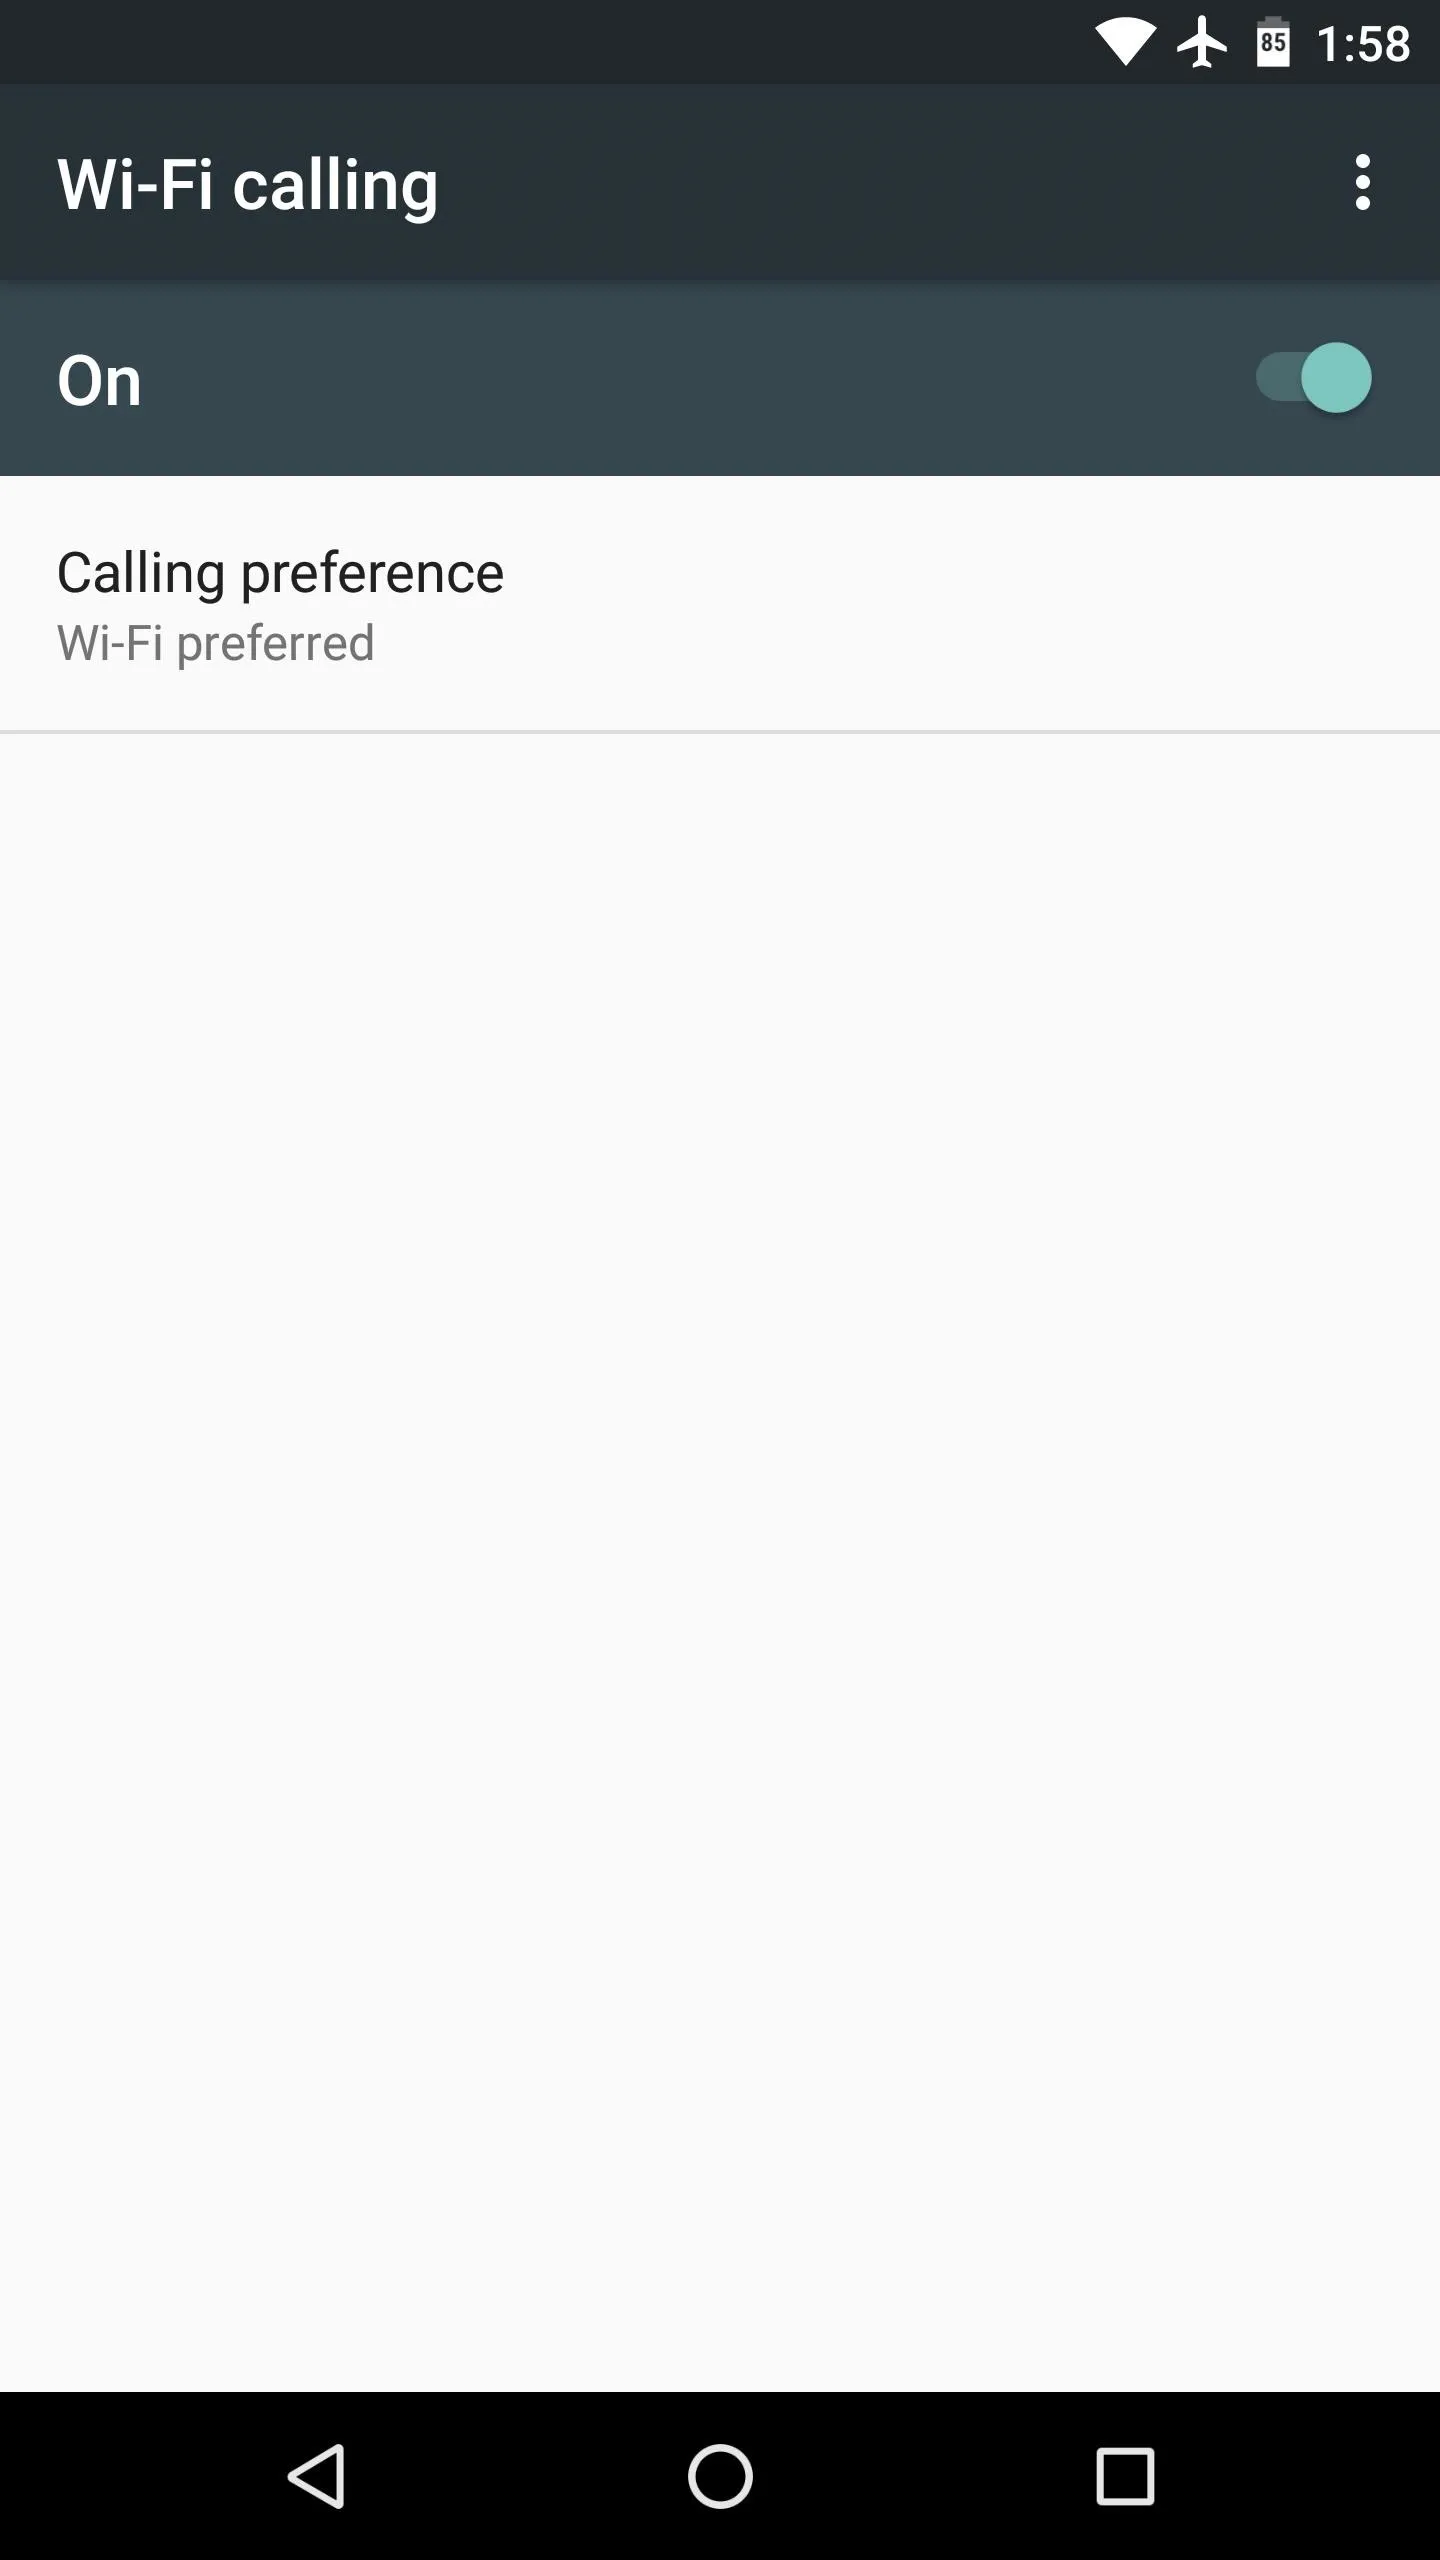
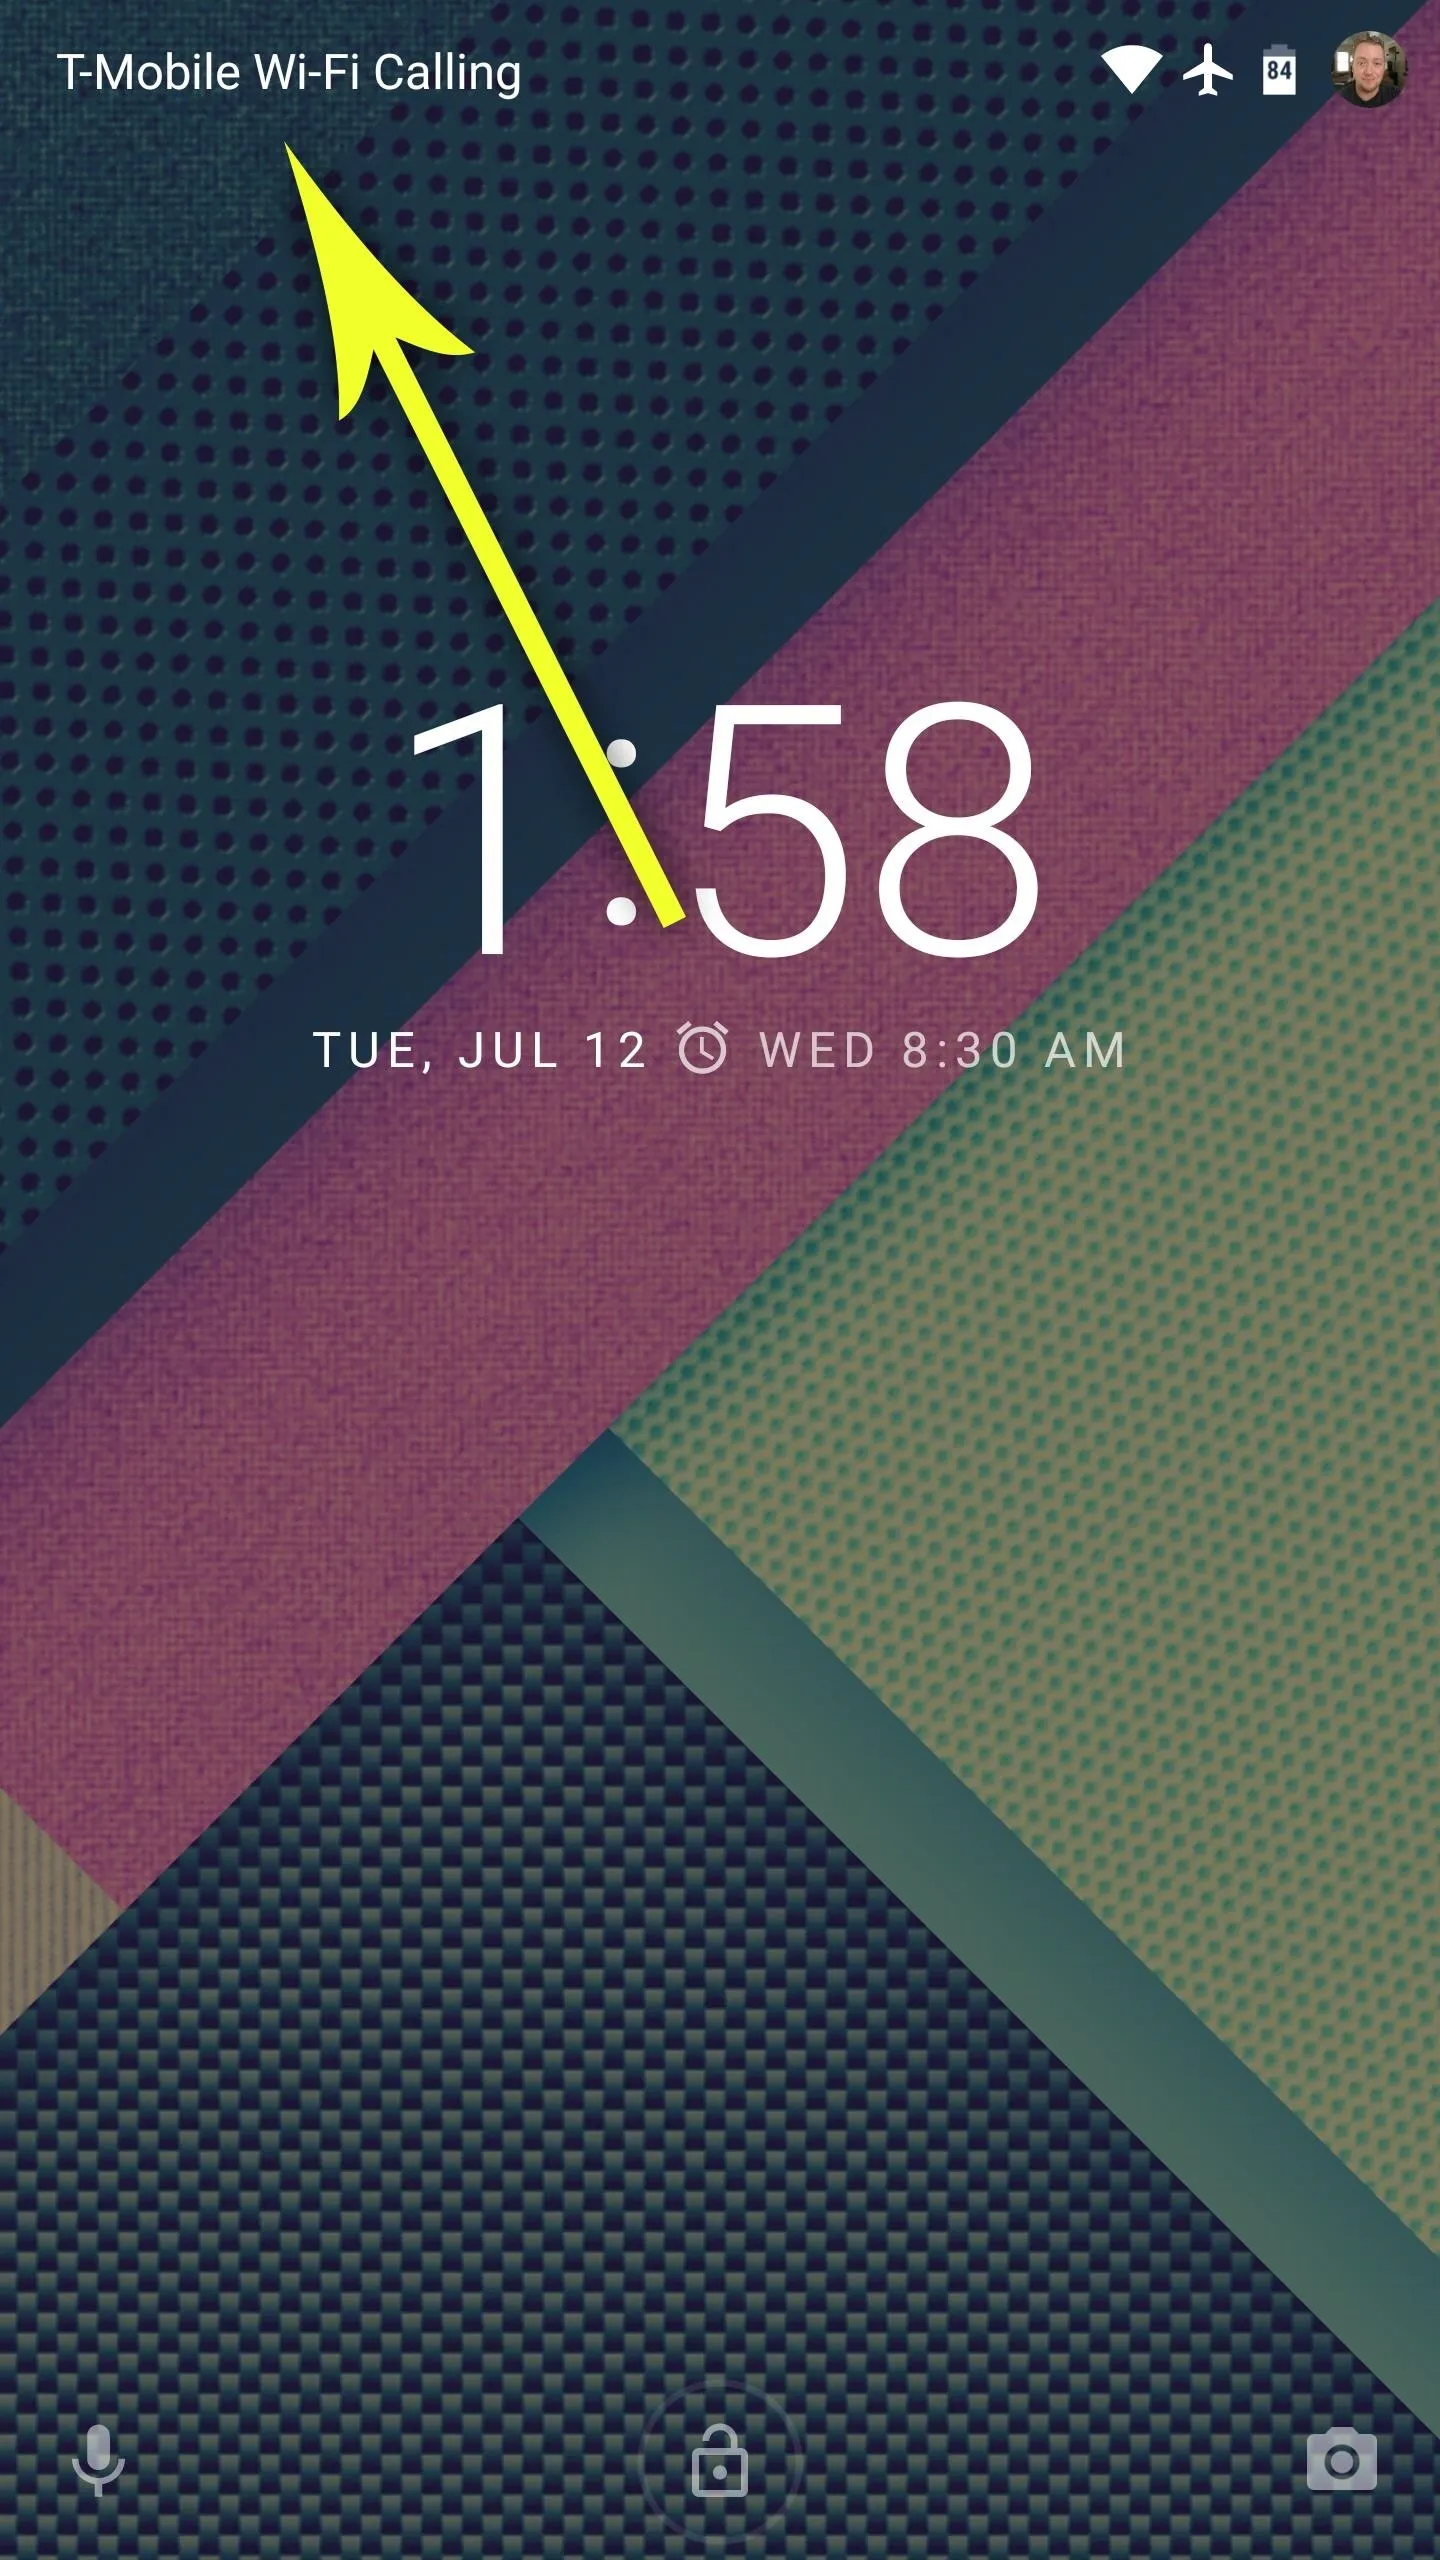
This process will vary from device to device, but the first thing you want to do is look for a "Call settings" menu, either in Android's main Settings menu, or in your phone app's settings. From here, choose "Wi-Fi calling," then enable the feature, and set it to "Wi-Fi preferred." From now on, incoming and outgoing calls will be routed through your Wi-Fi connection, and you can verify this by checking the status bar at the top of your lock screen.


- Follow Gadget Hacks on Facebook, Twitter, Google+, and YouTube
- Follow Android Hacks on Facebook and Twitter
- Follow WonderHowTo on Facebook, Twitter, and Google+
Cover photo and screenshots by Dallas Thomas/Gadget Hacks








Comments
Be the first, drop a comment!