Starting with version 6.0 Marshmallow, Android now supports fingerprint scanners natively. This change has effectively opened the floodgates, and now almost every flagship Android device includes a fingerprint scanner out of the box.
But if you passed up on the opportunity to configure a fingerprint lock screen during initial setup, it's not too late to get in on the craze. As long as your device includes a fingerprint scanner, setup is really easy, so I'll give you a step-by-step guide below.
Go to the Fingerprint Settings Menu
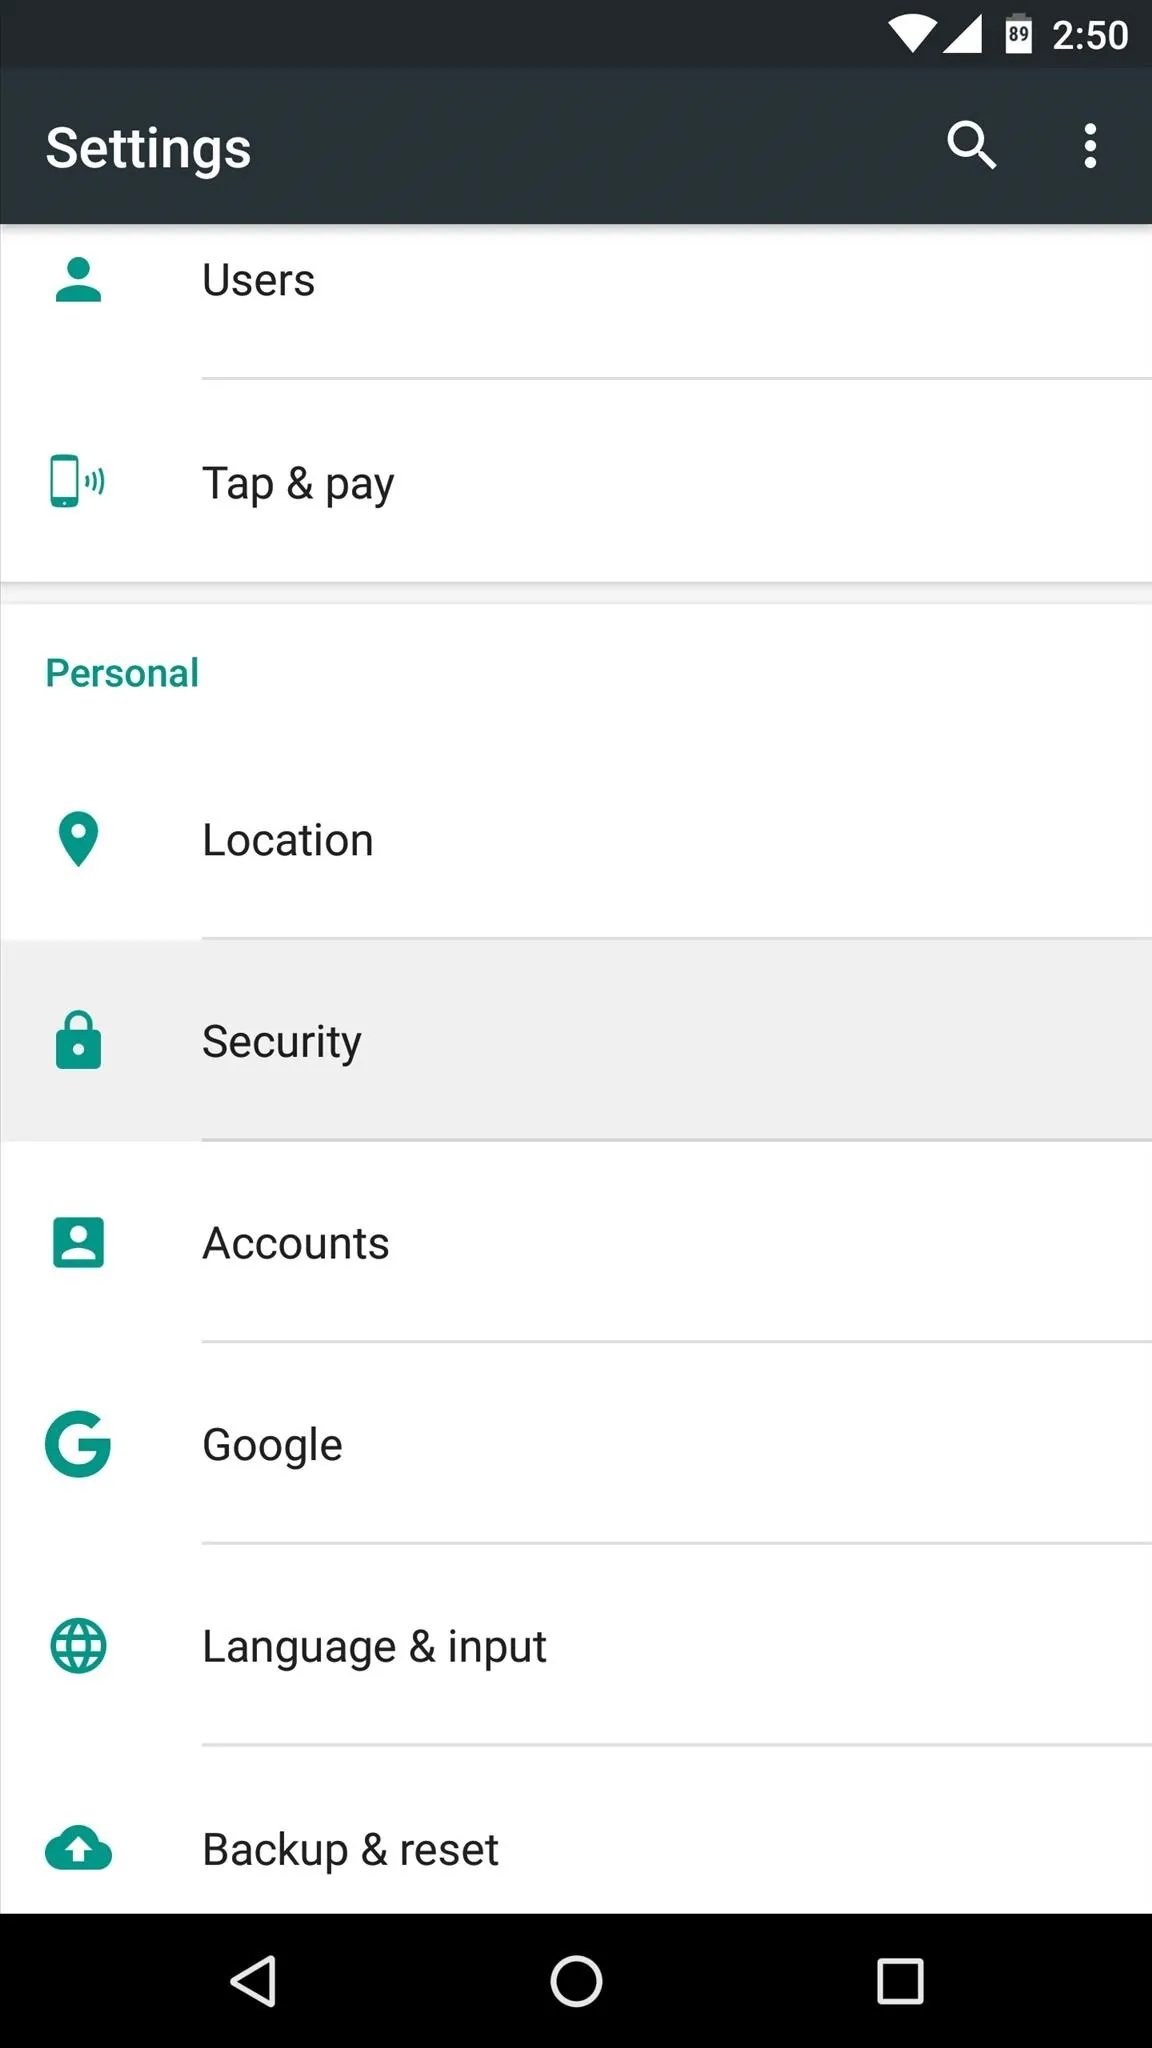
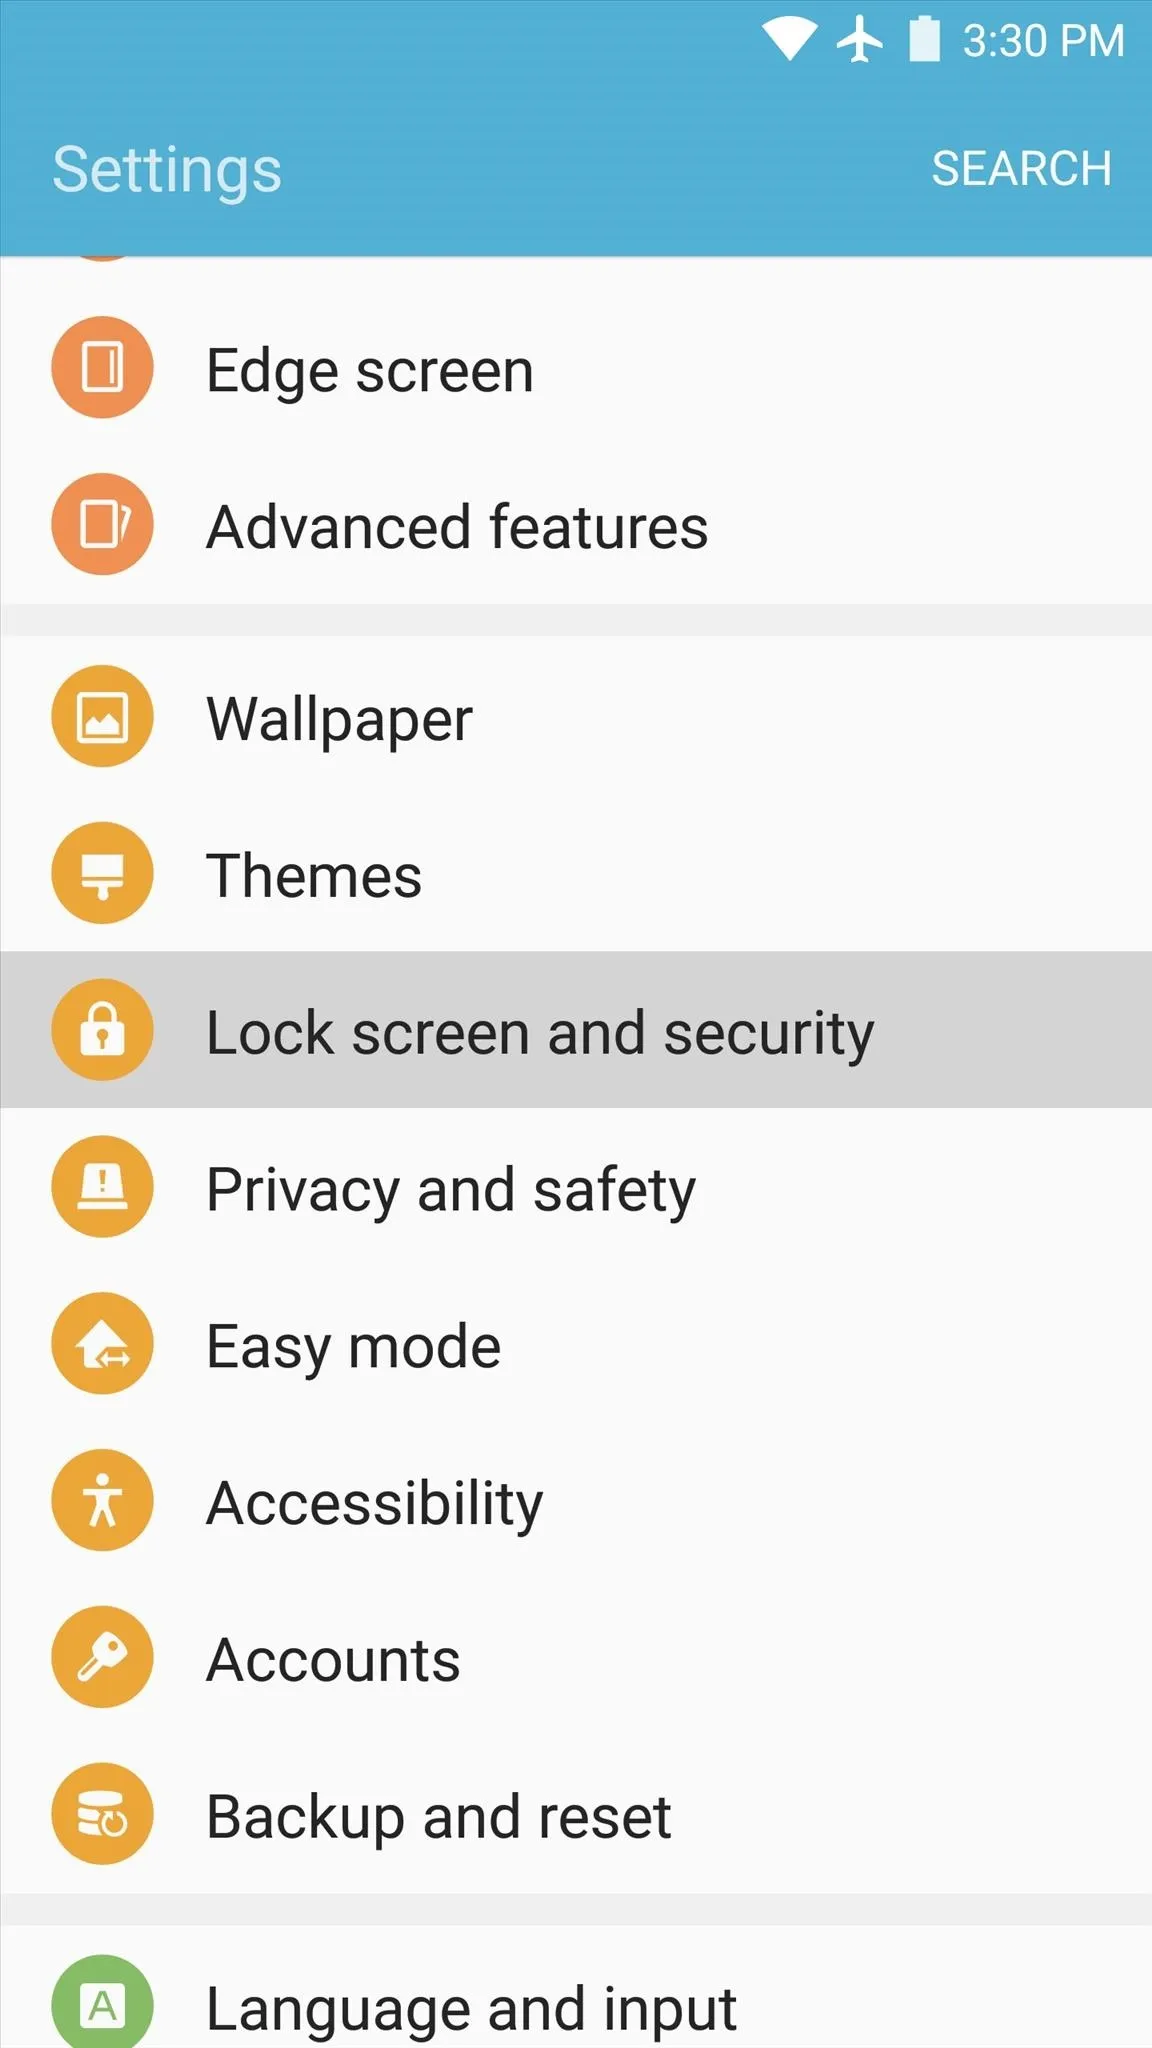
First up, you'll need to head to your phone or tablet's main Settings menu. From here, select either the "Security" option (most devices), or "Lock screen and security" (Samsung devices).


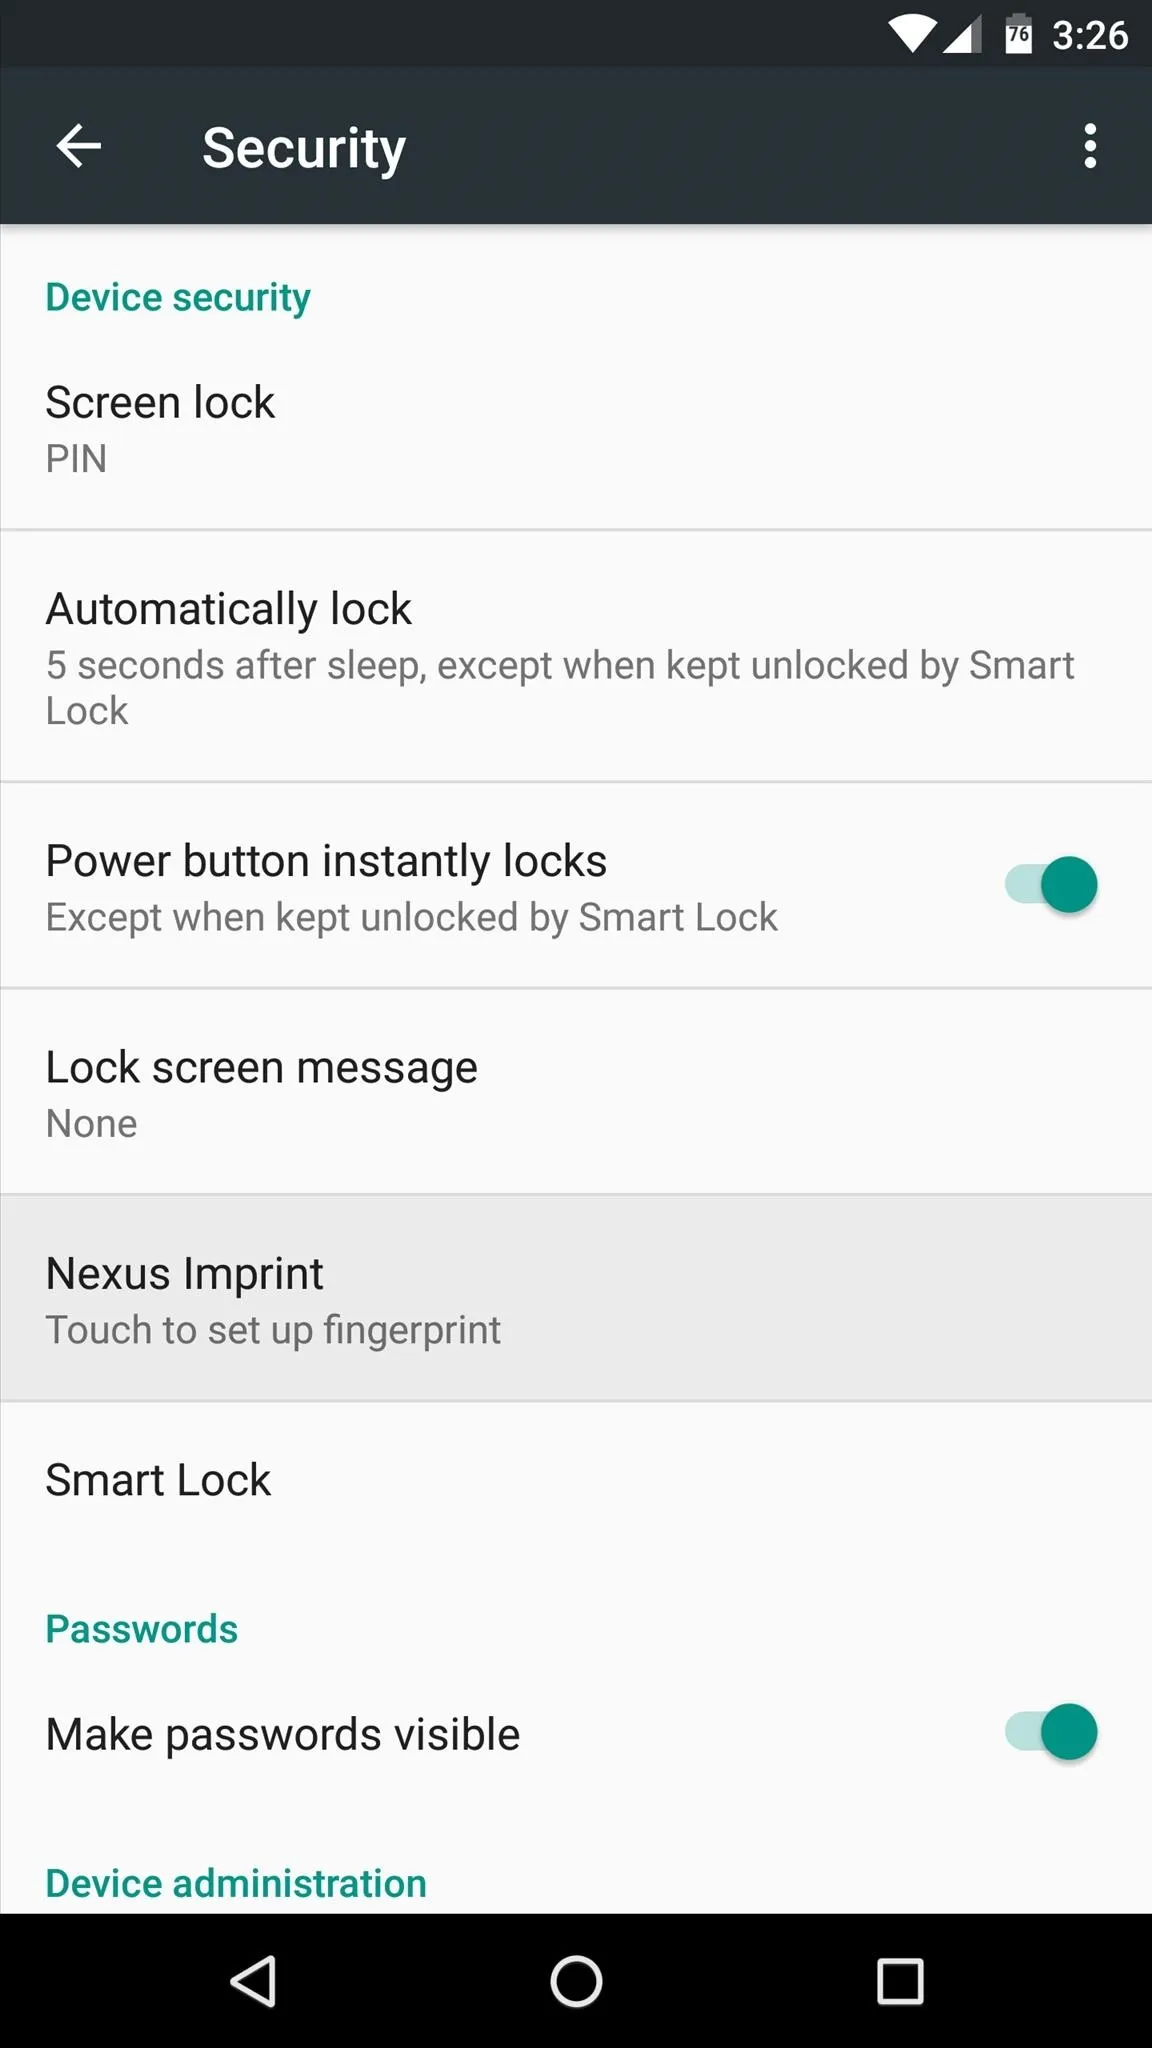
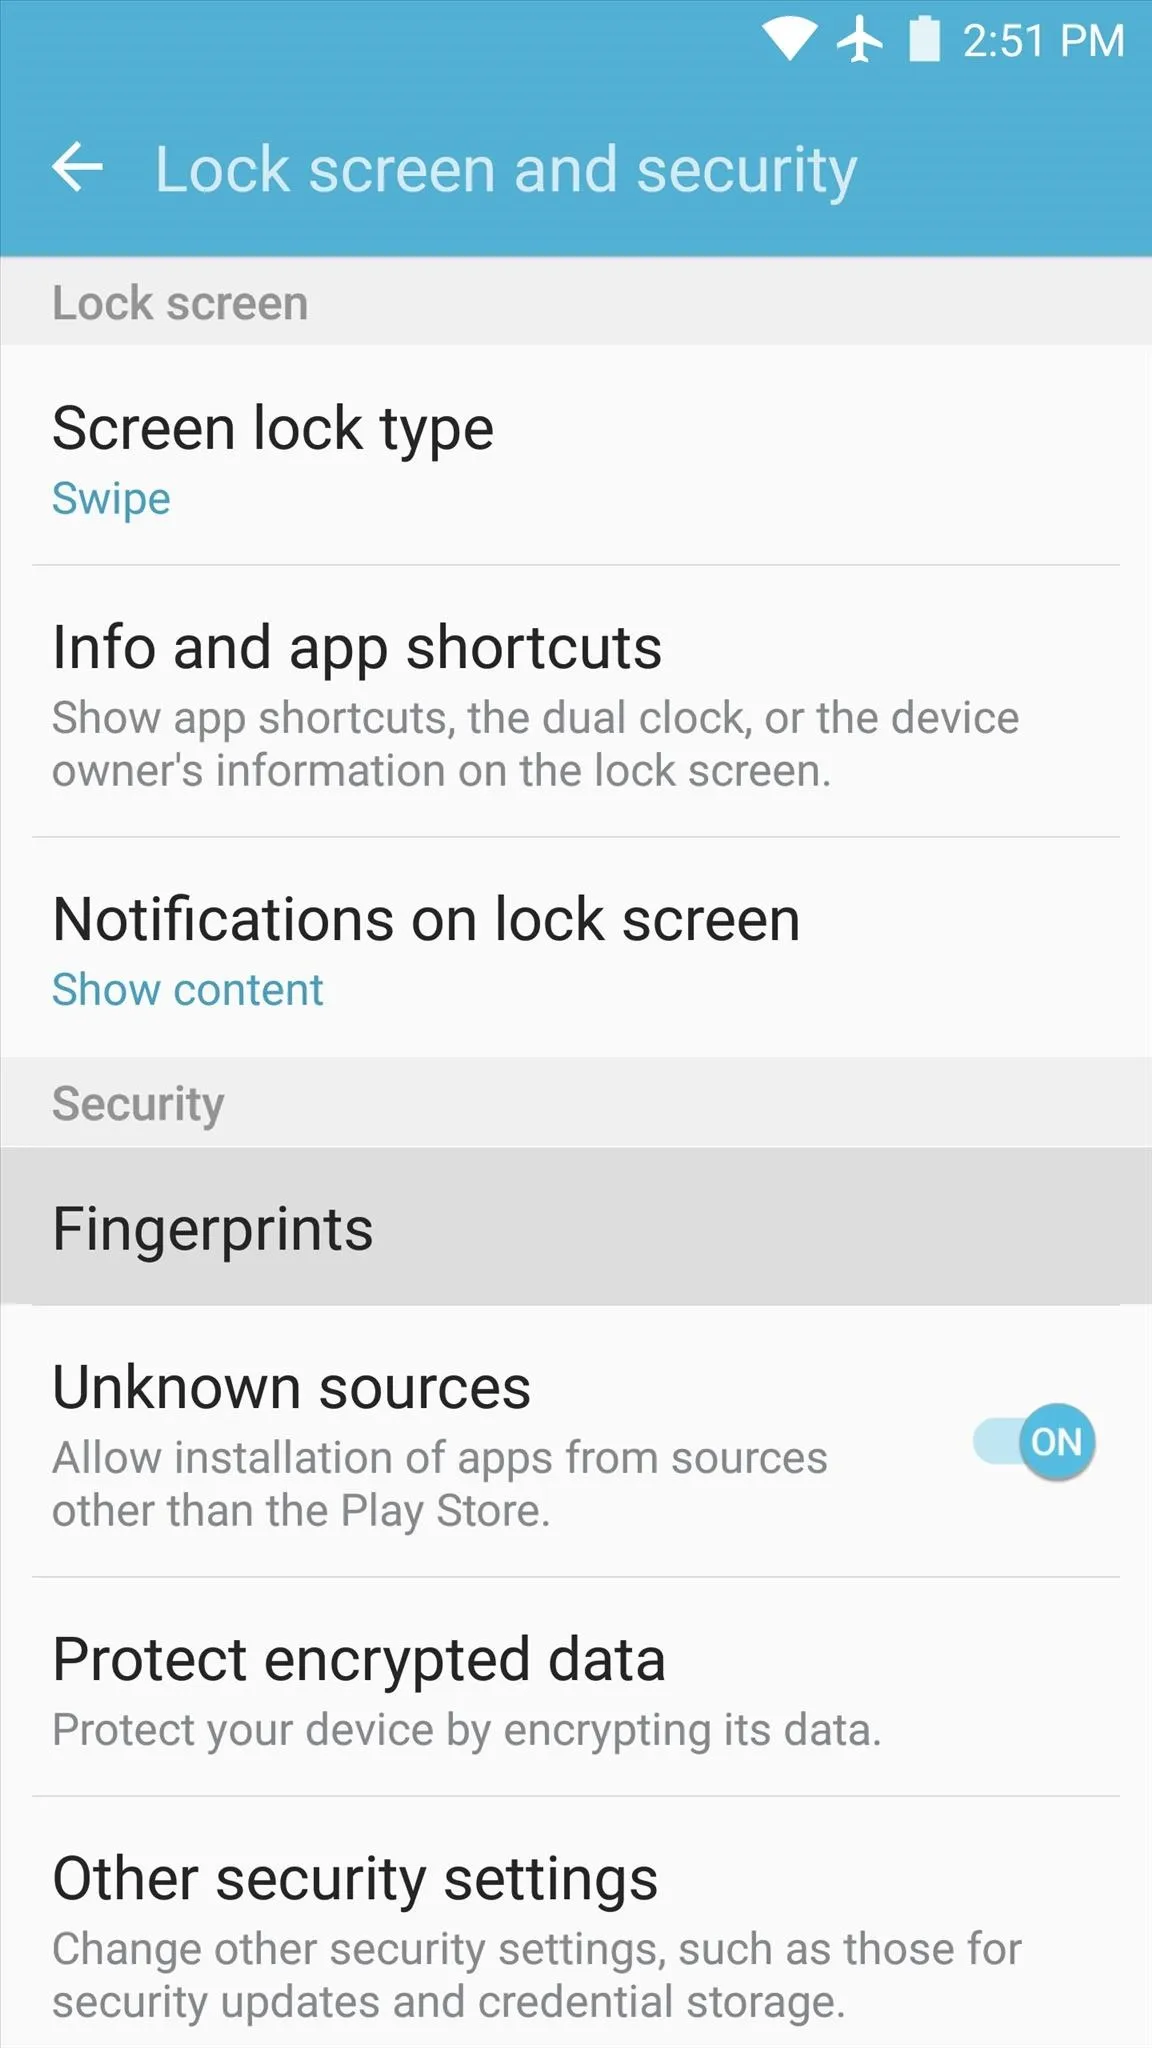
Next, choose the "Fingerprints" option (or "Nexus Imprint" if you're using a Nexus), then select "Add fingerprint" on the following screen.
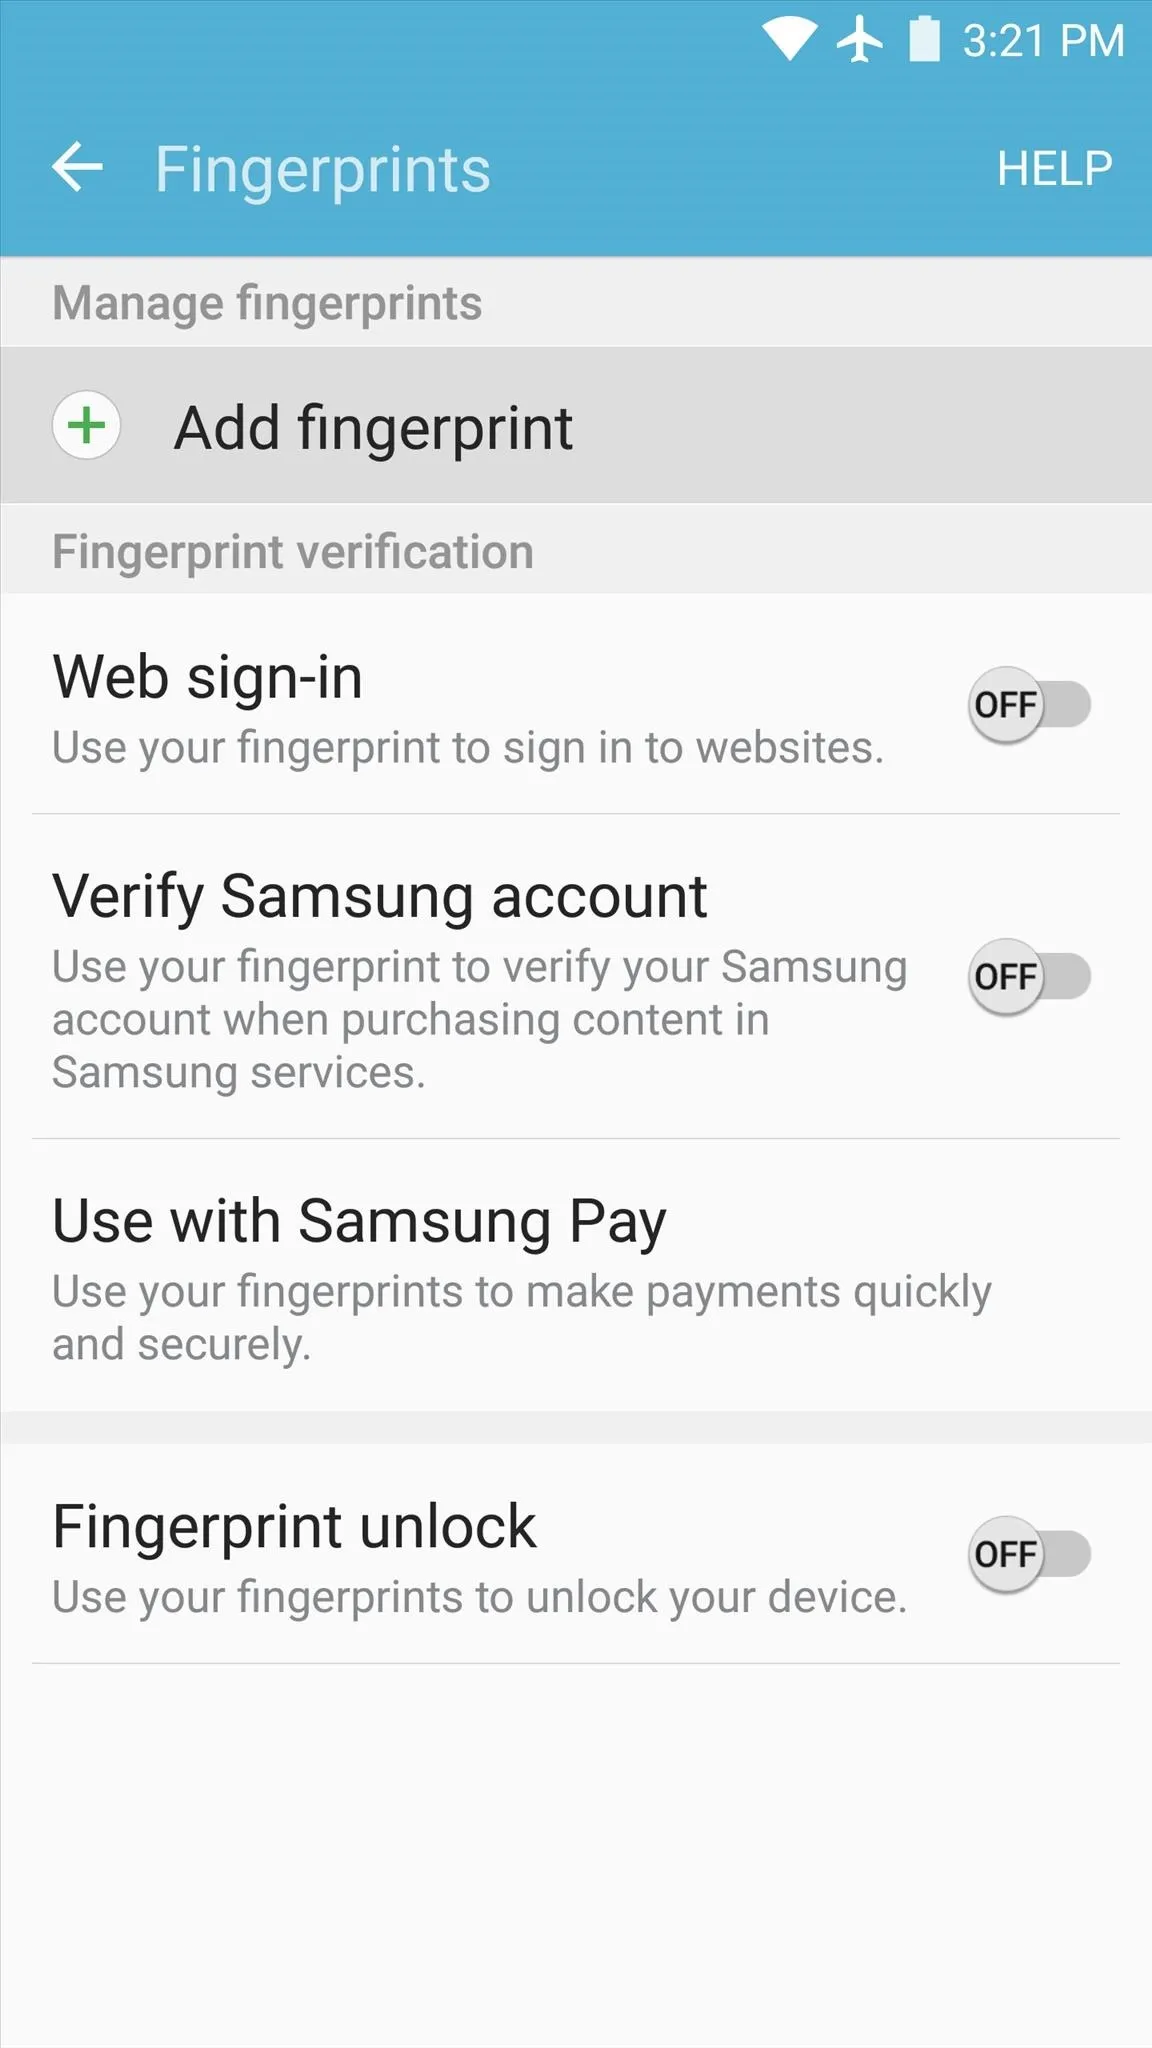


From here, the rest of setup should be just about the same regardless of what kind of device you have.
Add a Backup Unlock Method
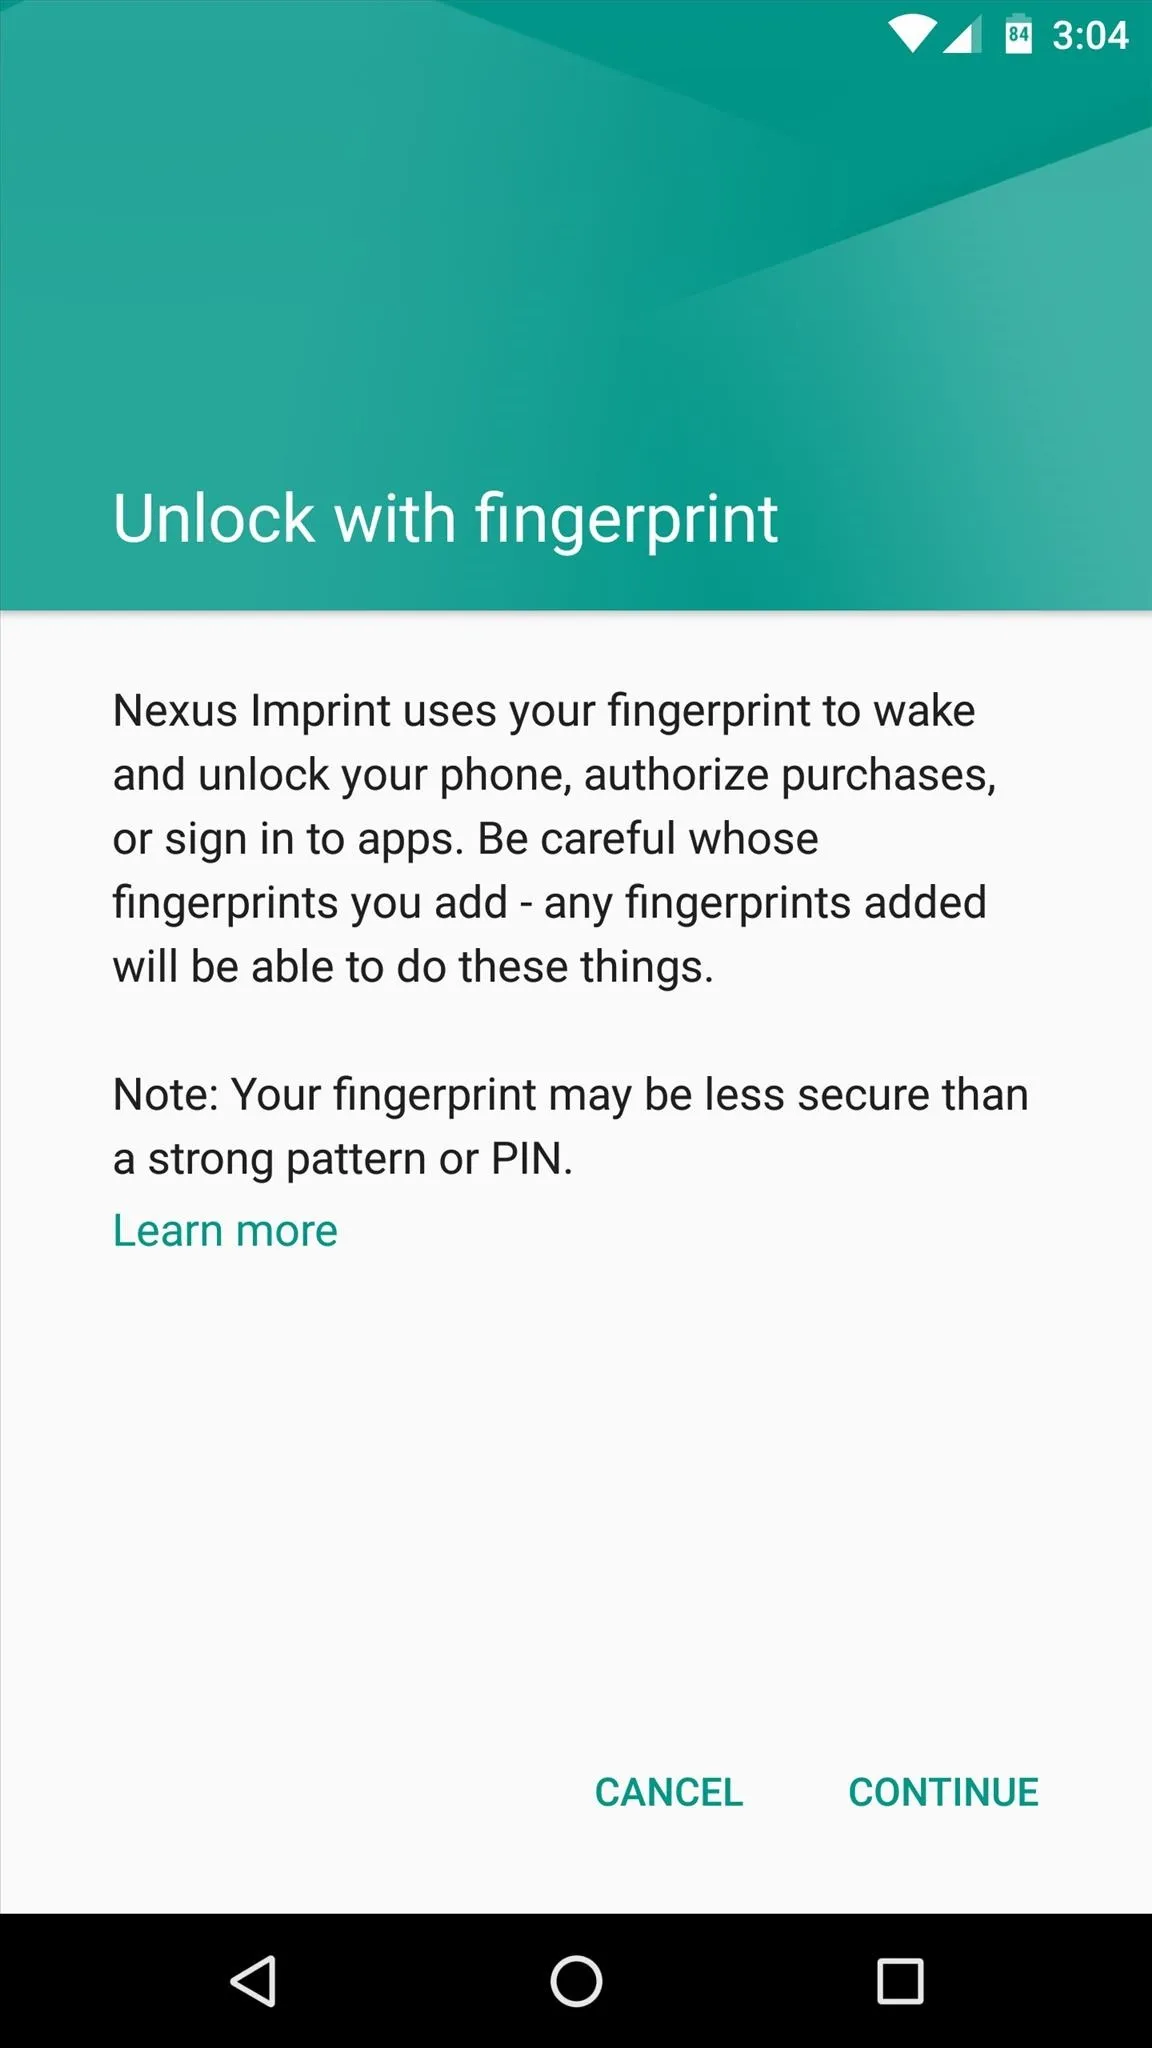
Next, you'll see a screen that gives you the details on fingerprint security, so read through this carefully, then press "Continue." From here, you'll be prompted to add a back-up code that will be used in the event that the scanner fails to recognize your fingerprint.
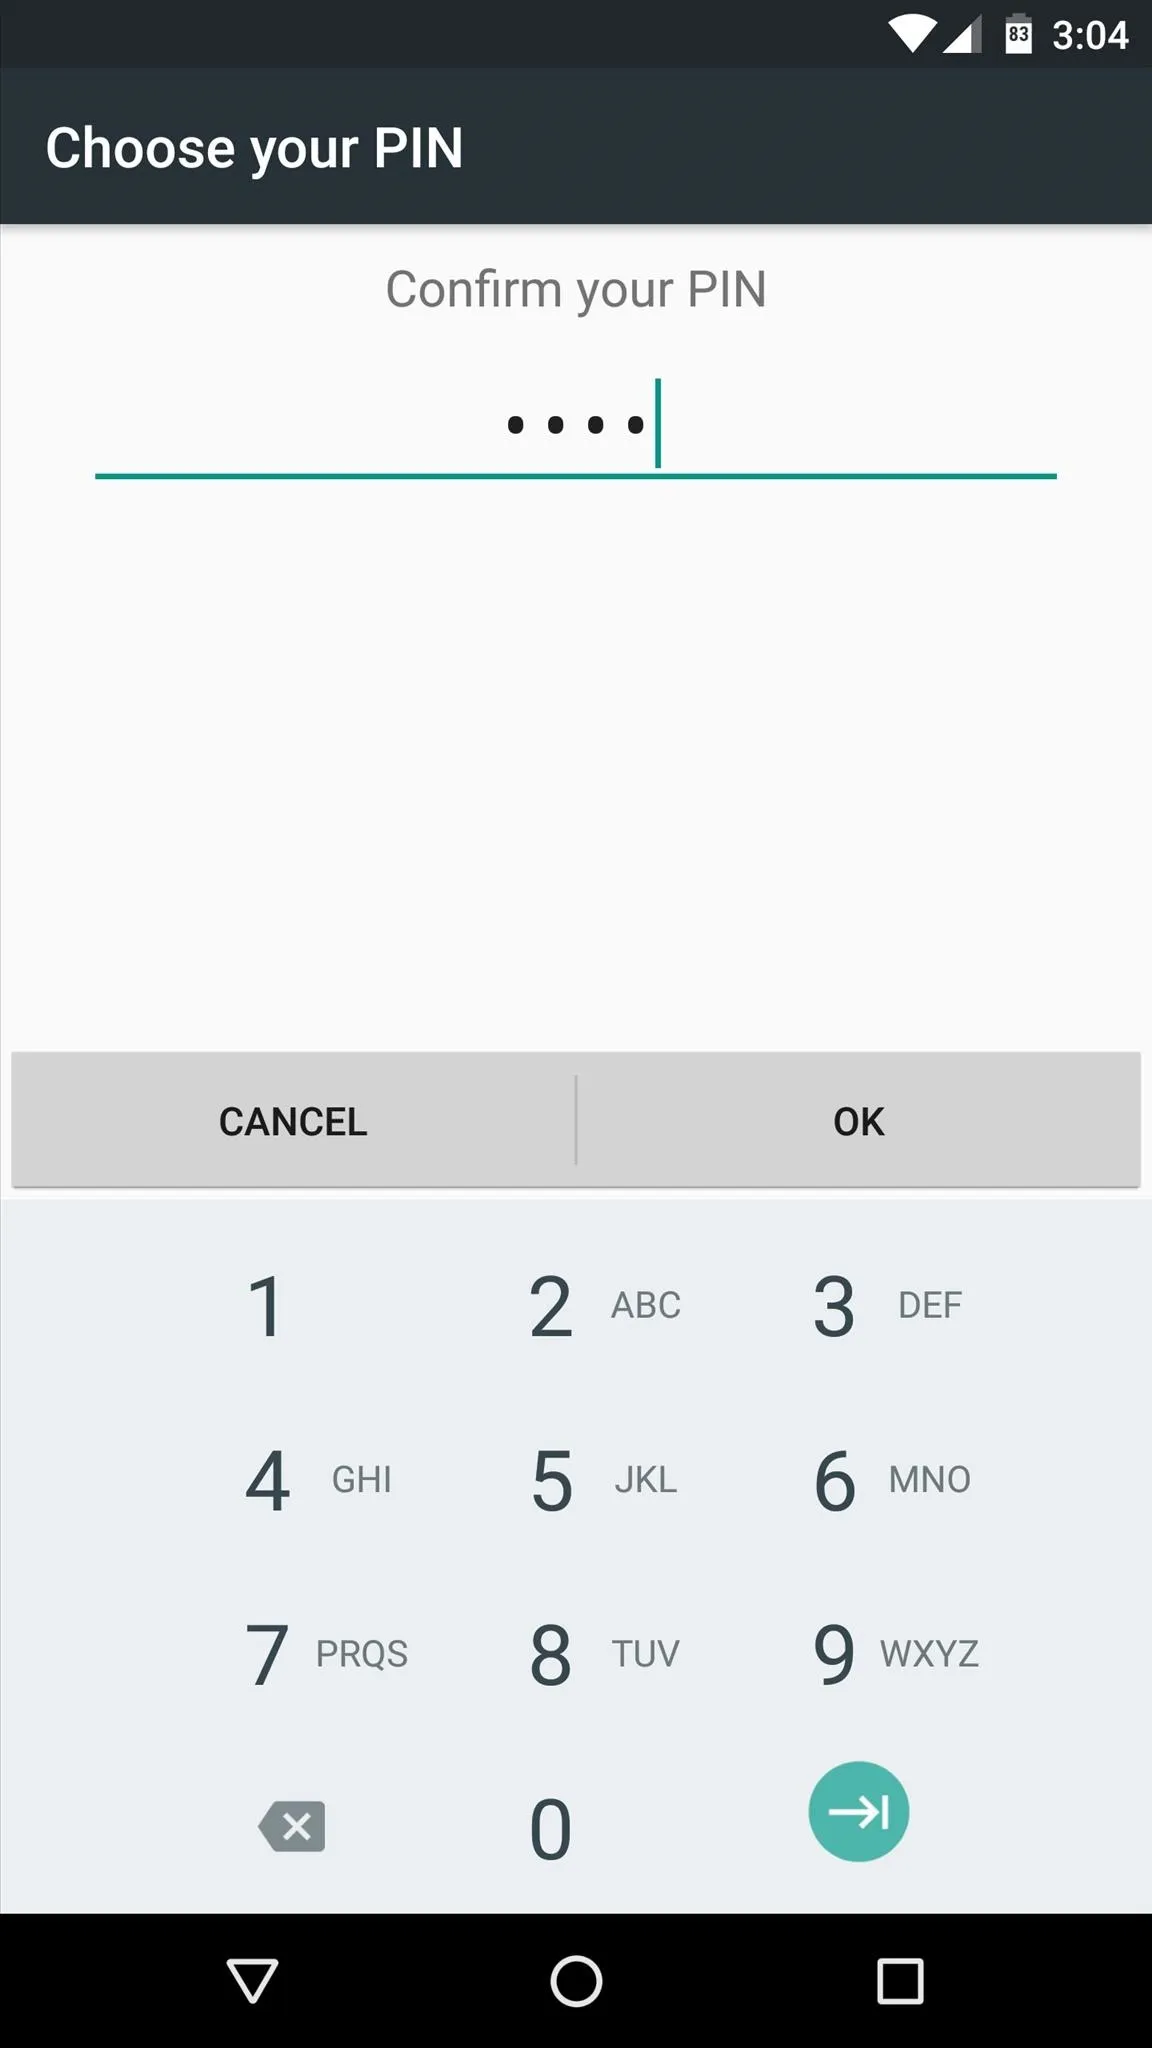
So choose either "Pattern," "PIN," or "Password" as your back-up unlock code, then enter it into the following menu. After that, you'll be asked to confirm your code, so enter it one more time.



Register Your Fingerprint
Finally, it's time to register your fingerprint. An animated demo on your screen should tell you where to place your finger, and when you do so, you'll feel a small vibration. Lift your finger off of the scanner, then change its position slightly, and place your finger back on the scanner. Repeat this same process roughly five times, then your fingerprint will be registered.
When you're done there, you can add a second fingerprint by choosing the "Add another" option, and you can repeat this for up to five fingers, but make sure to tap "Done" when you're finished.


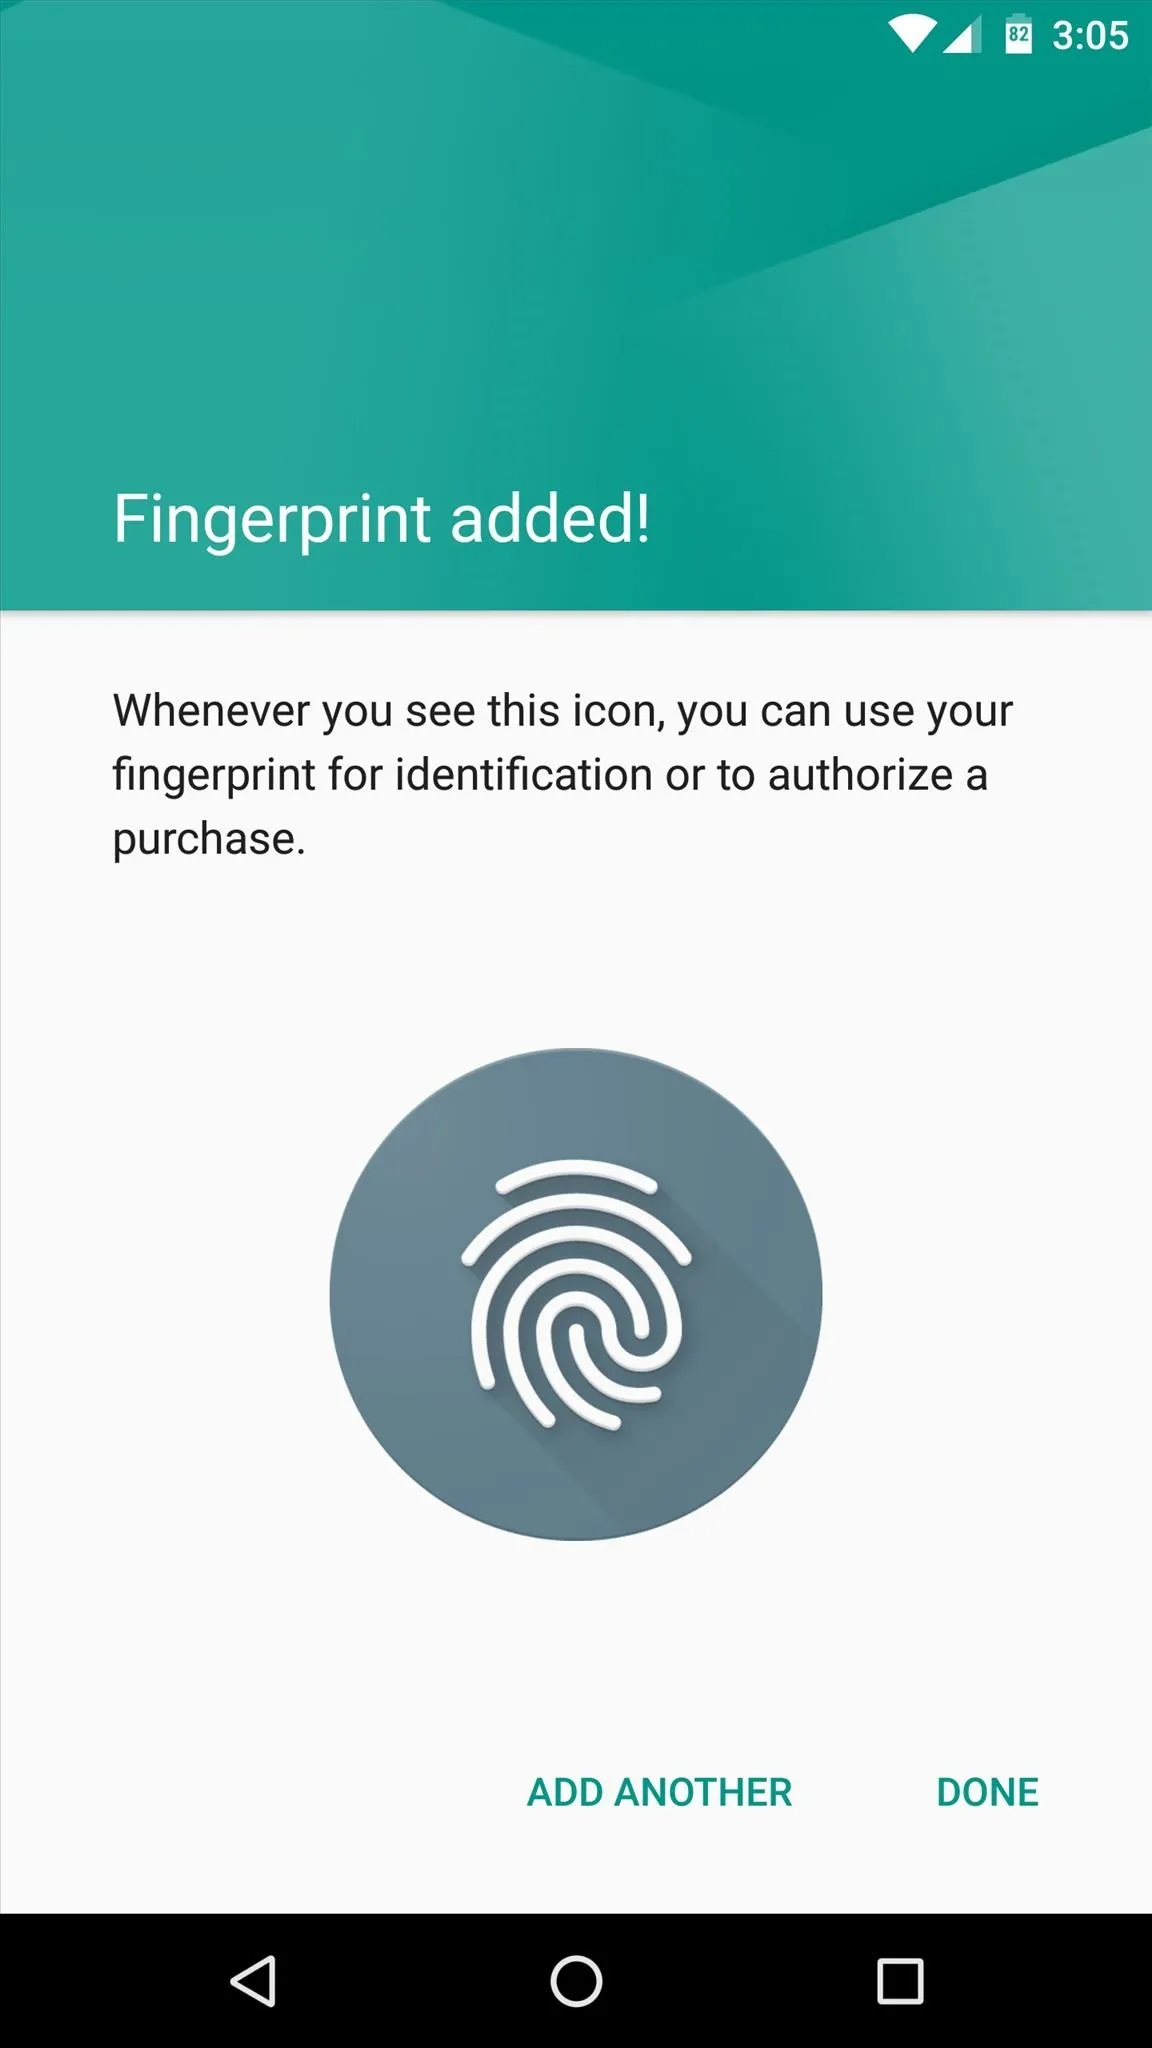


From now on, whenever you go to unlock your device, you can simply place any registered finger on the scanner, then you'll be taken directly to your home screen.
A Note About Fingerprints & Security
In this day and age, keeping your personal data secure is a hot-button issue. It's worth noting that a fingerprint is inherently less secure than a password that consists of random characters, and this is the result of a variety of factors.
First, passwords can be changed, but fingerprints cannot. If somebody were to learn your password, you could just change it—but the same cannot be said of fingerprints. This issue is compounded by the fact that today's fingerprint sensors can be fooled by a clone of your fingerprint, so that's something to be aware of.
Secondly—and perhaps more importantly—the US government has ruled that it's not a violation of your 5th Amendment rights for police or officials to force you to scan your fingerprint and unlock your phone. This is disheartening, but it's worth noting that if you reboot your phone, Android will require you to enter your back-up password instead of just your fingerprint, so that's something to keep in mind if you ever get pulled over.
- Follow Gadget Hacks on Facebook, Twitter, Google+, and YouTube
- Follow Apple Hacks on Facebook and Twitter
- Follow Android Hacks on Facebook and Twitter
- Follow WonderHowTo on Facebook, Twitter, and Google+
Cover image and screenshots by Dallas Thomas/Gadget Hacks










Comments
Be the first, drop a comment!