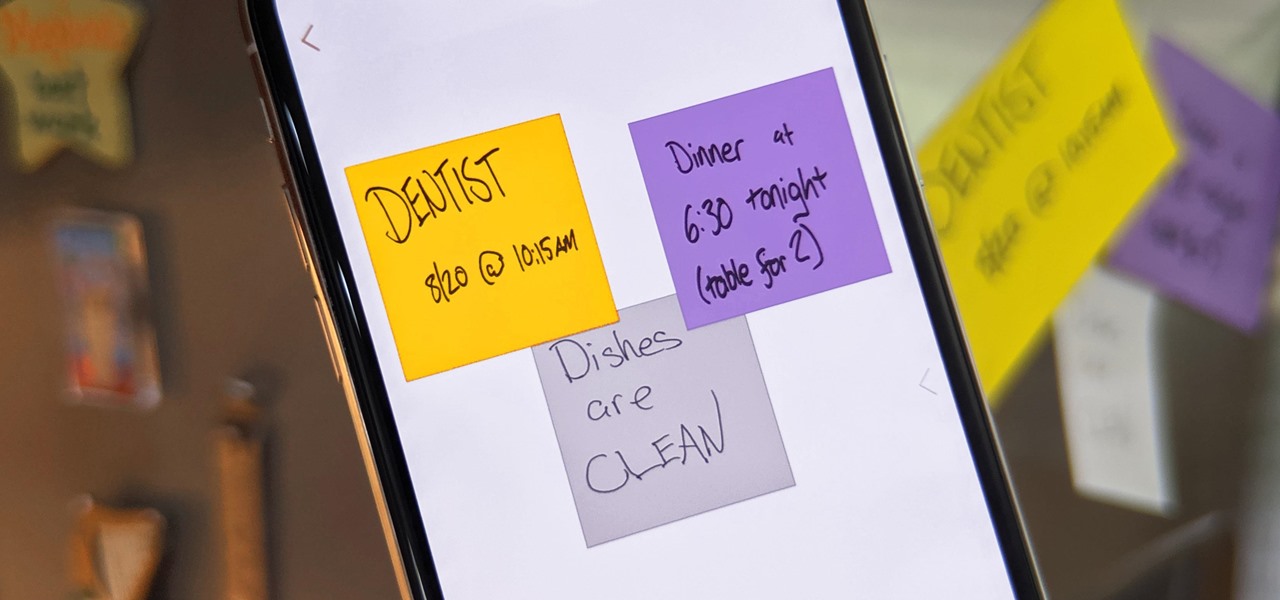

Sticky notes and the refrigerator go perfectly together, like chocolate and peanut butter. They're particularly popular among families with young kids, so they've been a key part of our personal lives for many years now. But what if you could turn those sticky notes into a digital format? Now you can.
There are many apps out there for taking notes, and some of them offer similar features. But the app in this guide is different because it's from the corporation that actually invented sticky notes. For over 40 years, 3M has been making Post-it Notes, and the company recently launched its Post-it app for Android. It had already been available on iPhone for four years, but now both major platforms have access.
You get many standard features in the Post-it app, but I want to focus on the coolest aspect of the app — digitizing your sticky notes. Before diving in, though, it's worth noting that there is no cloud sync between devices yet (3M plans to support iCloud syncing in late-2019). However, you can export boards as a Post-it Archive (a .3scb file) to use on a different phone or tablet or to share with other users.
Step 1: Download the Post-it App
The process to digitizing your sticky notes from the fridge is actually quite simple but, of course, you'll need to grab the official Post-it app before getting started.
Step 2: Delete the Example Boards
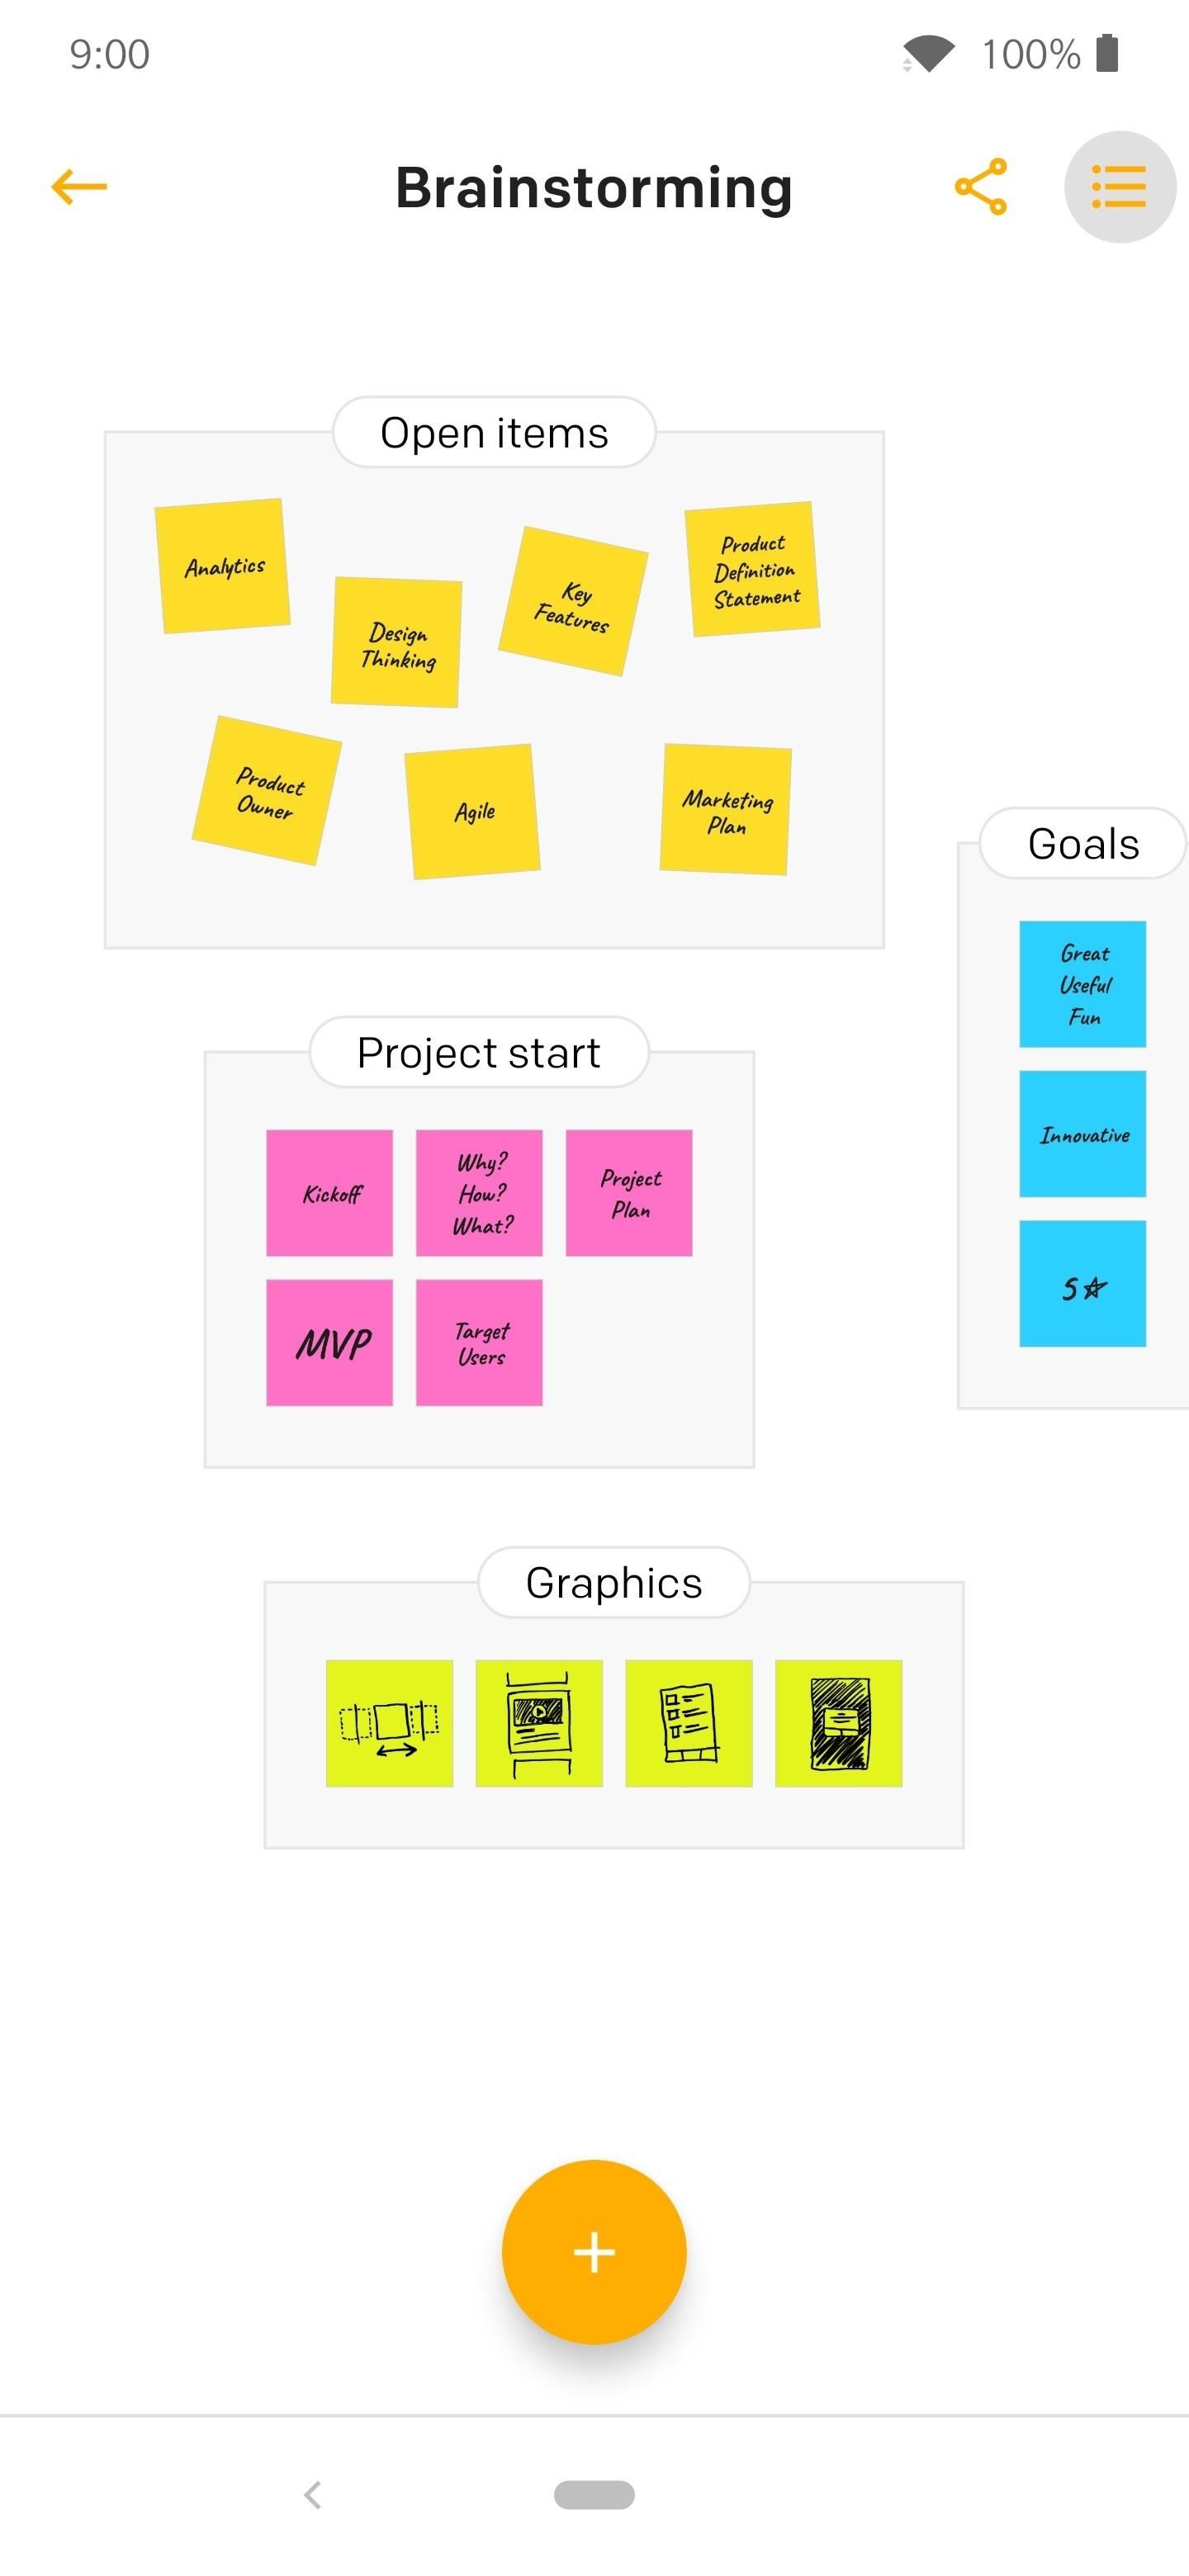
When you open the app for the first time, you will be given three sample boards to check out. You can tap them to view what your digital board might look like once you import your own Post-it Notes from the fridge.
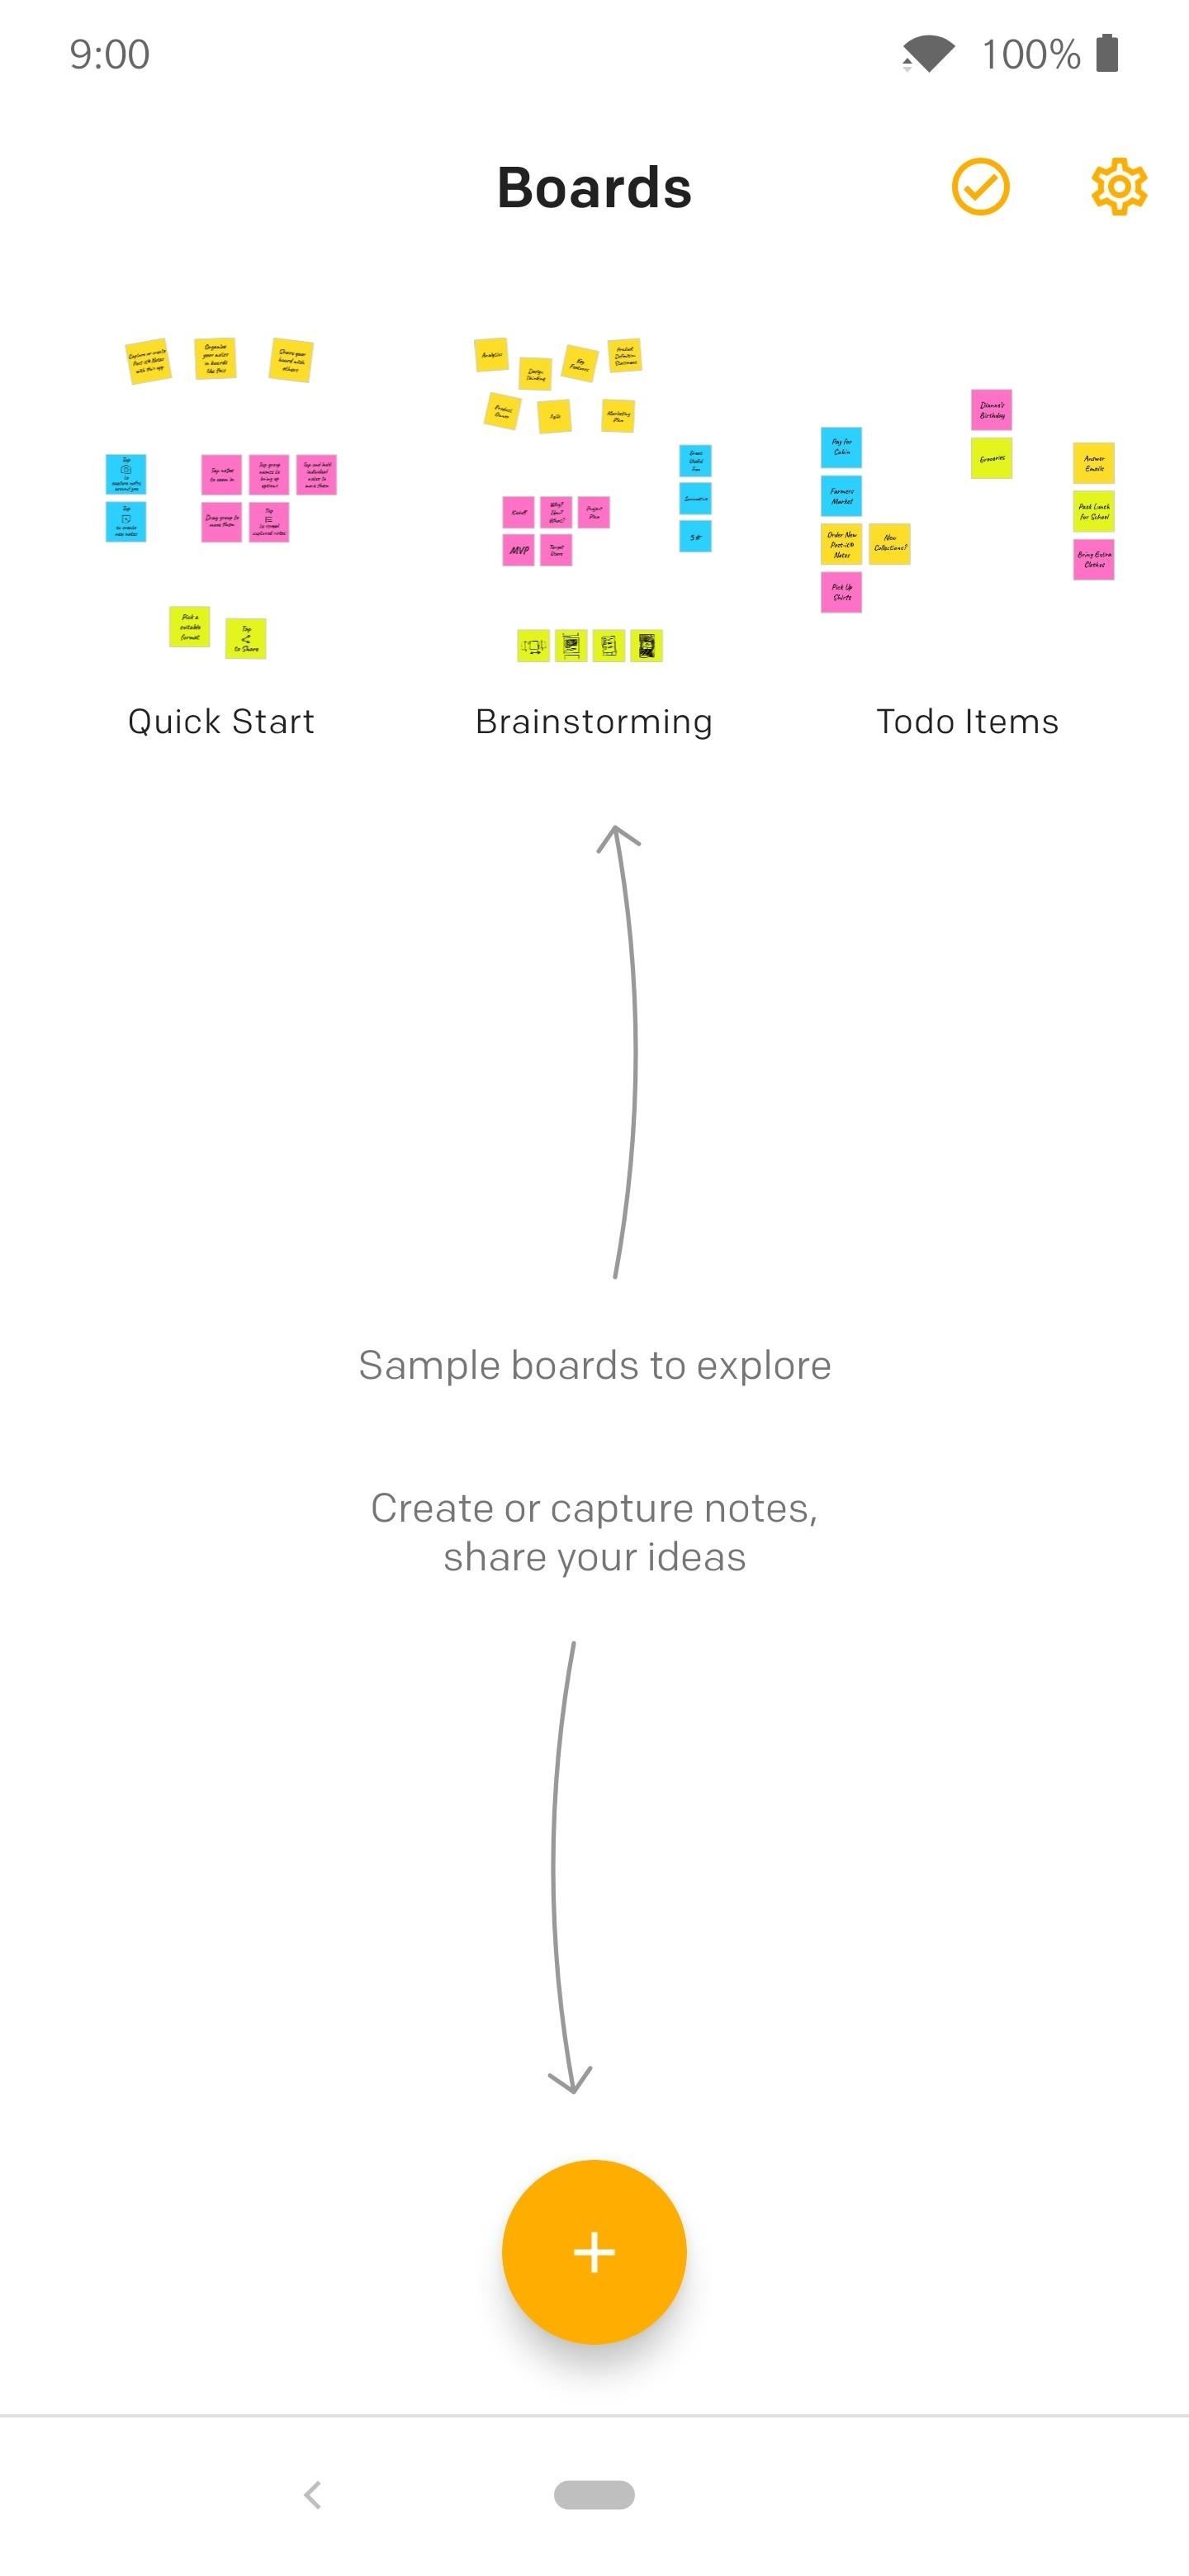
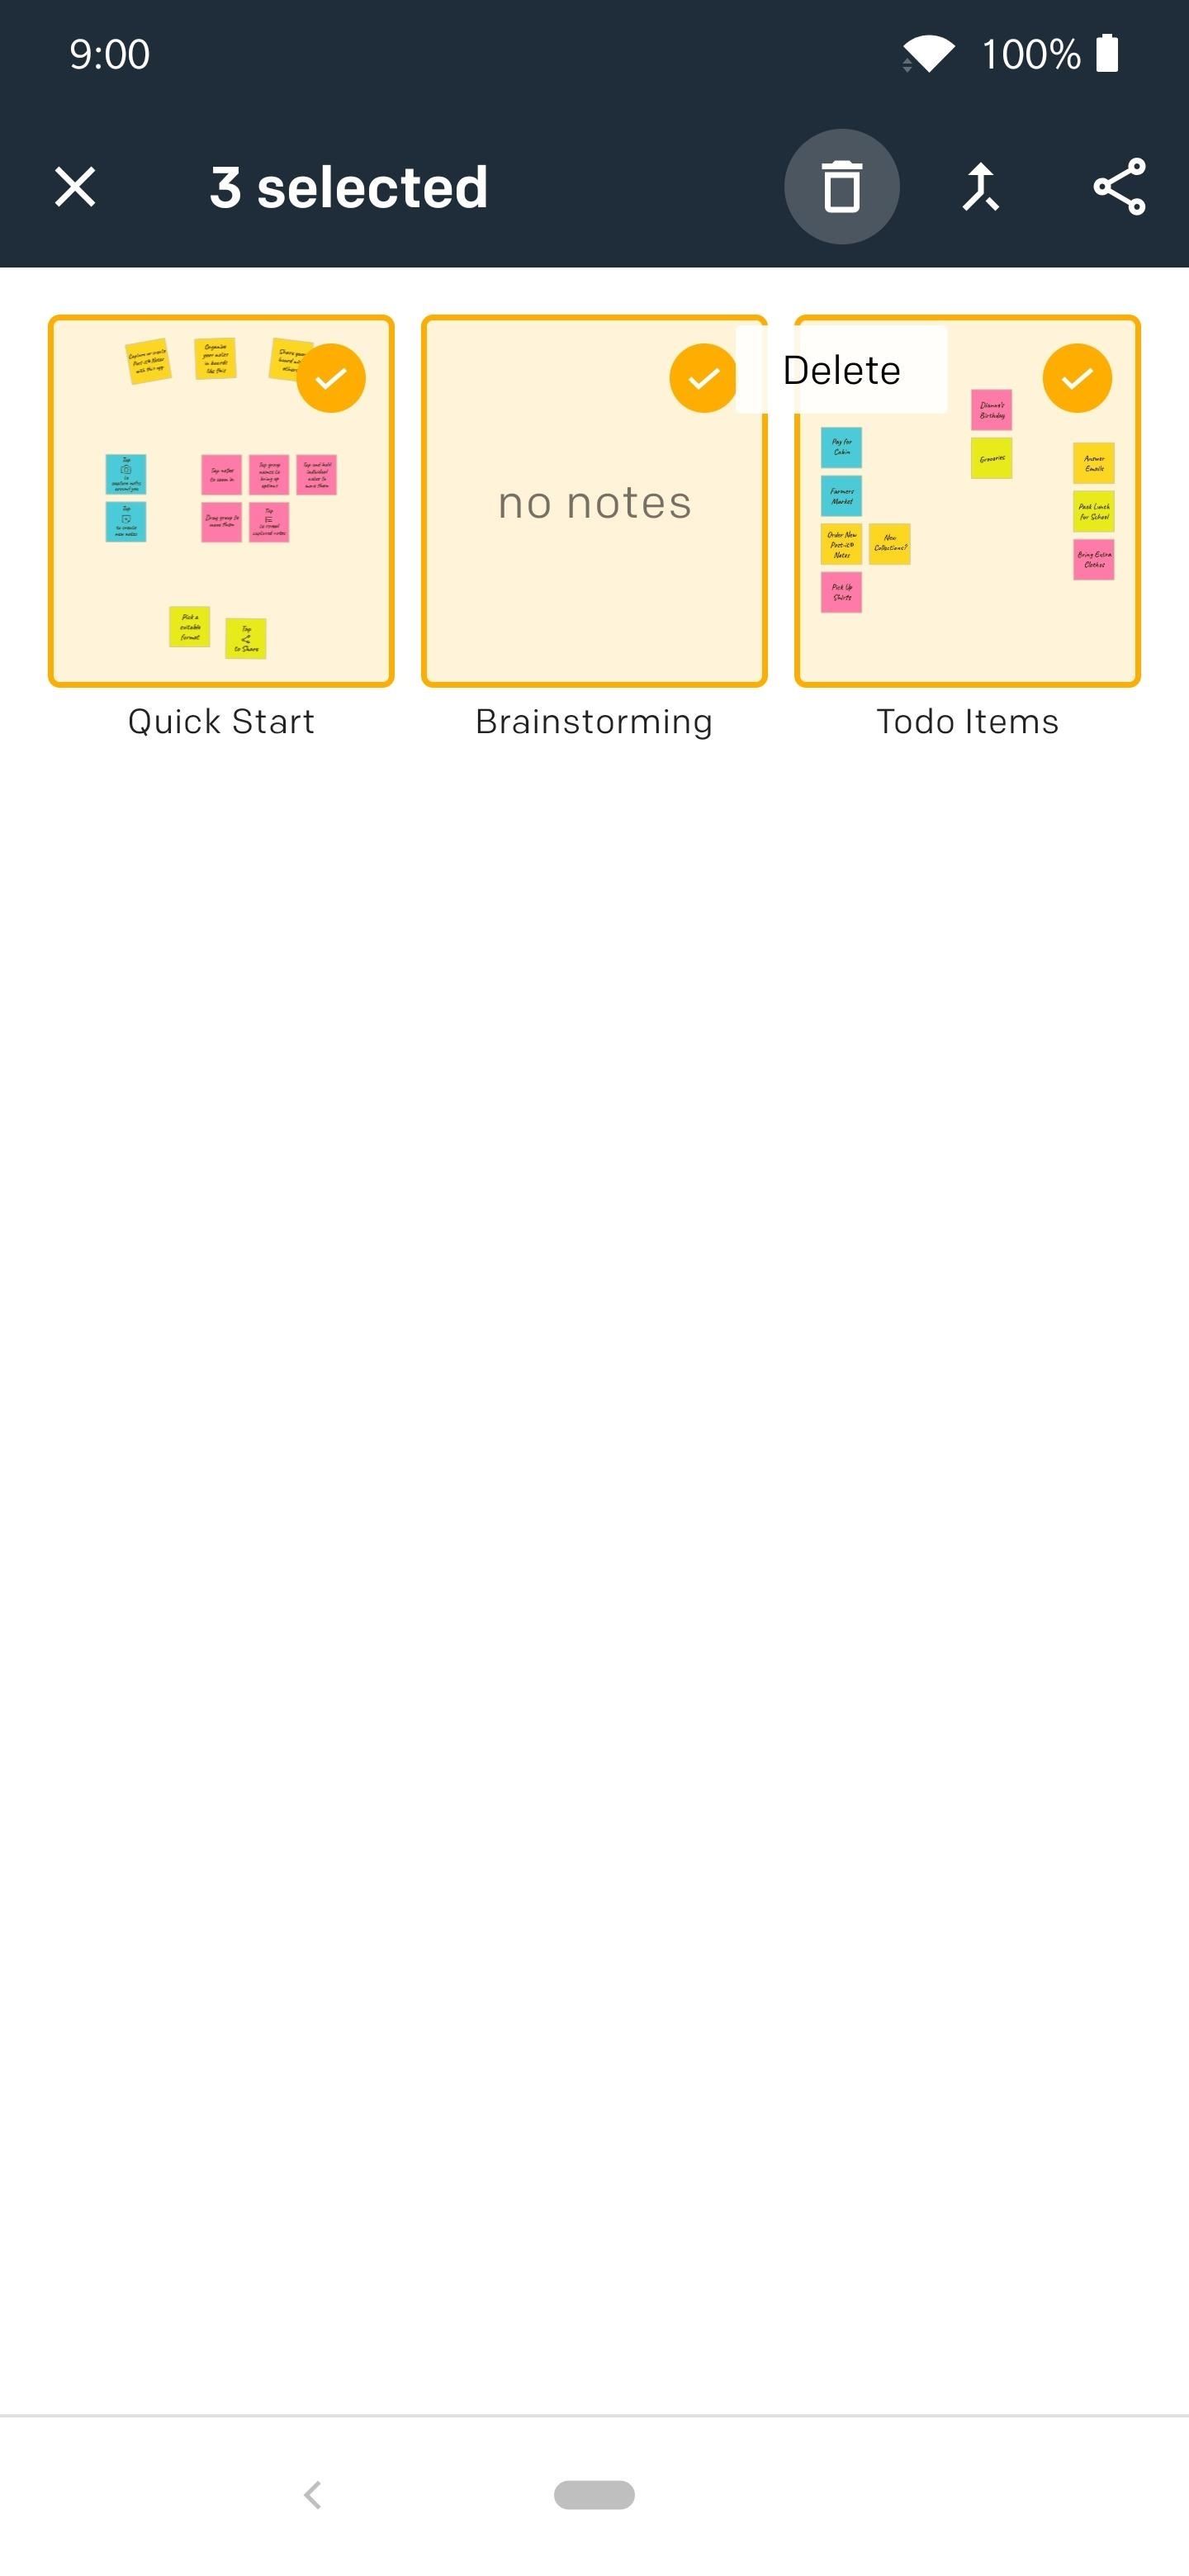
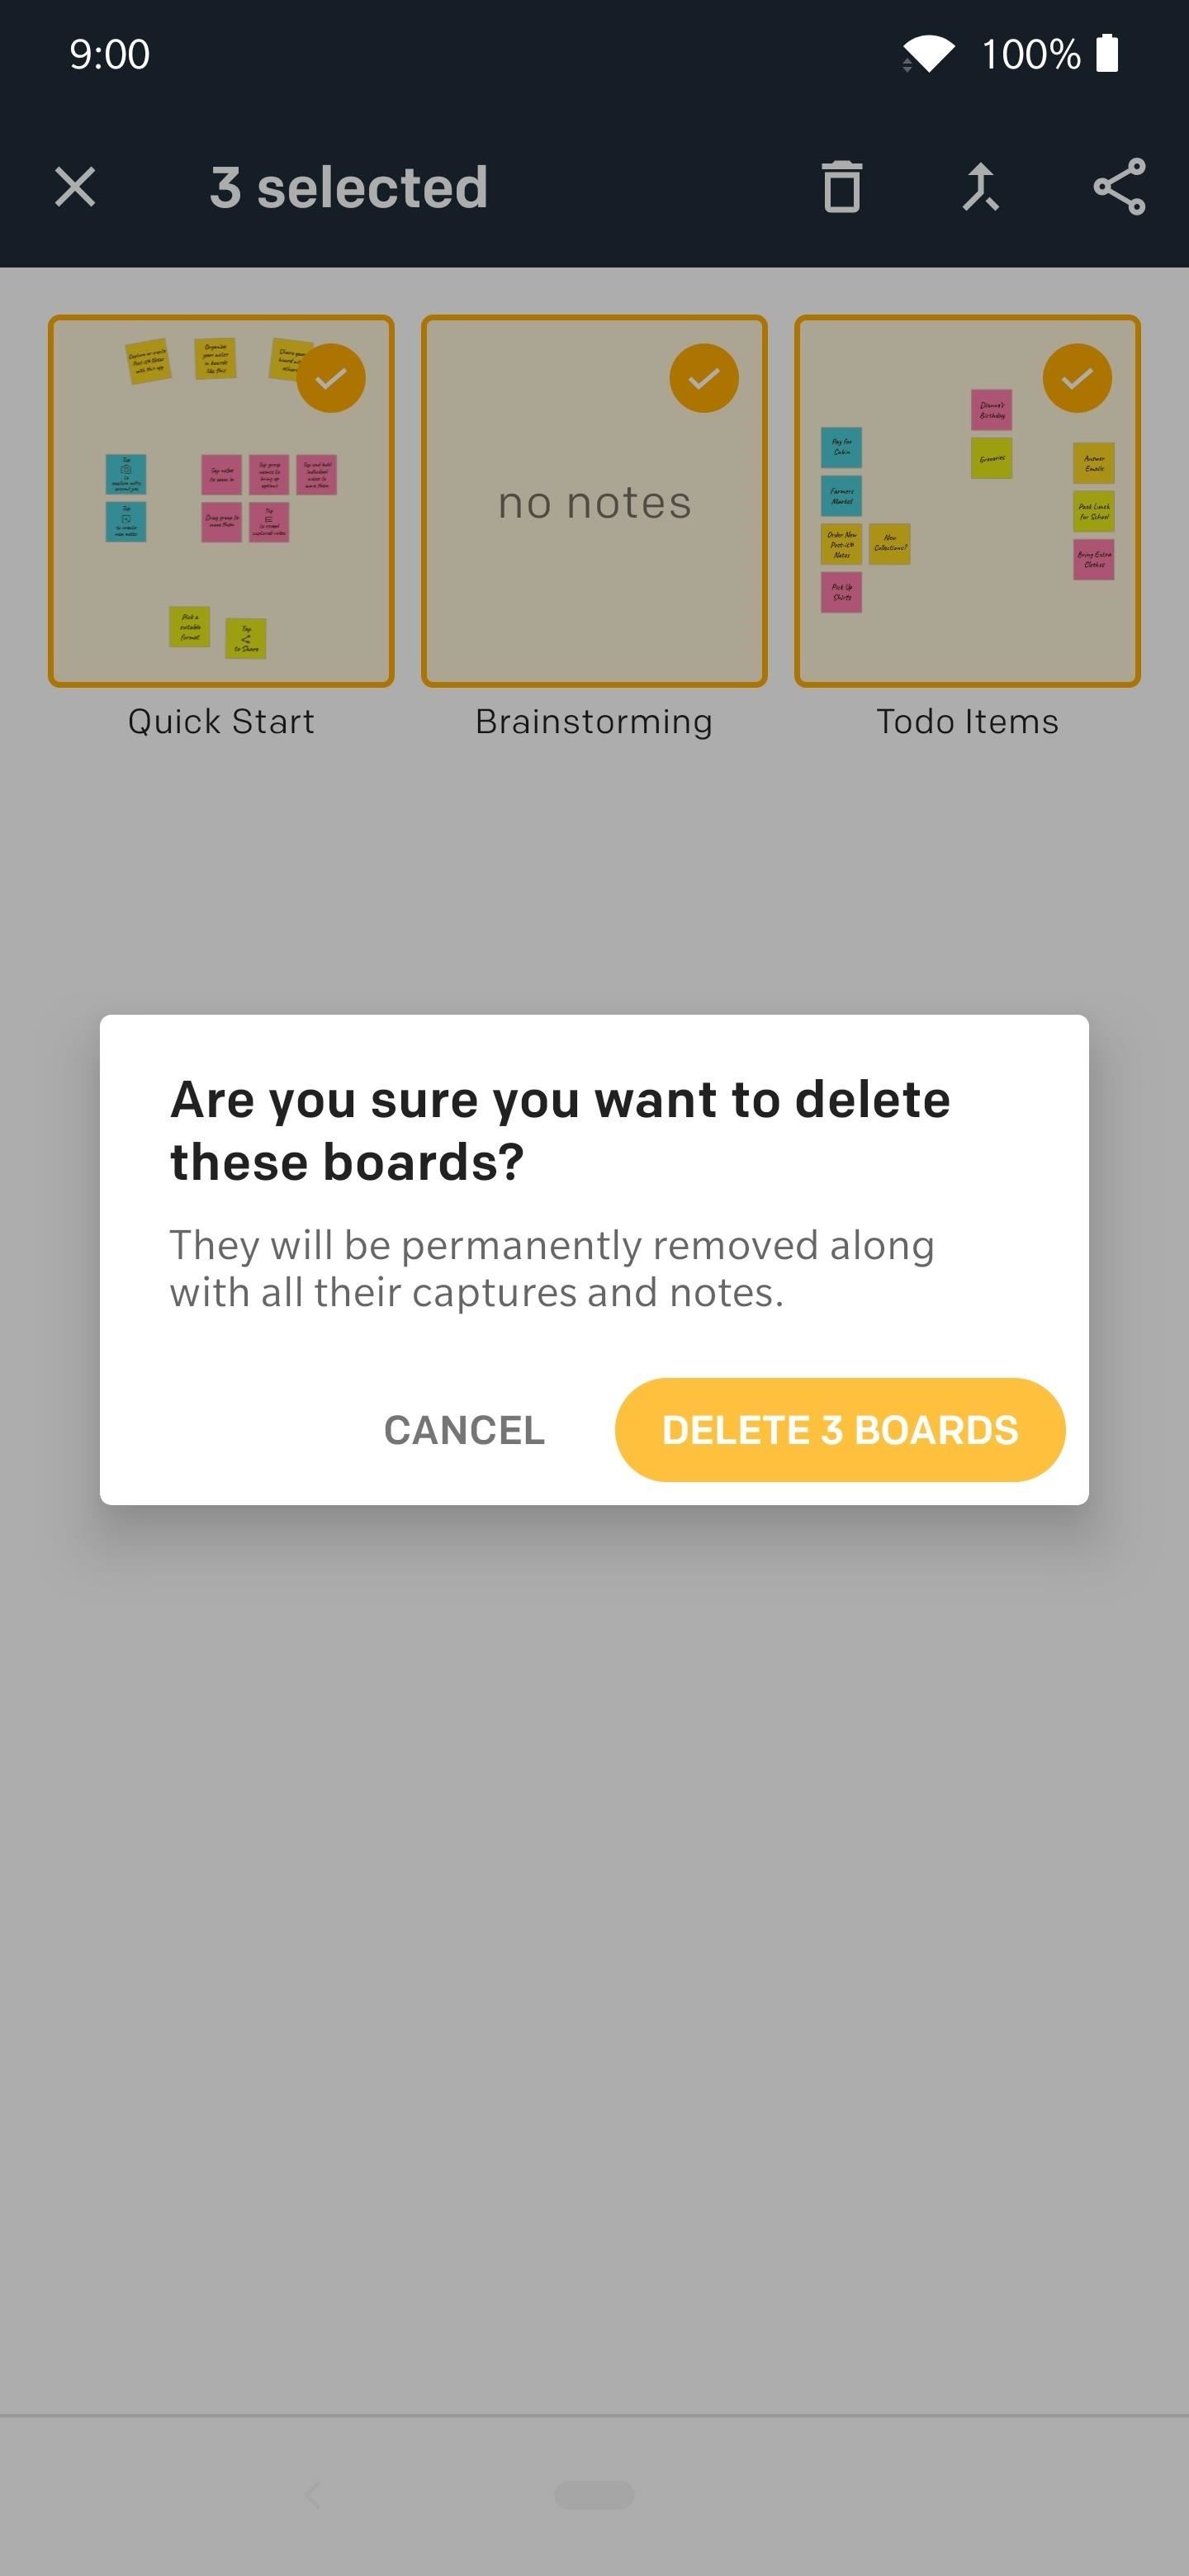
Head back to the Boards main menu and long-press one of the example boards (Android) or hit "Select" in the top right (iOS). Highlight all of the example boards, then tap the trash bin icon. Confirm your choice by tapping "Delete 3 Boards," then you will have a clean slate here.

Step 3: Digitize Your Post-it Notes
Start by tapping the orange plus (+) button, then select the camera icon. Next, grant the Post-it app the necessary permissions for the camera on your phone by tapping "Allow" (on Android) or "OK" (on iOS). Once you do that, the camera will activate, and the flash should come on by default to light the way. If you don't want or need the flash right now, you can tap the lightning bolt icon at the bottom to "Off."
Now you need to use the camera's viewfinder to get all of your Post-it Notes in the frame. You can do one at a time or a whole group together. Once you get the shot lined up correctly, hold down the orange shutter button for two seconds to snap the photo. If successful, it should have recognized any Post-it Notes and highlighted them accordingly. Now you can tap "Enter board name" at the top and call it something appropriate. In my case, "Fridge," since these are my fridge notes.

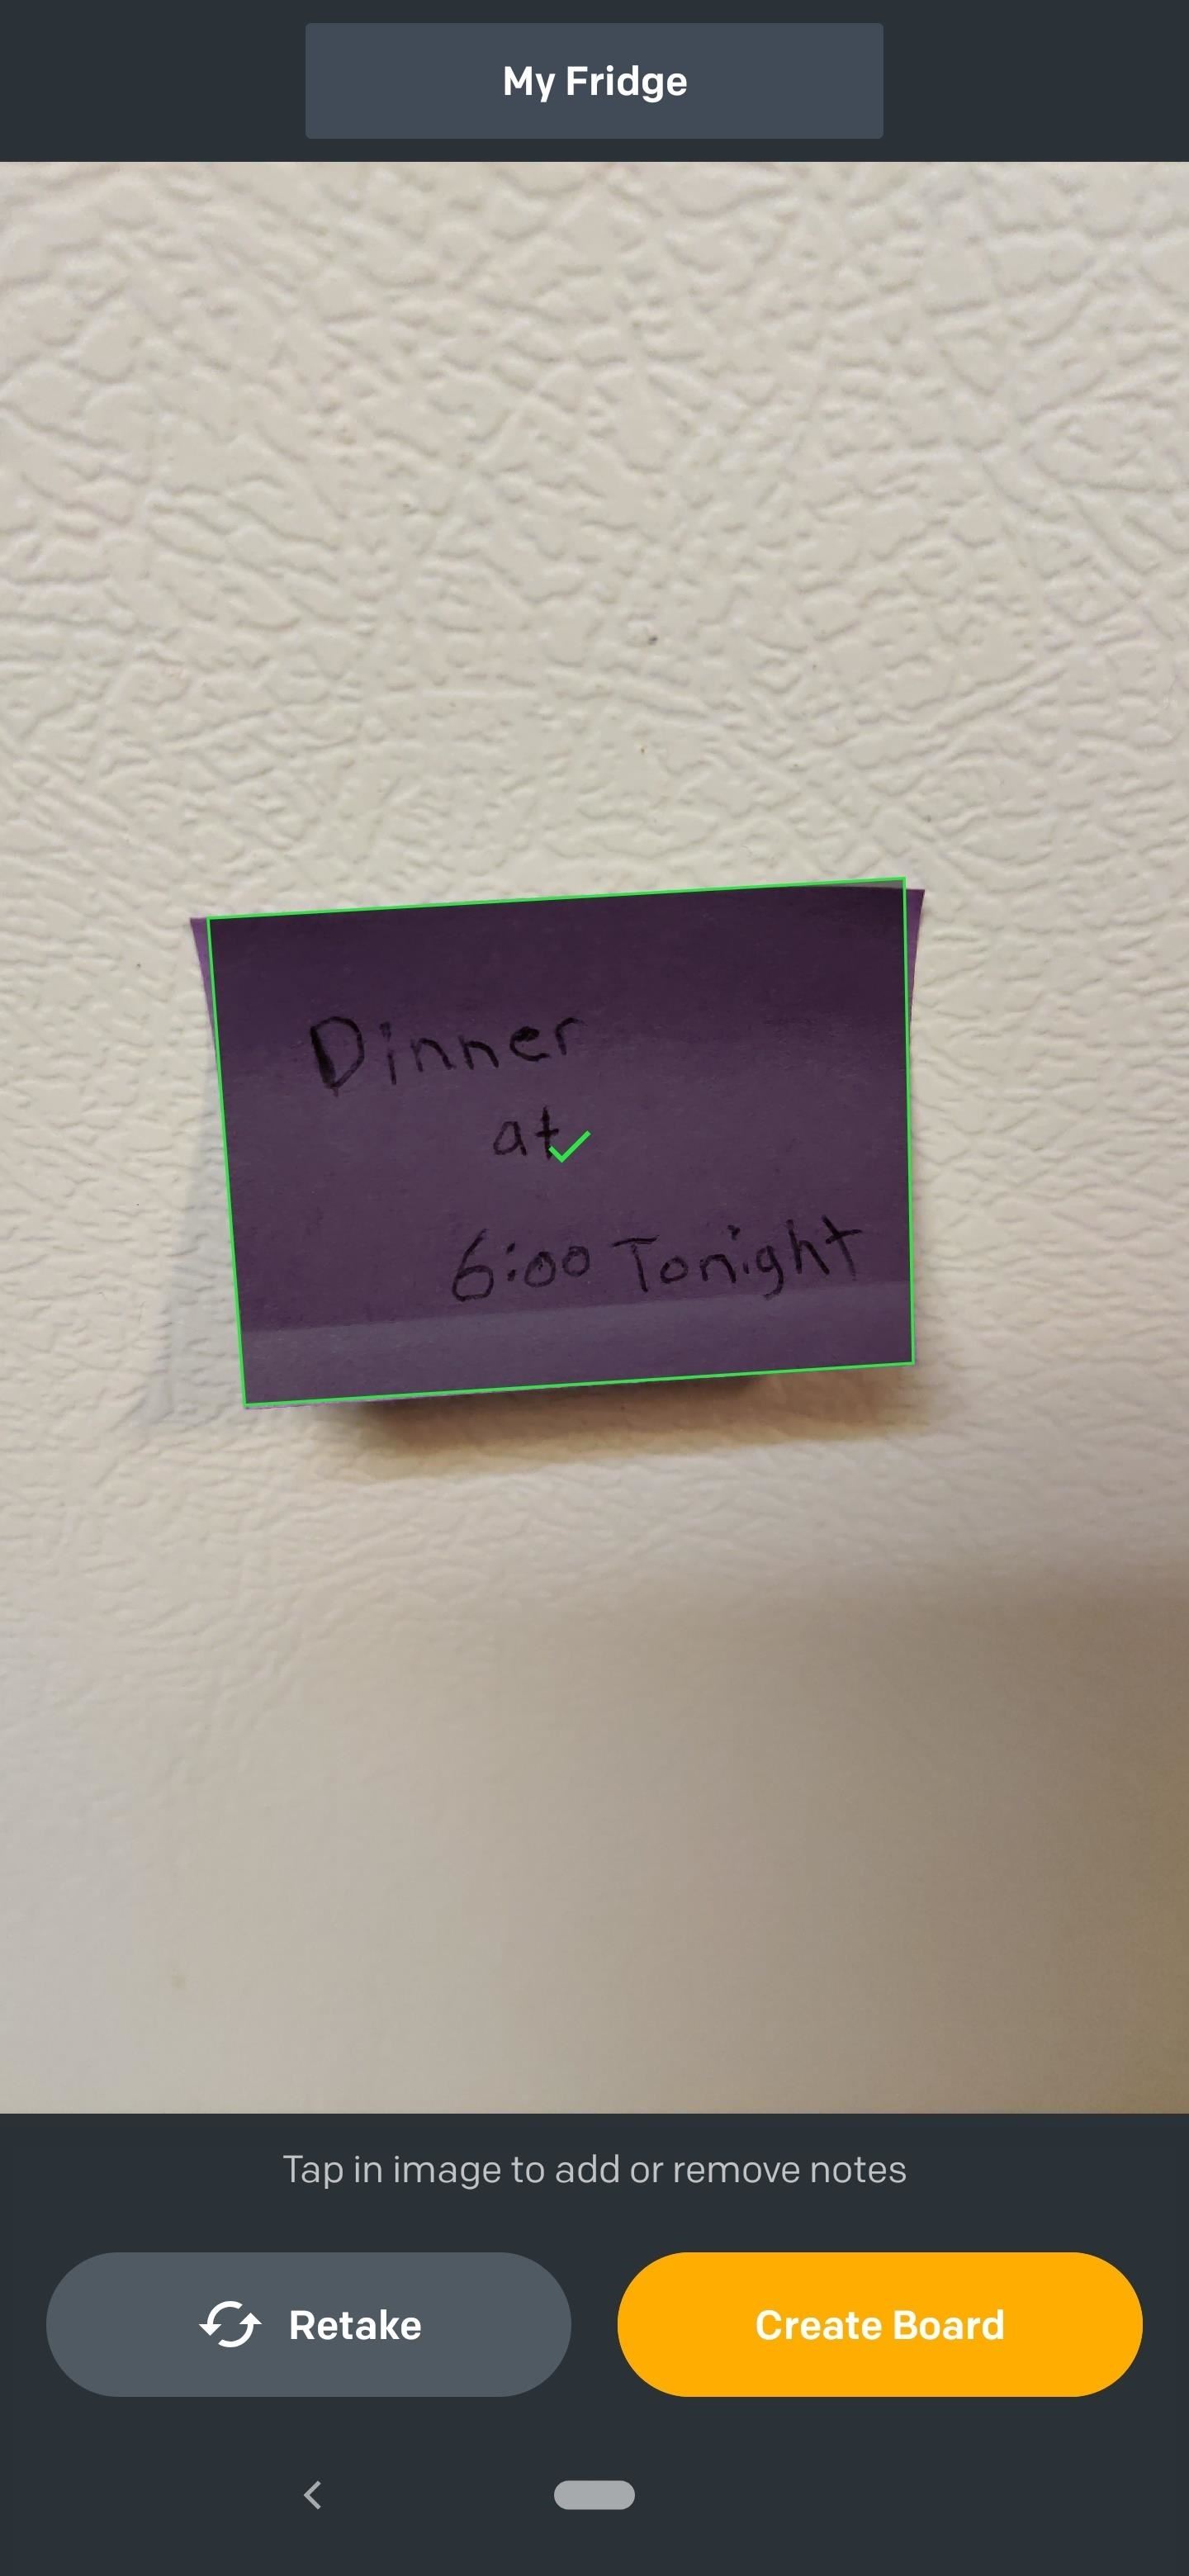
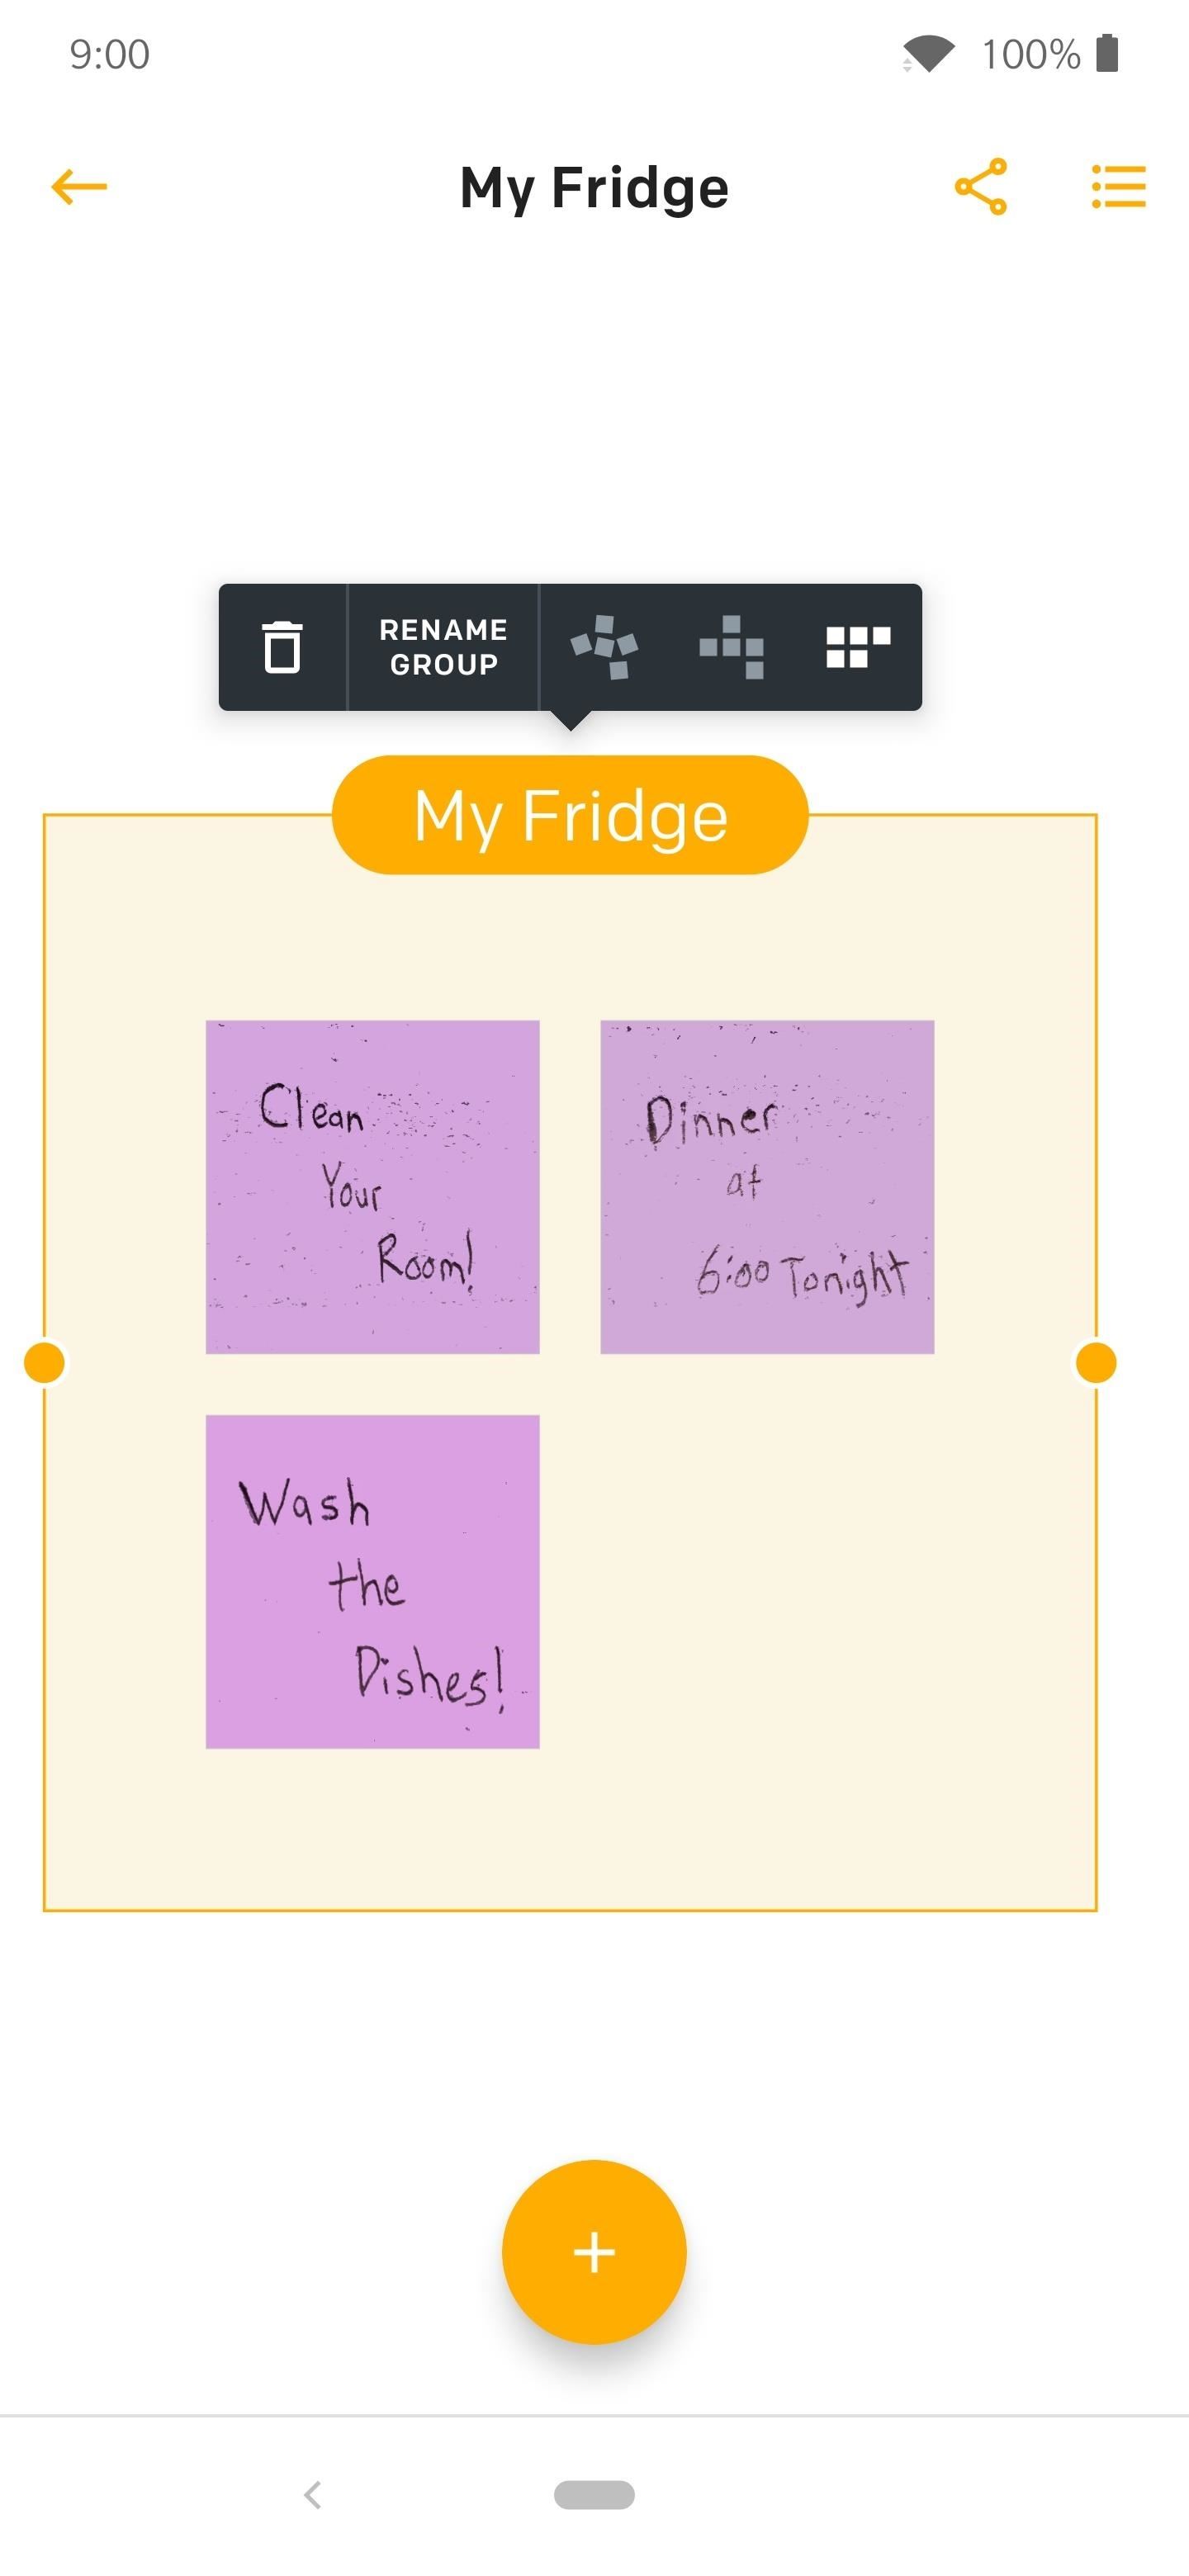
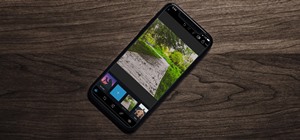
If it came out blurry or didn't recognize your notes, tap "Retake" to try again. Once you're satisfied with the result and have the board named, hit "Create Board" to finish up. The app will ask for location permissions if you want it to remember where the notes came from, but you can deny it if you wish. Now you will be presented with your new digital board with your personal stickies.
You can add more Post-it Notes to your board later, change their order by dragging them around, and even edit them with drawing tools. If you want to edit the notes, tap one to bring it up, then simply hit "Edit." You can pick a marker color, add some typed text, erase content, and change the note color as well. Once finished, tap the checkmark icon (Android) or "Done" (iOS) in the upper right to complete the edits.

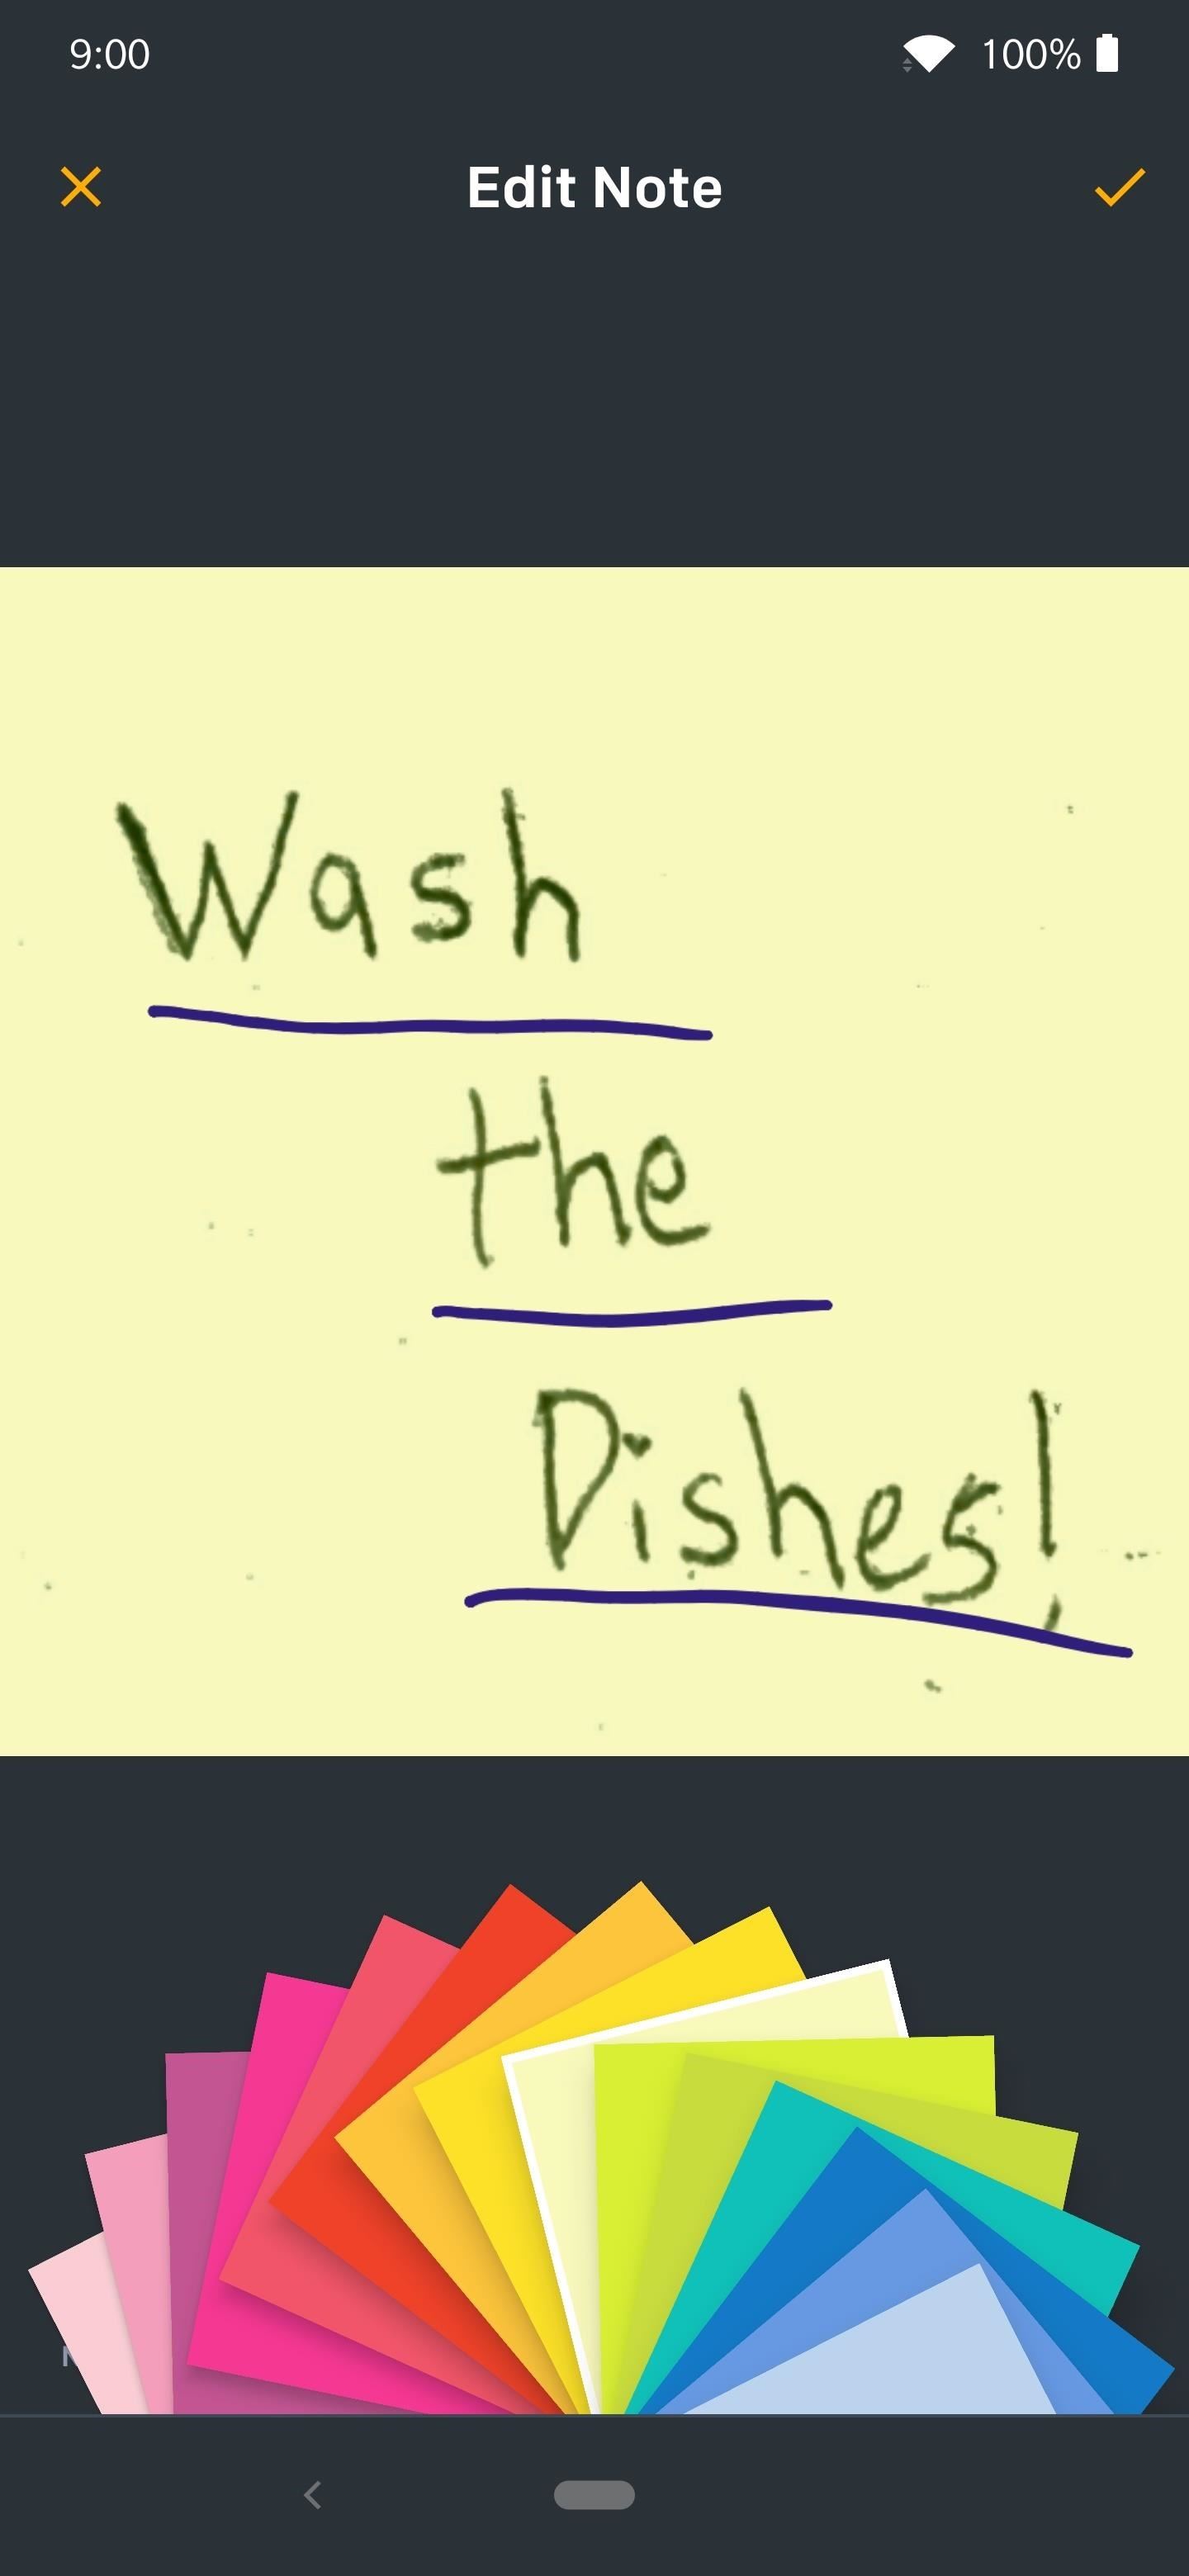
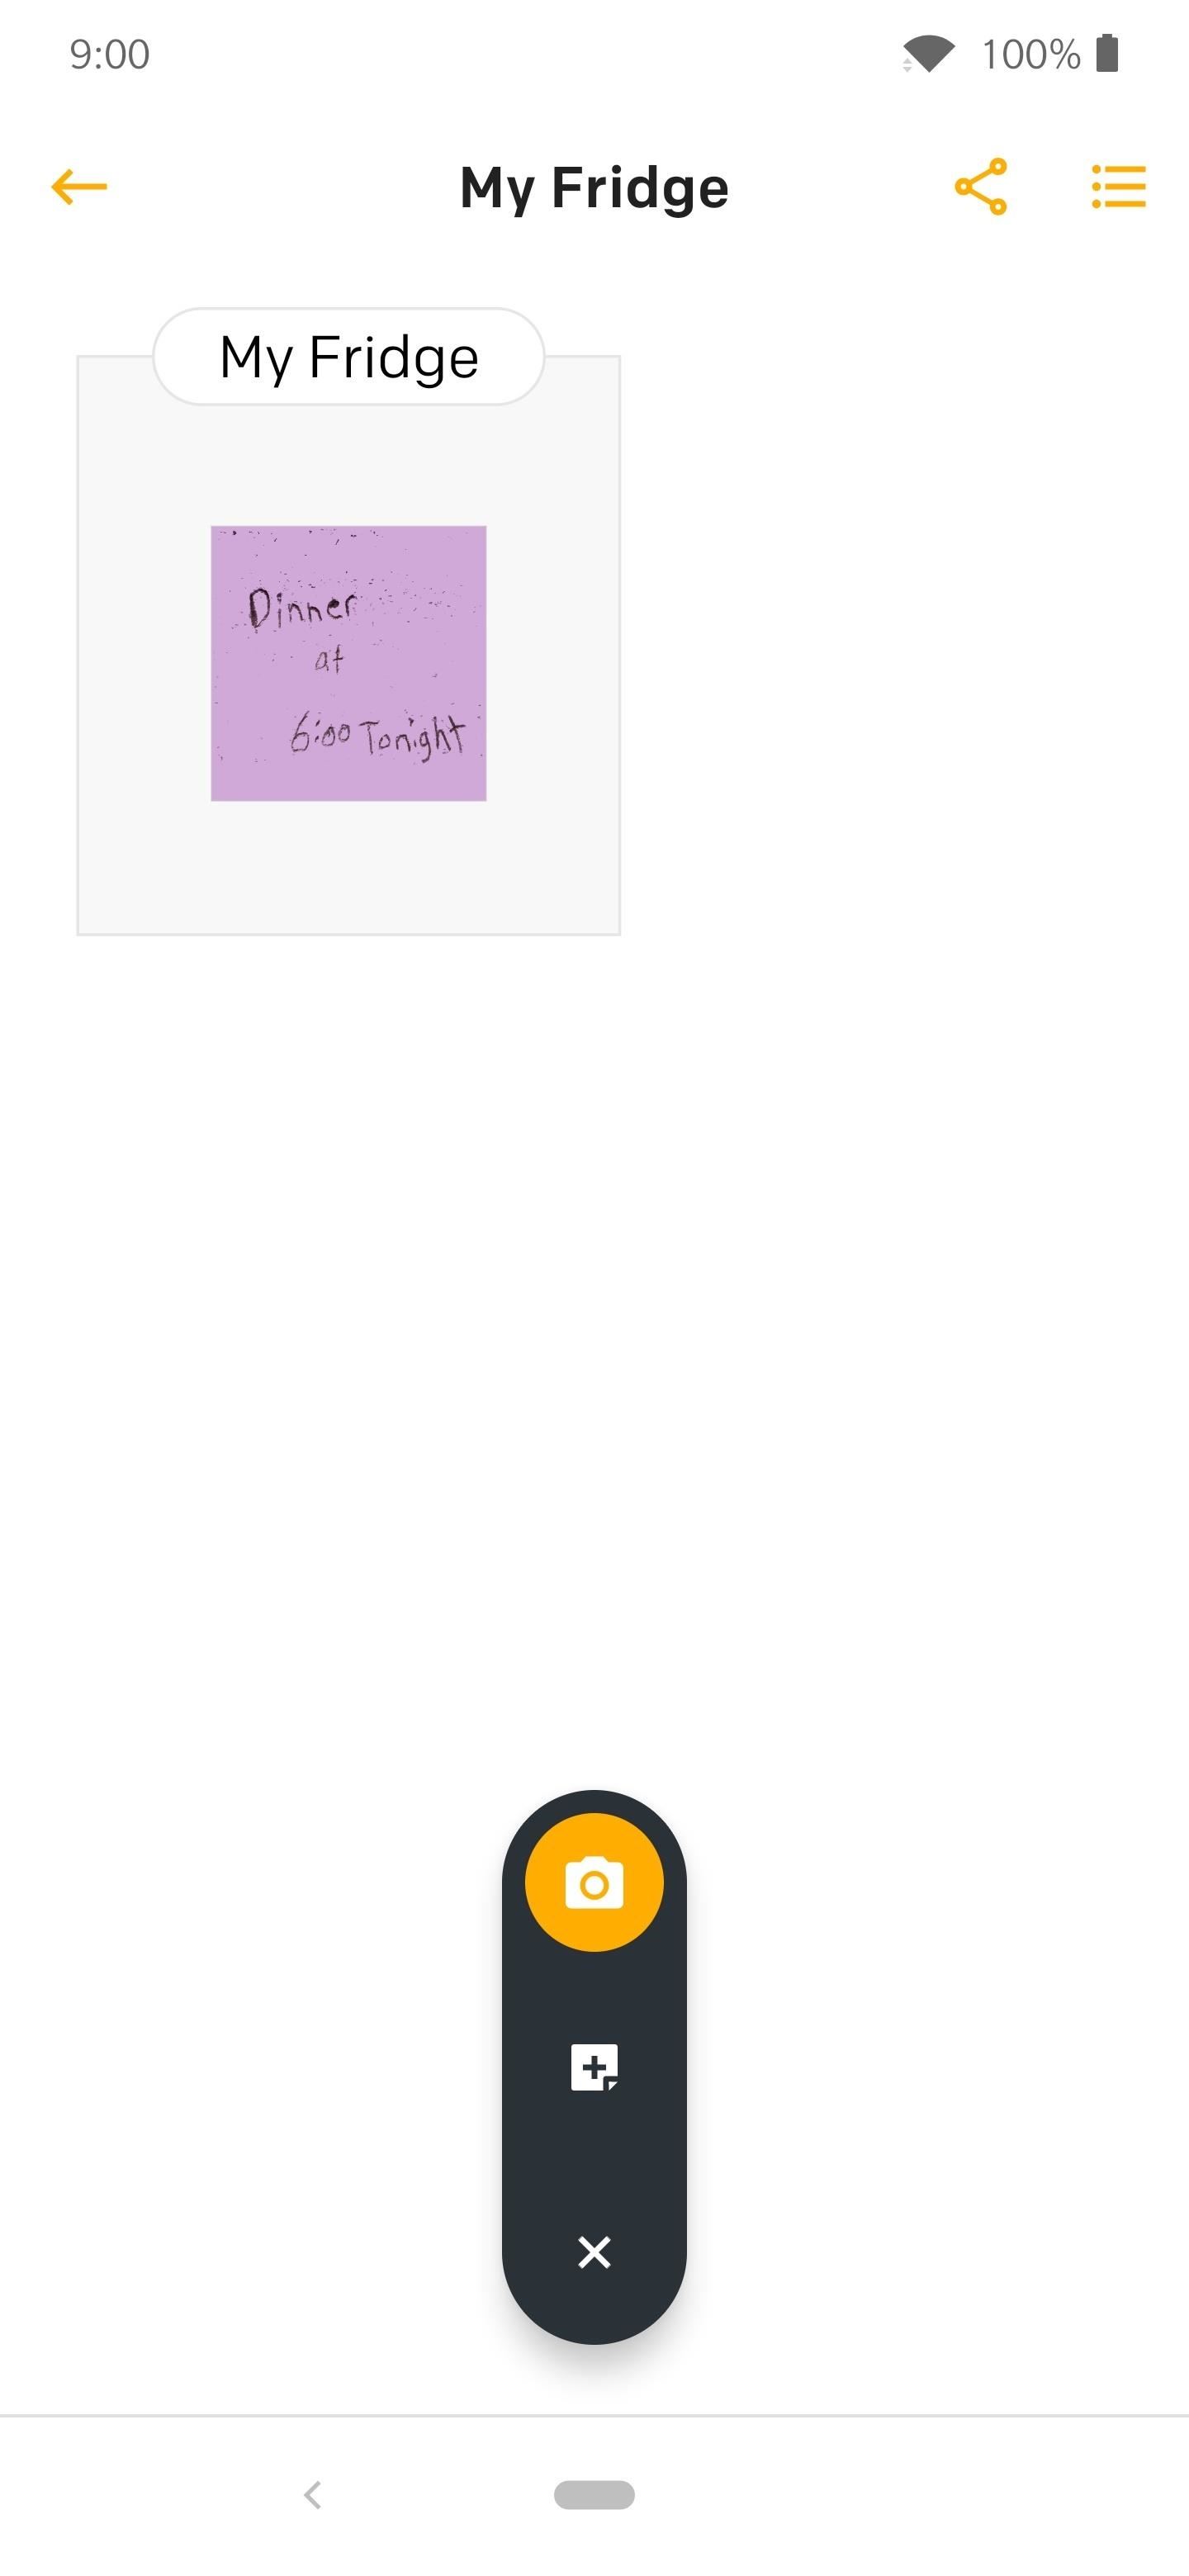
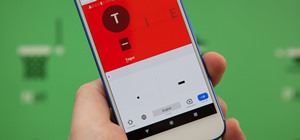
If you want to add more notes without having paper versions first, tap the orange plus (+) button, but choose the Post-it Note icon instead, which brings up the editor seen above where you can type or write out your note.
Step 4: Check Out the Options
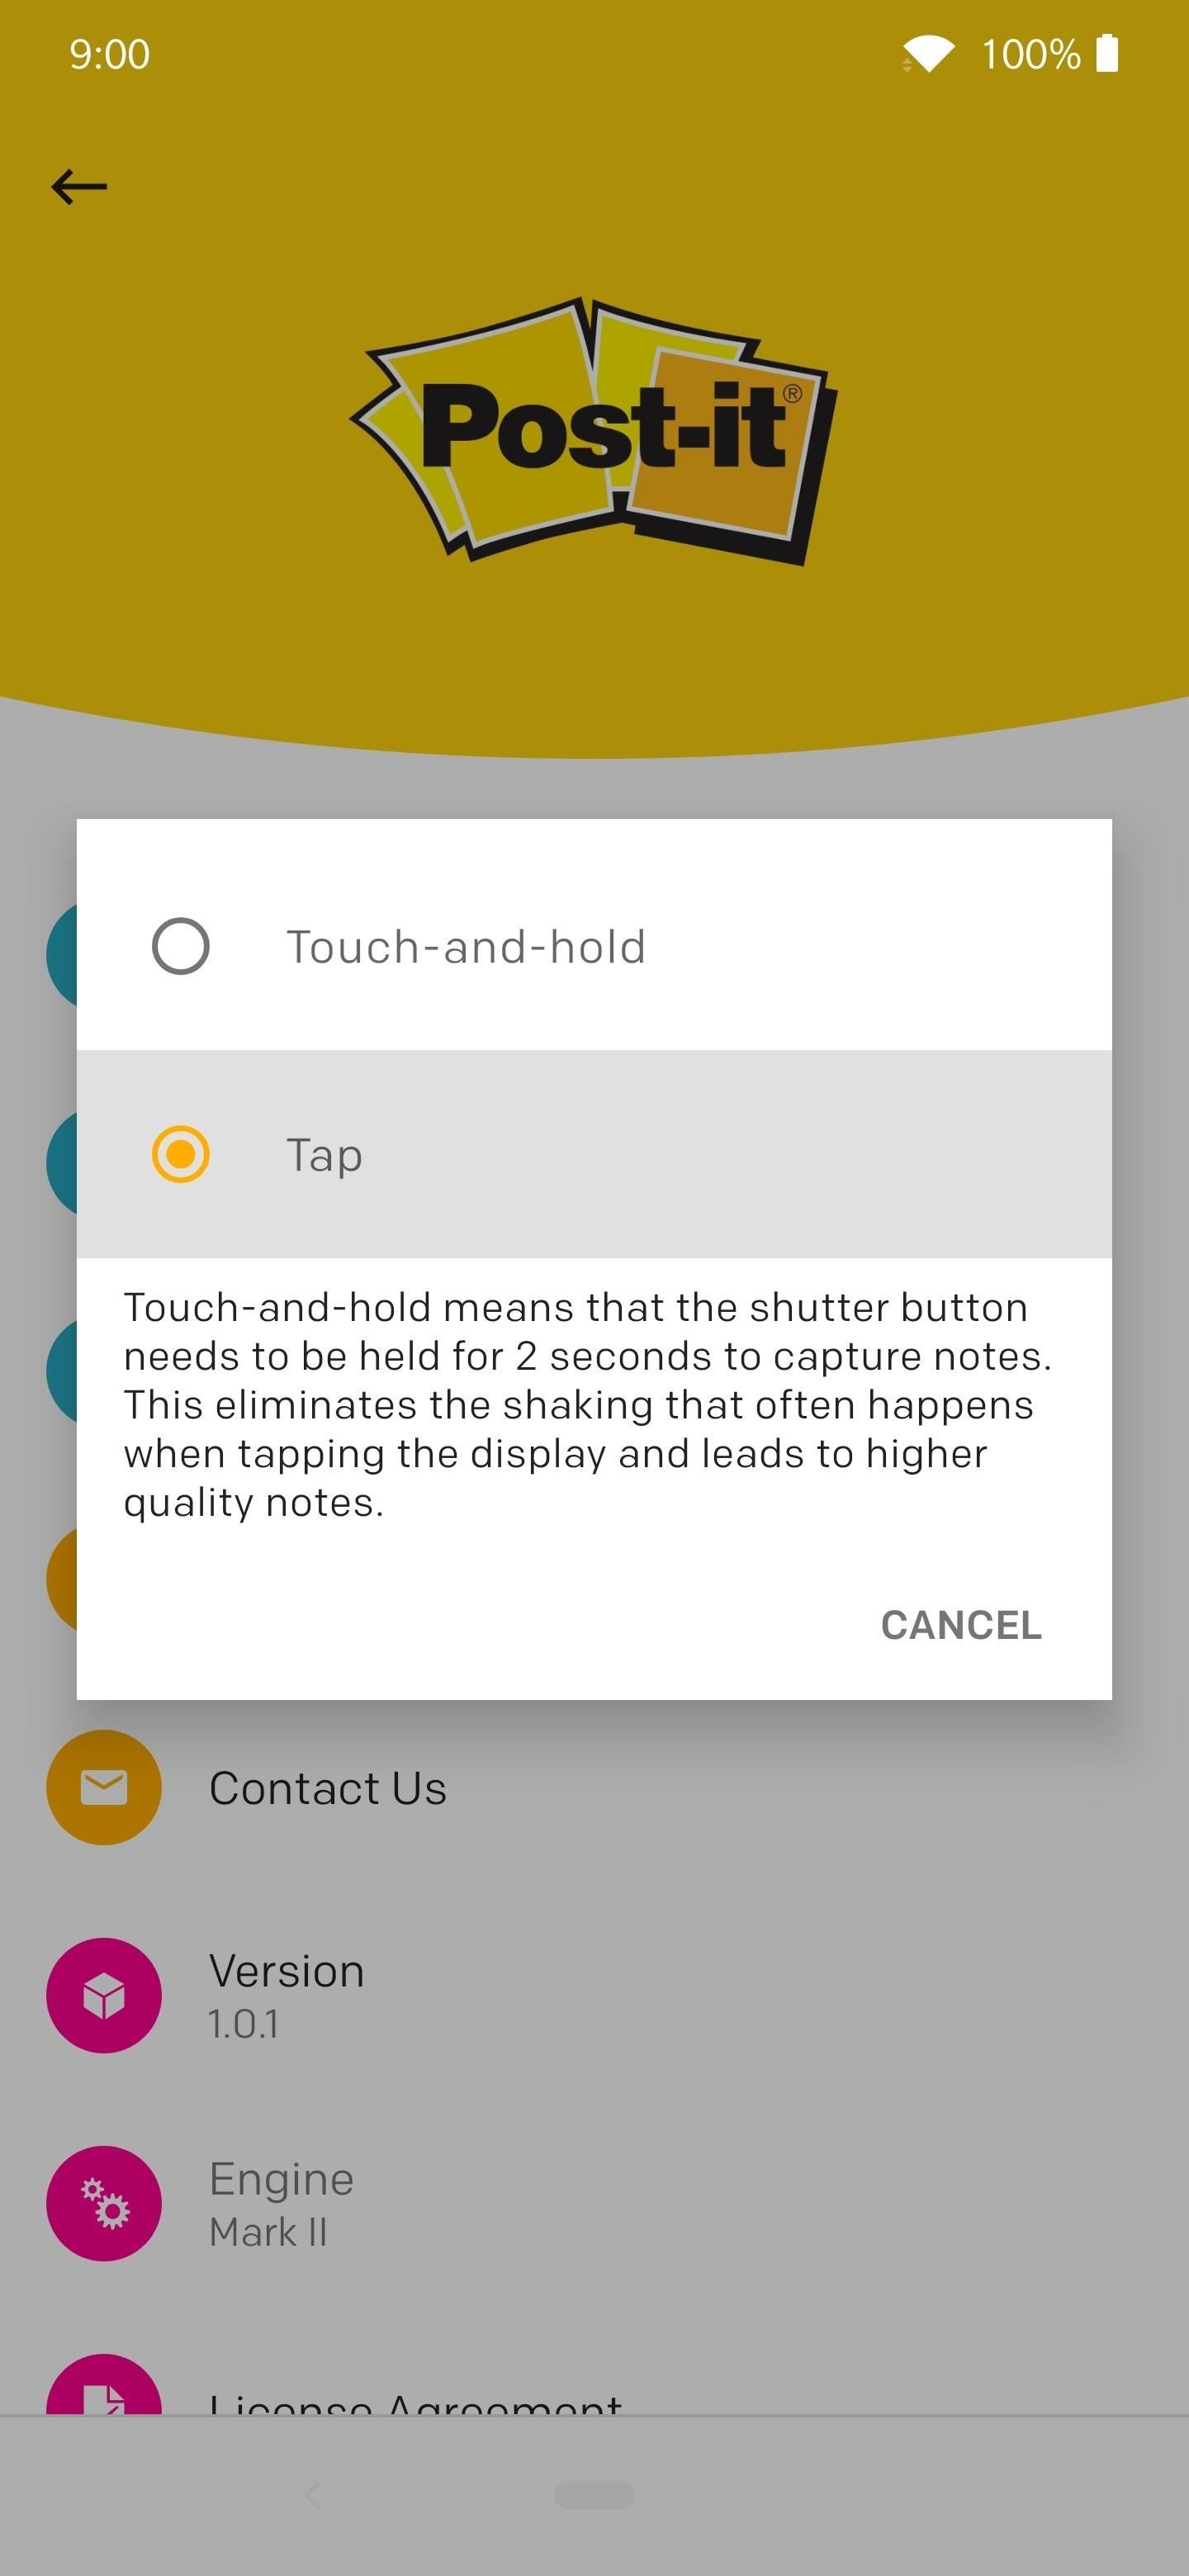
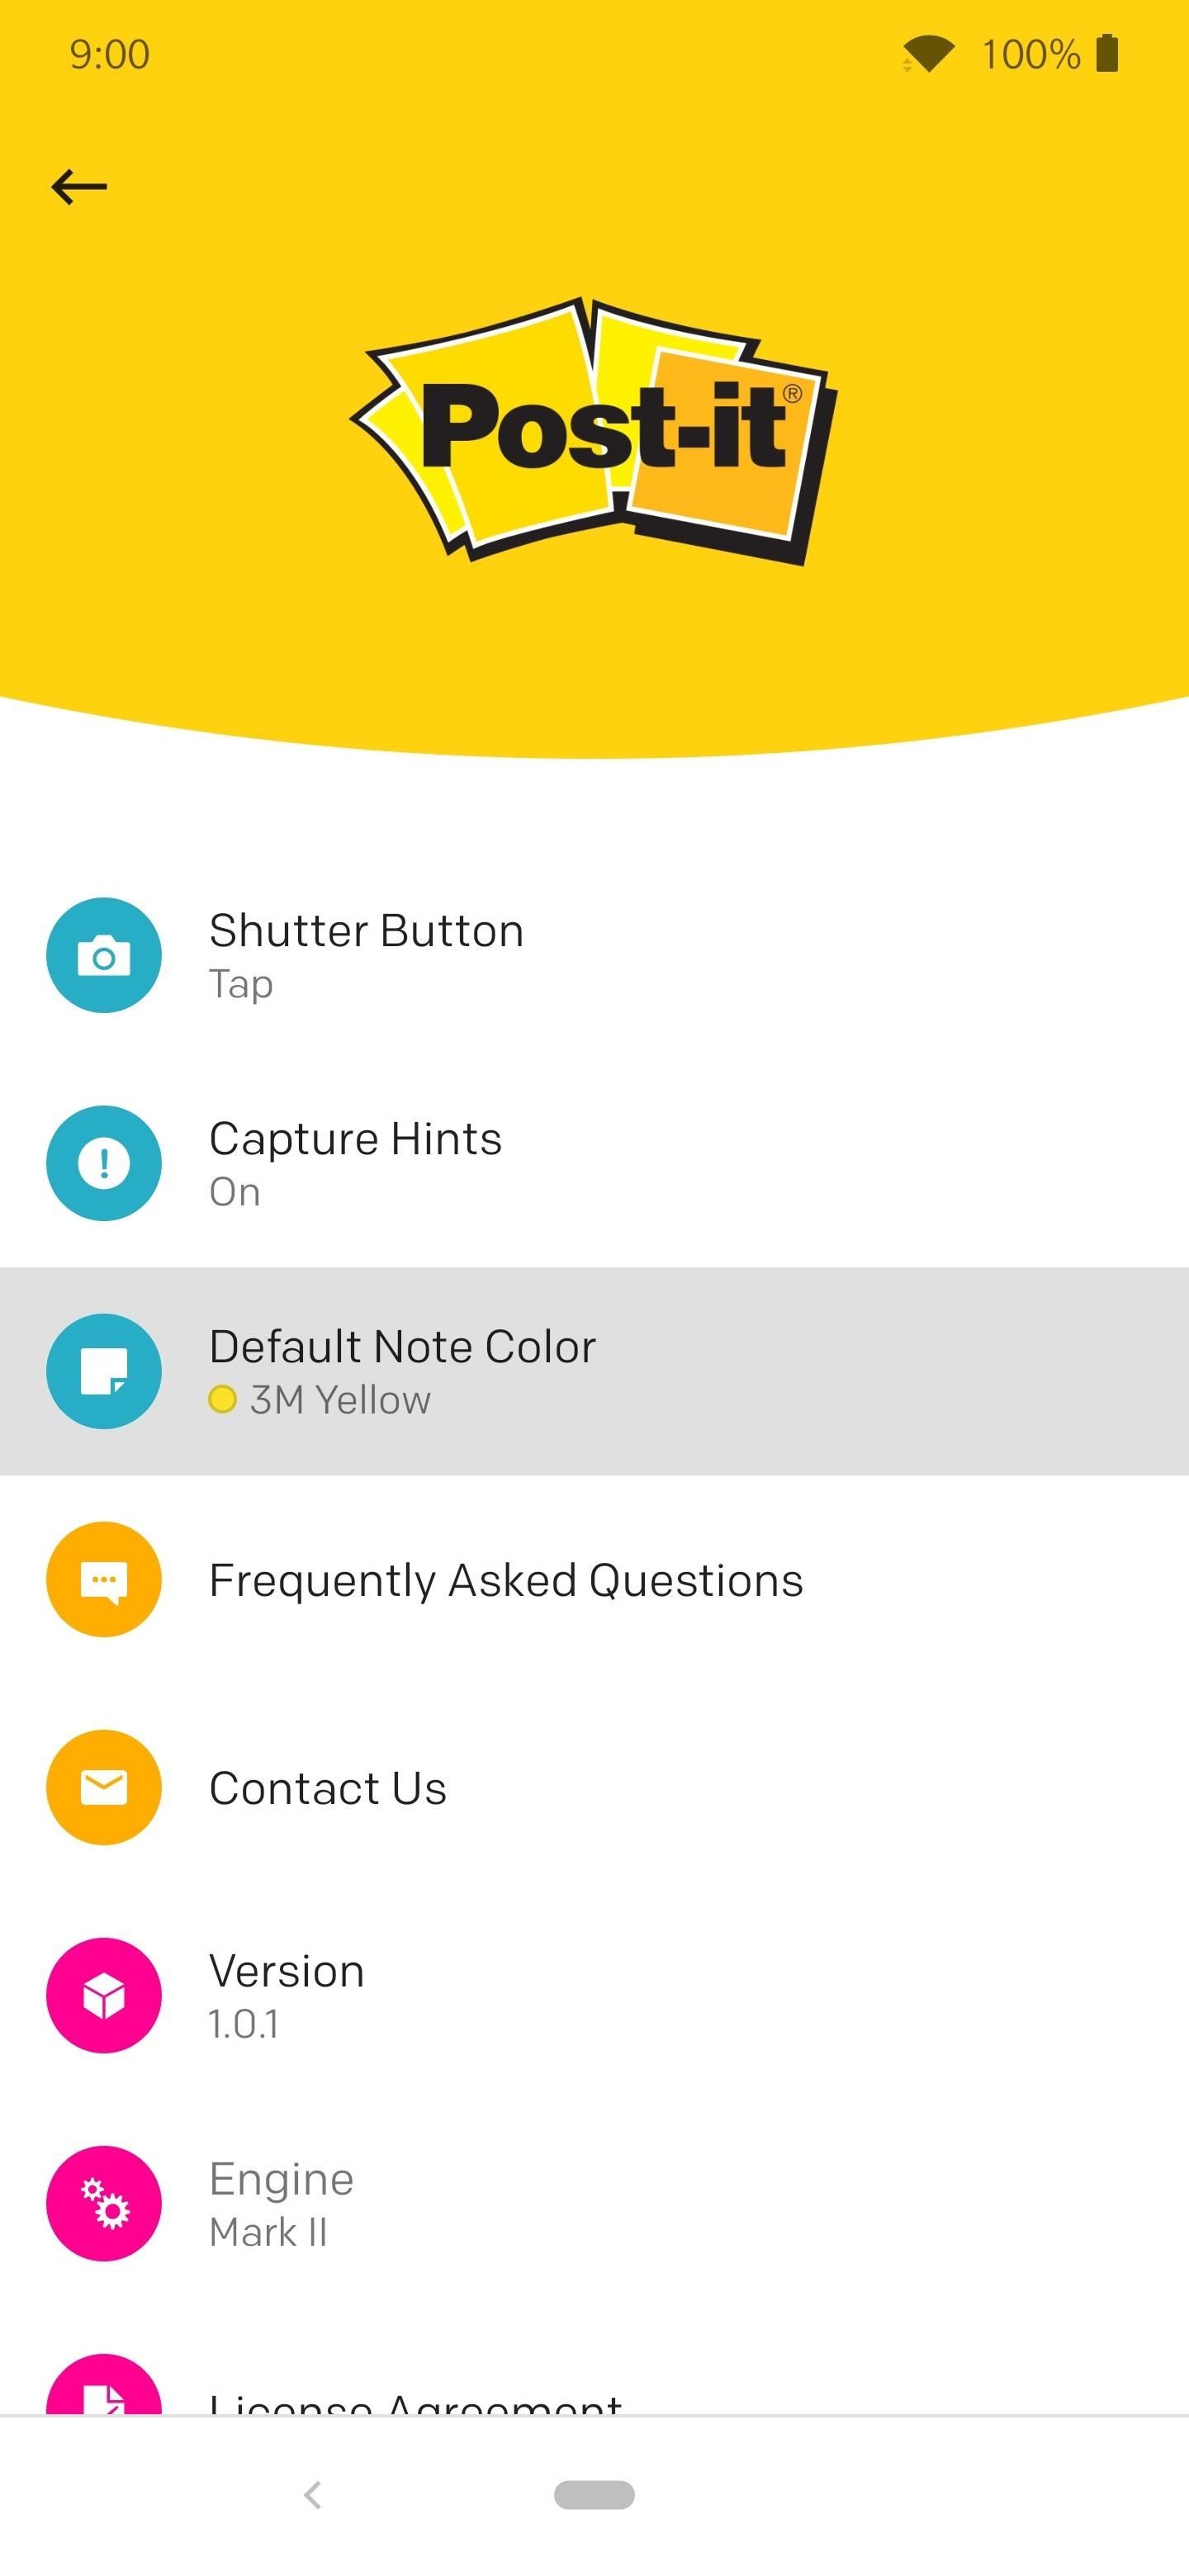
Now that you know how to digitize your Post-its, there are two simple options you can look into from the settings menu. Head back to the main Boards menu, tap the gear icon at the top, then look for "Shutter Button." You will be able to change the shutter button function from "Touch-and-hold" to "Tap" if you want to make it easier to digitize Post-it Notes in the future.
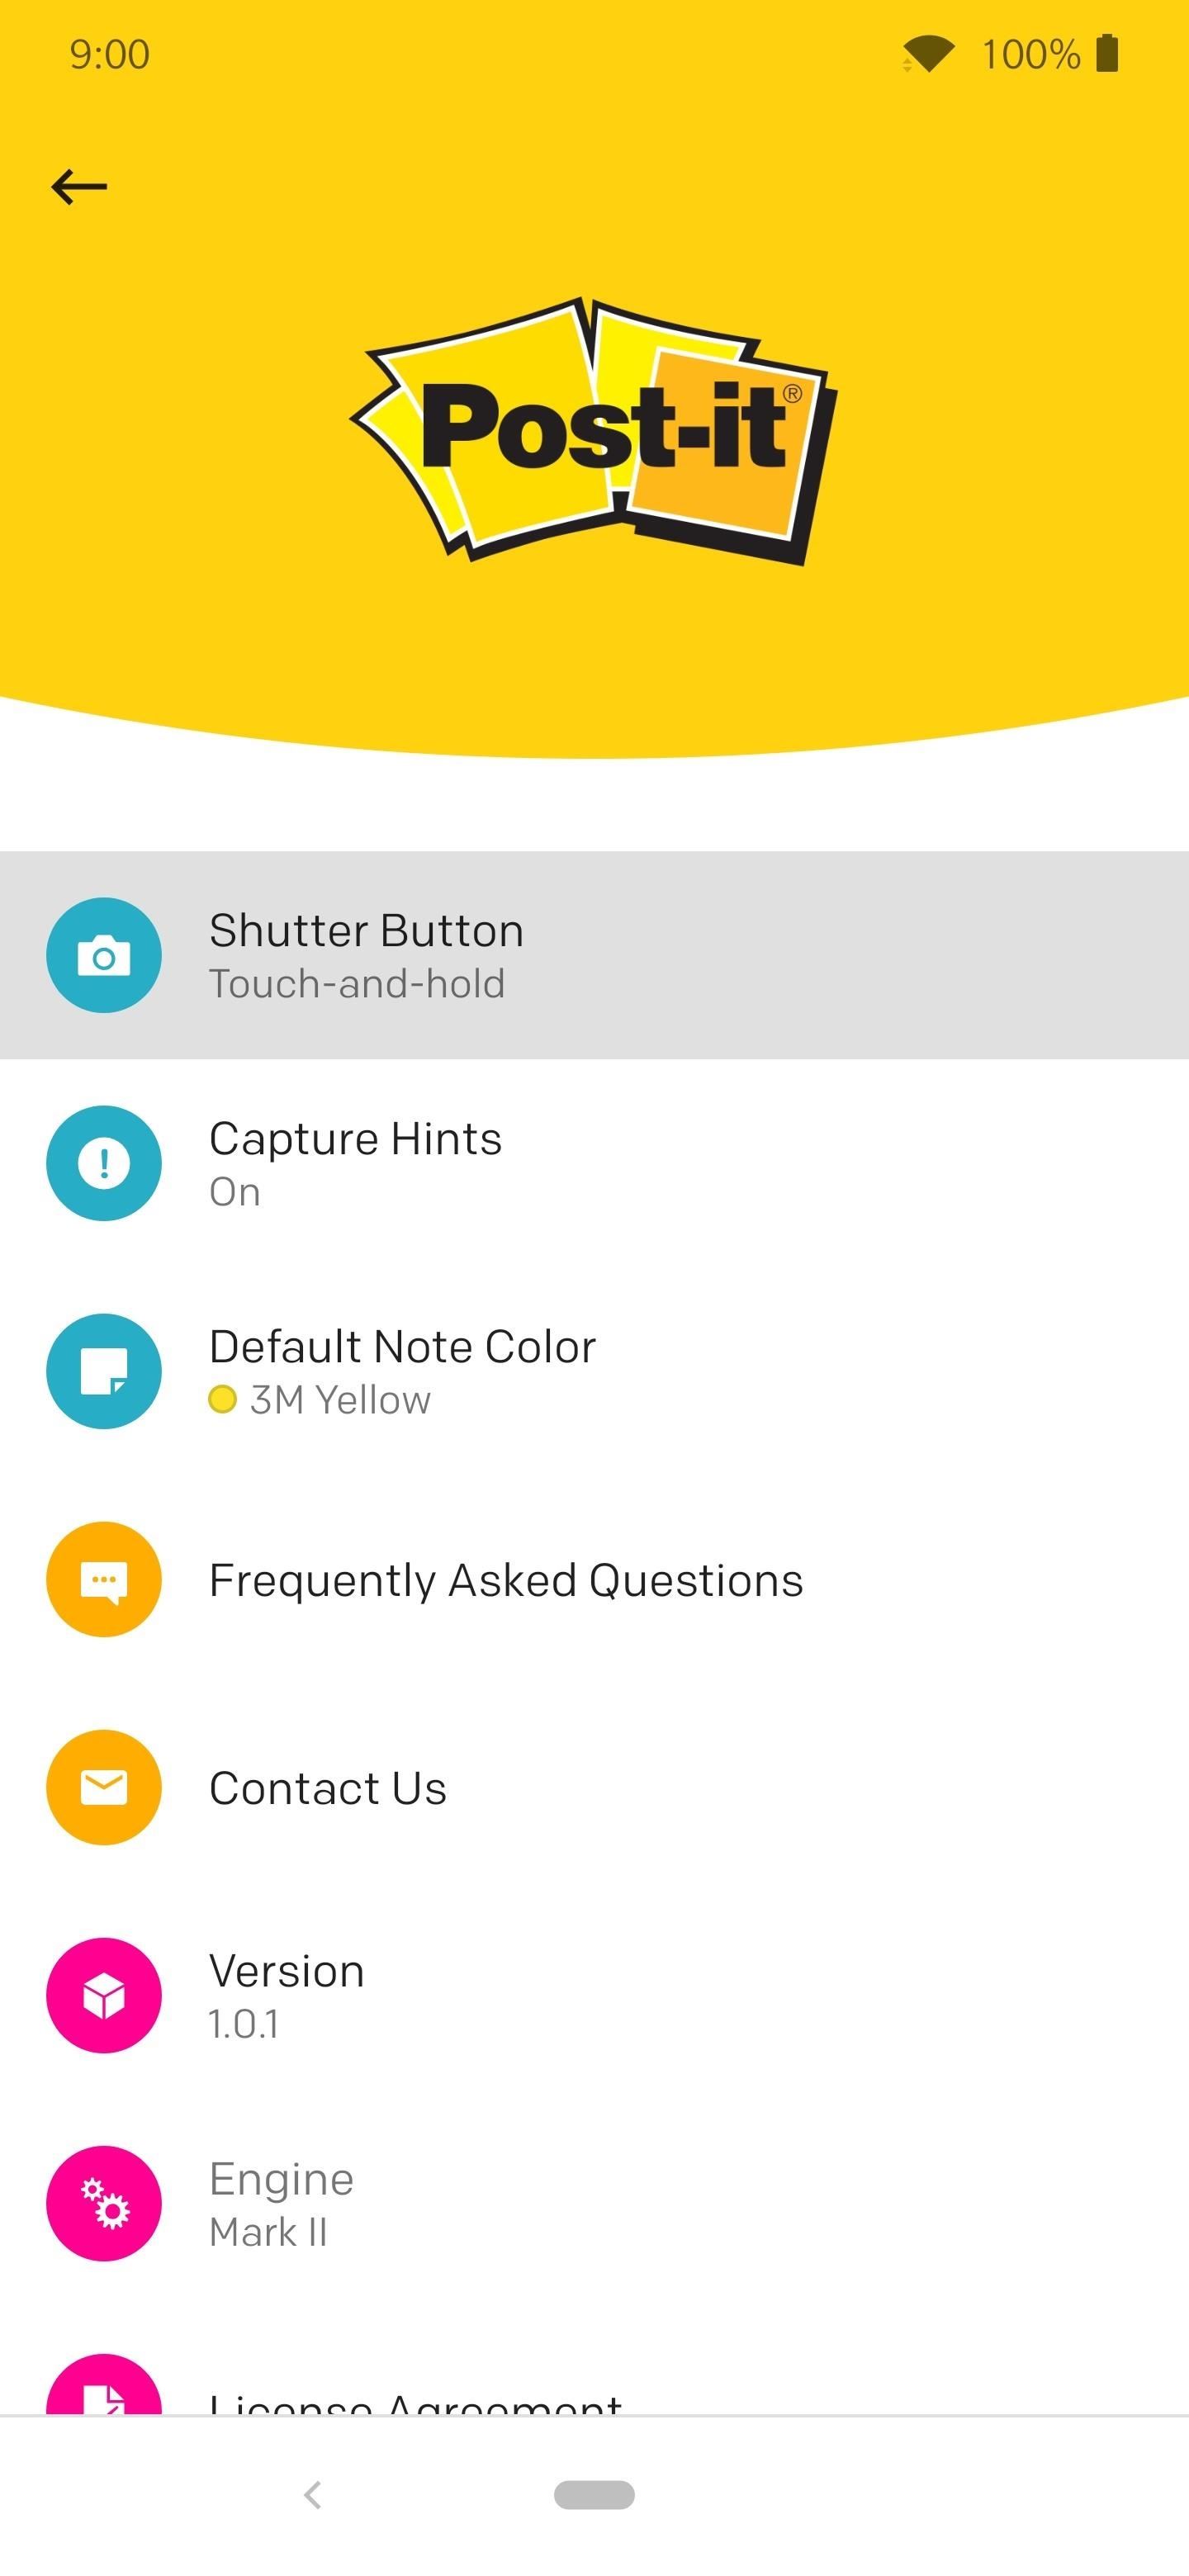
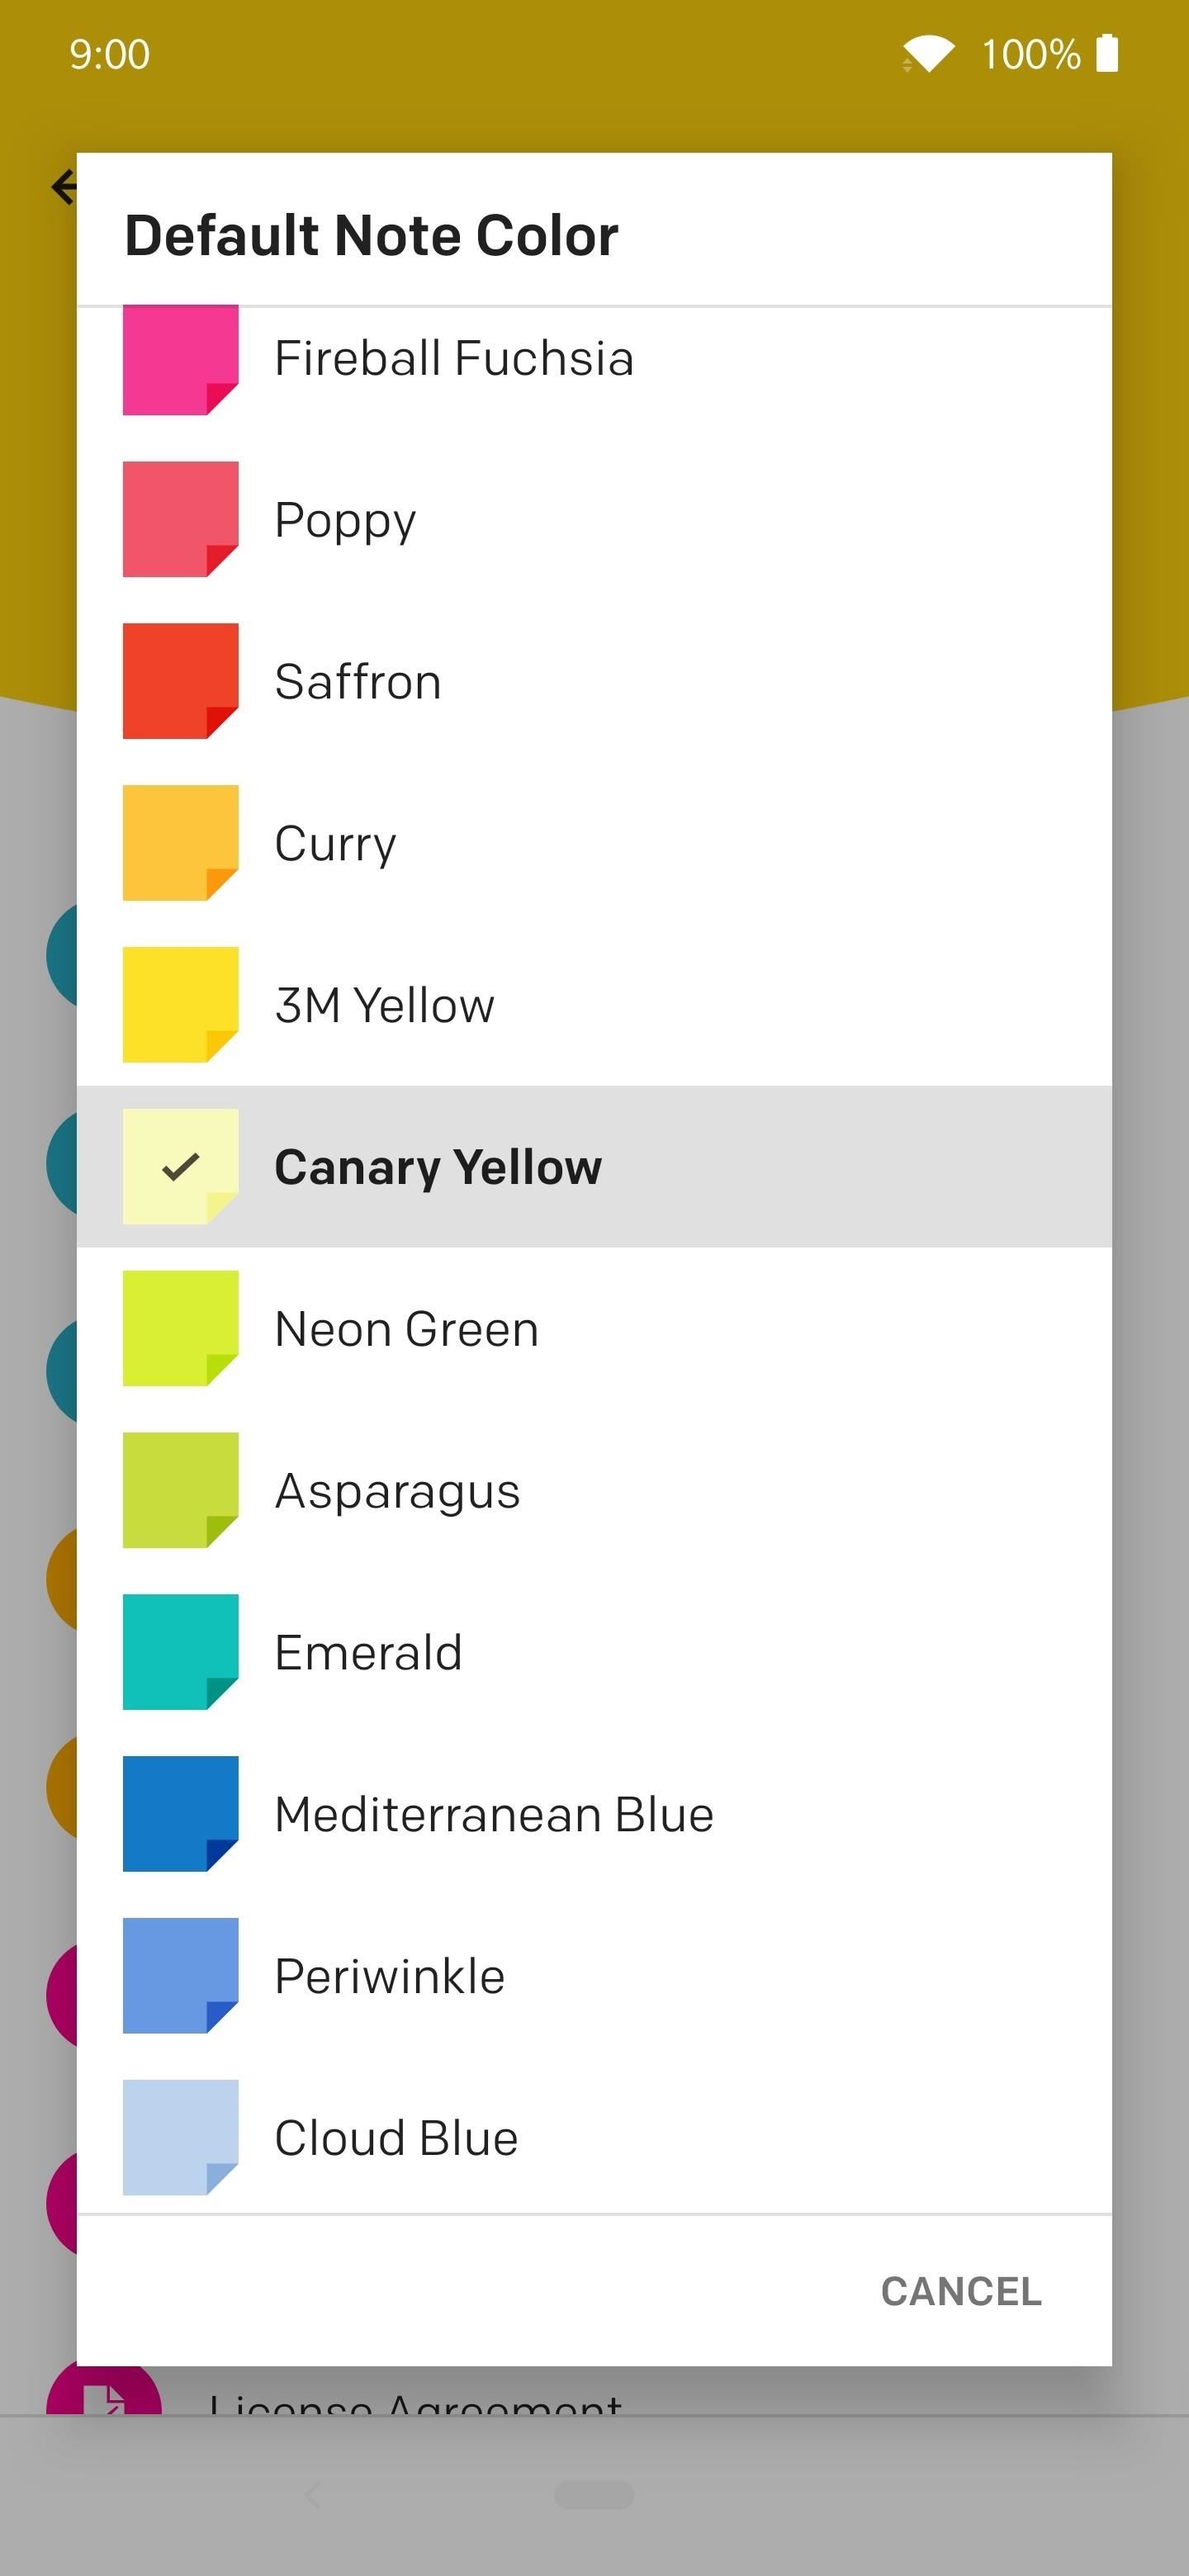
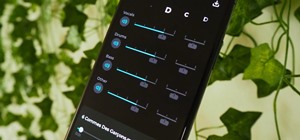
At the same time, you can also change the default color of your notes to a wide variety of different colors with the "Default Note Color" setting. Pick anything you'd like from the list or just leave it at the classic default 3M Yellow.
That's the gist of it. From the settings, you can also add Siri Shortcuts (on iOS), connect a Trello account, and turn off "Capture Hints" (which can get annoying when you don't need them anymore). To export or share a note or board, tap the share icon. When sharing boards, you can export as a Post-it Archive, PDF, image, Trello board, PowerPoint presentation, Excel spreadsheet, or a ZIP of images.
This article was produced during Gadget Hacks' special coverage on using your smartphone to boost productivity. Check out the whole Productivity series.
Just updated your iPhone? You'll find new emoji, enhanced security, podcast transcripts, Apple Cash virtual numbers, and other useful features. There are even new additions hidden within Safari. Find out what's new and changed on your iPhone with the iOS 17.4 update.


Be the First to Comment
Share Your Thoughts