Not too long ago, Sony was looking to create a method for theming the interface of their Xperia smartphones and came up with a framework called Runtime Resource Overlay (RRO). They then contributed this framework to Android's main code base, and Google has since taken over the development of RRO as a way for manufacturers to implement themes in their skinned versions of Android.
Starting with the release of version 6.0 Marshmallow, a fully-functional iteration of RRO is now baked right into Android. This of course means manufacturers can now theme Android to their liking going forward, but for us end users, it has even bigger implications.
An independent development team kept a close eye on all of this, and has created an app called Layers that allows rooted users to tap into Marshmallow's built-in "theme engine." Installation is incredibly simple, and there's already a massive library of themes—so as long as you're rooted, you can now completely theme Android 6.0 and all of your apps.
Requirements
- Stock Android 6.0 or AOSP-based Marshmallow custom ROM
- Rooted device
Install Busybox Commands with Busybox on Rails
In order for the Layers app to properly tap into Marshmallow's RRO framework, you'll need to have the latest set of BusyBox commands installed on your device. The tried and true BusyBox app from developer Stericson doesn't include some of the newer commands that are needed, so you'll need to use a different app to install the commands.
Busybox On Rails from Team Trickster is capable of installing all of the necessary BusyBox commands on Marshmallow devices, and it's available for free on the Google Play Store, so go ahead and get it installed to begin.

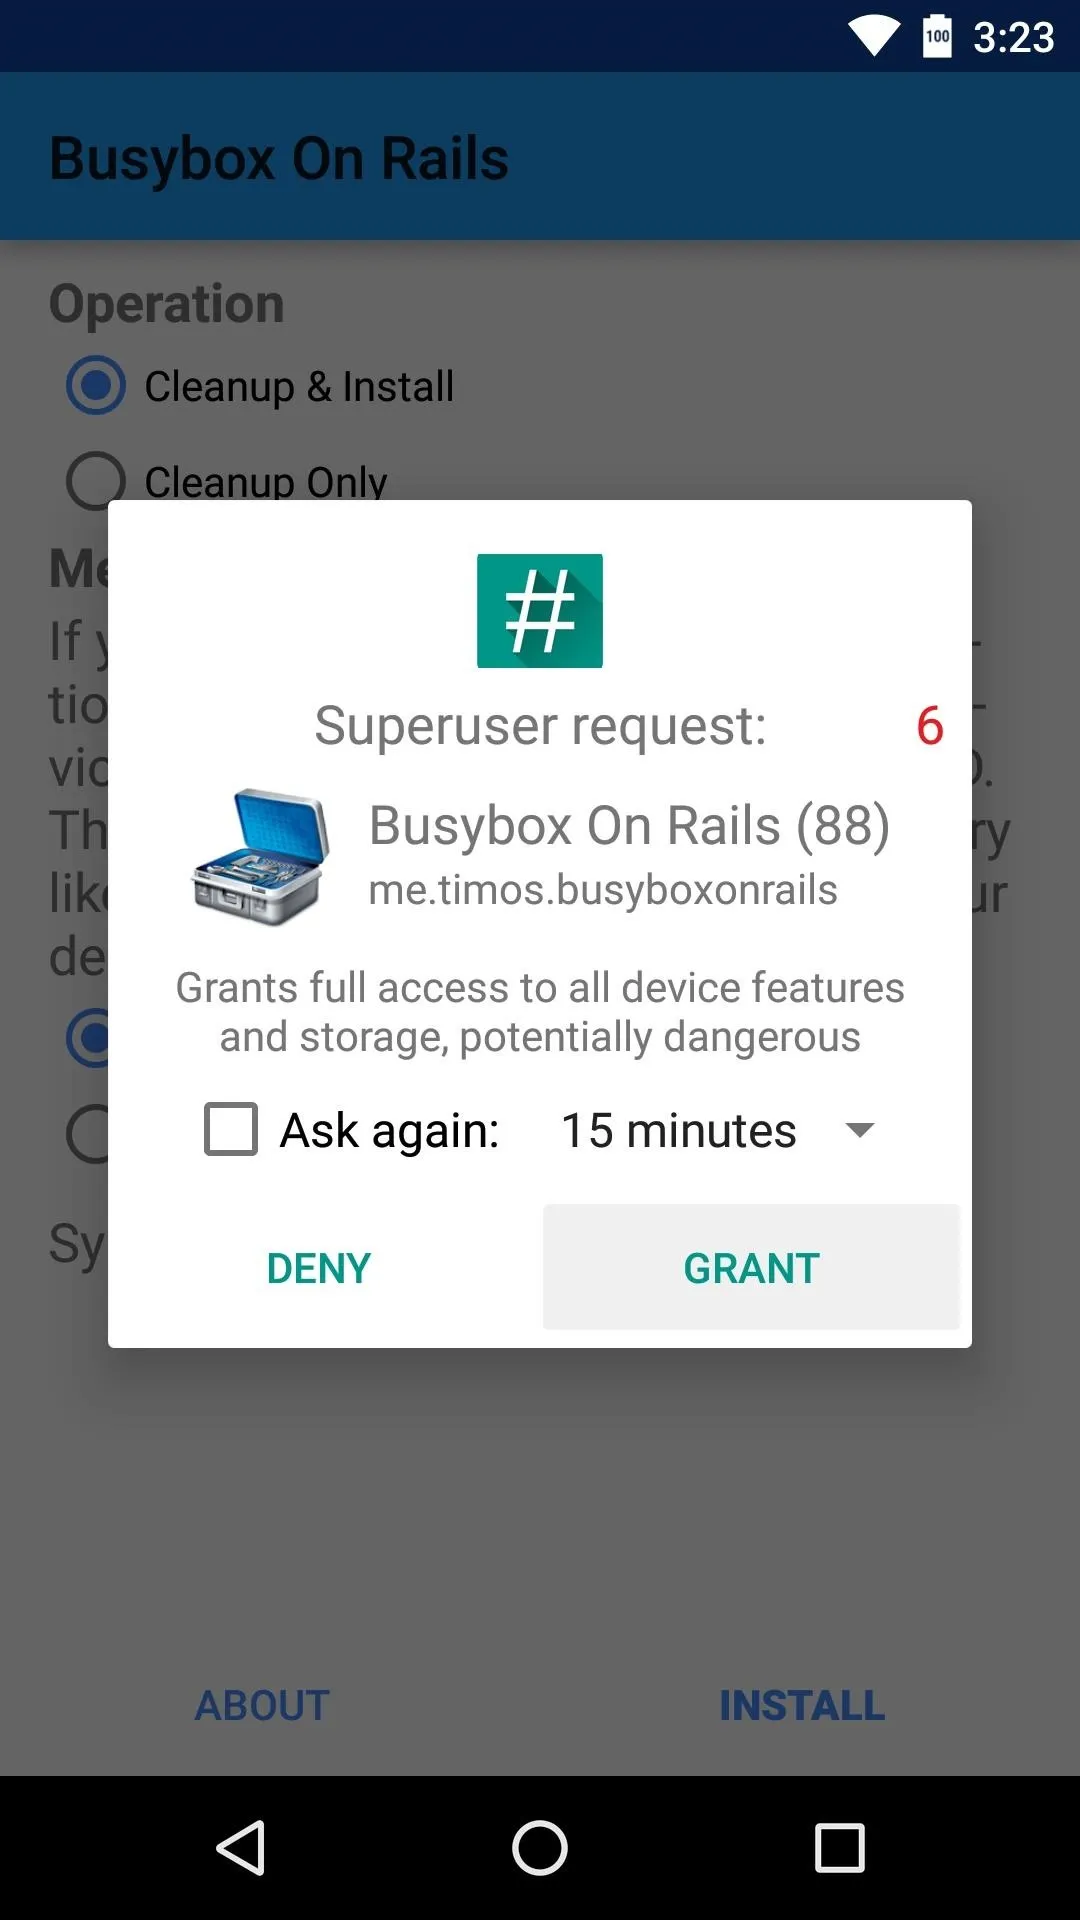
Now that you've installed the app, you'll need to use it to install the actual BusyBox commands. After opening Busybox On Rails, tap "Grant" on the Superuser access request, then tap the "Install" button at the bottom of the screen to take care of this.
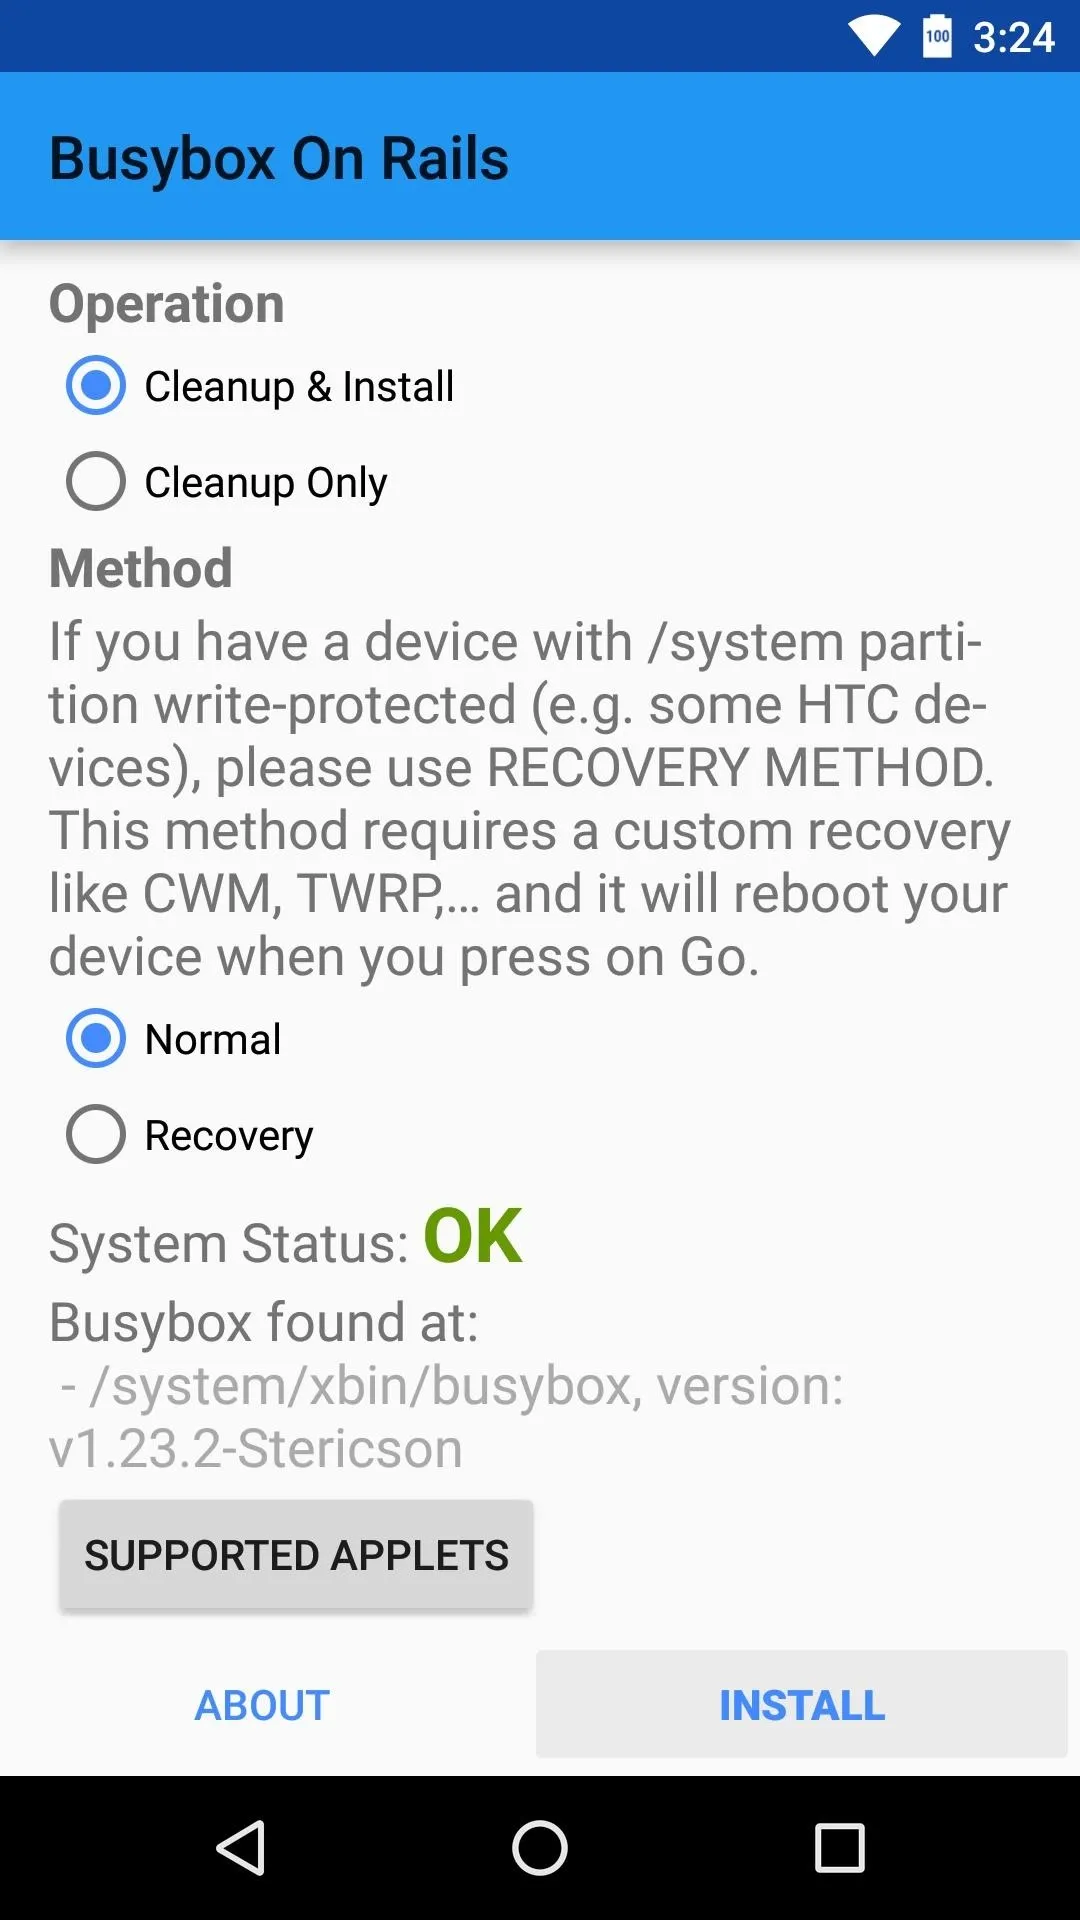


At this point, you can uninstall the Busybox On Rails app if you'd like, as the actual BusyBox commands are now permanently installed on your device.
Install Layers Manager
The app that makes Marshmallow theming possible is called Layers Manager, and it's available for free on the Google Play Store. Search the app by name to get it installed, or head directly to the download page using the following link:
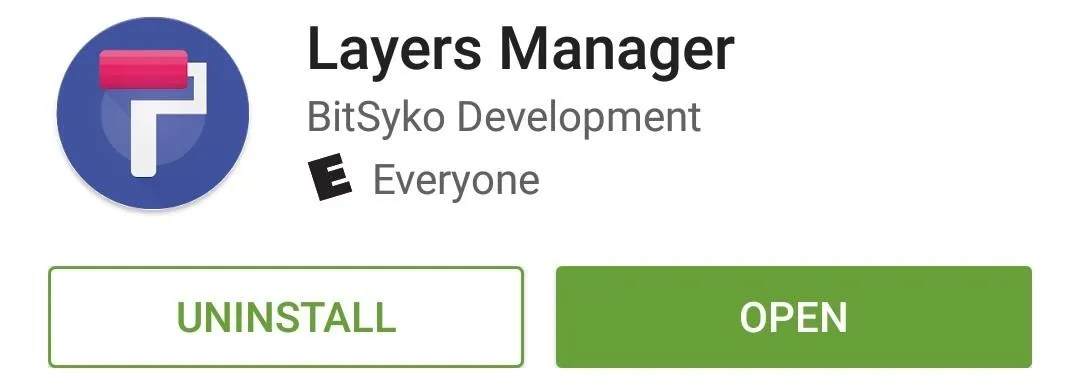
Then once you've installed Layers Manager, open the app and tap "Grant" when prompted to give it superuser access.
Install a Layers Theme from the Google Play Store
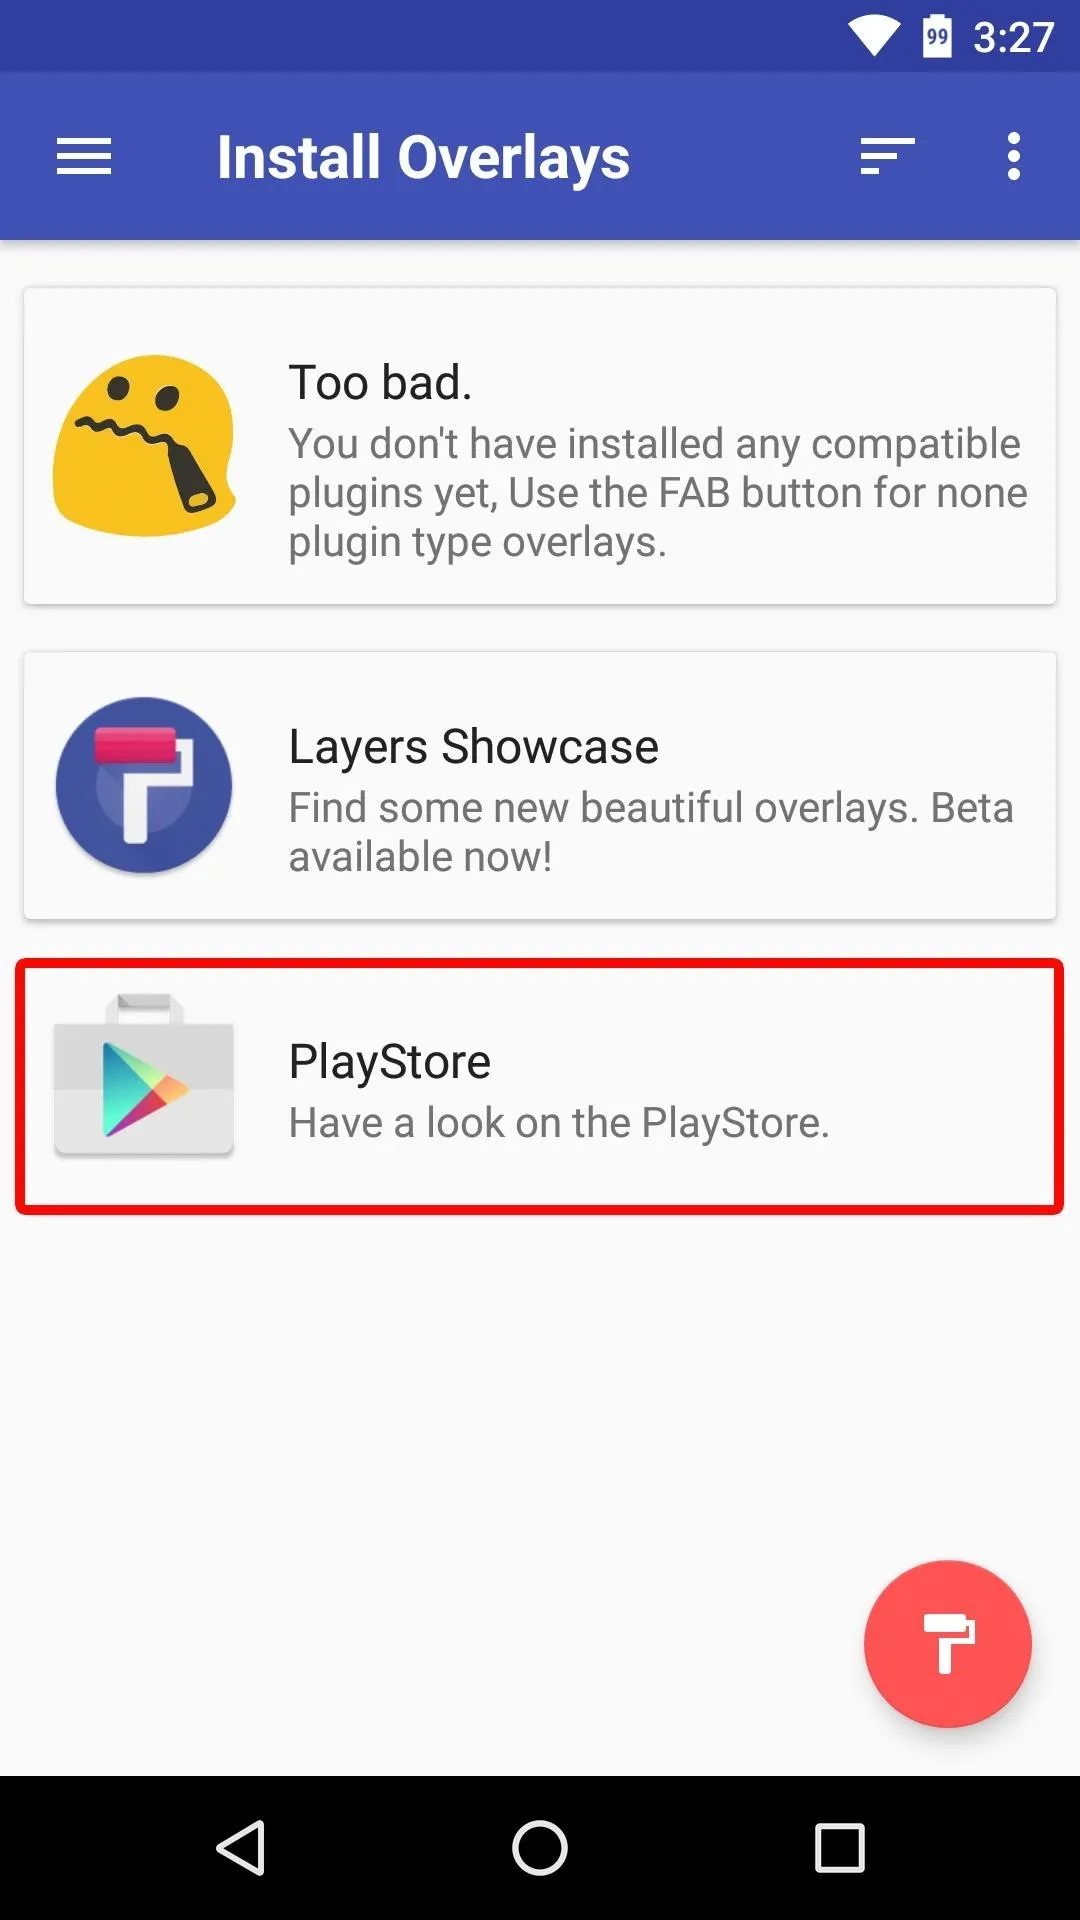
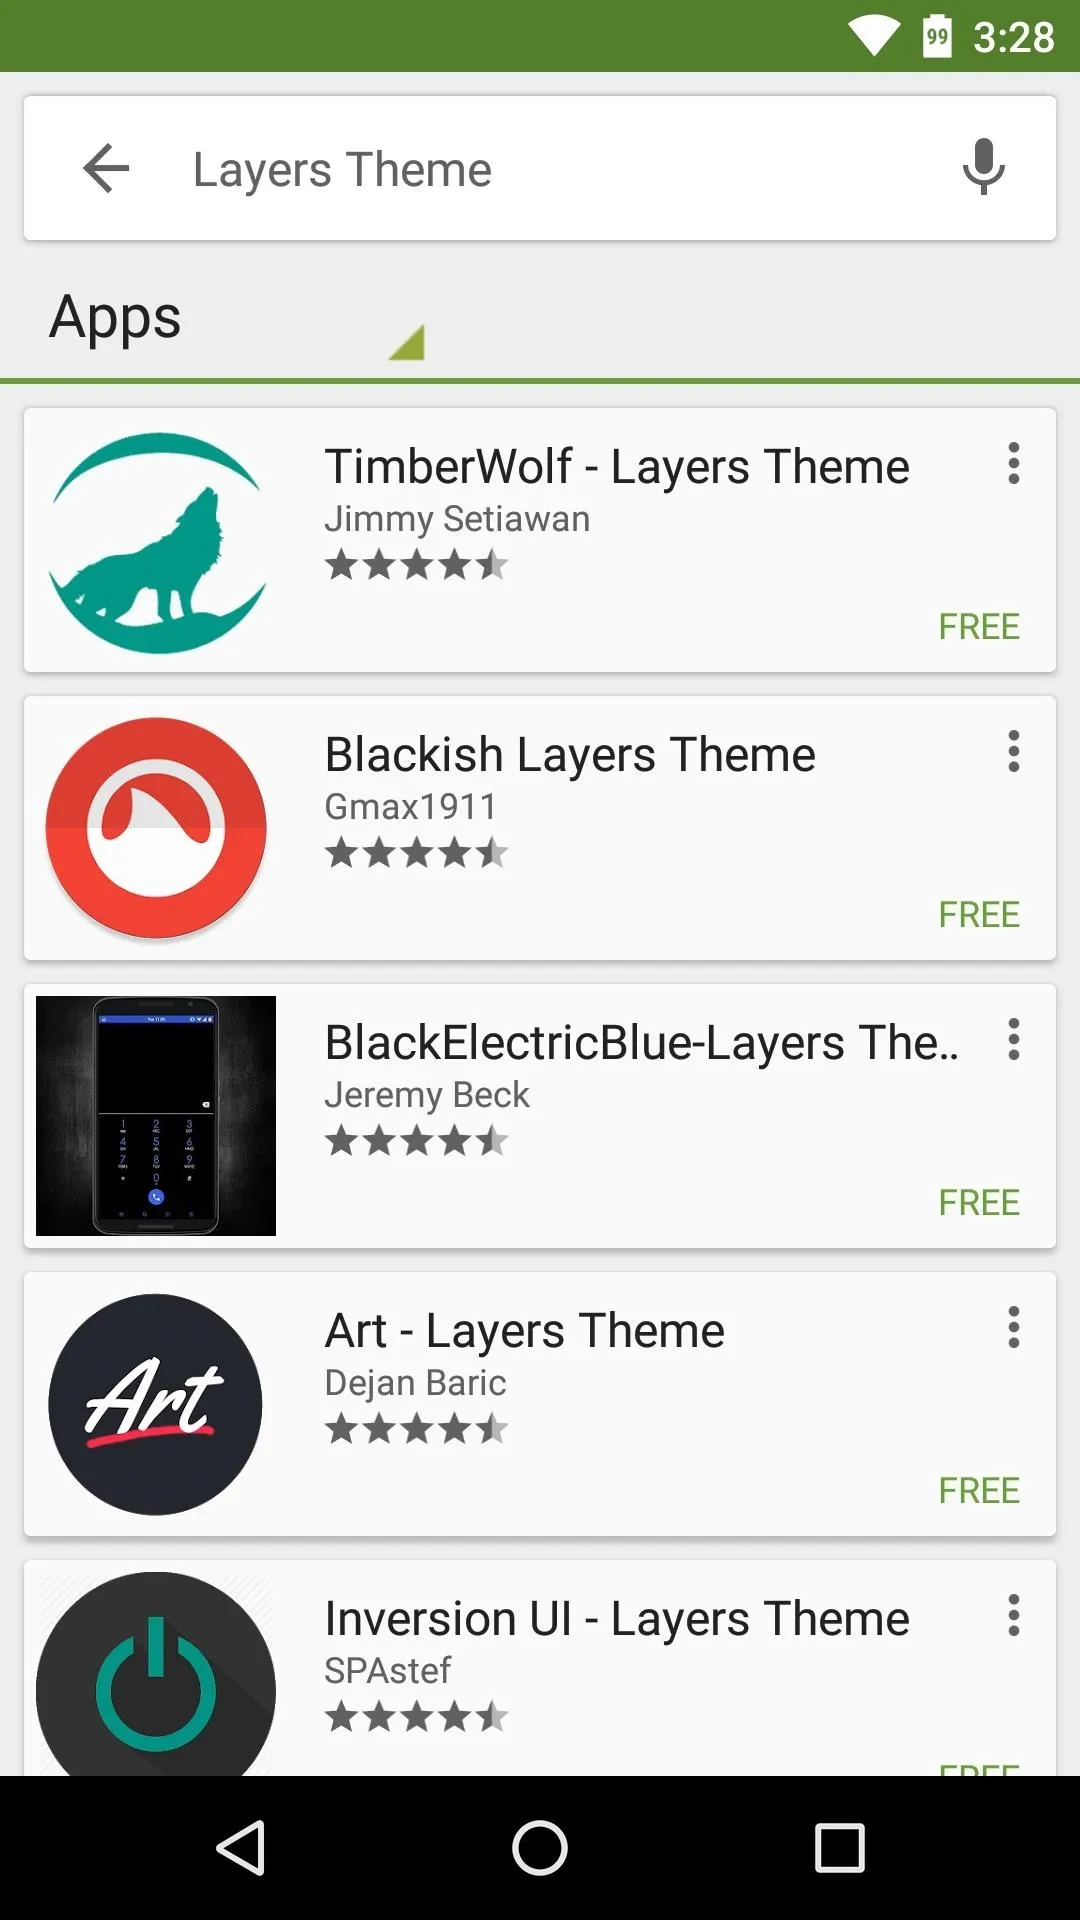
At this point, you're just about ready to start theming your device—the only thing you're missing now is a theme to apply. From the main menu in the Layers Manager app, tap the "PlayStore" link to view some of the available themes. There are many to choose from, and most are free, so when you find a theme that looks good to you, simply install it from the Play Store as you would any other app.


Apply Your Theme & Reboot
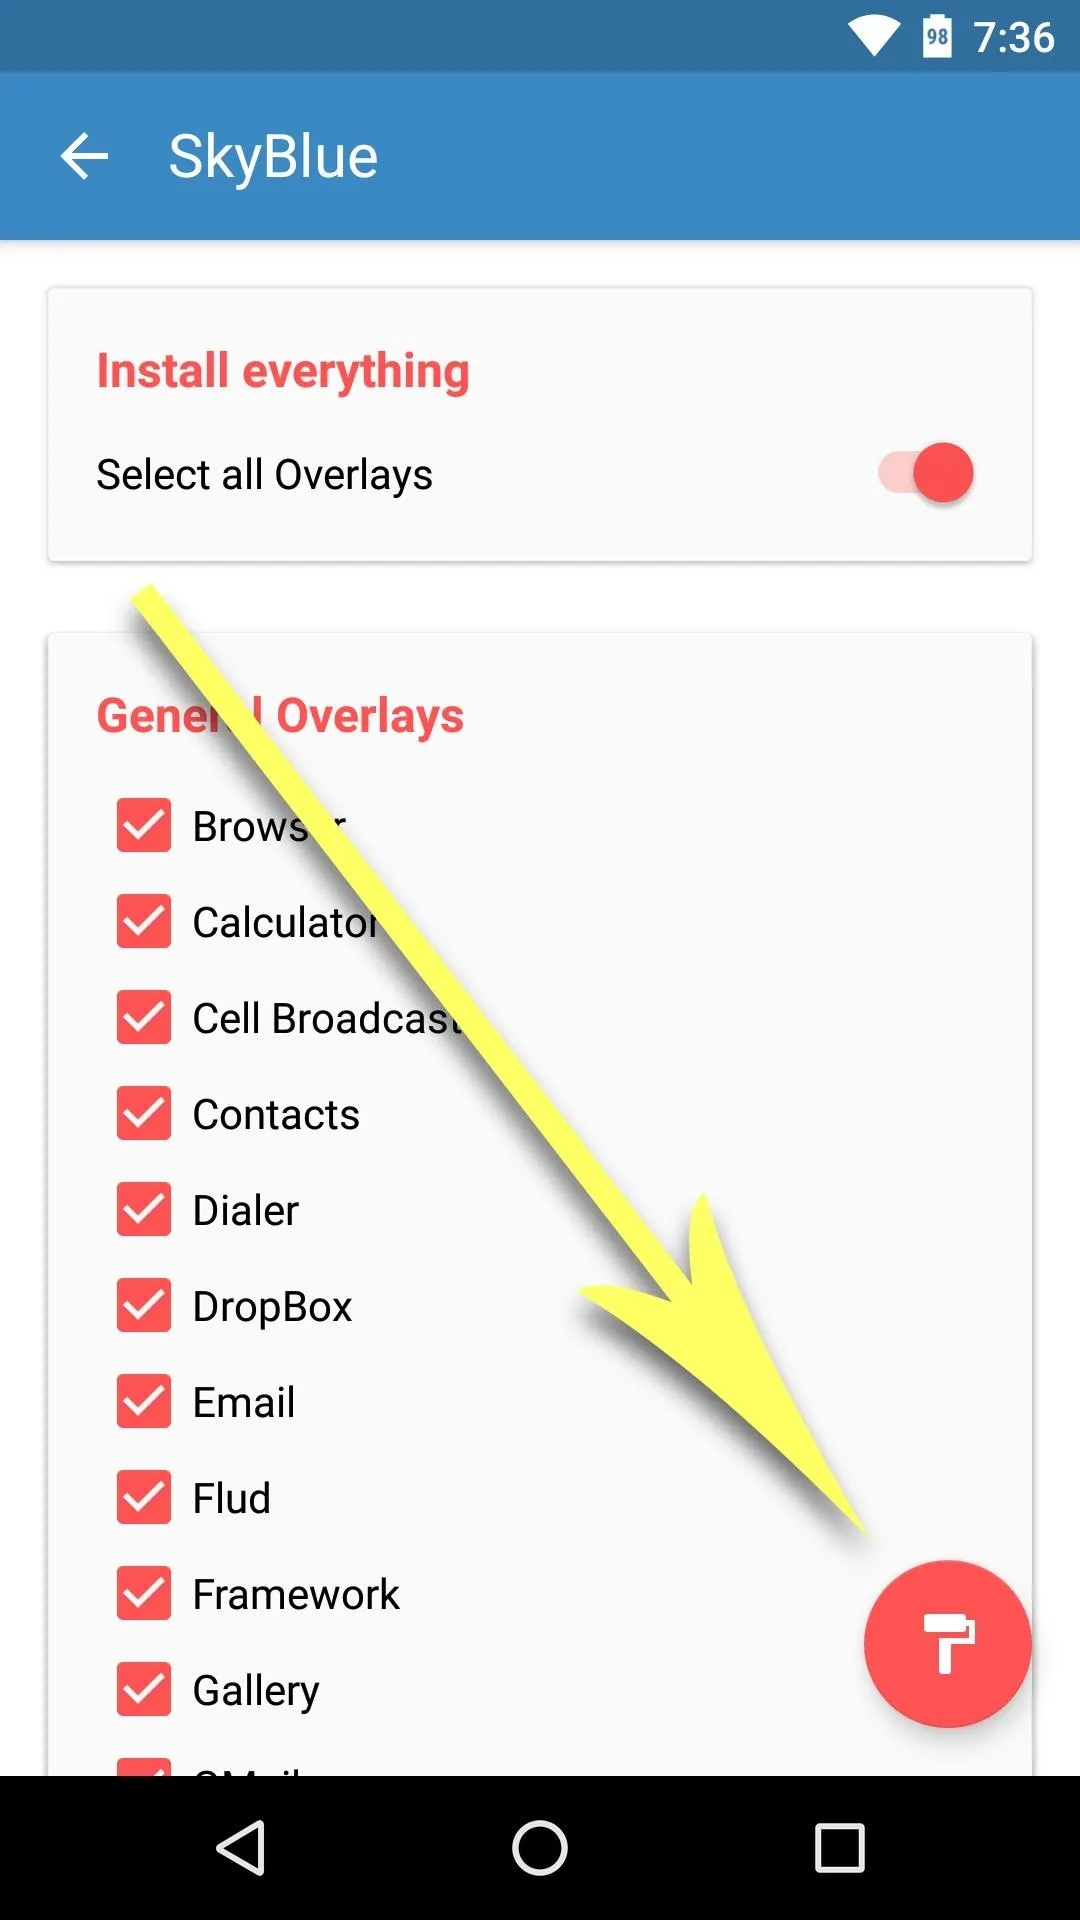
After installing a theme from the Play Store, open the Layers Manager app and select the theme you want to apply from the main menu. From here, scroll down a bit and select any apps or menus that you'd like to theme, or tap the "Select all Overlays" button near the top of the list if you'd like to theme everything.
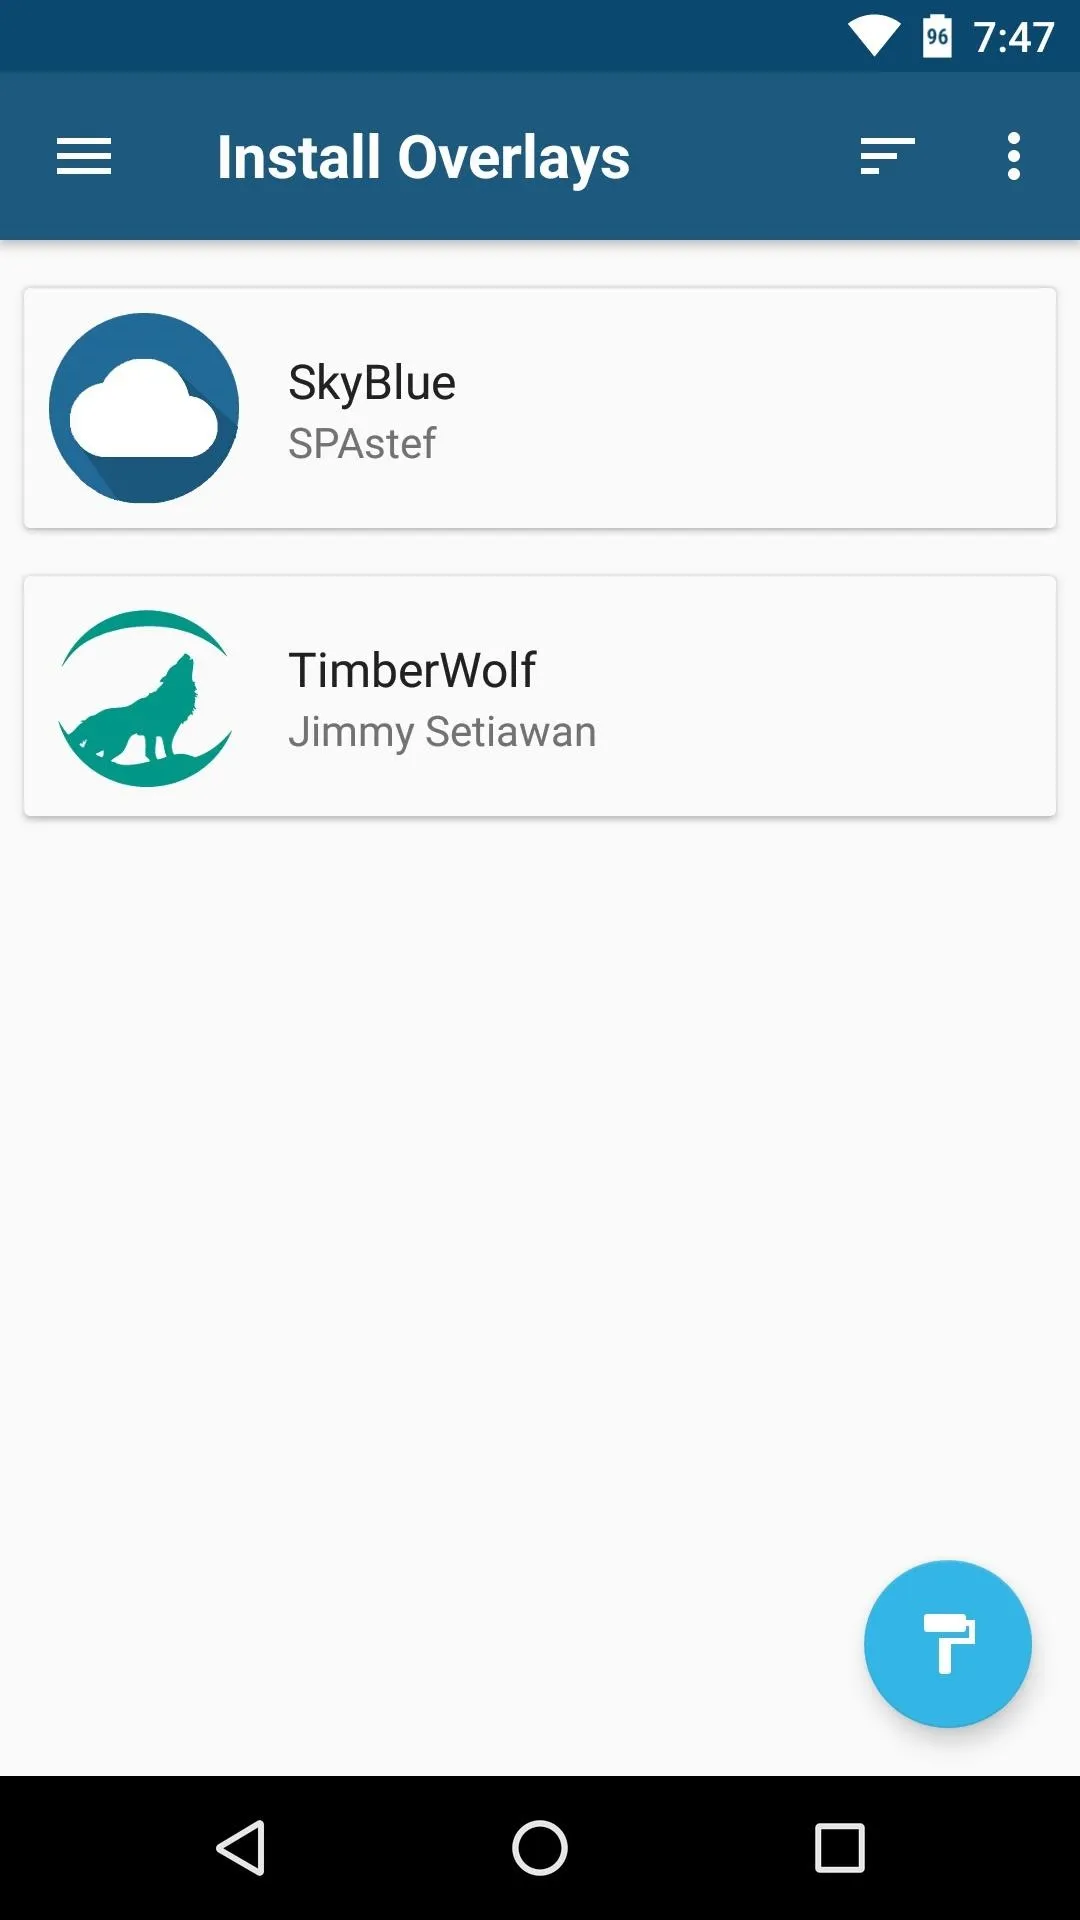
Choose your theme
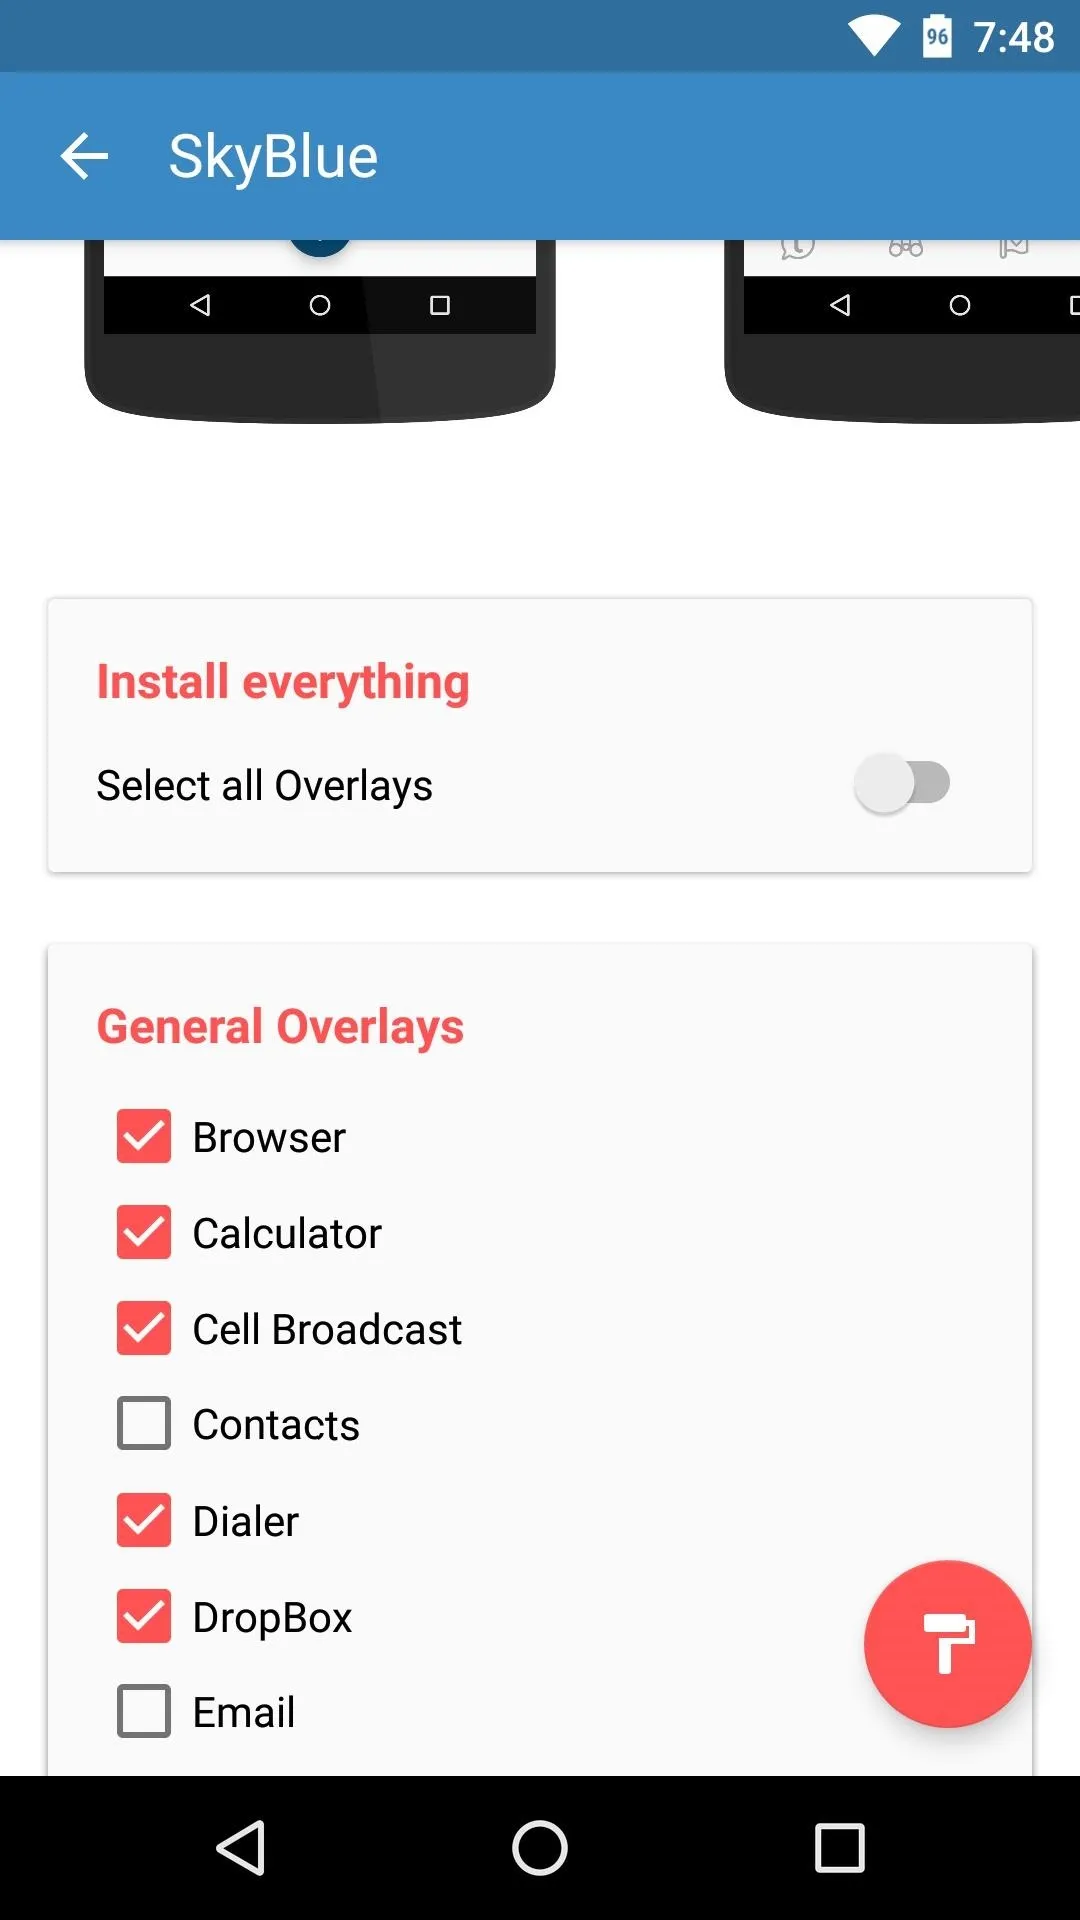
Select individual elements to be themed
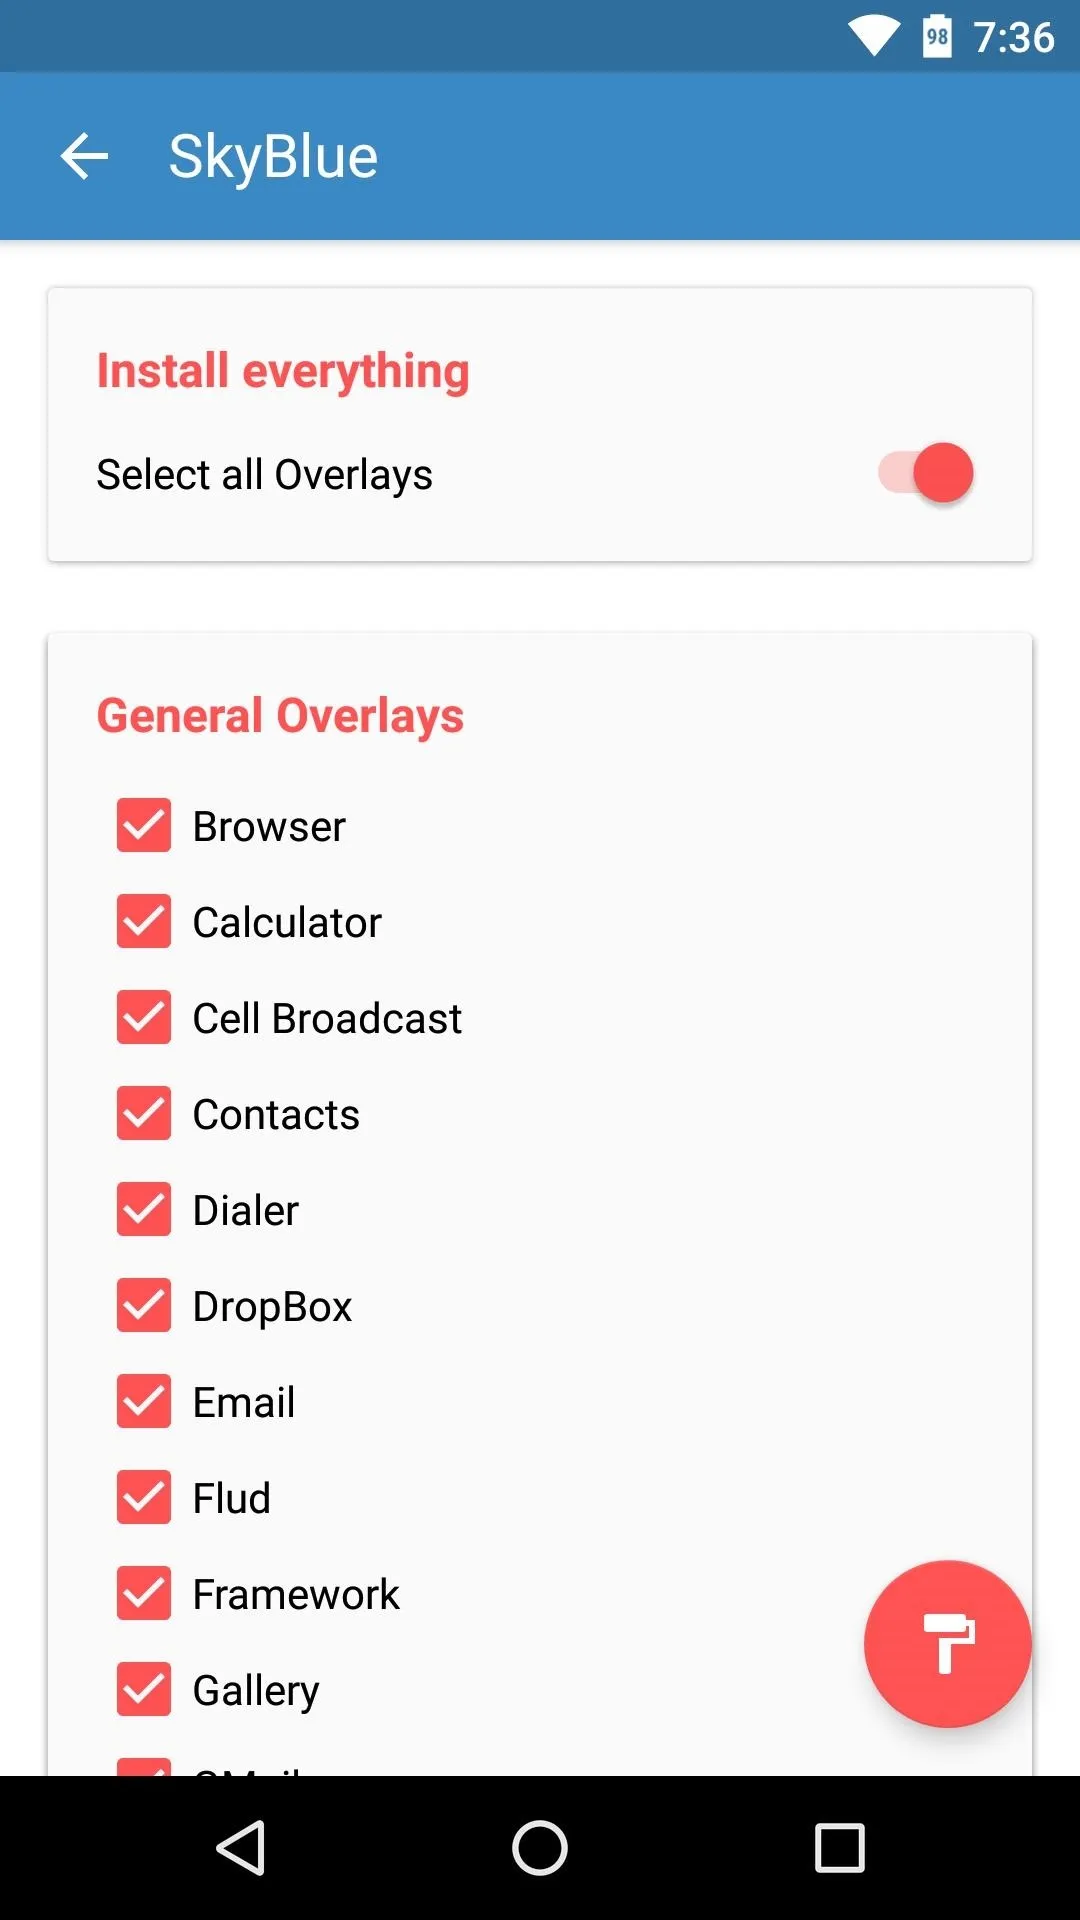
Or select all overlays.

Choose your theme

Select individual elements to be themed

Or select all overlays.
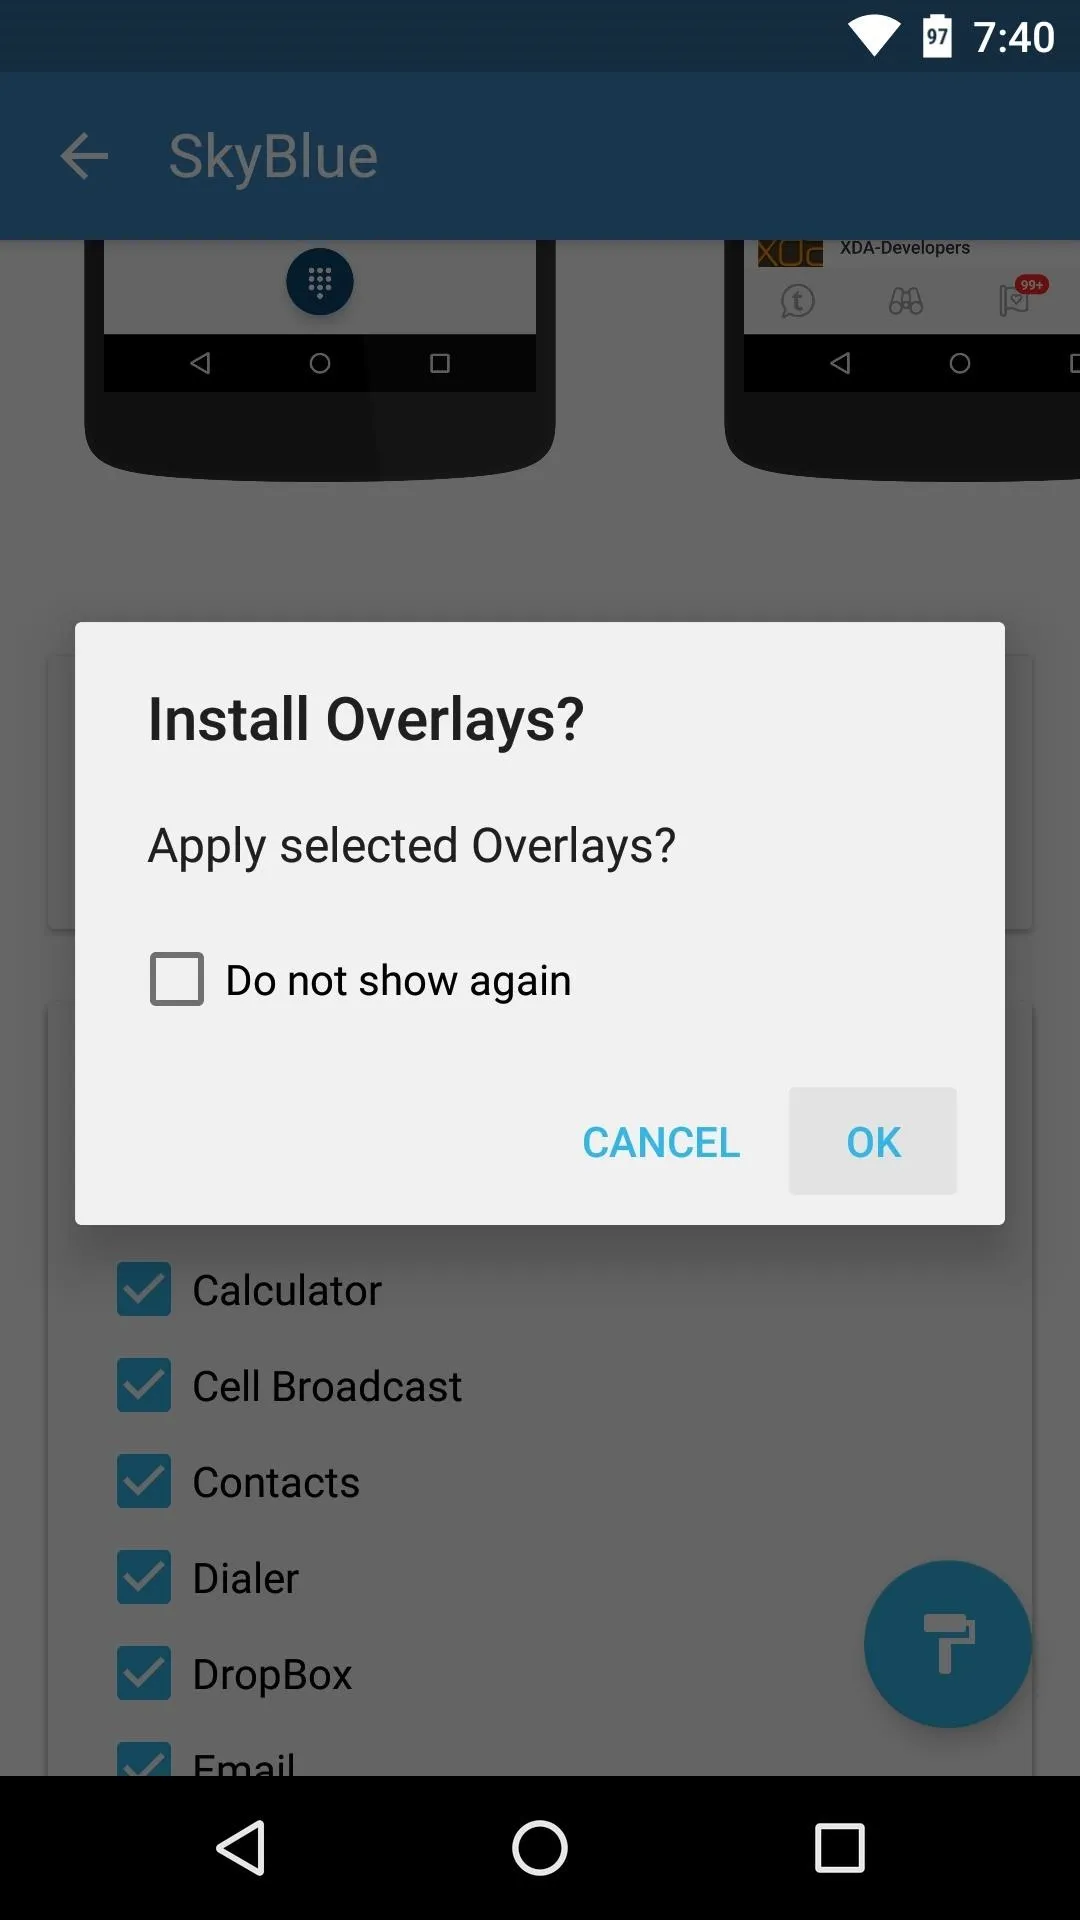
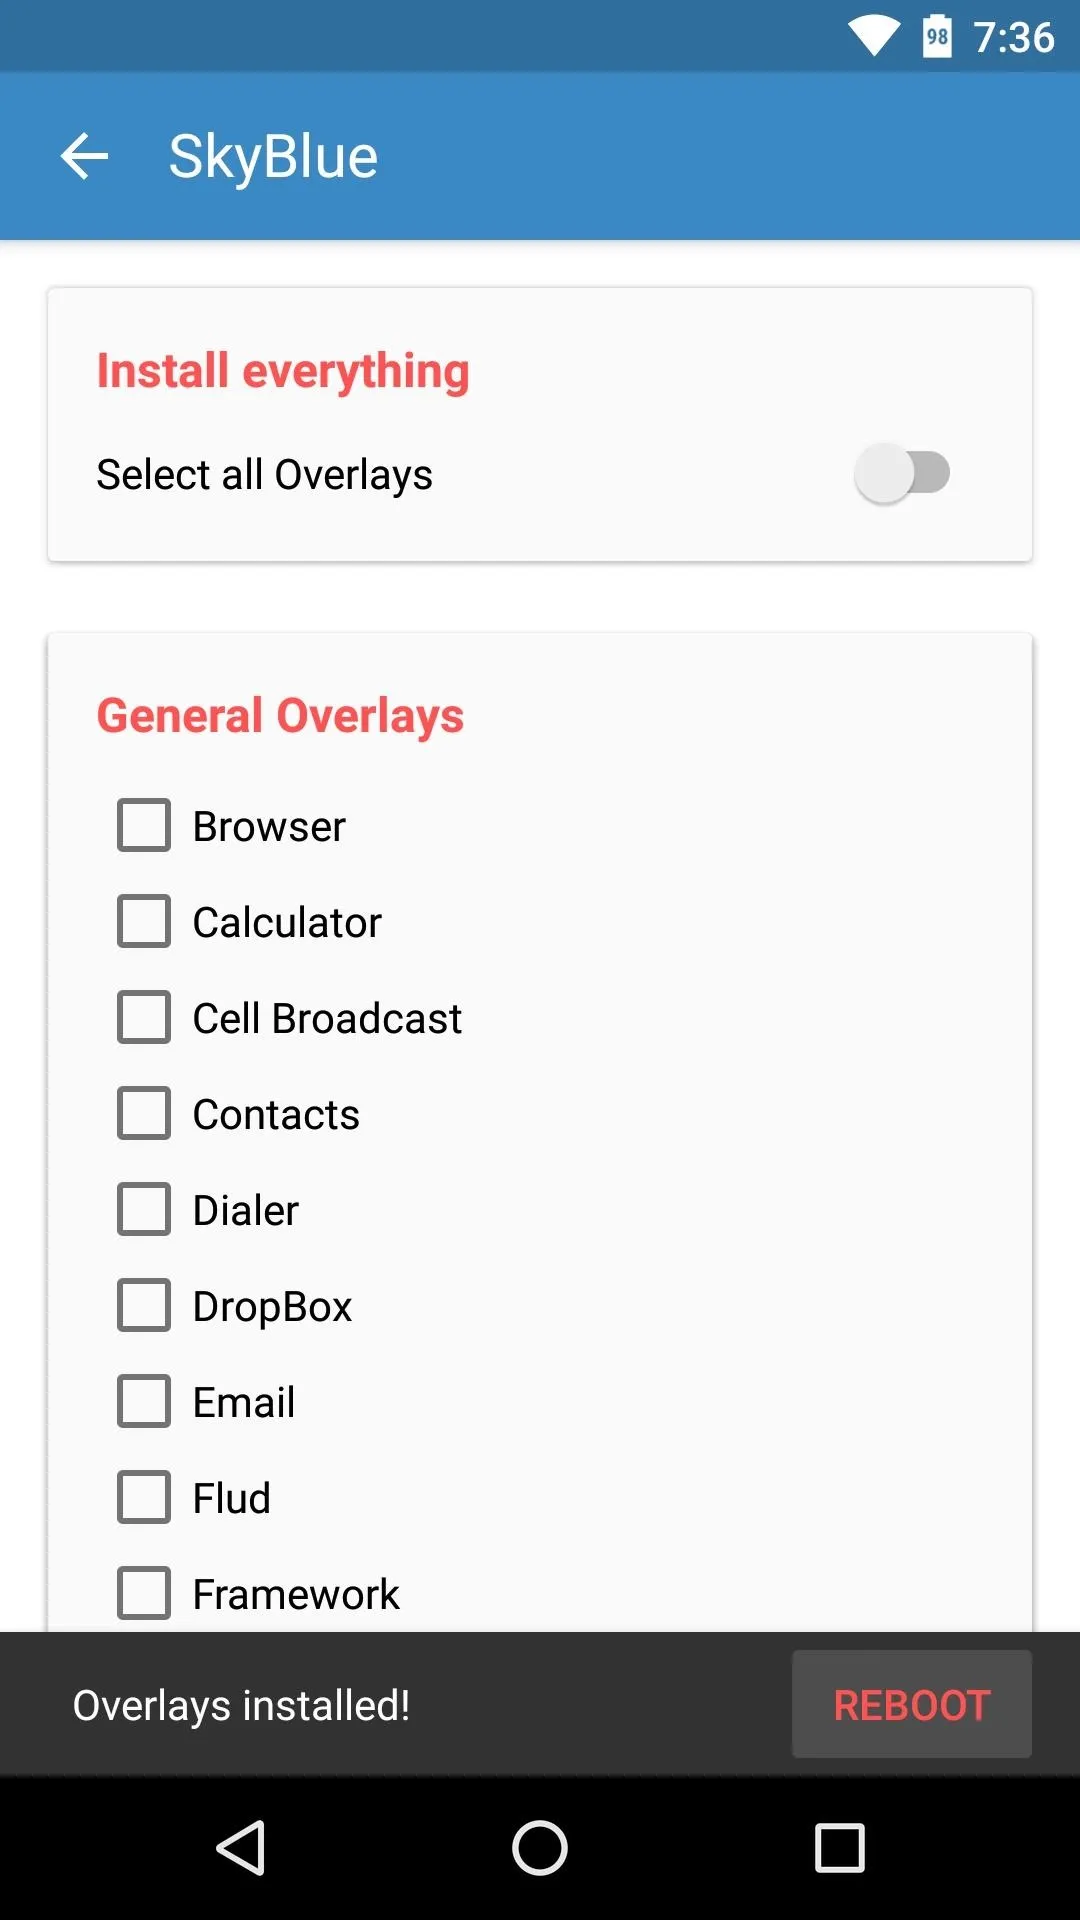
Once you've selected the interface elements that you'd like to theme, tap the floating action button in the bottom-right corner of the screen, then press "OK" when prompted to apply the theme. From here, you'll see a message at the bottom of the screen that says "Overlays installed"—tap "Reboot" on this message to finalize your work.


Once you get back up, your new theme will be applied. Understand that some Layers/RRO themes aren't fully compatible with Marshmallow just yet, but these should be fixed with updates soon. Nonetheless, many Layers themes can change the appearance of system menus, popups, and even third-party apps, so your entire device can have a brand new look.
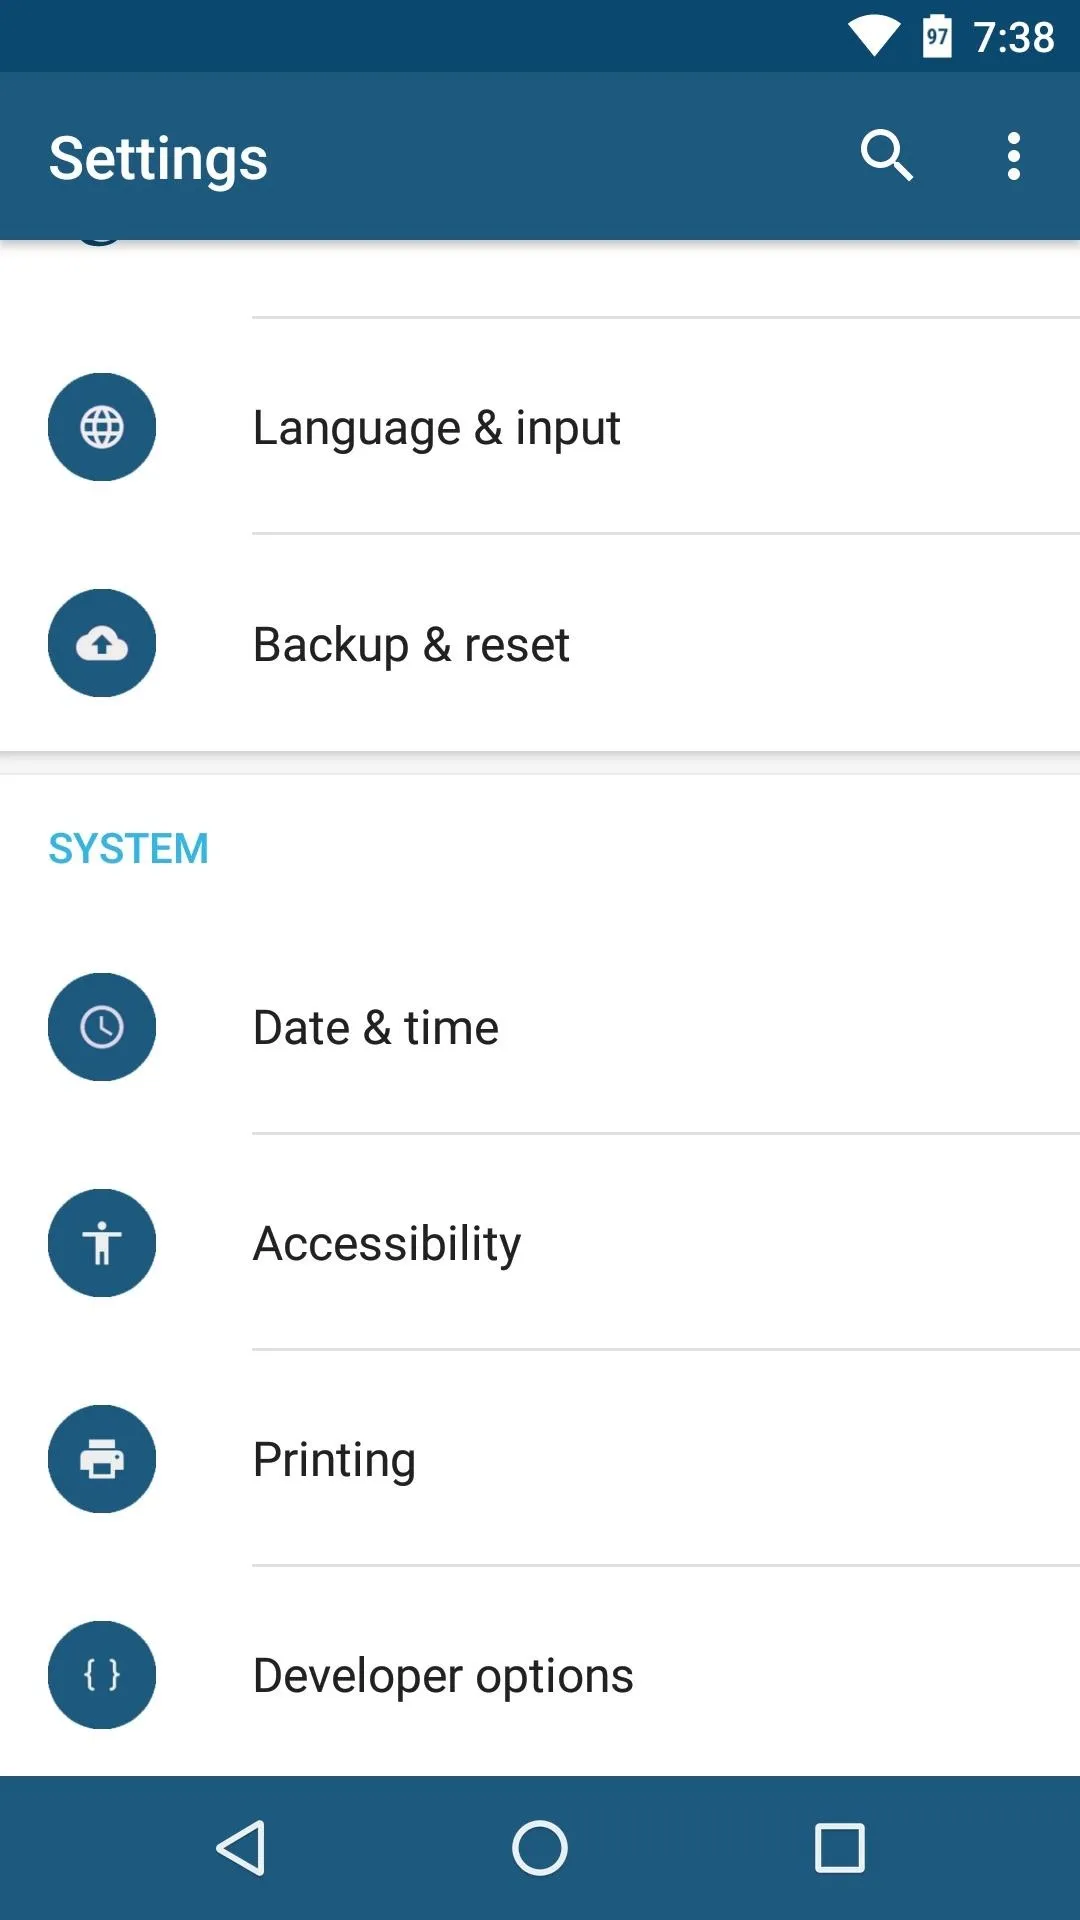

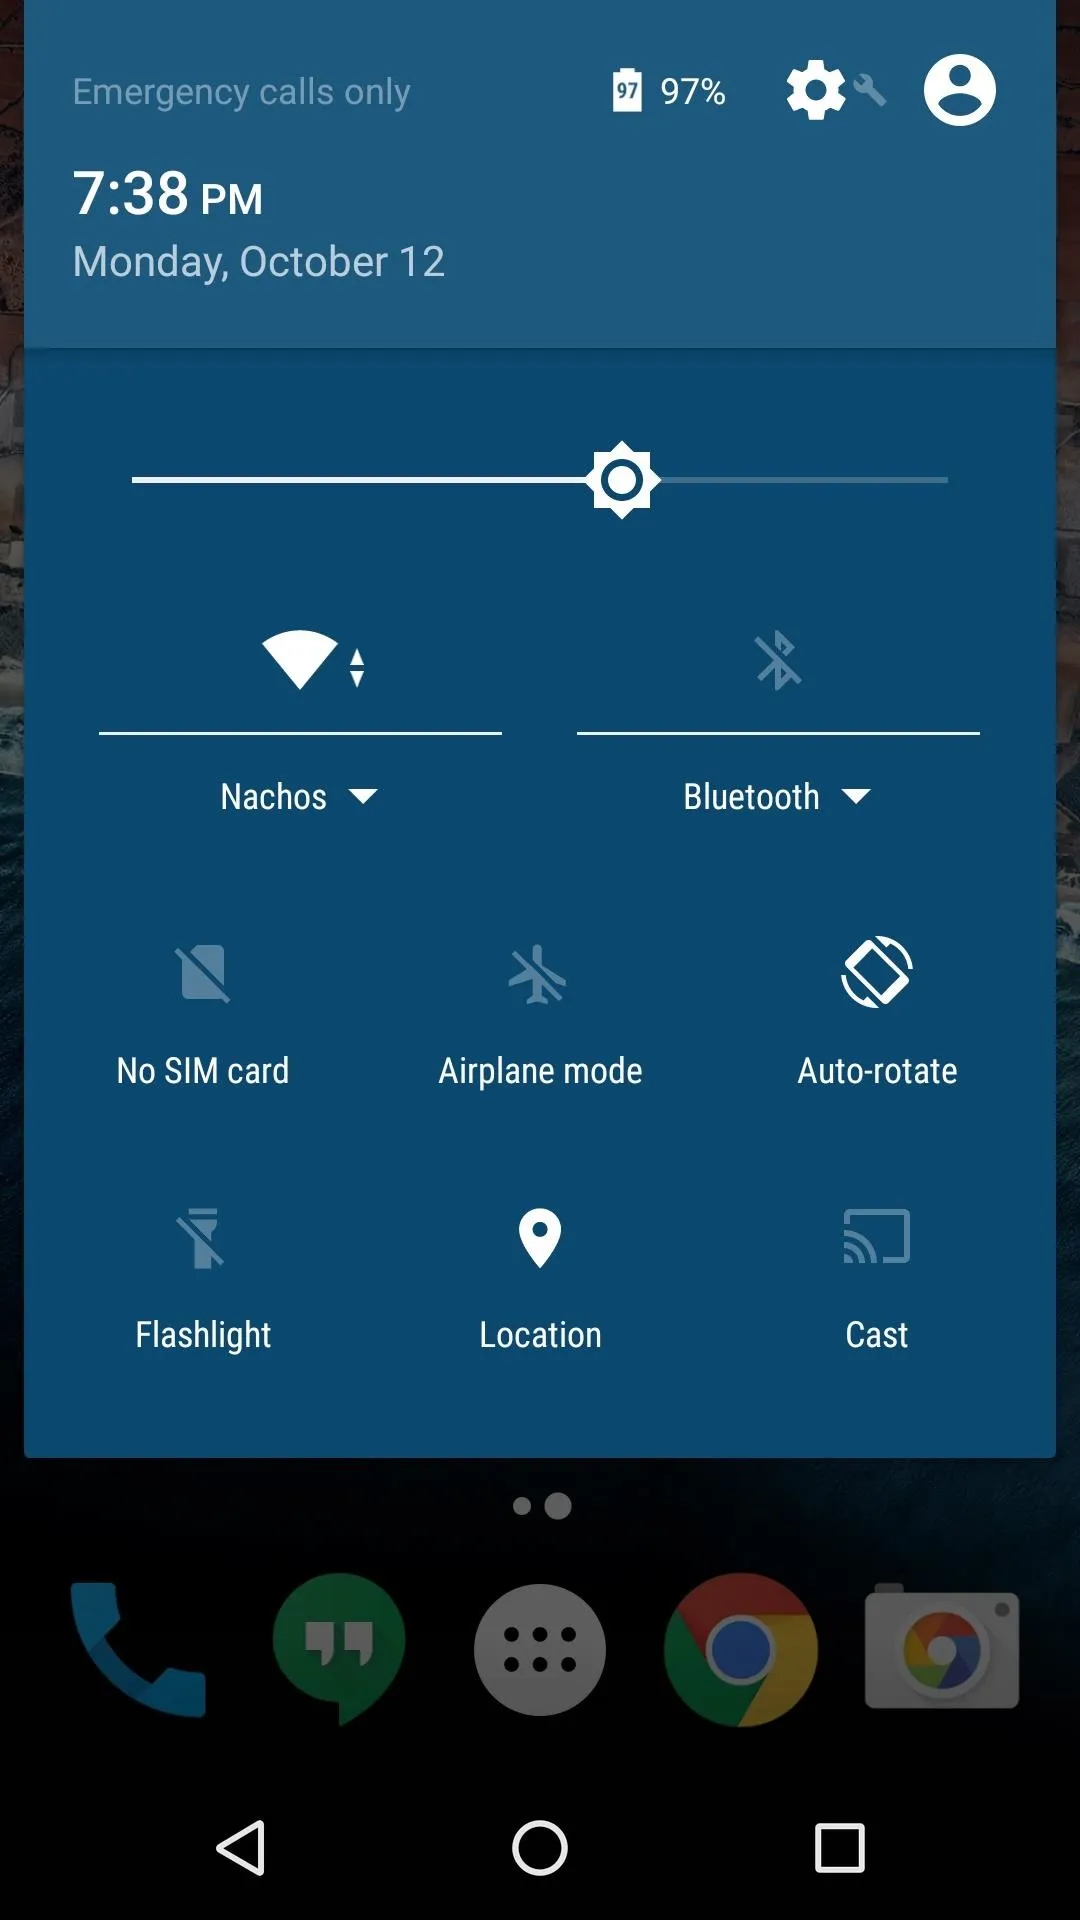


Another awesome feature of Layers is that you can combine multiple themes to create the perfect overall look. Just choose the elements that you'd like to change when applying the first theme, then reboot and apply different elements from a second theme, and so on.
What layers themes have you installed so far? Which are your favorites? Let us know in the comment section below, or drop us a line on Android Hacks' Facebook or Twitter, or Gadget Hacks' Facebook, Google+, or Twitter.












Comments
Be the first, drop a comment!