Despite newer phones having larger batteries, after a few months, my battery life drops significantly. I started researching solutions after my third phone. No matter who I asked, the most recommended solution was always Greenify. And unlike other solutions, you don't need root to use it.
Back in 2015, Android introduced a feature known as Doze Mode to the platform. Doze put the phone in a low-power state by blocking apps from waking it up periodically to update data. Instead of the free-for-all that Android had before in this regard, Doze gave apps maintenance windows in which they could update, reduced their frequency, and improved standby battery life.
I qualify that statement with the word "standby" because Doze only activated when the screen is off, the phone is off the charger, and the device has not been moving for quite some time. Android 7.0 Nougat improved this by removing the requirement of your phone being stationary, but the other rules are still in effect.
That's where Greenify comes into the picture. It lets you adjust Doze to be either more or less aggressive. Instead of waiting hours before Doze automatically kicks in, you can enable after minutes, saving even more battery. Greenify also lets you track which apps are waking up your phone the most, improving how Greenify works and helping you to decide whether you should keep the app or look for a low battery usage alternative.
Download Greenify
First, head to the Play Store to download and install Greenify.
- Play Store Link: Greenify (free)
Set Up Greenify
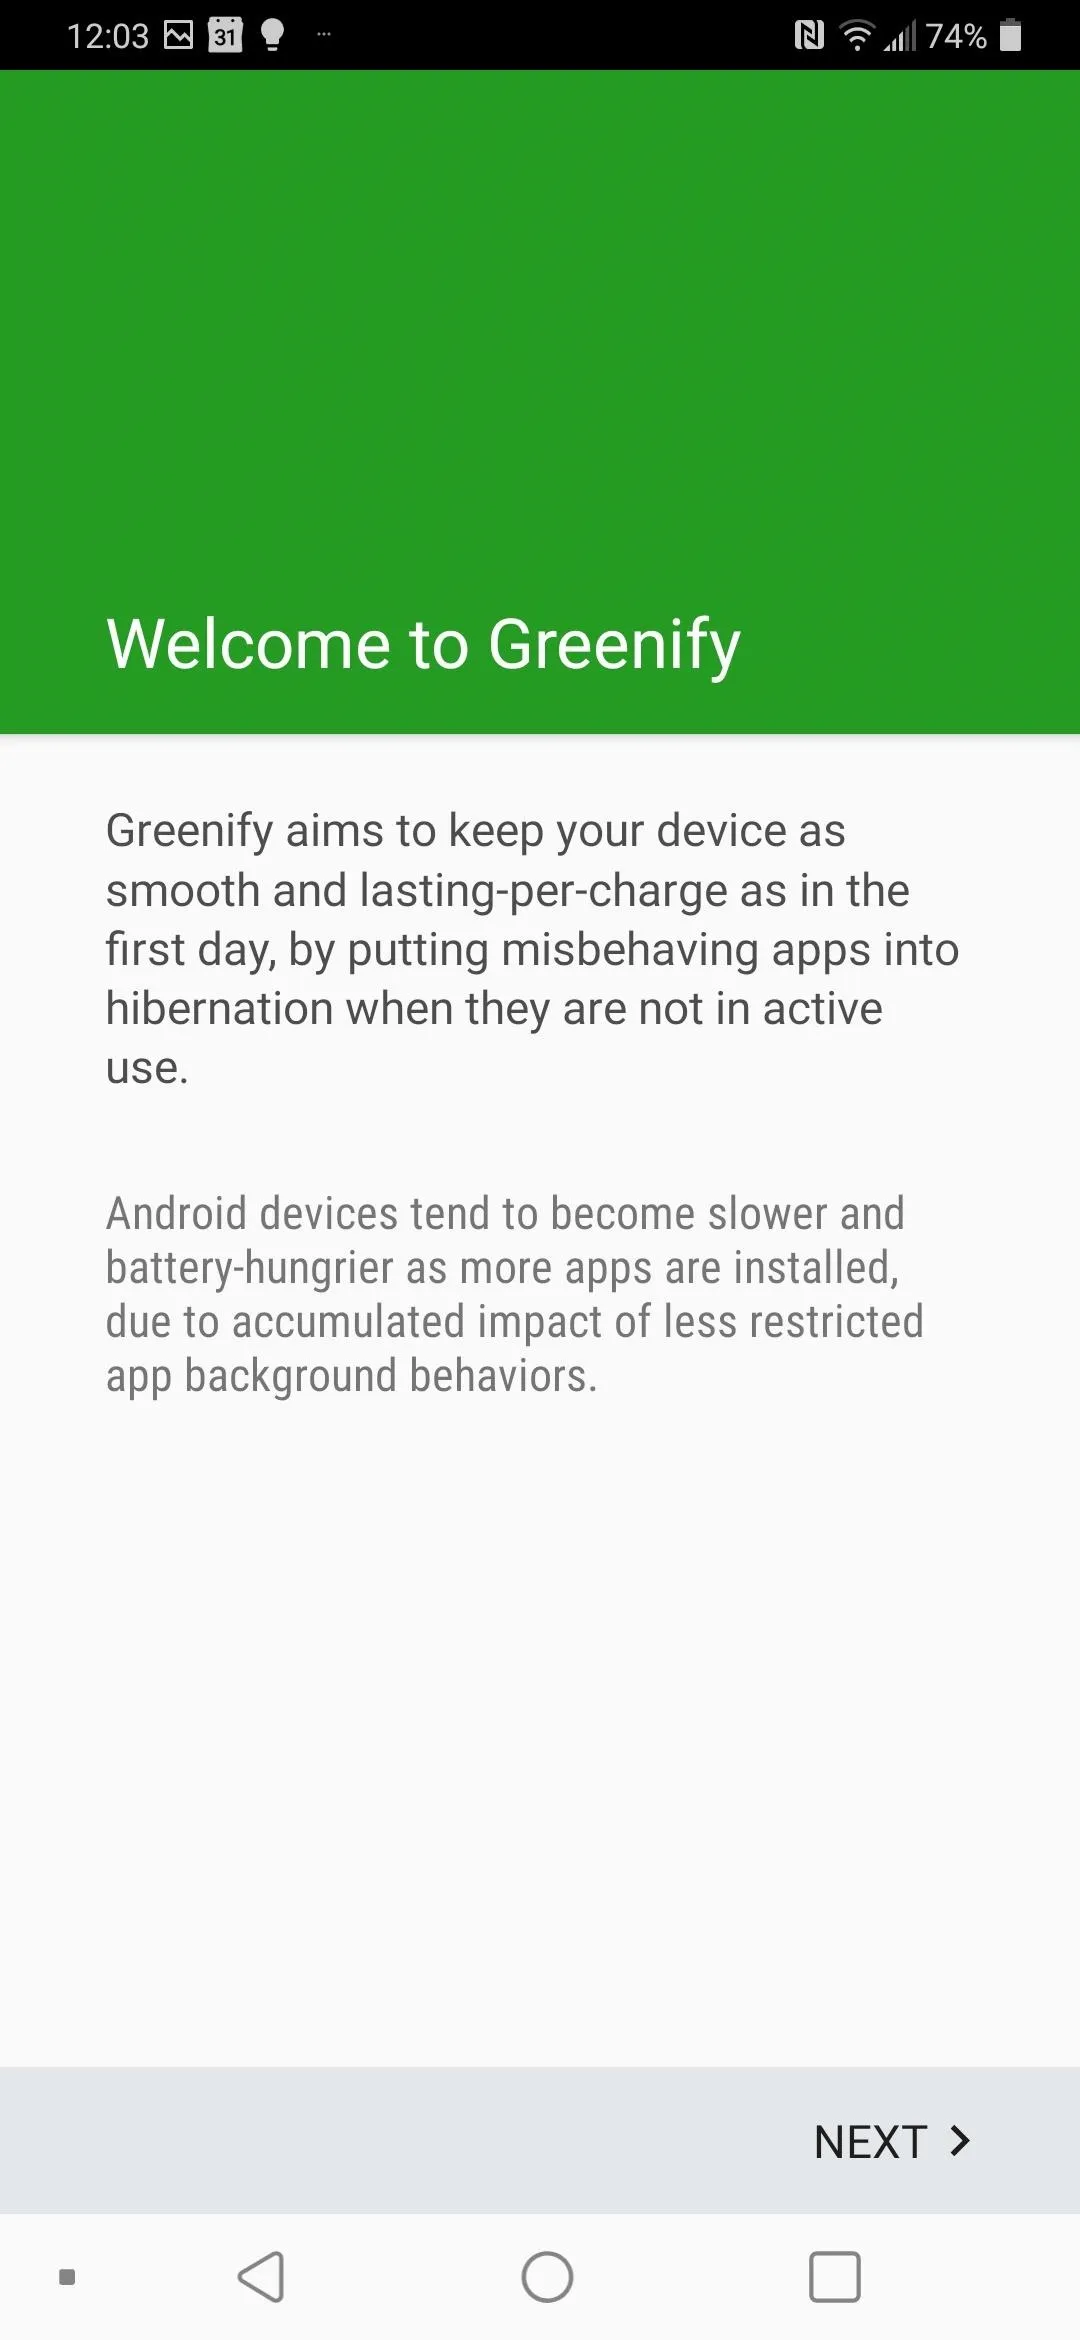
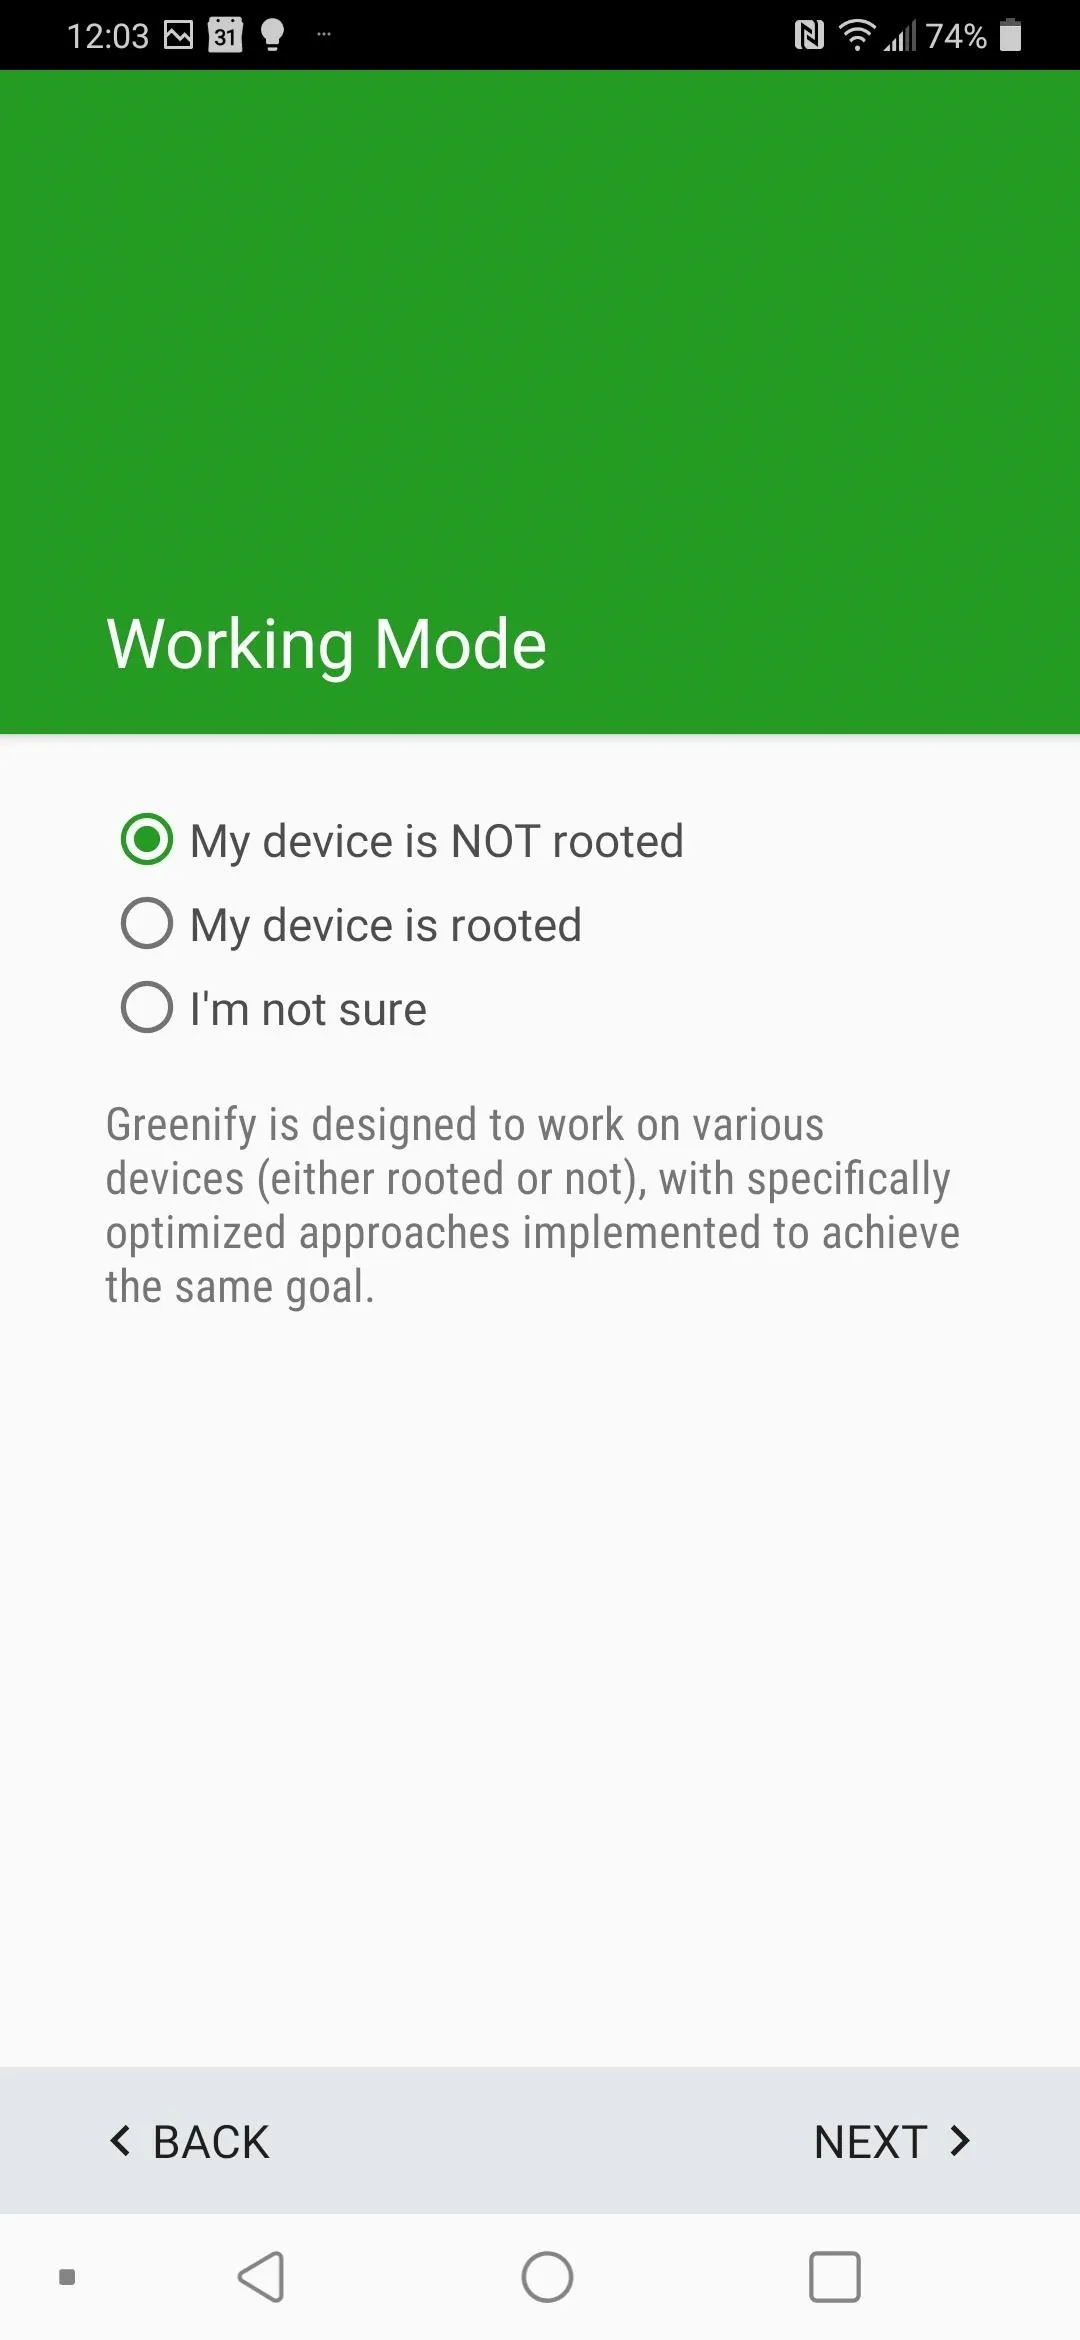
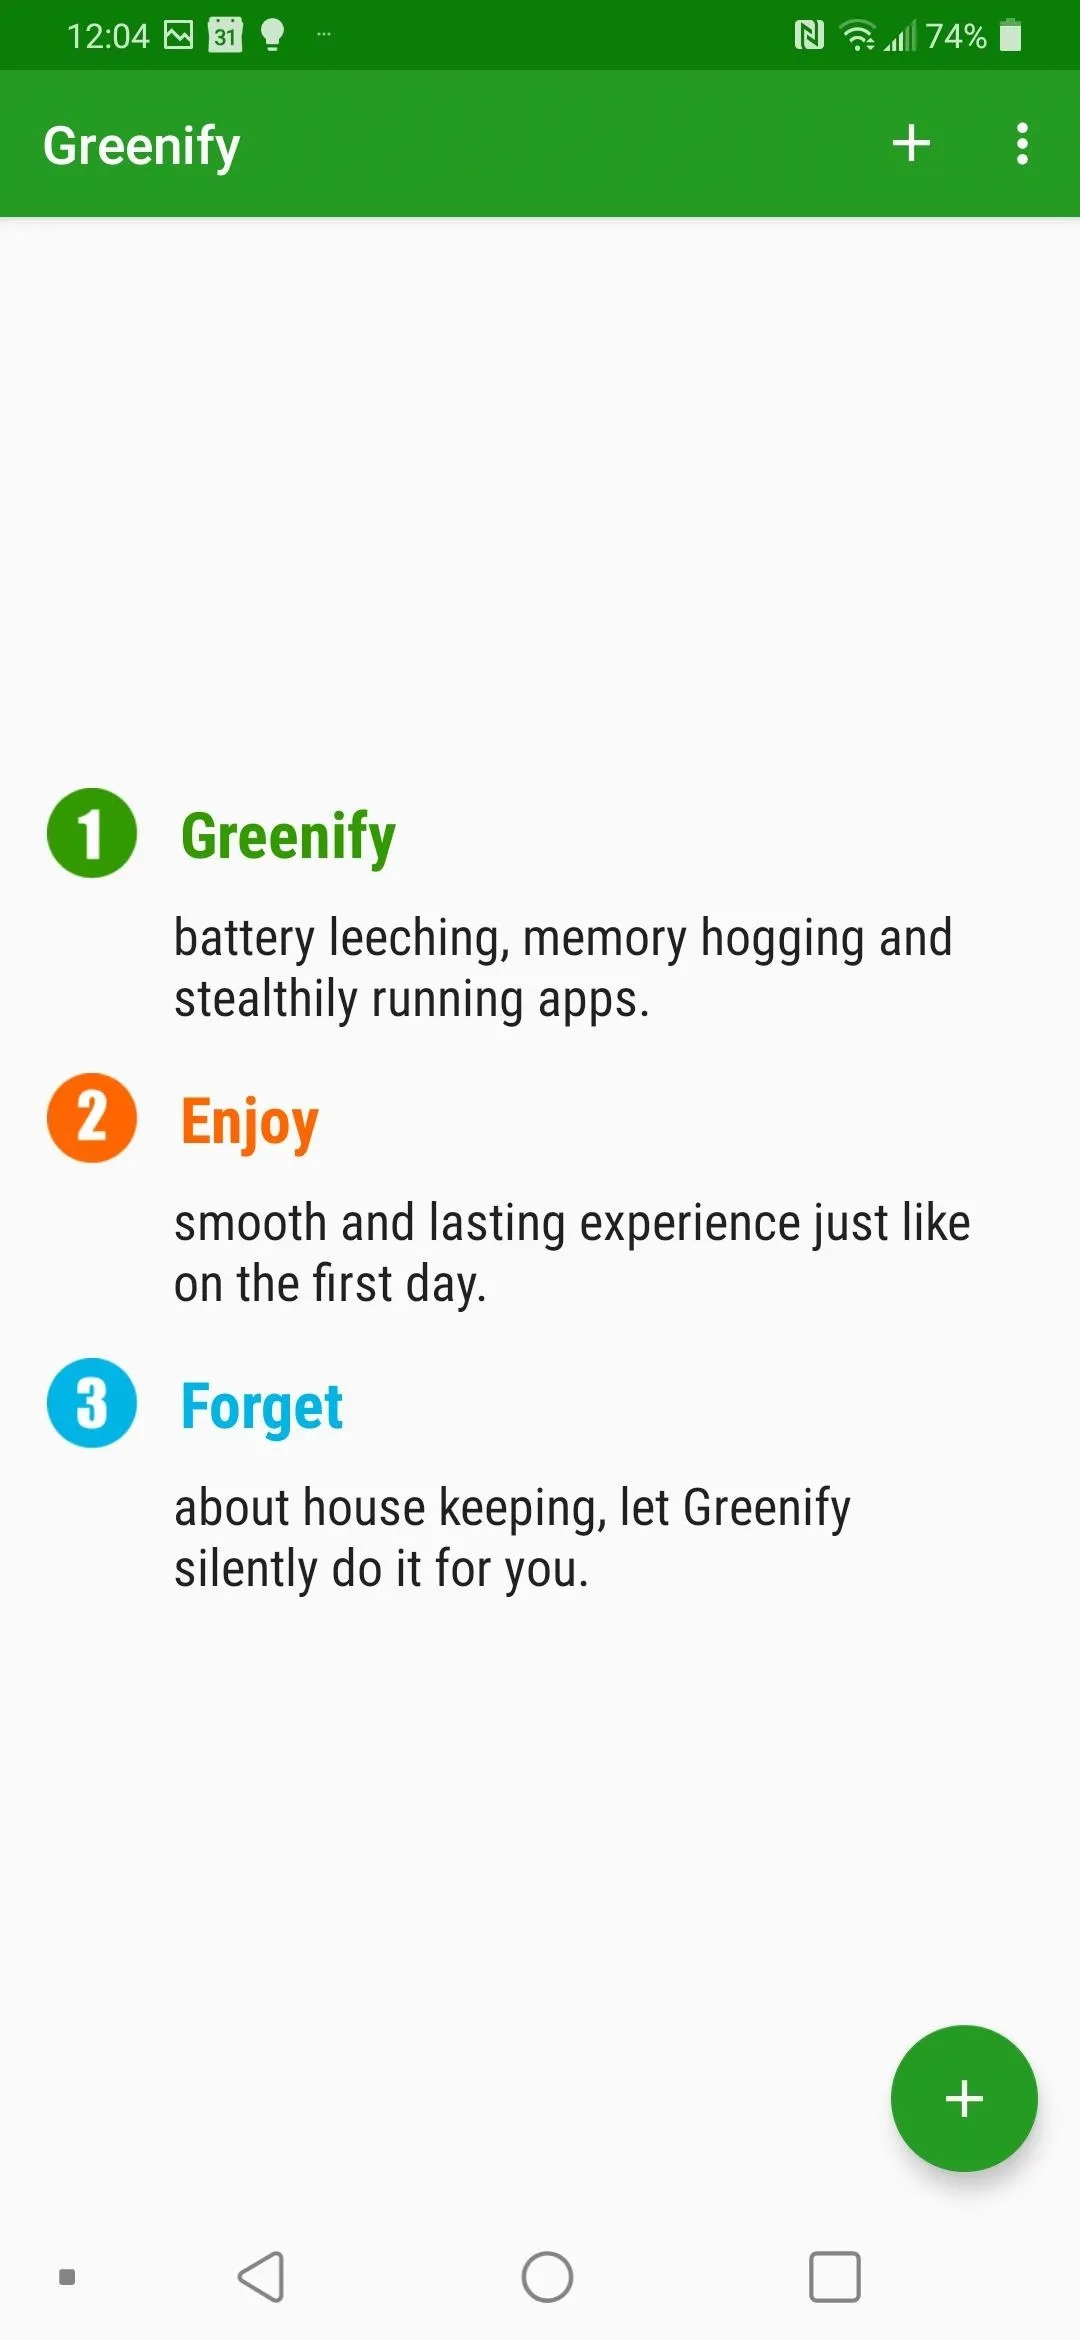
Open Greenify and select "Next" on the initial startup page. Choose "My device is not rooted," then select "Next."
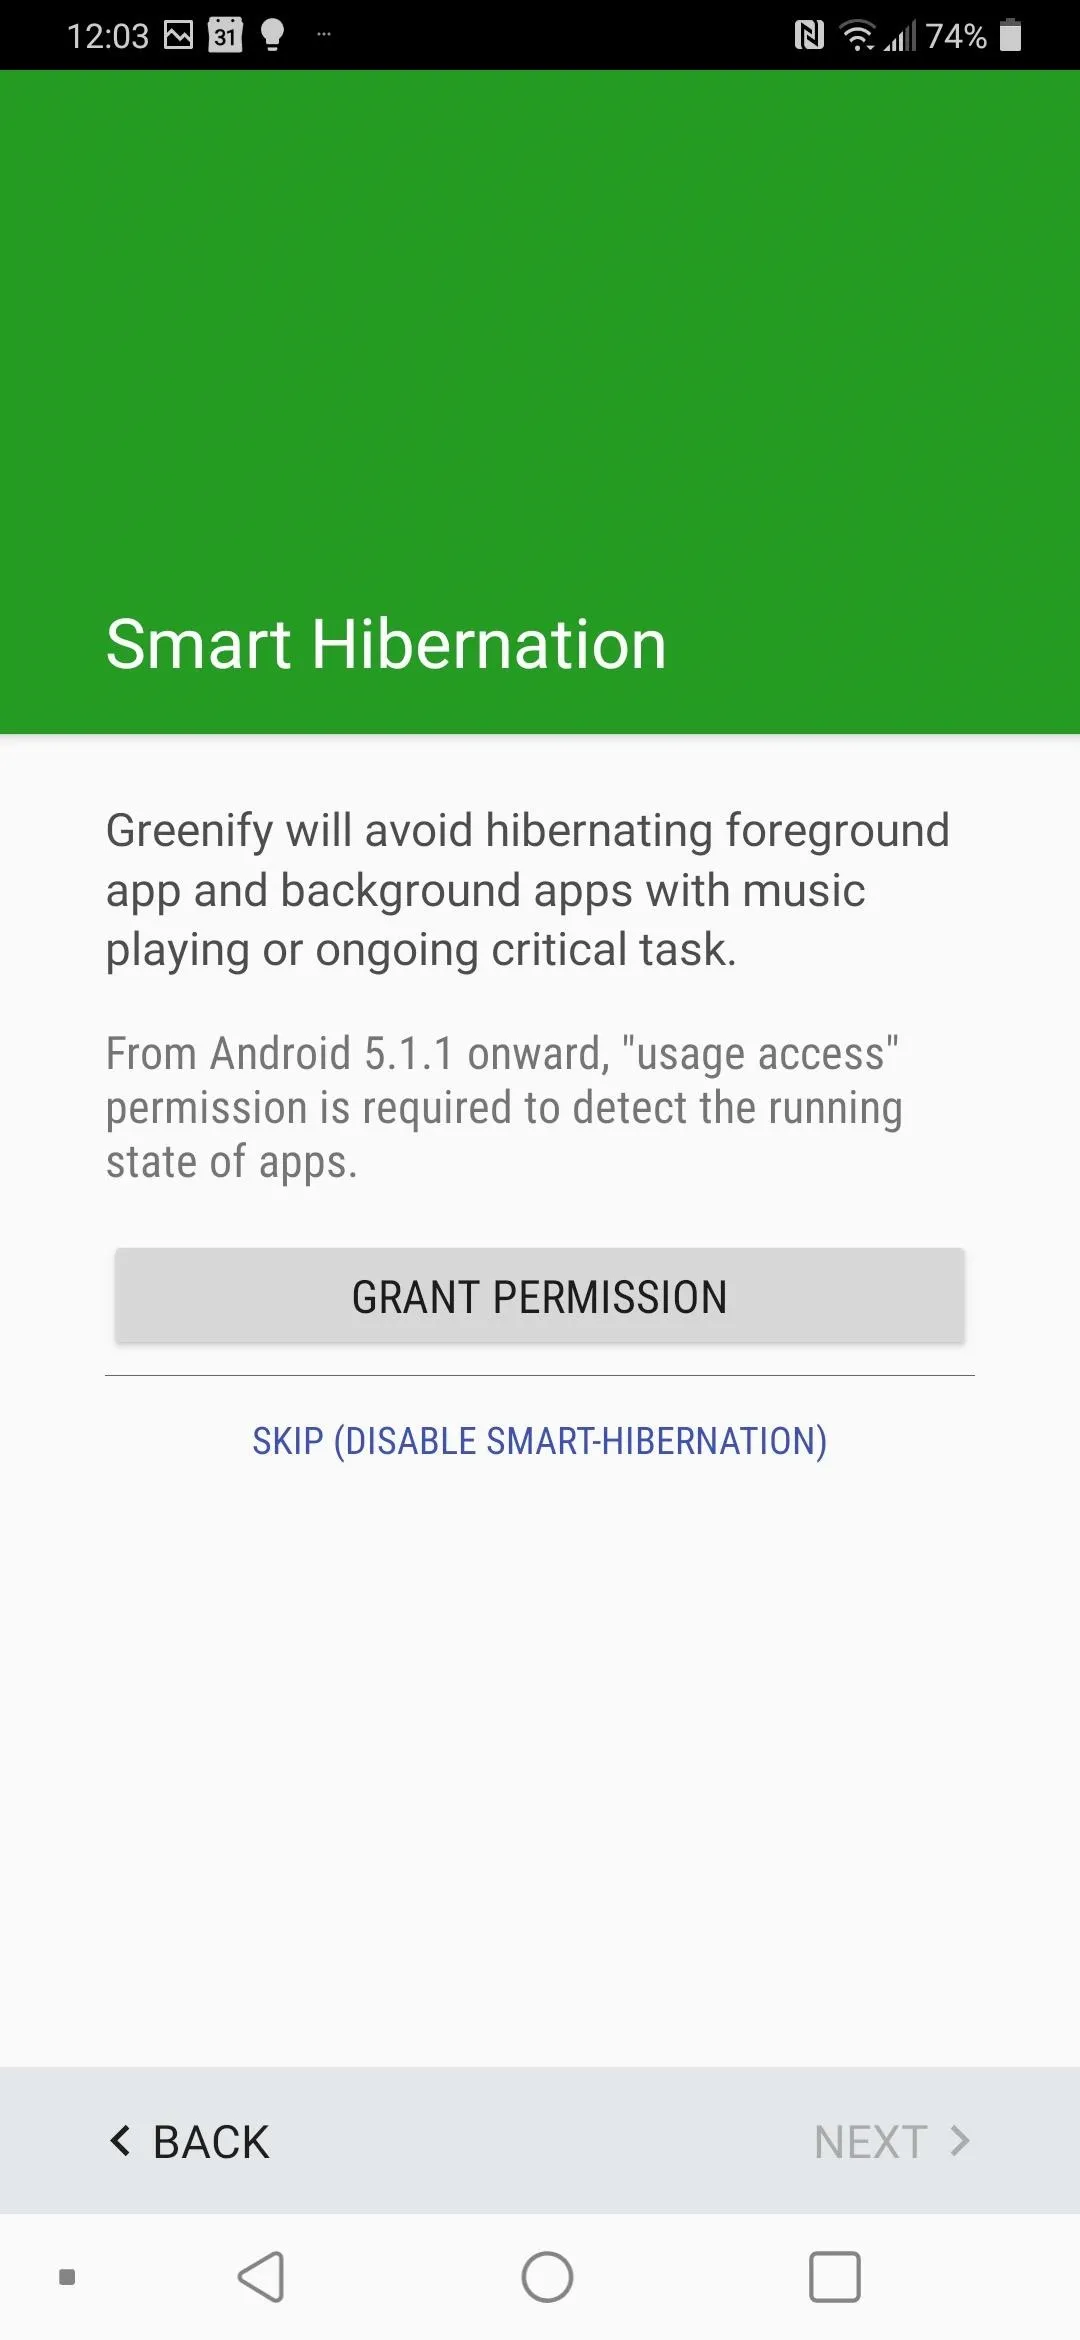
On the new page, select the "Grant Permission" button to enable smart hibernation. What this does is avoid hibernating apps in the foreground or background when performing an ongoing critical task or playing music. Without this enabled, Greenify will hibernate apps (put them into Doze Mode) regardless of what they're doing, which can cause bugs.
So select the "Grant Permission" button, and on the new page, find "Greenify" and enable the toggle. Return to Greenify and select "Finish" in the bottom-right corner.


Hibernate Apps
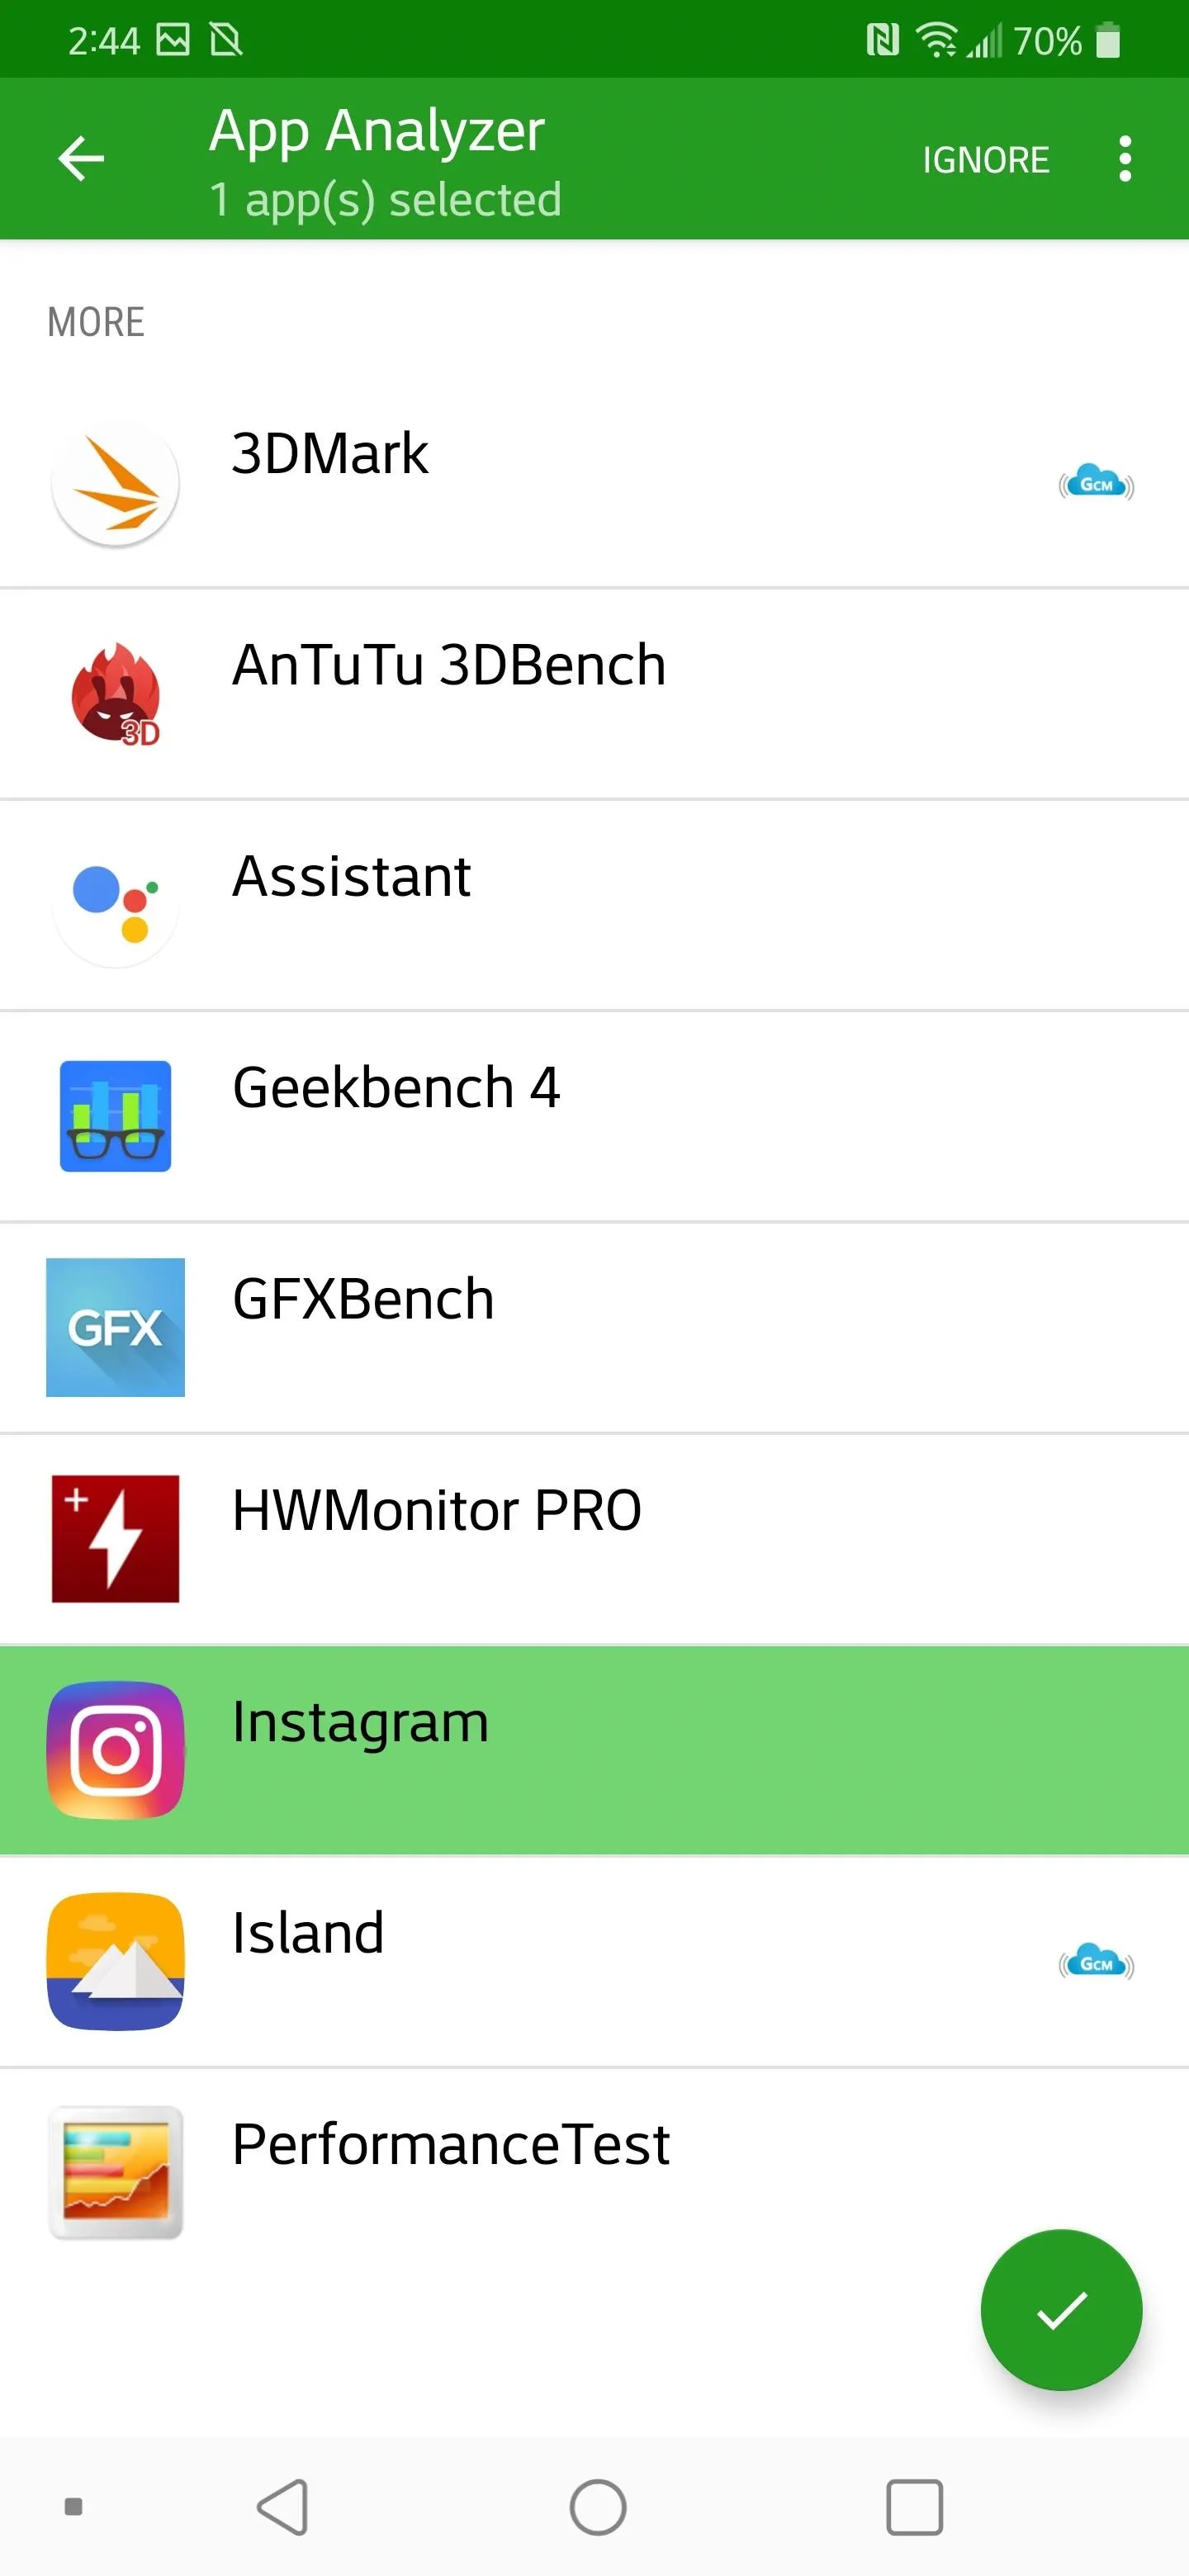
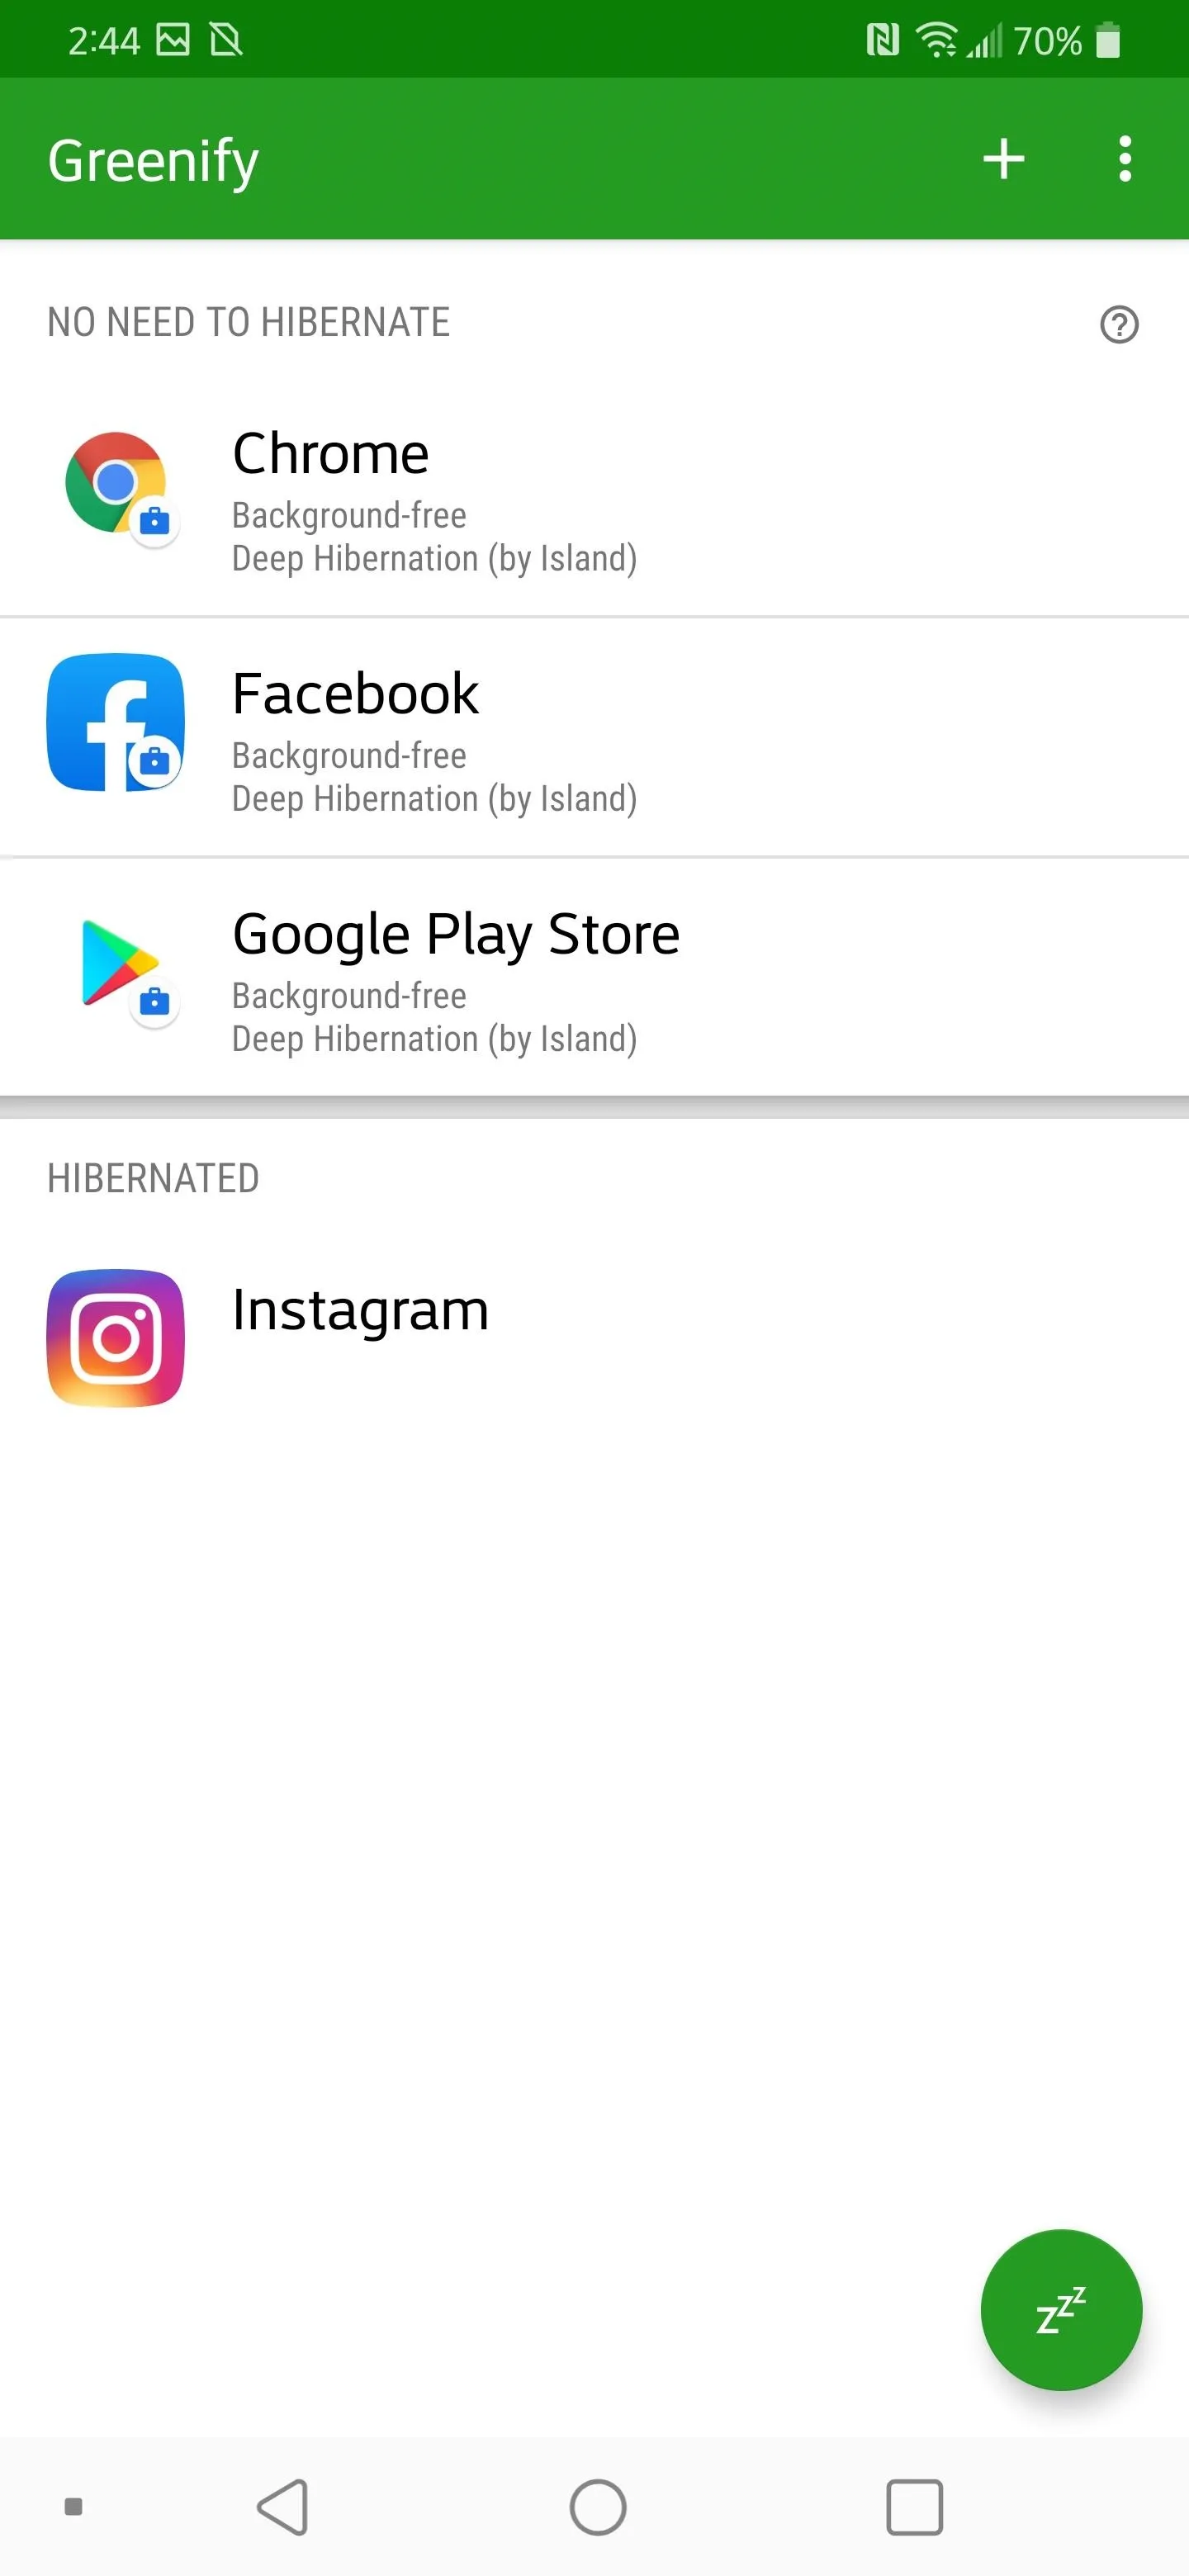
Now, select the "+" floating action button and choose "Show More Apps." Here will be a list of the apps you can hibernate. Select an app and tap the checkmark floating action button. Greenify will warn you that if an app uses Google Cloud Messaging (a service used for push notifications), you may miss alerts from that app when it's hibernating.


Run ADB Commands for More Controls
Greenify has even more features if you have a computer and some time. That is because these features require the use of ADB commands. If you are interested, check out the guide below to get your computer and phone ready for ADB commands.
Once your phone and computer are ready, you can now enable Aggressive Doze and Wake up Tracker with a few codes. Aggressive Doze will enter doze mode minutes after the screen turns off instead of following Android's default method of waiting hours. As long as the phone is not charging, the phone will enter doze mode. Also, you can manage which apps are not affected by this using a white list.
To enable Aggressive Doze, connect your phone to your computer using a USB cable. On the computer, open a command window in the right directory. Then, you'll just need to input the following command:
adb -d shell pm grant com.oasisfeng.greenify android.permission.WRITE_SECURE_SETTINGSWake-up Tracker will track why apps are waking up after hibernating. It will show you this information and help Greenify do a better job at hibernating them sooner after it wakes up. To enable these features, input the following command:
adb -d shell pm grant com.oasisfeng.greenify android.permission.READ_LOGSIf you're using Mac, Linux, or some versions of Windows, you may have to add a period and a slash ( ./ ) before each command. For example, both lines above should use "./adb" to start the command instead of "adb" by itself. The rest of the command is the same.
Cover image by Jon Knight/Gadget Hacks






Comments
Be the first, drop a comment!