Buying an unlocked phone is usually the correct move. By doing so, you bypass a lot of bloat that carriers put on your phone, and you can also use that phone with another carrier should you decide to switch to a new one. However, a lot of carriers won't give unlocked devices access to their visual voicemail apps. For that, there's Google Voice.
Google Voice is a VOIP call forwarding service that gives you a free number that's tethered to your Gmail account. It comes packaged inside the Google Voice app, which has a visual voicemail service built-in. Using it, you'll be able to have your read your voicemails — and even have them texted and emailed directly to you if you want.
Install Google Voice
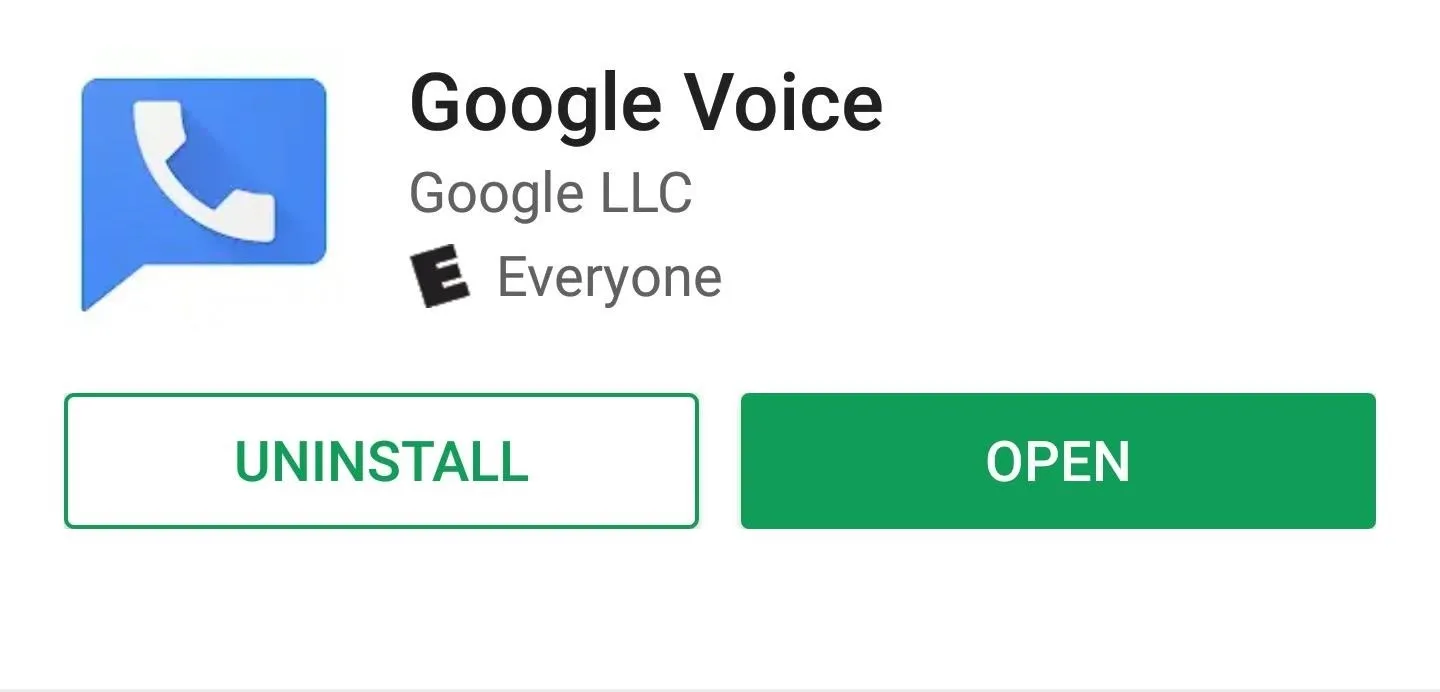
First, head to Google Play and search for "Google Voice" or tap the link below. Hit "Install" to download and install the app, then open it up.
Create a Google Voice Number
Next, you'll need to create a Google Voice number if you haven't already done so. You don't need to use this number to get voicemail transcriptions from your regular phone number, but you do need to set it up to use Google Voice.
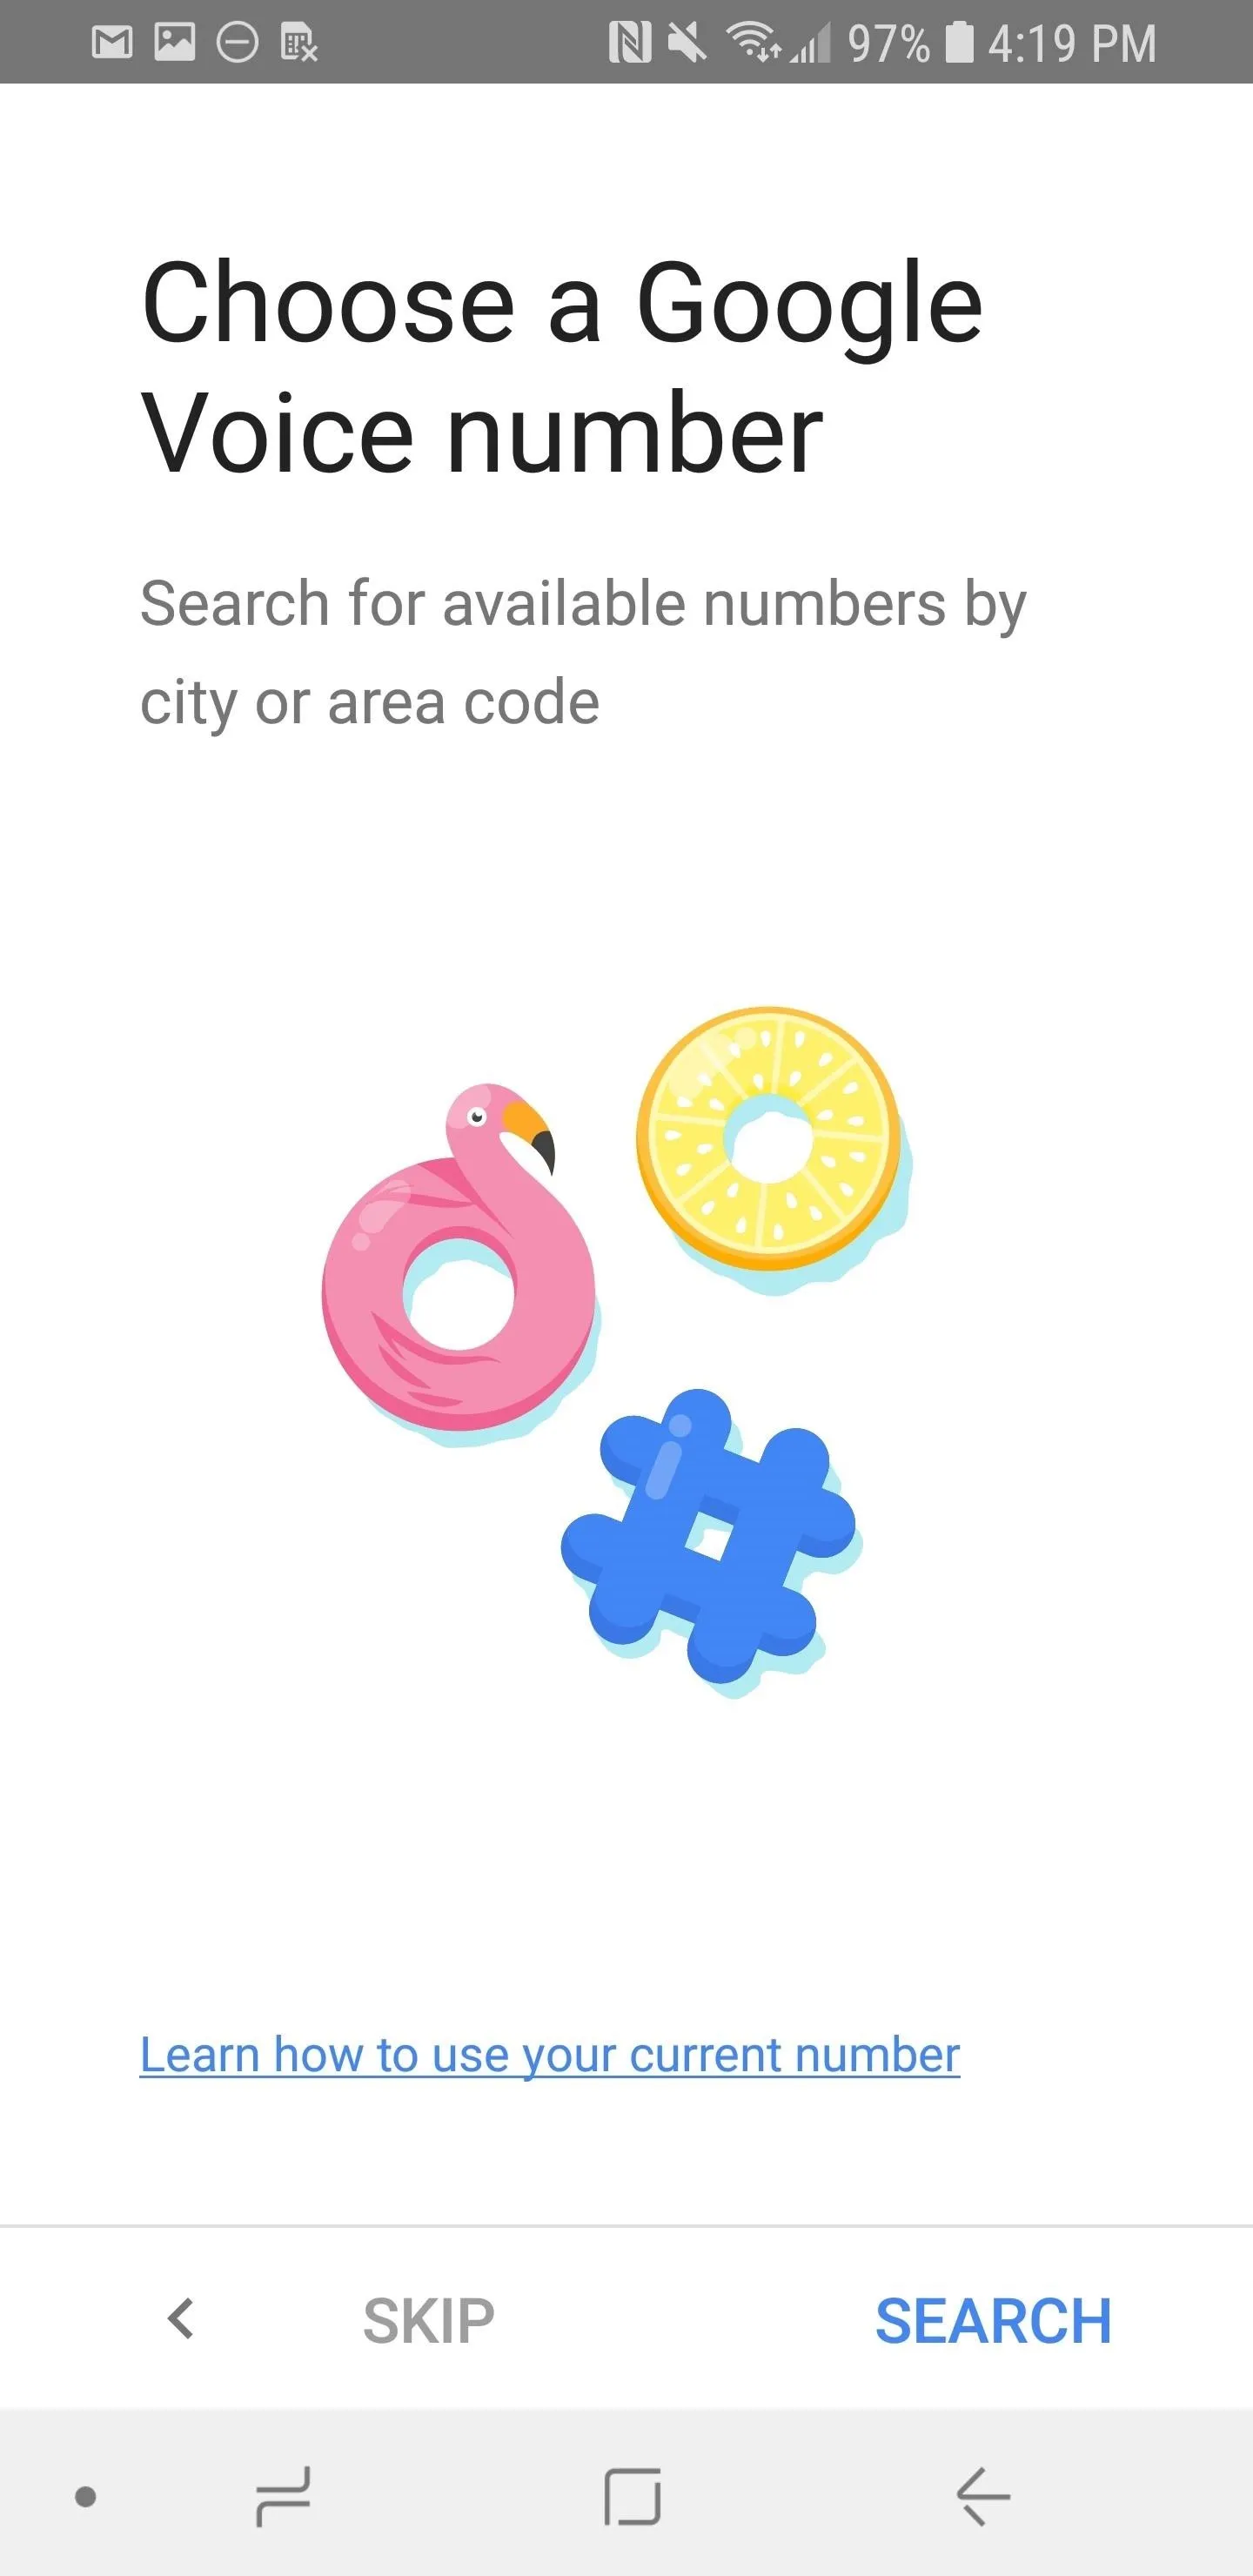
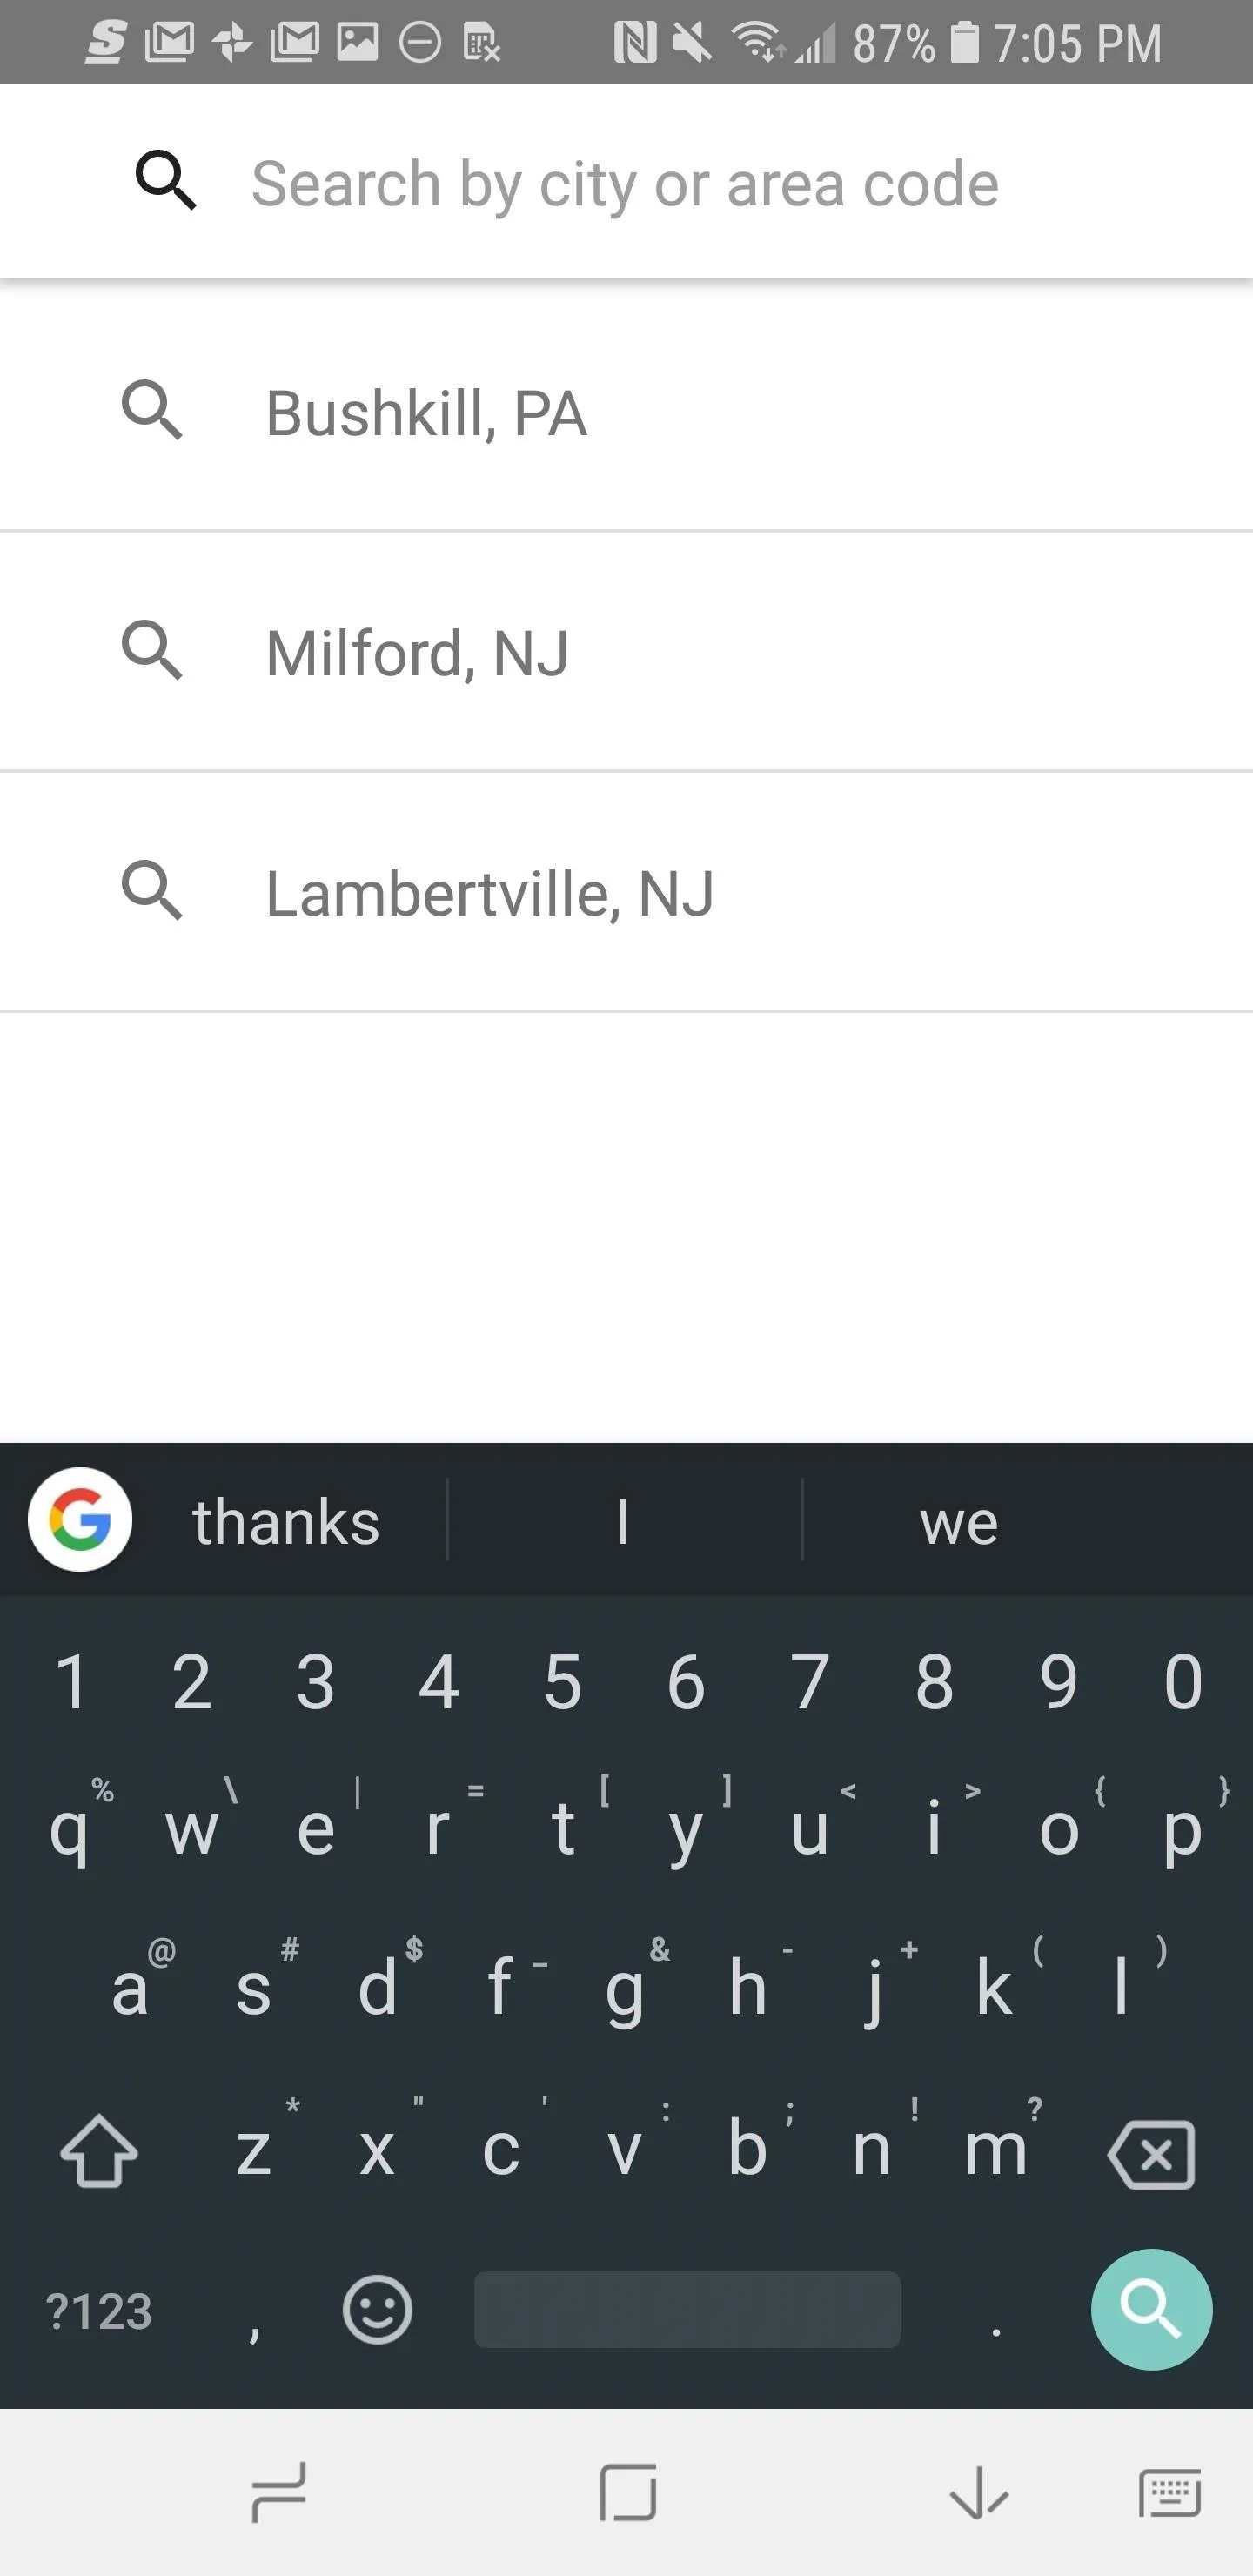
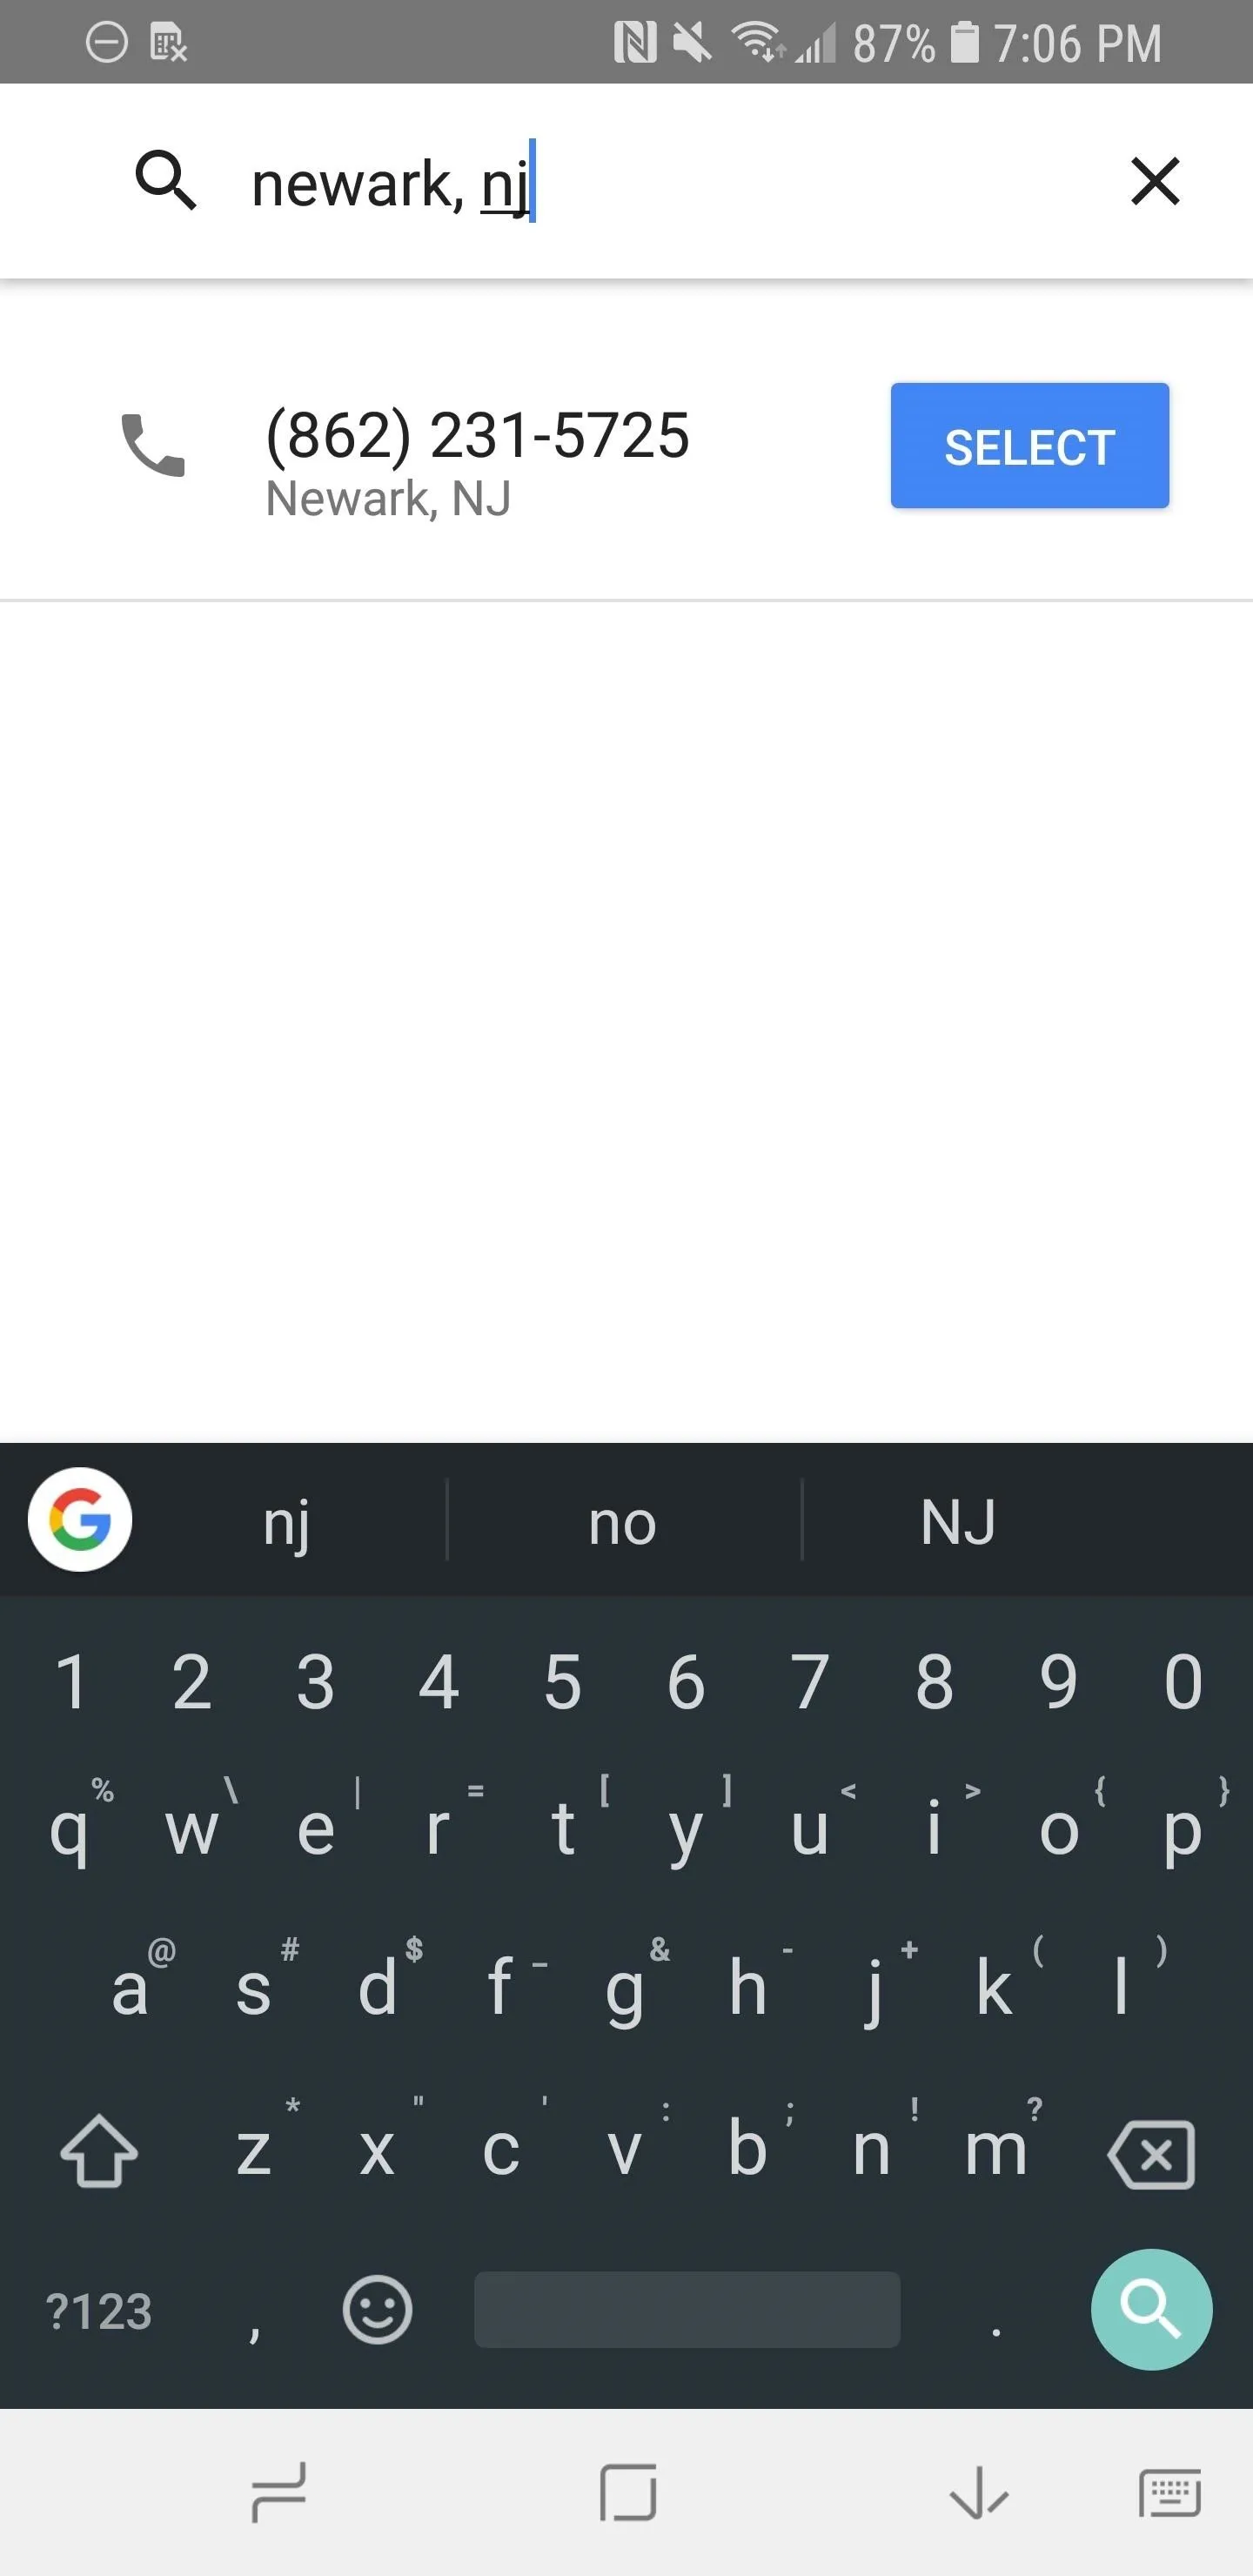
When you first open up Google Voice, tap "Search" to search through available numbers to link your current number to. You can look for ones that are inside or near a certain city by typing in that city's name. Once you've found a number that works for you, tap "Select."


Link Your Current Phone Number
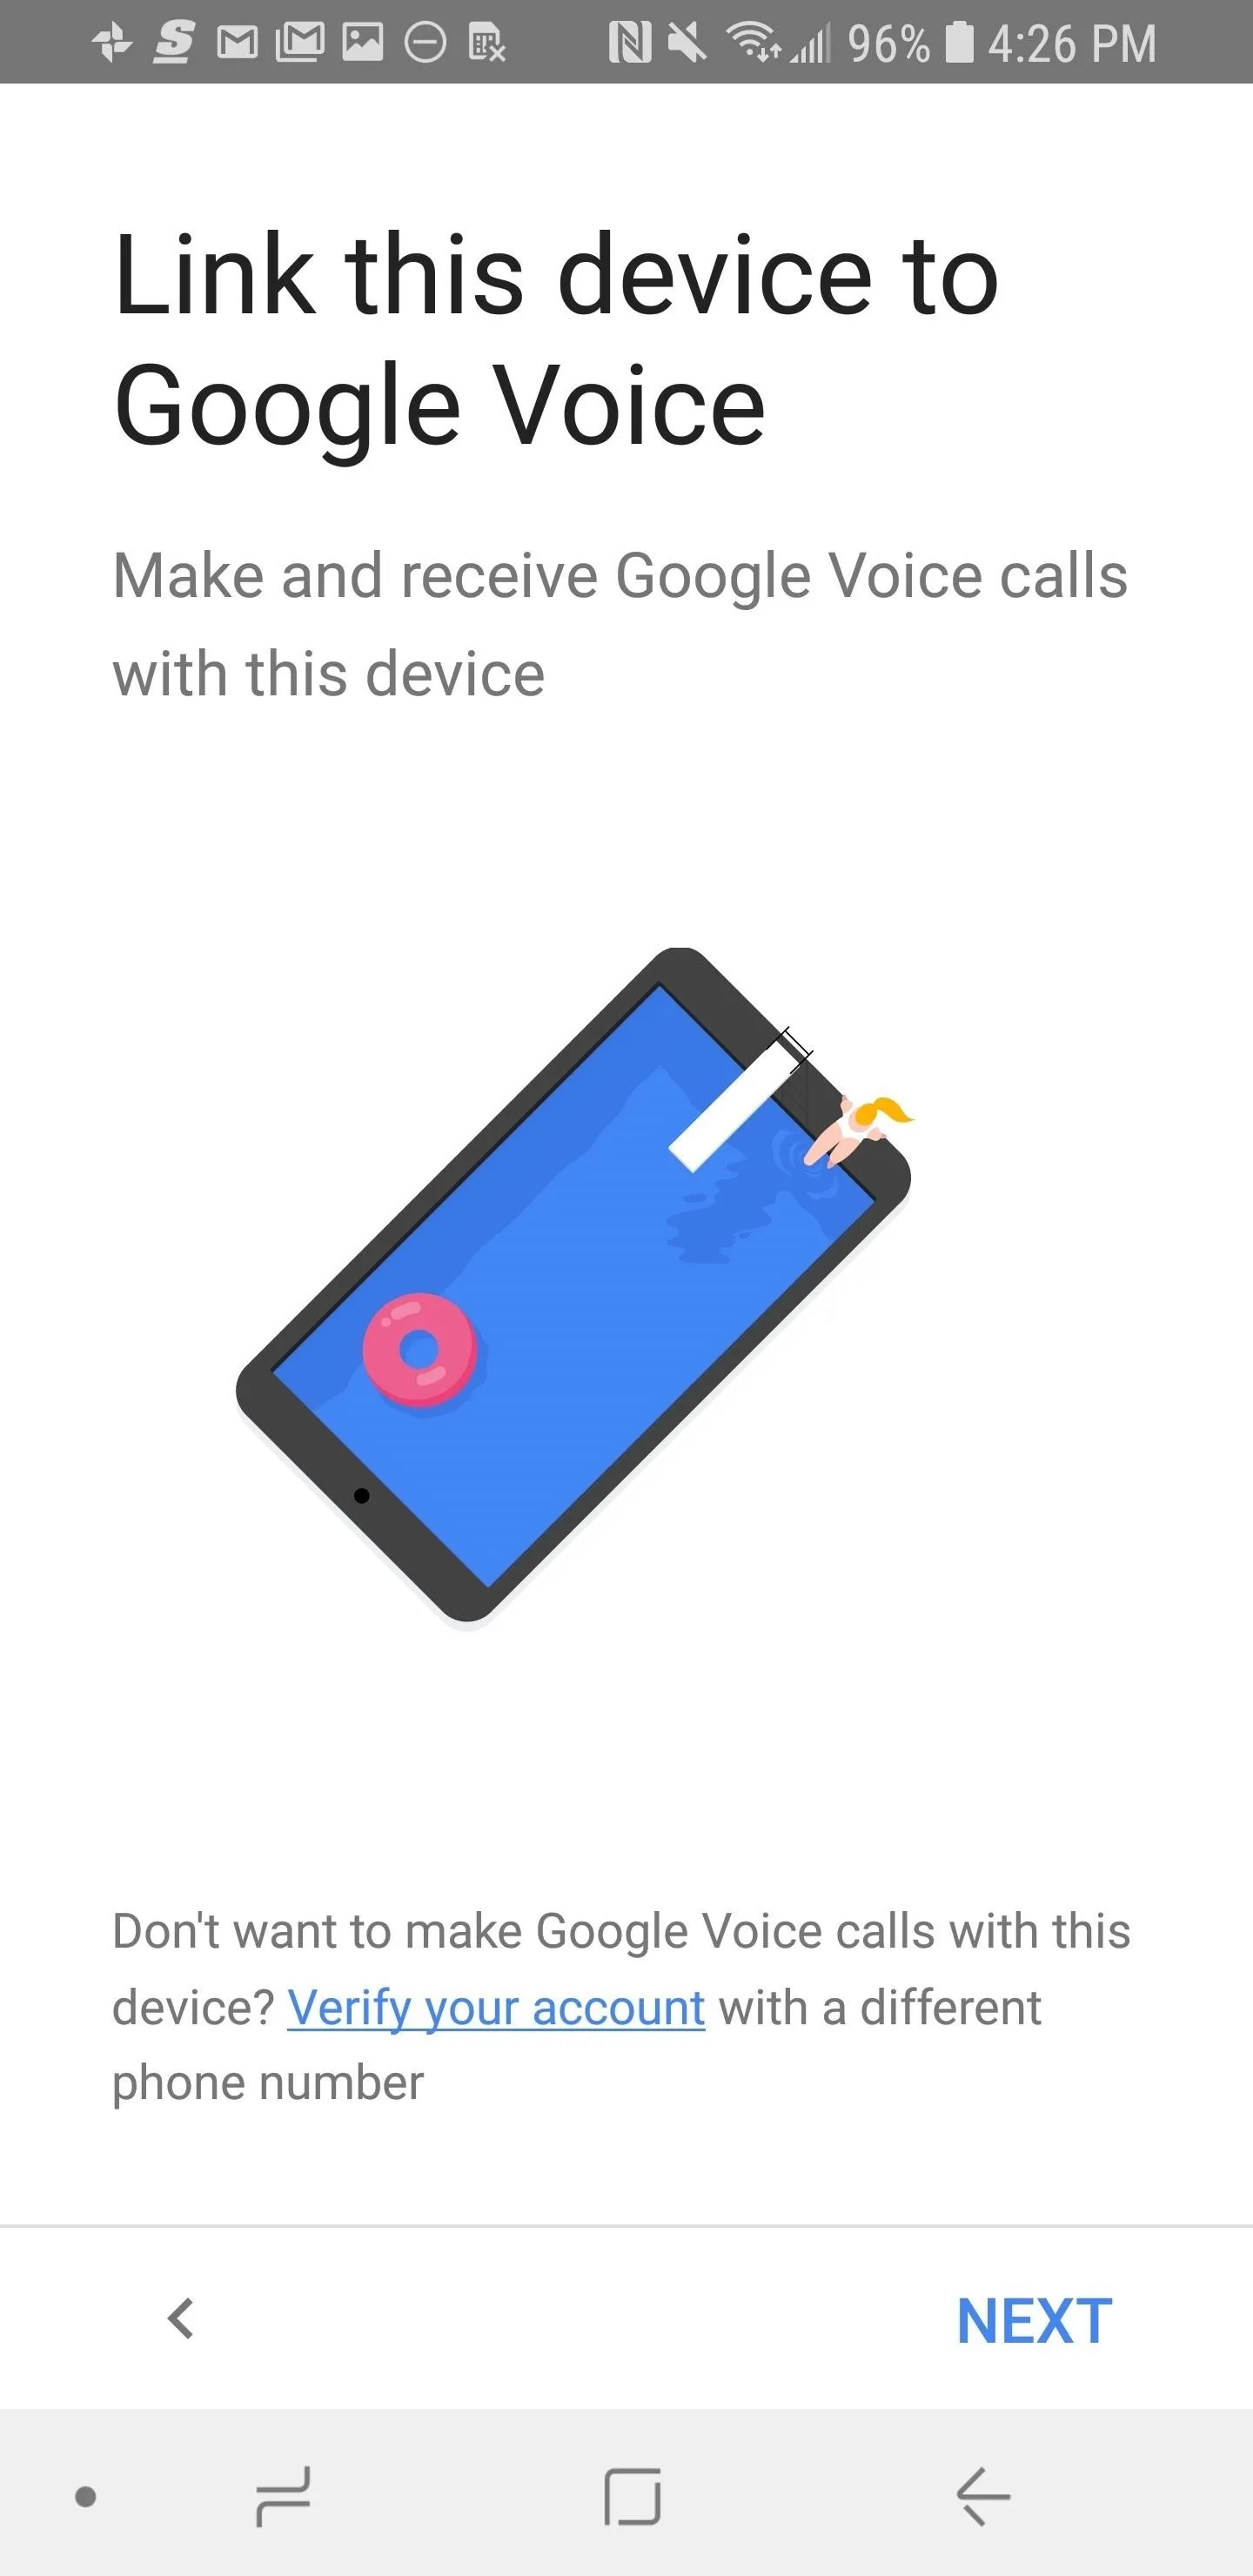
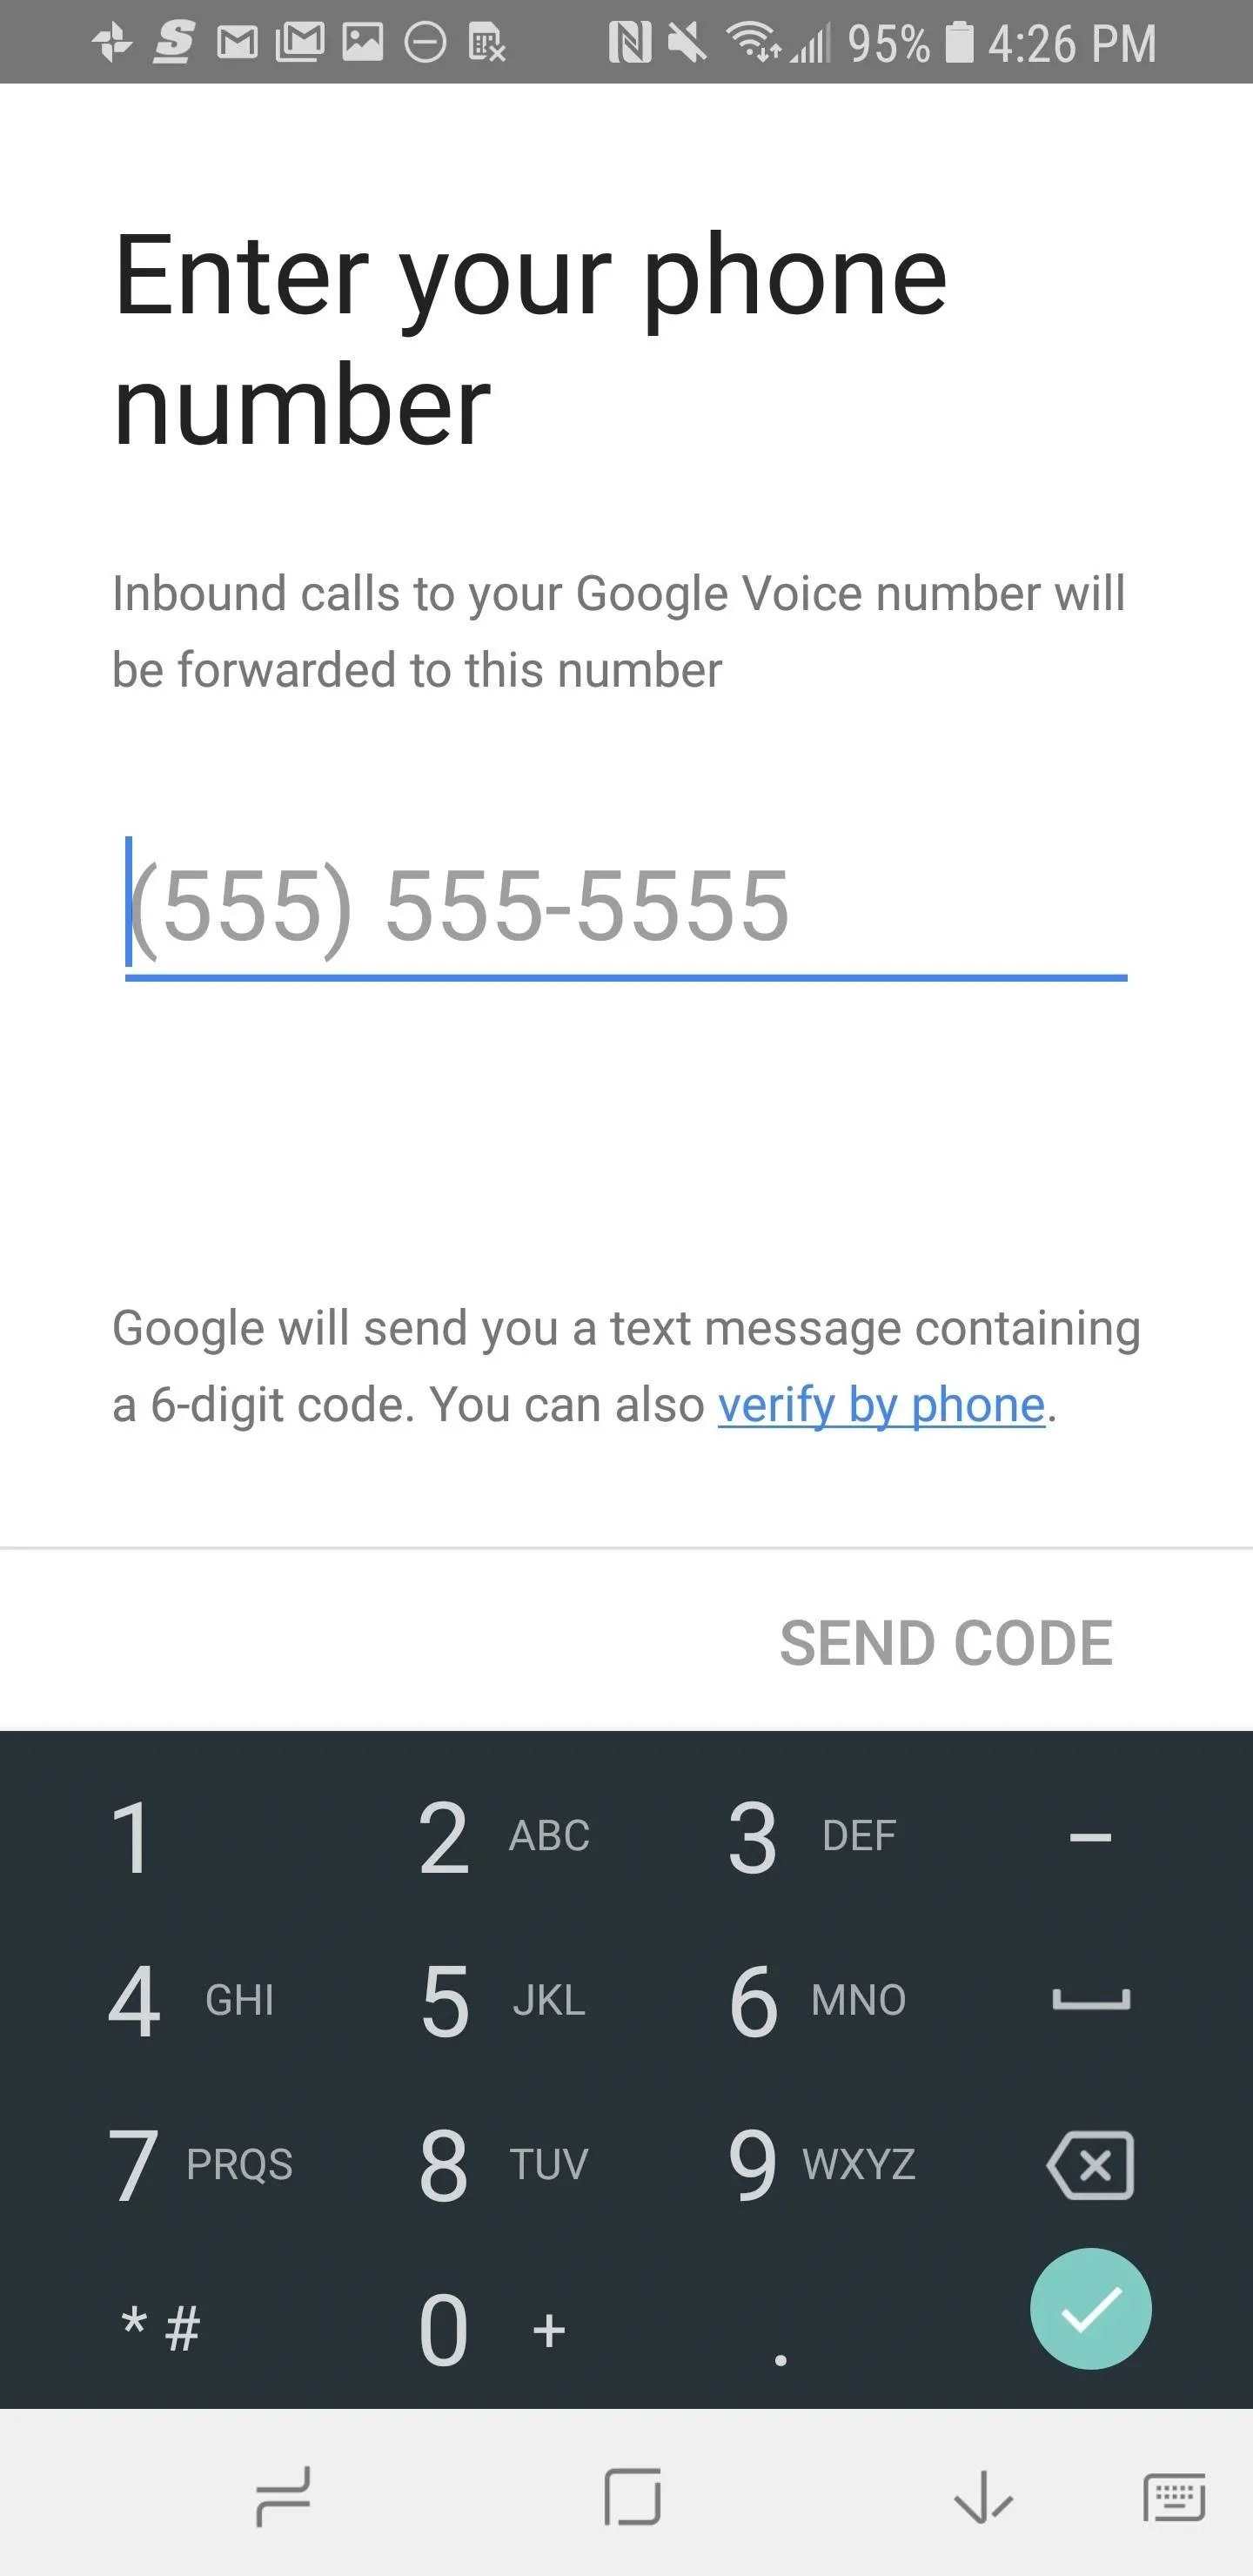
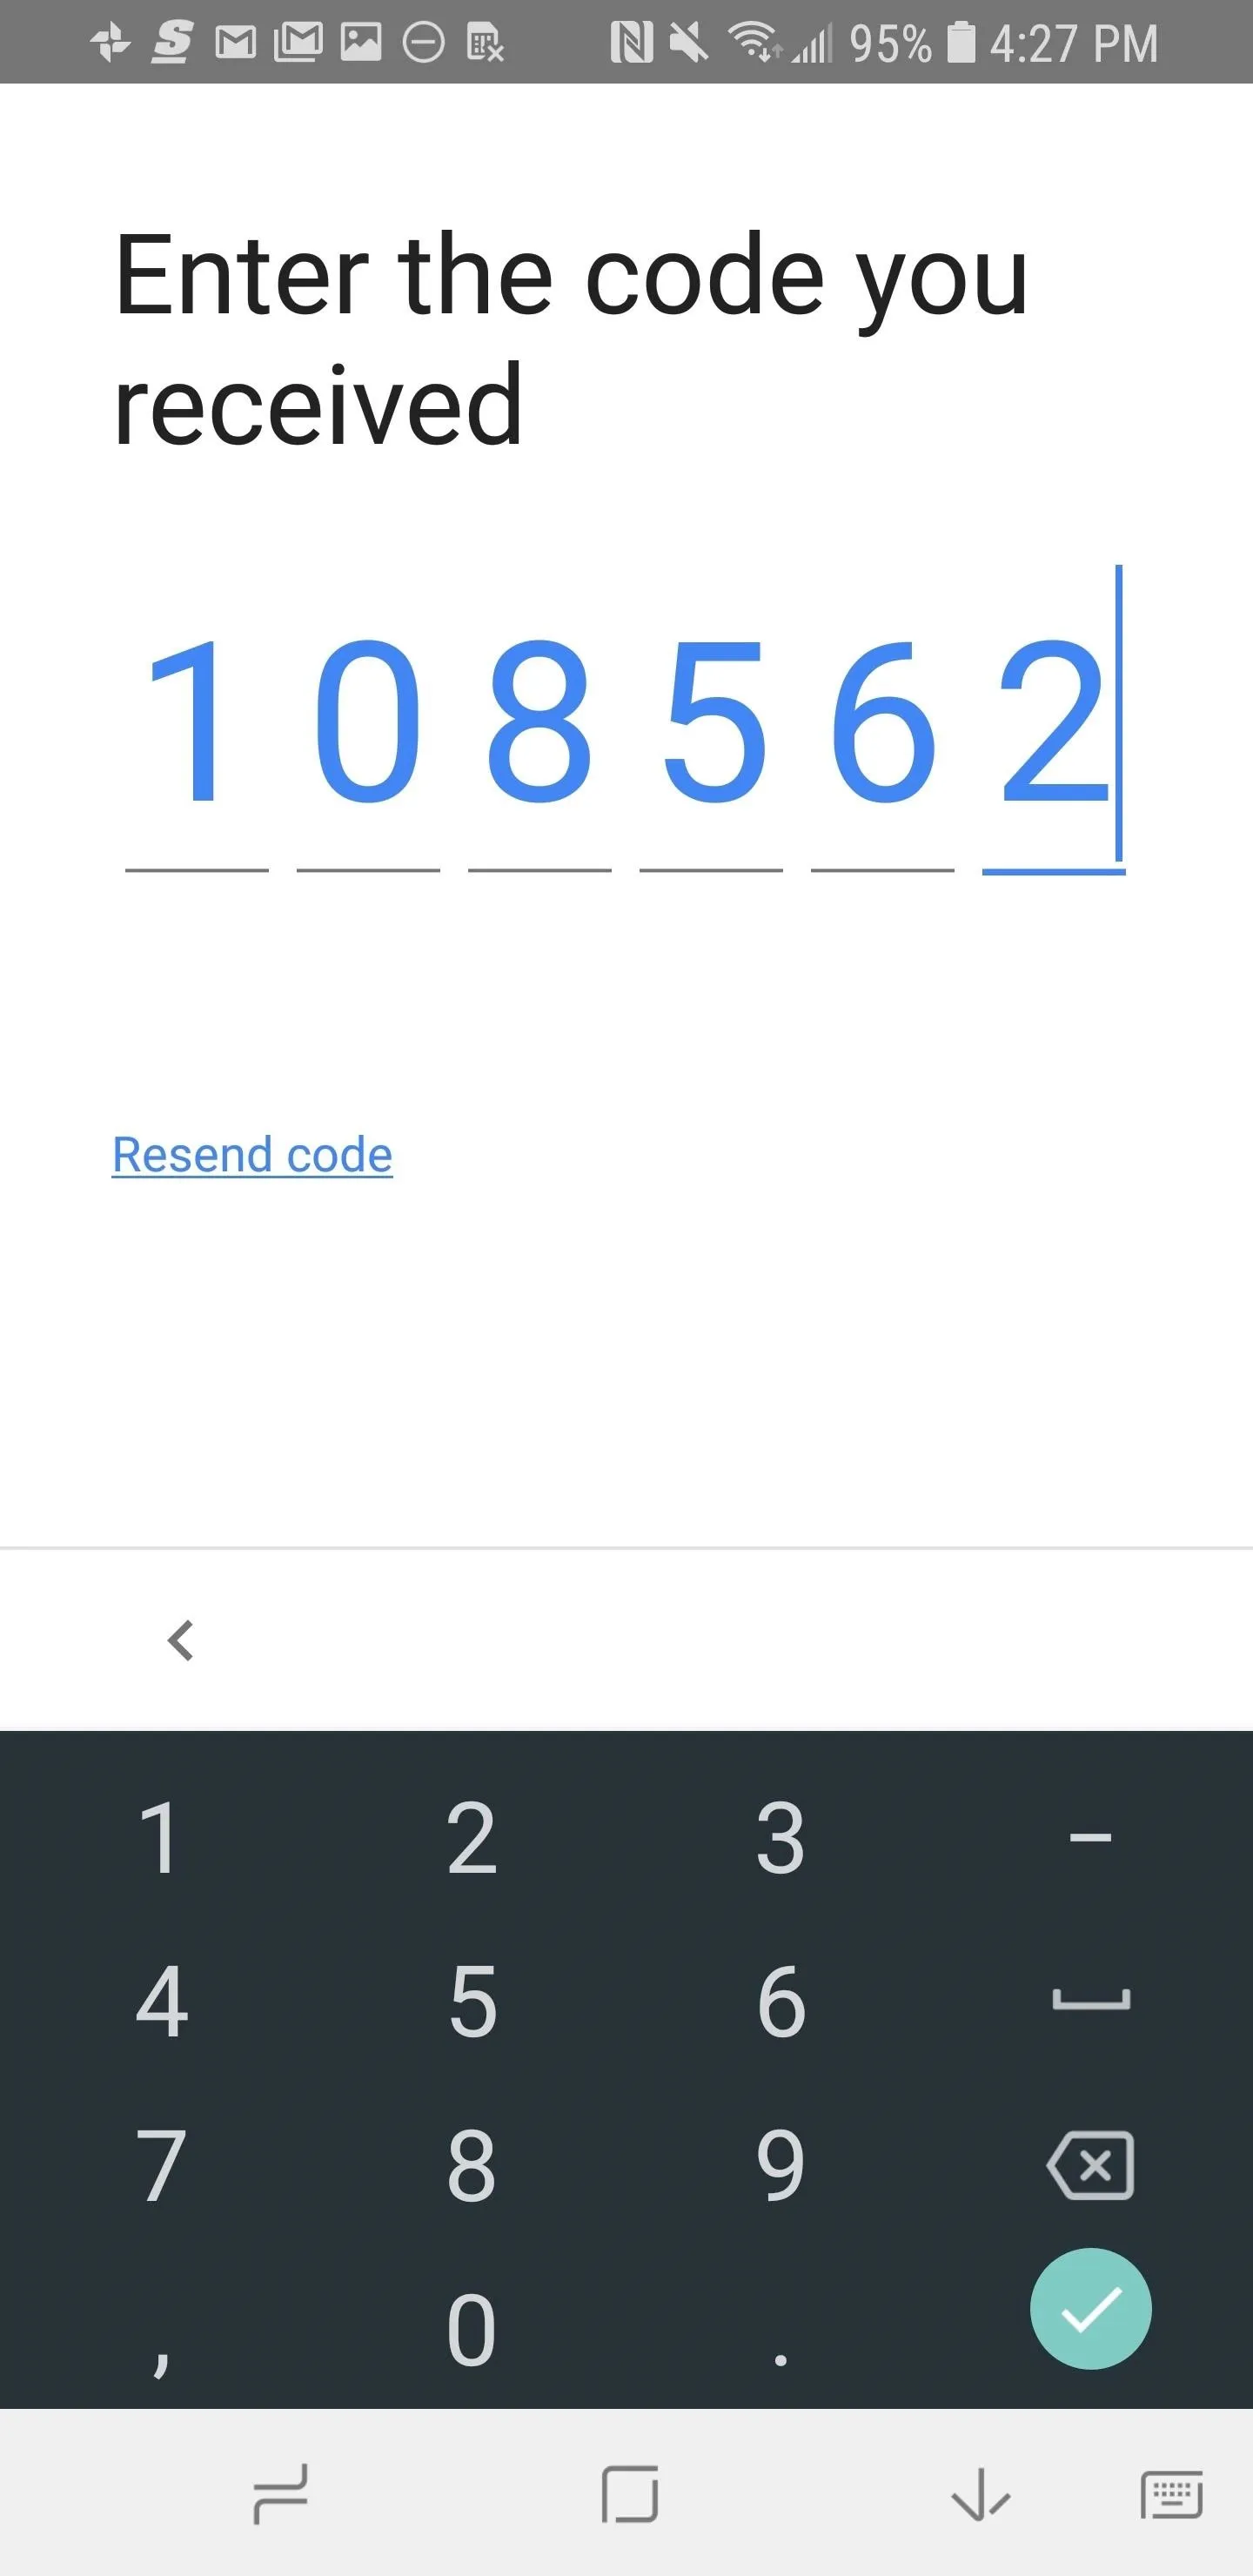
Google Voice won't work if you don't have a phone number to forward from. Tap "Next" in the bottom-right corner to get to the next screen. Now, enter your regular phone number when prompted, then tap "Send Code" to have Google send a security code to your phone. Enter that code on the next screen (it'll come via text message), and you'll automatically be taken to the next screen when you enter it correctly.


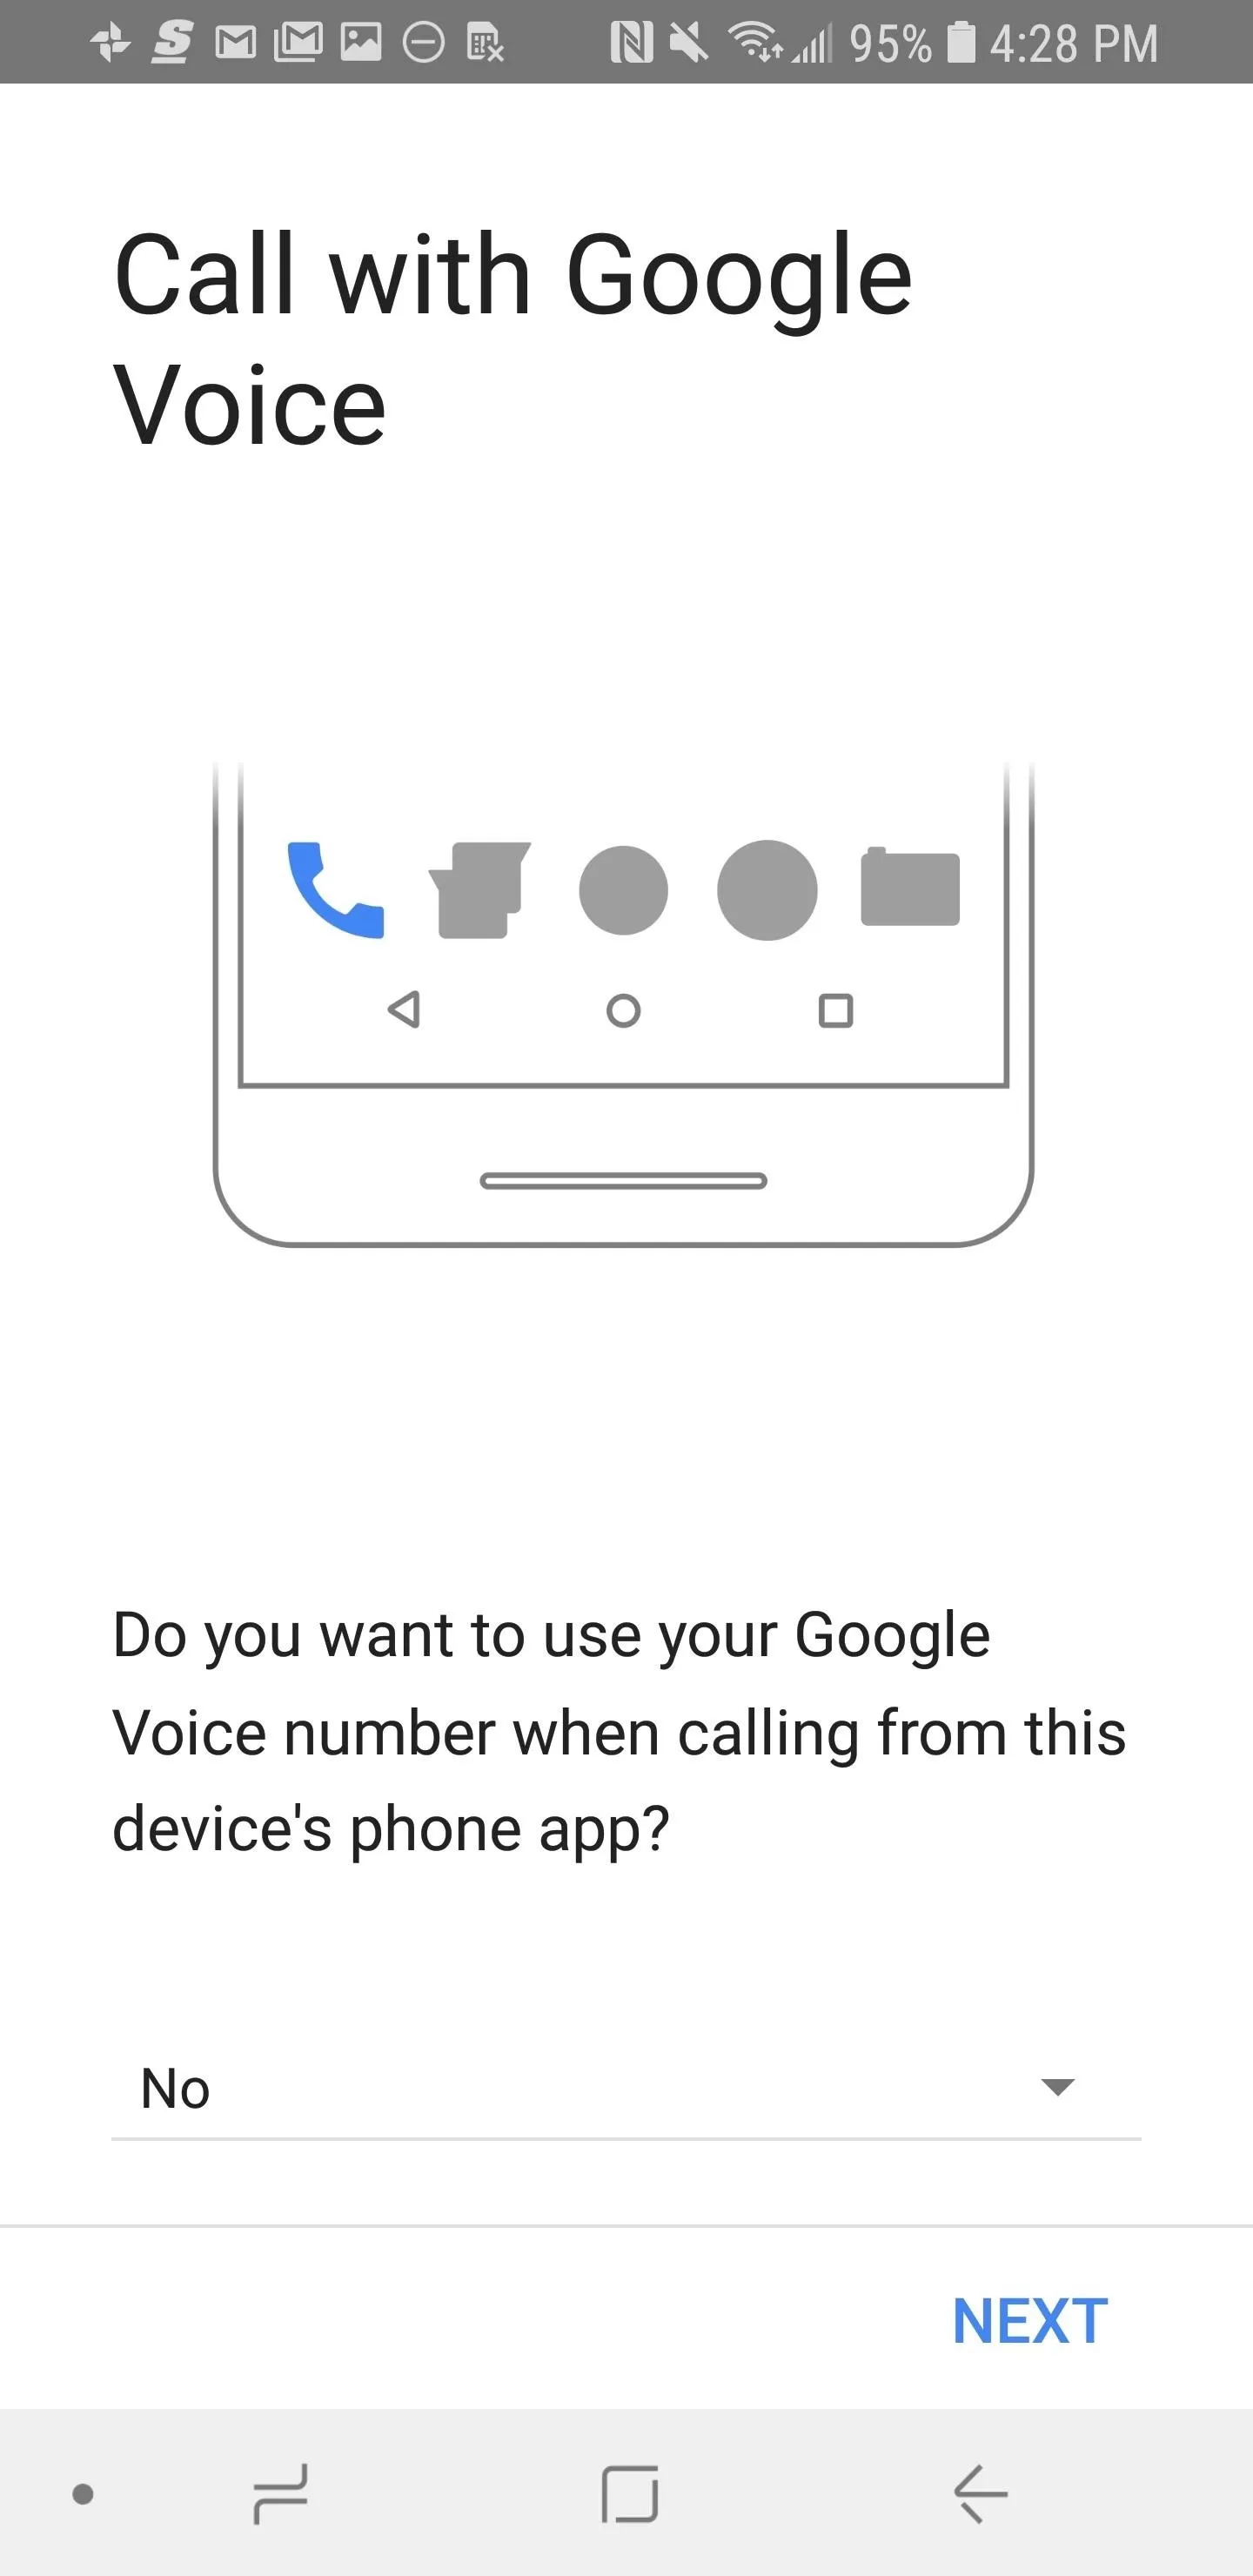
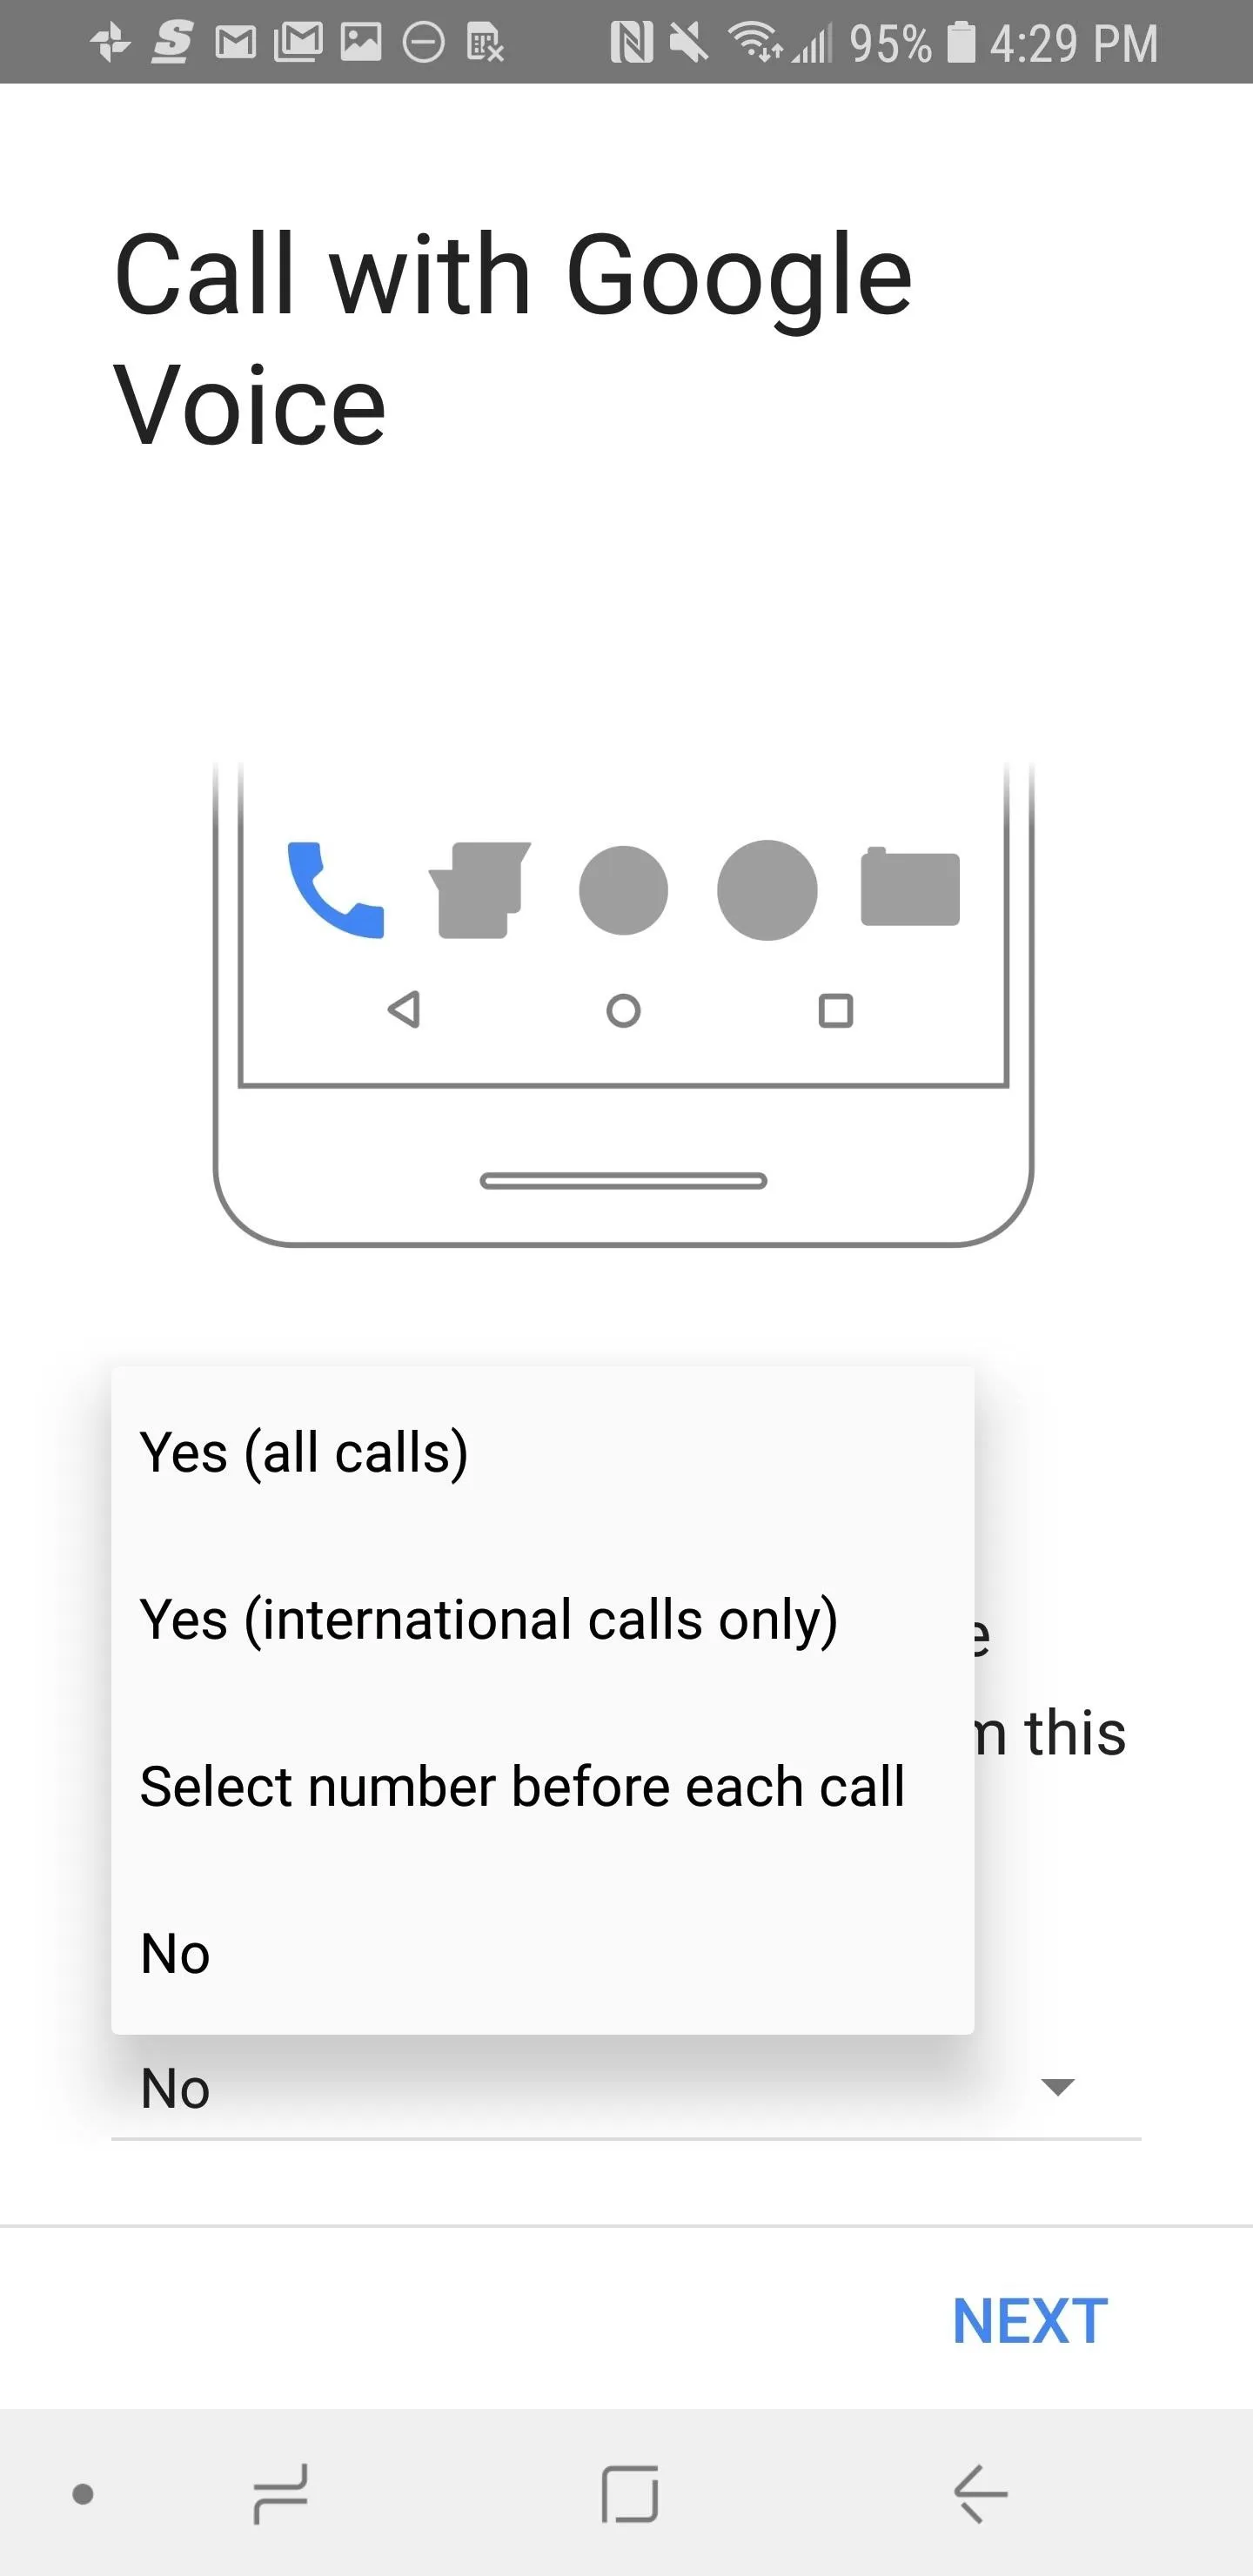
You'll now be asked if "you want to use your Google Voice number when calling from this device's phone app." If your intention was to only use Google Voice for visual voicemail, then select "No." Otherwise, choose from: "Yes (all calls)," "Yes (international calls only)," or "Select number before each call," but note that these options may change your outbound phone number to the Google Voice number you just created when you make calls in the future. When you're done here, hit "Next" and then "Finish."


Enable Visual Voicemail Notifications & Other Settings
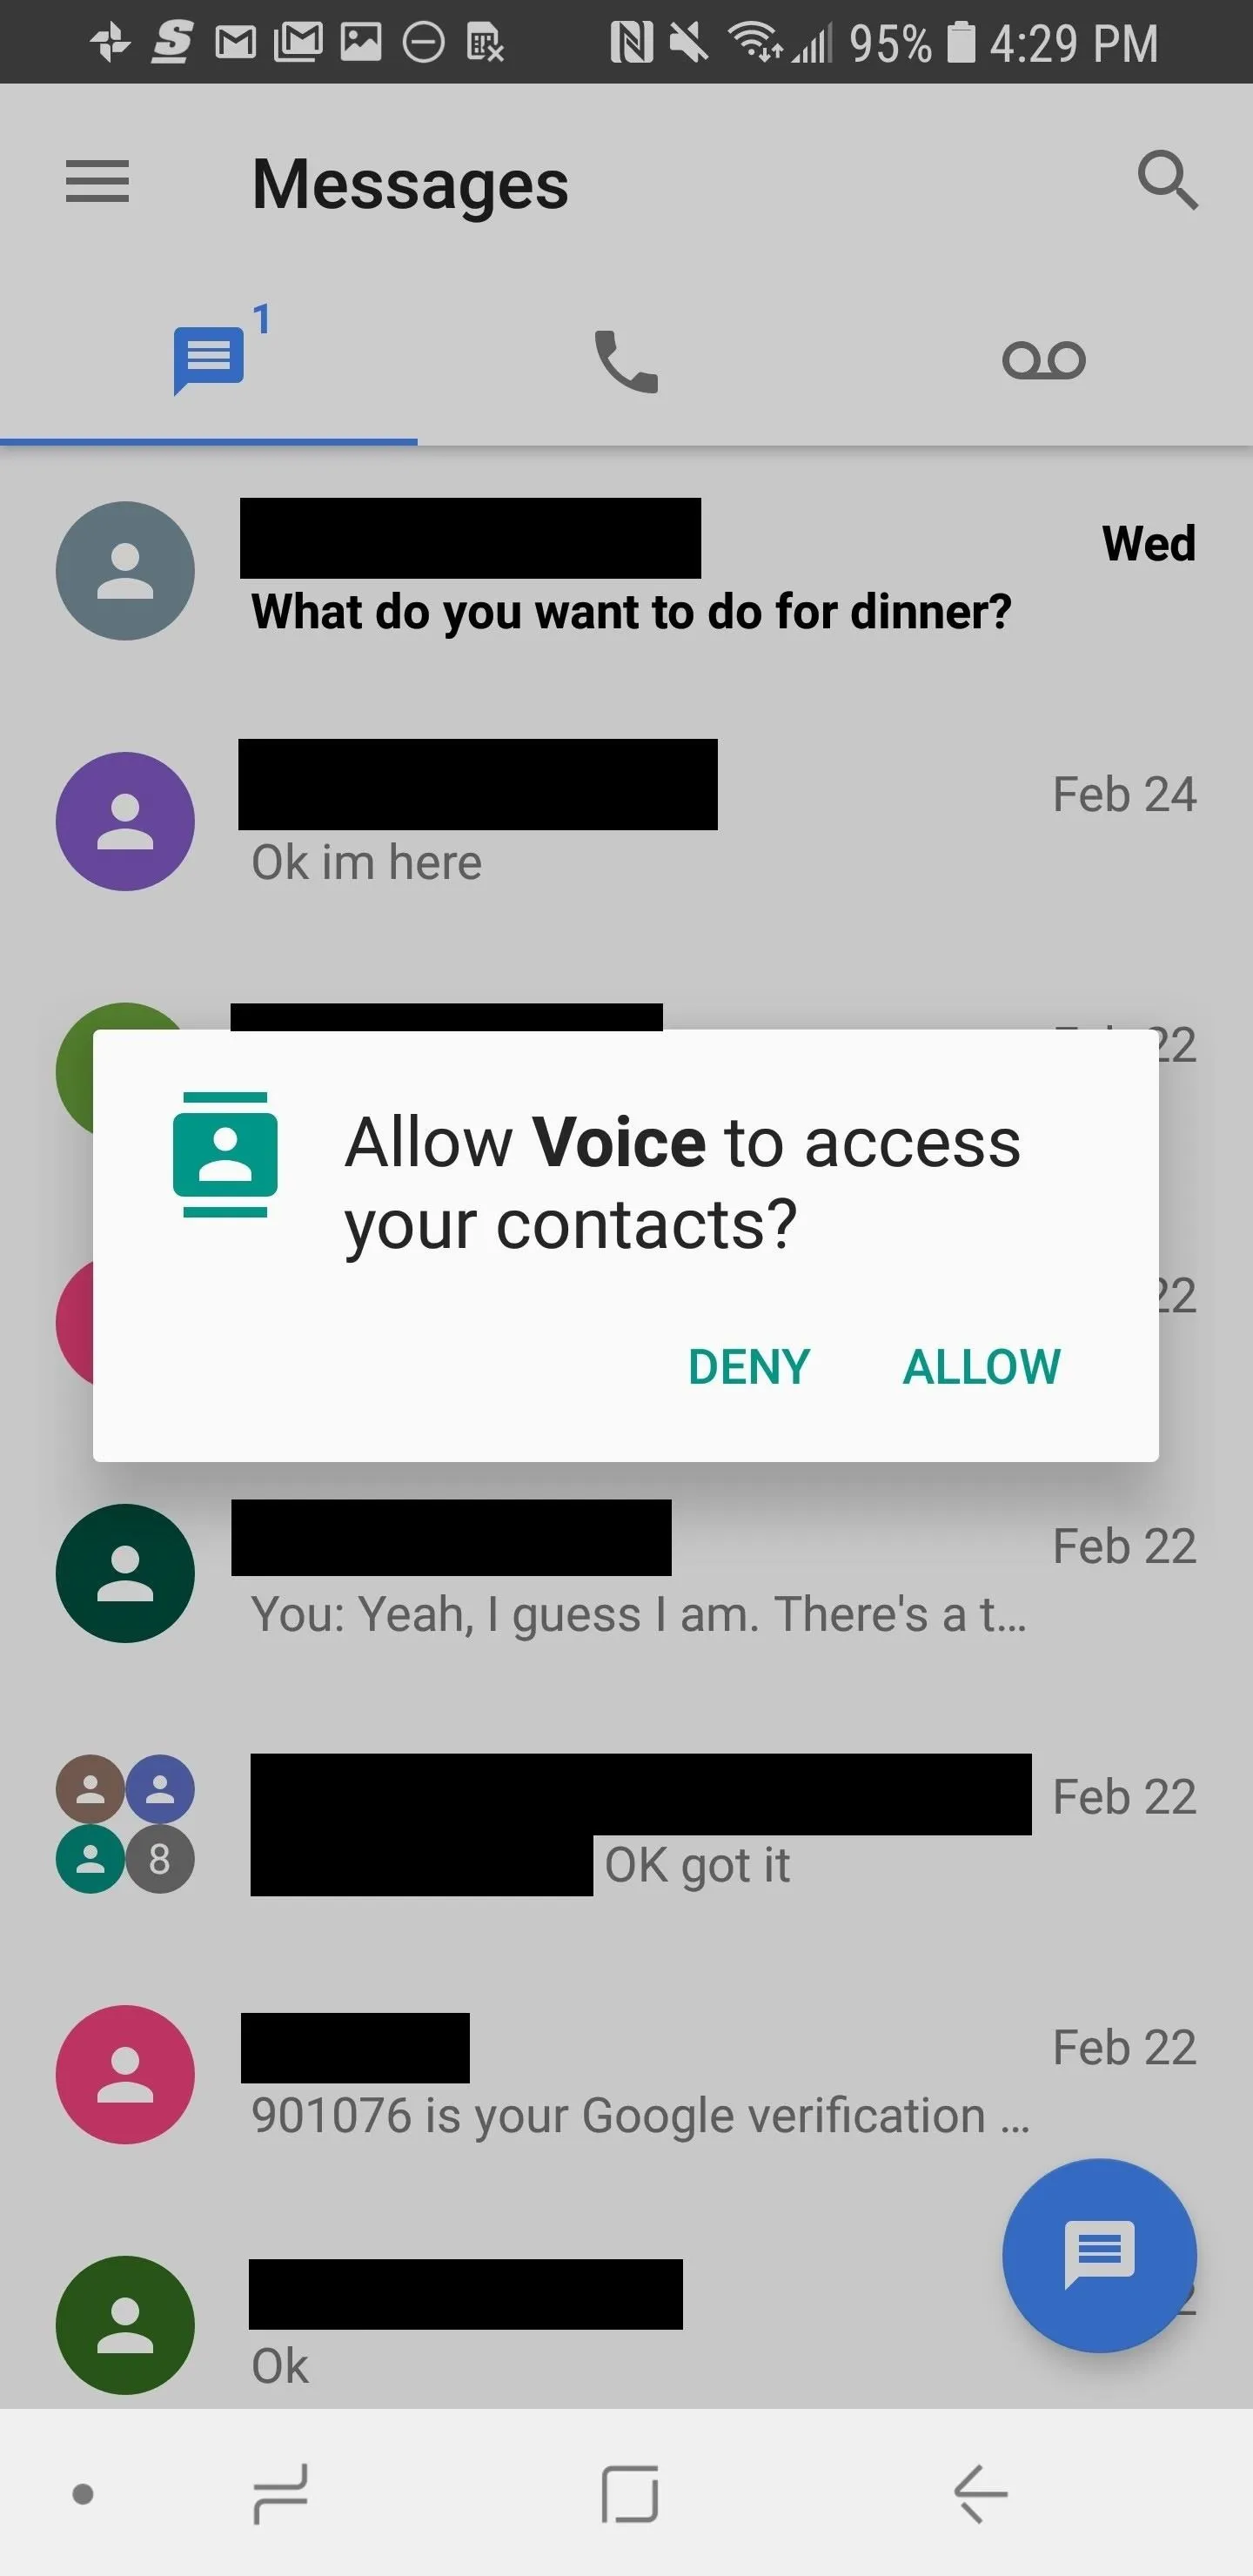
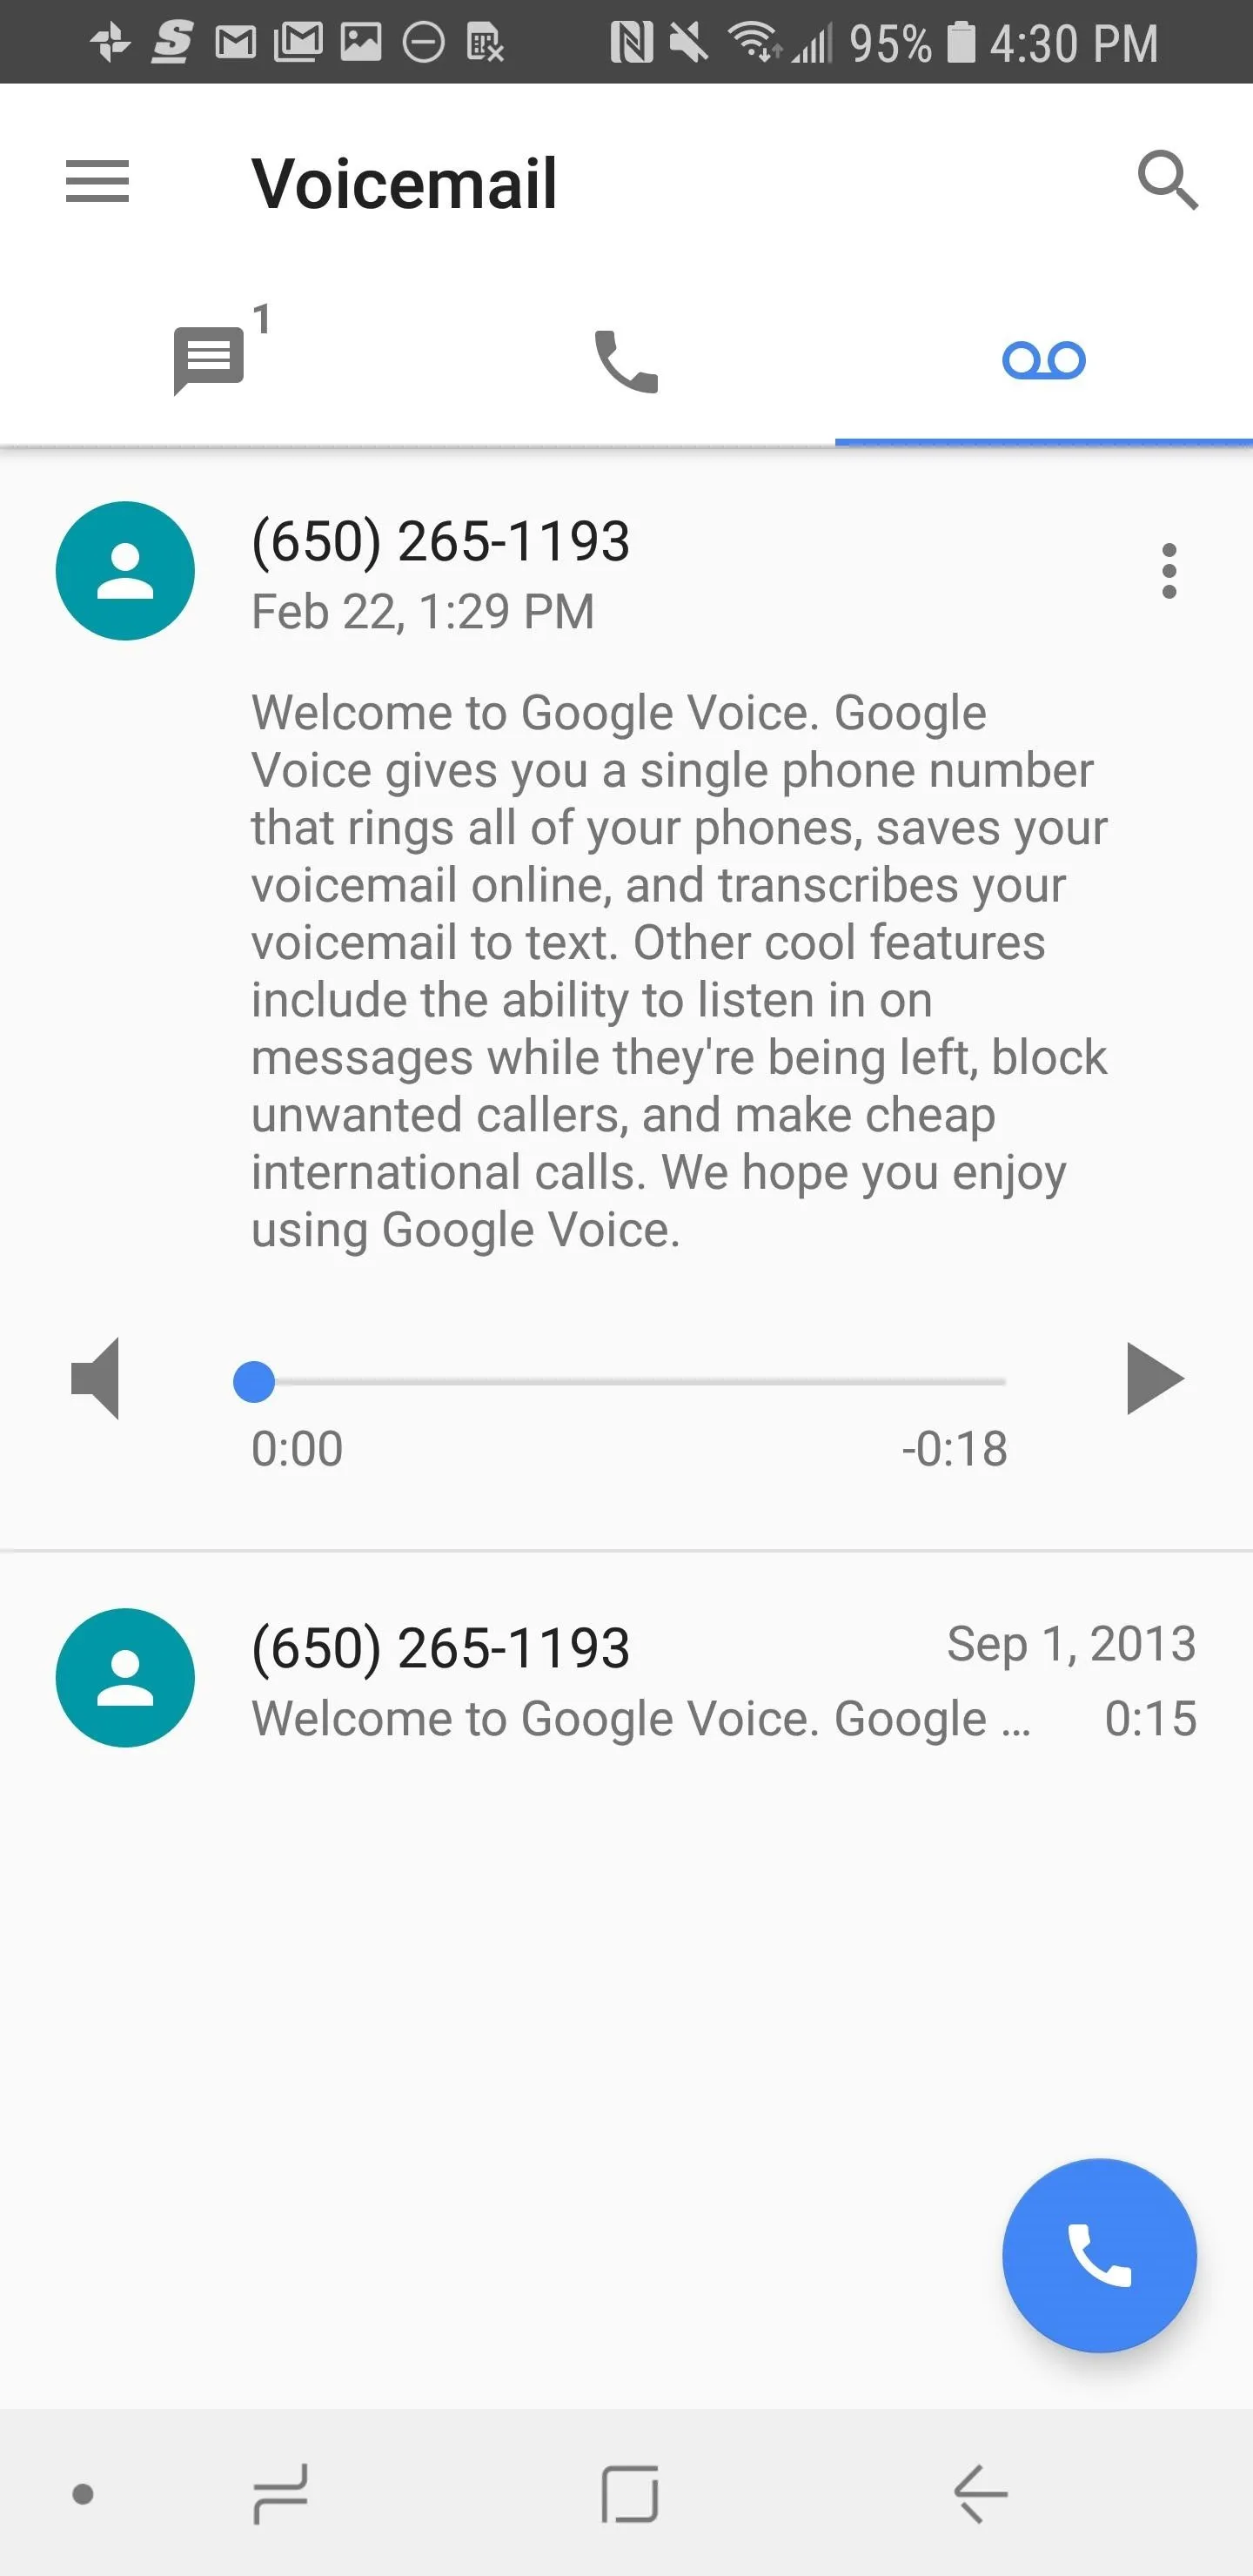
You'll now be taken to the main Google Voice screen and asked to give Google Voice access to your contacts. Tap "Allow" to do so. Your voicemails will be stored inside the tab with an icon that looks like a tape recorder in the top-right corner. They'll be transcribed to text automatically, too.


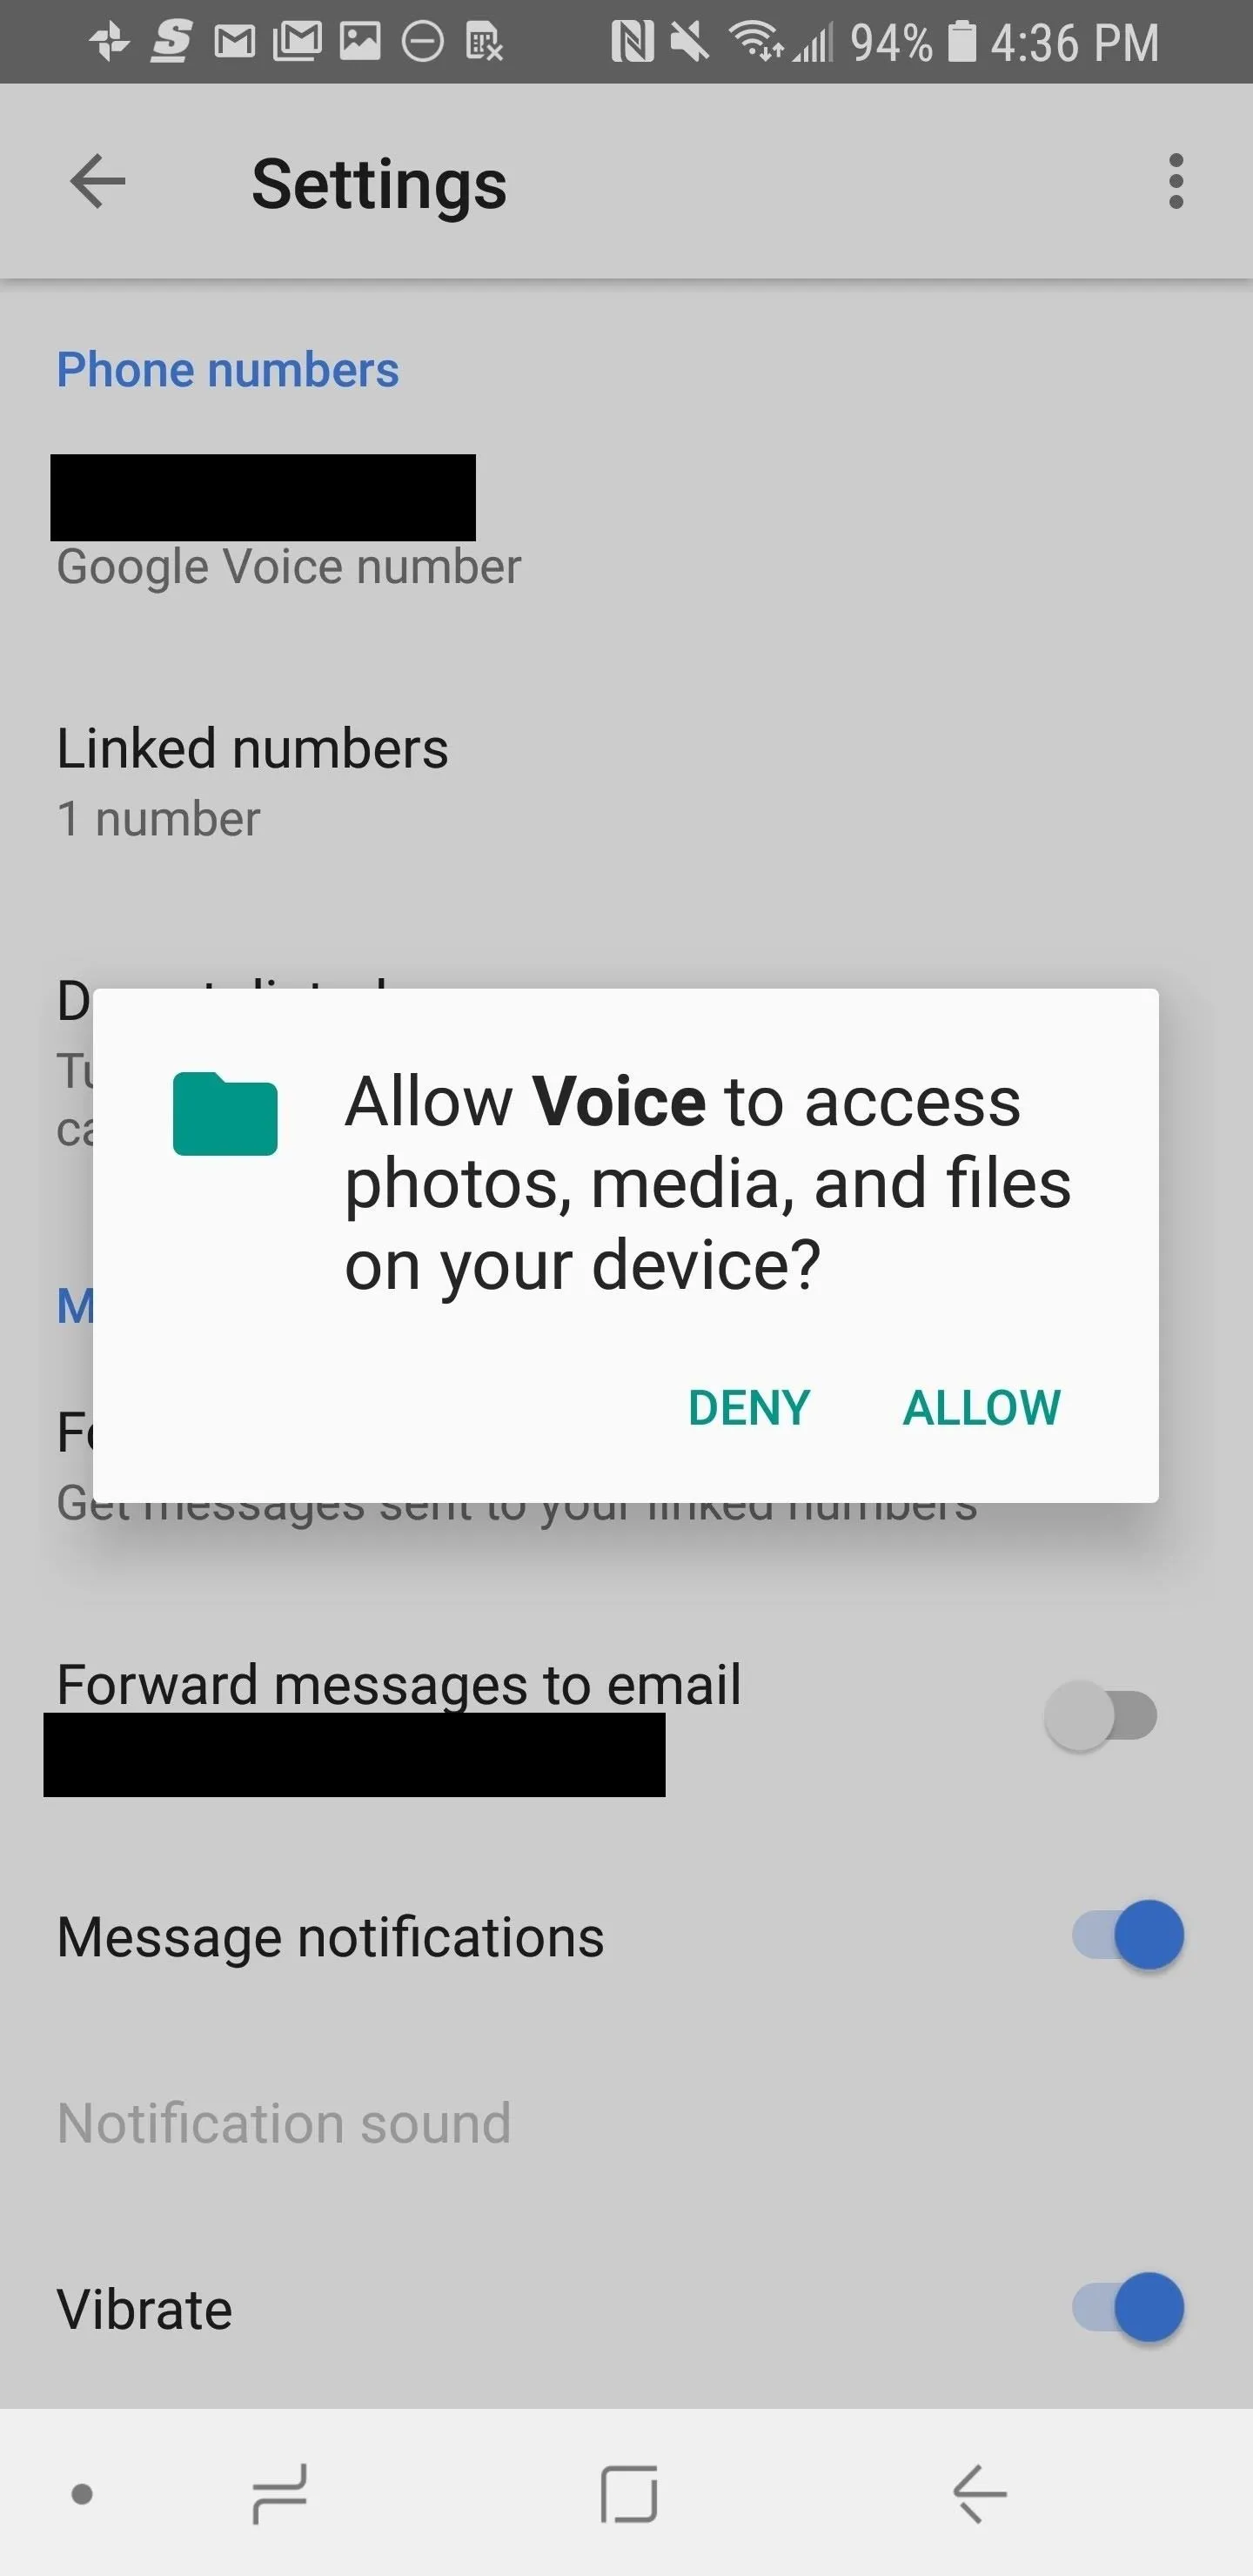
If you want to have your voicemails texted or emailed to you, tap the hamburger menu in the top-left corner, then hit "Settings." Once you get to the settings, Google Voice will ask to access your photos, media, and files. Tap Allow to give it access.
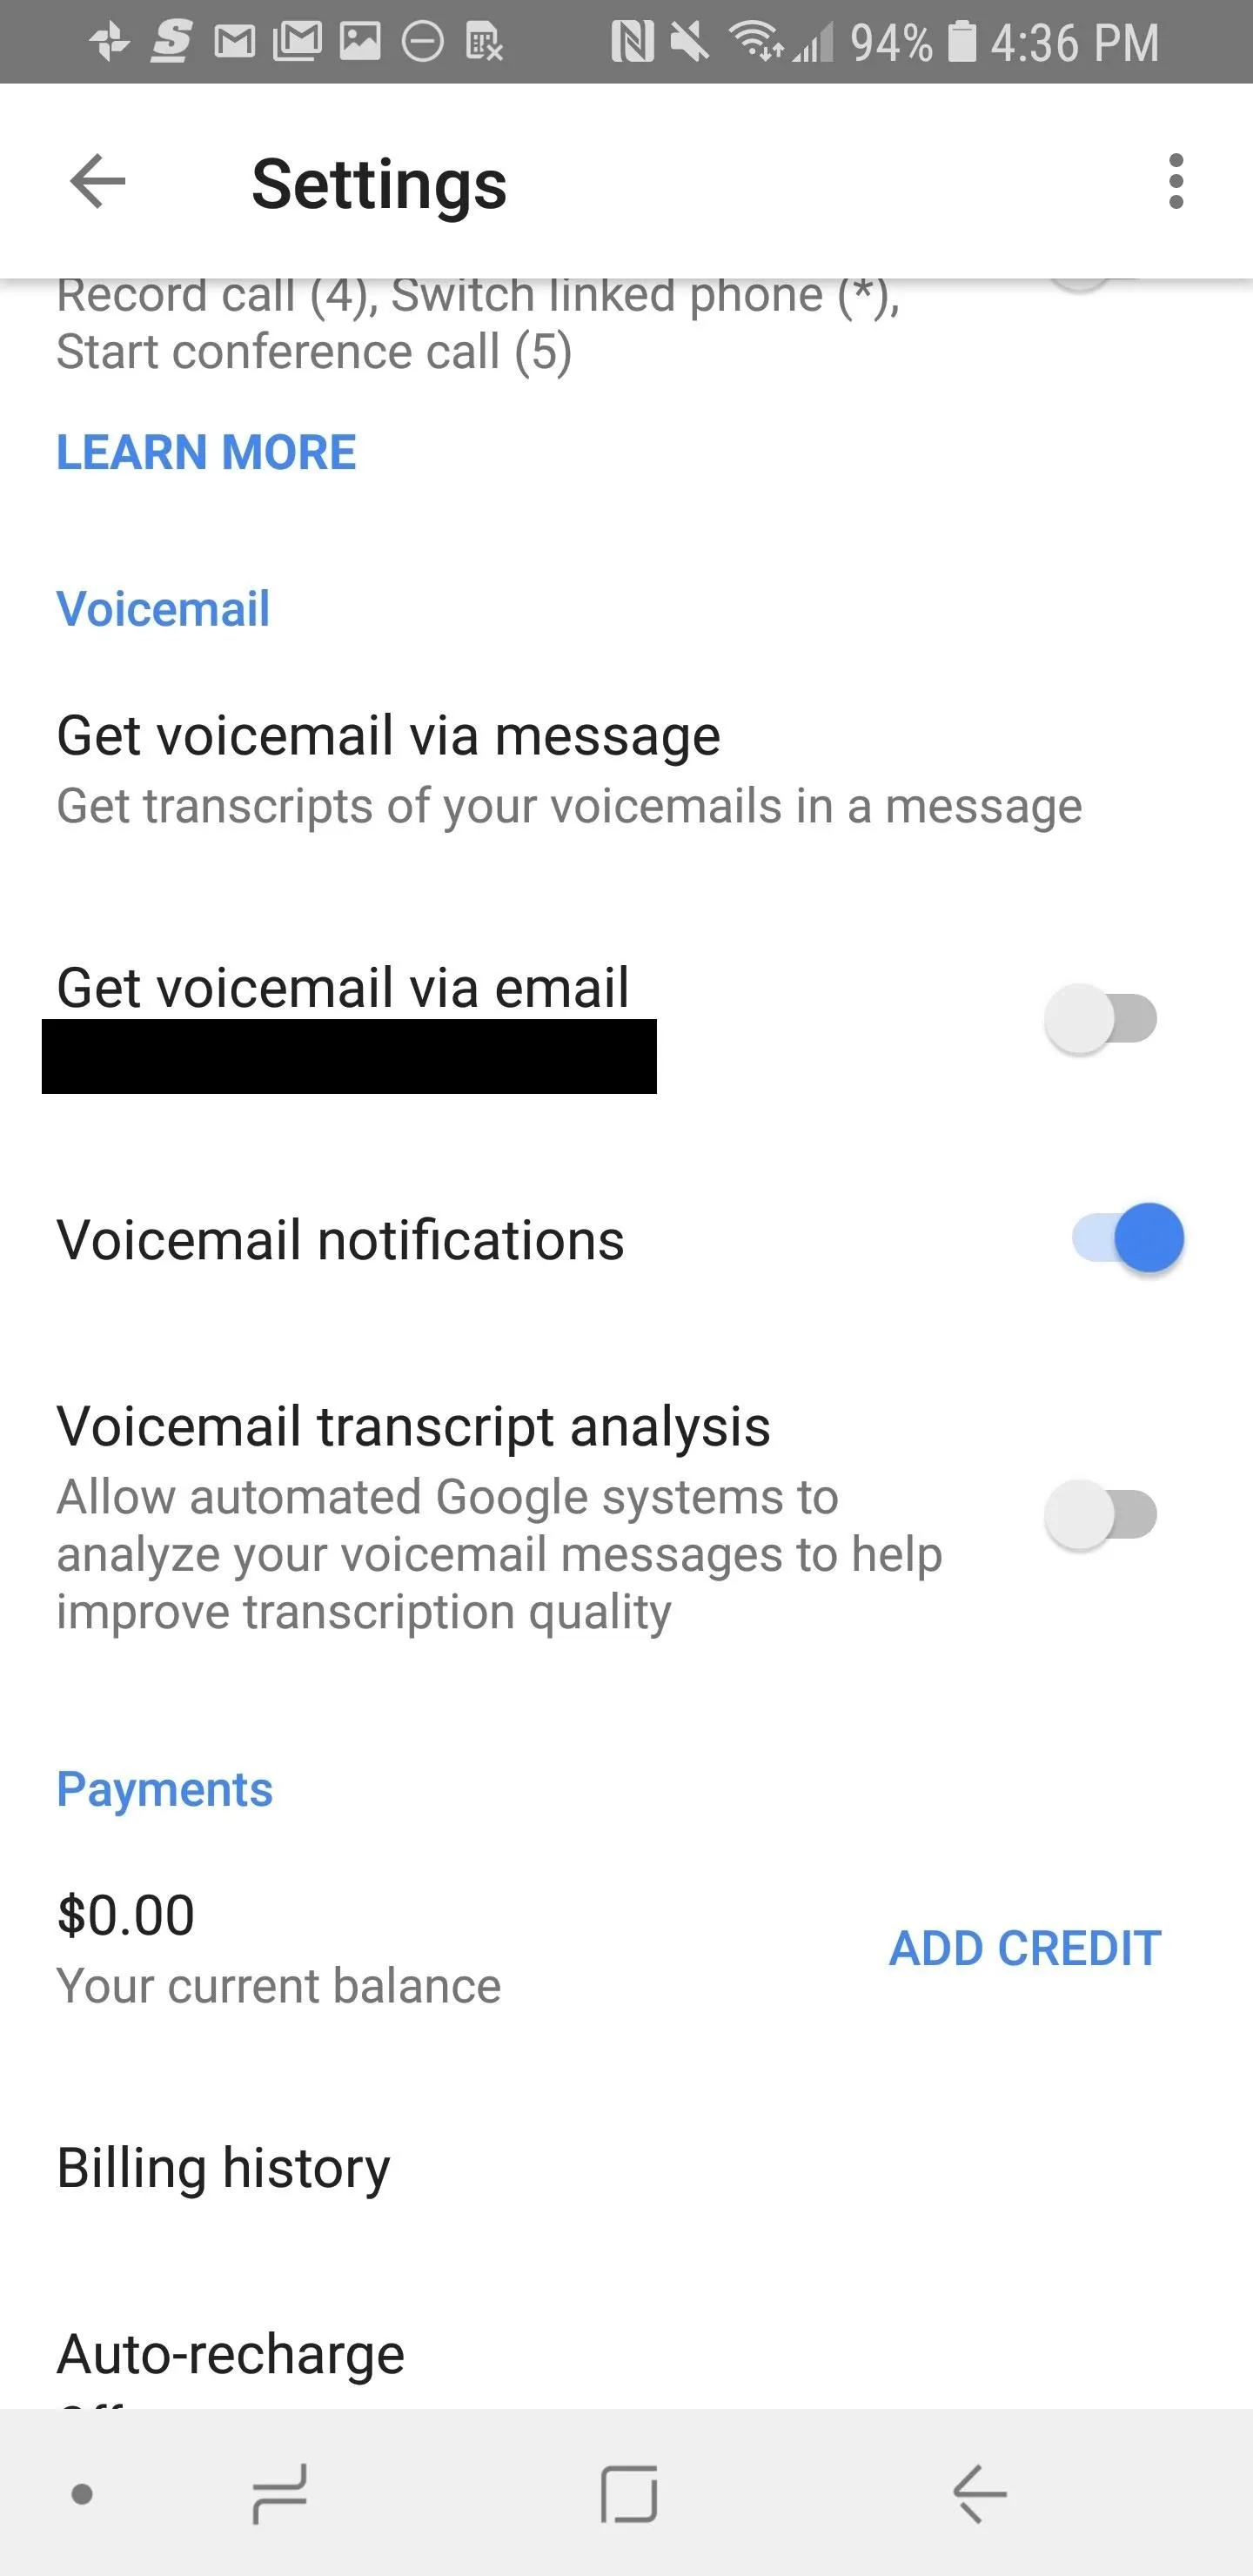
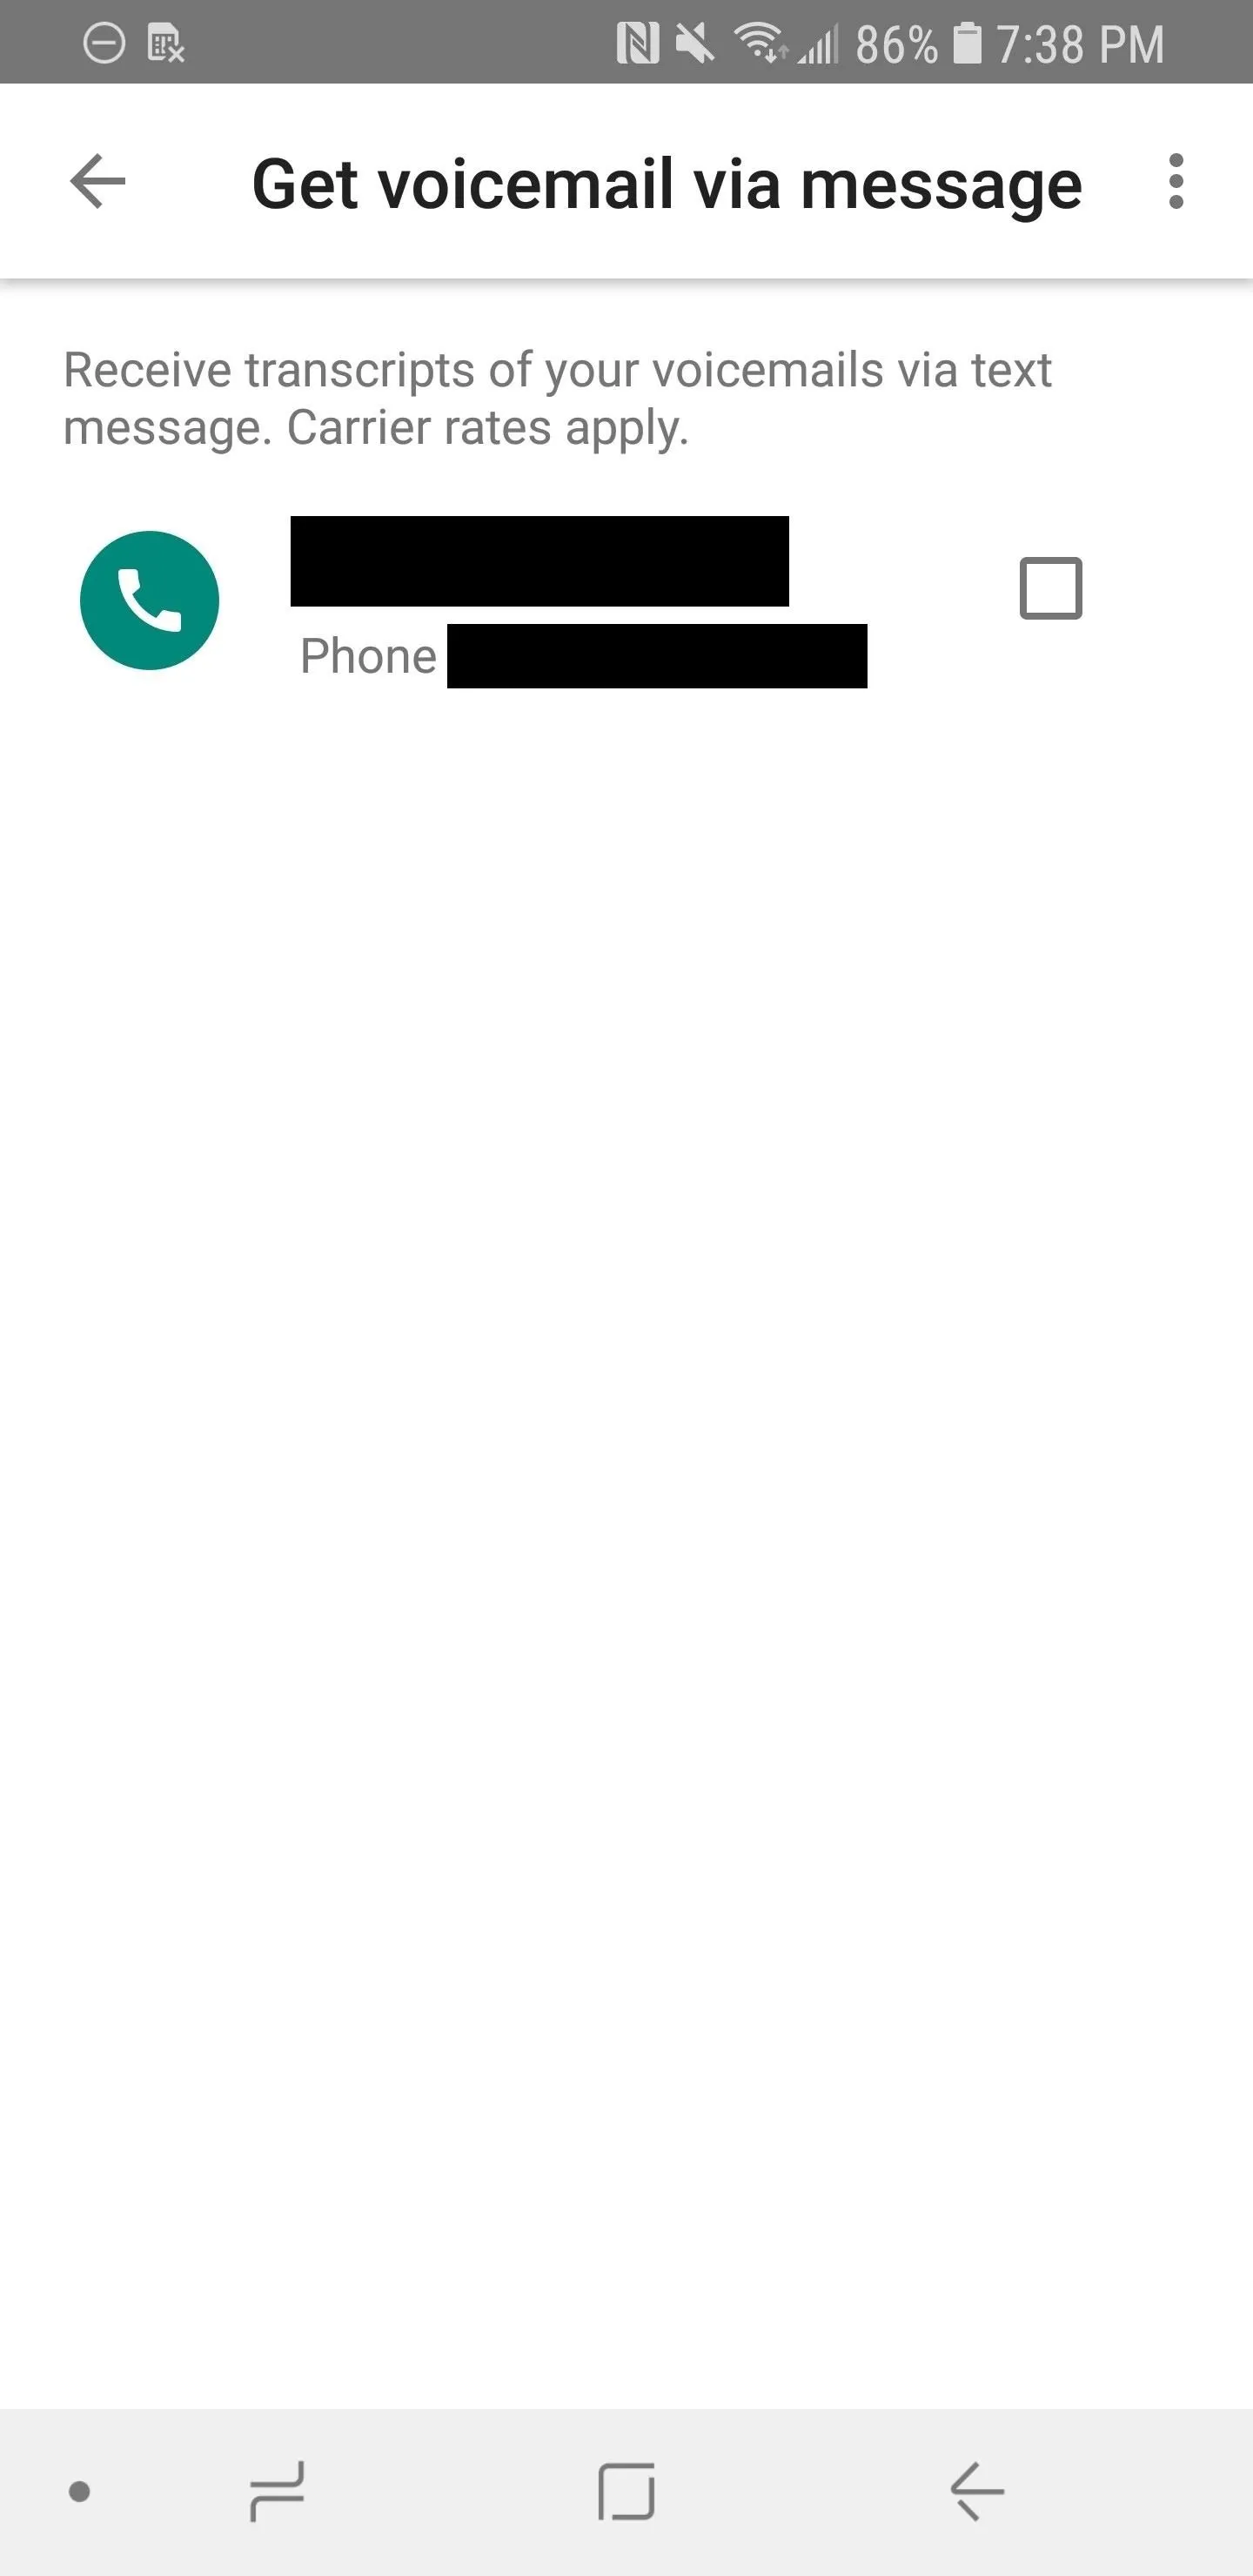
Now, scroll down until you find the "Voicemail" header. If "Voicemail notifications" is checked, then all your visual voicemails will be sent to you via a notification. Otherwise, enable the setting manually. You can opt to have your voicemail transcriptions emailed to you if you check "Get voicemail via email." You can also have them texted to you if you select "Get voicemail via message."


Set Up Call Forwarding (If Needed)
To complete the process, you may need to set up conditional call forwarding, no answer transfers, and busy transfers with your wireless carrier. Google's website has a help page on doing so that can make things easier. It gives a few examples too of what to do.
Example: AT&T Wireless customers
To turn on conditional call forwarding, enter the following 3 commands one at a time on your phone's keypad, and wait for confirmation. After entering each command, tap Send or Call, hang up, and enter the next command. Replace 1234567890 with your Google Voice number.
Call forward if unanswered: *61*1234567890#
Call forward if unreachable: *62*1234567890#
Call forward if busy: *67*1234567890#Example: Verizon Wireless customers
Verizon Wireless has 2 methods to control conditional call forwarding: star (*) commands, or a menu on their customer website. You can use either method.
To turn on conditional call forwarding, enter *711234567890 on your phone's keypad, wait for the confirmation stutter tone, then hang up.
Now you're all set up to use Google Voice for visual voicemail. In the future, when you get a voicemail, the transcription should come through as a notification after a few moments. You can tap this notification to play or delete the voicemail, so it's just like having visual voicemail through your carrier.
- Follow Gadget Hacks on Facebook, Twitter, YouTube, and Flipboard
- Follow WonderHowTo on Facebook, Twitter, Pinterest, and Flipboard
Cover image and screenshots by Brian Lang/Gadget Hacks









Comments
Be the first, drop a comment!