
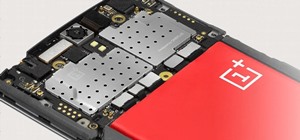
The OnePlus 3 and 3T are two of the most modder-friendly devices to be released in 2016. Not only that, but they're both extremely solid phones which happen to sport a very reasonable price tag. Among the things that make these devices such a joy for tinkerers is the fact that they have an unlockable bootloader, receive timely kernel source releases, and are actually quite easy to root.
Rooting your phone opens up a world of customizations, new apps, and software modifications that greatly enhance the Android experience. When it comes to the OnePlus 3 and 3T, both devices have a fairly large development community, so the selection of root mods is superior to most other phones. So if you're ready to start exploring the available mods and tweaks, we'll outline the best root method below.
Requirements
- OnePlus 3 or OnePlus 3T
- Windows, Mac or Linux computer
- ADB and Fastboot installed
- USB data cable
- "Developer options" enabled
Step 1: Enable 'OEM Unlocking' & Reboot to Bootloader Mode
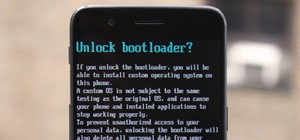
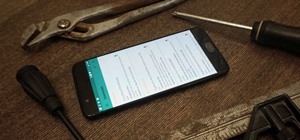
Before we can make any sort of modification to the OnePlus 3 or OnePlus 3T, we have to unlock the bootloader, otherwise all attempts will simply fail. Before you can do that, you'll need to enable a single option in your phone's Settings menu.
So head to the "Developer options" menu towards the bottom of Settings, then enable the "OEM unlocking" option. Once you've done that, it's time to put the phone into bootloader mode.
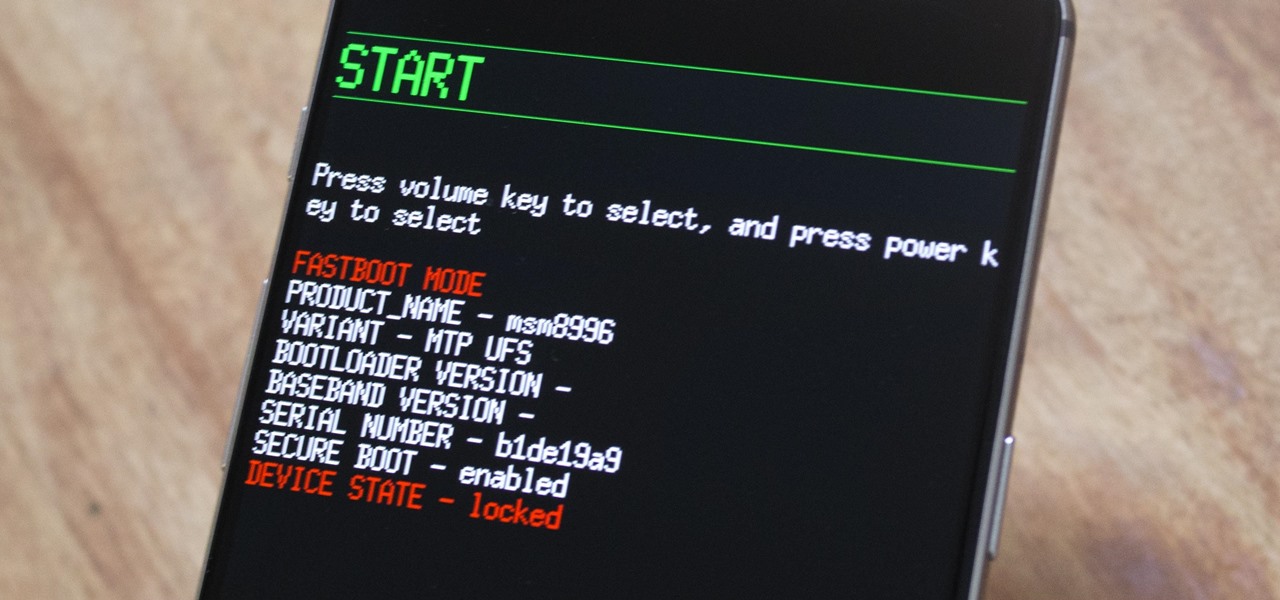
First, power the device completely off. Once your phone has shut down, hold the power and volume up buttons for about ten seconds until the bootloader menu appears. Release the volume and power buttons when it does, and leave the phone on this menu.
Step 2: Unlock Your Bootloader
When your phone is in bootloader mode, connect it to your computer with the USB data cable, then open up a Command Prompt or Terminal window. Next, you'll need to change directories to the platform-tools folder inside of your ADB and Fastboot installation directory. This can be done using the command cd <folder location>, where "<folder location>" is the full directory.
For Windows users, this directory can usually be found at C:\Program Files (x86)\Android\android-sdk\platform-tools. For Mac and Linux users, it depends on where you extracted your ADB folder when you installed the utility, so search your hard drive for the platform-tools folder if you've forgotten.
Then, once the command prompt or terminal window is in the right directory, type in the following command:
fastboot flashing unlock
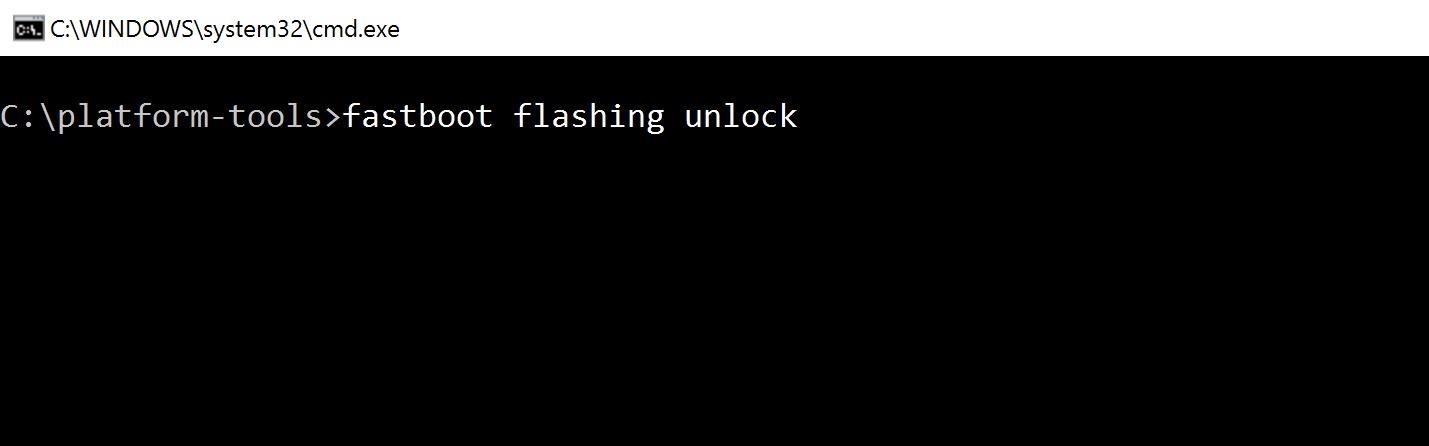
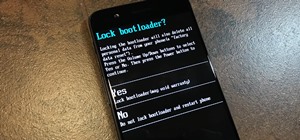
Hit enter after typing in the command, and you'll see a confirmation appear on your phone. Use the volume keys to select "Yes," then hit the power key to confirm. This command will unlock your phone's bootloader, which will also wipe all of your data. By unlocking the bootloader, you can now flash custom images to the phone.
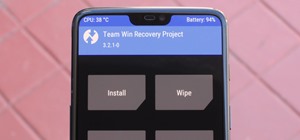
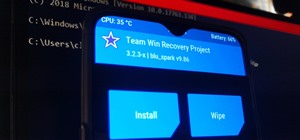
Step 3: Flash TWRP
Next, we'll flash TWRP to the recovery partition of the phone, which will replace the default Android recovery menu with one that gives us enough features and accessibility to do practically anything. So from your computer, download the latest version of TWRP for your device using one of the links below.
After downloading the correct image for your phone, type the following command in the Command Prompt or Terminal window, then add a single space to the end, but don't hit enter just yet.
fastboot flash recovery
After that, open the folder where TWRP was downloaded, then click and drag the IMG file into the Command Prompt or Terminal window—this will populate the file name and full location for you. Once the entire download path is visible, hit enter and wait for the flashing to complete.

Step 4: Reboot to TWRP & Root
This step is perhaps the most important, so be sure to do it very carefully. In order to root successfully root your phone after TWRP has been flashed, you have to reboot to TWRP and flash the latest SuperSU ZIP.
To begin, download SuperSU from the link below, and make sure to save it to your computer:
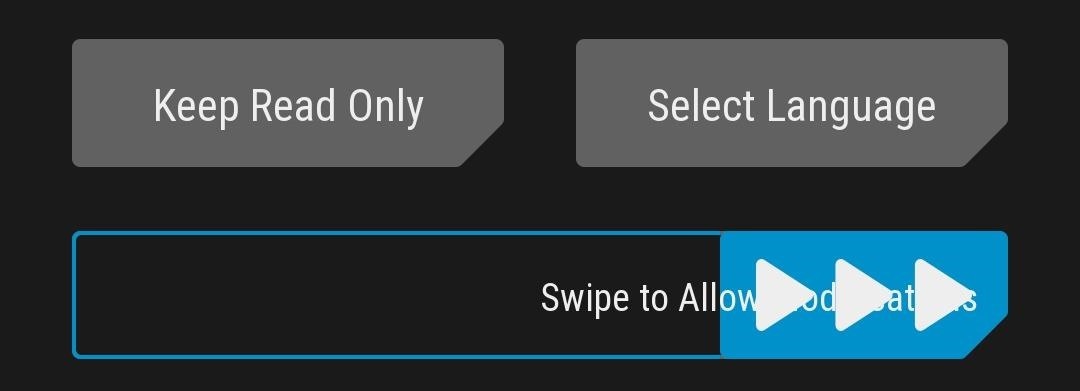
Next, use the volume keys on your phone to pull up Recovery mode, then press the power button to reboot to TWRP. When TWRP has finished booting up, you'll want to swipe the arrow on the screen asking if you wish to allow modifications.
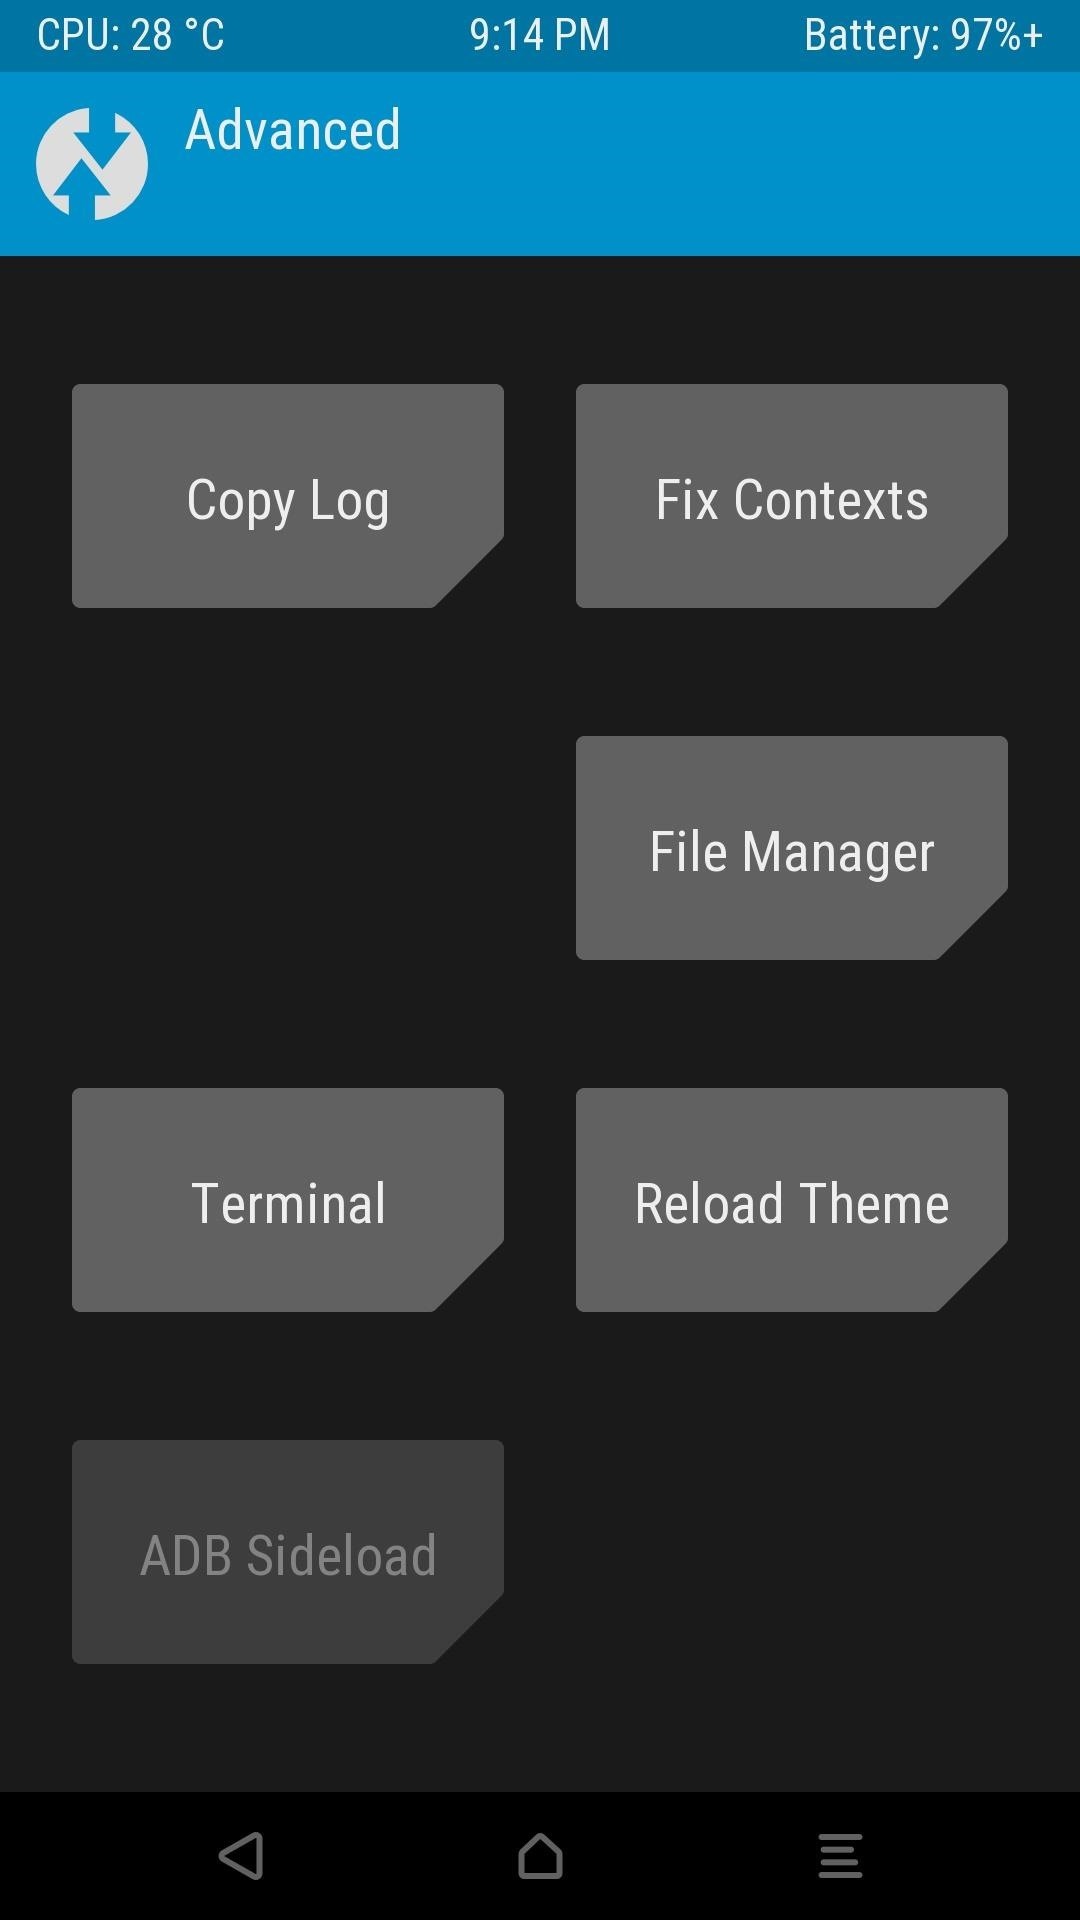
Tap on "Advanced" from TWRP's main menu, then choose "ADB Sideload" on the following screen. When you're done there, swipe the slider at the bottom of the screen to begin the sideloading process.

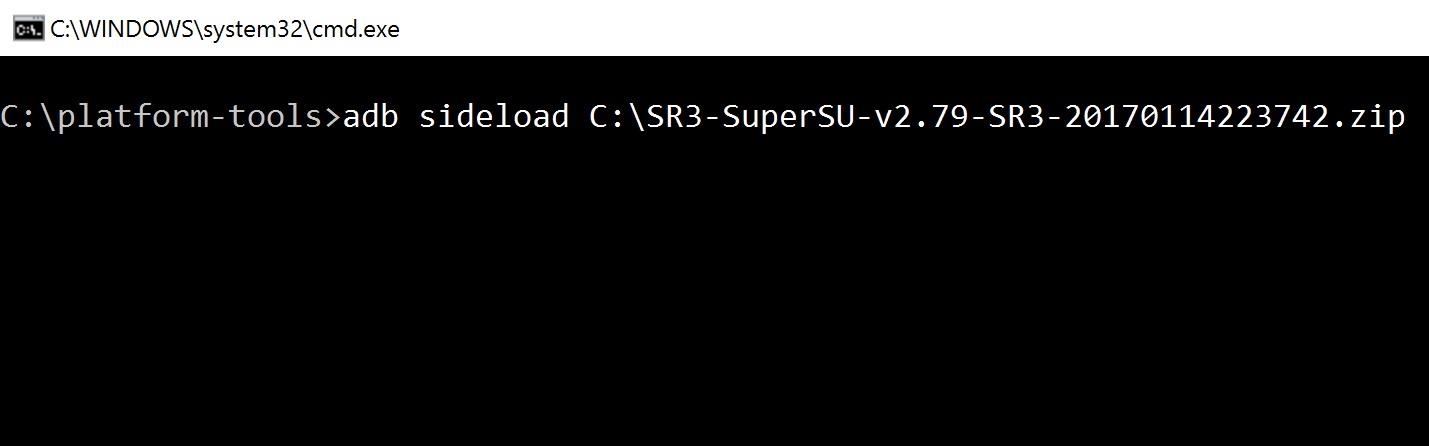
In the Command Prompt or Terminal window on your computer, type in the following command, then add a single space to the end—but again, don't hit enter just yet.
adb sideload
Next, drag the SuperSU ZIP file from your downloads folder, then drop it onto the window. This will populate the full file location for the SuperSU ZIP, and when that happens, go ahead and hit enter to run the command and sideload SuperSU.
On your phone, you'll see TWRP go through the process of flashing the SuperSU ZIP. When it's done, simply tap "Reboot System" to wrap things up. Your phone may reboot a few times after doing this, and it will take longer than usual to fully boot up this first time after rooting, but that's to be expected.
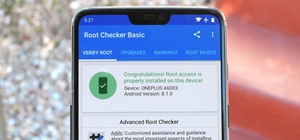
Step 5: Run Through Initial Setup & Verify Root
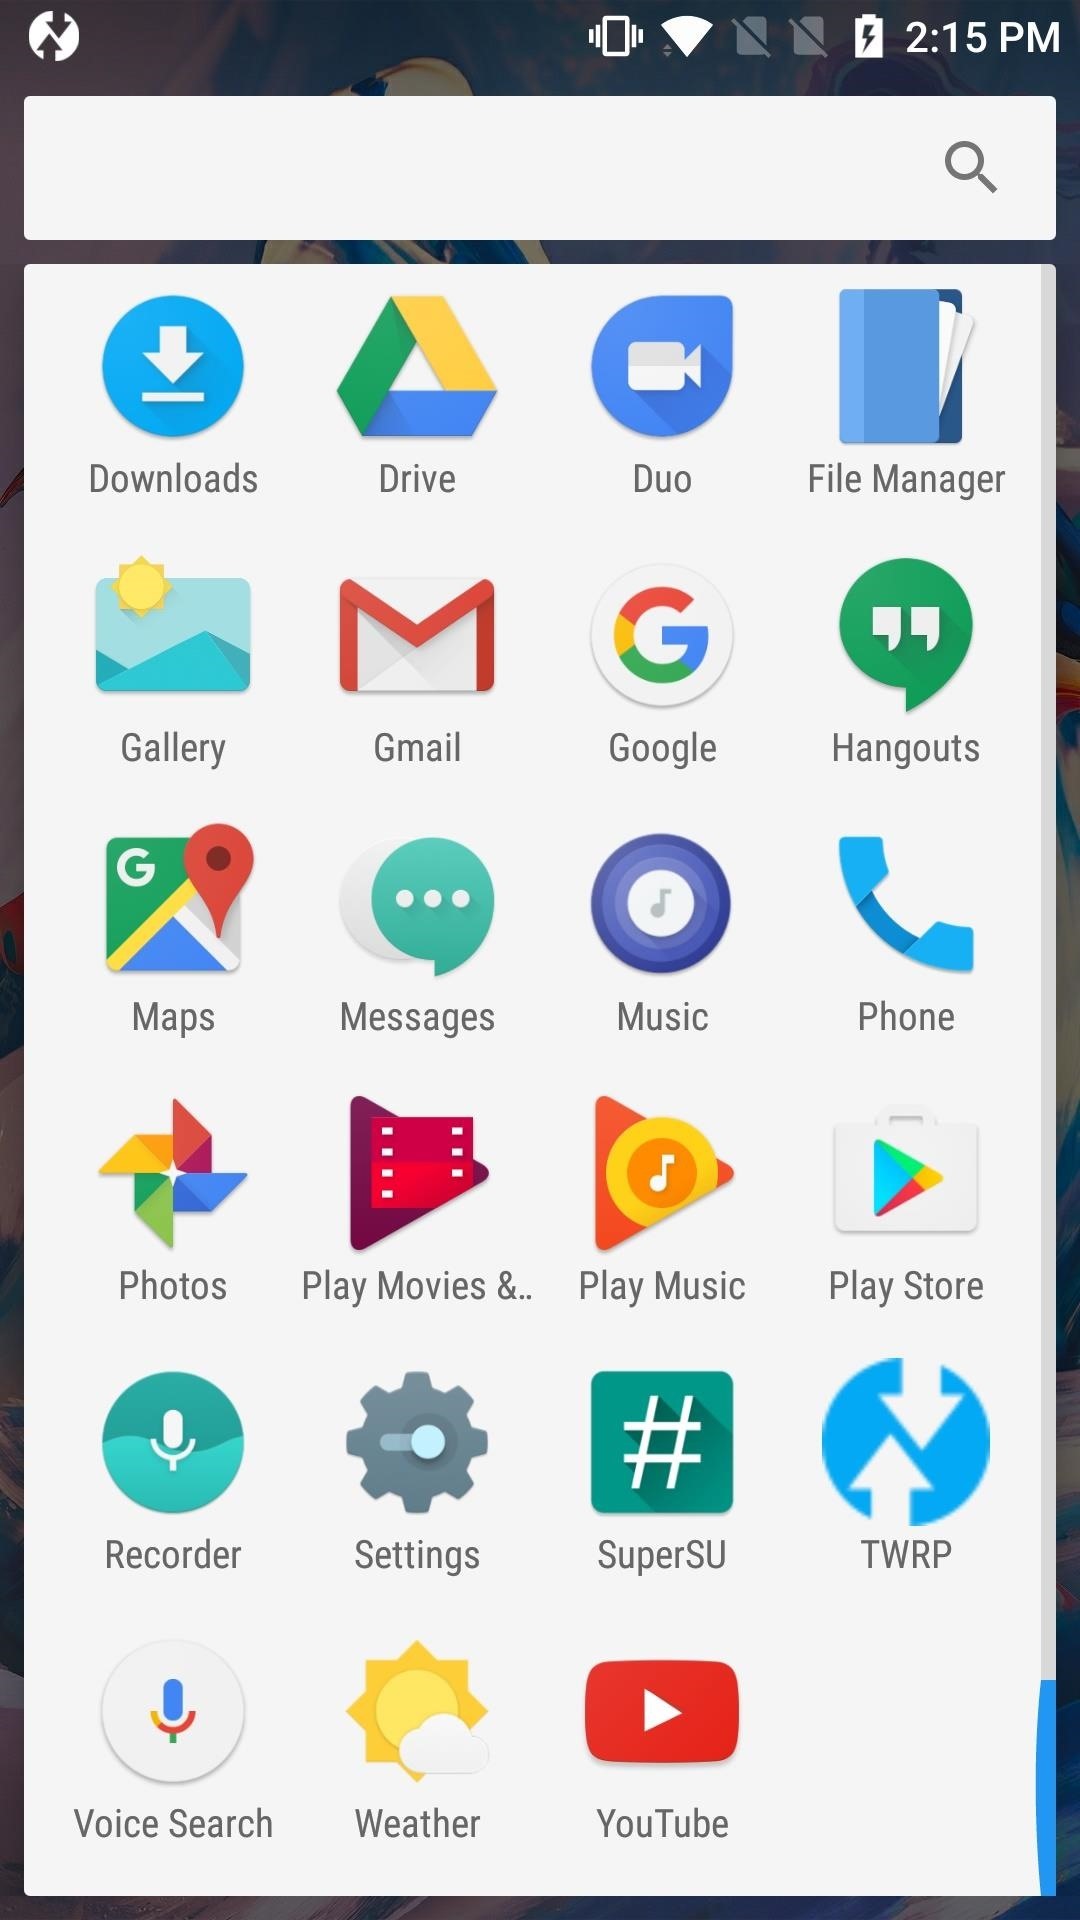
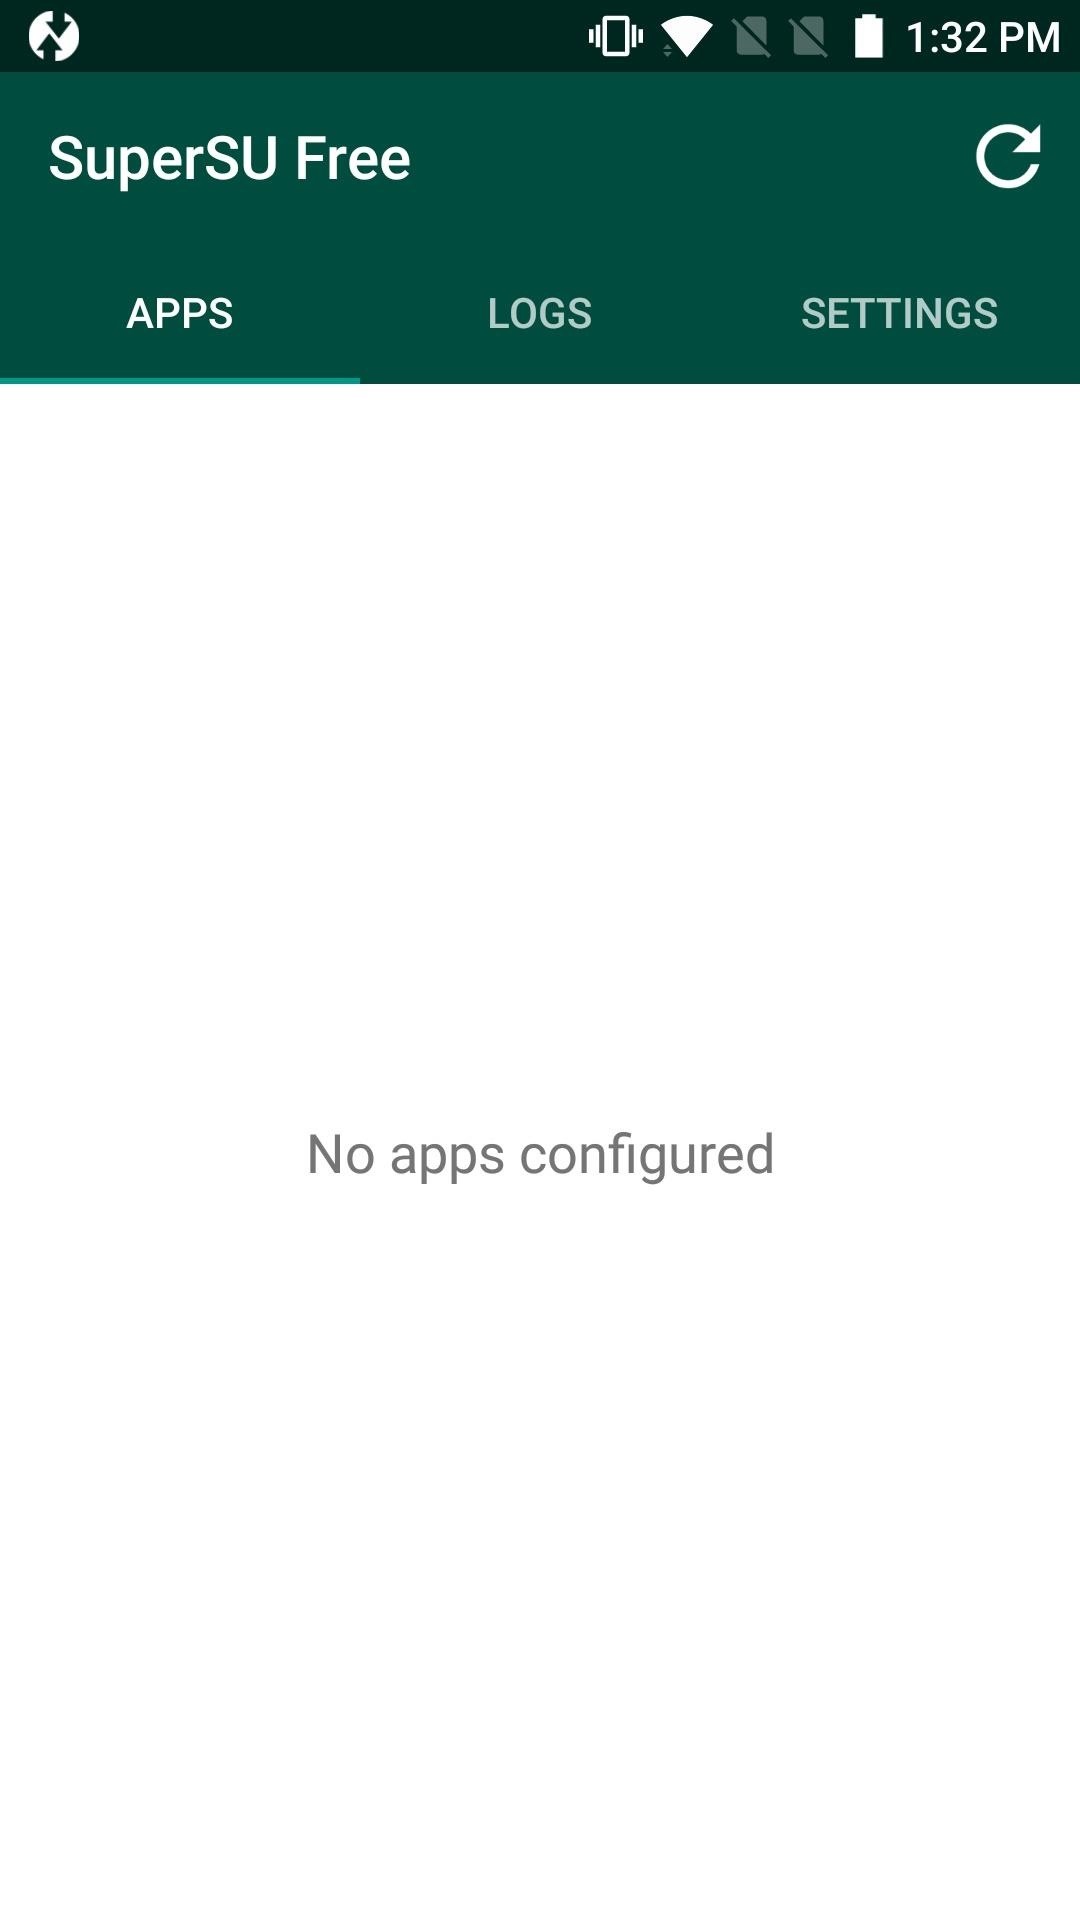
When the reboot has successfully completed, go ahead and set up your phone, as you won't be wiping it again. When you're done, you'll see that SuperSU is now installed along with all of the stock applications that came with your phone. If you open this app and it doesn't say "SU binary not installed," then your device has been successfully rooted.
Congratulations are in order, as you're now ready to enjoy all of the cool mods and tweaks that you can apply as a rooted user. If you'd like a good place to start exploring the wonderful world of root, make sure to check out the following guide.
Just updated your iPhone? You'll find new emoji, enhanced security, podcast transcripts, Apple Cash virtual numbers, and other useful features. There are even new additions hidden within Safari. Find out what's new and changed on your iPhone with the iOS 17.4 update.


1 Comment
hi! after clicking on adb sideload in twrp, i swiped right to start sideload and then did the same in command prompt as shown above and then hit enter. It gives me the error: device not found. pls help
Share Your Thoughts