When Google added new security measures to Android Marshmallow, it had a lasting impact on the entire process of rooting. These measures prevent the the Superuser daemon (the process that handles requests for root access) from getting the permissions it needs to do its job at boot. In order to get around these issues, Chainfire created the systemless root method.
Following Chainfire's lead, other developers began moving their mods and tweaks away from Android's system partition. Developer topjohnwu was at the forefront of this trend when he made a systemless port of the Xposed Framework, but this project eventually evolved into what's now known as Magisk, a "magic mask" to alter system files without actually changing anything on the system partition.
Not only does Magisk's systemless nature make mods easier to revert, but development of Magisk modules is extremely active now, making it the spiritual successor to Xposed. Let's take a look at the Magisk installation process below.
Prerequisites
Download Magisk Manager
Magisk is managed by Magisk Manager, similar to how SuperSU updates your root binaries and how the Xposed Installer helps you add modules for the Xposed Framework. Magisk Manager does the installing and updating of Magisk's underlying framework, and it provides a list of popular Magisk modules (such as systemless ViPER4Android and AdAway) which have been added to the Magisk repository.
So to begin, install Magisk Manager from the Google Play Store. You can either search for it on the Play Store, or open the link below on your phone.

Launch Magisk Manager & Grant Permissions
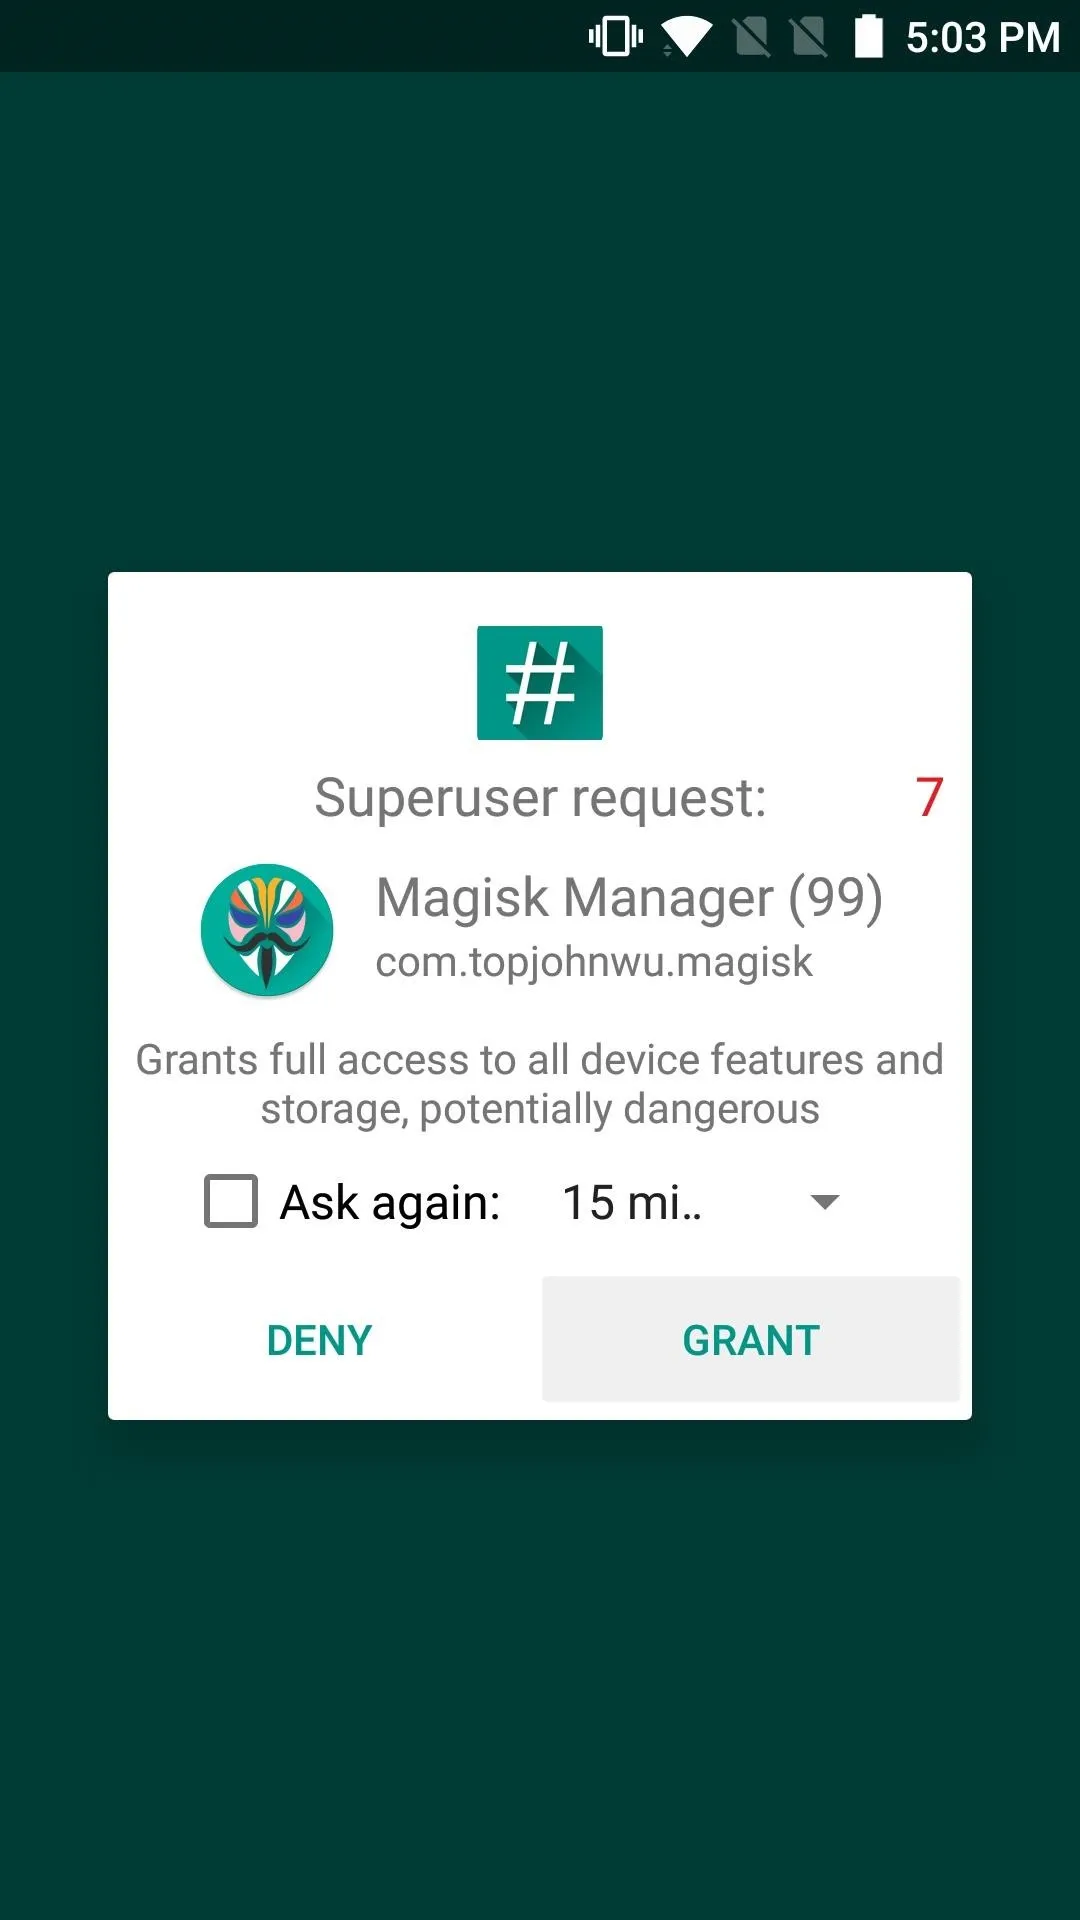
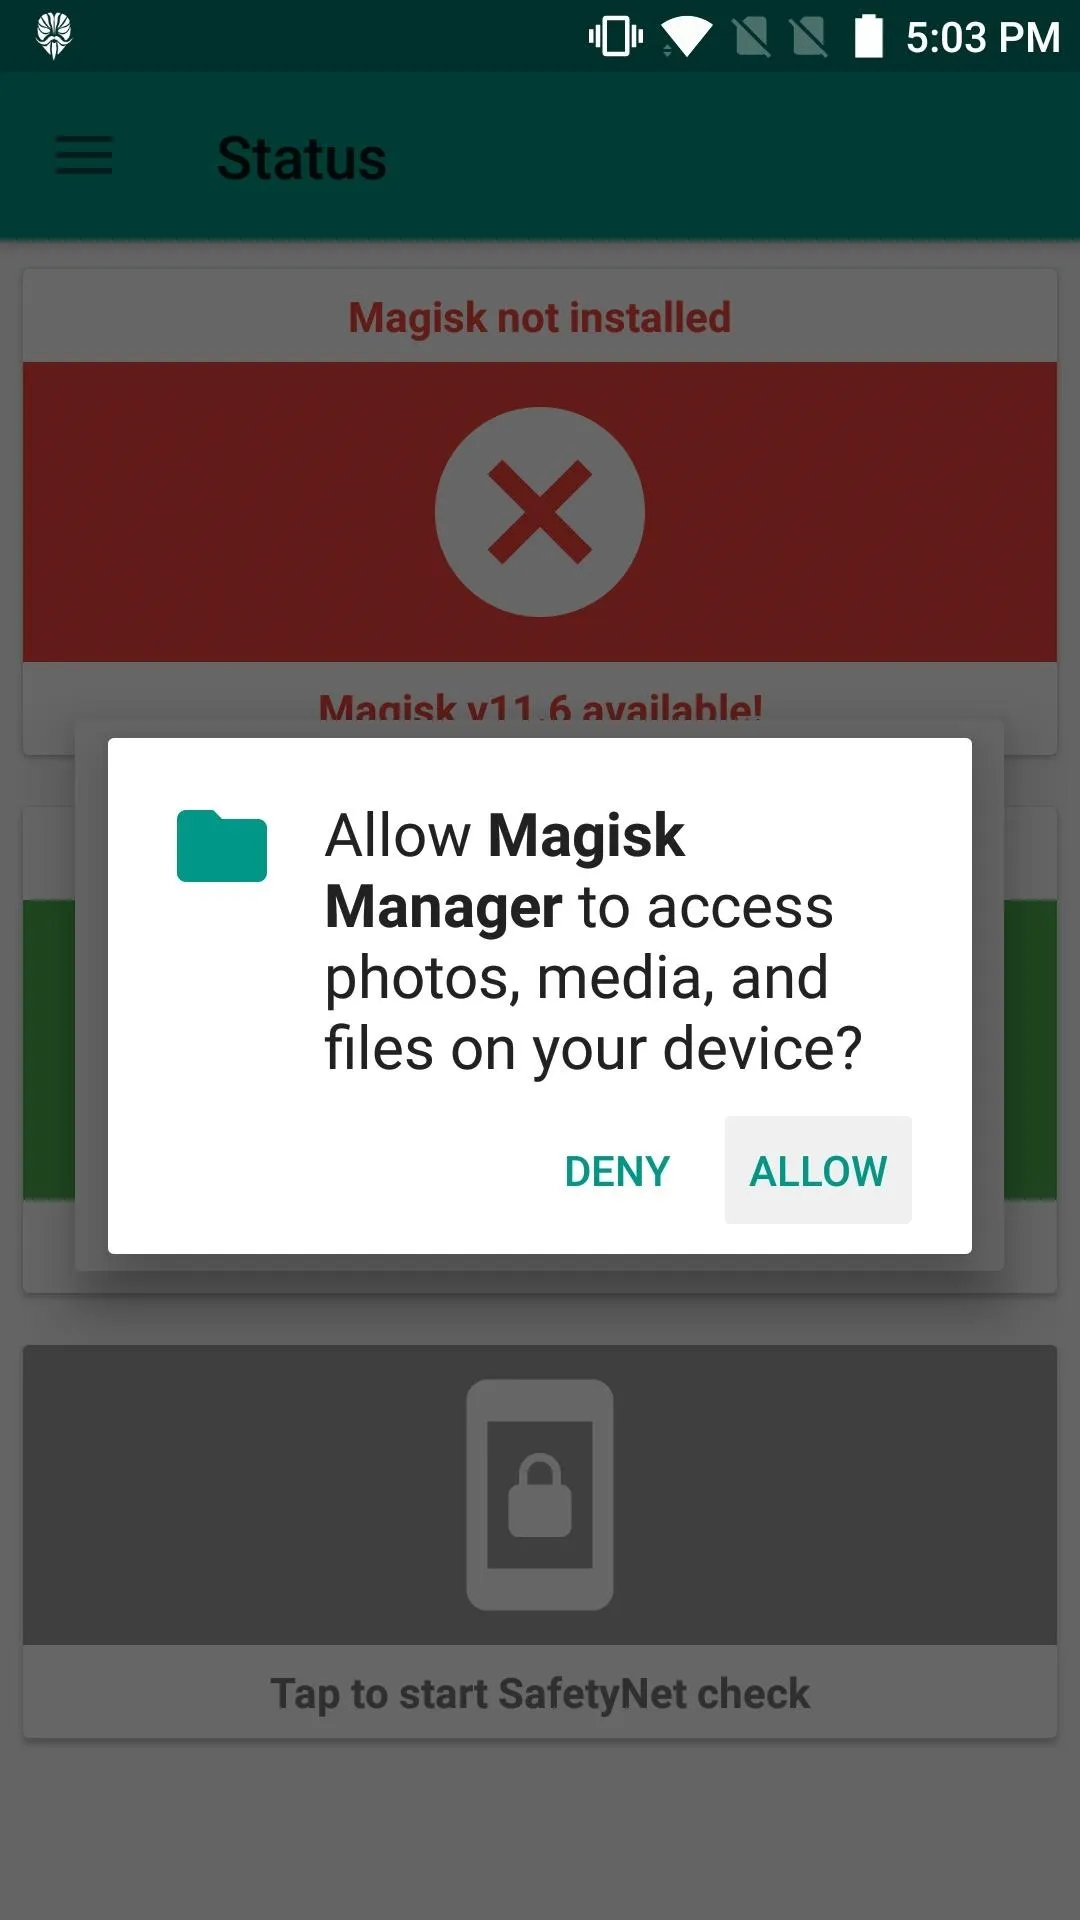
Once you've installed Magisk Manager, open it up and grant all of the permissions it requests. Superuser and storage permissions are required to correctly place the Magisk files in the appropriate directories and folders.
After Magisk has all of the needed permissions, it'll automatically check to see if you have Magisk installed already. If not, it'll offer to take you to the download page. We're here for Magisk and the dozens of mods it brings to the table, so be sure to tap on the "Go to 'Install' Section" option.


Install Magisk & Reboot
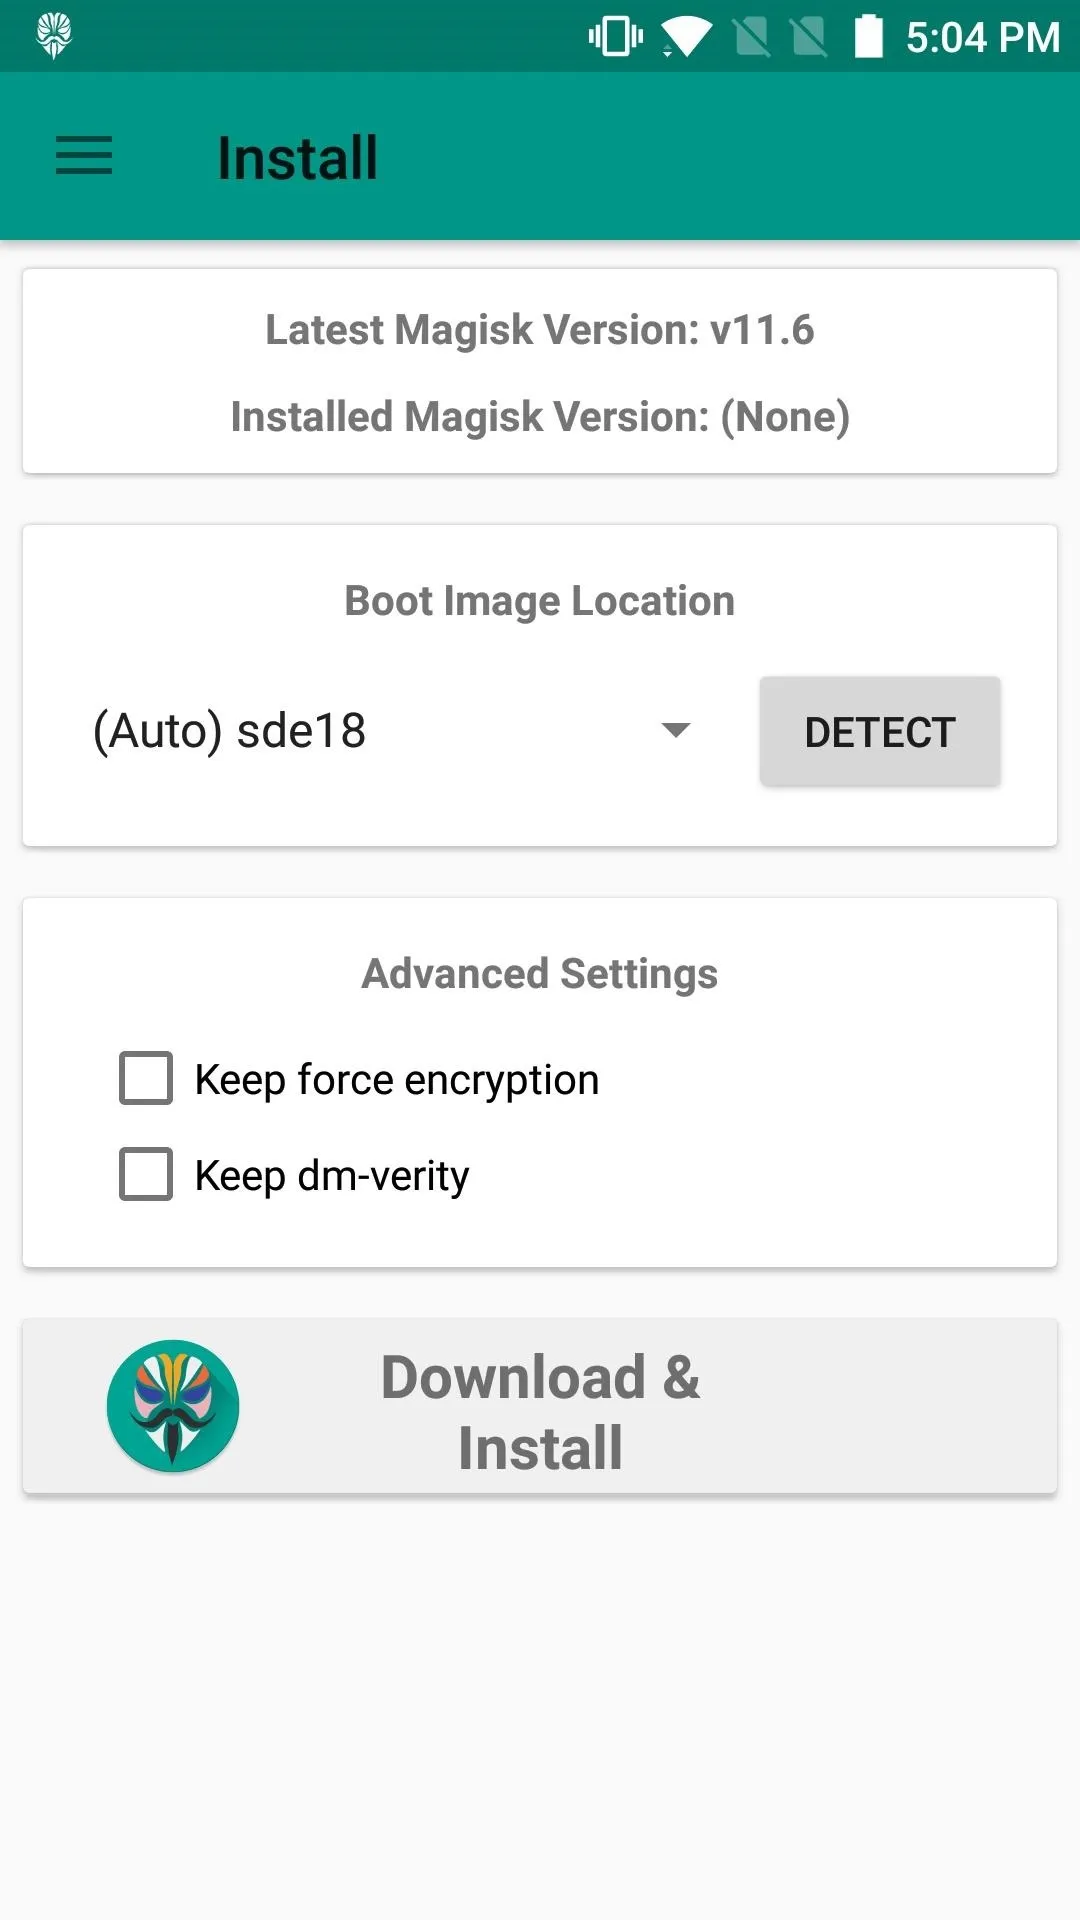
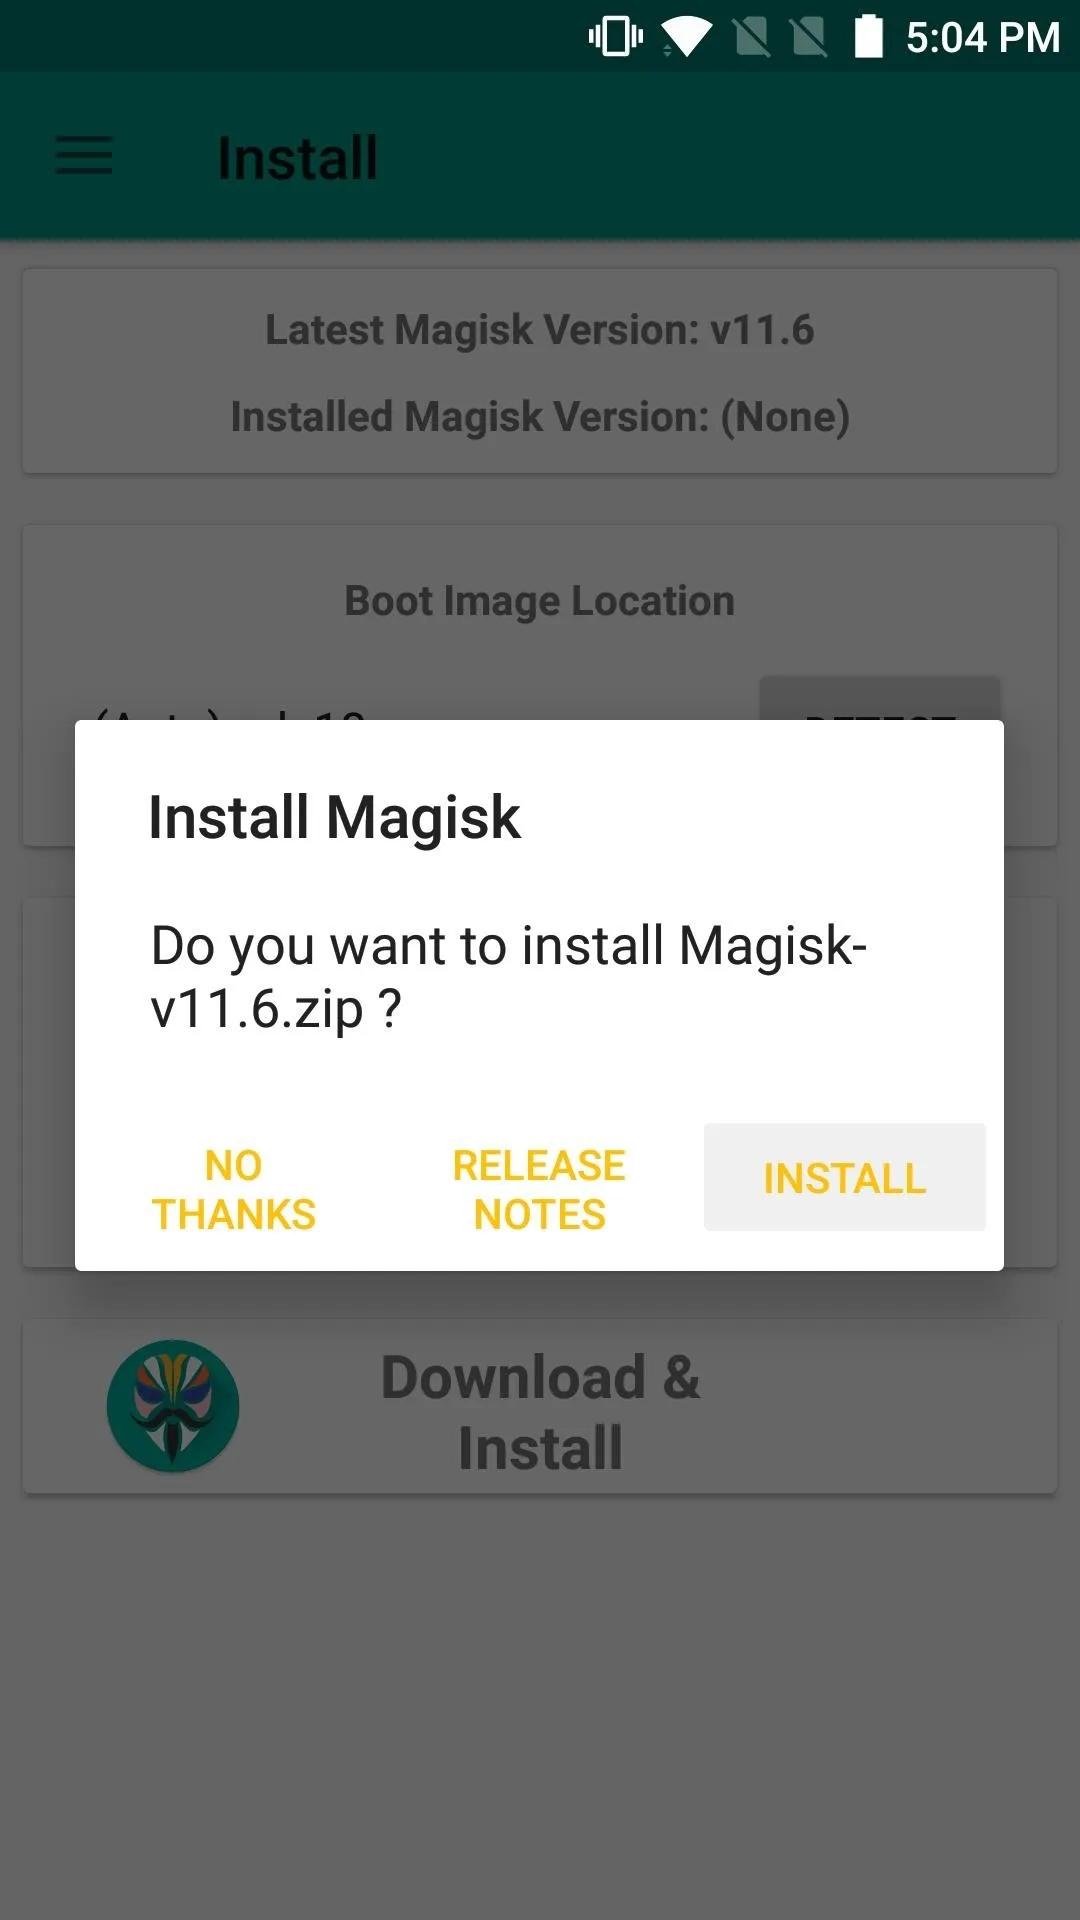
The process of installing Magisk is pretty straightforward. First, tap on "Download & Install," then confirm your choice by hitting "Install" on the popup. Finally, tap "Reboot" to reboot and activate Magisk once installation has finished.
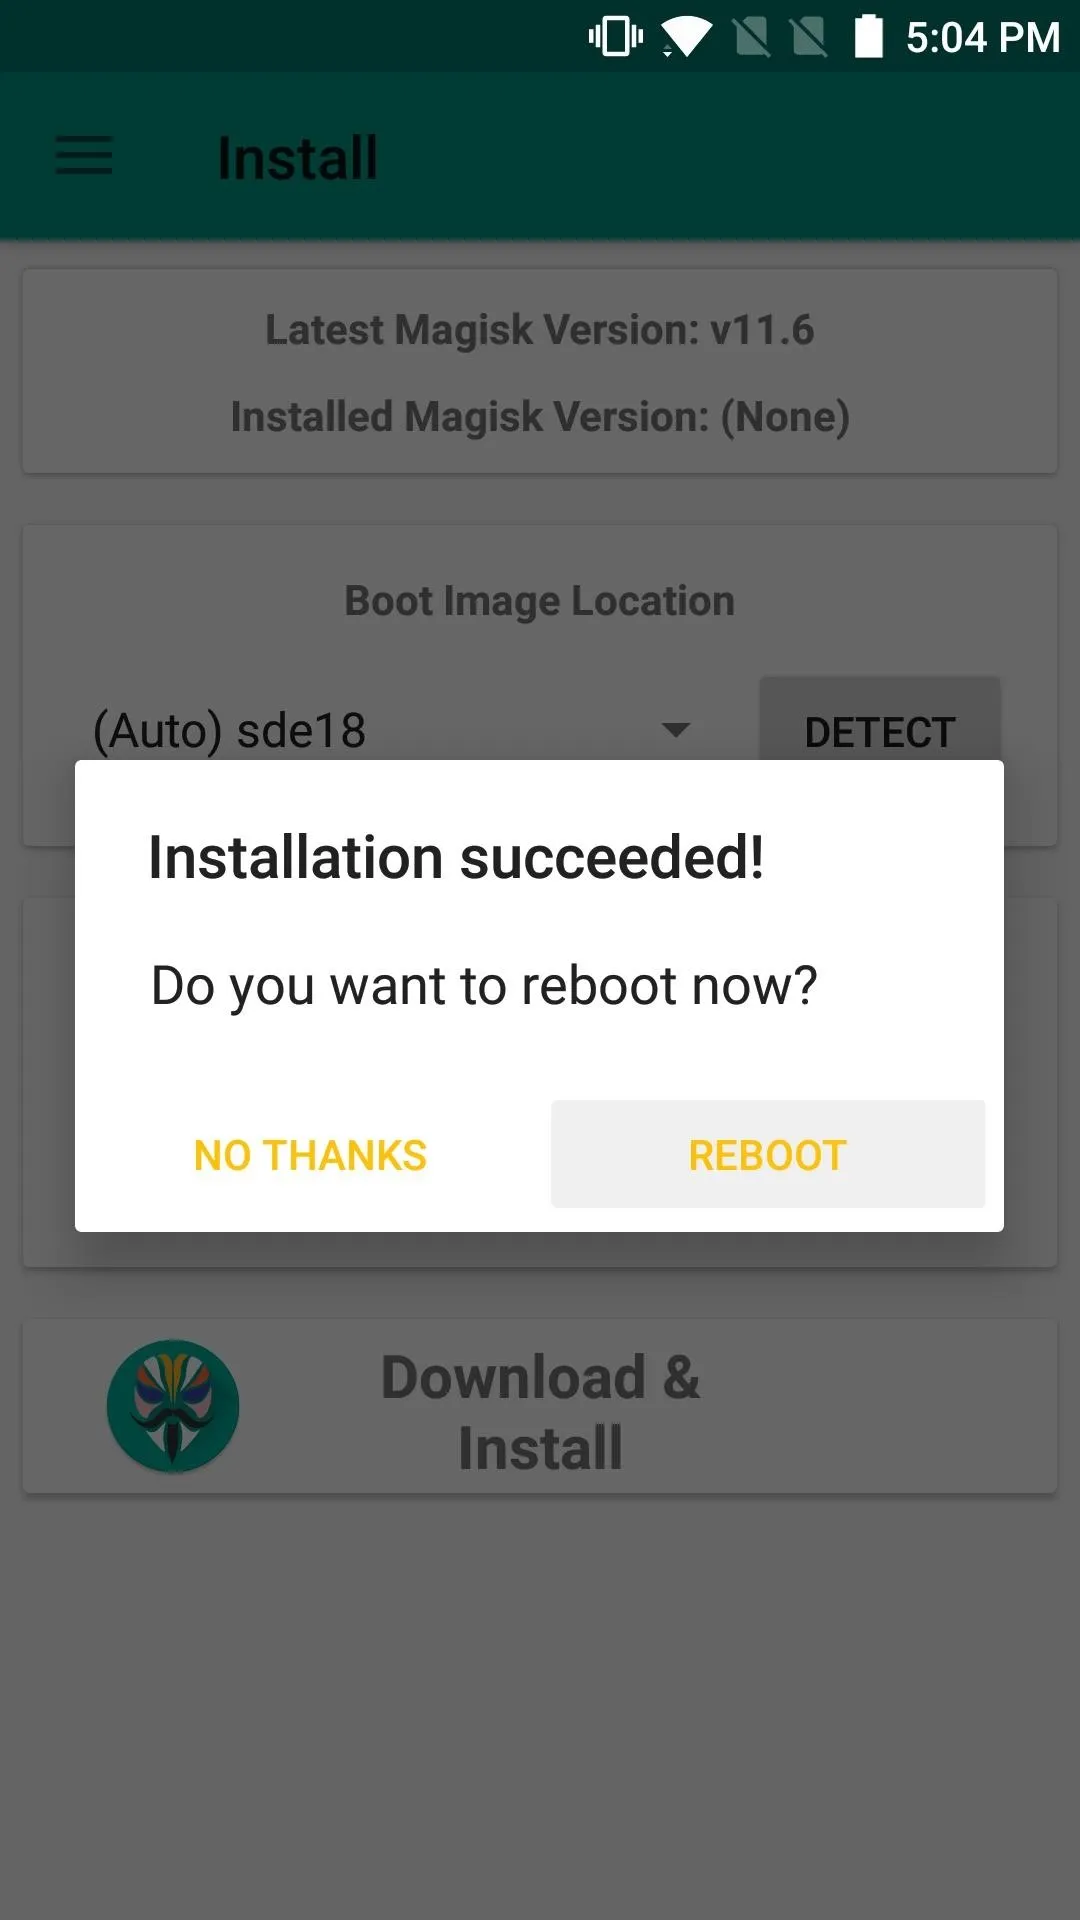


When you get back up, you'll be all set and ready to try out some Magisk modules, which can be downloaded from the Modules section in Magisk Manager. Overall, installing Magisk opens up your phone to dozens of new apps and mods, and we'll definitely keep an eye out for all the ones that stand out from the crowd, so stay tuned right here. If you come across an awesome module, be sure to share it with us in the comment section below.
- Follow Gadget Hacks on Facebook, Twitter, Google+, and YouTube
- Follow Android Hacks on Facebook, Twitter, and Pinterest
- Follow WonderHowTo on Facebook, Twitter, Pinterest, and Google+
Cover image and screenshots by Kevin M./Gadget Hacks





Comments
Be the first, drop a comment!