


So, you rooted your Pixel 2 or 2 XL and everything seems to be working quite well. However, a month passes, and you get a notification to install the monthly security update. Like clockwork, Google has been pushing out OTA security patches every single month for a while, but there is a new problem for you at this point — as a rooted user, you are unable to apply the update correctly.
Not knowing this vital detail can throw off root beginners and even experienced Pixel owners returning to the root scene all the same. It is critically important to keep up with security updates, especially with all of the nasty malware and exploits that have been running amok in recent times. We will dive into more specific details on how to solve this update issue for rooted users in the sections below.
The A/B Partition
Google introduced the first Pixel phone back in 2016 with a new feature called seamless updates, which allows an OTA update to install on a secondary partition while keeping the active partition intact (your current session). This makes it easier to update on the user side since, upon a system reboot, the two partitions switch places. For the new update method to work as intended, Google had to introduce another system partition in a new concept they are calling the A/B partition.
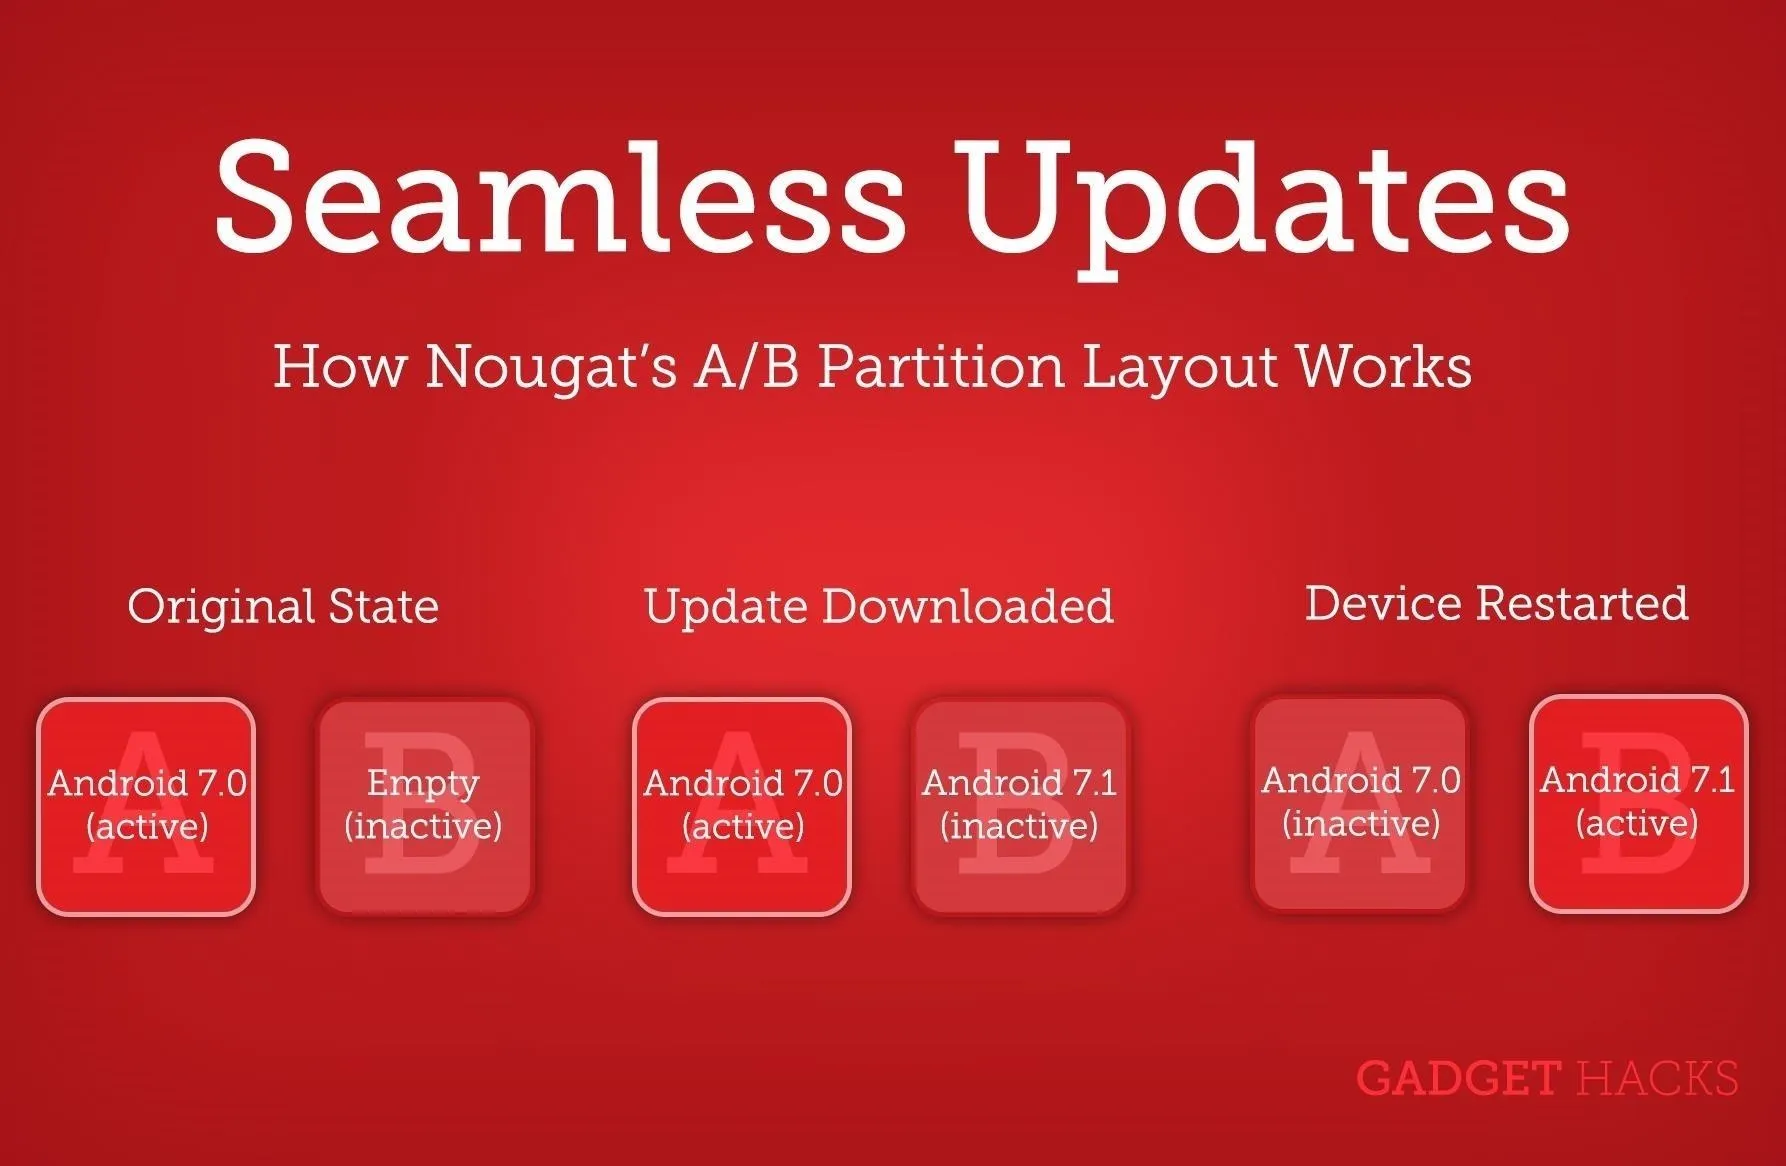
An easy understanding of how seamless updates work with an A/B partition.
This posed a challenge to the root scene in the earlier days since the recovery and boot partitions were merged as a result of the new layout, but has since been figured out thanks to the support from great developers across the community. It is important to note that the seamless system updates and A/B partition are no longer exclusive to the Pixel phones. We can expect these new features to be included in many more Android devices now and well into the future. If you want to know the specifics on how the A/B partition works in newer devices like the Pixel phones, you can check out Google's official explanation.
The Solution for Root Users
While the introduction of the A/B partition is excellent for the people who are running stock without root access, what about the root users like yourself? In the days of old, you had to find the factory images from the manufacturer of the phone and flash the system back to the original stock firmware. This was a bit overwhelming for many, especially since it essentially means you must wipe the user data partition — no one likes having to do a factory reset and start from scratch every single time. But the A/B partition layout has helped alleviate this problem.
The solution? We must leverage the power of TWRP and use the ADB sideload function in a recovery environment. Sideloading an OTA update using this method will allow your device to take the update just like a stock device can, but guess what? You get to keep all of your data all the same — no more worrying about having to start over every single month! Let us dive into how we can accomplish this once and for all with the easy to follow steps below.
Pick the Right Cable
Go ahead and make sure you have your phone connected to your computer via a USB port before moving on. If you are lucky enough to have a native USB Type-C port on your computer you can use that; otherwise, you will have to use or purchase a USB Type-C to USB-A cable to proceed with this root heavy guide. Since you are looking to update your rooted device with an OTA file, you probably already have the cable you need anyways.
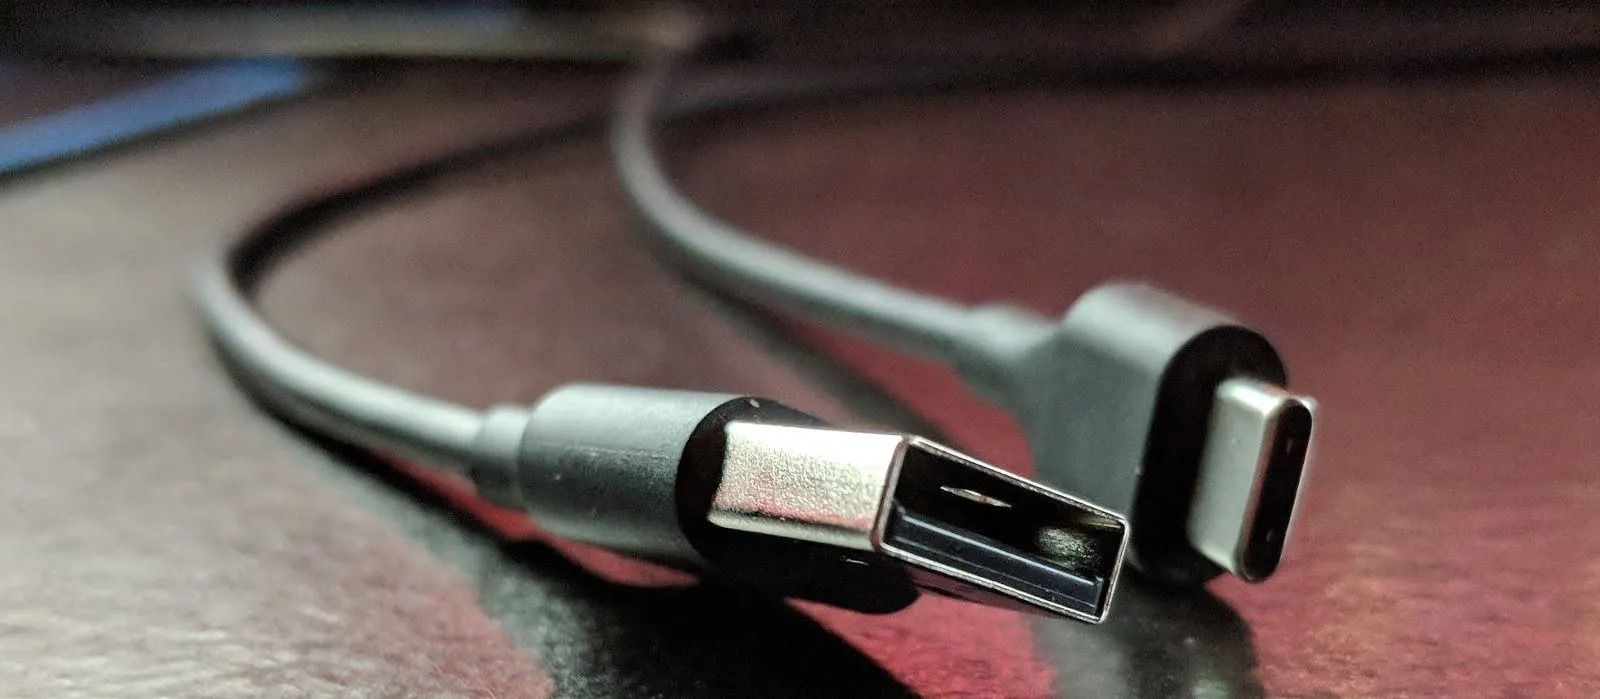
An example of a USB-C to USB-A cable.
Download the OTA File
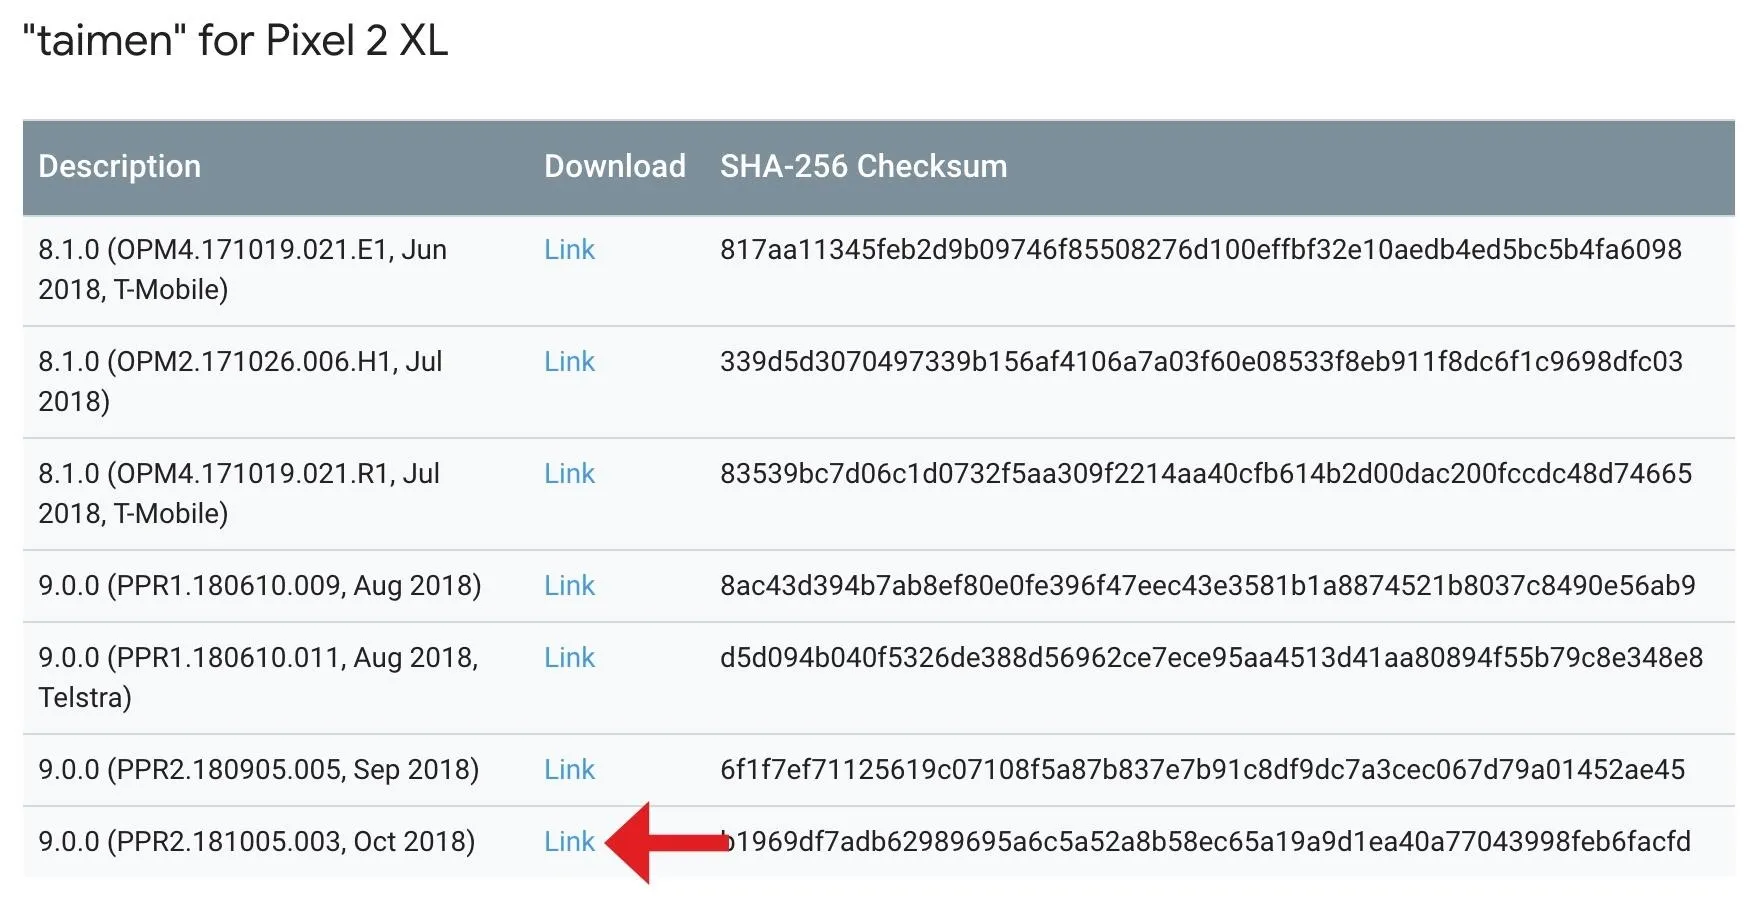
There is no way around it — you'll still need to download the OTA image file manually. You can find the newest and most up to date list of OTA images for the Pixel devices on Google's official firmware page:
For the sake of this guide, you will be looking for the device codename of either taimen (Pixel 2 XL) or walleye (Pixel 2). Scroll down to find the most recent monthly security update you want to install and hit the download link next to it. Make sure to save this file to your computer.
Download the Platform-Tools
The A/B partition changes the way root works when it comes to flashing files, which makes this a mandatory step so the OTA update can be applied to your system correctly. If you try to flash the OTA without the platform tools, you could cause yourself a bootloop. To avoid all of that headache, download the latest SDK Platform-Tools package from Google:
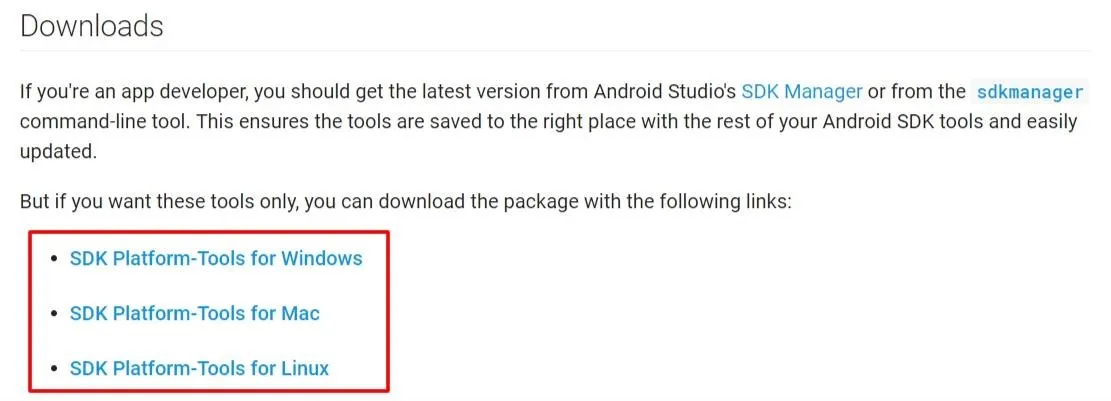
The official download page for the SDK Platform Tools.
As of this guide, 28.0.1 (September 2018) is going to be the most current platform-tools release we want to use for the Pixel devices. Most root users are probably going to download the Windows release, but pick the platform that corresponds with your current system.
Move Files Around
Once you have the platform-tools downloaded from Step 3, go ahead and extract that file to any location of your choosing. To keep things simple, we recommend extracting it to your desktop.
You'll then want to take the OTA file you downloaded in Step 2, and drag that file into your newly extract platform-tools folder on the desktop. To keep things easier still, go ahead and rename this zip file just to "ota" (or "ota.zip" if your computer is set to show file extensions).
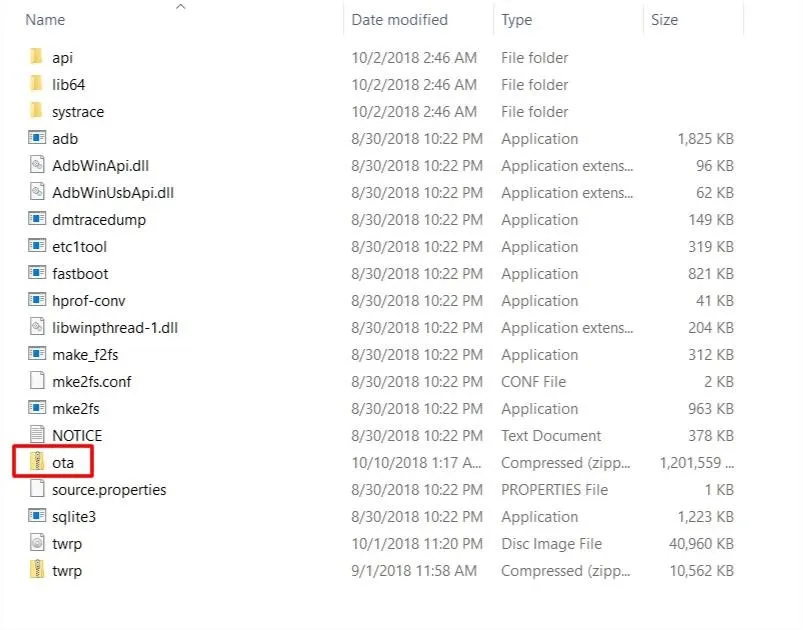
An example of what your platform-tools folder might look like.
Renaming the ZIP file will make it easier to initiate the sideload command in TWRP later. You also do not have to worry about extracting the OTA file since the ADB sideload command will read it as-is.
Prepare ADB & Fastboot
Next, if you're using Windows, install the ADB and fastboot drivers if you haven't already done so (you most likely did this when you rooted your phone initially). Then, on your phone, enable the hidden Developer Options menu and make sure "USB Debugging" is turned on.
Update TWRP
It is crucial that you grab the latest version of TWRP since it has had a lot of problems in the past with the Pixel 2 devices in particular. This was again, because of the A/B partition — it just recently got to the point where everything is working correctly now.
Before the latest update, if you had the fingerprint security feature enabled, you had to disable it every single time you wanted to boot into recovery mode. Having to remove your security features every single time was less than ideal, but that has since been fixed in version 3.2.3-1 and beyond. It is always advisable to keep TWRP updated as much as possible to avoid future conflict when flashing files, especially on newer devices.
To update TWRP, grab the latest ZIP for Pixel 2 or Pixel 2 XL, then simply flash the file in recovery. Want to learn more about installing or updating TWRP? We have you covered!
Open a Command Prompt in the Right Folder
Now that TWRP has been updated, you'll need to get a command prompt or terminal window open to the platform-tools folder. This varies slightly depending on your computer's operating system.
Windows users:
Press the Windows button on your keyboard, then type in "cmd" and hit enter. Head back to your platform-tools folder on the desktop. Copy the file location of the folder by clicking the bar in the current window that shows what folder you are in. Go back to your terminal and type in "cd" followed by a space, then paste in the file location you just obtained and hit enter.
Mac users:
Press command and space bar on your keyboard simultaneously, then type in "Terminal" and hit enter. Go back to your platform-tools folder on the desktop, then click on "File" and choose "Get Info." Copy everything from the "Where:" section, then go back to your terminal. Type in "cd" followed by a space, then paste in the file location you just obtained and hit enter.
Linux users:
Without over complicating things on the Linux platform, head into your platform-tools folder located on the desktop, and then right-click any blank spot of the window. Now you must select the "Open in Terminal" option, which will allow the local files in that folder to communicate with the terminal.
Boot into Recovery
Now that your terminal is pointing to the folder that we need it to, go ahead and enter the following command:
Windows users:
adb reboot recoveryMac and Linux users:
./adb reboot recoveryNote: Since ADB/fastboot commands may not be installed system-wide, it is crucial for Mac and Linux users to manually add the "./" before entering any of these commands in the future. This ensures you are launching the files from the local folder without issue.
If all is well, your device will respond by transitioning to the recovery environment. When you have security features set up on your device, such as Pixel Imprint, you will be presented with a message that asks you to enter your password. Go ahead and enter the password or PIN you use to unlock your device upon first boot of your system and tap the enter key. If you are on the most recent version of TWRP, it will decrypt your data successfully so you can move onward.
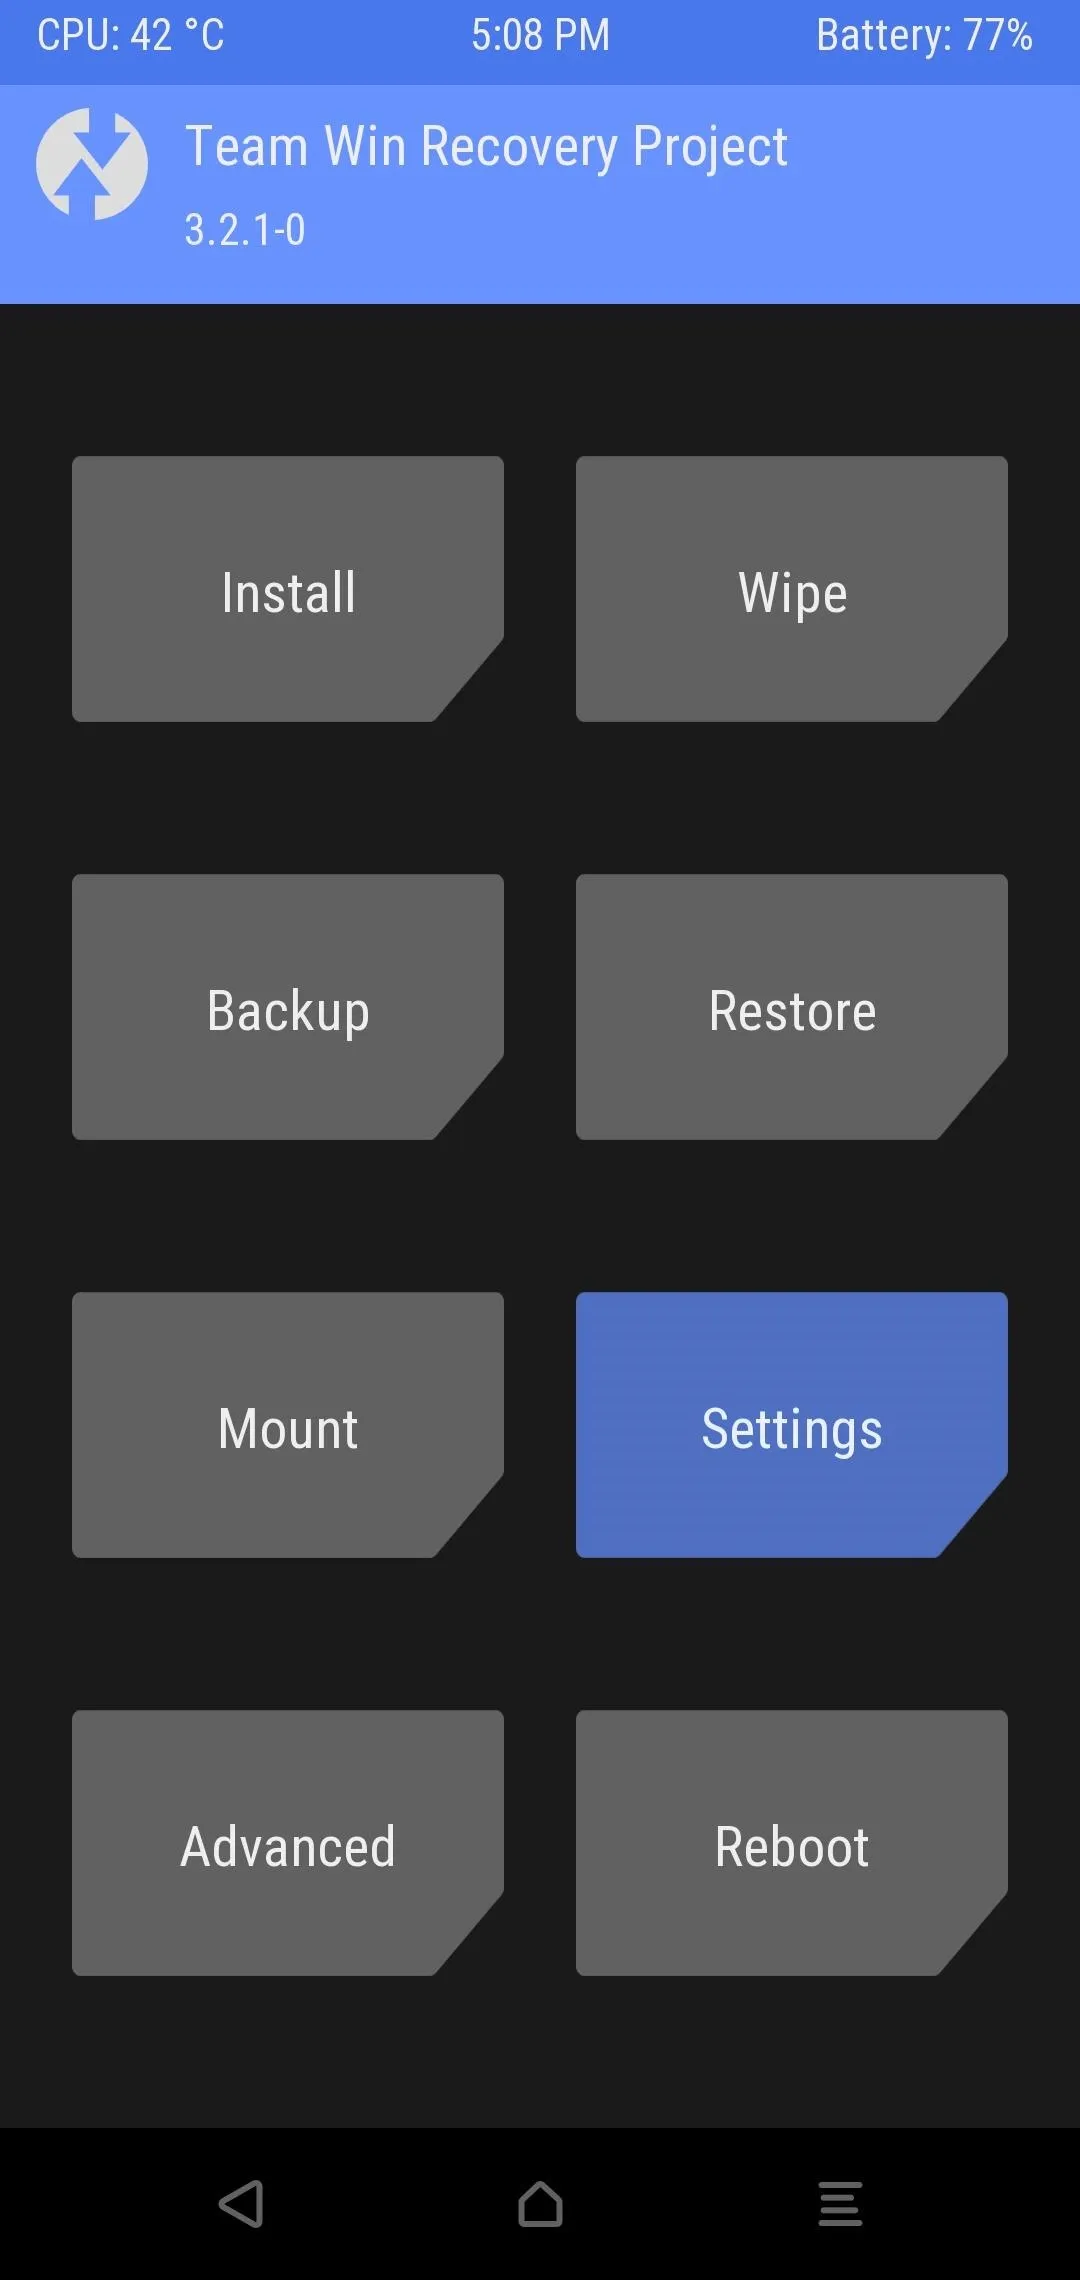
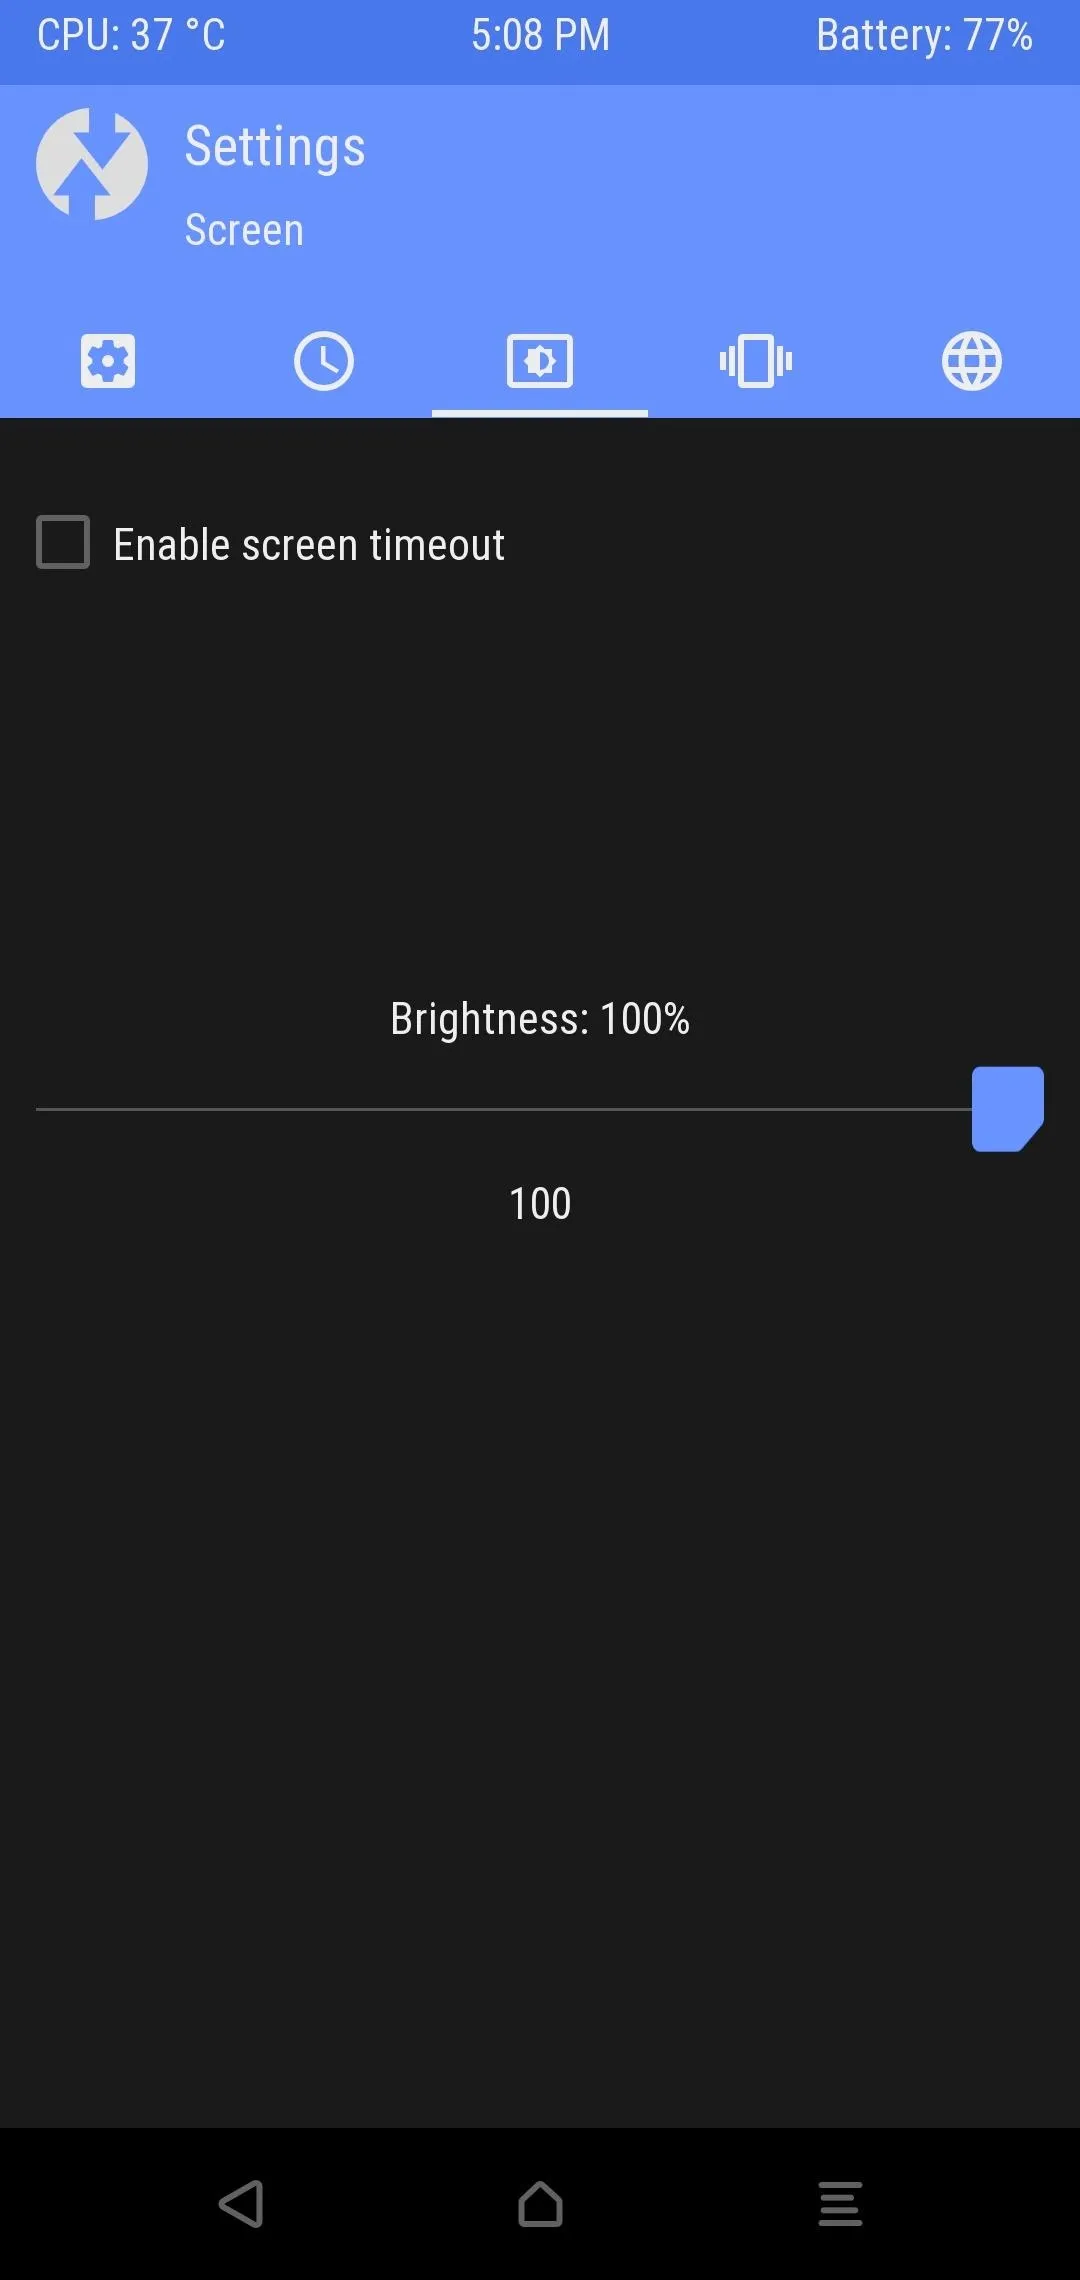
Note: There still appears to be a bug in TWRP with the screen off timer on the Pixel 2 devices. Just to be safe, you might want to disable the screen timeout option so that it will stay on during the install process. It can occasionally turn off entirely and prevent it from turning back on, which results in a failed update or a semi-bricked device. To do this, start from the main TWRP menu, tap "Settings," and then tap the icon in the middle with the brightness symbol. Uncheck the only box available in this section, and you are good to go!
Sideload the Update
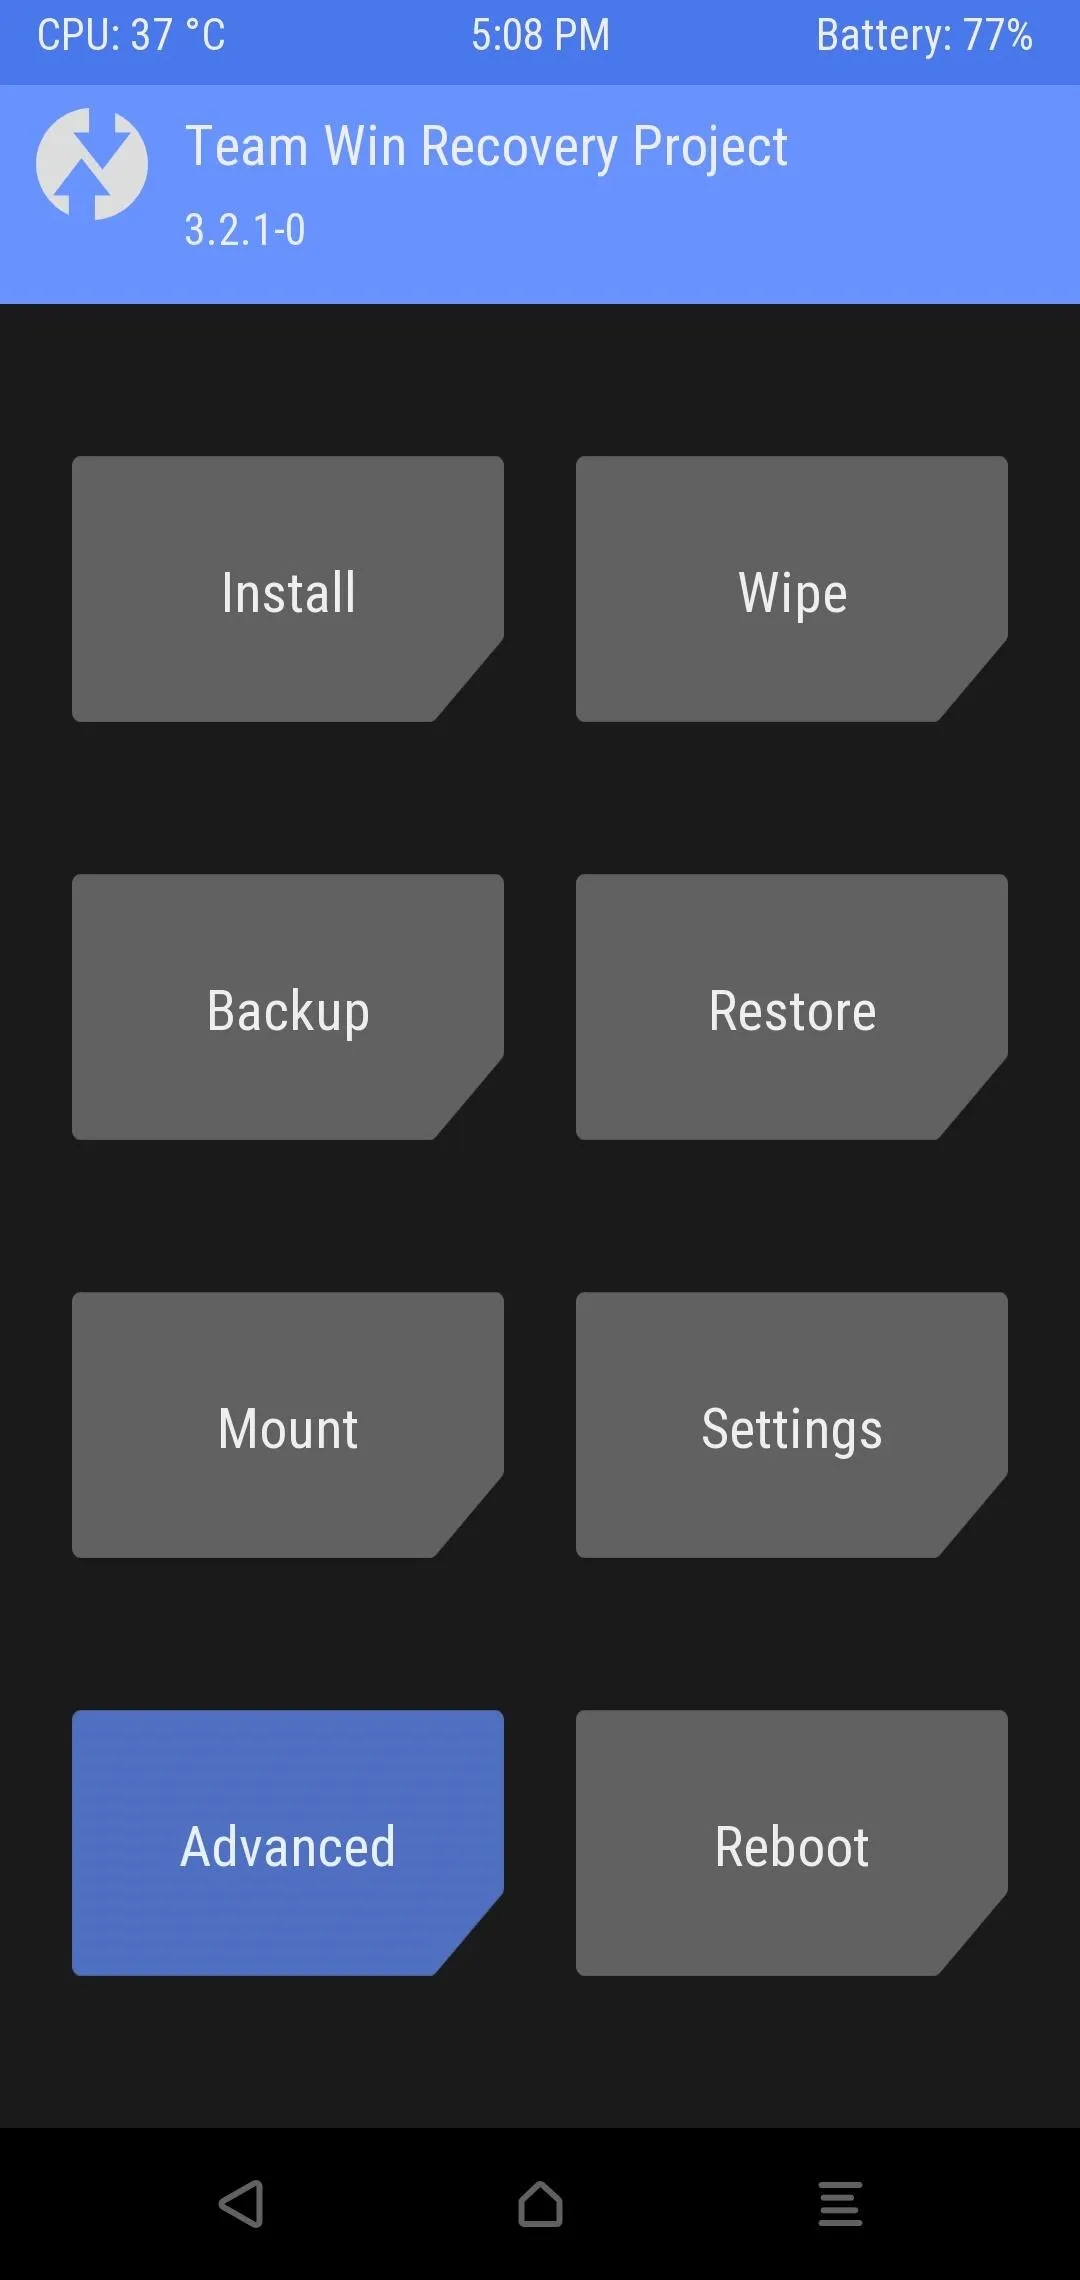
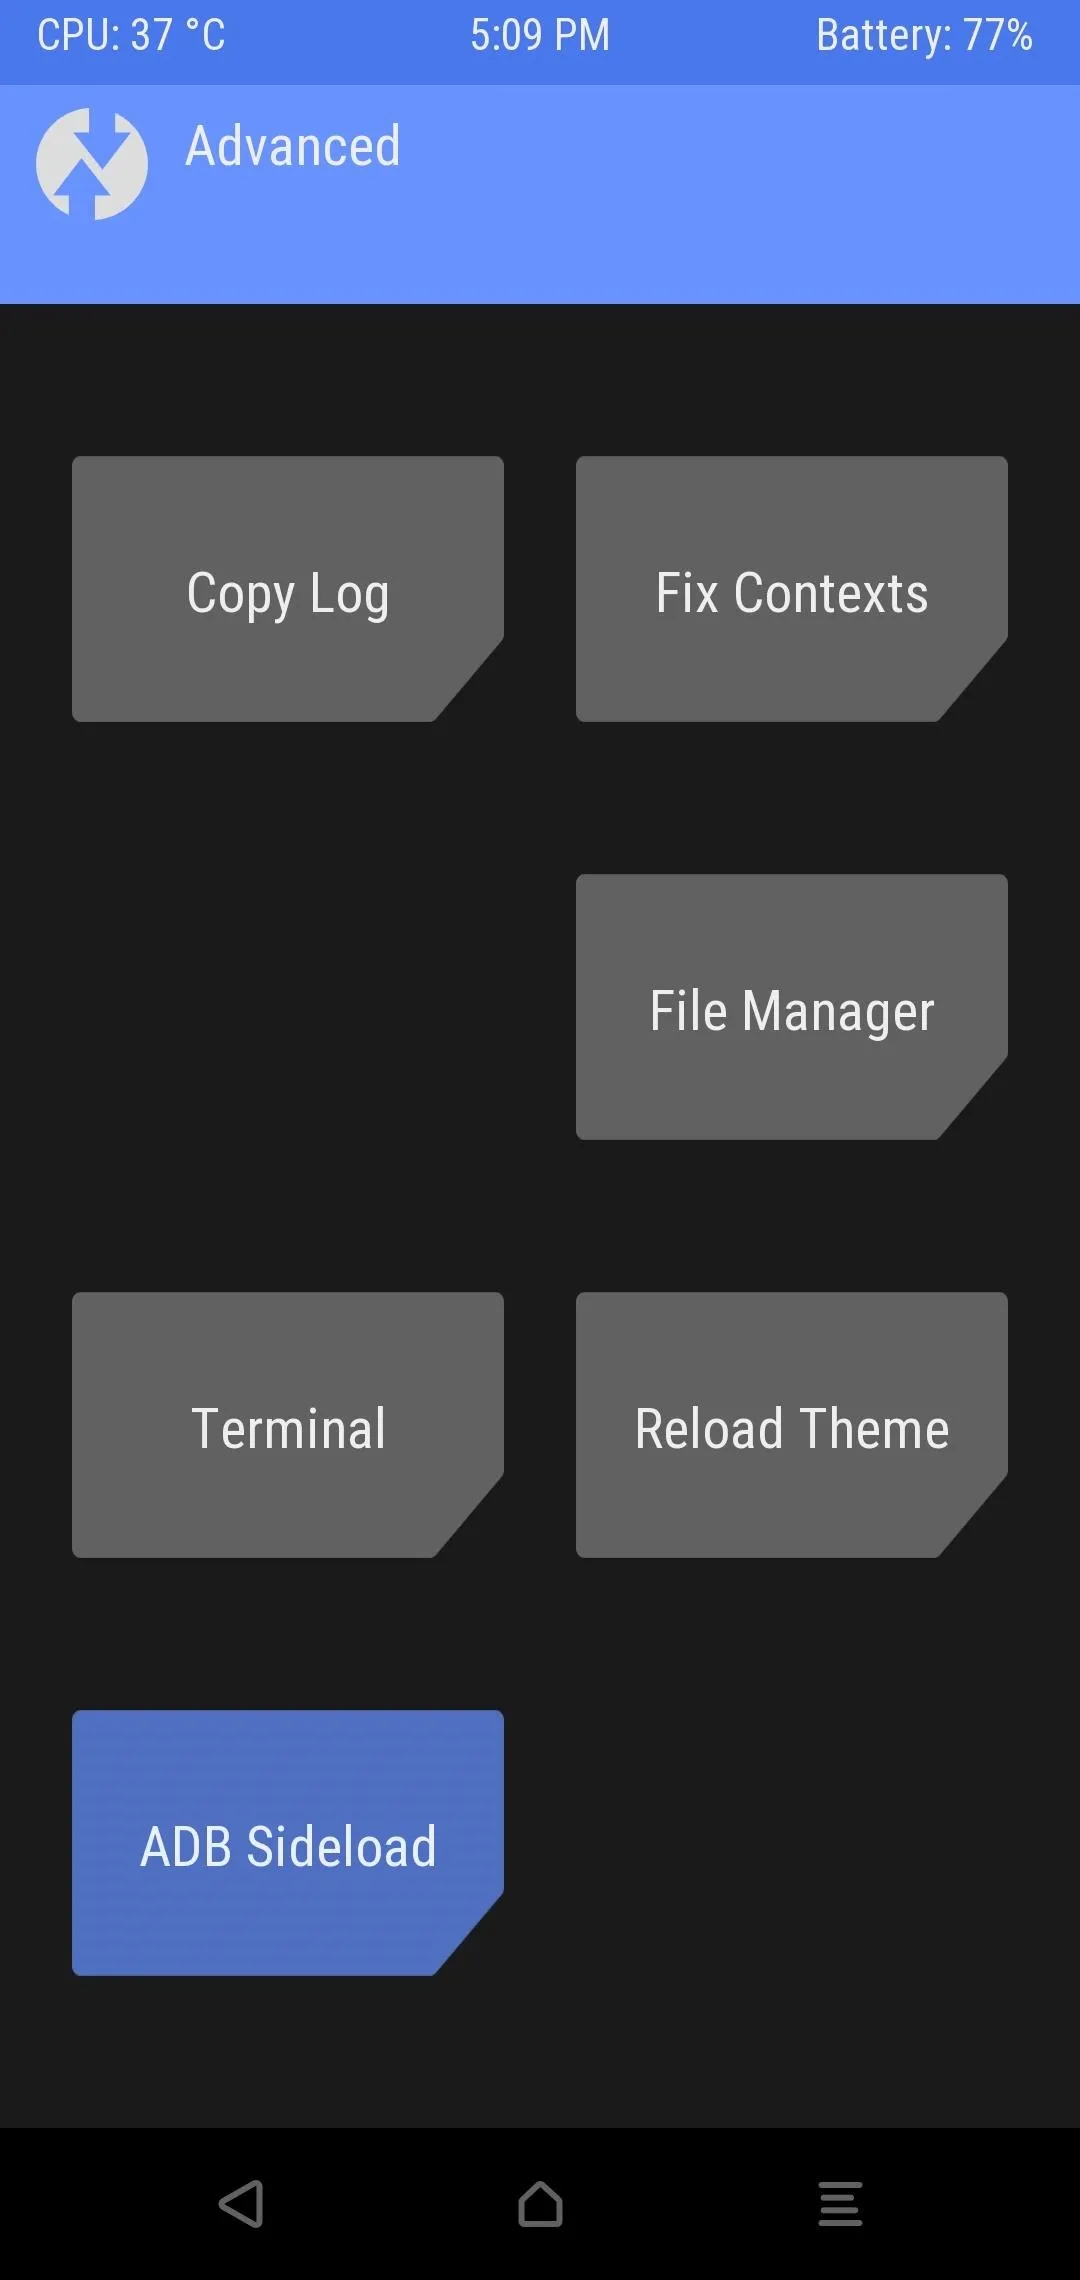
From within the TWRP main menu, tap "Advanced" and then "ADB Sideload." You can choose to wipe the caches if you feel the need, but it is not mandatory. Swipe the bar at the bottom to initiate the sideload command on the recovery menu side.
From here, you need to go back to your computer's desktop and into the command prompt or terminal within the platform-tools folder from the previous steps. You should have all the files renamed and ready to go by this point, so we can finally start the update process. If you closed the terminal application, go ahead and repeat the first part of Step 7 to open a terminal for the platform-tools folder on your desktop.
Once you have your terminal ready to go, enter the following command:
Windows users:
adb sideload ota.zipMac and Linux users:
./adb sideload ota.zipThe OTA file will begin to extract, and then it will apply the update to your system. This whole process will take a few minutes, so sit back and hang out while it does its thing. Once it finishes updating, you can manually hit the reboot option and land back on your lock screen in no time! You might see a message that will let you know the system update is finalizing, but you are good to go from there. Now you need not fear the monthly security updates and can tackle the situation with relative ease.
Re-Root (Optional)
Since the new A/B partition tightly integrates more core system files into the way updates work now, you will now be back on the stock kernel, you will lose root access, and you will default back to the stock recovery as well. Feel free to install anything you wish from this point on that fits into your personal device usage.
If you need a refresher on any of these extras, please visit the guides below:
- How to Install TWRP (the Best Custom Recovery for Android)
- How to Install Magisk & Root with TWRP
- How to Install the ElementalX Custom Kernel
It can sound like a lot of work at the beginning of this adventure, but it is also quite easy to use and maintain once everything is all set up. Having a new understanding of how all these things work will help you out greatly in the root scene. Just think — now that the preparation is all done, it should be smooth sailing from here. For example, the next time you want to install an OTA update, all you have to do is download the file and launch the ADB sideload command from TWRP. Nice and easy. Enjoy your monthly OTA updates without losing your data ever again!
- Follow Gadget Hacks on Pinterest, Reddit, Twitter, YouTube, and Flipboard
- Sign up for Gadget Hacks' daily newsletter or weekly Android and iOS updates
- Follow WonderHowTo on Facebook, Twitter, Pinterest, and Flipboard
Cover image and screenshots by Stephen Perkins/Gadget Hacks


Comments
Be the first, drop a comment!