

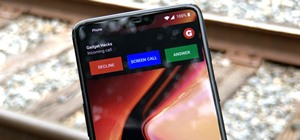
One of the best things about Android is the ability to customize every aspect of your device to make it your own. However, unless you have prior knowledge or experience with every single setting available to you, you might have missed a few critical features without even knowing it. Some settings are easy to find, while others might be tucked away in another menu of their own.
Thankfully though, OnePlus's OxygenOS is often considered one of the cleanest versions of Android, right up there with Google's Pixel line. It often gets praise for keeping that "stock" feel of what Android should look like, but with its own twist. This means a better user experience across the board without overly complicating things, which is a win-win for all of us.
In this guide, I'll cover a few common privacy and security settings you might be interested in knowing on your OnePlus device and some of the lesser-known ones as well. All of these will be found in the settings app on your phone, just like most other versions of Android. I'll show you how to get to each setting using a dark code box, which will represent what you will need to tap on to get to each one.
Jump to a section: App Access | OnePlus Features | Anti-Theft | Google Features
1. App Permissions
One of the most critical aspects of security when it comes to dealing with apps: the permissions they request from your device should be considered with great care. Some legitimate apps do require many permissions if they offer a variety of features, but there are plenty of safe looking apps that are malicious by nature.
These bad apps can cause harm to your device by hijacking your system permissions, which allows them to do what they want freely. The good news, though, is that you have complete control over every single app installed on your device. You can revoke access to any number of permissions on these apps, even if you have previously granted access to them before.
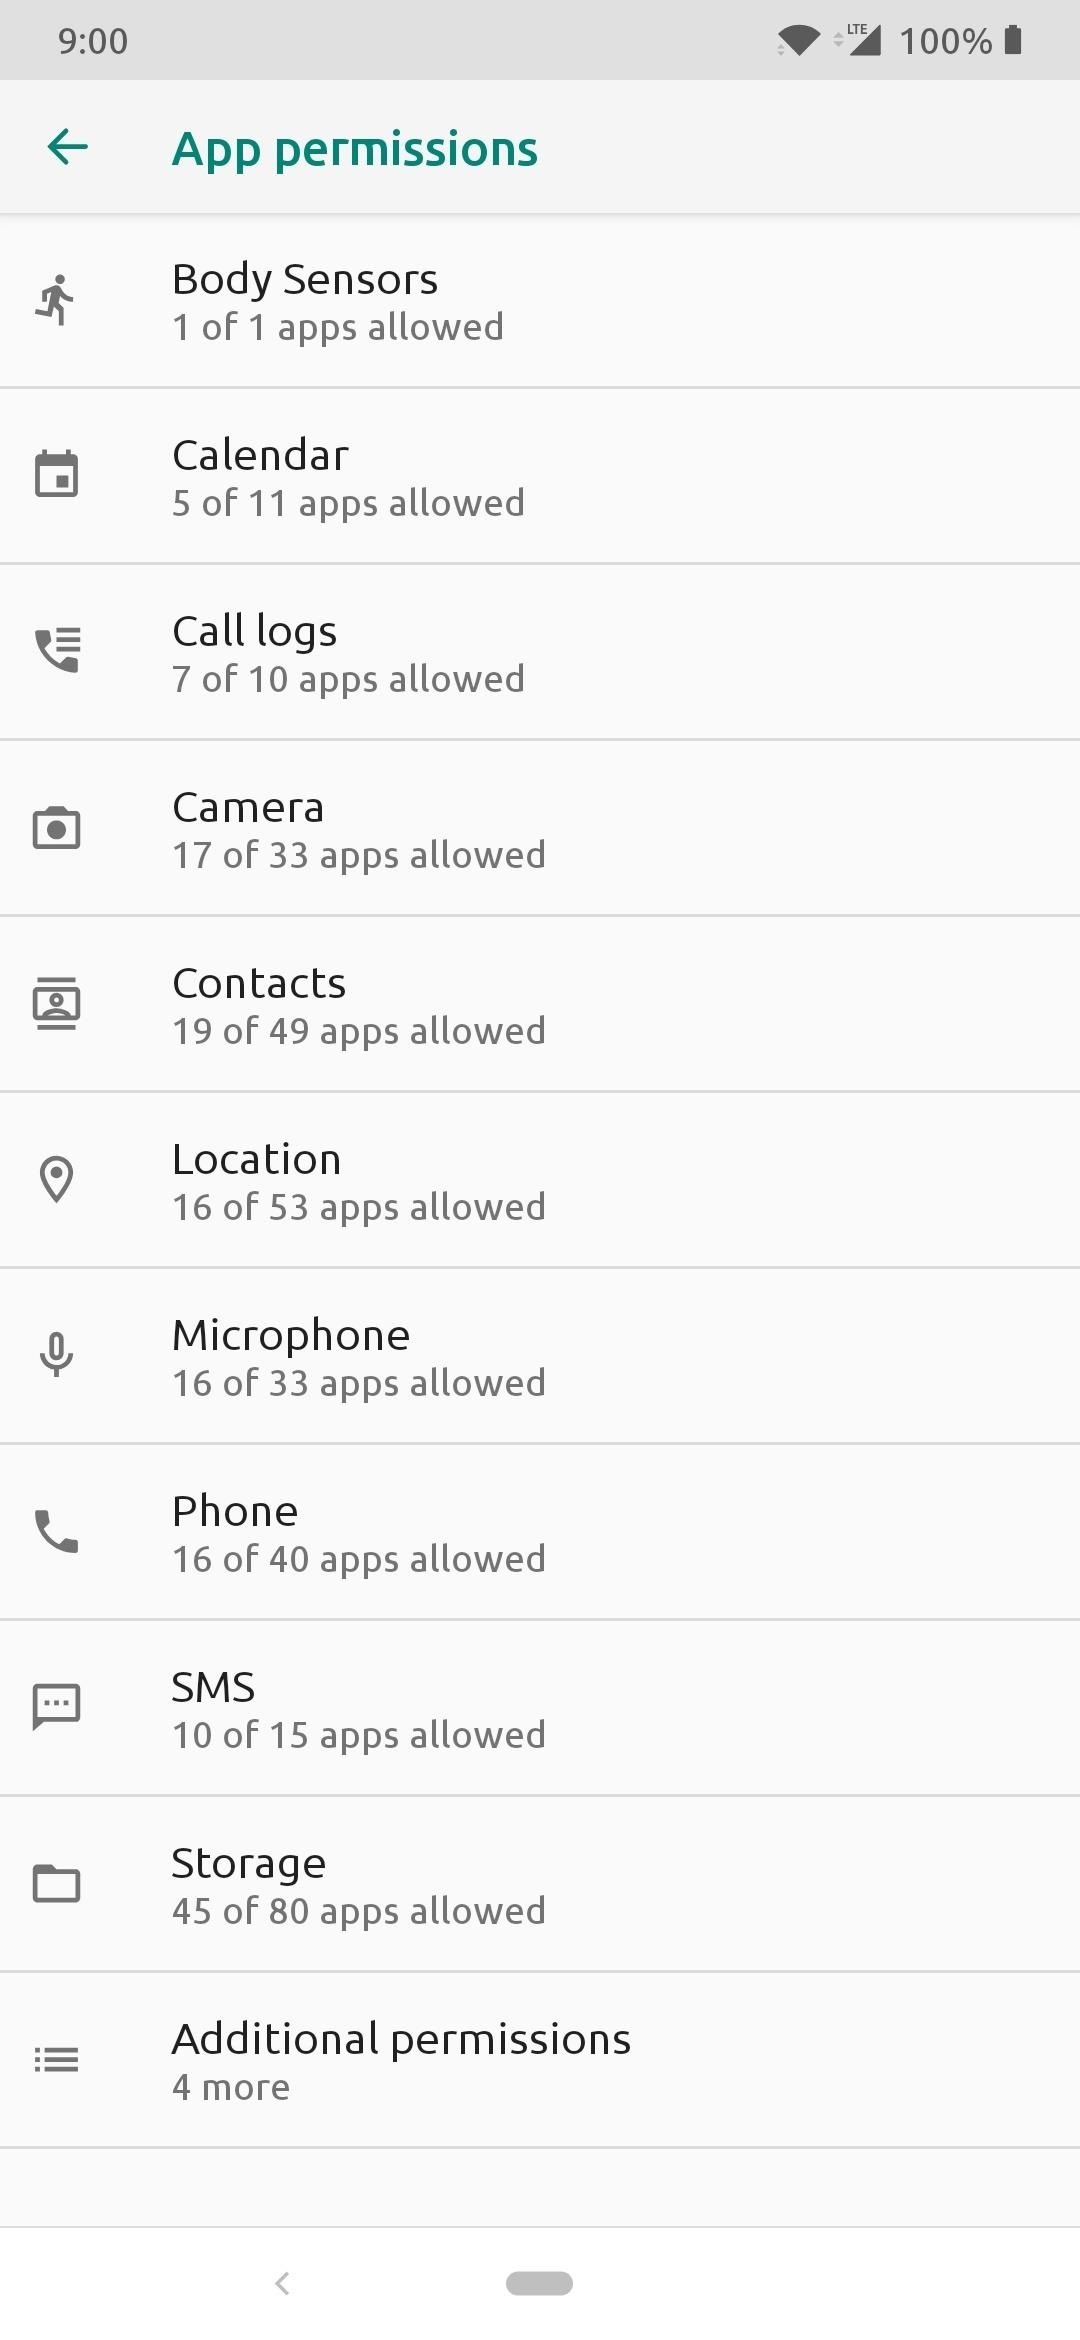
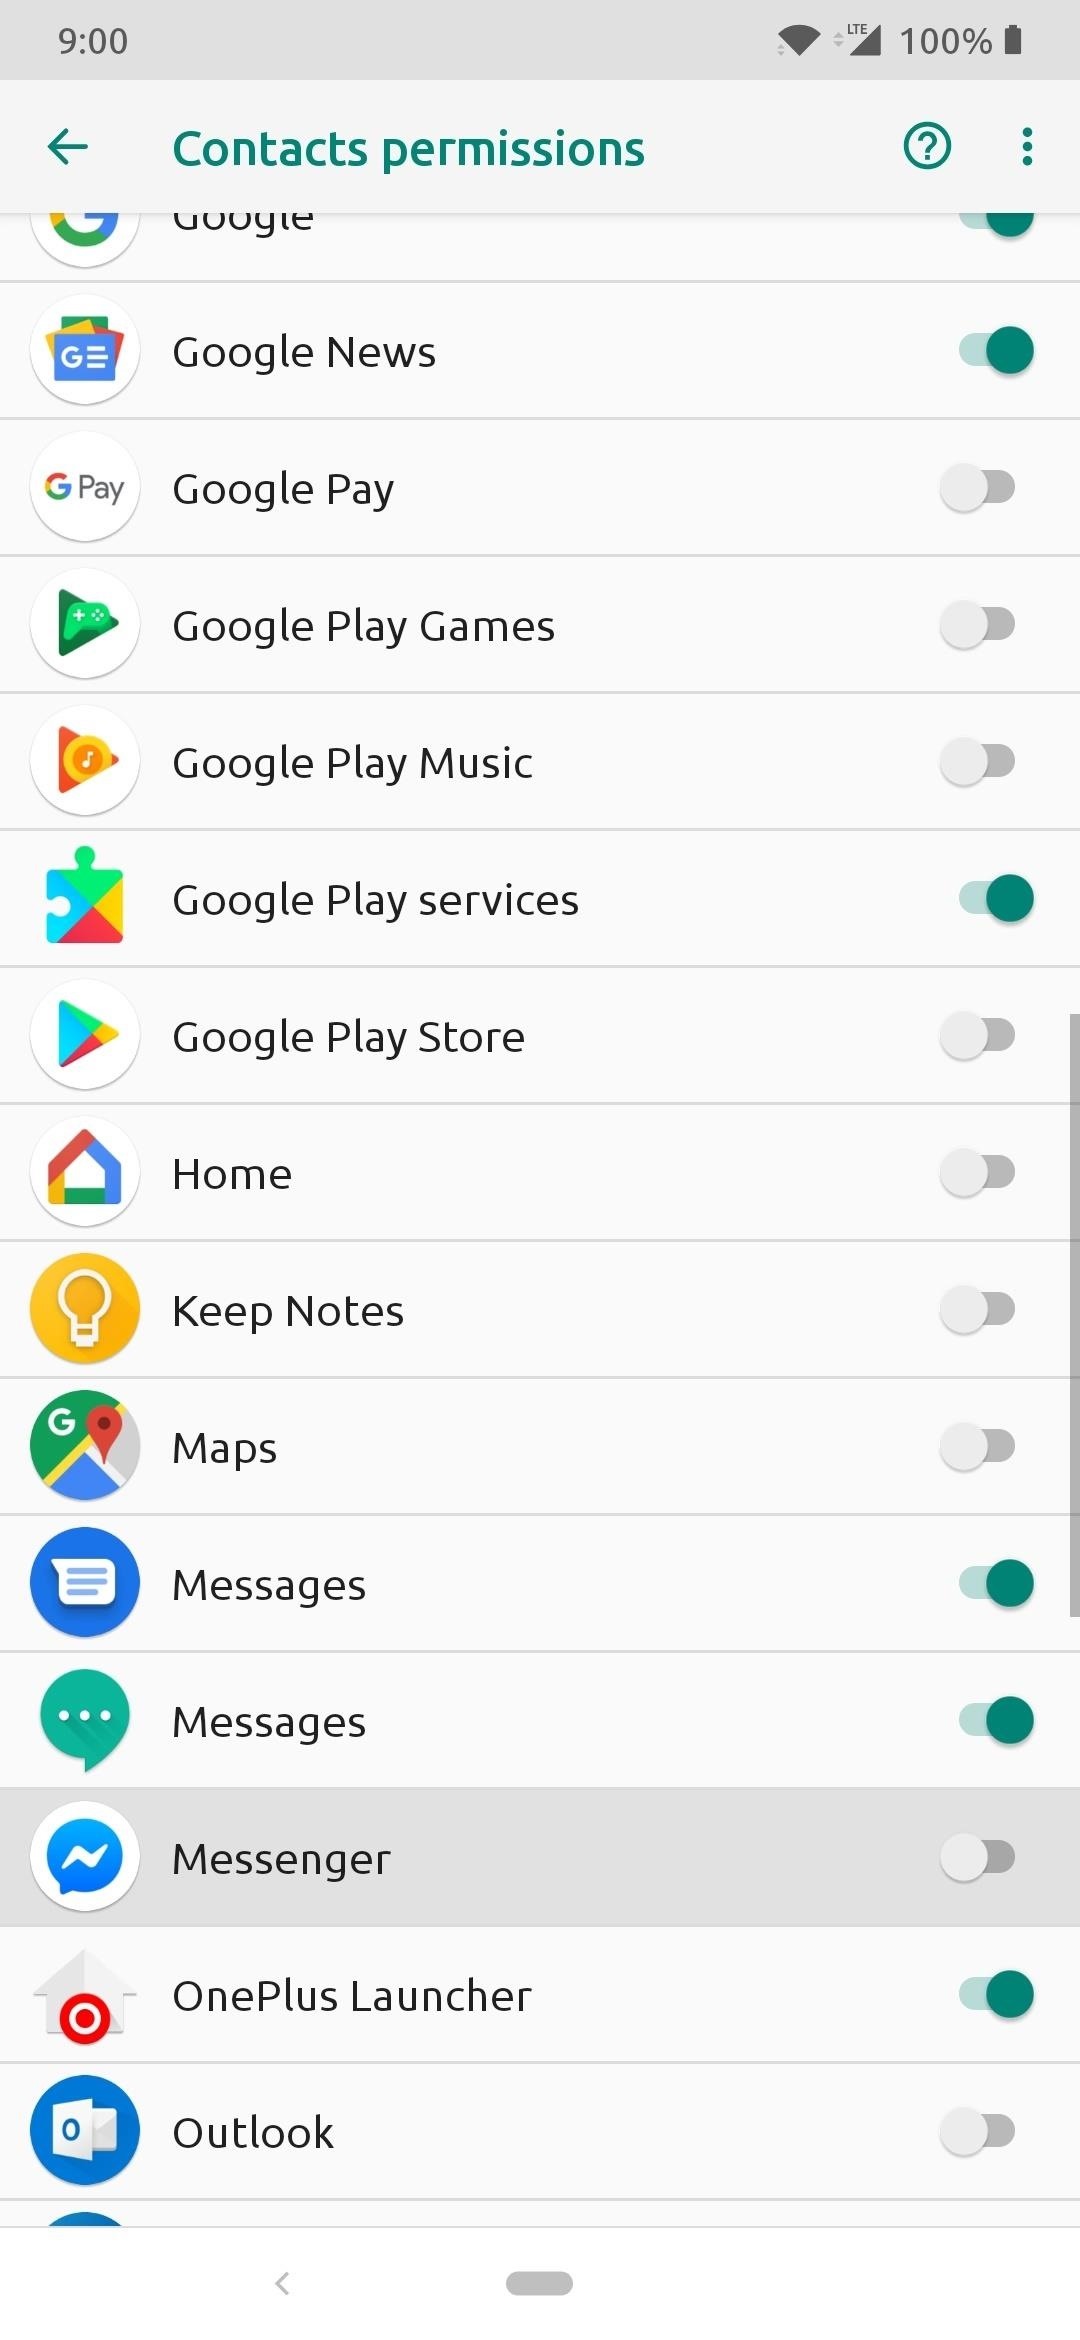
Settings > Apps & Notifications >
App Permissions
You will see a bunch of different categories all broken down by each type of system permission the apps can access. Some of the most common entries will include "Contacts," "Location," and "Storage." If you feel like some apps might be a little too intrusive, tap one of the categories to see more details. From there, you'll be able to view every app that has access to that permission. Disabling the toggle switch will then revoke access to the permission for that specific app indefinitely.
- More Info: How to Manage App Permissions on Android
On a side note, some apps will require specific permissions to function correctly — if you disable them, certain app features will be unavailable to you. However, most newer apps should request a previously revoked permission again when needed, but there are still quite a few older apps that will not.
In this case, with an older app, you would have to return to the previous permissions menu and grant access to the one that was giving you trouble. If you find that you have a large number of older apps that have permission issues, it might be a good time to find suitable replacements with apps that obey the new Android permissions ruleset.
2. Device Admin Apps
When it comes to Device Admin apps, this gives the user access to such things as being able to remotely wipe the system or set up specific email policies for a business setting. The best security practice is only to allow apps that you know are safe and are supposed to be there.
Settings > Apps & Notifications >
Special App Access > Device Admin Apps
Check out the list of apps and make sure you have only verified sources that you know are safe. Go ahead and disable any third-party apps that might seem suspicious at your discretion. Do be sure to leave on basic system functionality though, such as Find My Device and Google Pay.
3. Display Over Other Apps
While this permission is used to overlay elements on top of other apps running in the foreground, there can be a potential security risk to this as well. There are many excellent reasons why you might want something displayed over an app or your system, such as the YouTube picture-in-picture option, but malicious apps might be able to use this to their advantage.
Imagine if an app drew a fake button over one that says "More Free Apps," but when you tap the button, it immediately brings up a payment screen to try and take your money. In this case, you'd back out of that trap in an instant once you caught wind of what they are trying to do.
Settings > Apps & Notifications >
Special App Access > Display Over Other Apps
Go ahead and check out all the apps on this list and determine if you have any apps that you are nervous about or maybe don't recognize. If you find something of interest, select it from the list, then tap the toggle switch off that says "Allow display over other apps" to stop it right there.
4. Modify System Settings
This setting has the power to alter system-level settings that can be beneficial to the user for a variety of reasons. For example, an app that provides ringtones might want to set the ringtone sound for you, but it will need the "Modify System Setting" option to do this. However, just like a lot of sensitive system-level settings, this can also be abused by the wrong party if they should wish to do so.
Settings > Apps & Notifications >
Special App Access > Modify System Settings
Go ahead and view the menu that shows all the apps that could potentially be allowed to modify your system settings. If you find one or more apps that could be suspicious, you can revoke access by selecting them and then disabling the toggle switch that says "Allow modifying system settings."
5. Notification Access
This setting allows apps with granted access to read all your notifications or even dismiss notifications at any time. It might sound scary, but it can have a variety of benefits to the user, such as being able to use the notification dots or badges feature on Nova Launcher. At the same time, the Notification Access setting can also wreak havoc on your privacy if it were being used by a malicious app instead.
Settings > Apps & Notifications >
Special App Access > Notification Access
Just as before, look at the apps listed on this menu to determine if there are any suspicious apps with granted access. Disable any app that you see fit, but know that some might be required in some instances. If you notice the app's notifications are messed up, you may have to leave this setting on for it to work correctly. Make sure you trust the app before keeping this setting on into the future.
6. Install Unknown Apps
The way we sideload apps that are not from the Google Play Store has changed with the introduction of Android Oreo. Before this version of Android, all you had to do was grant access to "Unknown sources" one time and the entire system was good to go. Now, the system will prompt you to grant permission every time a new app requests access to it. This is an excellent security feature that ensures you have complete control over what apps can install things onto your system.
Settings > Apps & Notifications >
Special App Access > Install Unknown Apps
View the apps on this list and determine if everything checks out accordingly. If you don't plan on sideloading apps very much or at all at this point, you might as well disable any apps that have access to it right now. Select the app, then disable the toggle that says "Allow from this source" to revoke the app's ability to install other apps.
7. Usage Access
This setting allows any app that has been granted access to track other apps you're using, how long you've used them for, and even view your language settings. Useful in some circumstances, Usage Access can also be quite harmful if a malicious app has access to it.
Settings > Apps & Notifications >
Special App Access > Usage Access
Take a glance over the apps in this menu and determine if everything checks out and looks good. You generally should leave on the main Google apps and services by default, but use your discretion for all other apps. Should you decide to disable an app's Usage Access, tap the app you want to work with, then disable the toggle switch that says "Permit usage access."
8. Wi-Fi Control
Wi-Fi Control allows any app that has been granted access the ability to turn your Wi-Fi connection on or off, scan or connect to other Wi-Fi connections, or even remove a network altogether. You will find that many safe apps use this for legitimate reasons, but it can be a definite security threat if used by a malicious party. It could even allow the attacker to track your location at any time. GPS is not needed since they would be able to track your IP address and pinpoint your location through your home network.
Settings > Apps & Notifications >
Special App Access > Wi-Fi Control
Comb through this list like the previous ones to make sure everything checks out and looks safe. Most of the safe and legitimate apps from names you know and trust will be fine, but any apps you think that could be shady, revoke their access if you need to. Select the app you want to revoke permissions from, then disable the toggle that says "Allow app to control Wi-Fi."
9. Location
Location data is one of the most sensitive and intrusive things out there when it comes to our devices. It can seem a little strange and scary that individual companies or apps can read our location data at any given time. There are many benefits to have location access though, such as weather, GPS coordinates for traveling, and local news stories.
Settings > Security & Lock Screen >
Location
Head on over to the "Scanning" section in the above menu, and you'll notice that both Wi-Fi and Bluetooth scanning should be enabled by default. These are used to make your location information as accurate as possible by utilizing multiple sources, but you might consider disabling them for added privacy. Even if your GPS is turned off, your system can still gather location data based on these two settings alone. This is the best practice if you're a little wary of being tracked through your device.
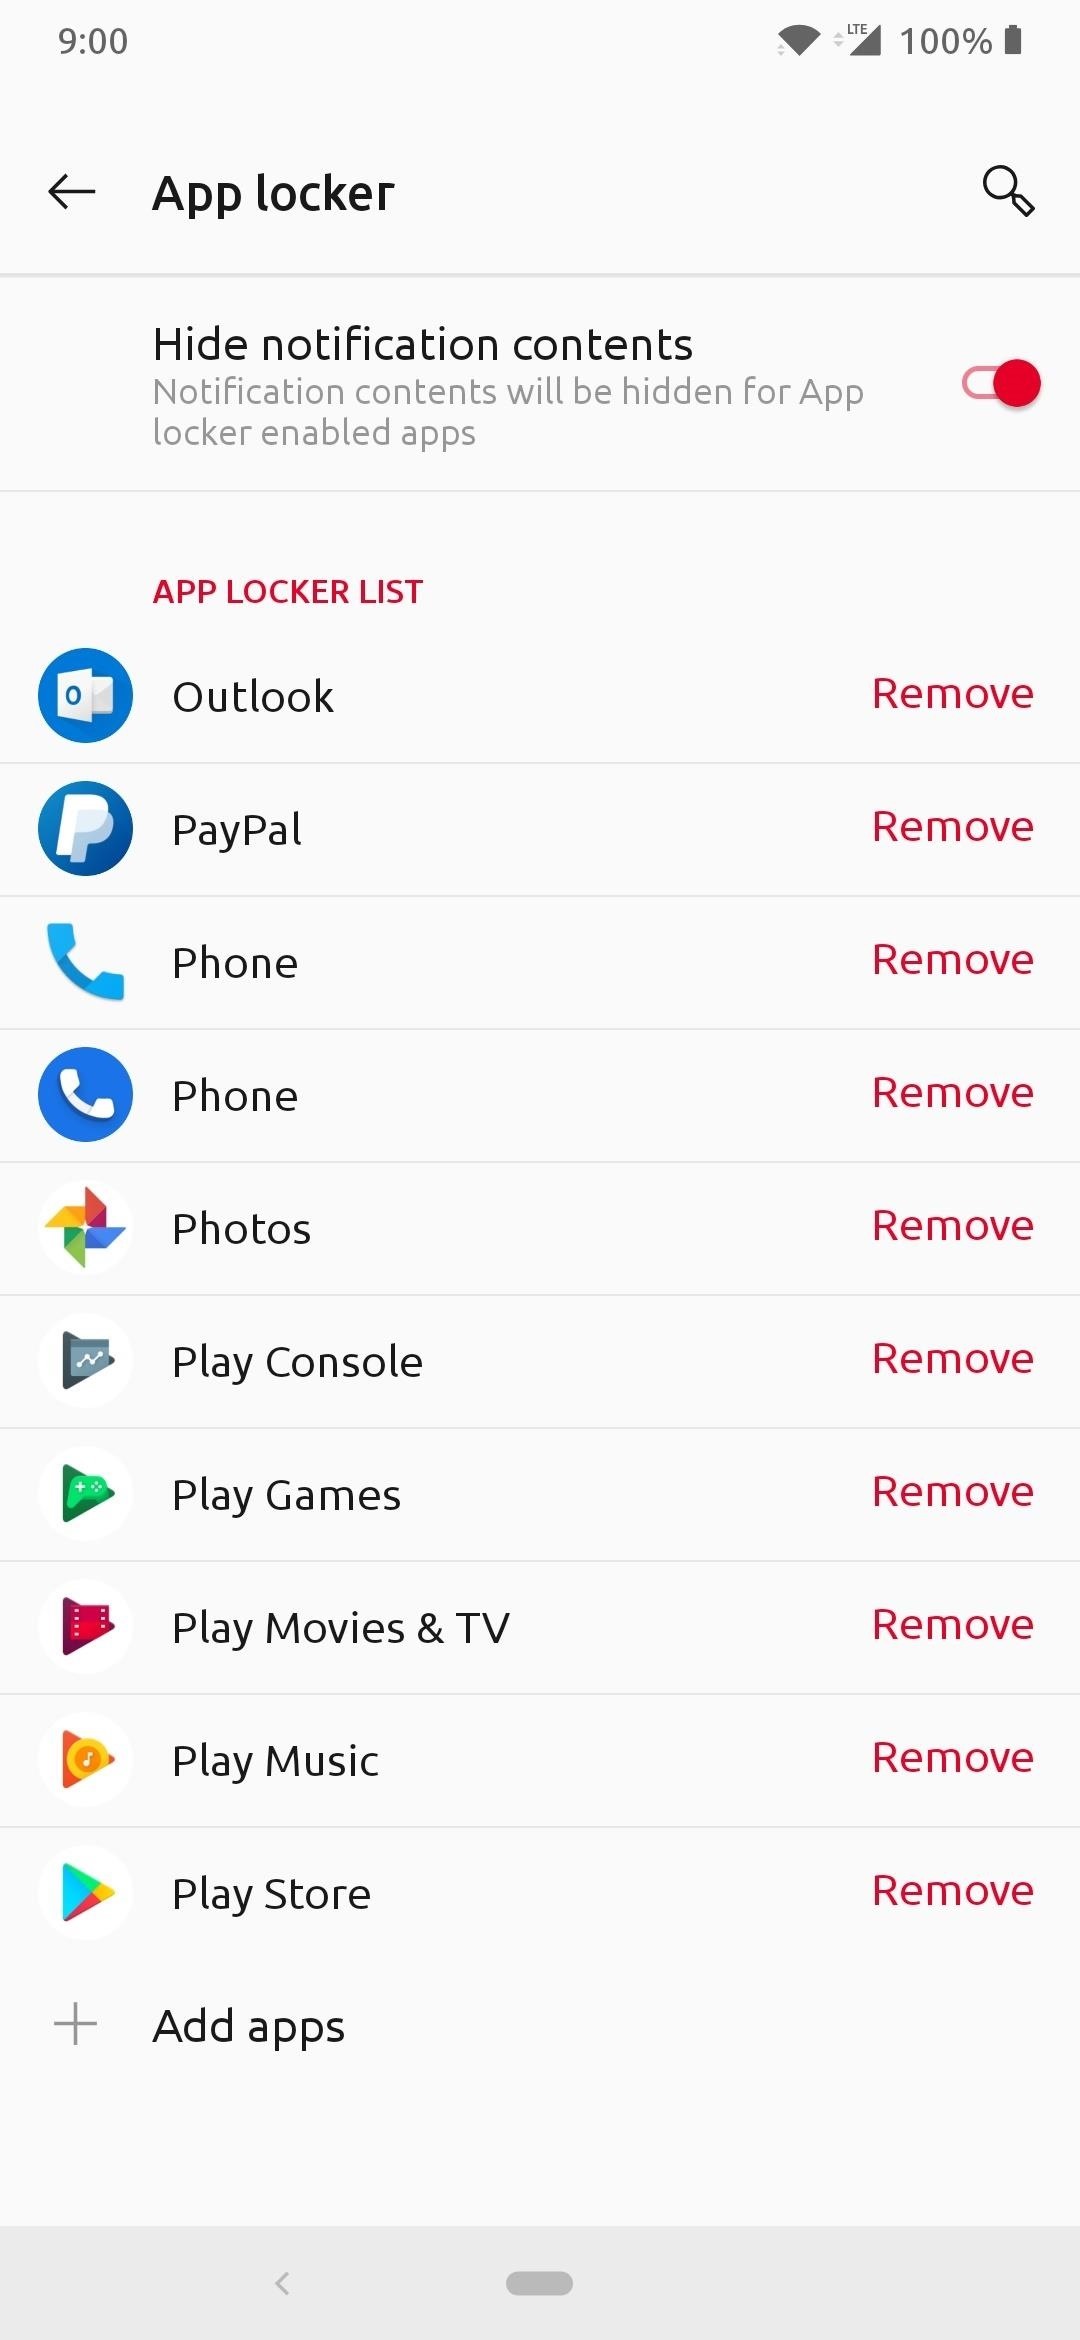
10. App Locker
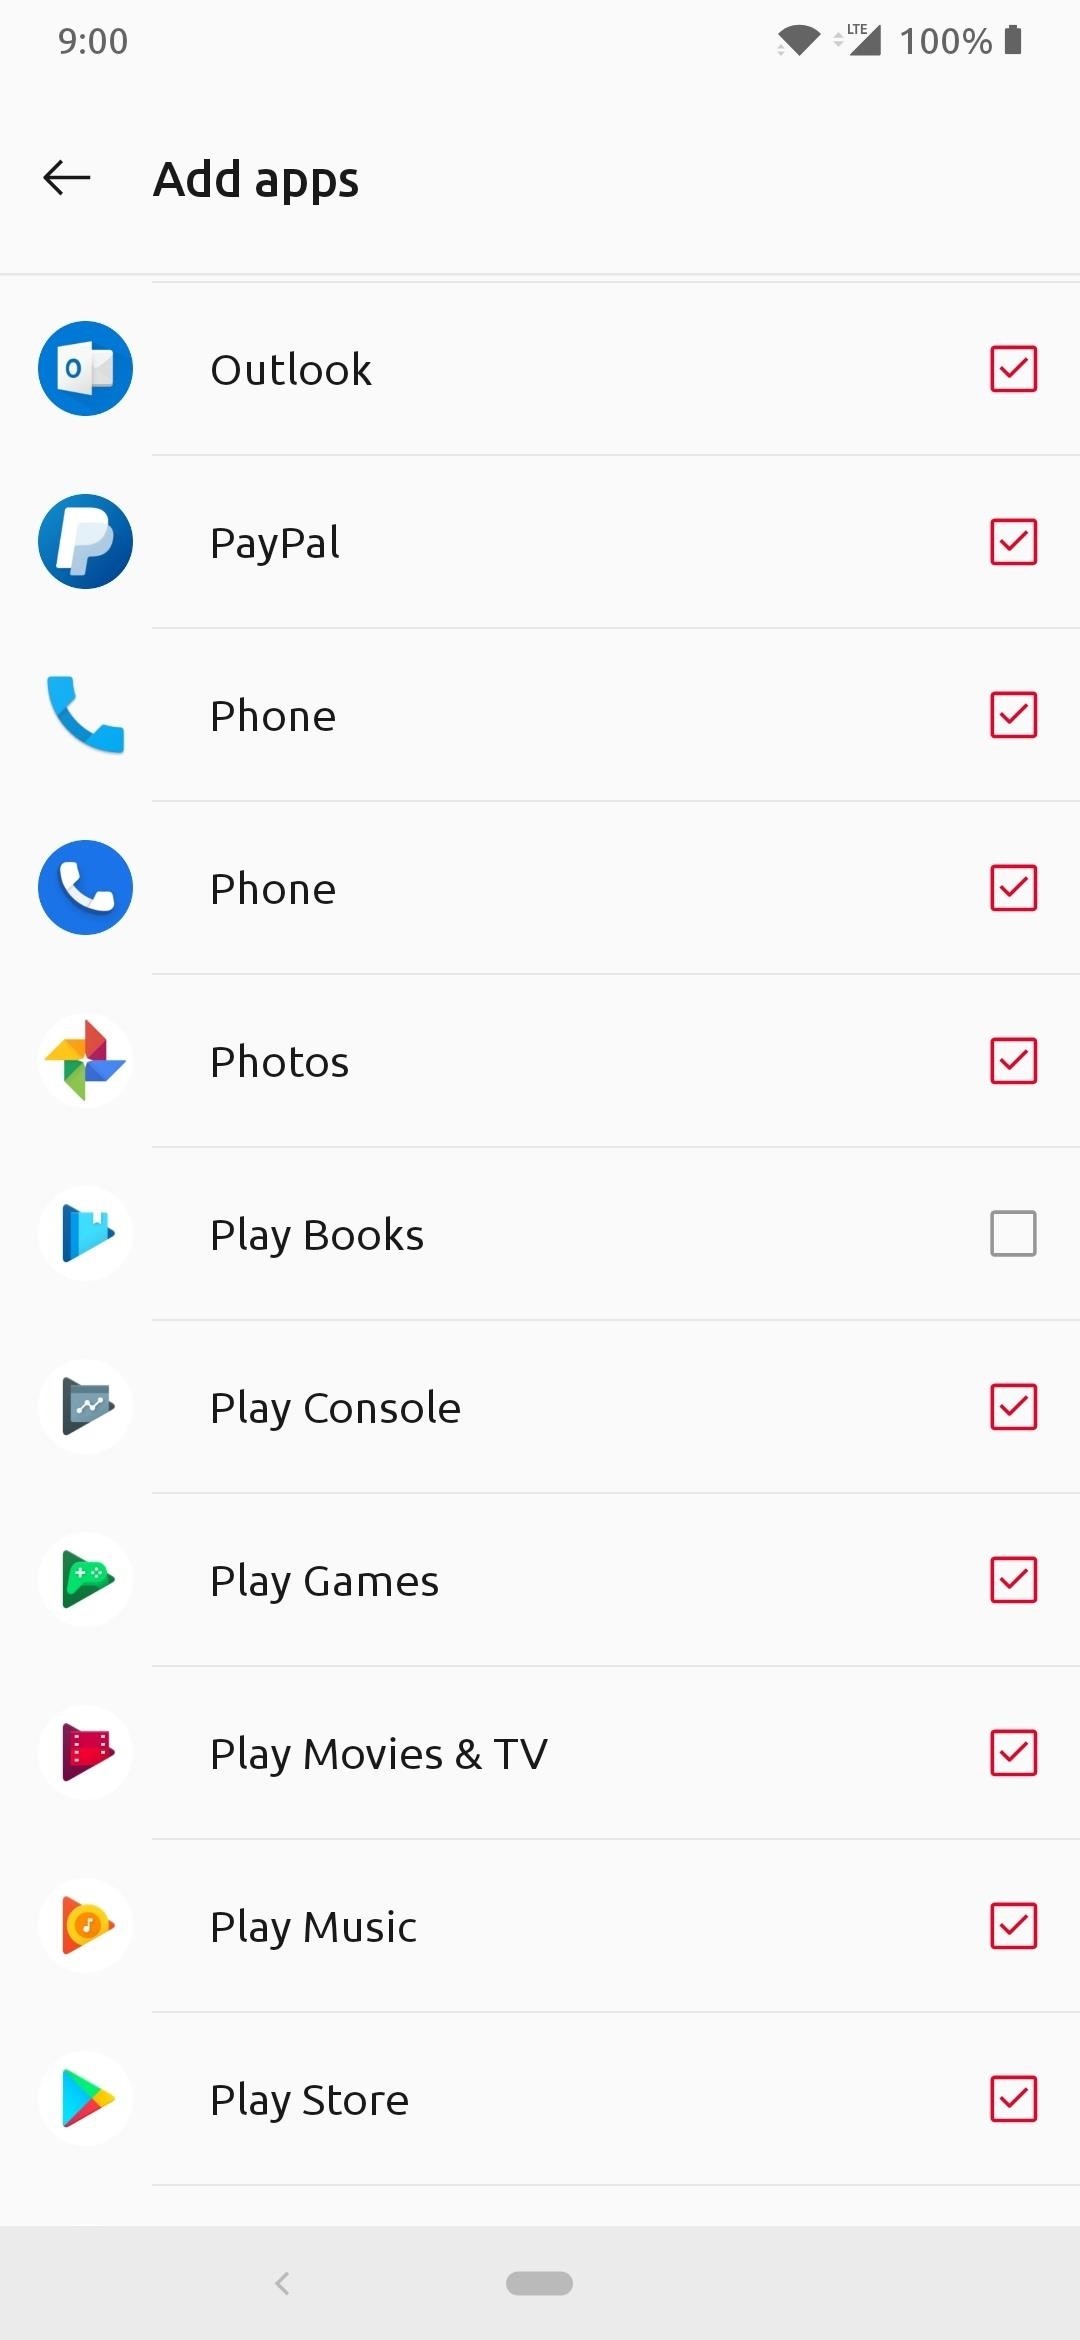
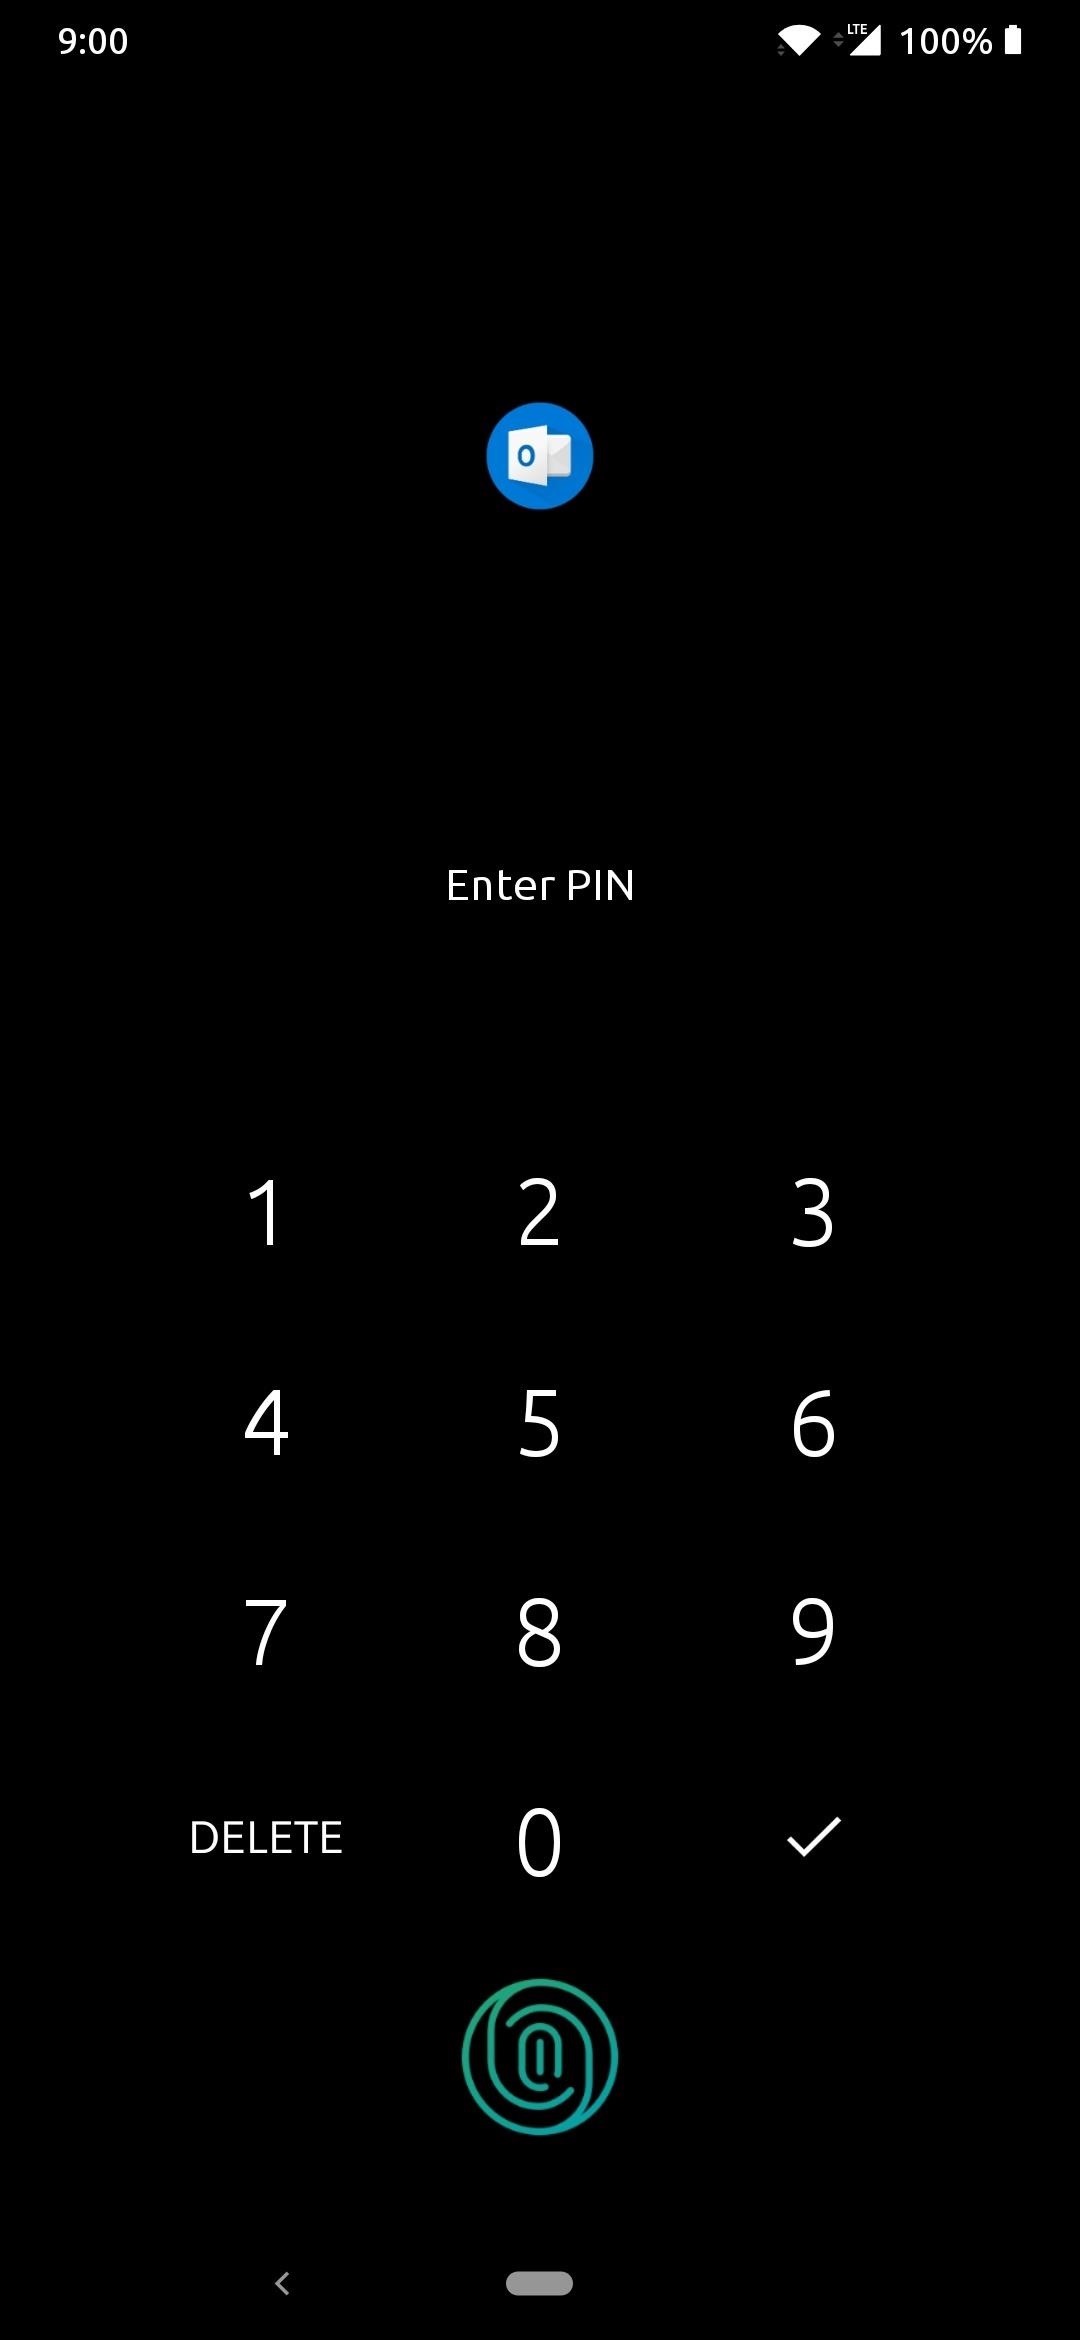
A reliable way to give your device an added layer of protection is to lock specific apps behind a password or fingerprint for safekeeping. Some useful apps you might consider locking with OnePlus's app lock feature might be your email, photos, private messages, phone app, or contacts. Anything that might contain sensitive information, it would be useful to lock them down with your fingerprint.
Settings > Utlities > App lockerAs a bonus, the "hide notification contents" option from the main screen above will disable notifications for the selected apps until you grant them access. You won't have to worry about your personal messages coming through when you lock them with the app locker feature.
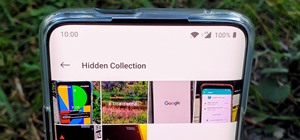
11. Hidden Space
OnePlus's Hidden Space option can help you organize apps you don't use by hiding them, or by keeping people from snooping on the apps that you want to keep private. Combining the App Locker tip from above with this one makes for some top-notch security for anyone looking to beef up their privacy settings.
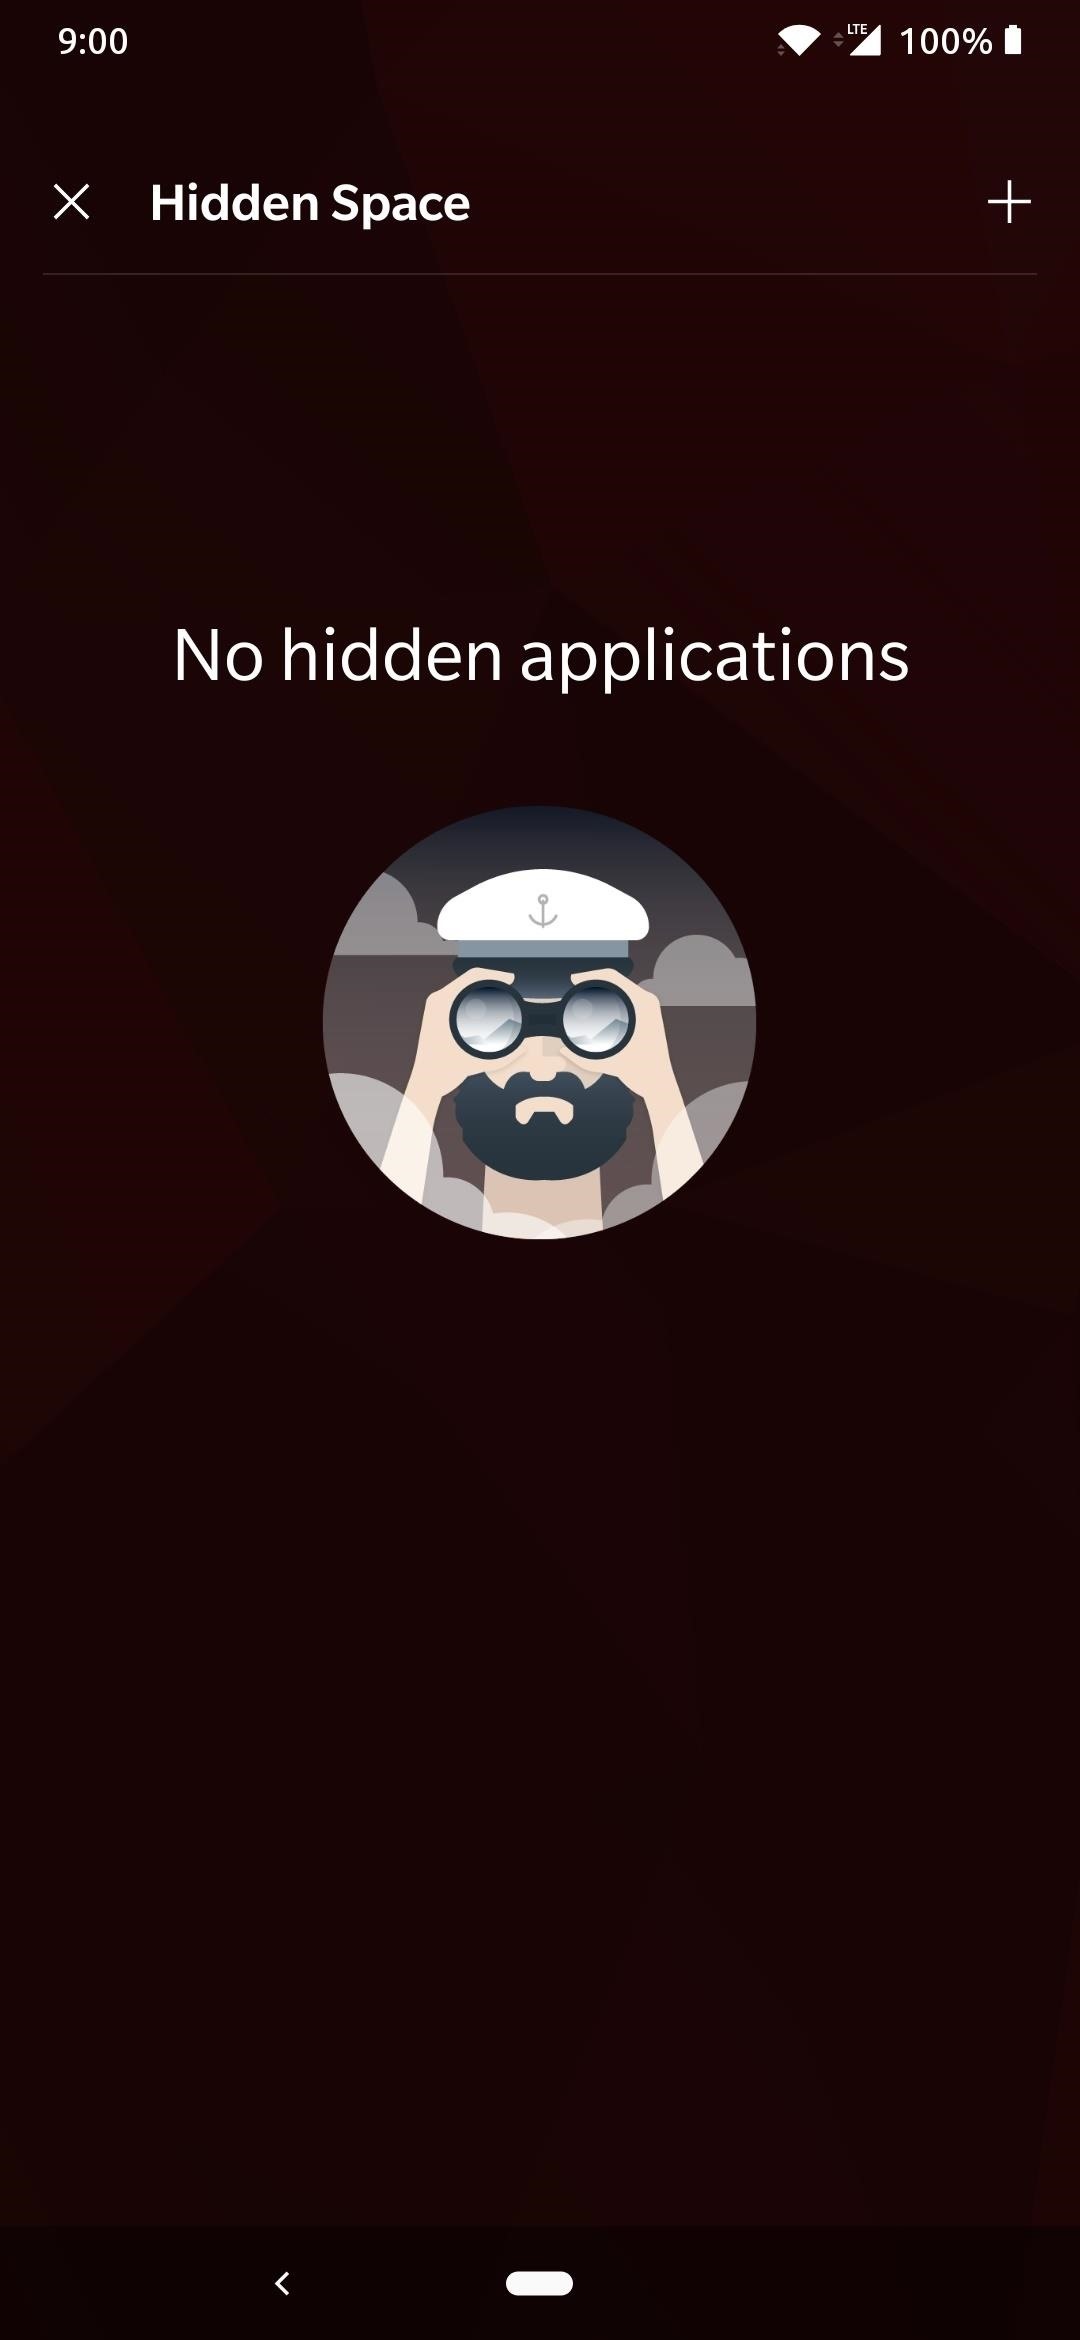
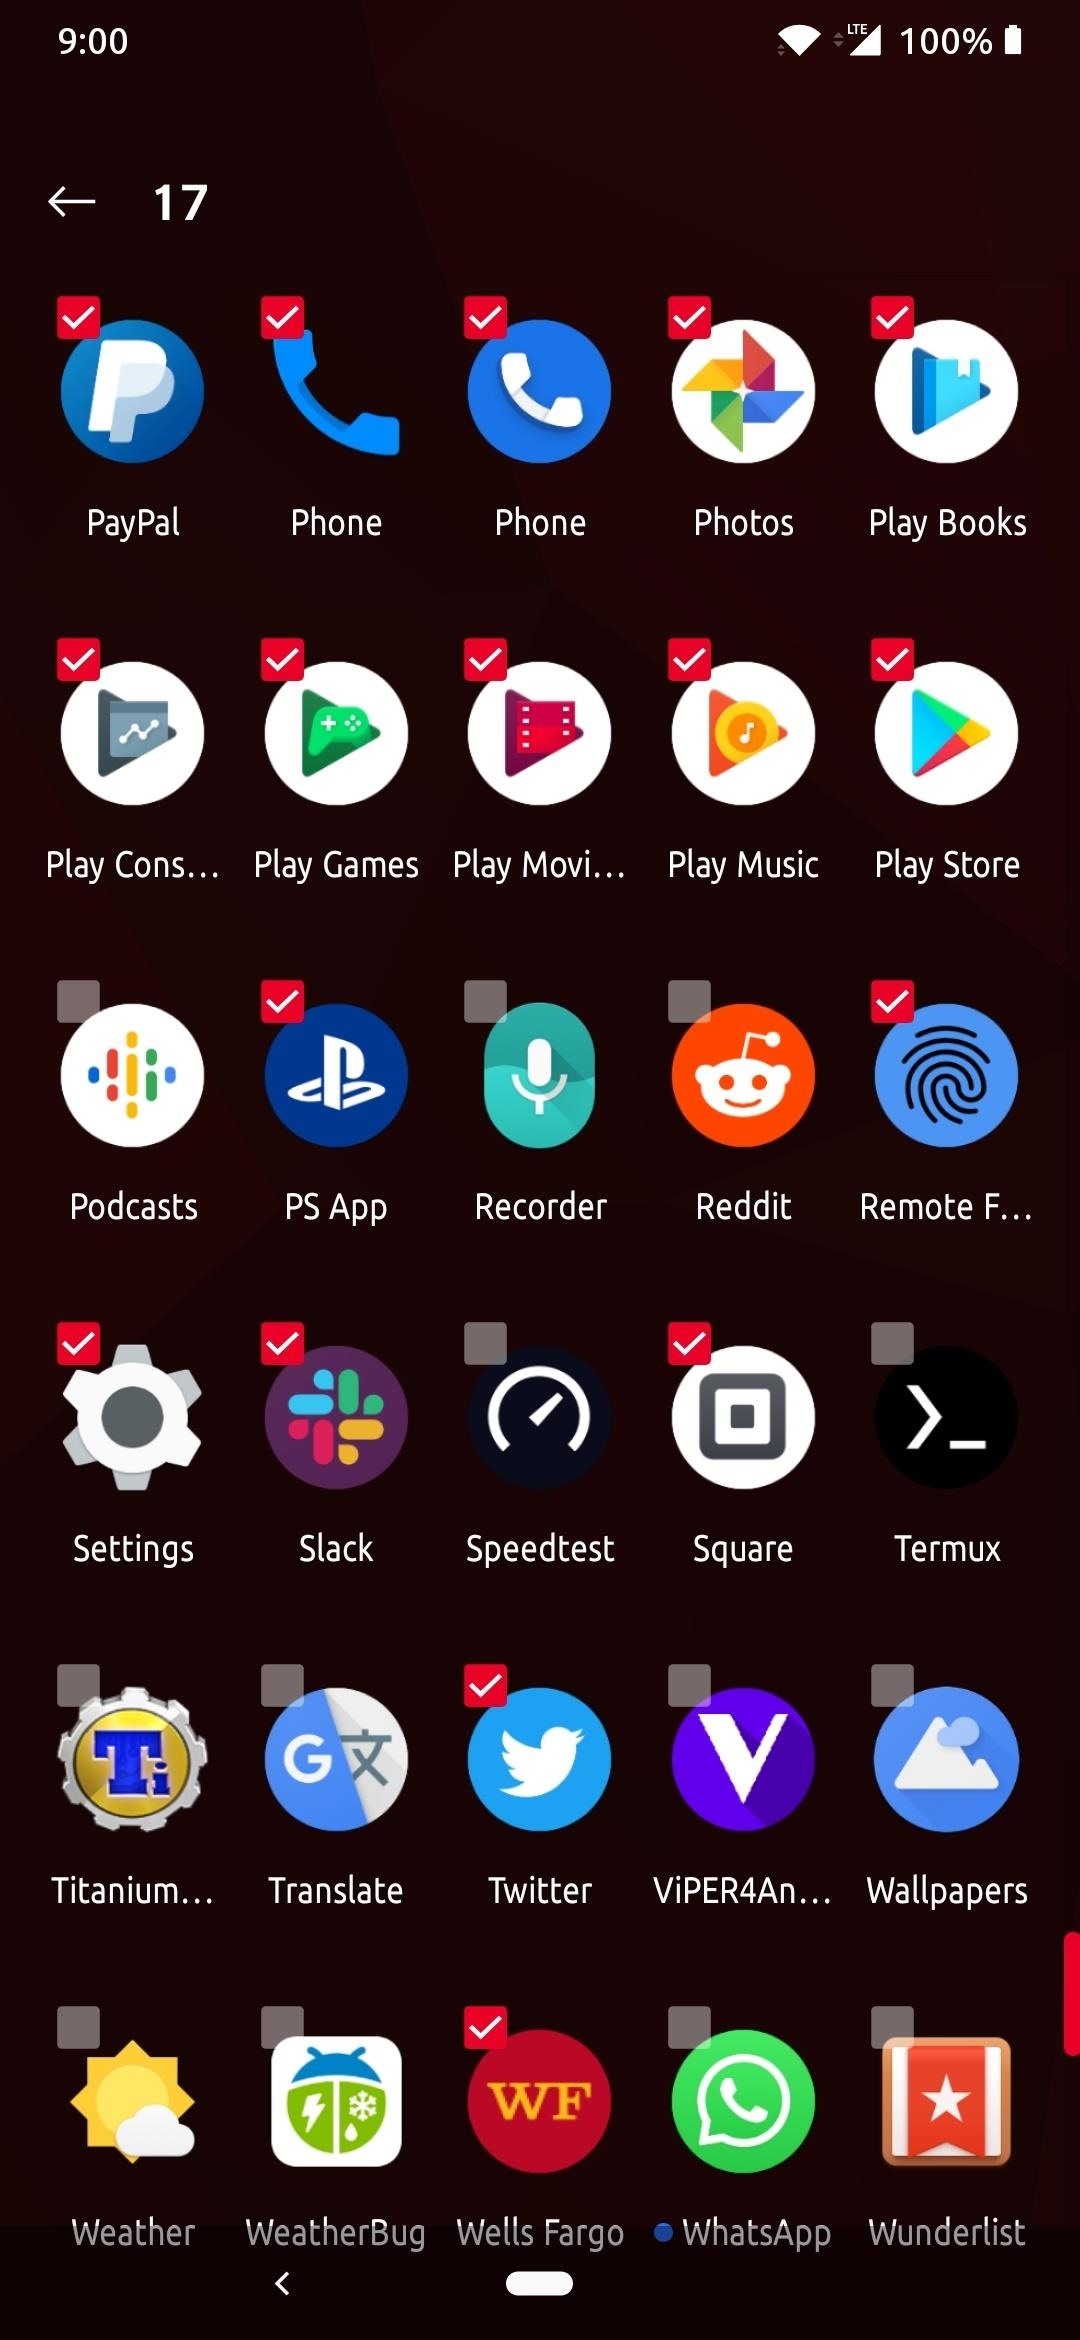
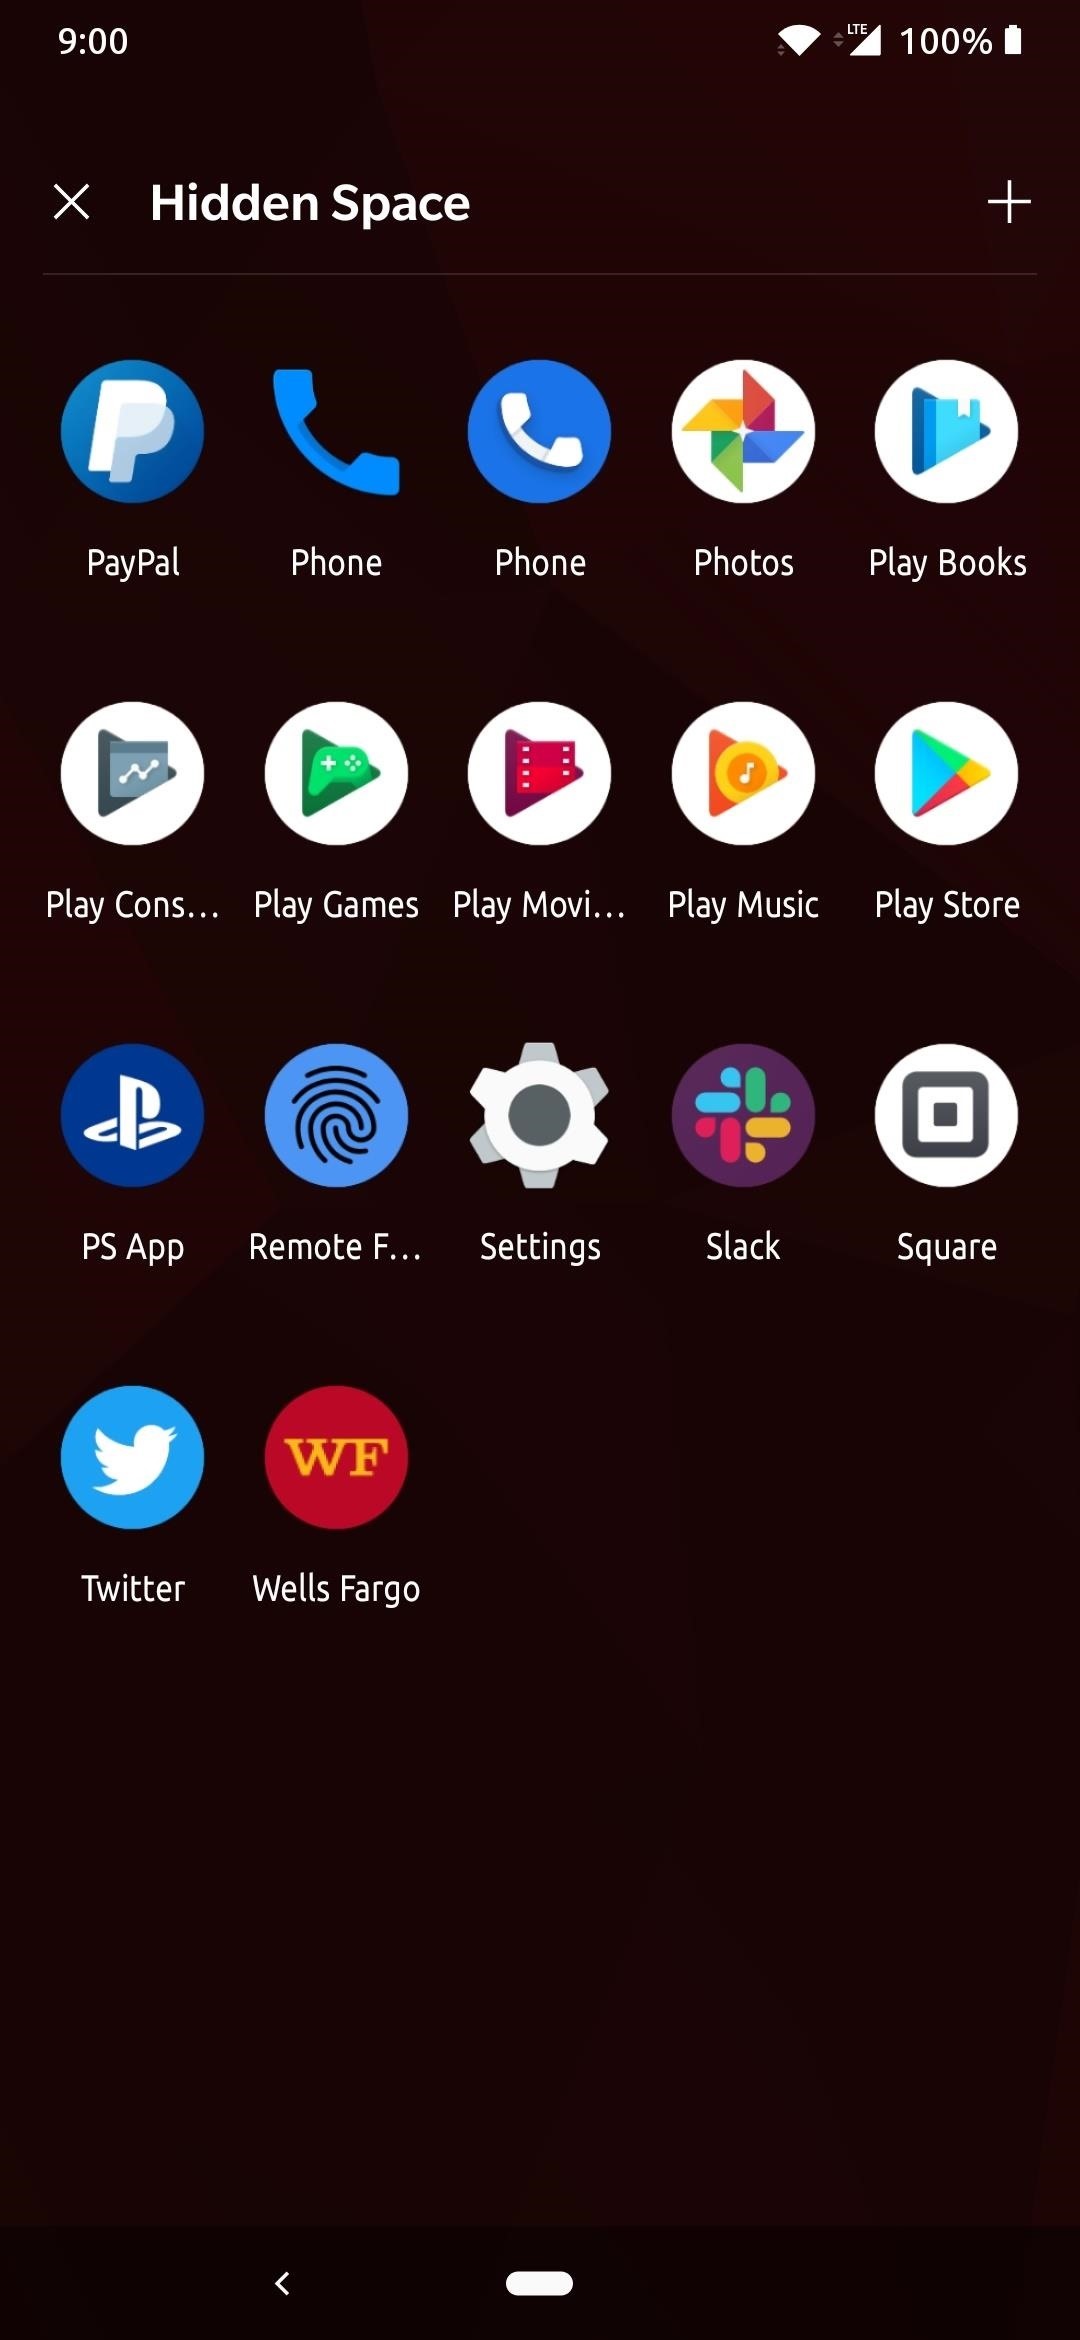
From the OnePlus Launcher, swipe up to open the app drawer open like usual, then swipe the very left of the screen and drag it to the right. You will now have access to the Hidden Space mode where you can easily hide any number of apps. Tap the + button, then browse for the apps that you want to hide, followed by tapping the back arrow. Your new hidden apps will now only be accessible from this slide-out menu unless you unhide them.
12. Find My Device
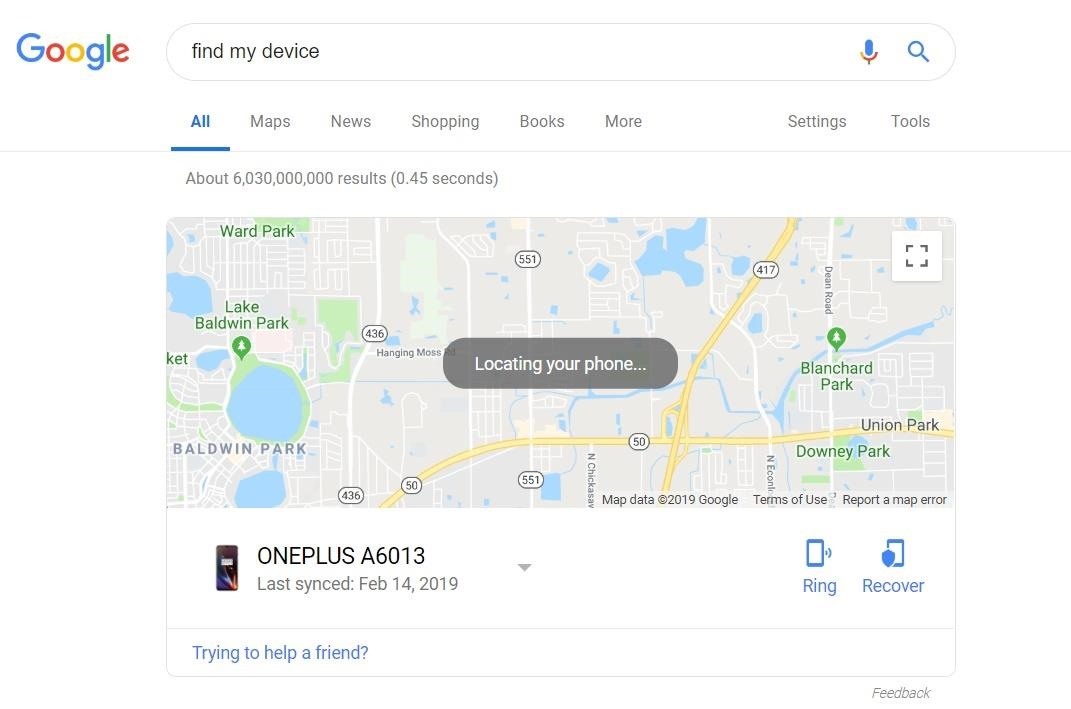
This option was introduced to Android quite a while back and is as helpful now as it was back then. With Google's Find My Device, you can locate your phone through GPS on Maps, make the ringer go off if you misplace it, or even remotely wipe your device clean if it does get stolen.
Settings > Security & Lock Screen >
Find My Device
From within the main screen here, start by making sure the toggle is enabled so that your device can have access to these features at all times. Now you'll be able to install the Find My Device app to use on another device if yours is lost. You can even check out the website on a computer, or type in "find my device" through a Google search.
13. Screen Lock
One of the quickest and easiest ways to secure your device is through the use of a good old lock screen. By setting a password, a pattern, or a PIN, this can help keep your device protected if it ever falls into the wrong hands. It may not seem like much, but strong lock screen security can keep someone at bay when trying to get into your phone.
Settings > Security & Lock Screen >
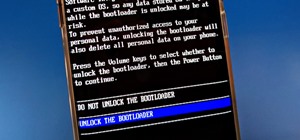
Screen Lock14. Lockdown Device
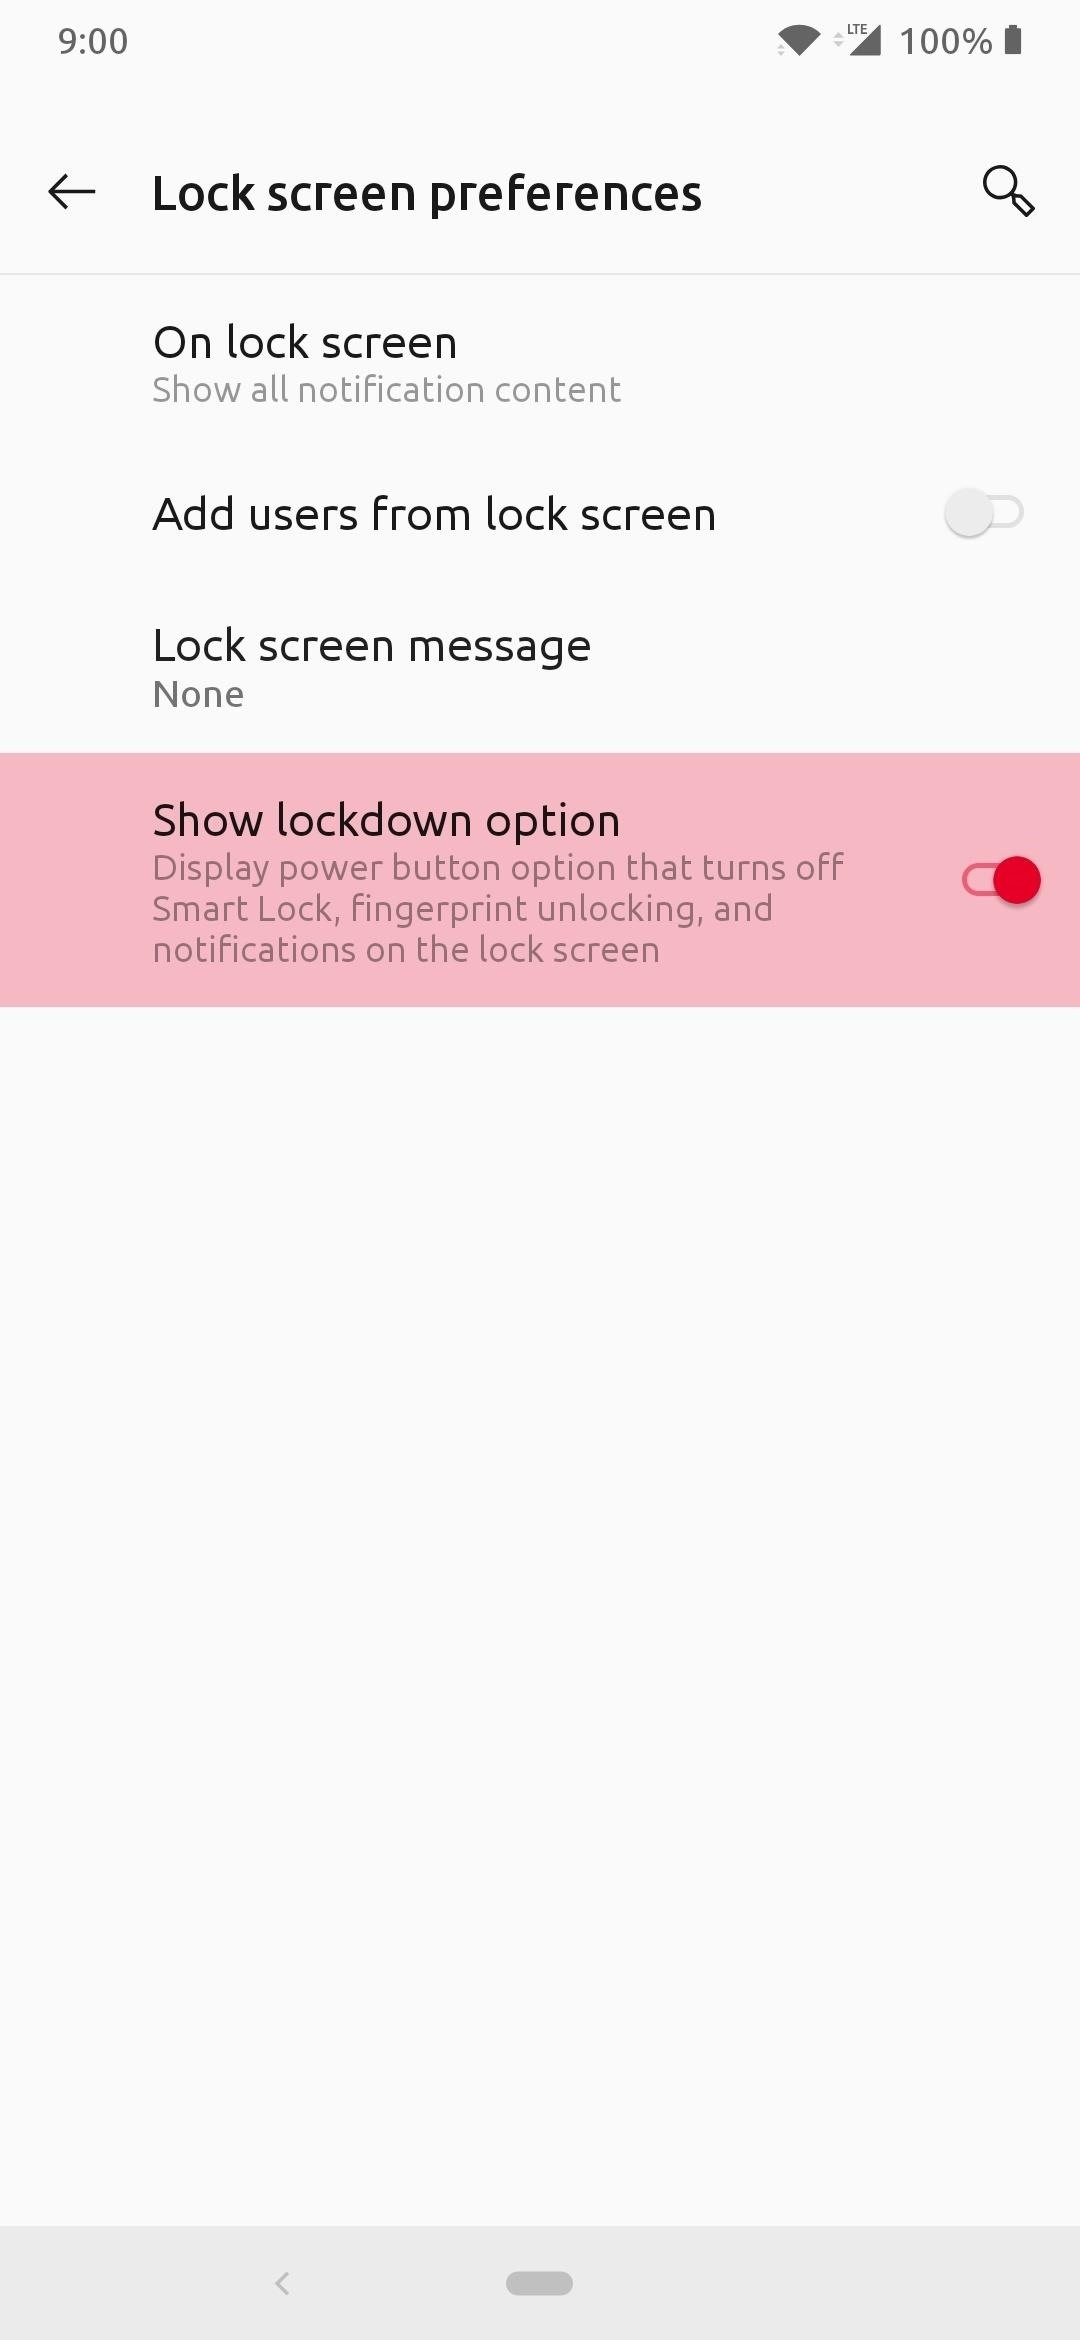
In certain situations, you might want to lock your device down real tight and disable your fingerprint, Face Unlock, and all notifications from the lock screen. If you plan on leaving your device somewhere for an extended period, locking your phone using this method will be very beneficial.
You don't lose your fingerprint data or your facial information for Face Unlock — instead, it just disables them while this mode is active. The only option available to access your phone once Lockdown is triggered will be your PIN or password, which should keep most people at bay when trying to log into your phone.
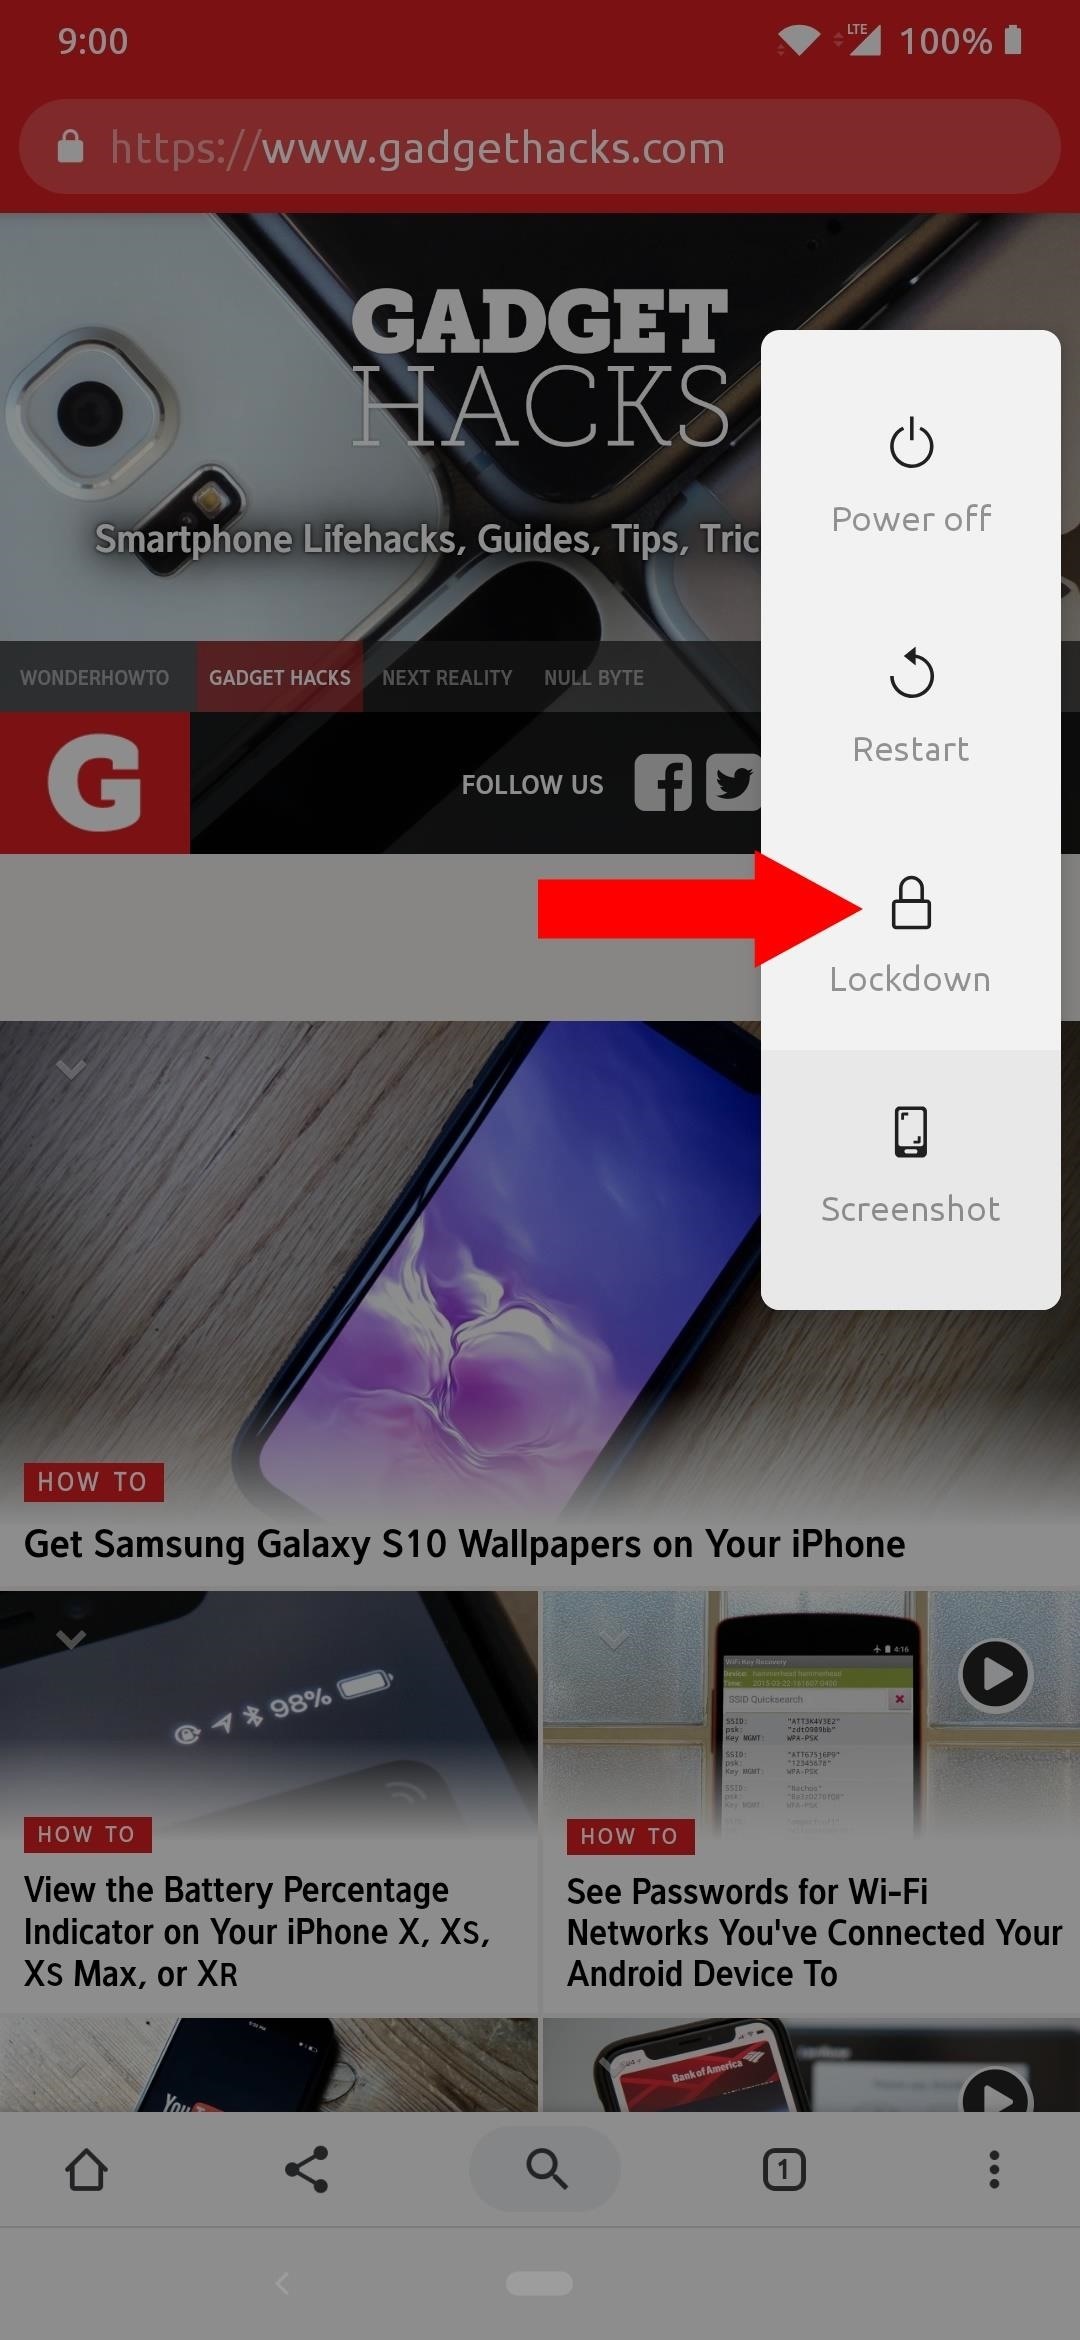
Settings > Security & lock screen >
Lock screen preferences > Show lockdown option
Once you toggle on the above setting for "Show lockdown option," you can then activate this new security setting by long pressing the power button. Tapping the "Lockdown" option will immediately throw you onto the lock screen.
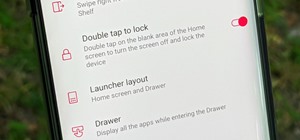
15. Auto Face Unlocking
With the rise of using our face to unlock our devices, it might be very convenient, but by default, it has a minor issue that some might have a problem with on OnePlus devices. As soon as you look at your phone with the screen on, it unlocks right away — but what if you were trying to glance at your notifications?
Not a privacy issue by itself per se, but maybe you didn't want to unlock your phone in a public setting with a large group of people around. After all, you just wanted to check that Facebook message real quick, not unlock your entire phone.
Settings > Security & lock screen >
Face Unlock > Auto unlock once the screen is on
Once you disable the above setting, OnePlus users with Face Unlock enabled will be able to glance at their notifications on the lock screen without unlocking the whole phone every single time. The lock screen is there to provide not only security, but it's a place to house information vital to us as well, such as a message notification from a friend.
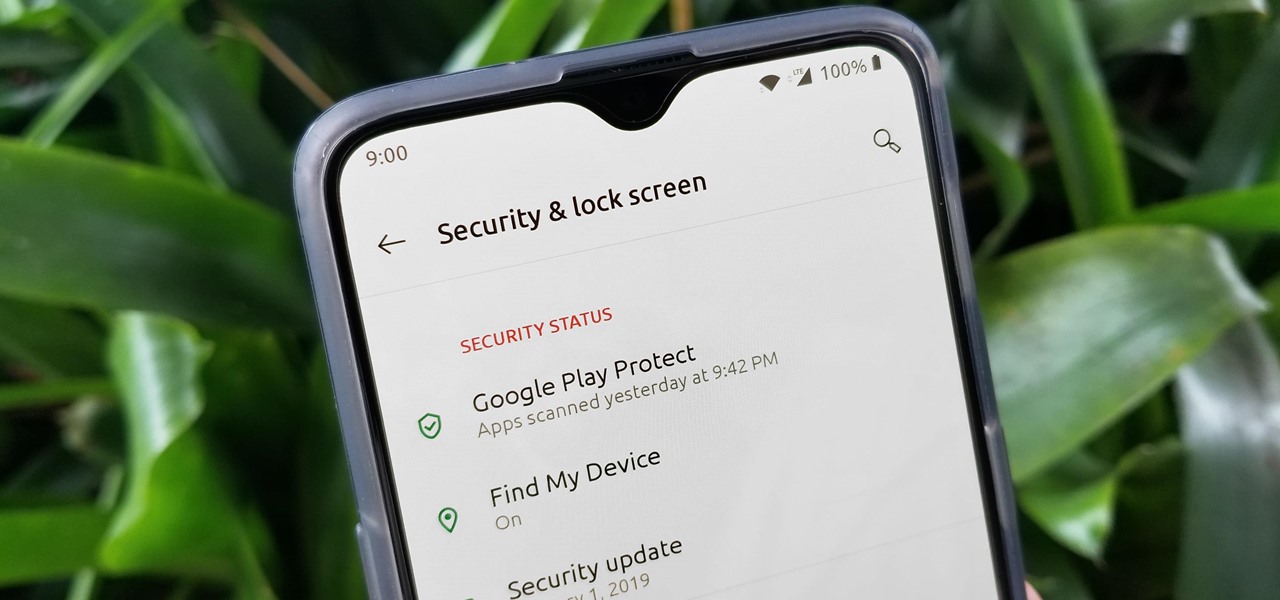
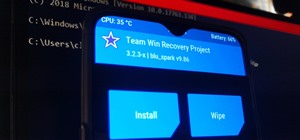
16. Google Play Protect
Right around the time of Android Oreo, Google brought a neat security feature to all phones that use the Play Store called Google Play Protect. It will scan the apps installed on your system and keep an eye out for malicious code that might be lurking in some apps. It silently runs in the background automatically, but you can also force a manual scan in the "My Apps" section on the Play Store itself.
Settings > Security & Lock Screen >
Google Play Protect
From within this menu, double check to make sure "Scan device for security threats" is enabled on your system so that it can protect your device at all times. If you want to help Google make Play Protect even better and don't mind them collecting a little data about your sideloaded apps, you can enable the "Improve harmful app detection" option.
17. Google Location Services
You're using an Android phone, so chances are, you're also using a Google account at the same time to make the most out of your device. However, we all know that Google is a large data company, so what if you don't like sharing so much of your information with them? Just like the previous section about general location settings, this one can also be a bit sensitive as well. For example, Google might have been keeping track of your location information this whole time to help improve their other services.
Settings > Security & Lock Screen >
Location
In the "Location Services" section, select "Google Location Accuracy," and disable this setting if you'd rather not take part in helping them improve other products or services. Once you disable the toggle it will be immediate, however, your phone might have to use a bit more battery to grab your GPS location next time around.
Hit the back arrow to return to the previous menu, then select "Google Location History." If you'd prefer Google not keep a record of your location data, go ahead and disable the option by toggling "Location History" to the off position. To be extra secure, tapping "Manage Activity" will allow you to delete your entire location history from your account for good.
As the last step here, tap the back arrow again to return to the main page of the location section from before. Tap the "Google Location Sharing" setting to make sure the information all checks out. You should either see nothing or only the people you have granted access to viewing your location. If you want to revoke access to anyone and anytime, tap the "X" by their name, and that'll take care of that.
18. Reset Advertising ID
As stated before, Google is a company that thrives on collecting data and putting it towards a specific use. Whether it's for making their products better or serving you relevant ads based on your browsing history, they will always collect information about you. One thing to help offset the idea of having anonymous data collected about you is to reset your advertising ID, which causes that ad-tracking data to start fresh again.
Settings > Google > AdsIf you want to keep the tracking to a minimum, a good practice is to reset this ID about once per month if possible. All you have to do is tap the "Reset advertising ID" option from the above menu, then tap "OK" when you are prompted to do so.
19. Ads Personalization
This builds on the idea of the previous tip about your Google ad tracking ID, but is slightly different. You can prevent any third-party apps from accessing and making use of your tracking ID, which would be ideal for most situations. Google can still use it, of course, but everyone else will be shut out from using your advertising ID indefinitely.
Settings > Google > AdsFrom within the menu above, tapping the toggle to the on position for "Opt out of Ads Personalization" will create a popup to where you tap "OK," then you are officially opted out of this service for good.
20. App Preview Messages
Quite a useful and interesting feature, "App Preview Messages" can be used for such things as making a Google Duo video call to another party who doesn't even have the app installed on their device. The party that does not have the app receives a notification and then gets an invitation to install said app instantly. However, it can pose a few minor security issues as well.
Settings > Google > App Preview MessagesSay you don't like the idea of receiving an invitation because a friend messaged you from an app you don't have, you can disable the above setting and stop the unwanted notifications. Turn the toggle switch off and tap the "OK" message when prompted to do so and that's it for this one.
21. Connected Apps
Being able to "Sign in with Google" is one of the coolest and easiest ways to create a new account or to sign into a website or app. You already have a Google account, so why keep making a new account for every service out there when you can sign in with one? Chances are, you've probably given quite a few third-party apps access to your account through this sign-in feature.
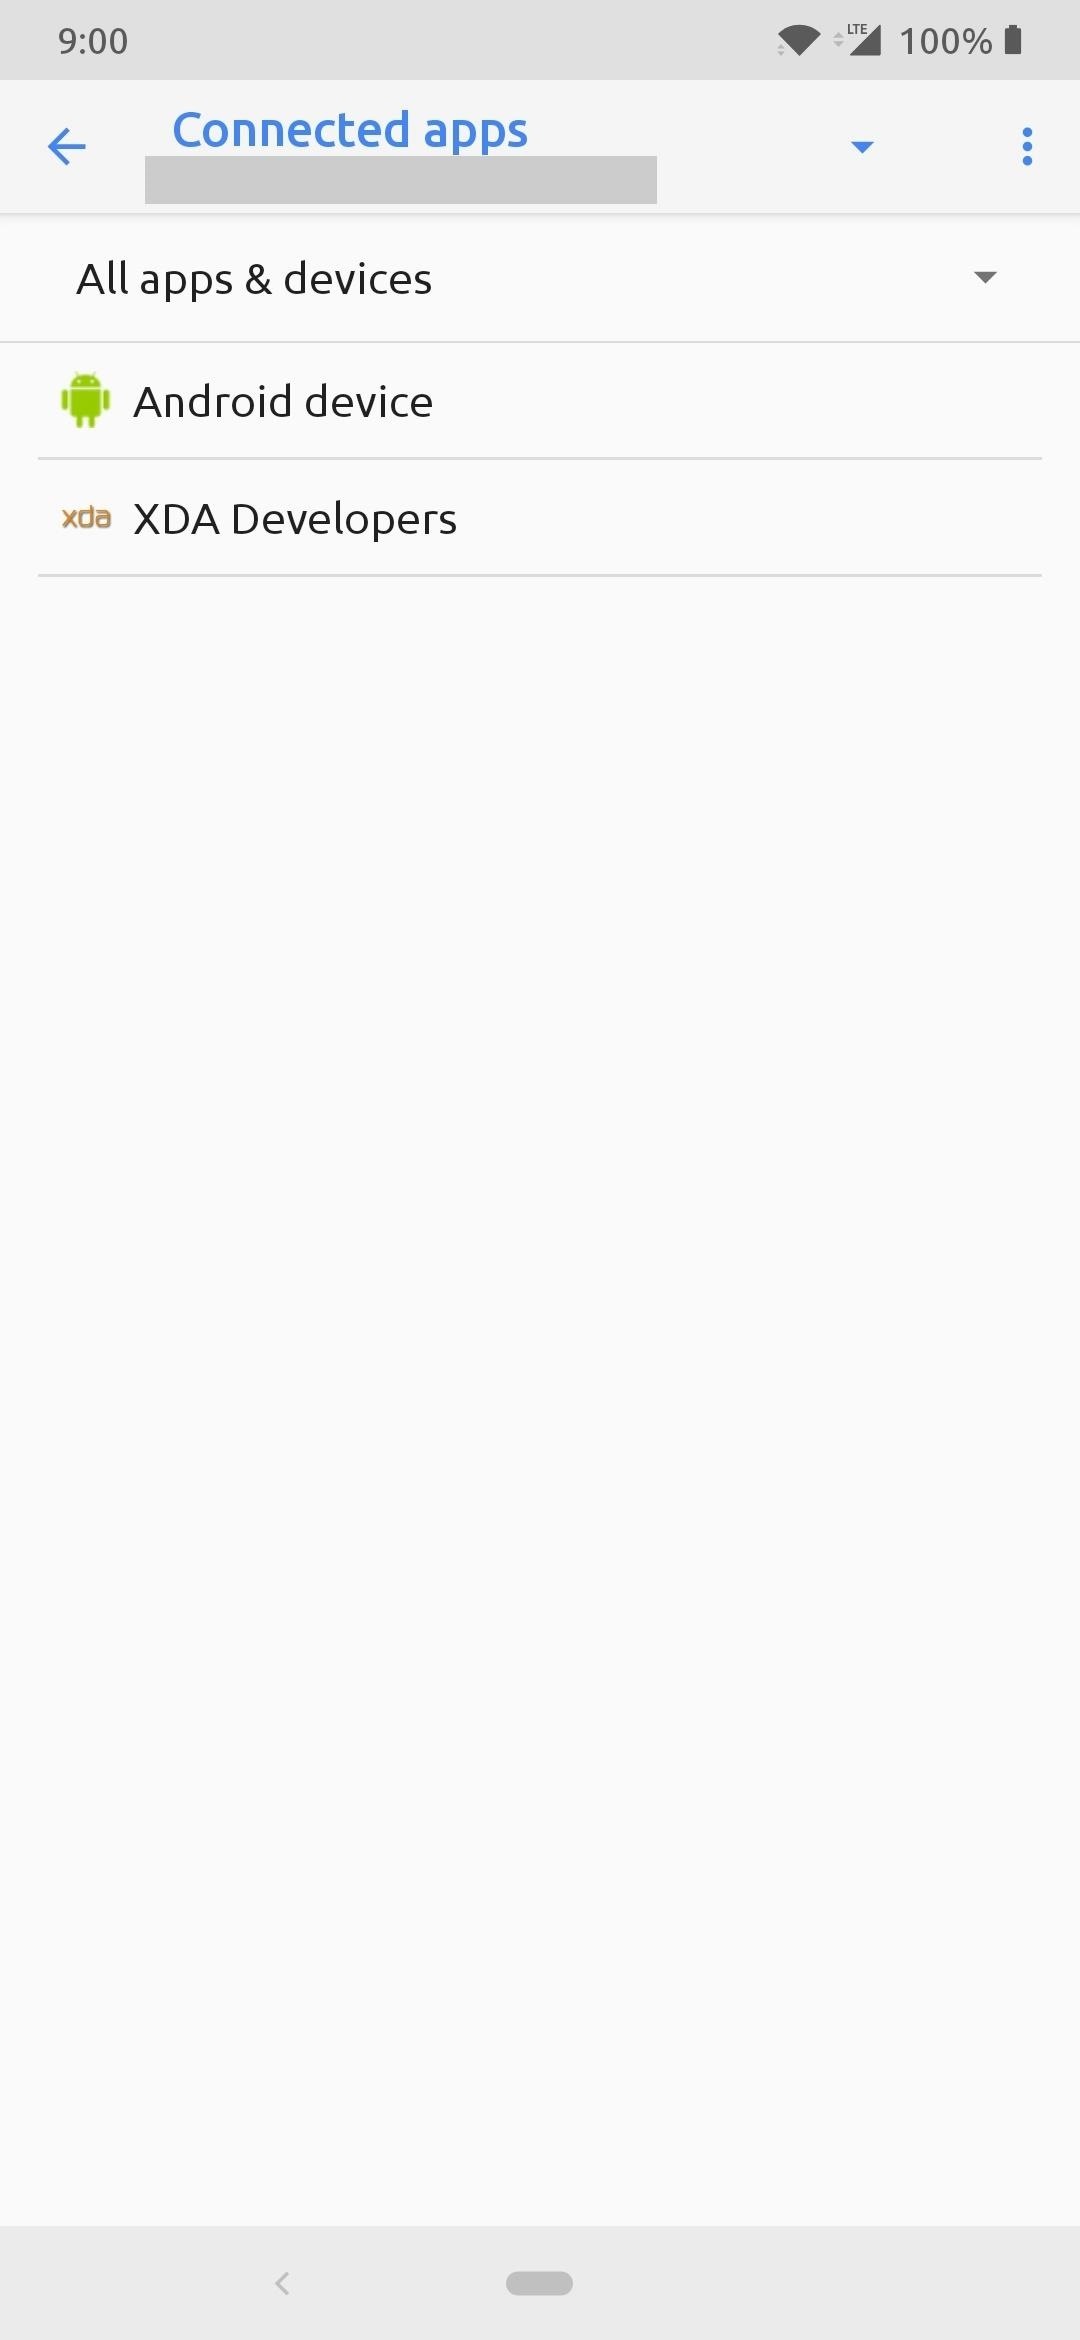
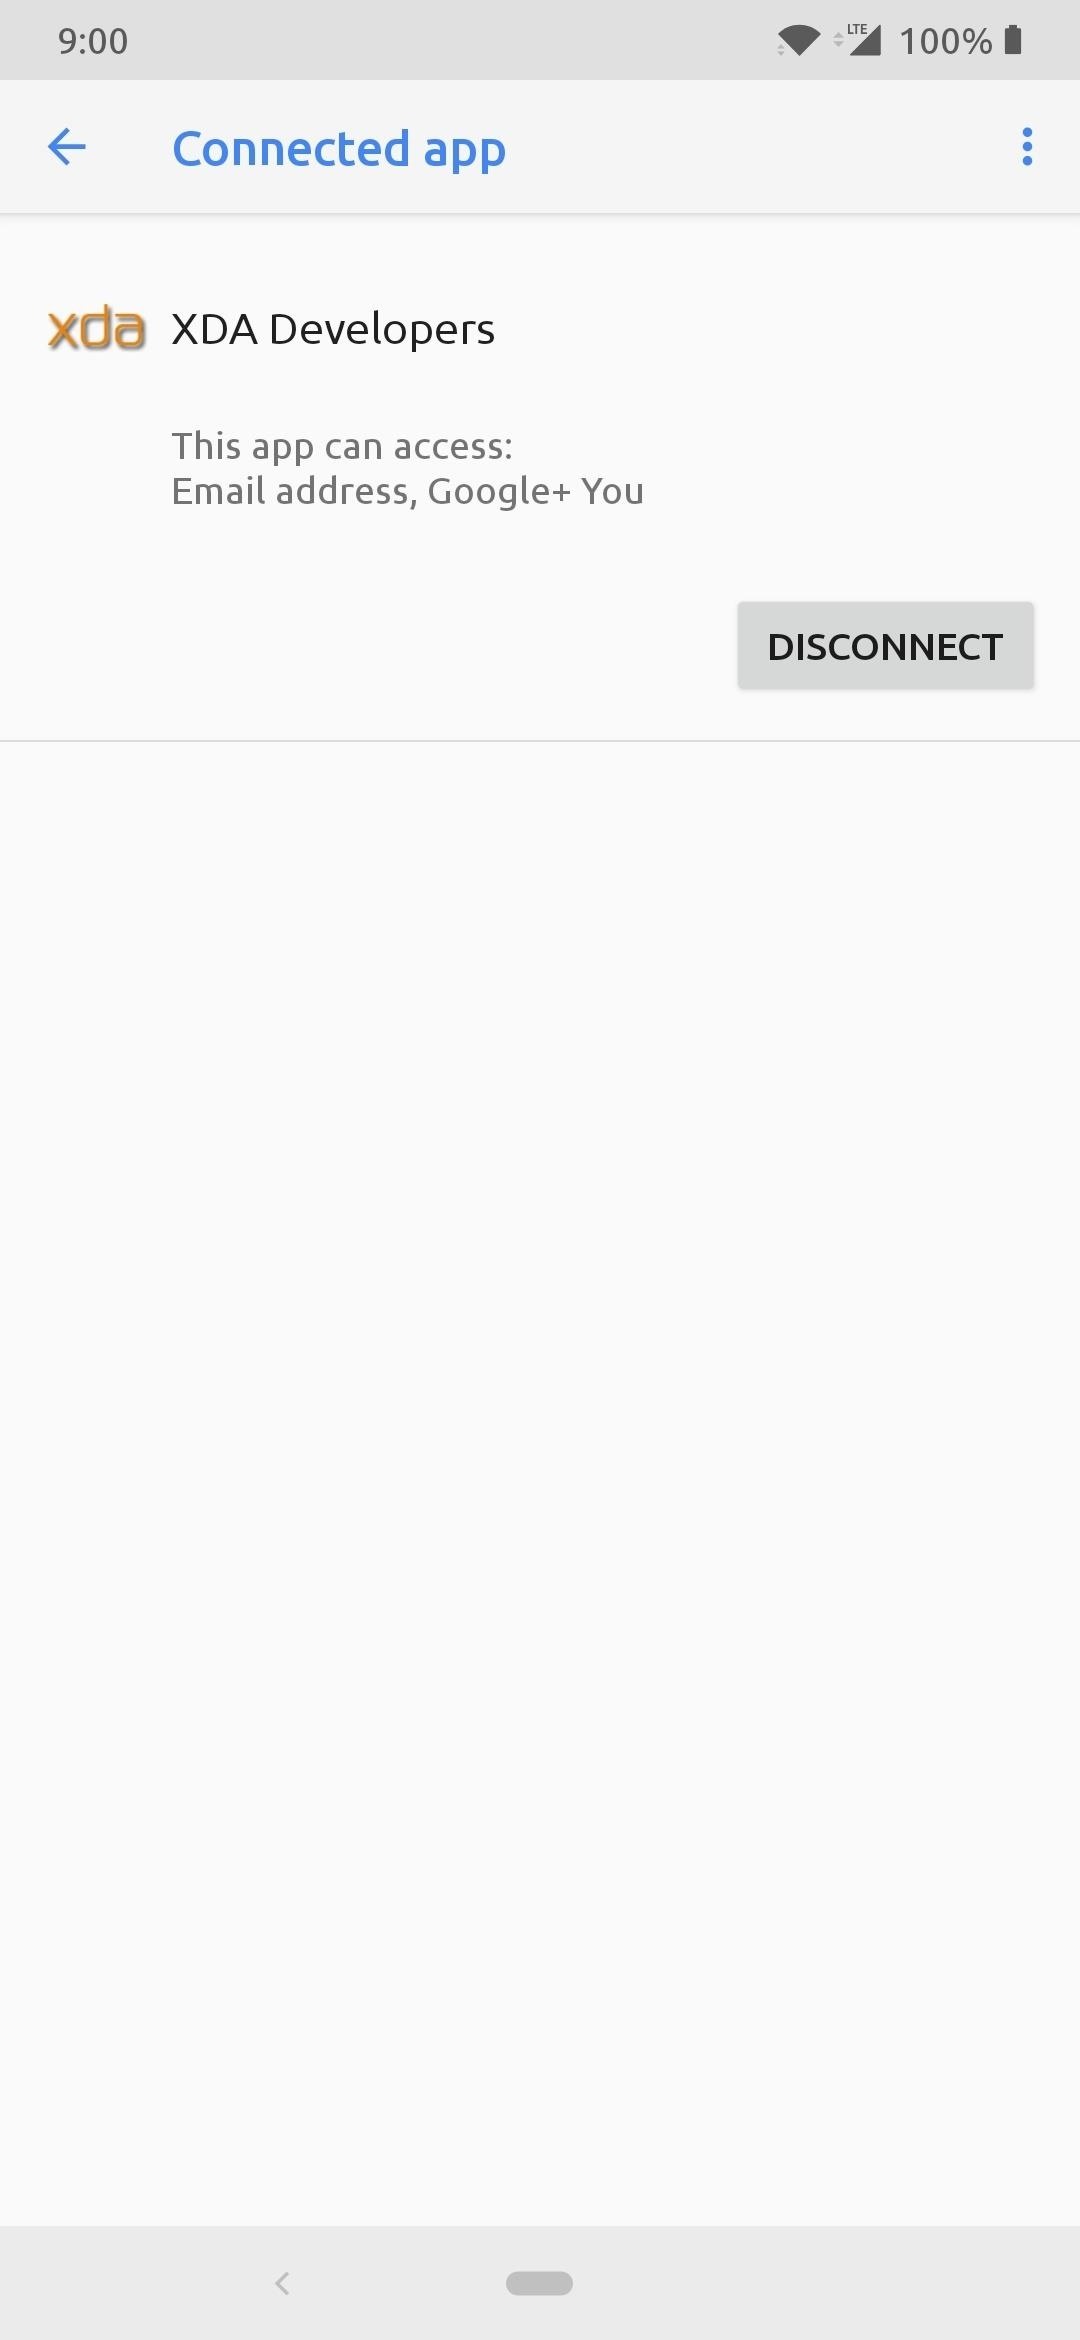
Settings > Google > Connected AppsIt's always wise to do regular security checkups on who has access to what on your Google account. Google even reminds you to do this periodically, so that's always useful if you forget to check it out at a later date. View the menu for Connected Apps and look over the list of apps and services that have access to your account.
Take out anything that doesn't belong, or you don't want anymore, then tap "Disconnect." Follow the on-screen instructions, and that'll take care of that for good. Once you're happy with the way everything looks here, you can move on with the next tip.
22. Nearby
Google's Nearby feature is used to make surrounding devices in a local area or environments easier to communicate with one another. It has the potential to be useful, but just hasn't caught on with the public space yet. It would mostly benefit local places of business and the retail world more than anything. Some wireless headphones use this feature for Fast Pair, which is helpful for linking your headphones to your device effortlessly.
The Nearby feature could also be used for something outside of the box, like a museum. The museum could beam information to your phone when you get near a particular item of interest, which would be an exciting take on on some of the possibilities. It creates a more interactive and innovative trip for everyone with a smart device. It's pretty cool stuff, but not practical for everyday use by the general public on the broader sense — at least, not yet.
Settings > Google > NearbyIf you don't feel you'll be using this setting right now, it would be okay to disable the setting from the above menu by toggling off the option. Since there aren't too many practical uses yet, it should be fine in most cases; however, you will lose Fast Pair functionality with wireless headphones.
If you'd like to keep Fast Pair but remove the advertising potential, there is something you can do still. Tap the gear icon at the top, select "Links" and "Popular links," then disable the "Show Notifications" toggle on both of them.
This article was produced during Gadget Hacks' special coverage on smartphone privacy and security. Check out the whole Privacy and Security series.
Just updated your iPhone? You'll find new emoji, enhanced security, podcast transcripts, Apple Cash virtual numbers, and other useful features. There are even new additions hidden within Safari. Find out what's new and changed on your iPhone with the iOS 17.4 update.


Be the First to Comment
Share Your Thoughts