
Bloatware is a problem on Android, and it's not just a Samsung thing. Removing apps that have the Uninstall or Disable button grayed out in Settings has always involved sending ADB commands to your phone from a computer, which itself was always such a pain to set up. Thankfully, that has finally changed.
Using the Wireless Debugging feature Google added to Android 9.0 Pie back in August 2018, Android apps can now access your phone's ADB server. In other words, you can now send ADB commands to your own phone. One app, LADB by developer Tyler Nijmeh, was purpose-built for this task and has a head start on any would-be competitors. I'll show you how to use it to uninstall any user or system app below.
Requirement
Step 1: Install Package Name Viewer 2.0
You'll need to know the package name of the app or apps you're trying to remove. The easiest way to find this information is to install an app called Package Name Viewer 2.0 from developer csIng.
- Play Store Link: Package Name Viewer 2.0 (free)

Step 2: Find the Bloatware's Package Name
Now, open Package Name Viewer 2.0 and use the search feature at the top of the screen to find a bloatware app you want to uninstall. Beneath its common name you will see the app's package name, which is the name the operating system knows the app by. Copy this name for future use, keeping in mind that you'll need to repeat this step for every bloatware app you'd like to remove.
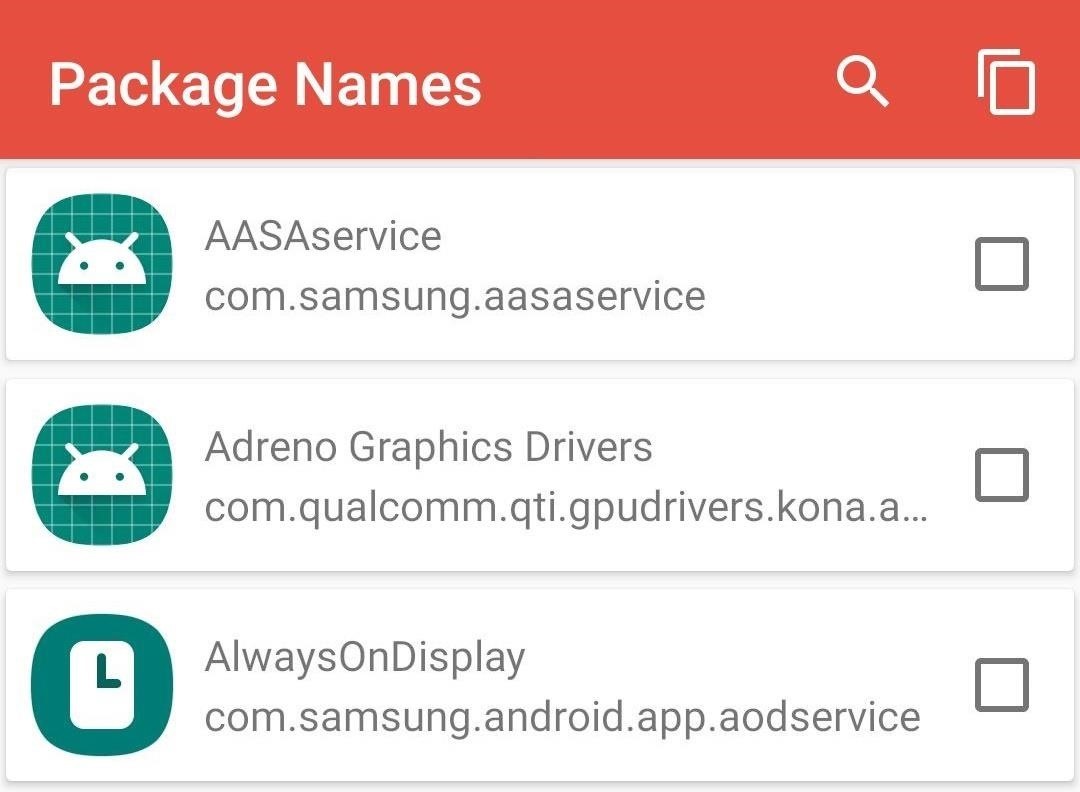
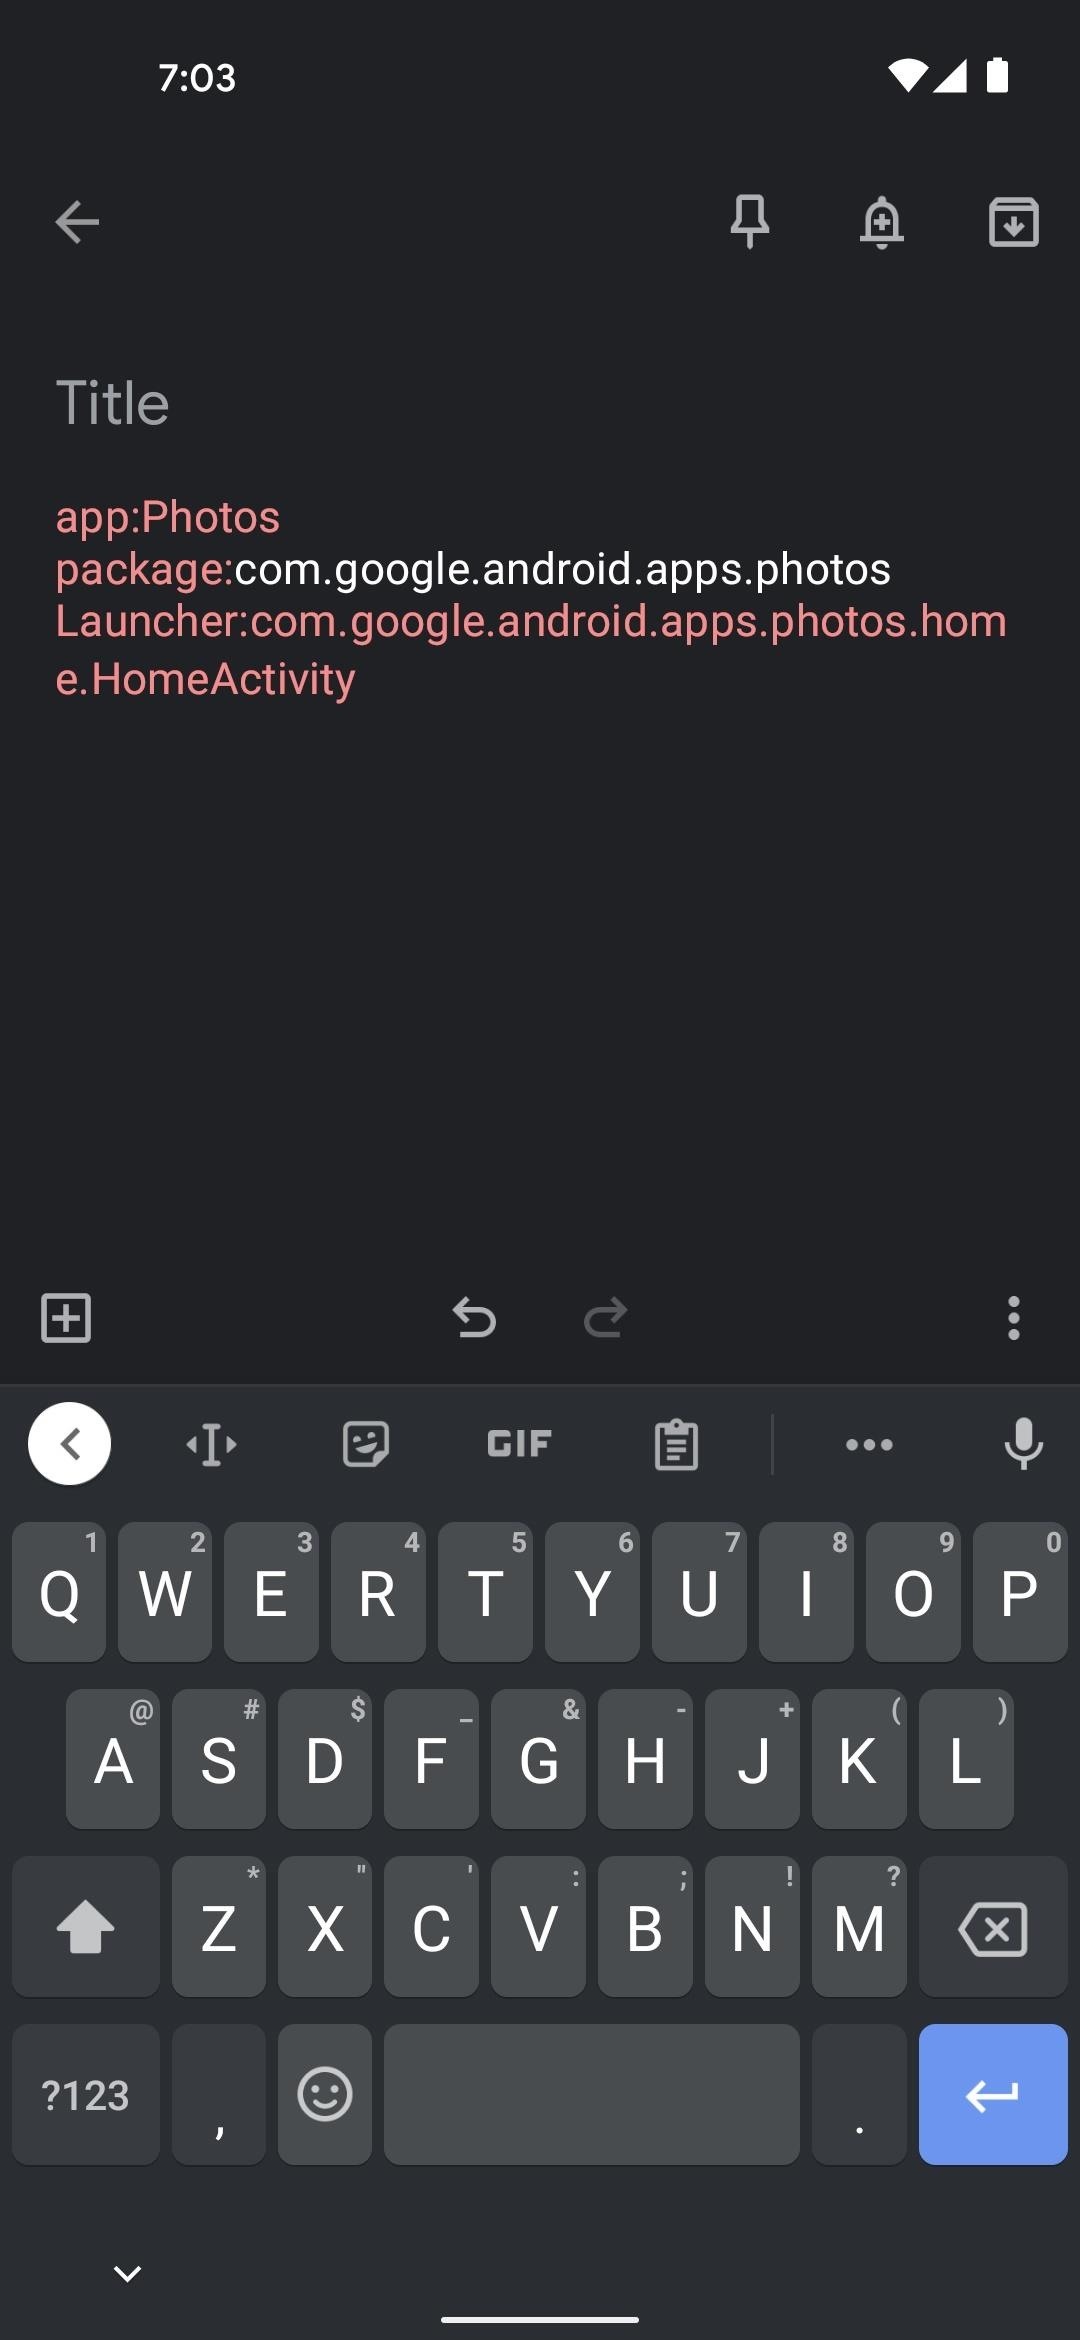
One quirk here is the app's copy feature, which you can access by tapping any entry and choosing "Copy." This will copy the app's package name to your clipboard, which would make it really easy to just paste in the ADB prompt later, except it copies more than just the package name.
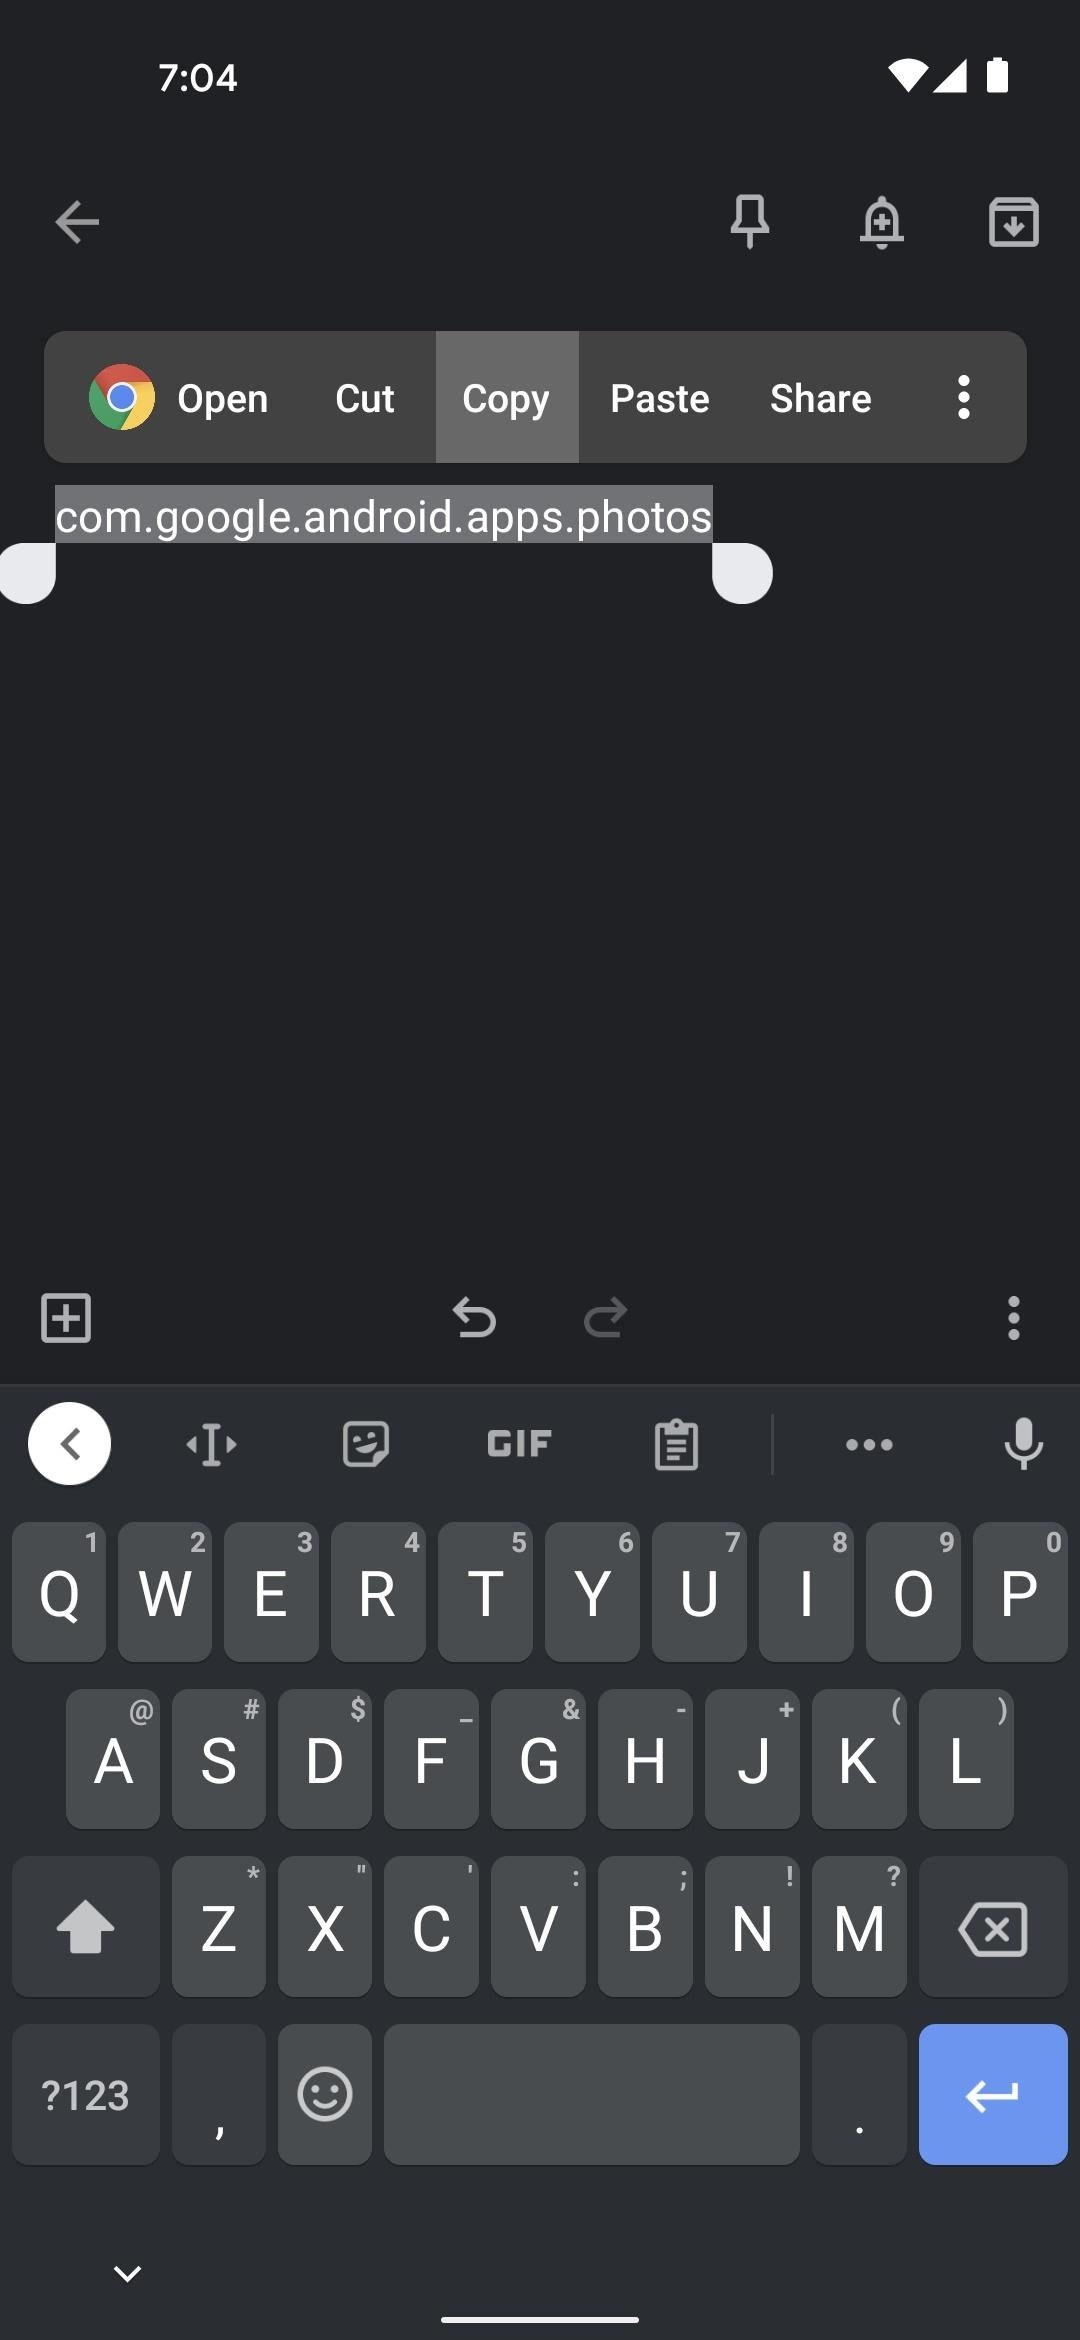
The two best workarounds I have for this aren't great. For one, you can simply write down the com.abc.xyz package name shown under the app's common name, but this won't work with some longer package names. In these cases, you can use the app's copy feature, then paste what it copied into a notes app like Google Keep. From there, remove everything except the string of text between package: and Launcher: and copy what's left.
Step 3: Enable Developer Options
This method relies on a feature that can't be enabled in Android's main settings menu by default. Instead, you'll have to activate a hidden menu for advanced users called Developer Options.
So go to Settings –> About Phone, then tap the Build Number entry seven times quickly and enter your lock screen PIN when prompted. If you need more help with this part, see our full guide:
Step 4: Enable Wireless Debugging
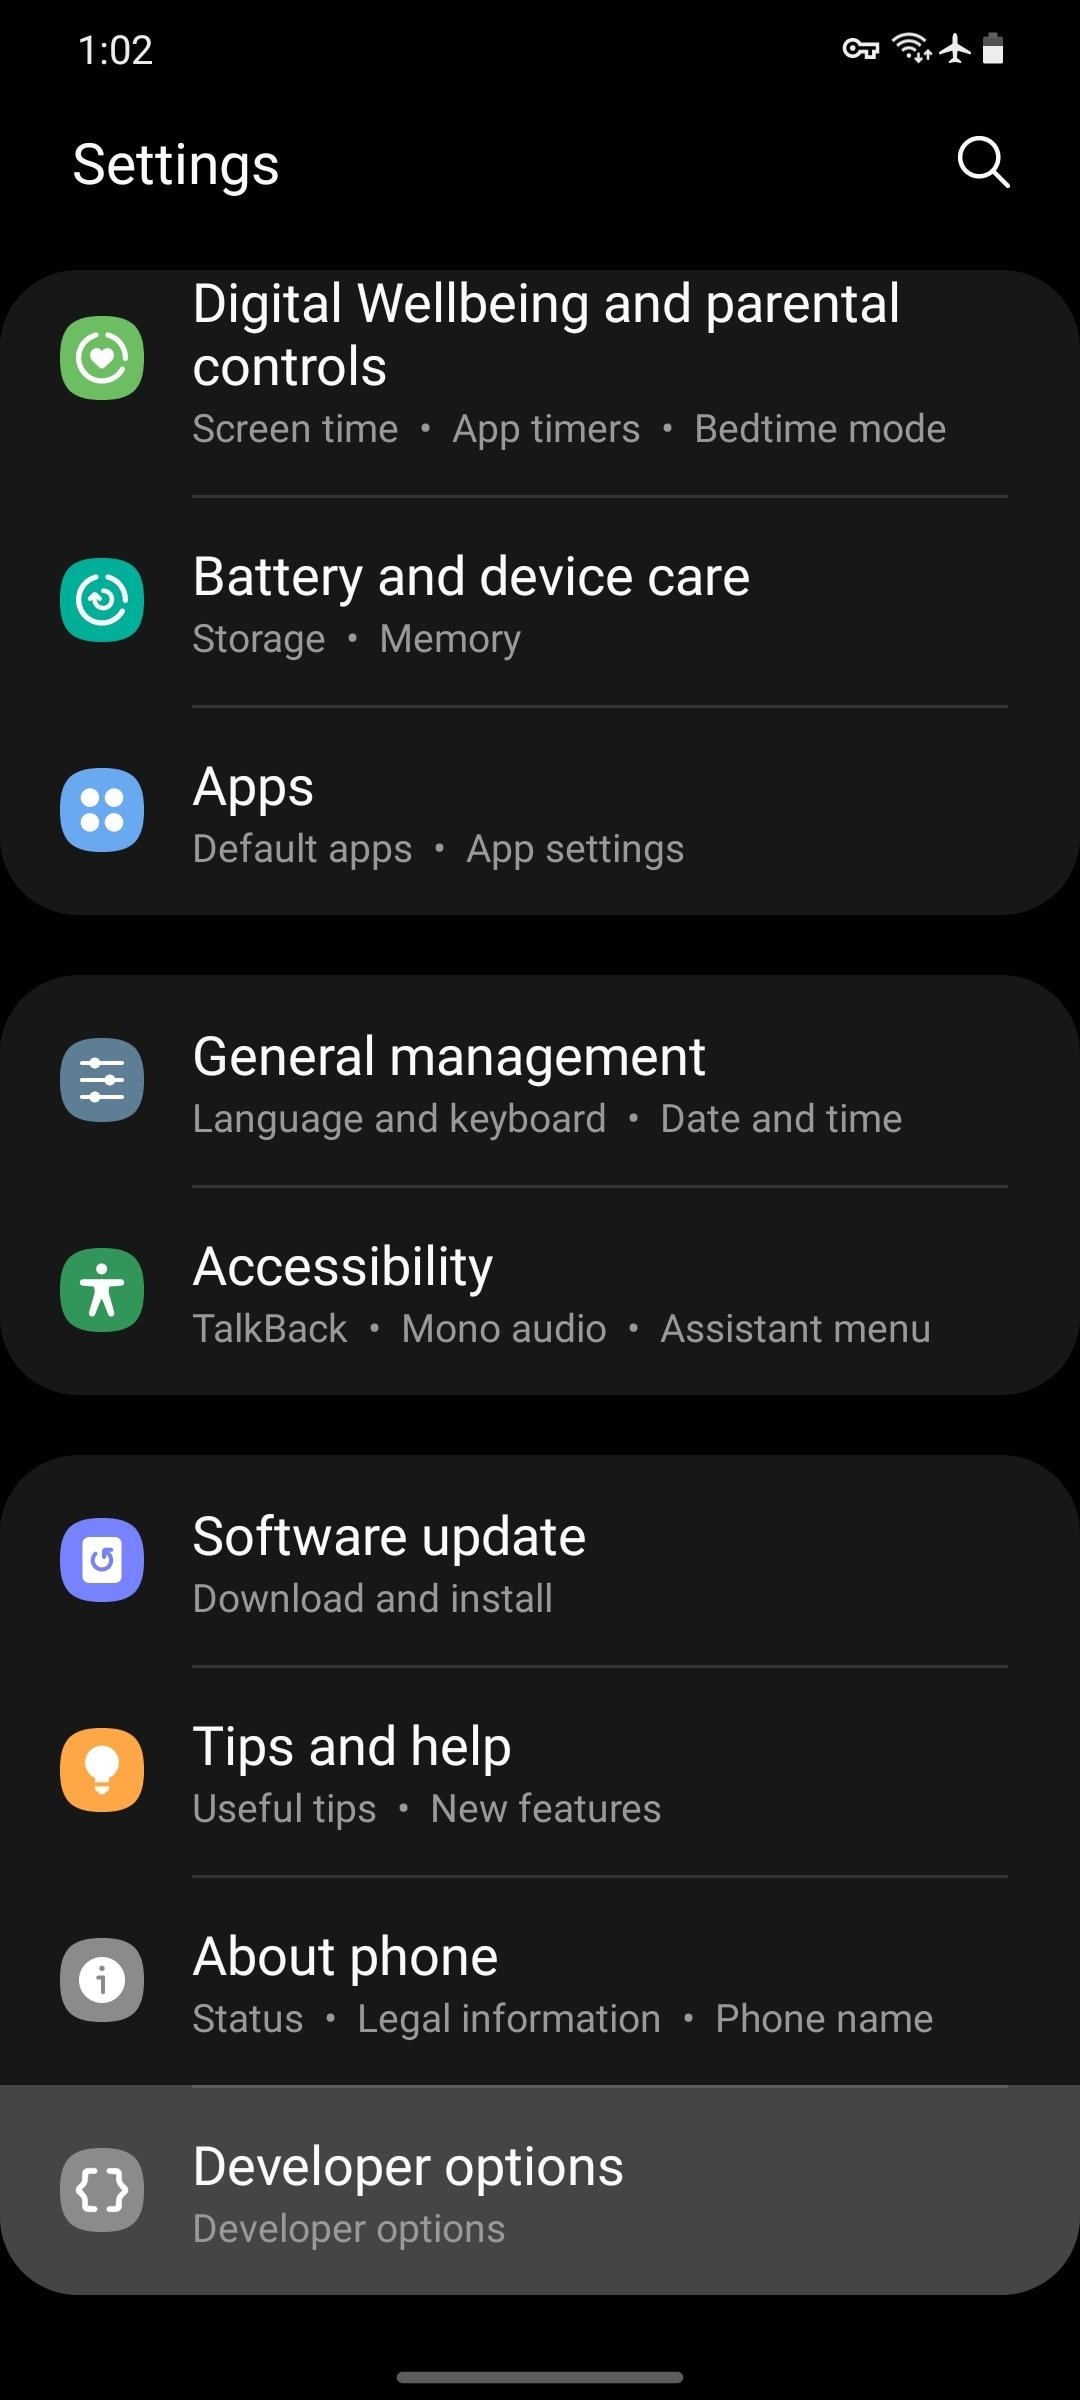
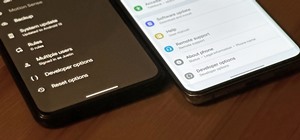
Now, you'll need to enable the underlying Android feature that makes this all work. Open the Settings app, scroll down and select "System," then tap "Advanced" and choose "Developer Options." On some phones, the Developer Options entry may be listed at the very bottom of the main Settings screen instead.
Once inside, scroll down to the Debugging section. Here, enable the switch next to "Wireless debugging," then press "OK" on the prompt to confirm your choice. On Android 11 and higher, you'll need to be connected to Wi-Fi to enable this feature.

We tested this and found it working on every major Android skin from OEMs selling phones in the US, but it's not guaranteed that every device will have the Wireless Debugging feature. It's part of AOSP, Android's open source code base, but OEMs sometimes remove functionality from their skinned versions of Android. If your phone doesn't have this option, sadly, this method won't work for you.
Step 5: Install LADB
Now it's time to install LADB, the app that will allow you to send ADB commands to your own phone. The Play Store version (linked below) does cost $2.99, but that's cheap for what it can do. Still, if you need a free option, you can go to the app's GitHub page and compile the APK from source.
- Play Store Link: LADB — Local ADB Shell ($2.99)
Step 6: Establish a Connection
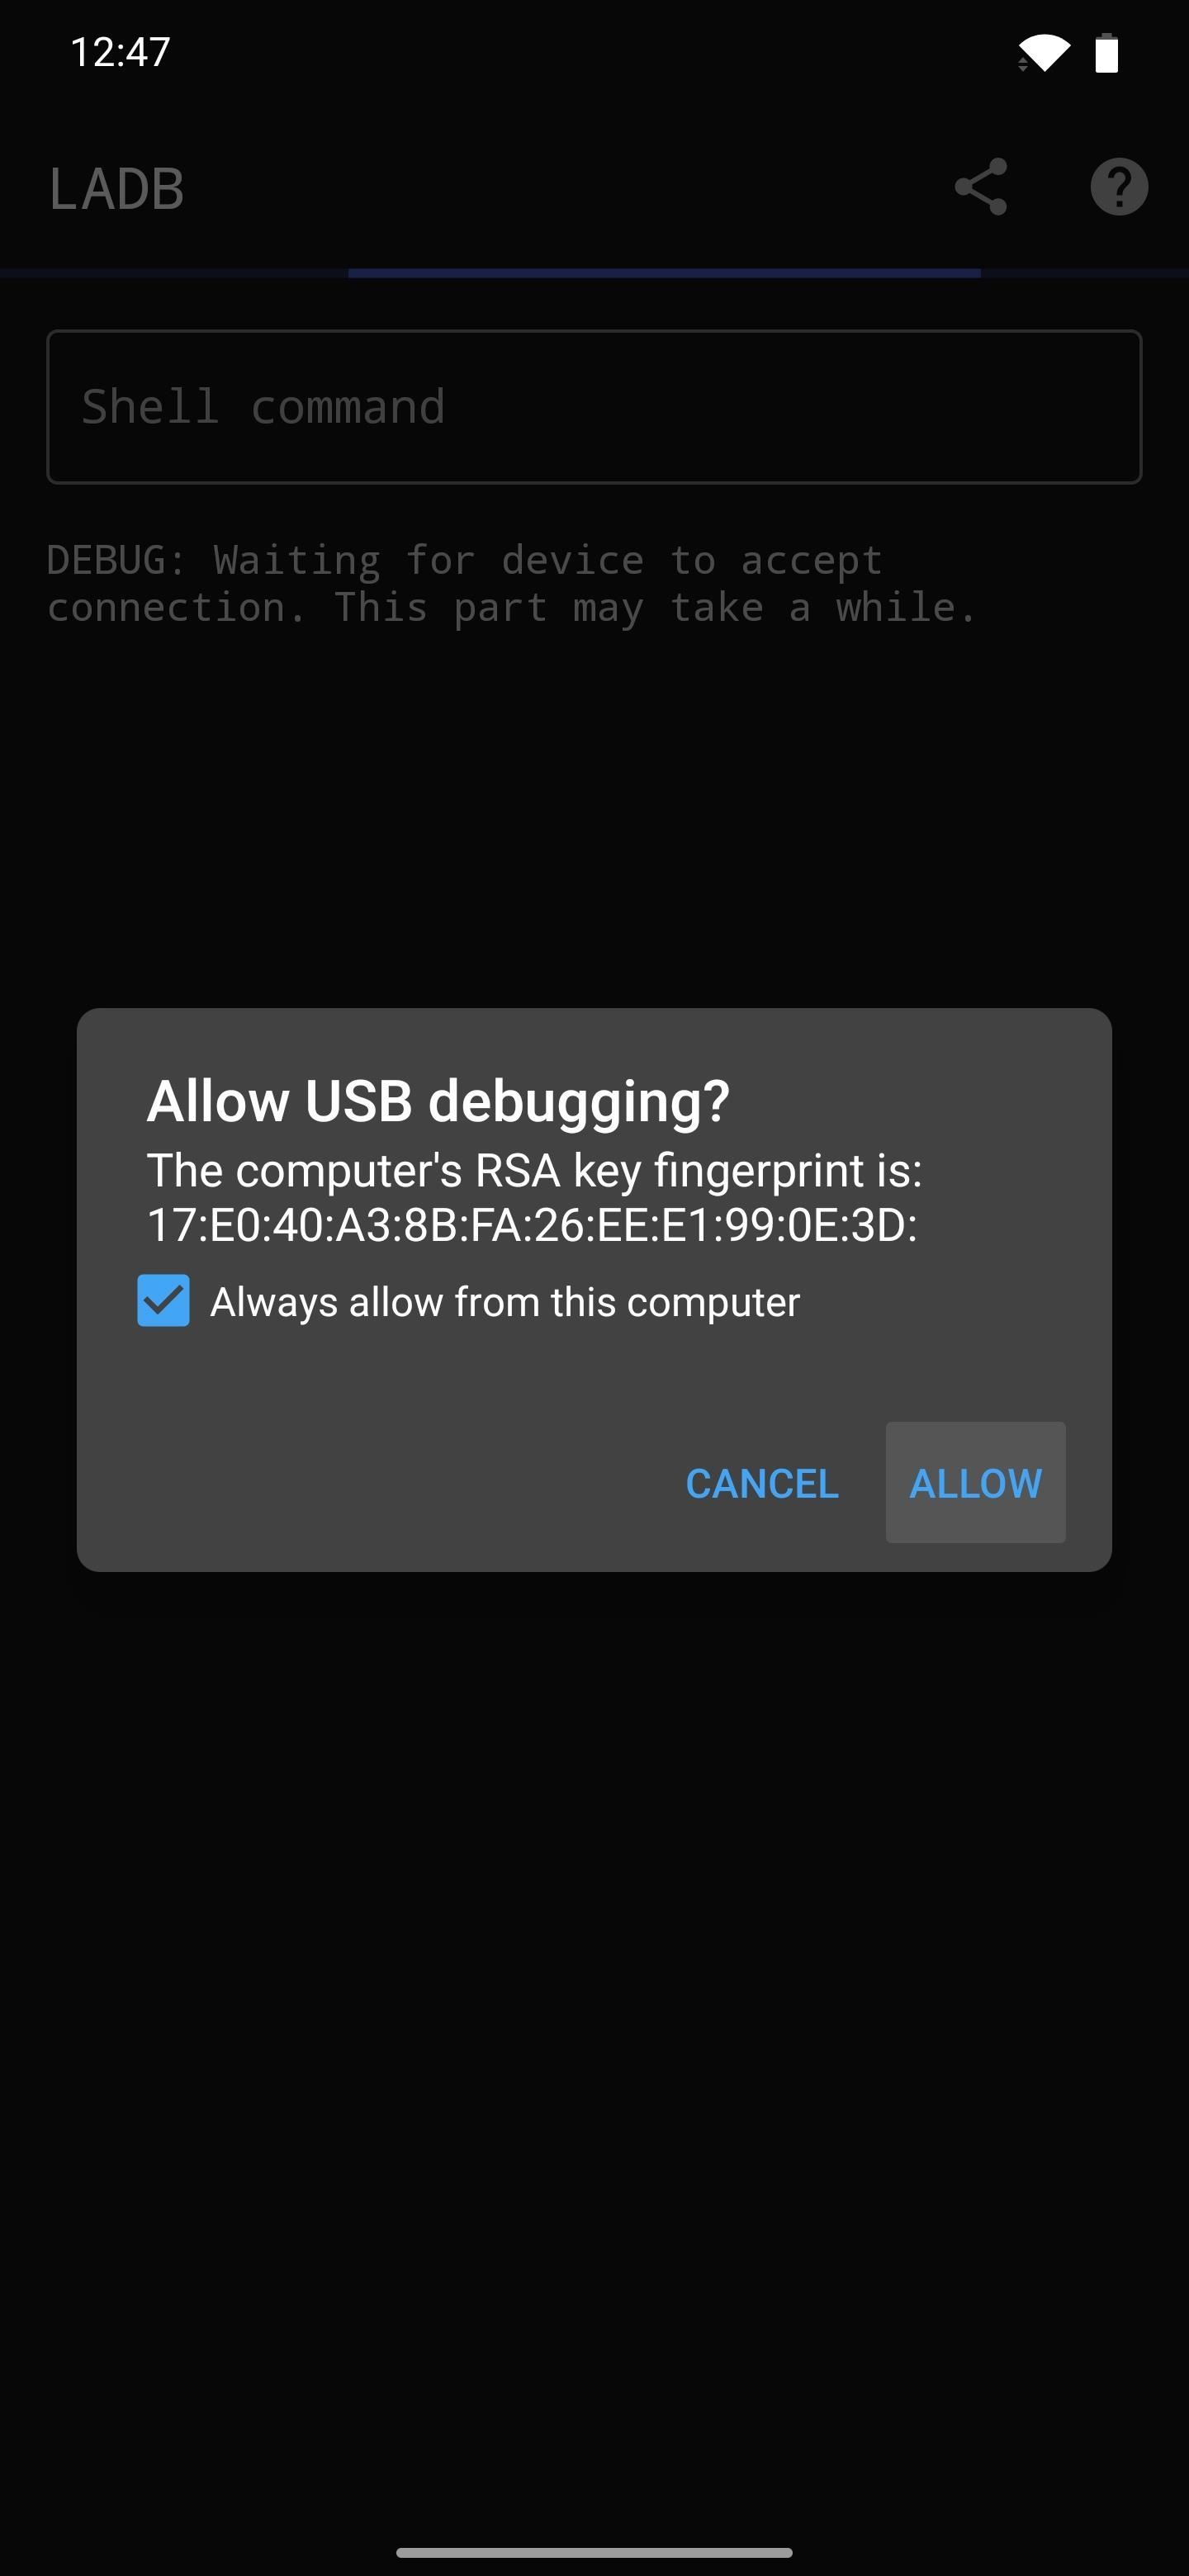
If you're on Android 9 or Android 10, open LADB and wait until you get a popup asking if you'd like to "Allow USB Debugging." Tick the box next to "Always allow," then select "Allow" on this prompt to establish the connection. You can now skip ahead to Step 7.
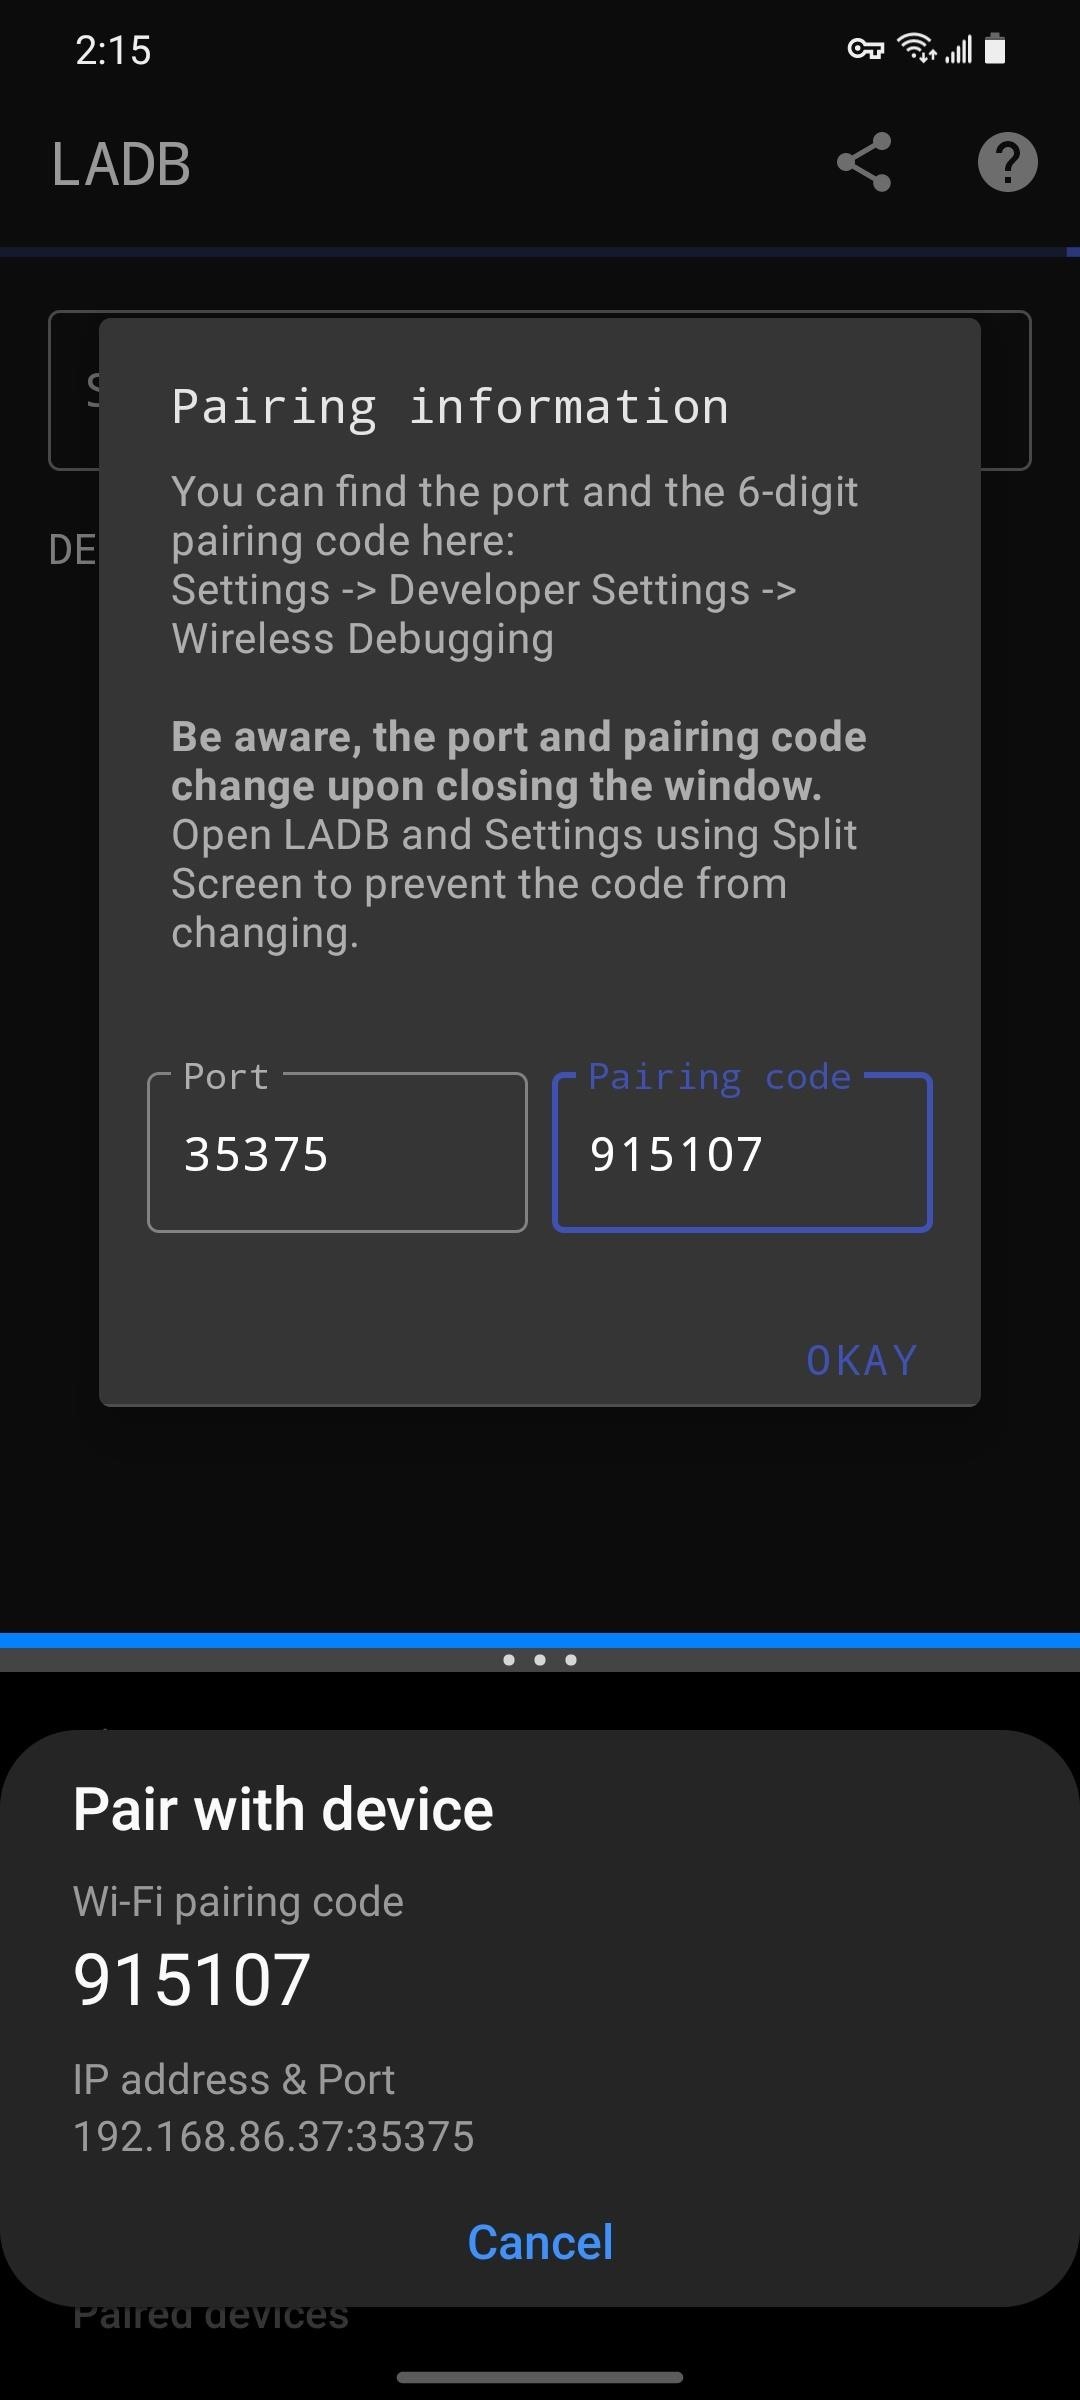
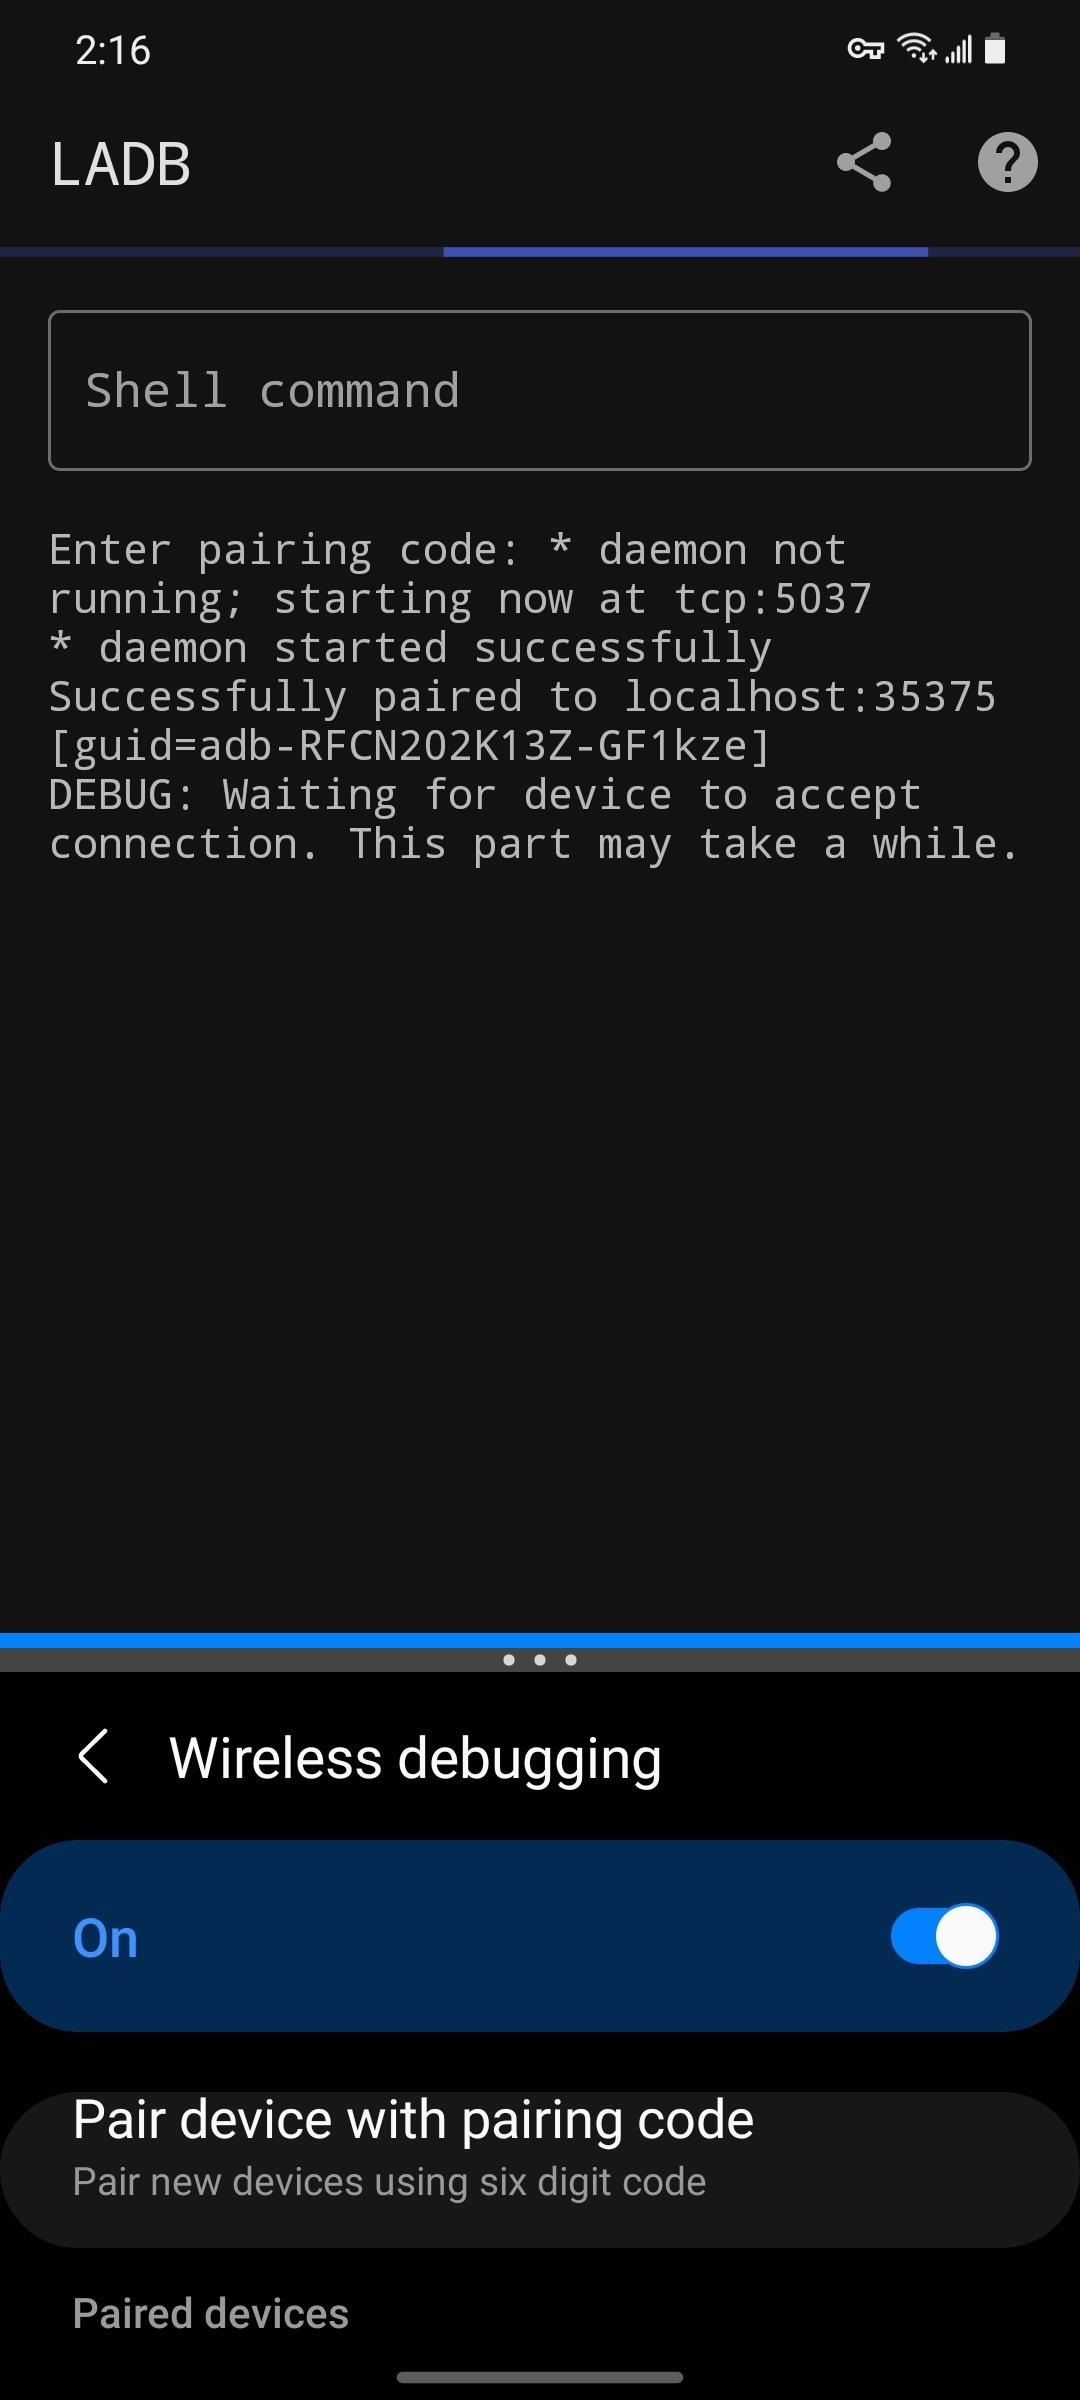
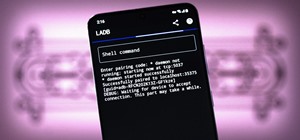
If you're on Android 11 or higher, open LADB and you'll see a prompt asking for a port number and pairing code. Next, put LADB into split-screen mode and open your Settings app in the other half of your screen. Go to Developer Options from there, then tap the "Wireless Debugging" text to enter a submenu.
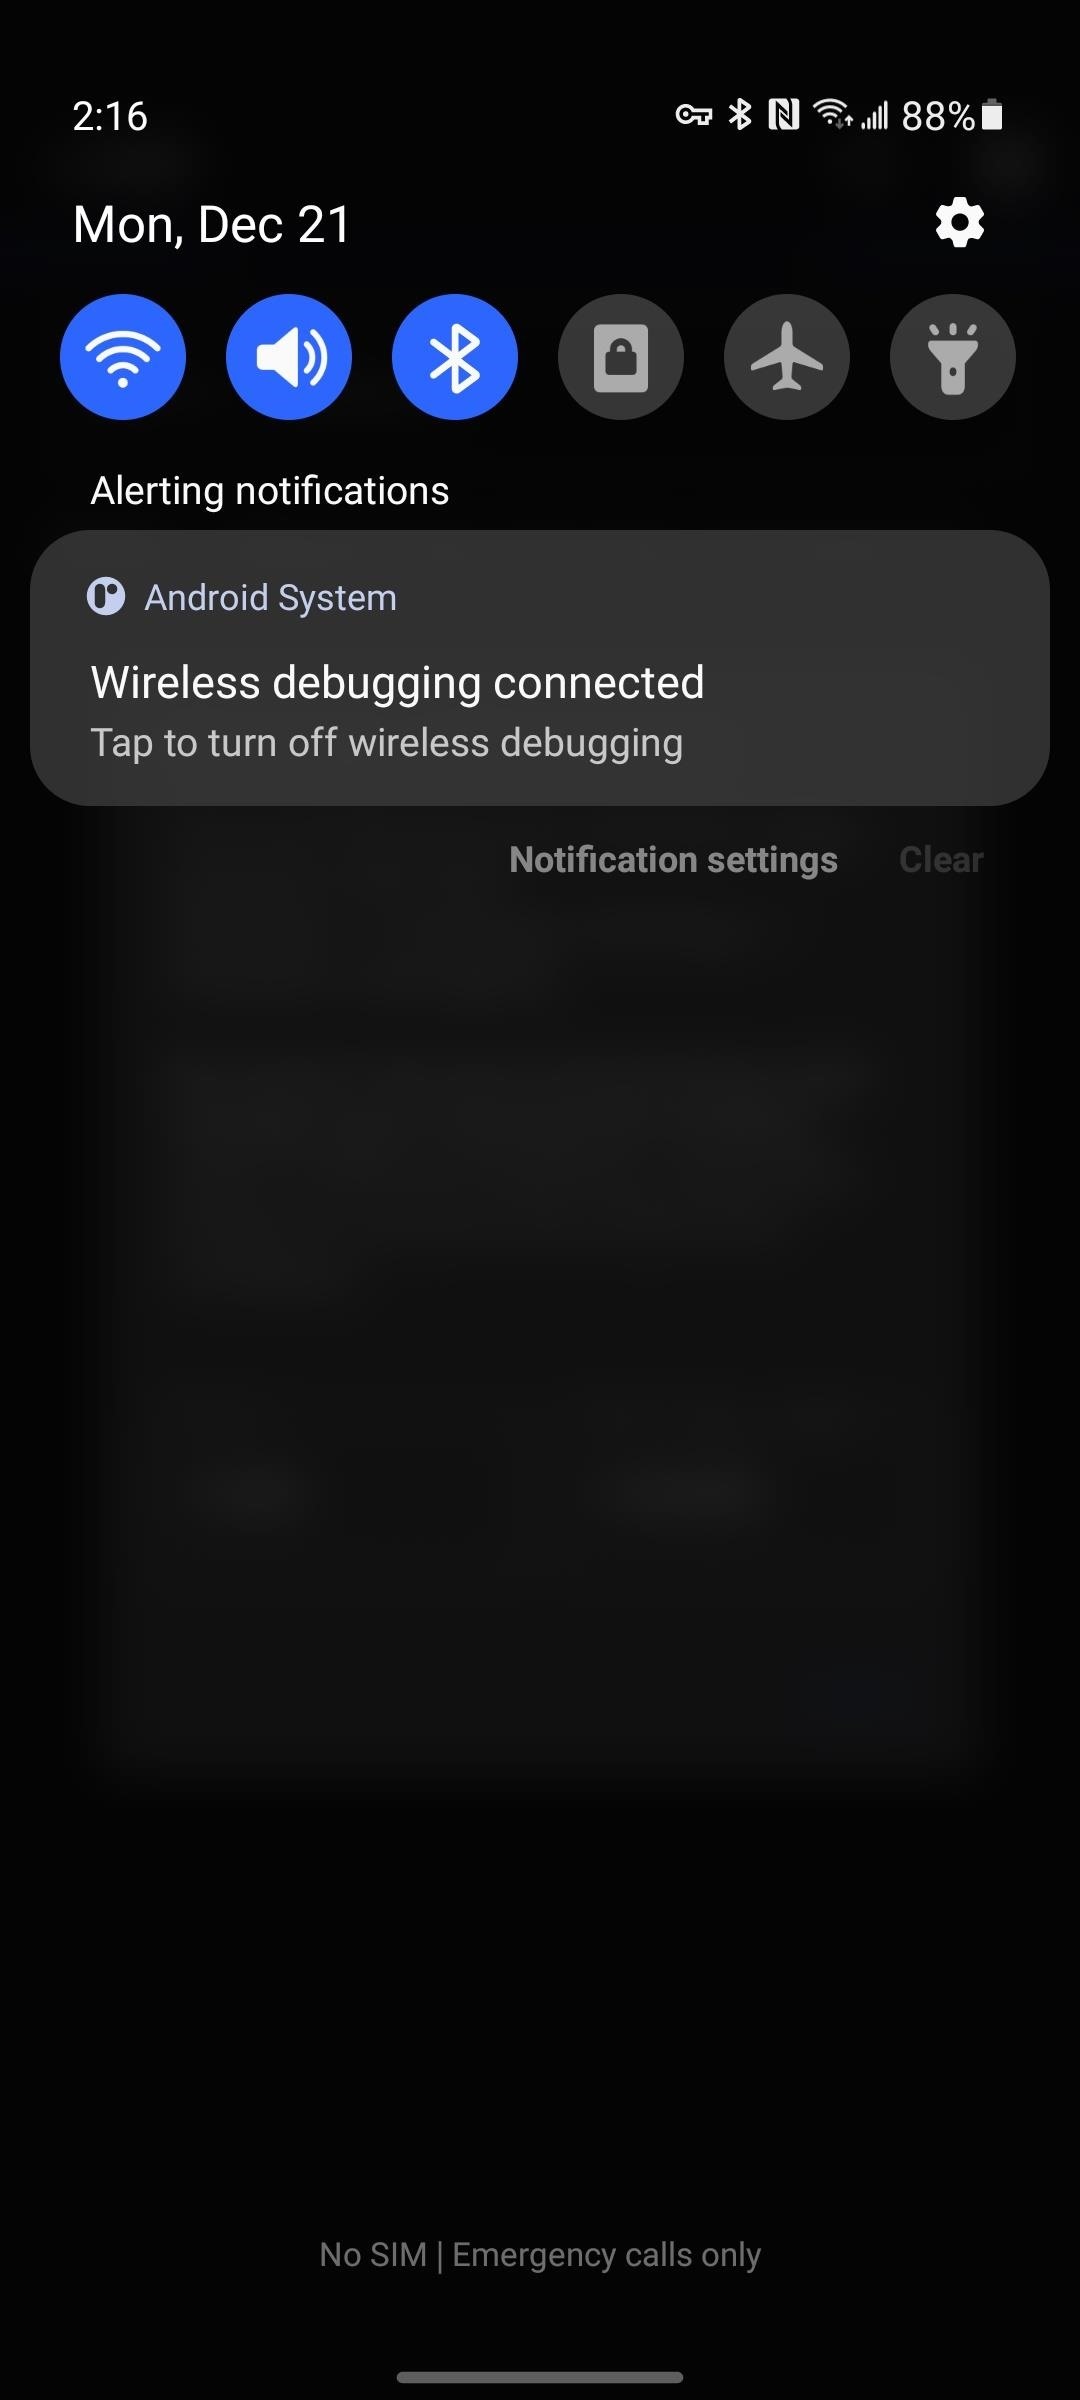
From there, tap "Pair device with pairing code," then copy the number after the colon (:) under IP address & Port into the Port field in LADB. Copy the Wi-Fi pairing code into the Pairing code box, then tap "Okay" on the prompt in LADB. Wait until you receive a "Wireless debugging connected" notification before closing split-screen mode or putting LADB back into full-screen view.
- More Info: Full Guide on Setting Up LADB on Android 11+
If you're struggling with this part, the app's developer has been very active in helping troubleshoot issues with users. He graciously posted his contact info here.
Step 7: Uninstall Any Bloatware App
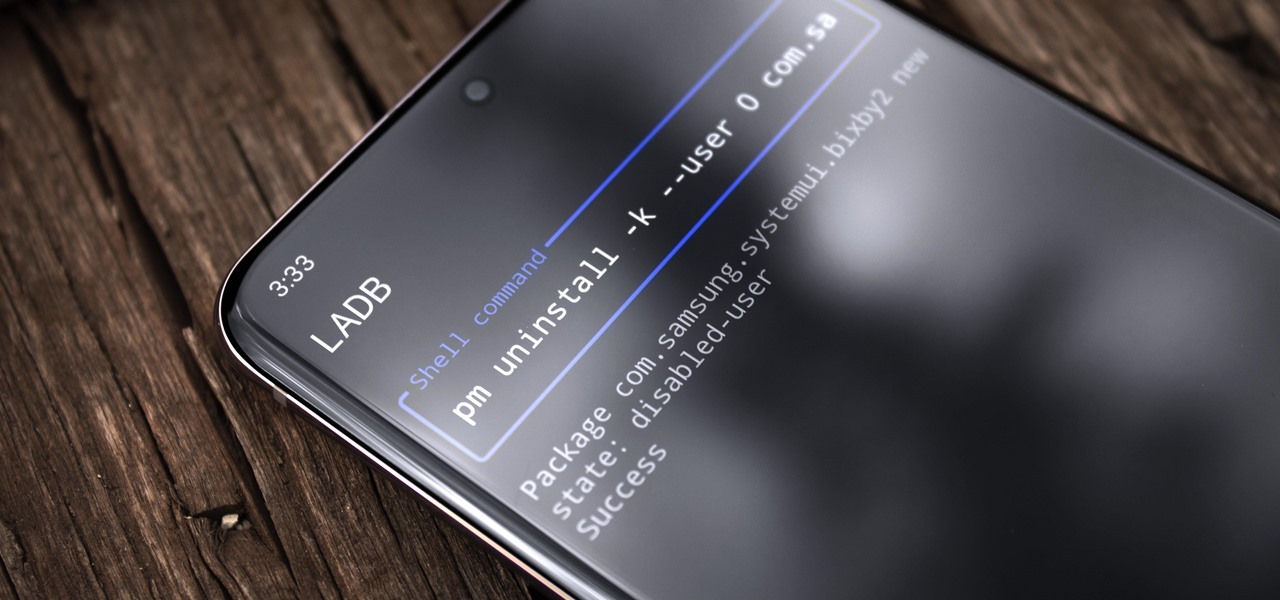
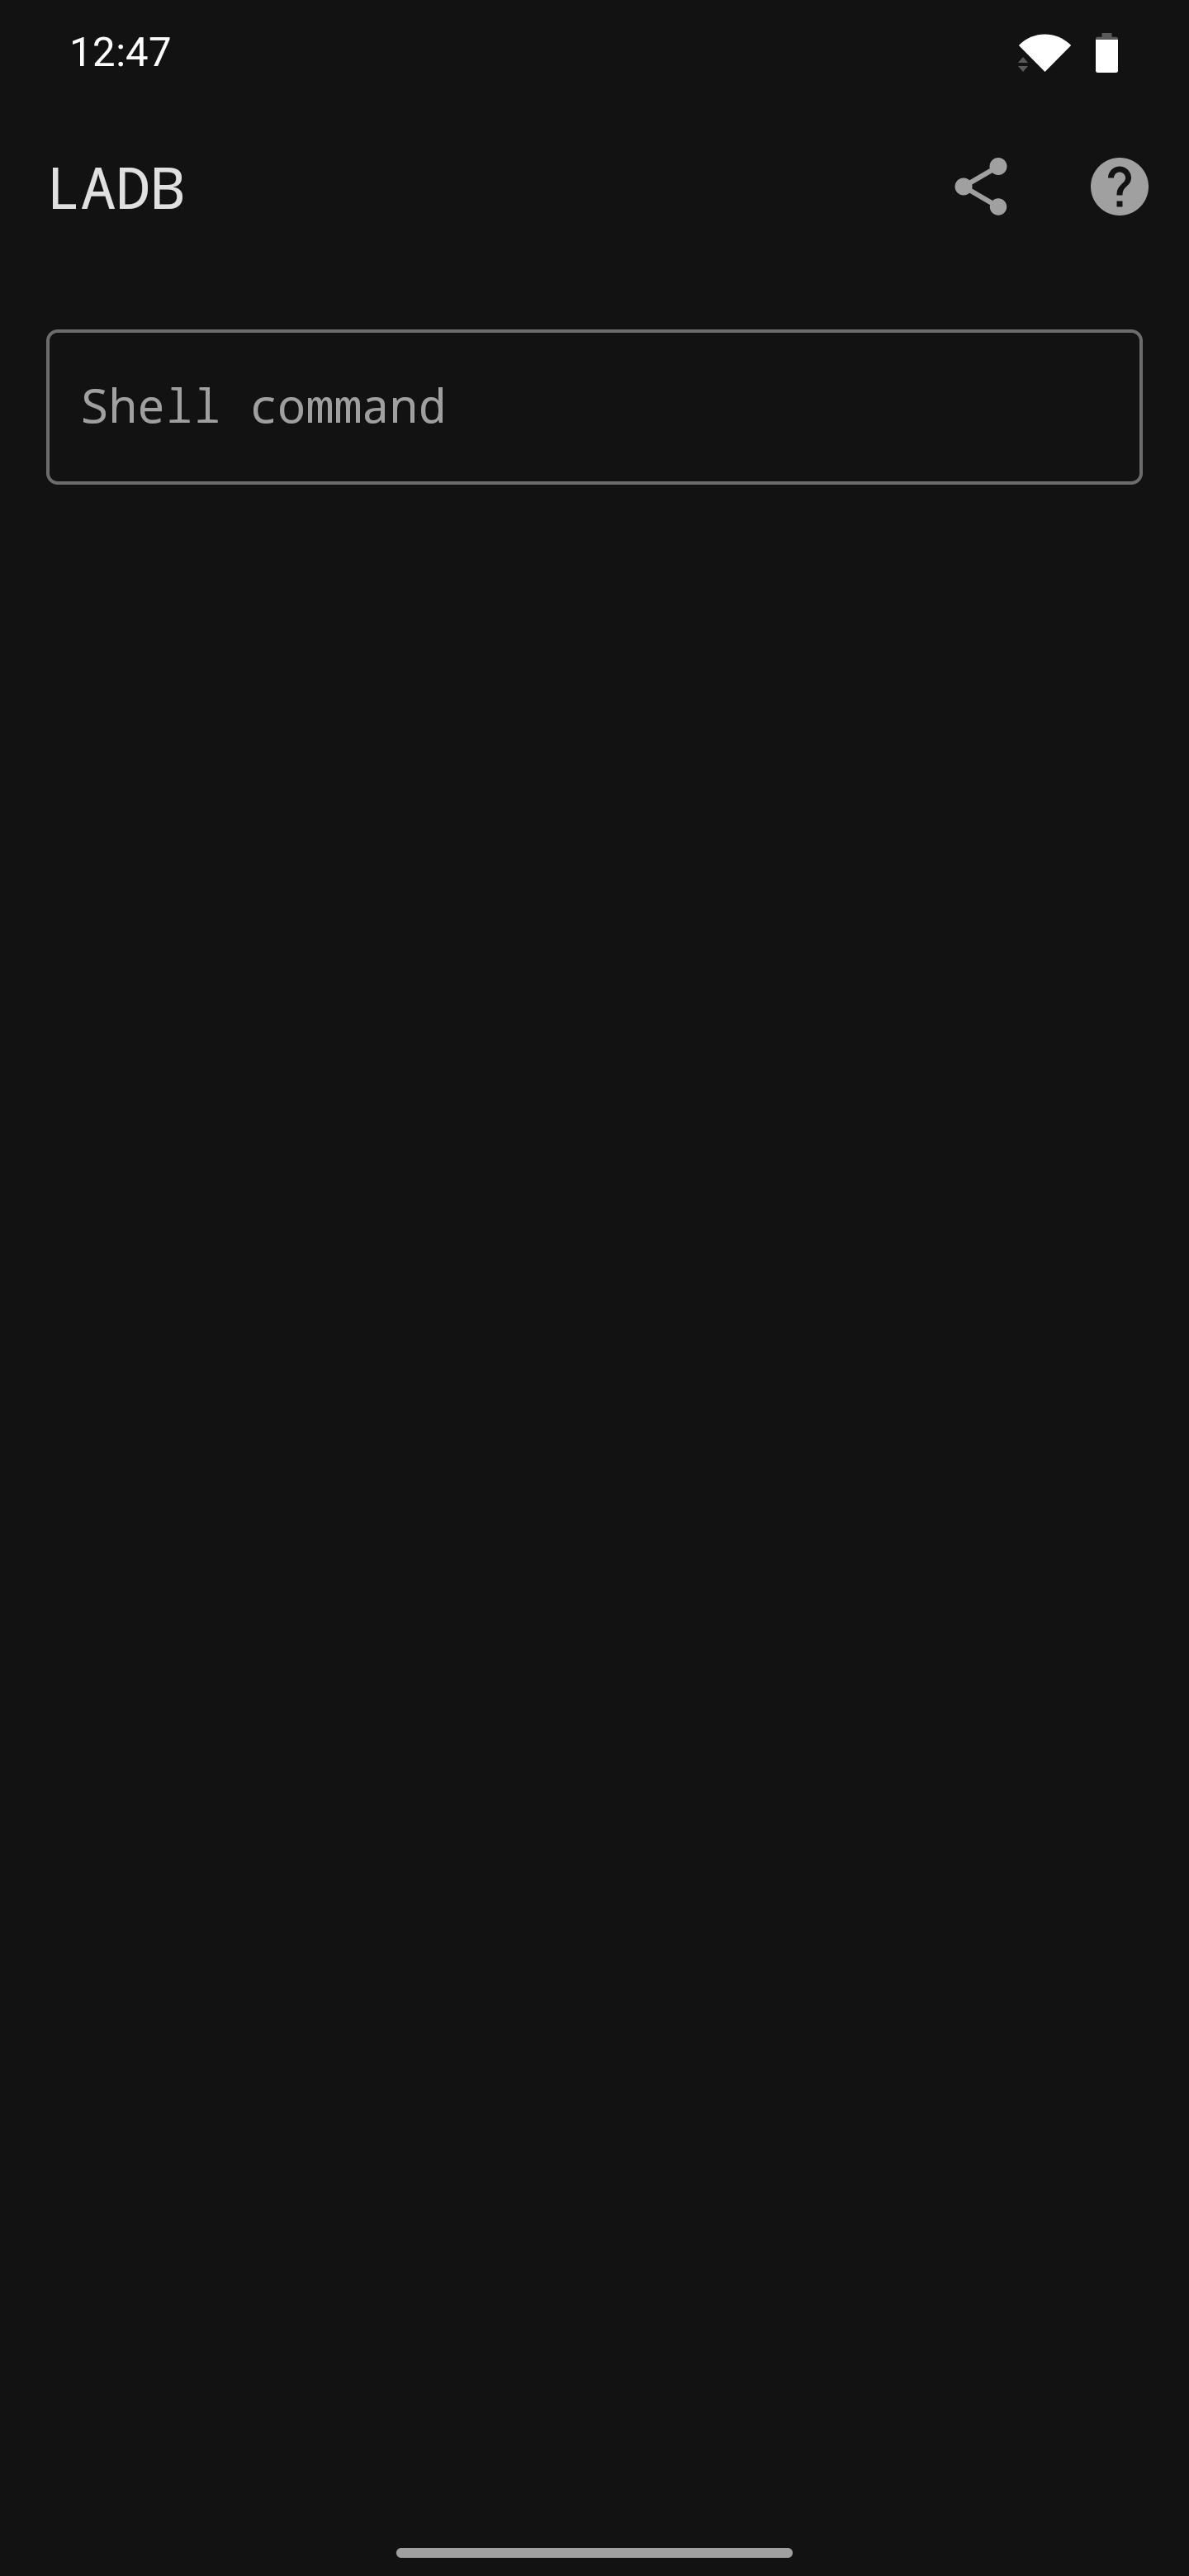
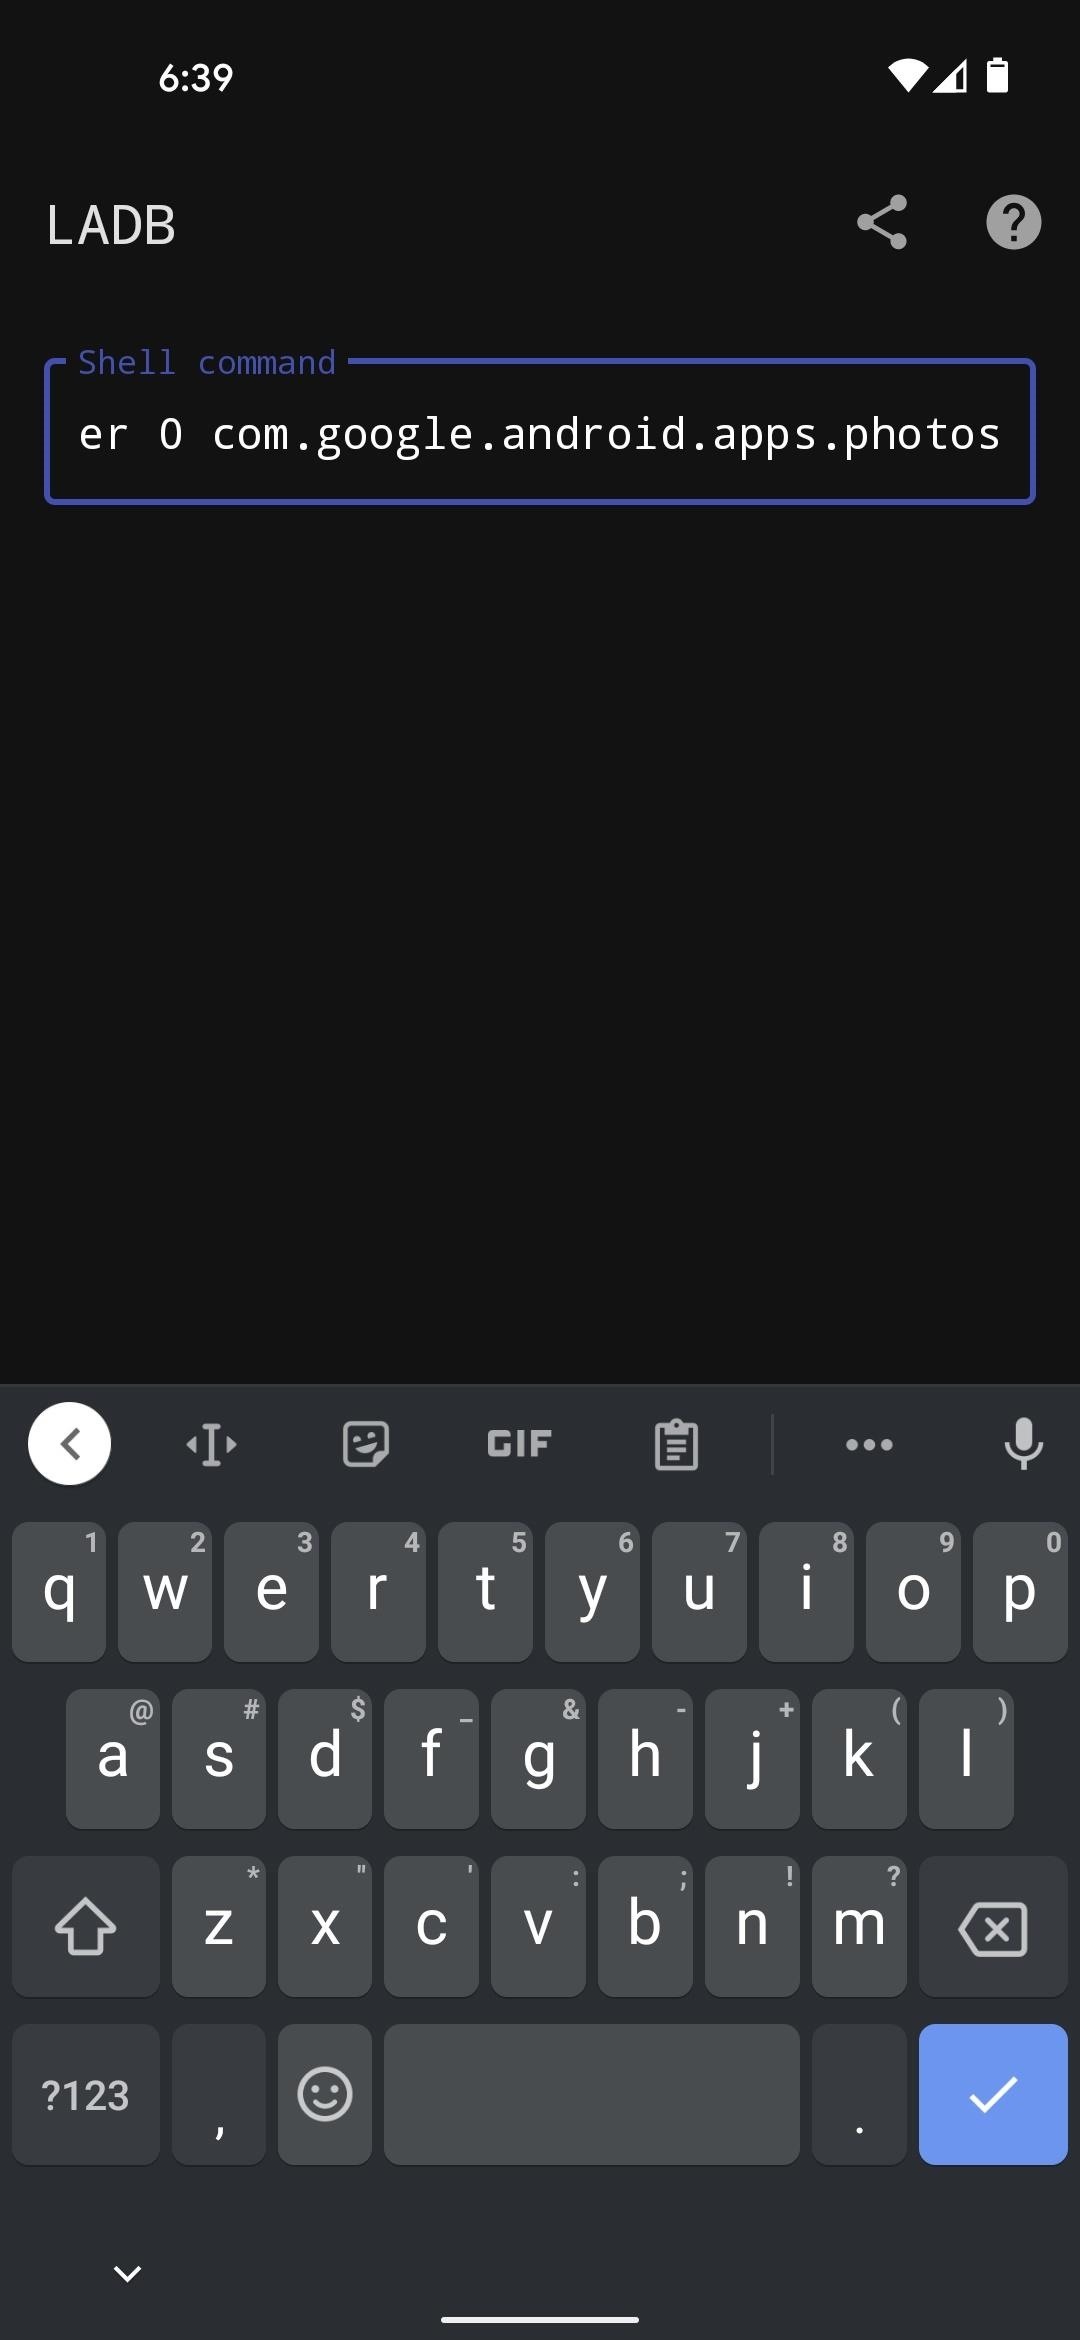
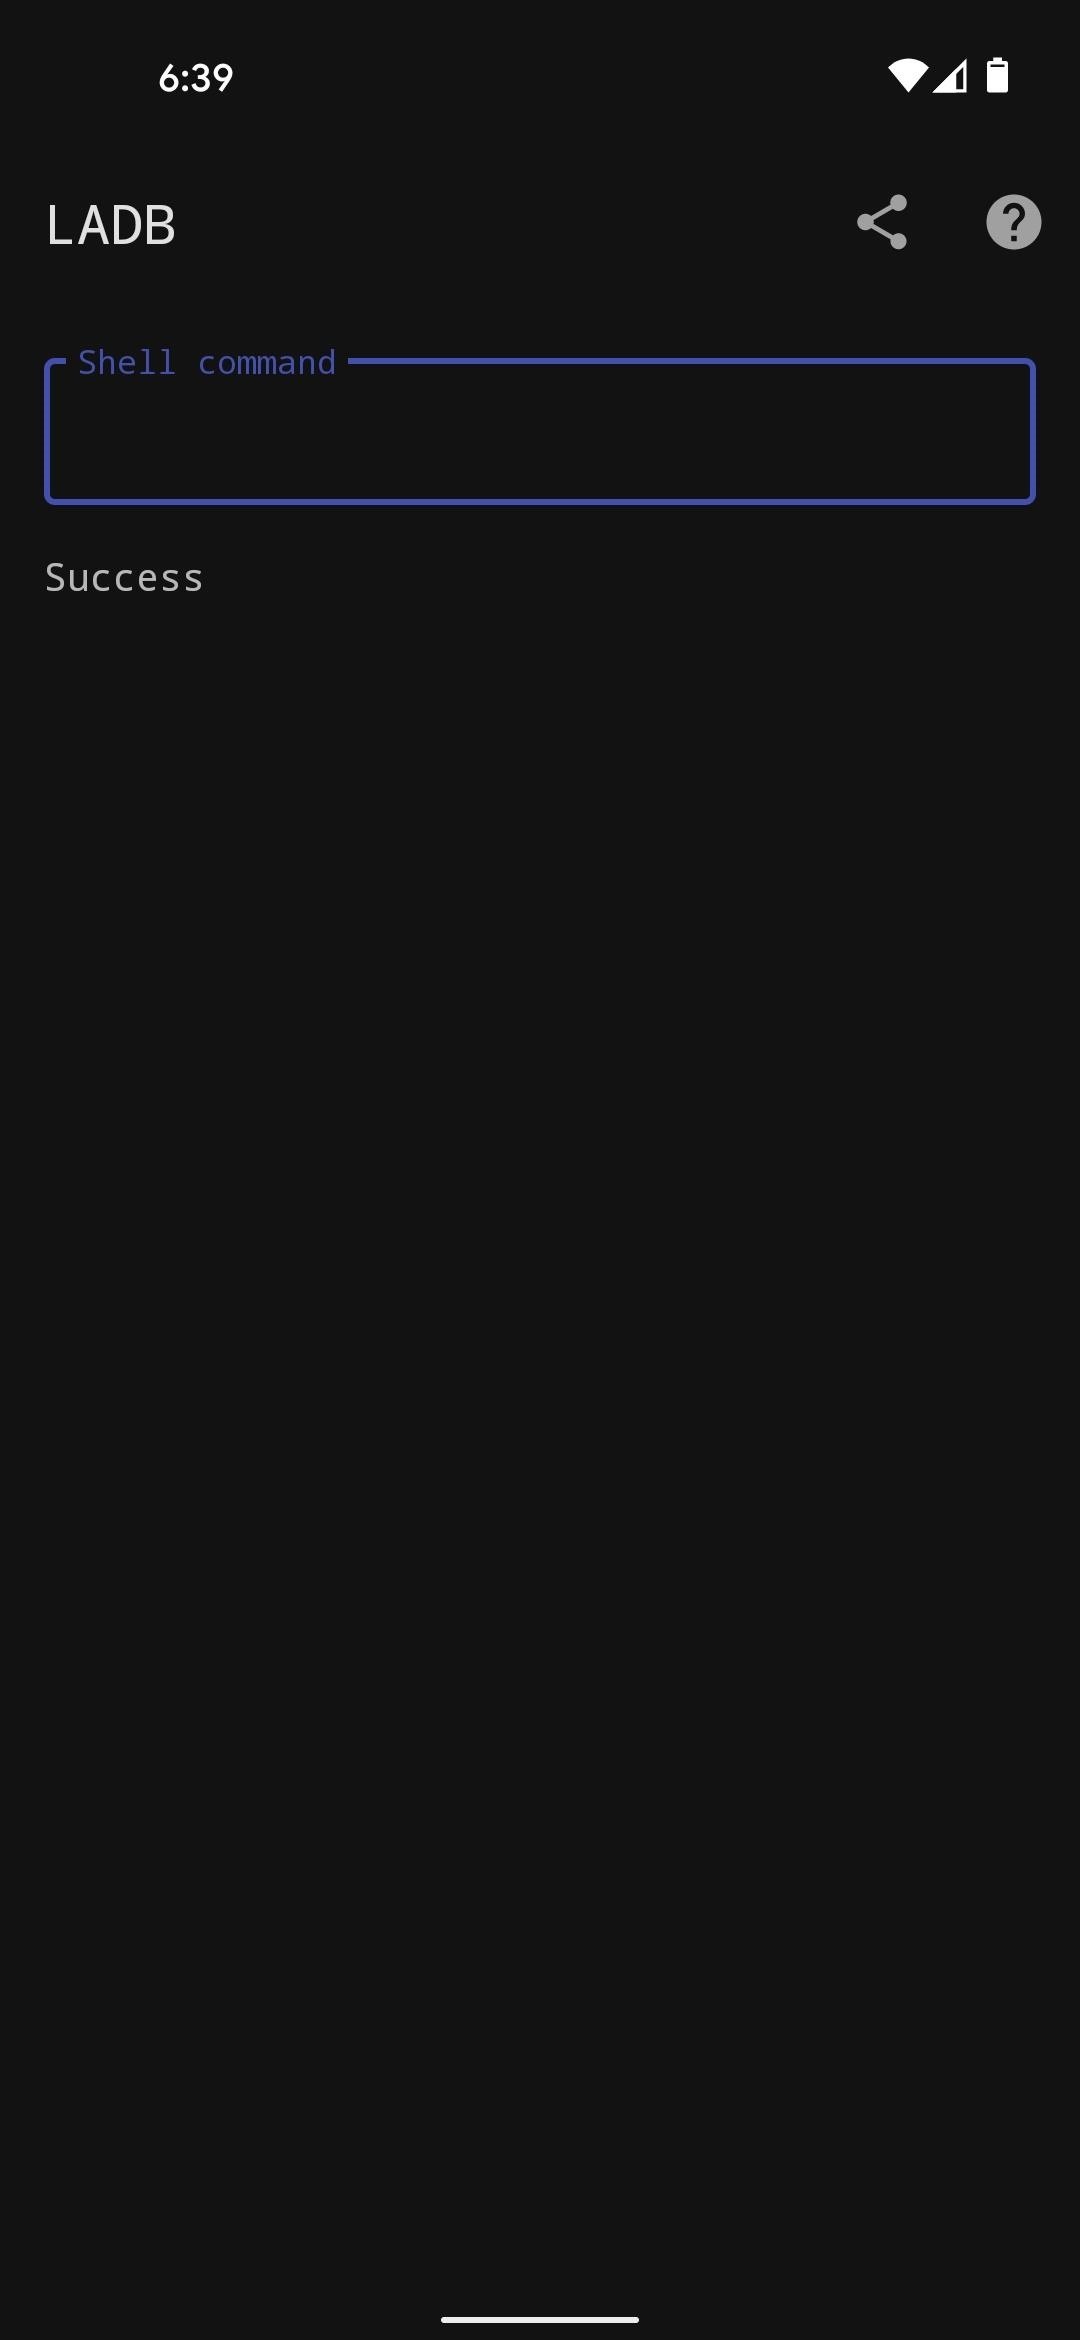
Now, you're ready to ditch some bloatware apps. Tap the Shell command field, then enter this command:
pm uninstall -k --user 0 <package name>Replace <package name> with the bloatware app's actual package name. For instance, to disable the T-Mobile app on a Galaxy device purchased from the magenta carrier, you would enter this:
pm uninstall -k --user 0 com.tmobile.pr.mytmobileYou can skip the "-k" part if you want. All that does is prevent the system from deleting any associated data from the app, in case you want to reinstall it later without having to set everything up again. So if you want to delete the bloatware app's data, too, send the command in this format:
pm uninstall --user 0 <package name>Once you get the command right, press enter on your keyboard to send it. Your keyboard should auto-collapse and the terminal should return a "Success" message. This means the app is gone, effective immediately.
Disclaimer: What's happening under the hood here isn't exactly what would happen if you could outright uninstall the bloatware app like you can with an app you installed yourself. It's more akin to disabling the app since the original APK is retained (but not app data or any updates), so the app will reappear if you factory reset the phone. But for most practical intents, it's just as good as uninstalling.
Reinstalling a Bloatware App After Removal
There's a chance you may uninstall an app that your phone relies on and cause bugs as a result. First, you should know that no matter which apps you removed, you can perform a factory reset in recovery mode to restore all of the preinstalled apps. Just note that you'll lose any data saved on the phone.
But if you decide you want to restore an app you removed and your phone is still operational, you can send the following command in LADB to reinstall it:
pm install-existing --user 0 <package name>... replacing <package name> with the actual package name. Again, using the T-Mobile app that comes preinstalled on Galaxy devices purchased from the carrier as an example, you would send this command:
pm install-existing --user 0 com.tmobile.pr.mytmobileWho needs a wand? Unlock your magical powers and transform yourself from a Muggle into a Wizard or Witch just by using your Android phone. See how:


1 Comment
Does it will work to remove Google dialer from oppo reno6 pro working on color os 12
Share Your Thoughts