
When you hear people say that Android is more flexible than iOS, it's because of things like Tasker. You can do virtually anything with the venerable automation tool, from saving battery life to controlling your smart home with your fingerprint. But before you get to that, you'll need a good understanding of all the basics.
Once you've learned to set up a task, the next thing you'll need to do is associate it with a profile. In Tasker lingo, profiles are the conditions that must be met before your task is triggered — in other words, the cause to your task's effect. So to help you get started, I'll cover the process of creating a profile and show you what each of the available categories can do for you.
A Note About Tasks & Profiles
To automate events with Tasker, you'll need to create a profile and a task. You can do this in any order, but you may find it helpful to create the task first, because the task is what your phone will actually do when the automation scenario kicks in.
But before your task will run automatically, you'll need to create a profile, which again, is a set of conditions that must be met before your task will run. When these conditions are met, however, your task will automatically run.
In summary, if you're new to Tasker, I recommend creating a task first since that's what you want Tasker to actually do. It'll probably give you a better sense for the whole thing if you think about it in that order. But once you've done that, it's time to create your profile and associate the task with it.
Creating a New Profile
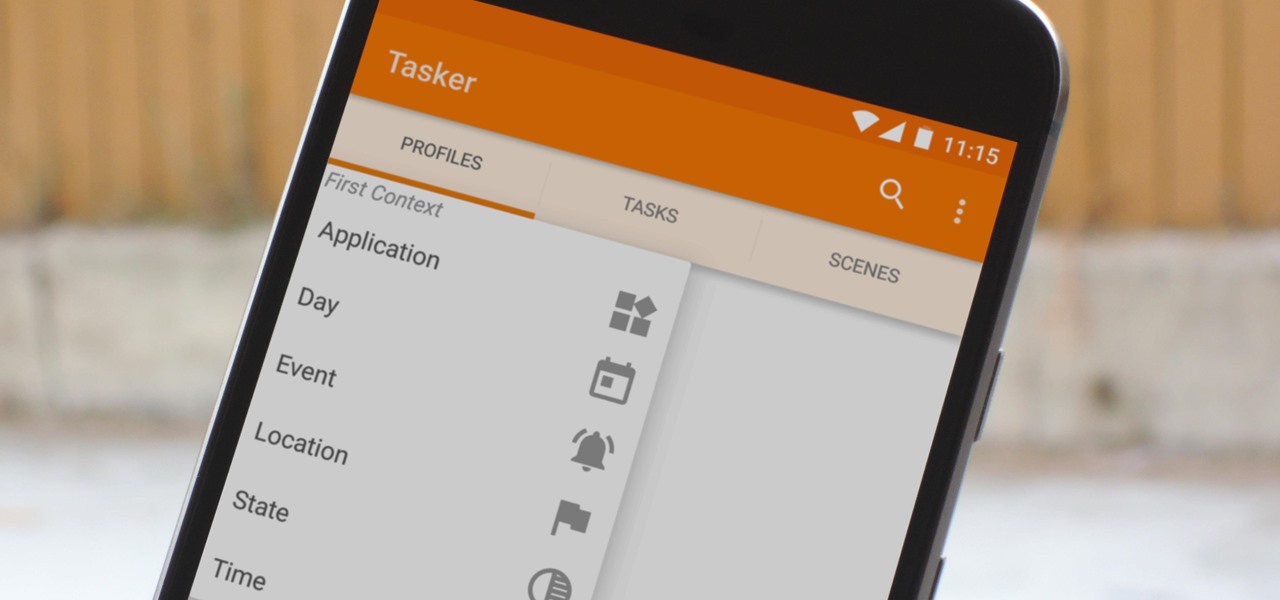
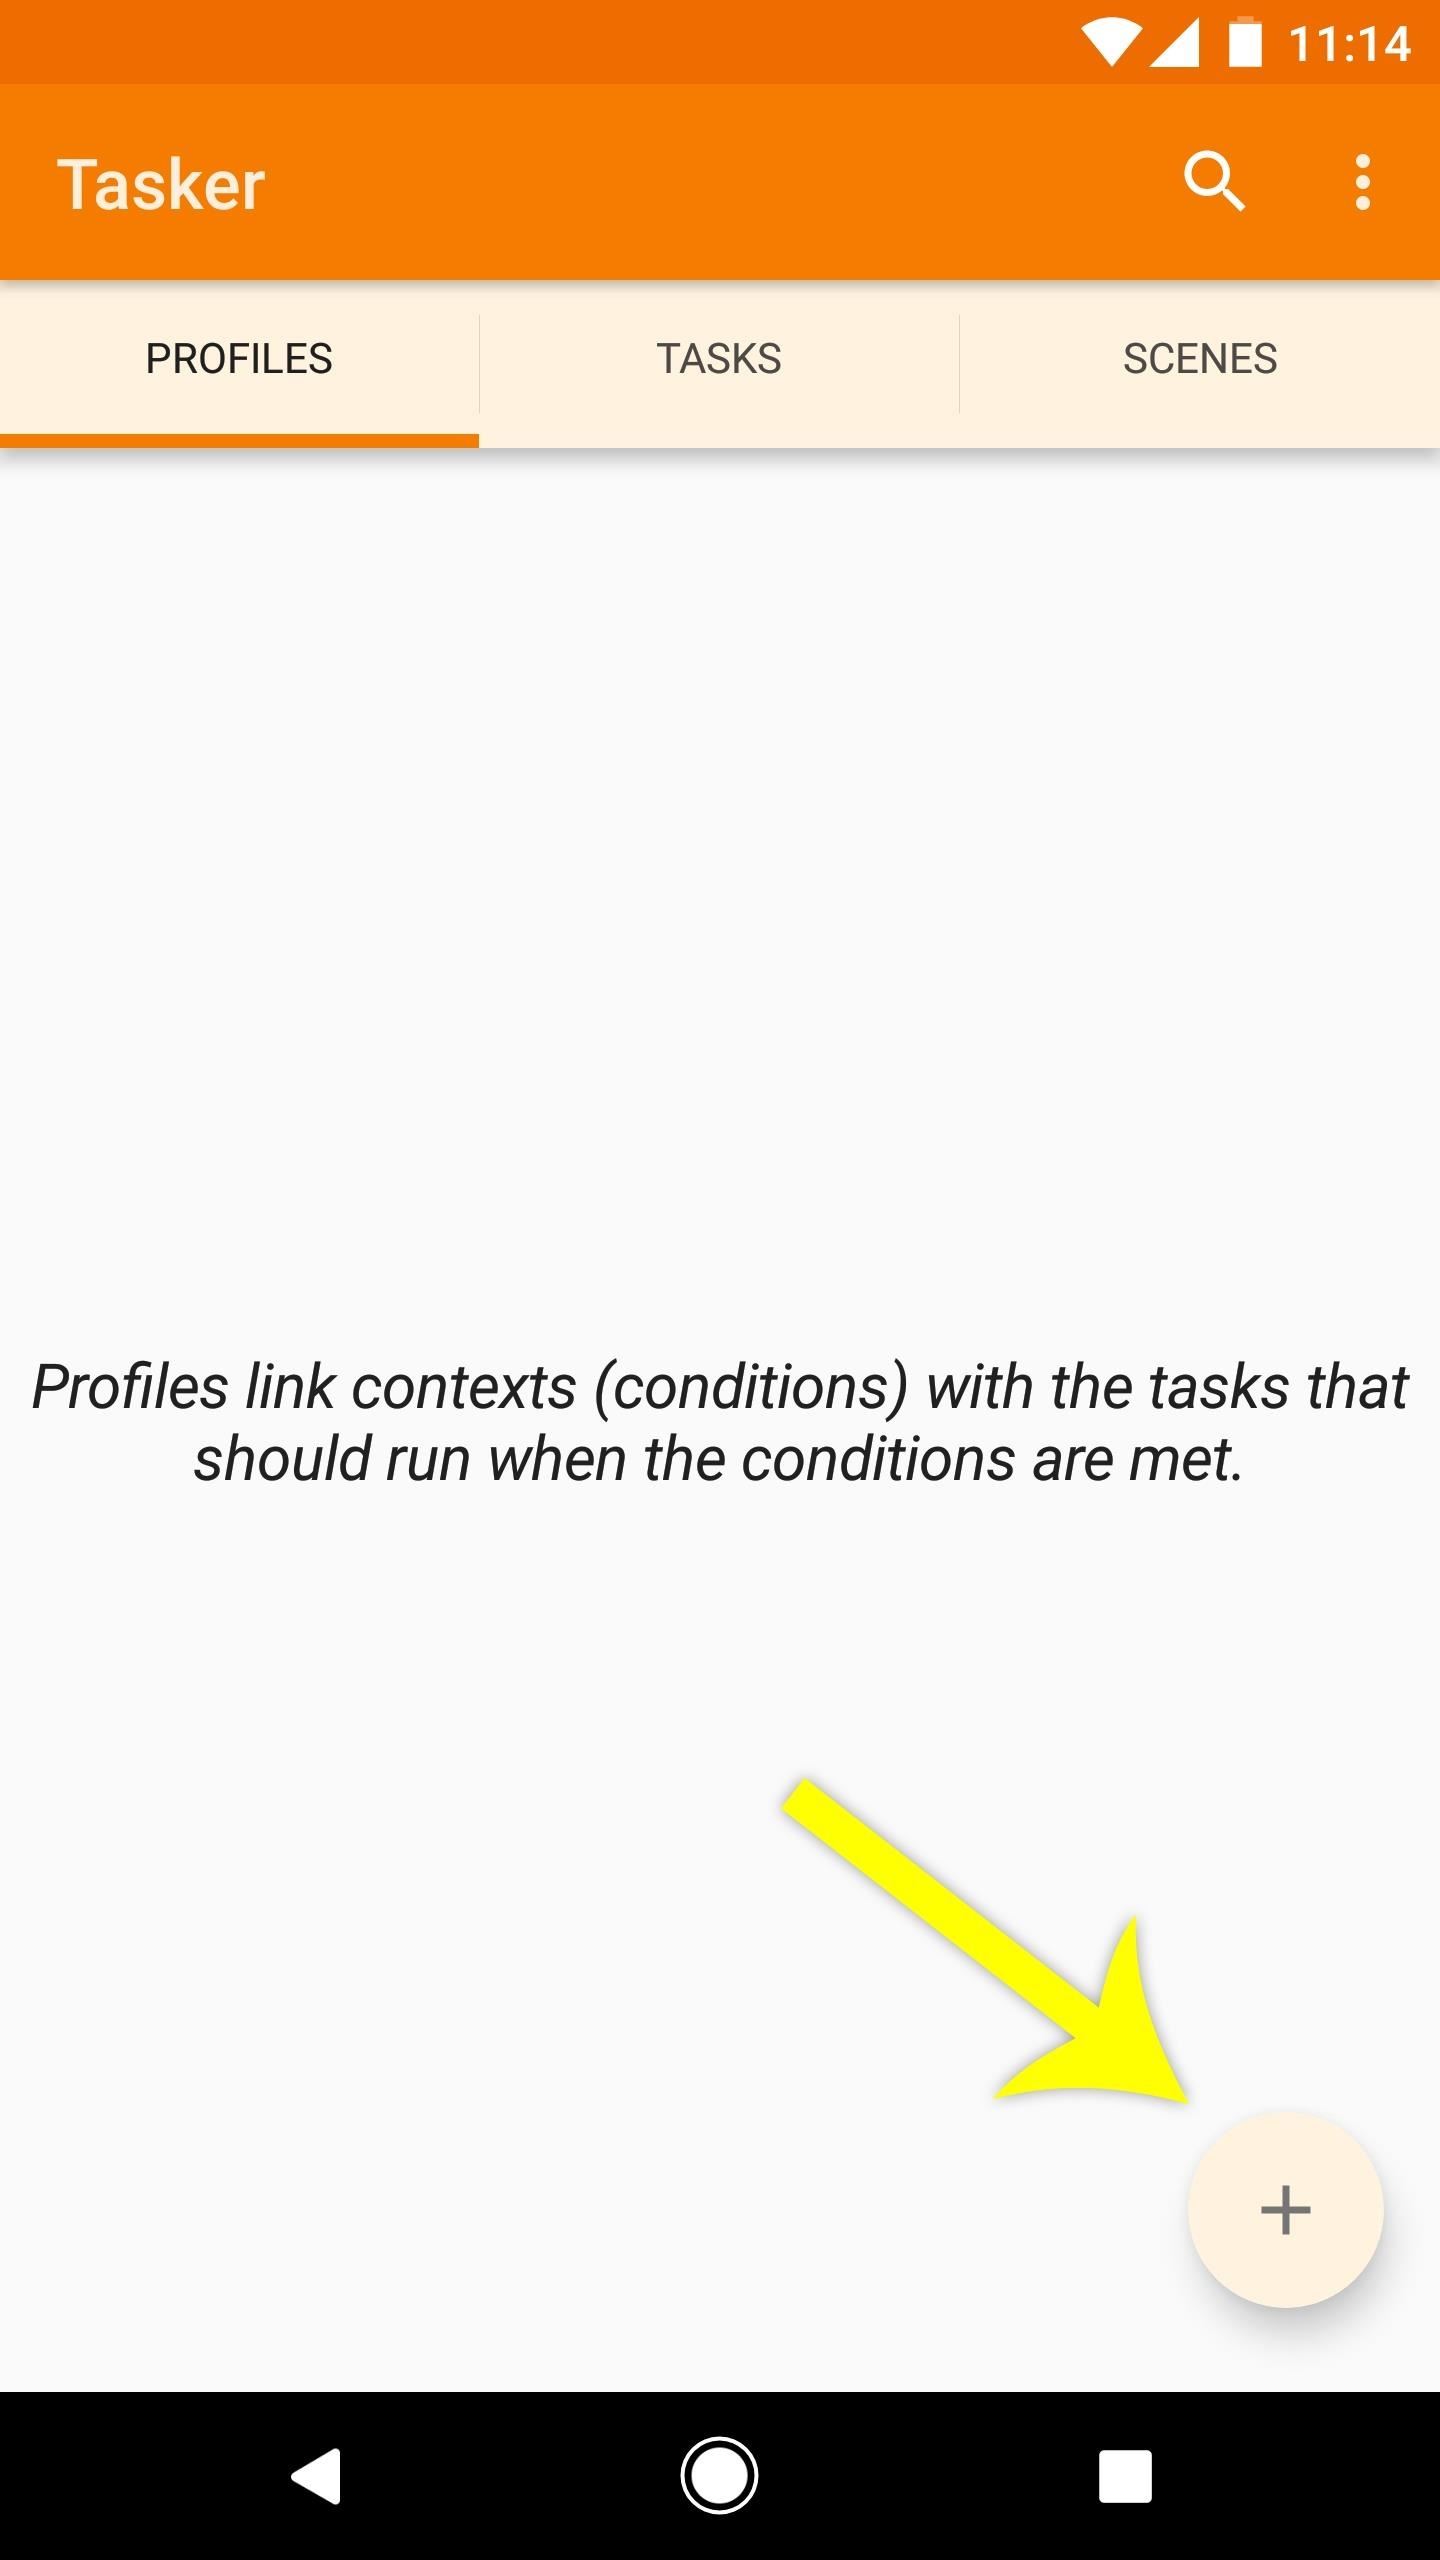
First up, open Tasker and select the Profiles tab, then tap the + button in the bottom-right corner. From there, you'll be prompted to add your first "Context," which is basically a trigger that will cause your profile to become active and execute a task.
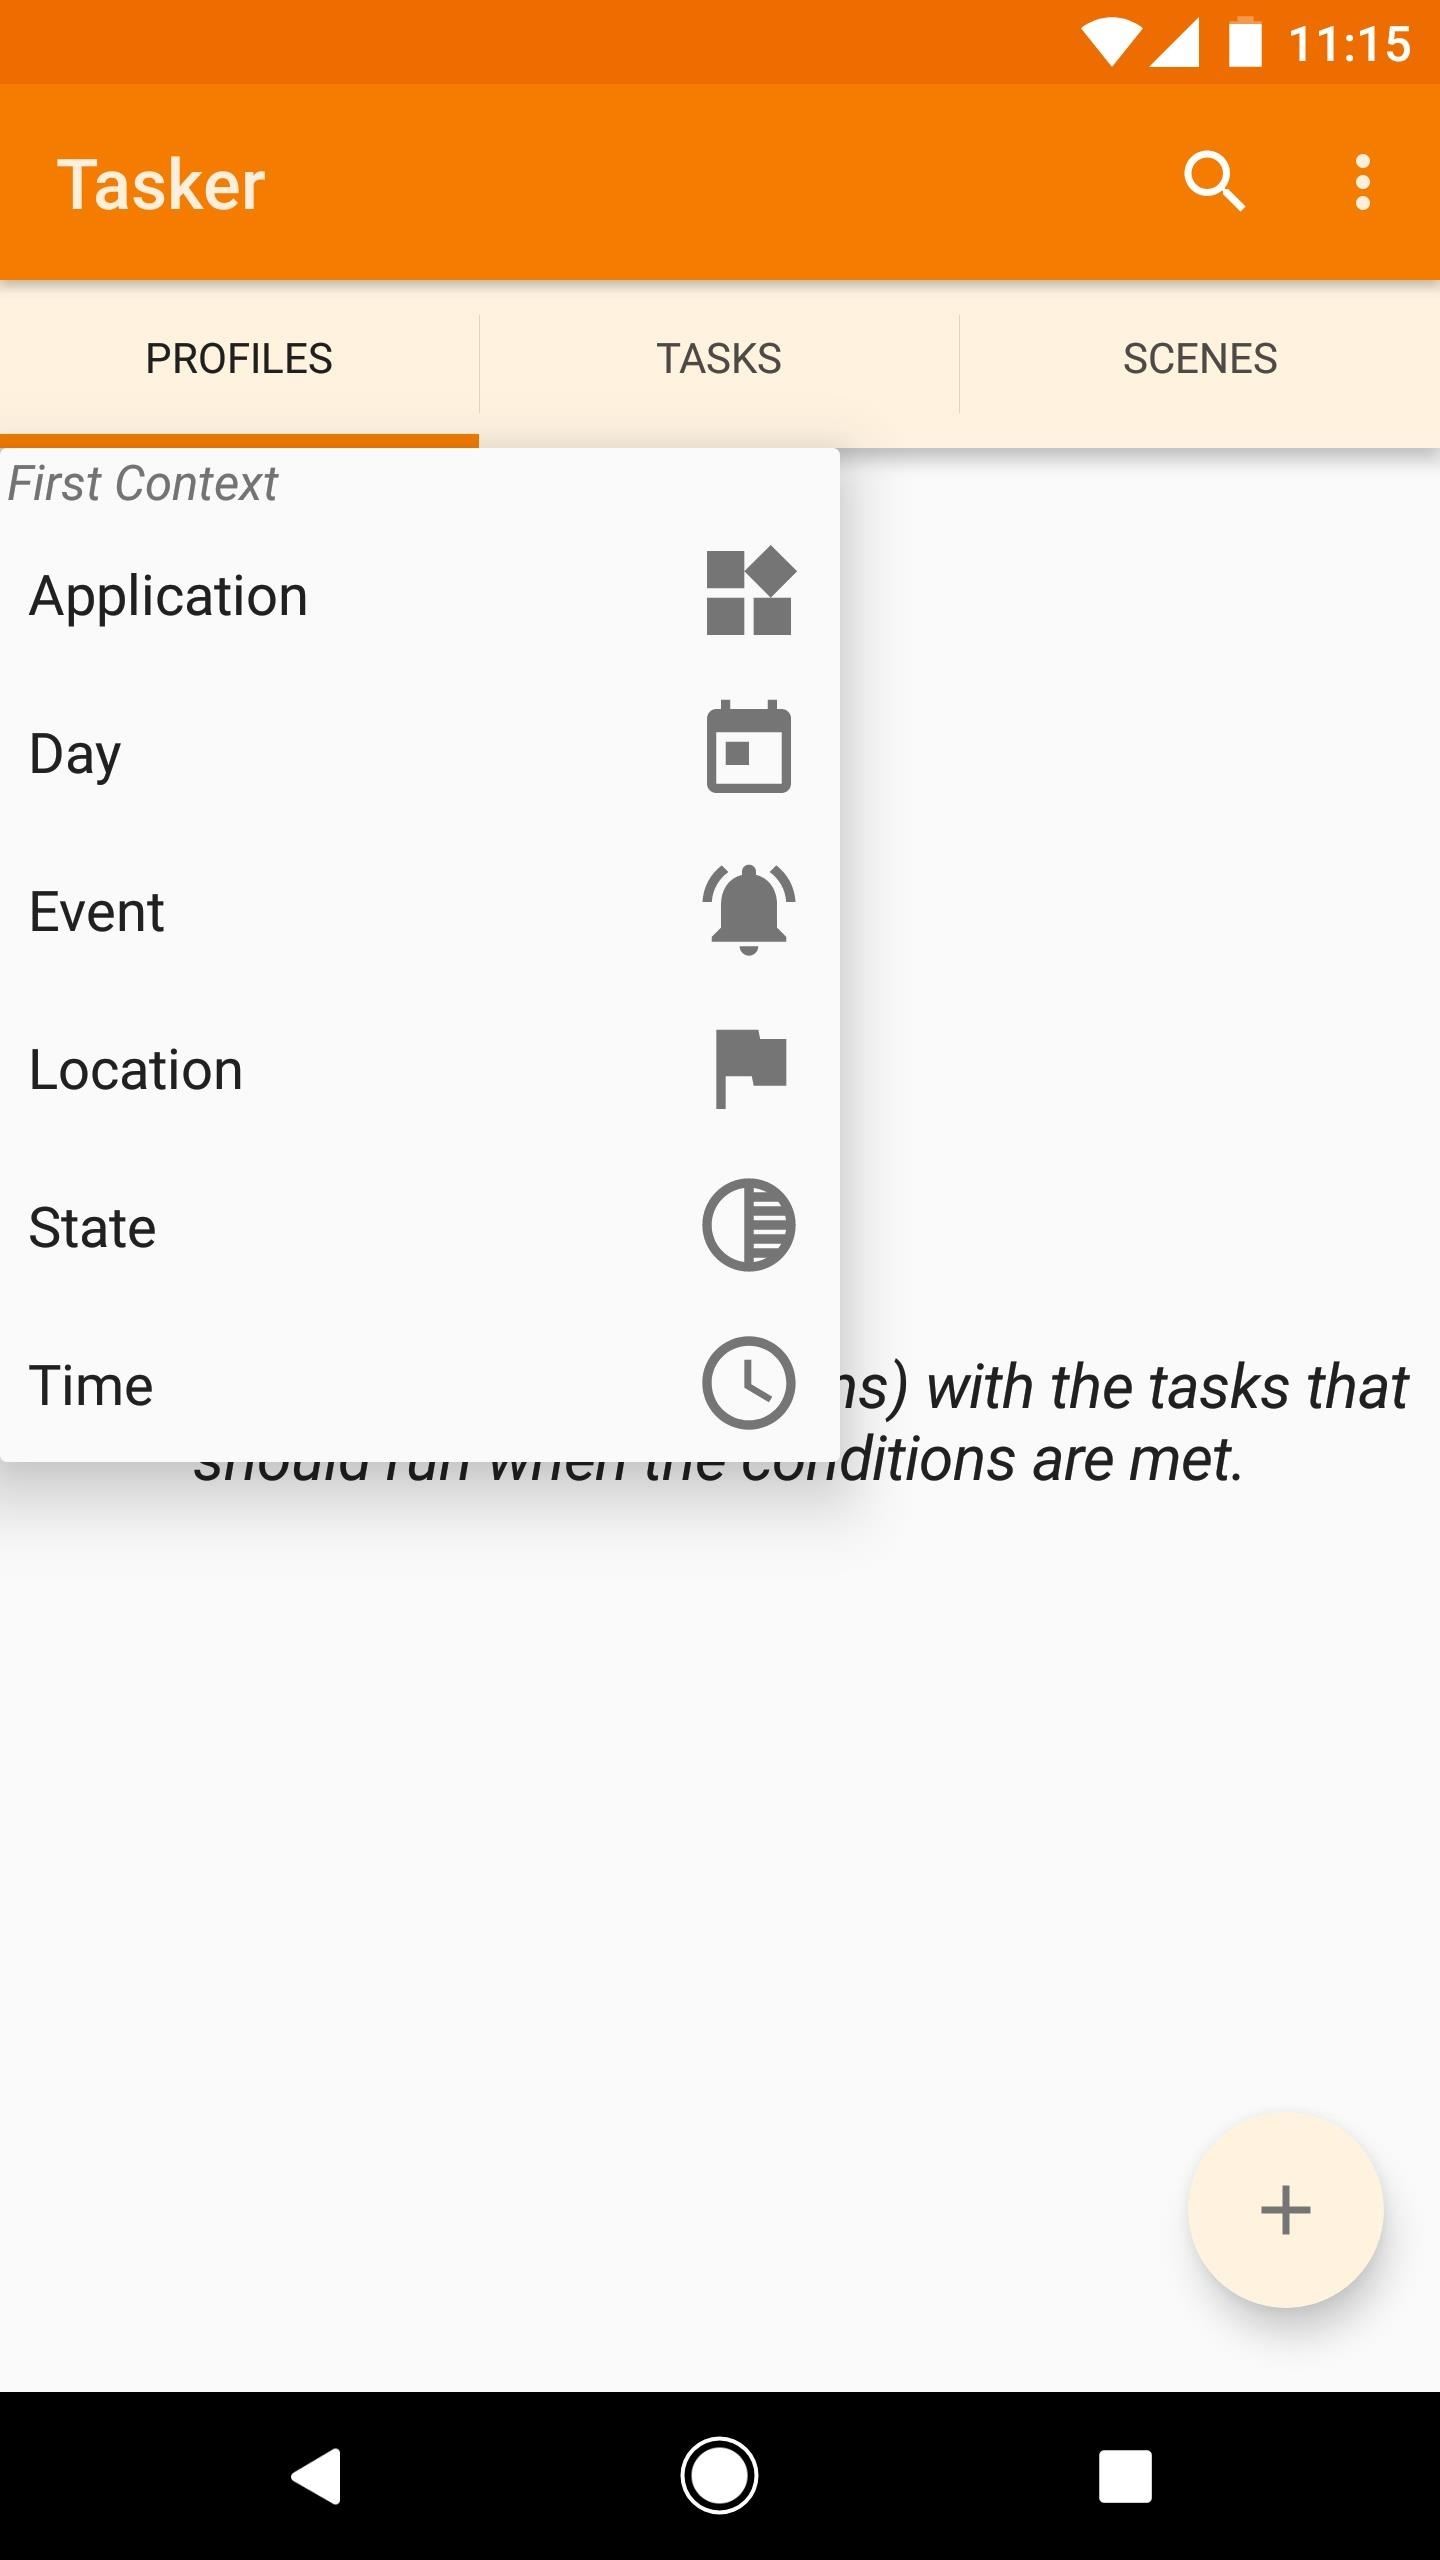
So at this point, you'll see six different categories, and they all contain various triggers, essentially. When you choose one of these categories, you'll see a list containing many more options. So in the sections below, I'll go over the types of triggers you can expect to find in these context categories.
Before we get to the categories, I'd like to mention that when you select a trigger (or "context") for your profile, then press your back button, you'll be prompted to associate a task with the profile you just created. This is a fairly straightforward process, but you can read more about how it works here.
As a side note, you can come back later and long-press the first context, then select "Add" to create another context. But that's more like Tasker 102 territory for more complicated automation routines, so don't worry about that too much just yet.
1. Application
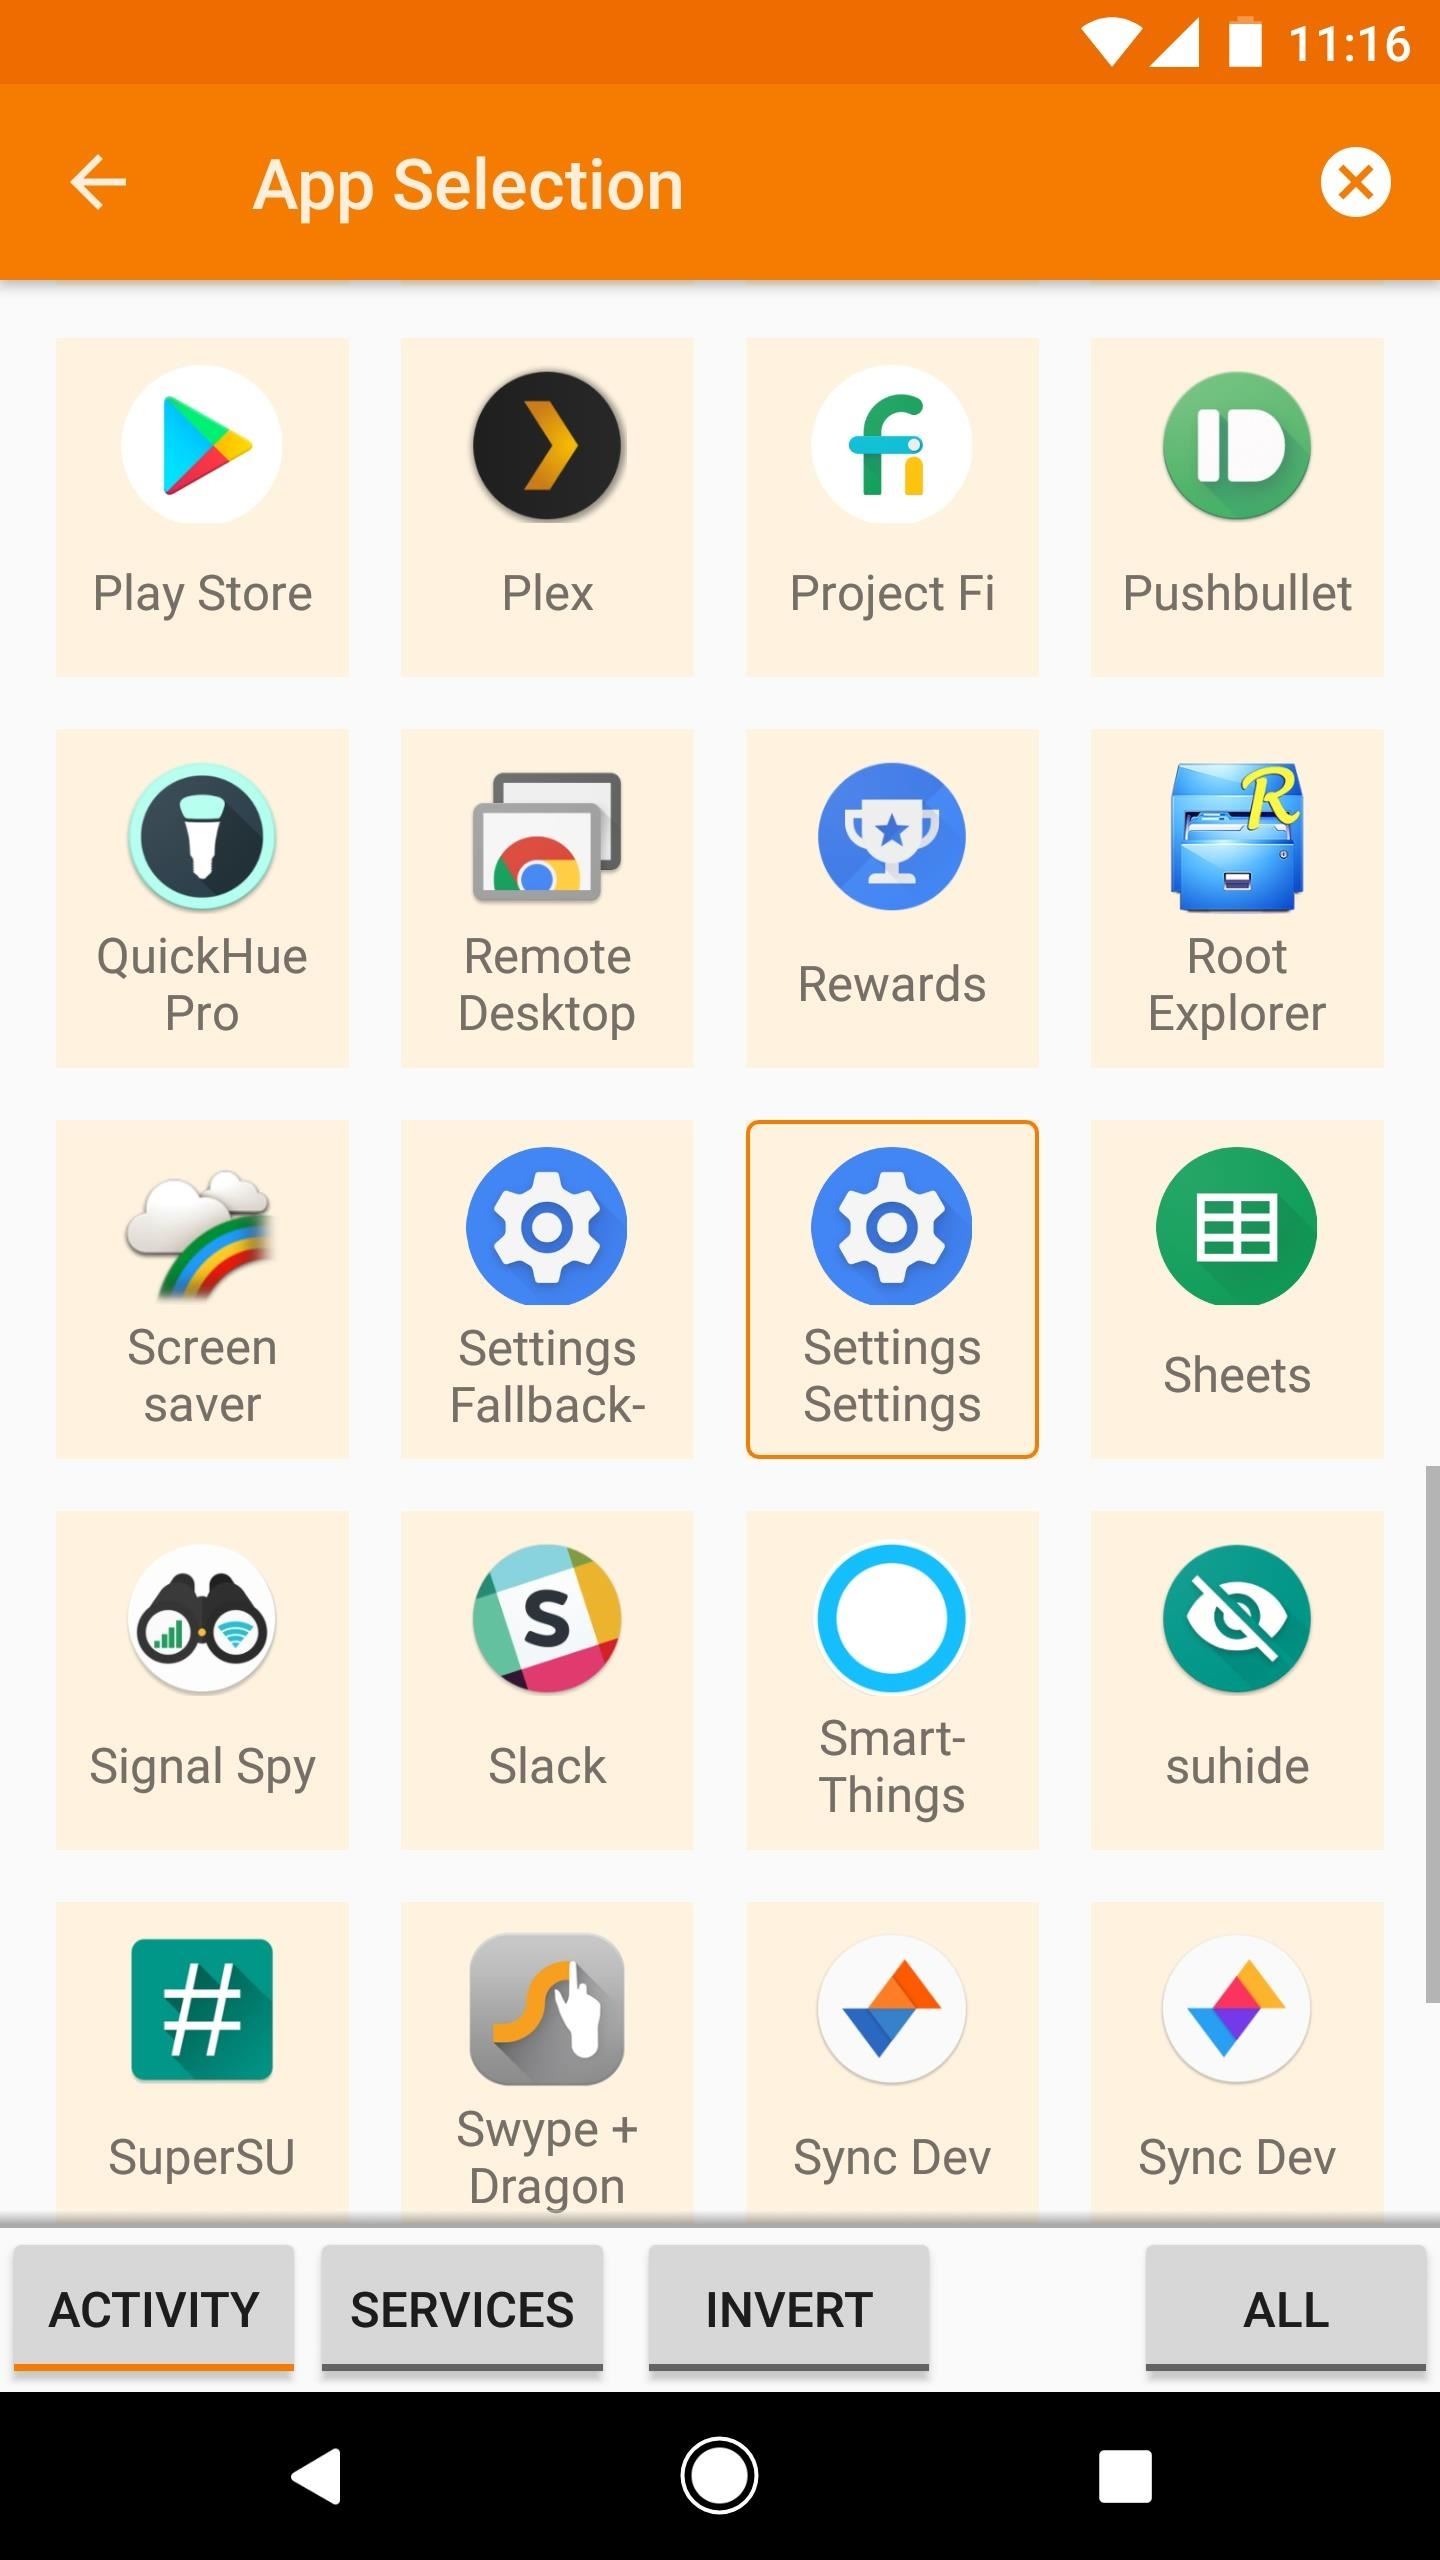
The first category, labeled "Application," is pretty straightforward — once you select this, you'll see a list of all the apps that you have installed on your phone. From here, you can tap any app to set it as the trigger for your task — in other words, when this app is open in the foreground, the task associated with the profile you're creating will run.
You can even select multiple apps, and if you do, the task will be run whenever any one of those apps is open in the foreground. Alternatively, you can tap the "Invert" button at the bottom, then the task will be run when any of the selected apps isn't open in the foreground.
You'll also notice a few more buttons at the bottom of this screen. Enabling the "Activity" button (enabled by default) will cause your task to run when any screen within this app is opened. Enabling "Services" will do the same, but with any background service associated with this app. Finally, the "All" toggle will add system apps to the list of options — in other words, apps on your phone that you didn't install yourself.
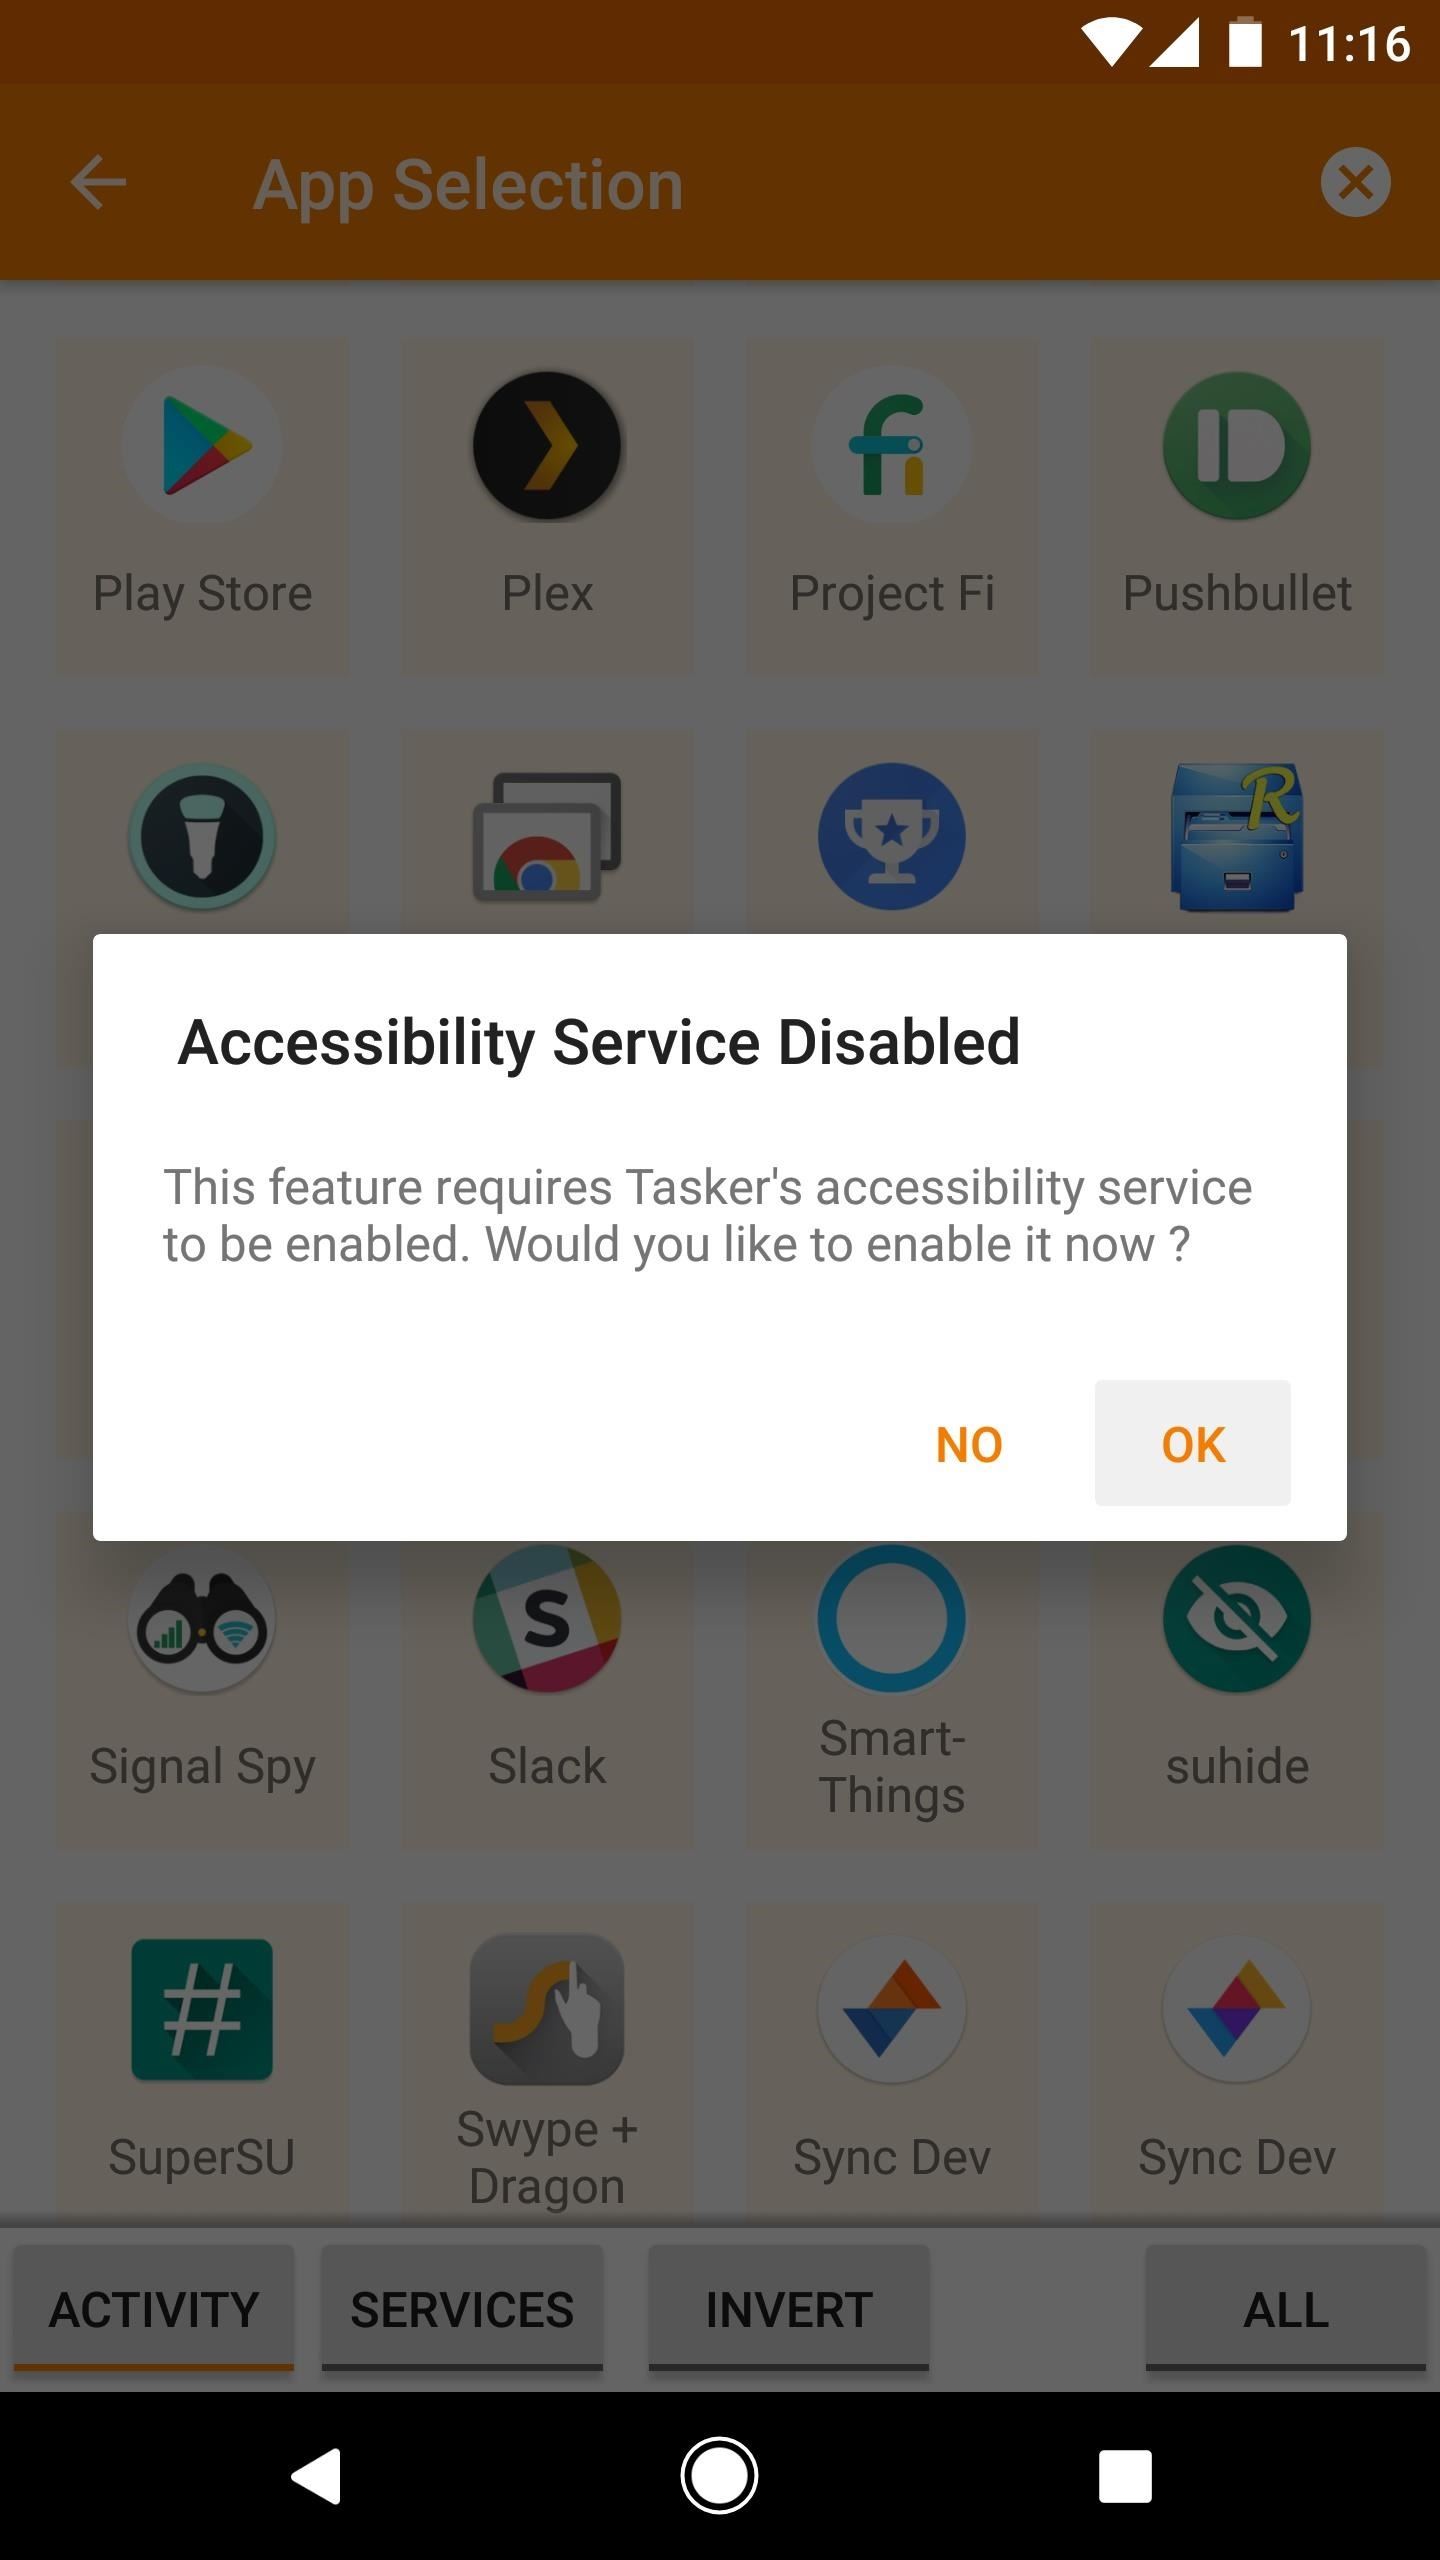
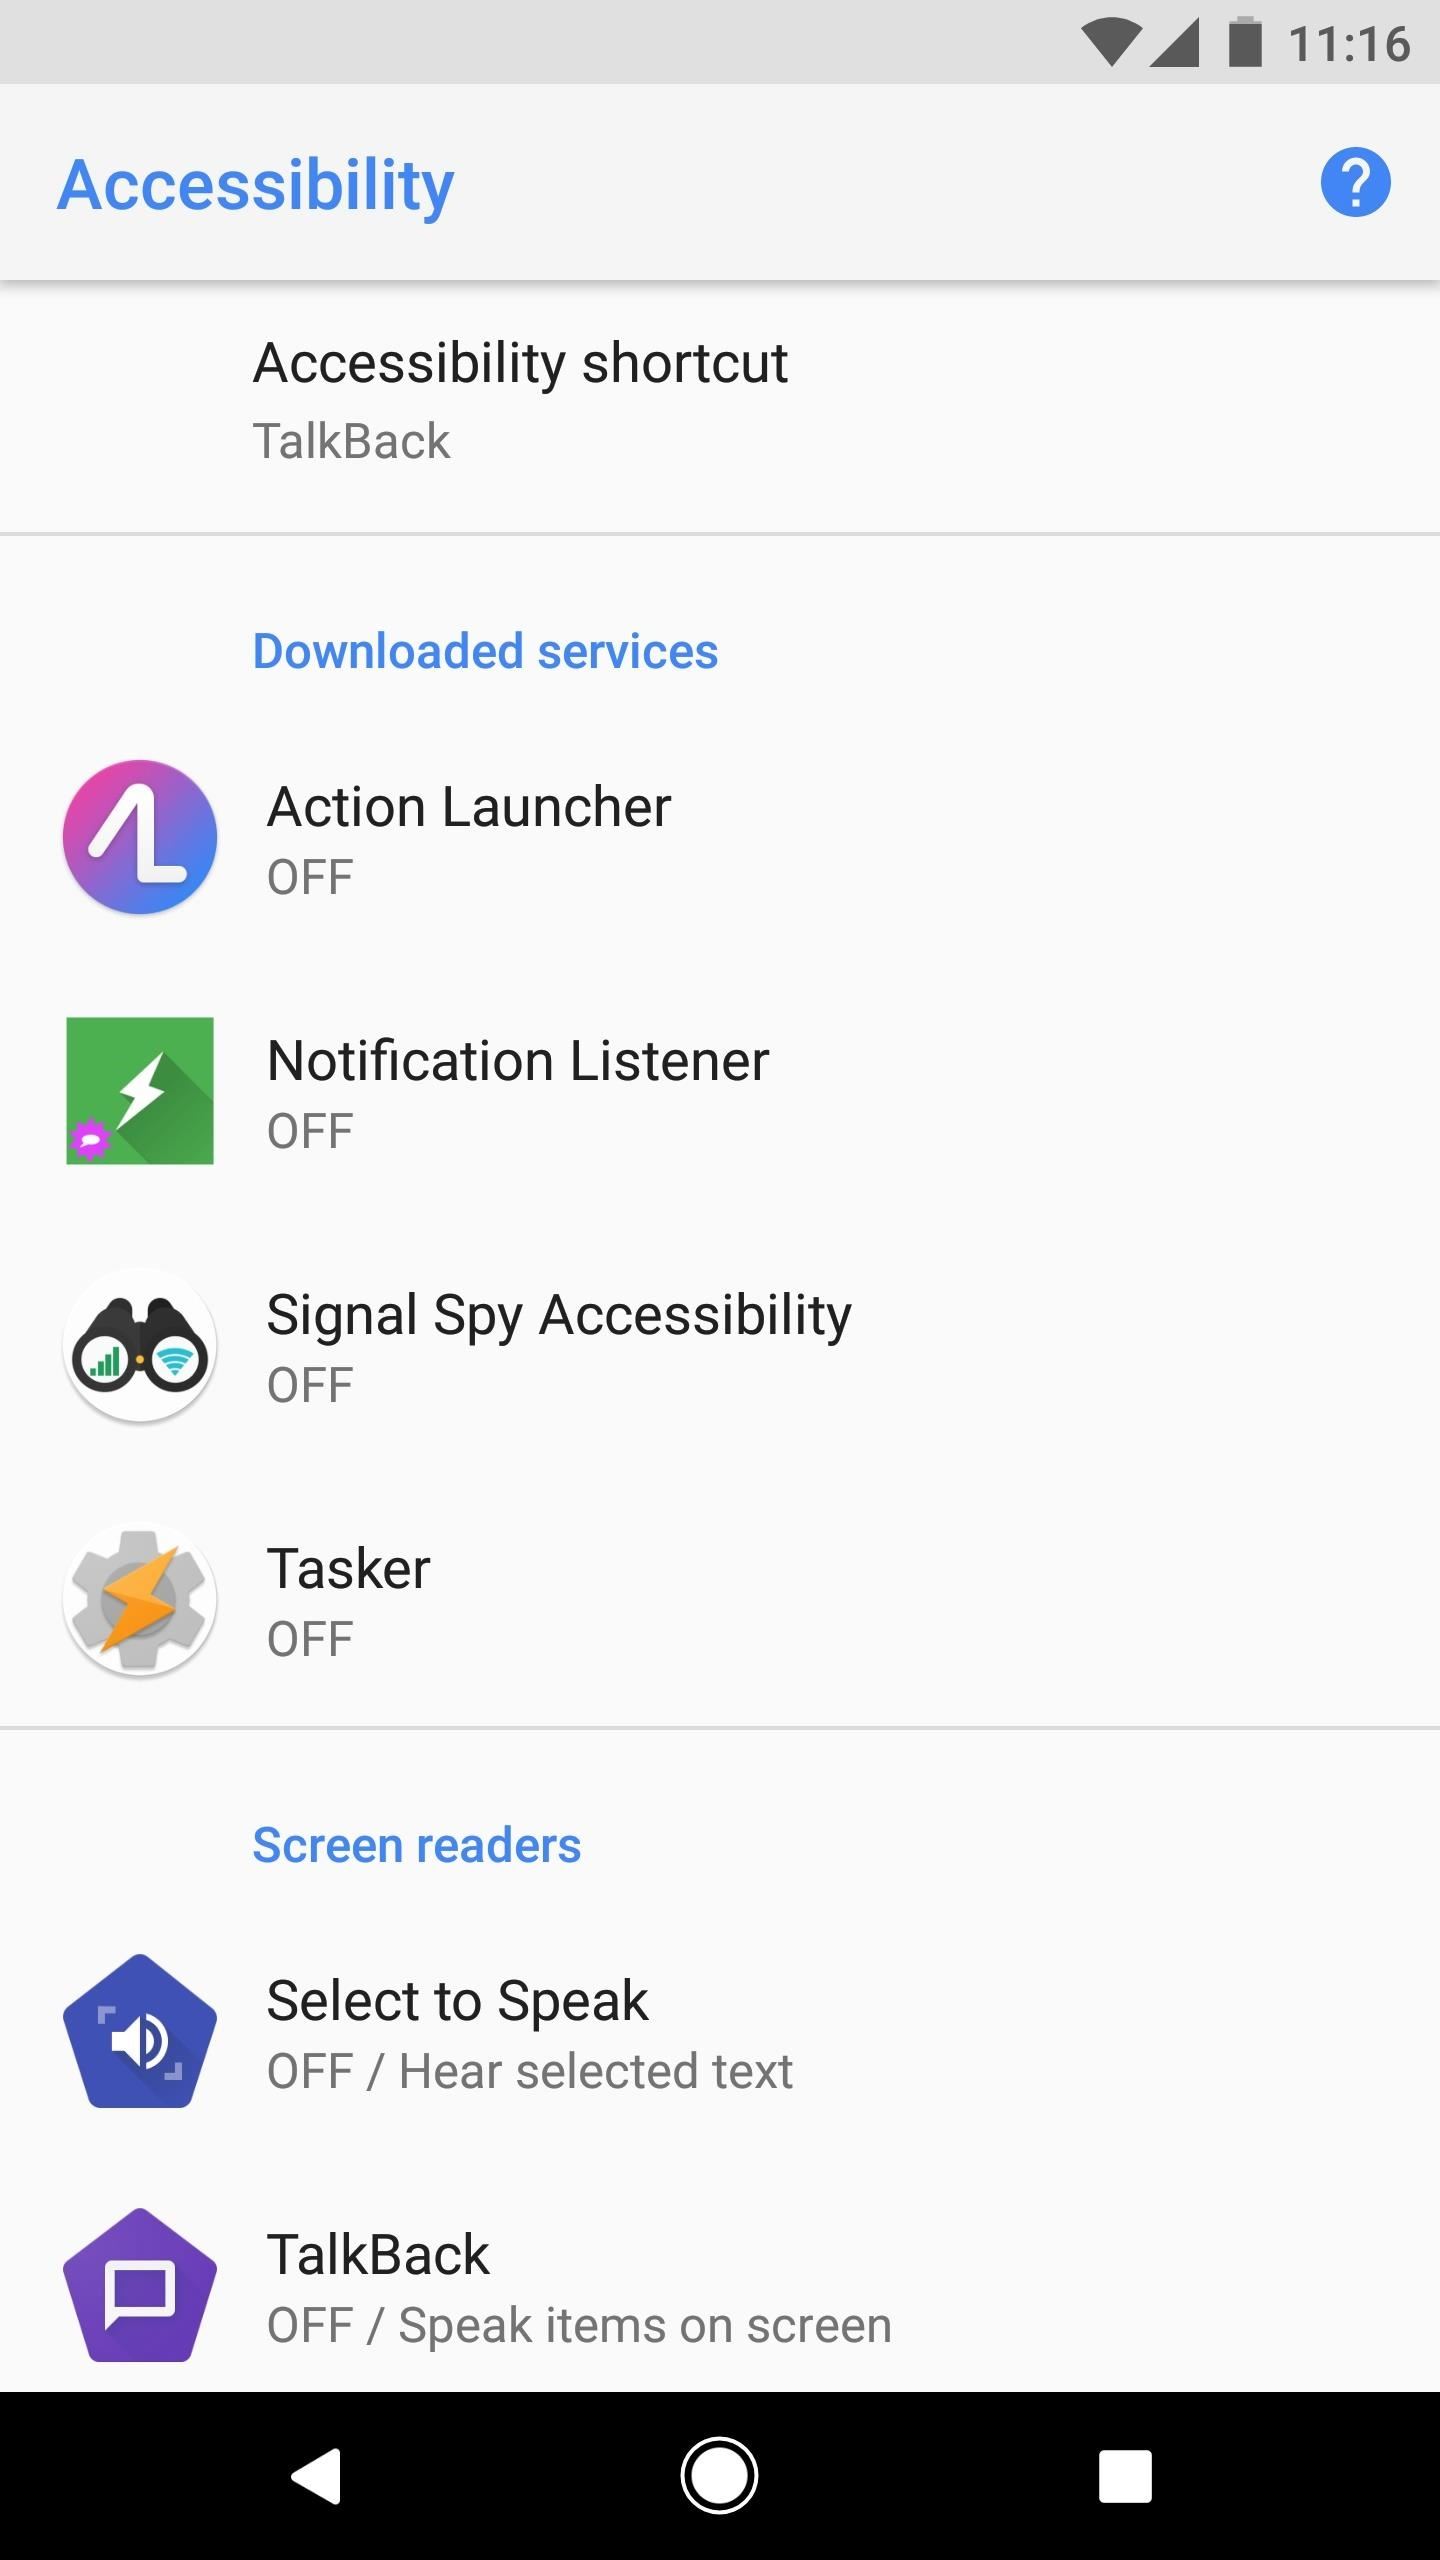
Once you've made your selections here, tap your back button. Tasker will then prompt you to enable its Accessibility service, so tap "OK" on the popup. From there, select Tasker from the list, then enable the switch at the top of the screen — this allows Tasker to see which apps are actually open or running.
After enabling the Accessibility service, tap your back button to head back to Tasker. From there, tap the back button one more time to go back to the main Profiles tab, at which point you'll be prompted to name the profile you just created and associate a task with it.
2. Day
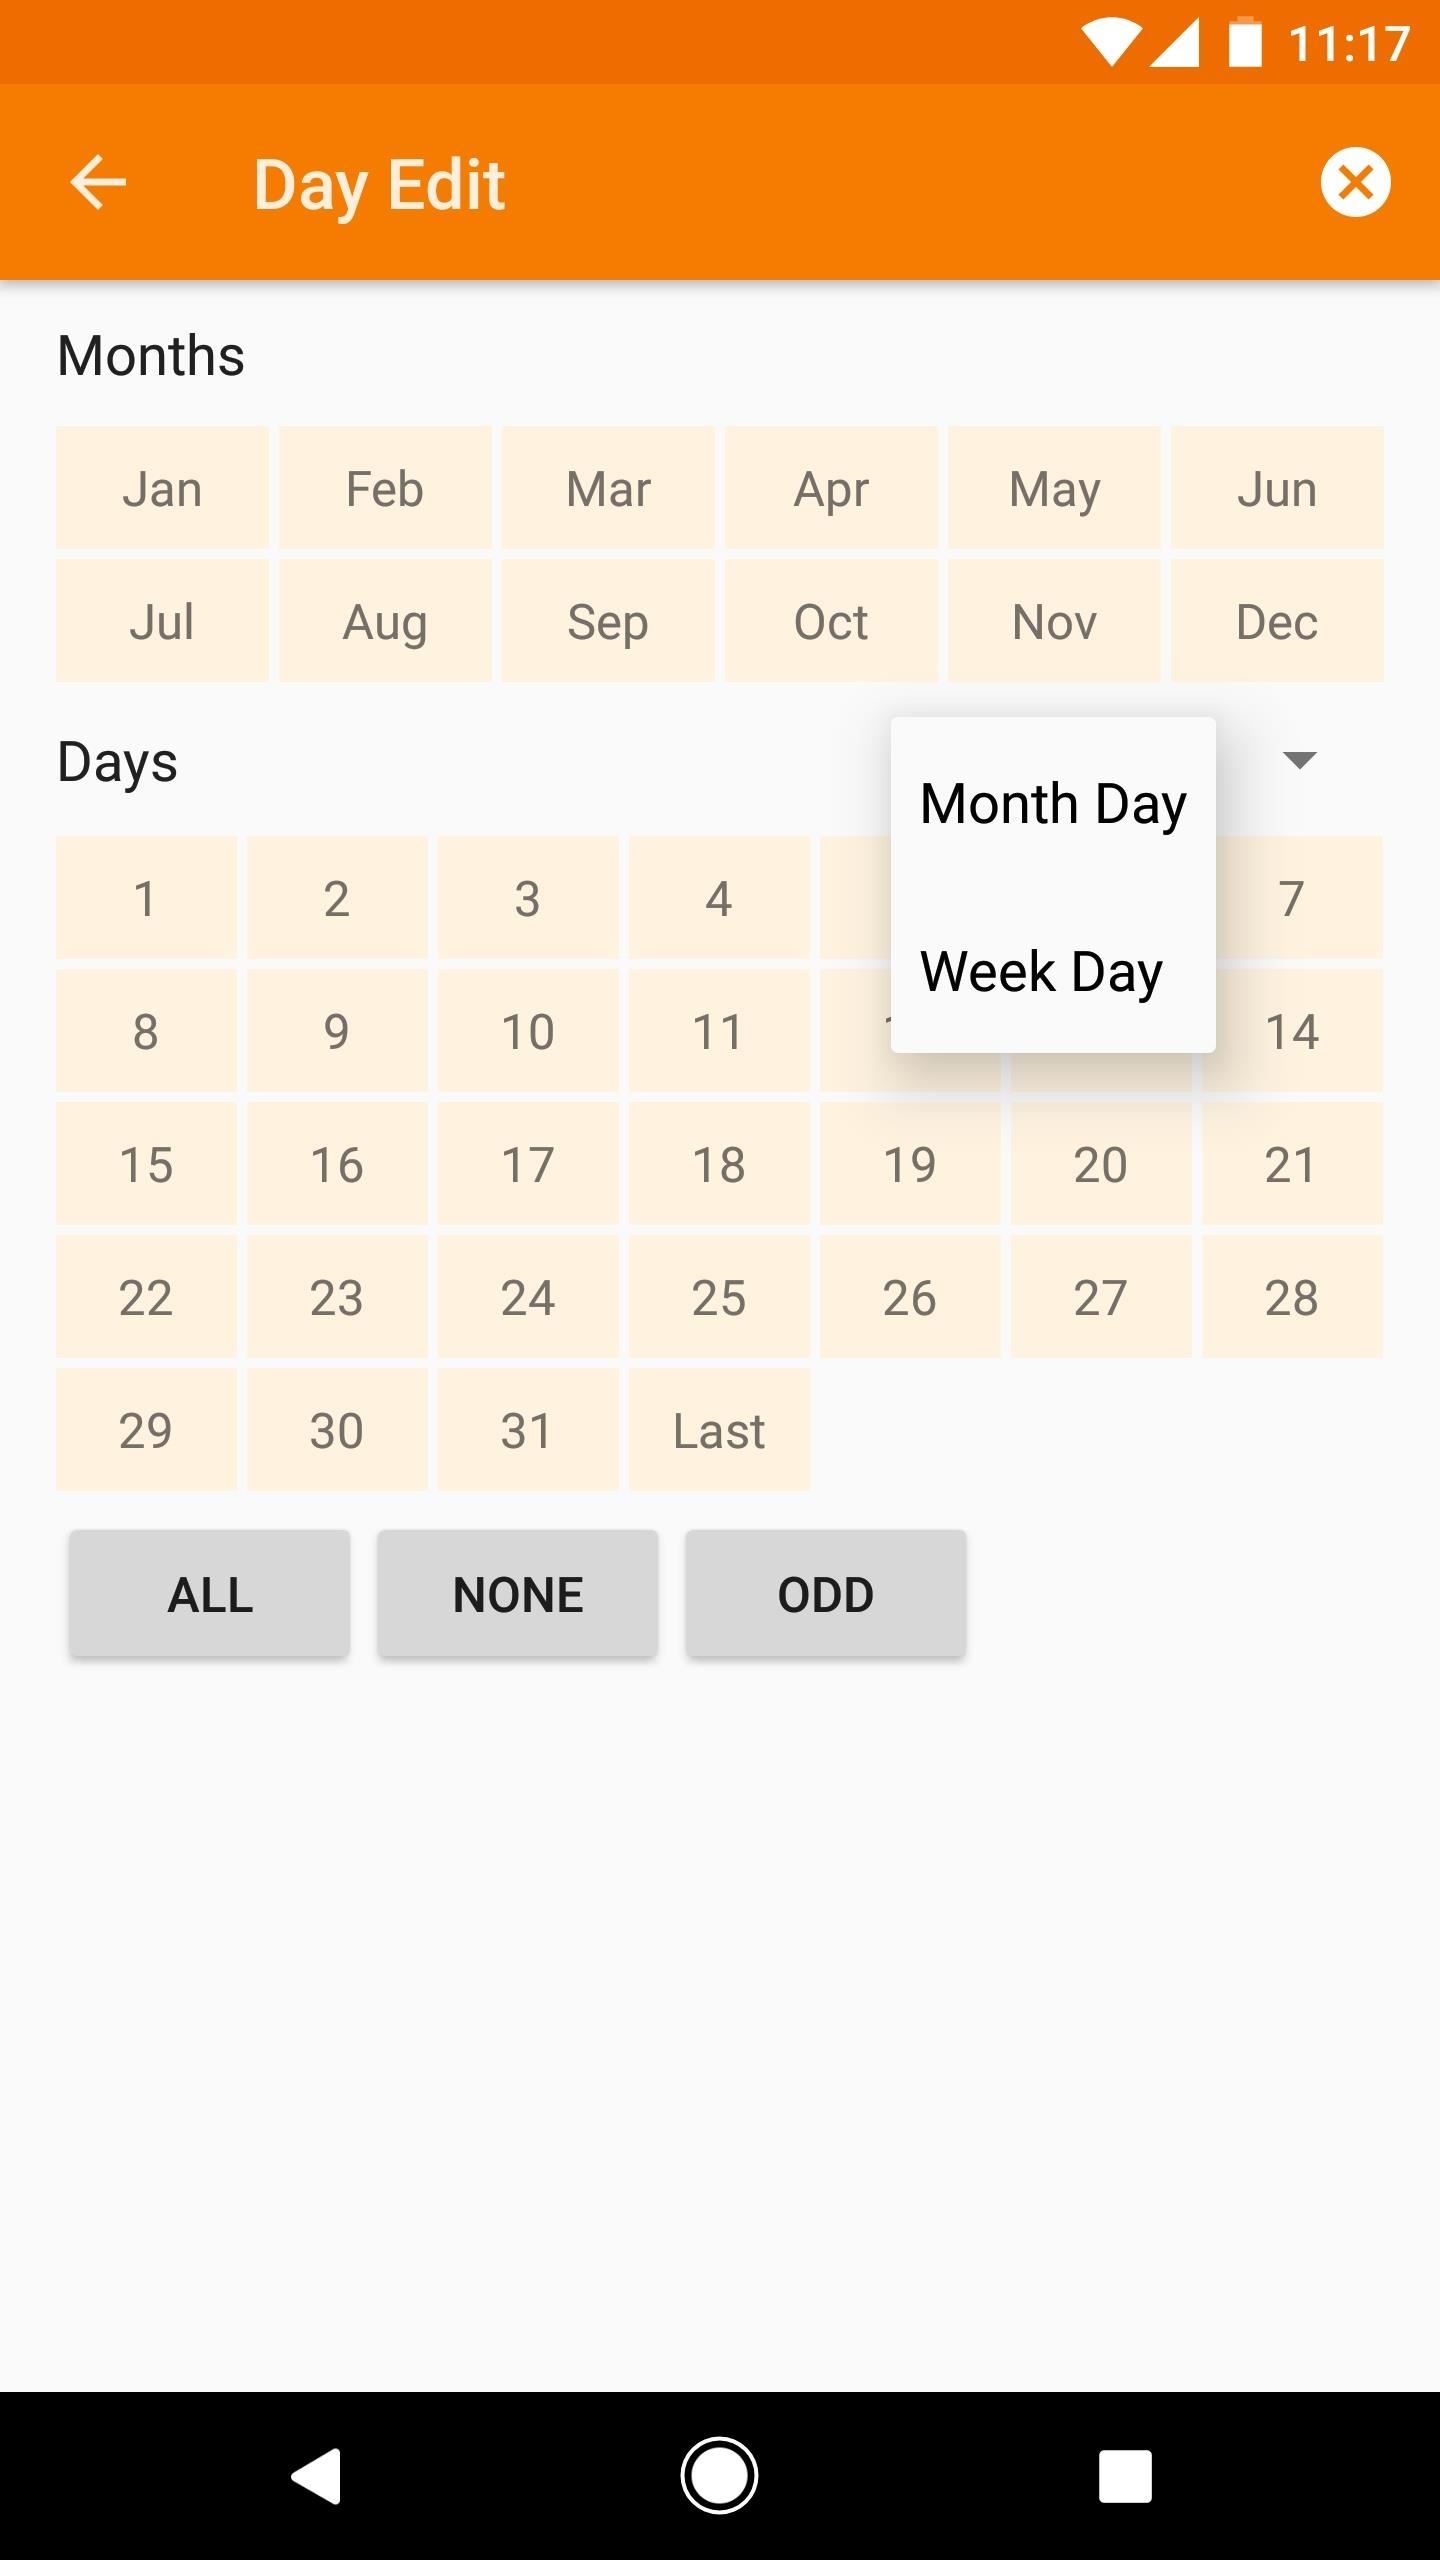
Next is the "Day" category. When you select this one, you'll get a calendar view with several options. Depending on what you select here, the associated task will be run on certain day(s) of the week, day(s) of the month, or month(s) of the year.
If you want your task to run on a certain day or set of days every month, start by selecting the appropriate calendar number(s). Alternatively, you can use the buttons at the bottom of the screen to select "All" days, "Odd" days, or "None."
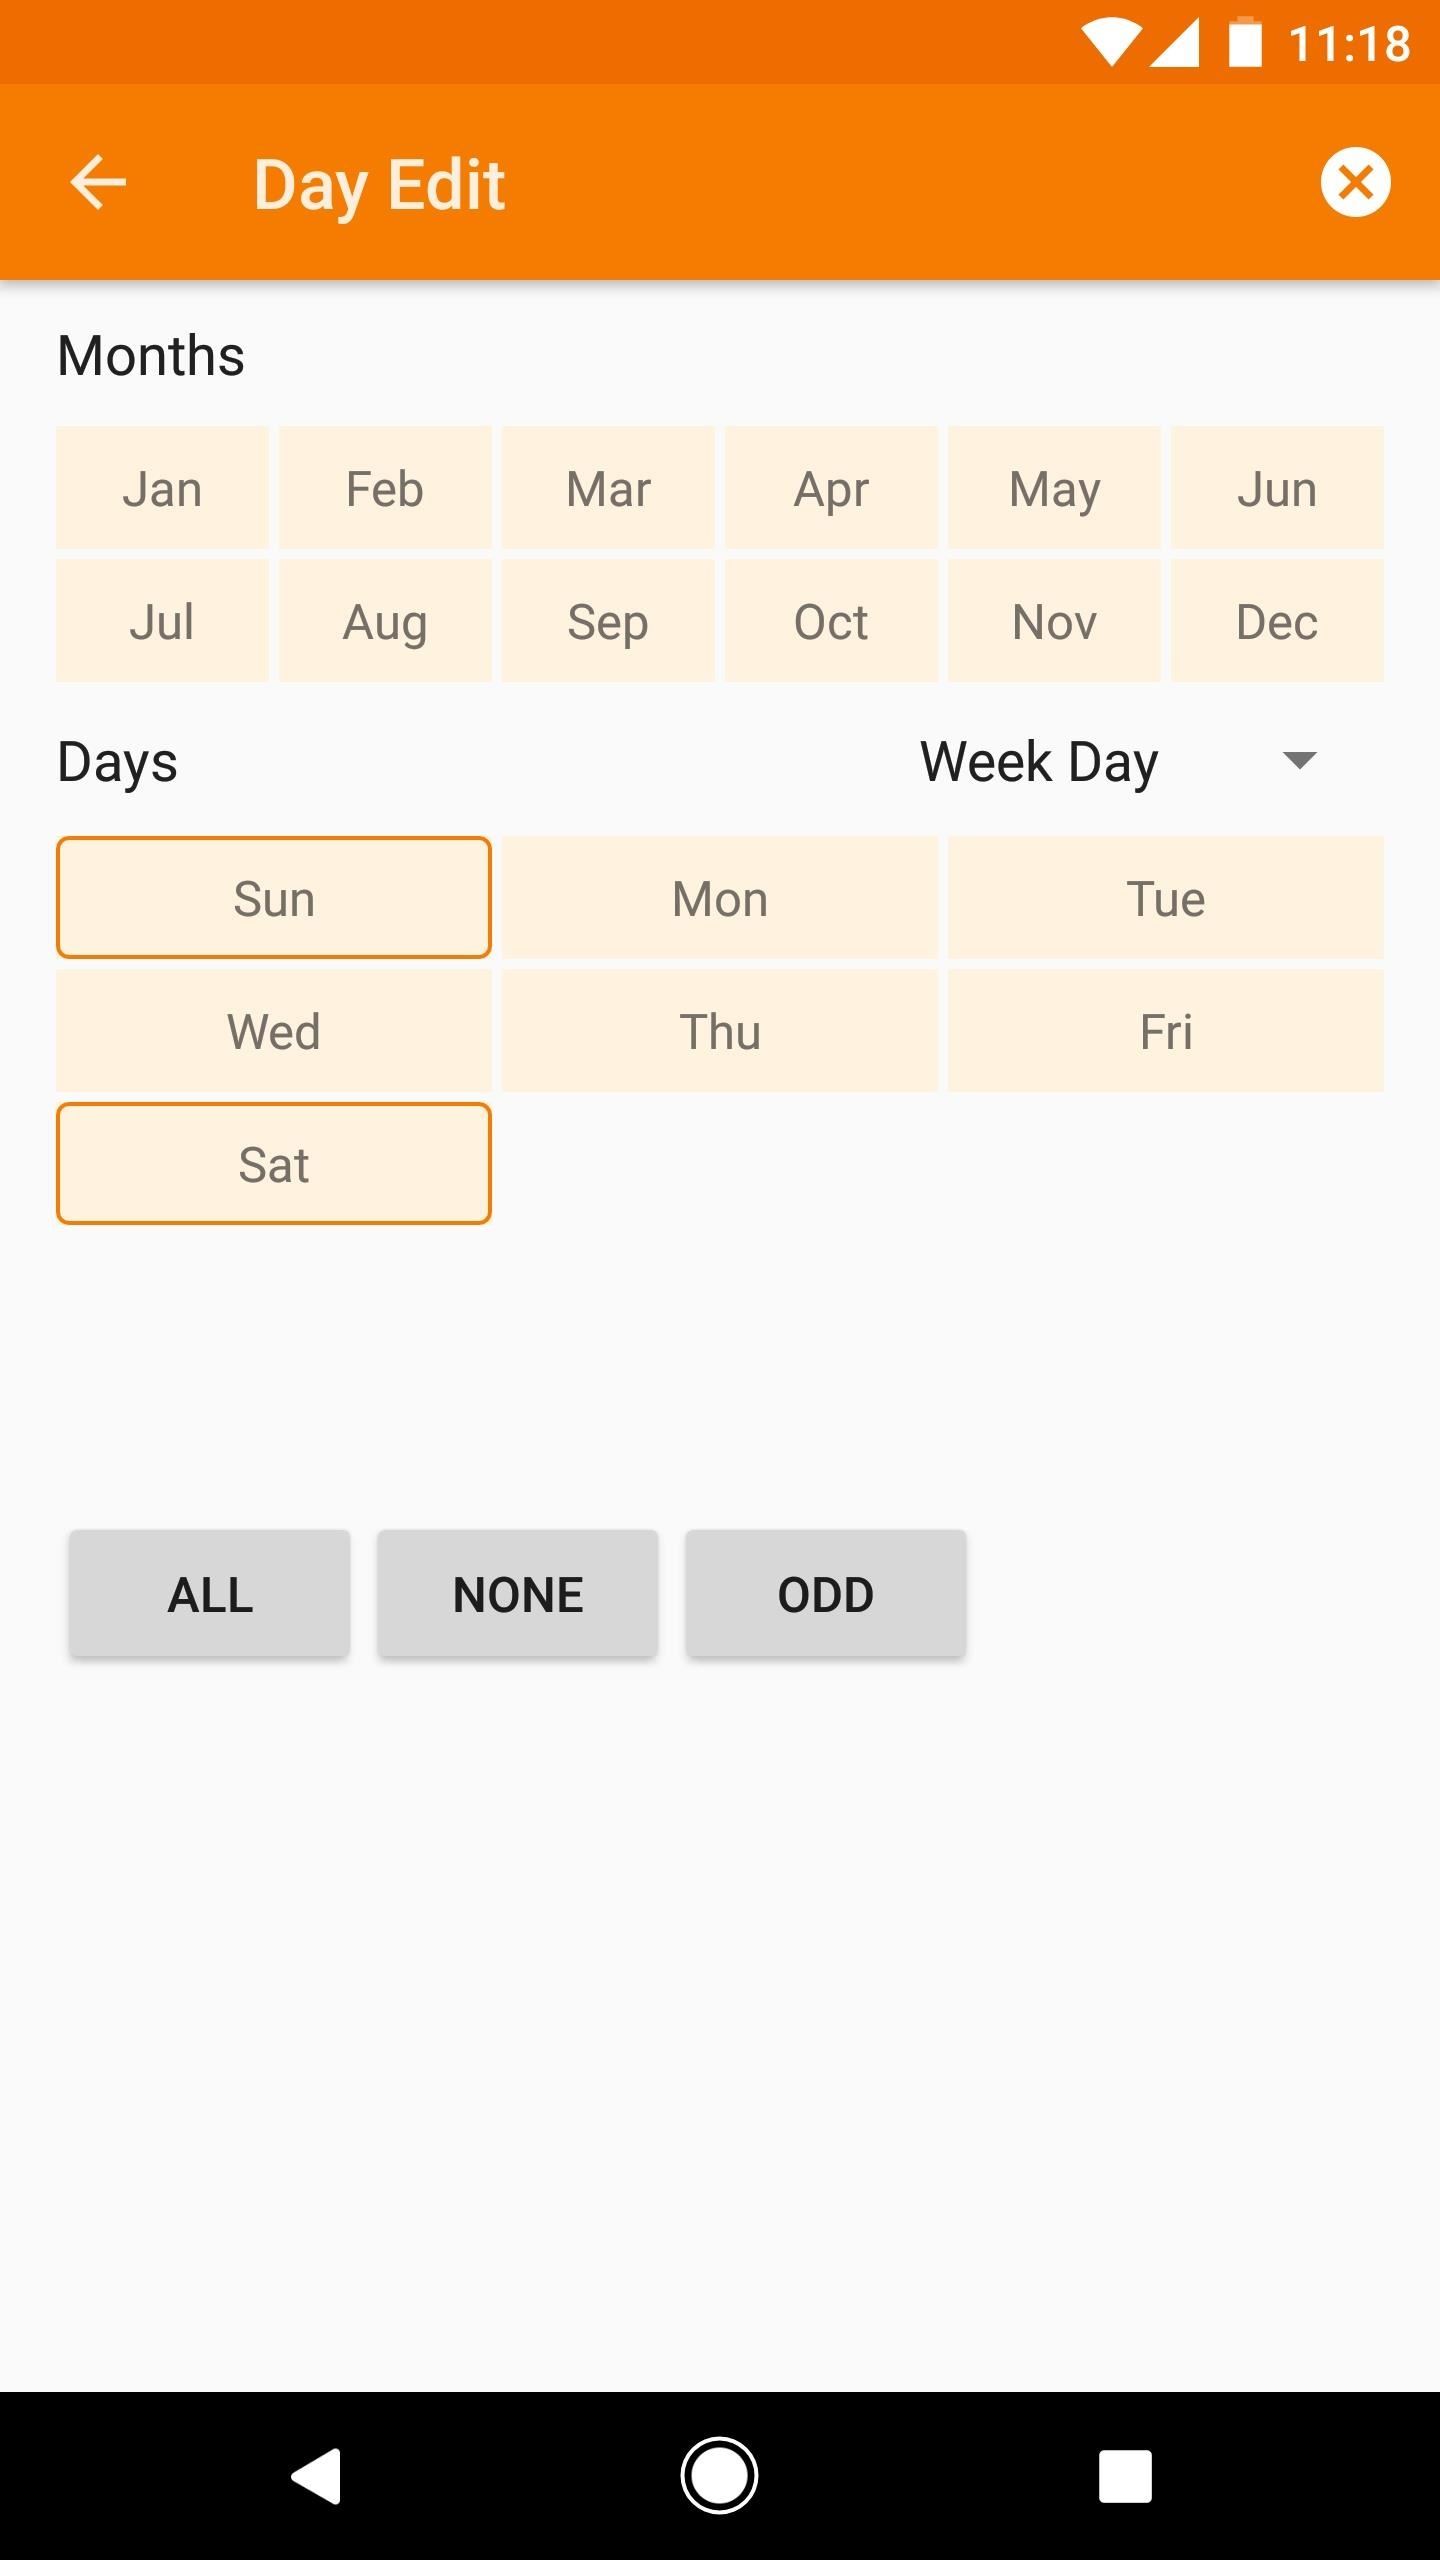
If you want your task to run on a certain weekday, tap the drop down menu on the right side, then select "Week Day." Here, you can choose one or more days of the week, and the same "All," "None," or "Odd" buttons apply.
Finally, you can use the Months category at the top of the screen to restrict your profile so that it only runs during certain months of the year. If you do that, your task will execute on the days you've already chosen, but it will only do so during the month(s) you choose.
When you're finished here, tap your back button once. At that point, you'll be prompted to give your profile a name, and when you're done with that, you'll be asked to associate a task with the profile you just created.
3. Event
The "Event" category is where you'll catch your first glimpse of Tasker's raw power. It's somewhat similar to the "State" category (number 5 below), except it's something that happens only for a moment. So think of events like an occurrence — something that triggers your task when it happens.
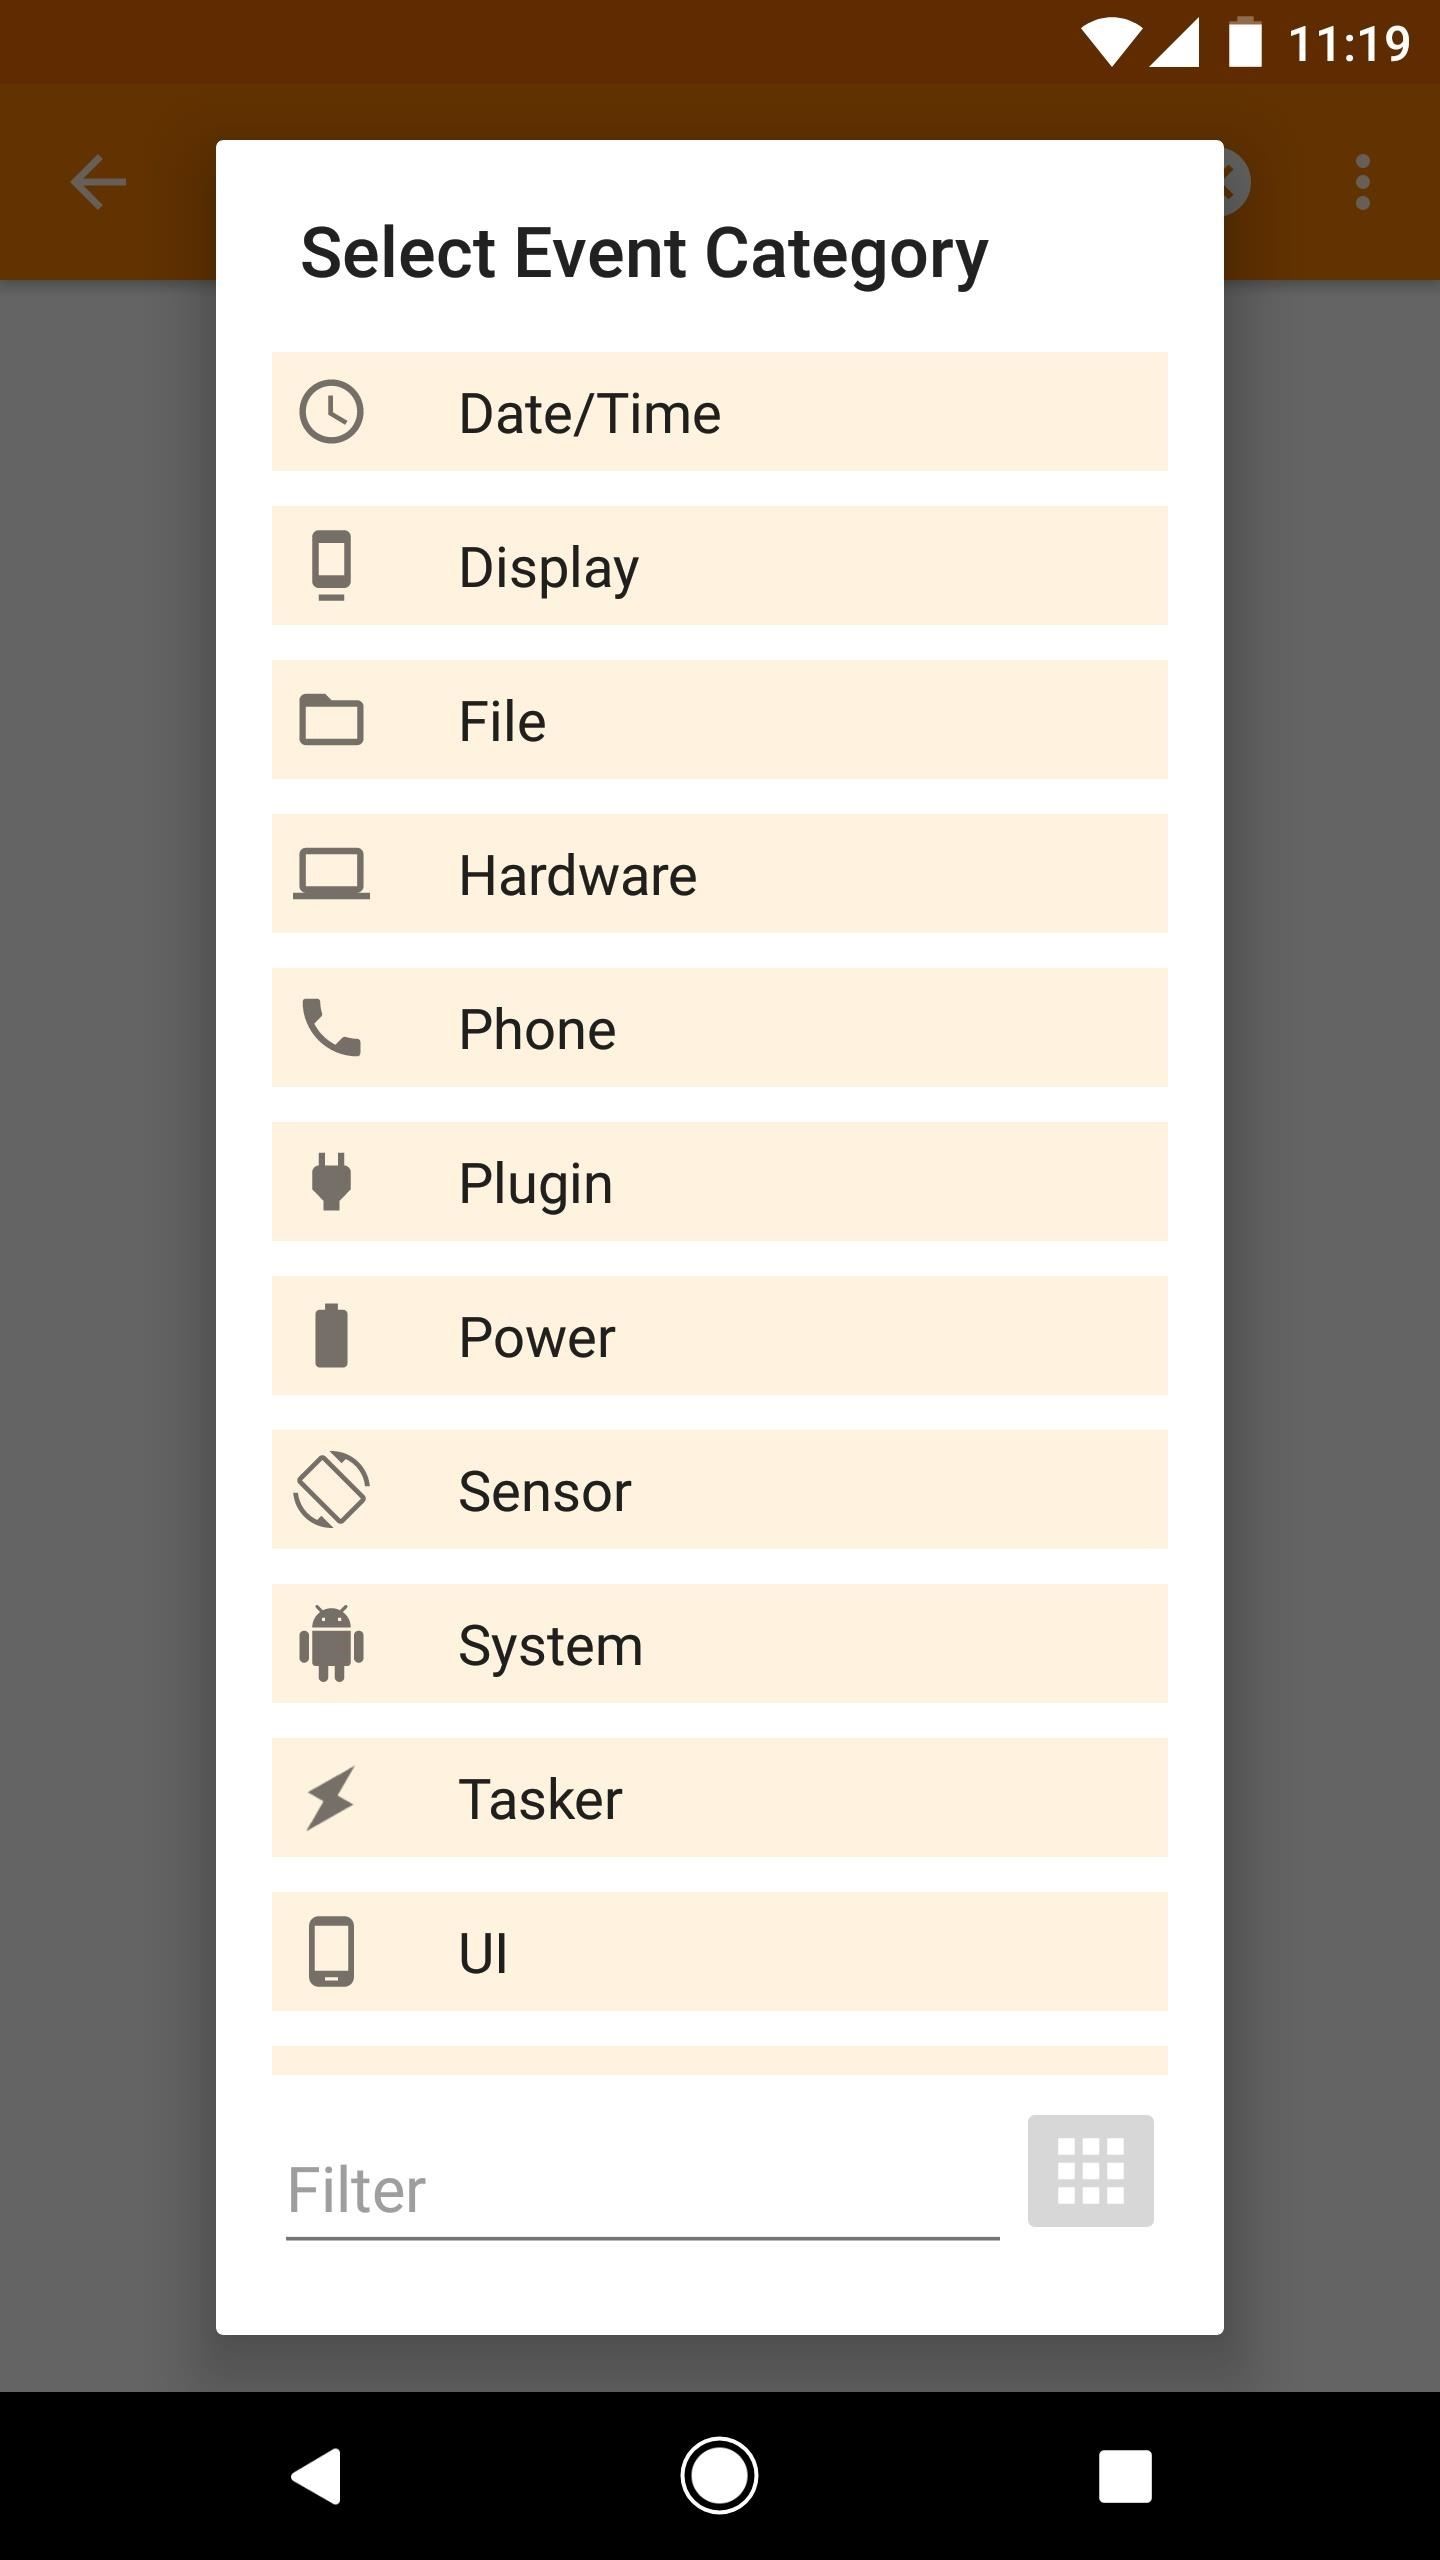
This category has dozens of different events to choose from, so when you select it, you'll see a menu with sub-categories. For the most part, these contain things that will happen on your phone at certain points throughout the day or while you're using it. For instance, the System category has events like "Device Boot," the Sensor category has events like "Steps Taken," and the Display category has events like "Display On" and "Display Off."
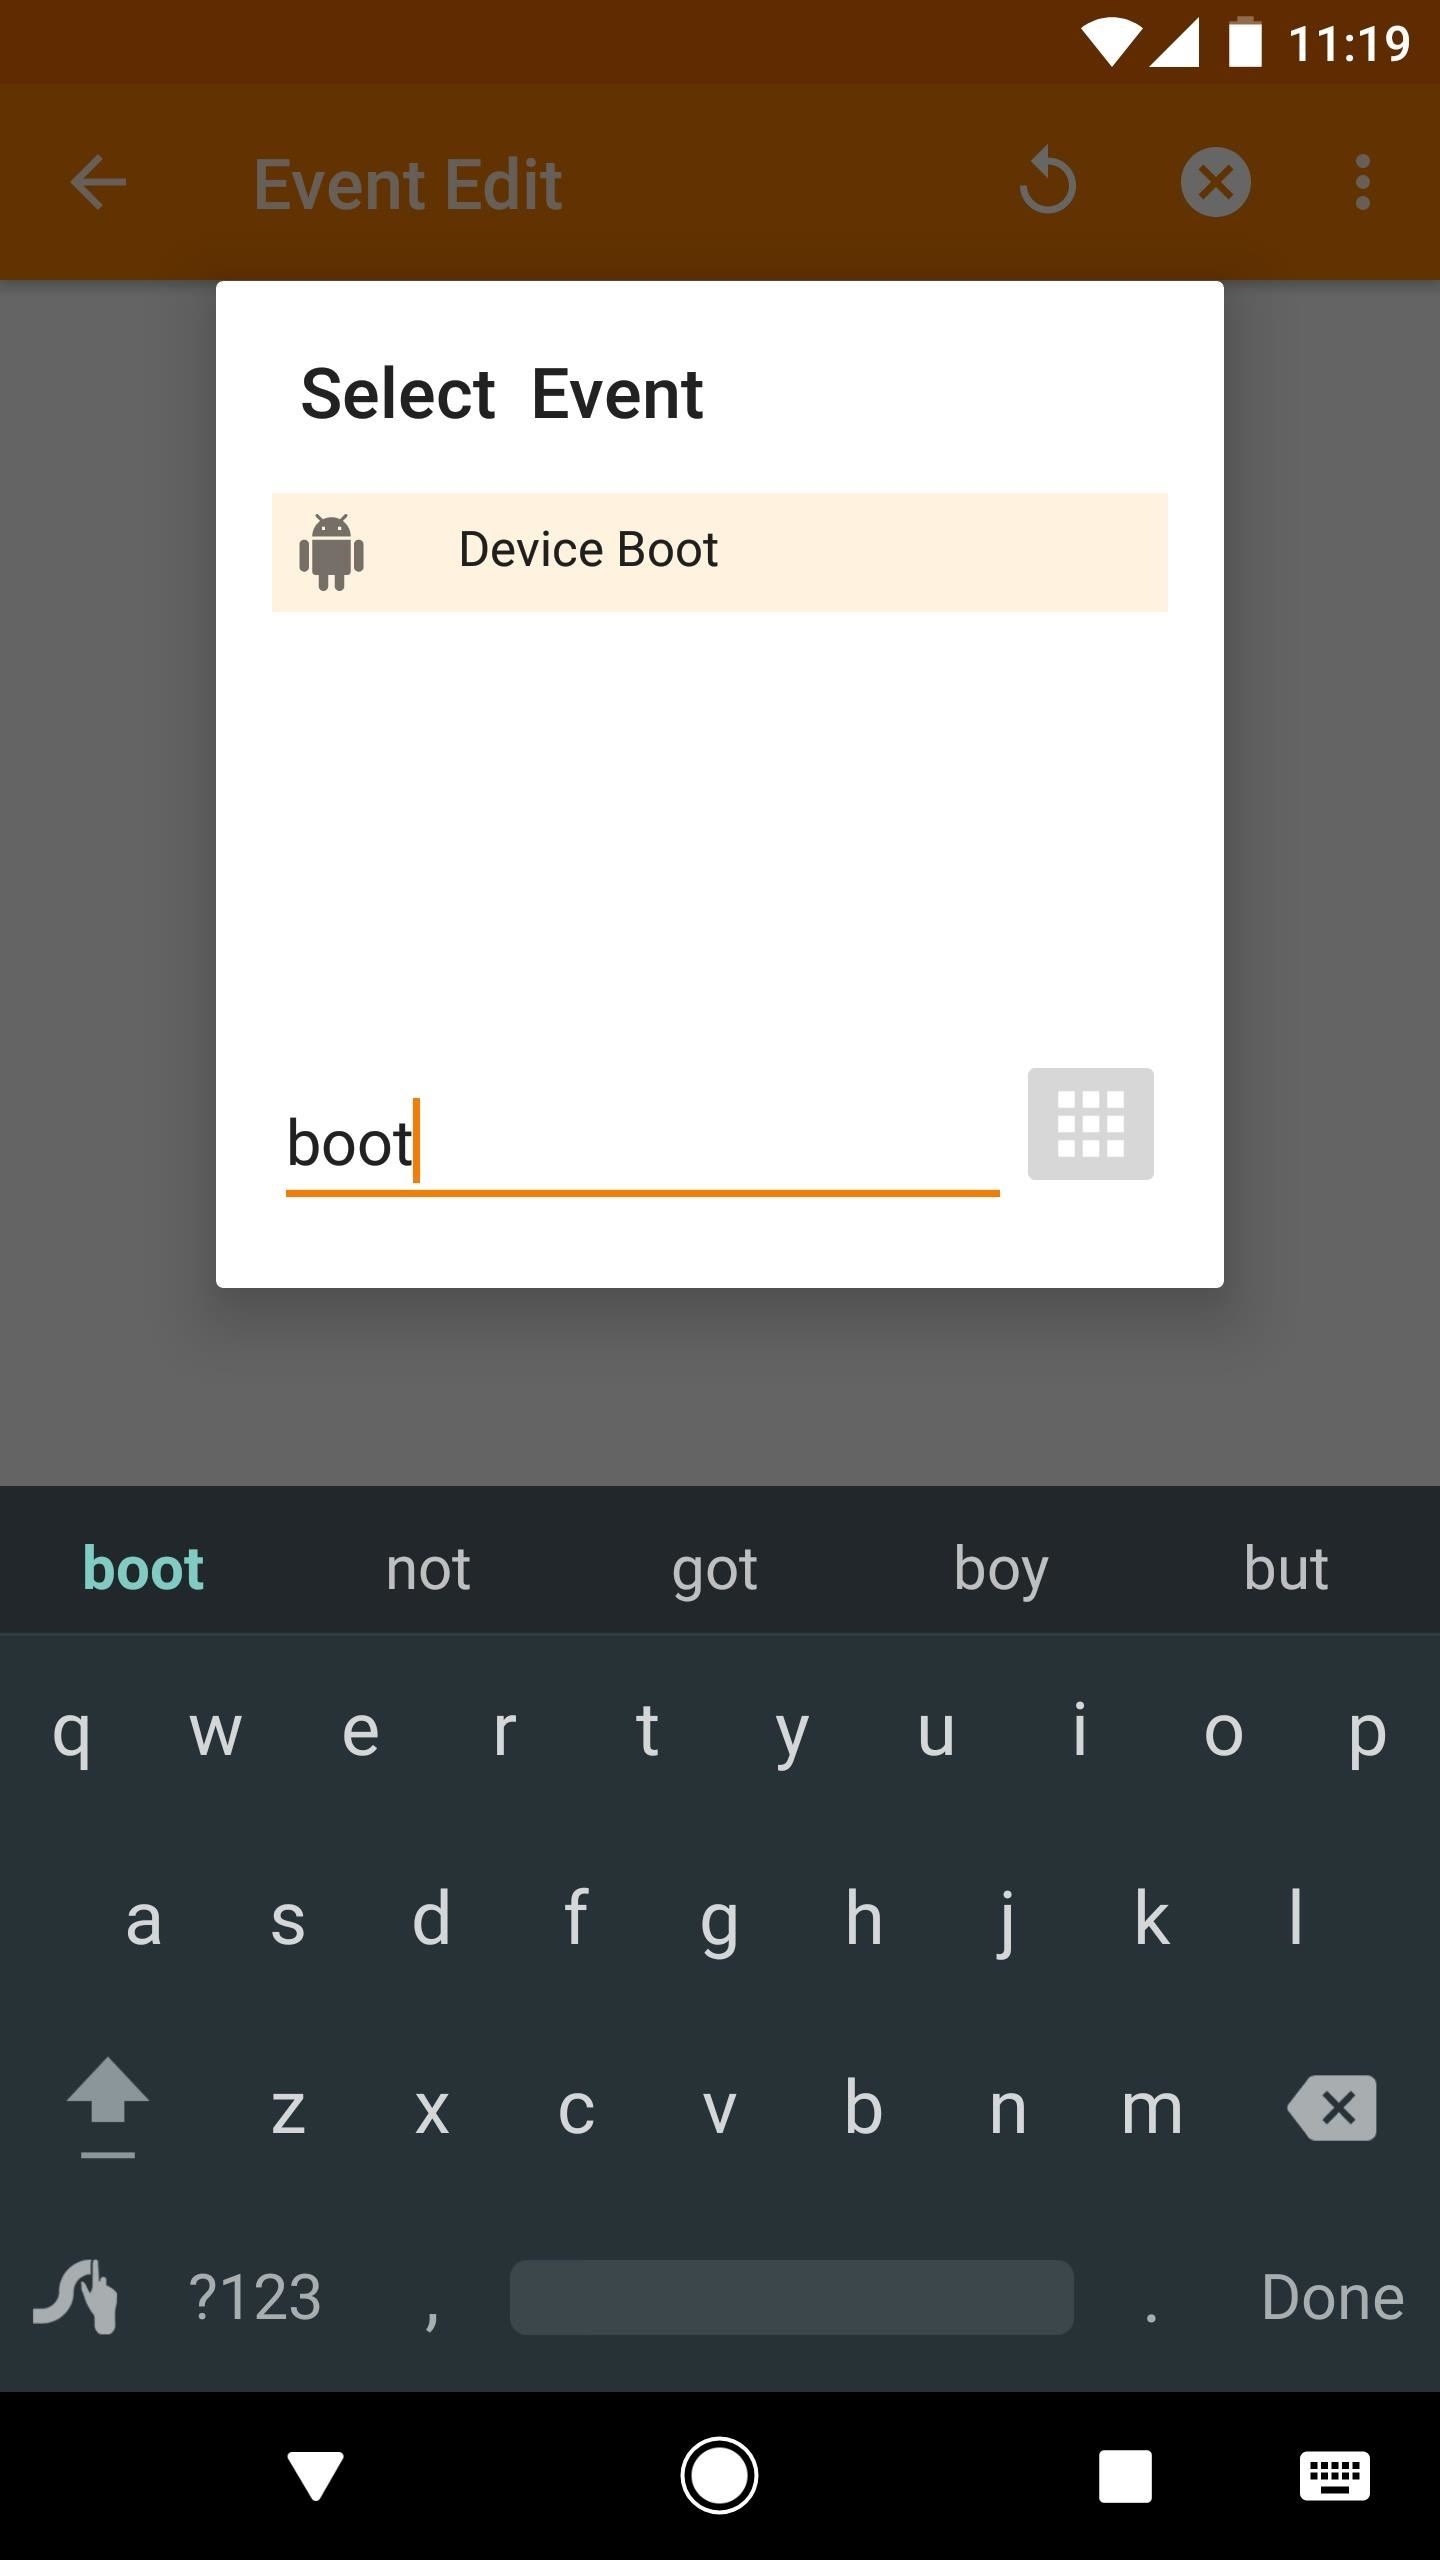
But rather than opening each of these categories to find the specific event that will trigger your task, you can use the Filter field at the bottom of the menu to search for events. Remember, though, it's a filter, not a search function, so the fewer characters you enter, the better.
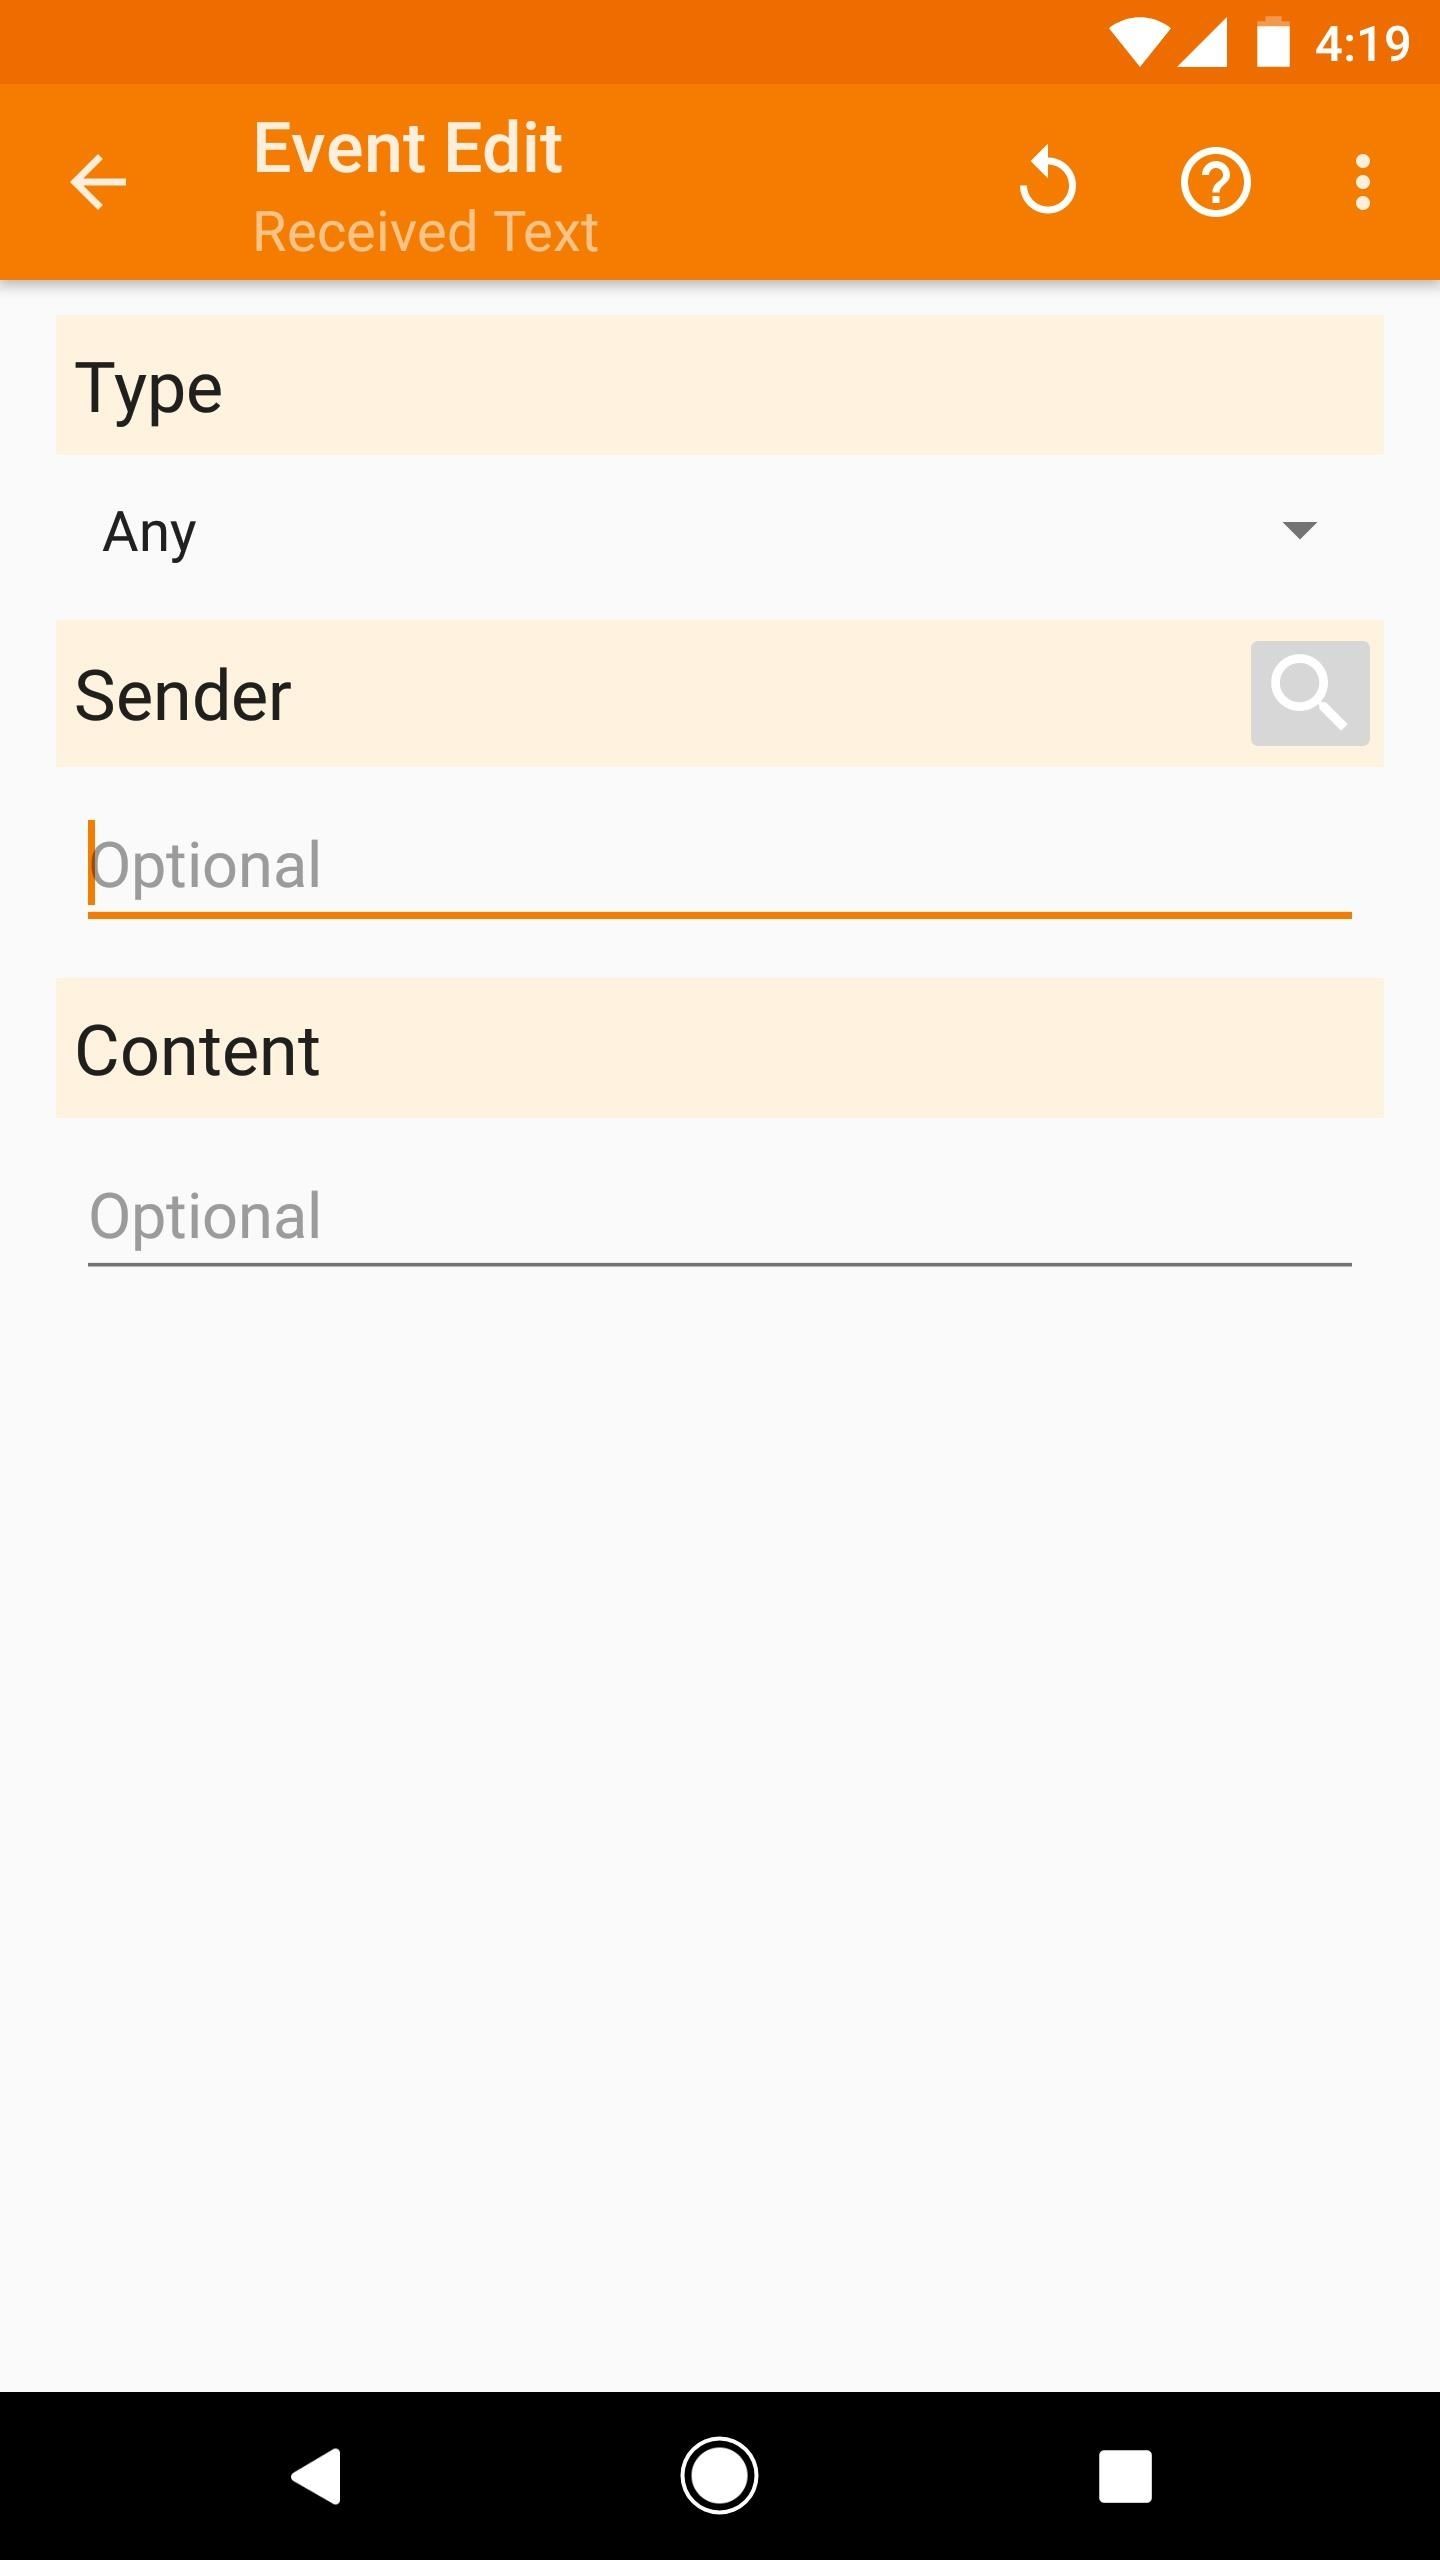
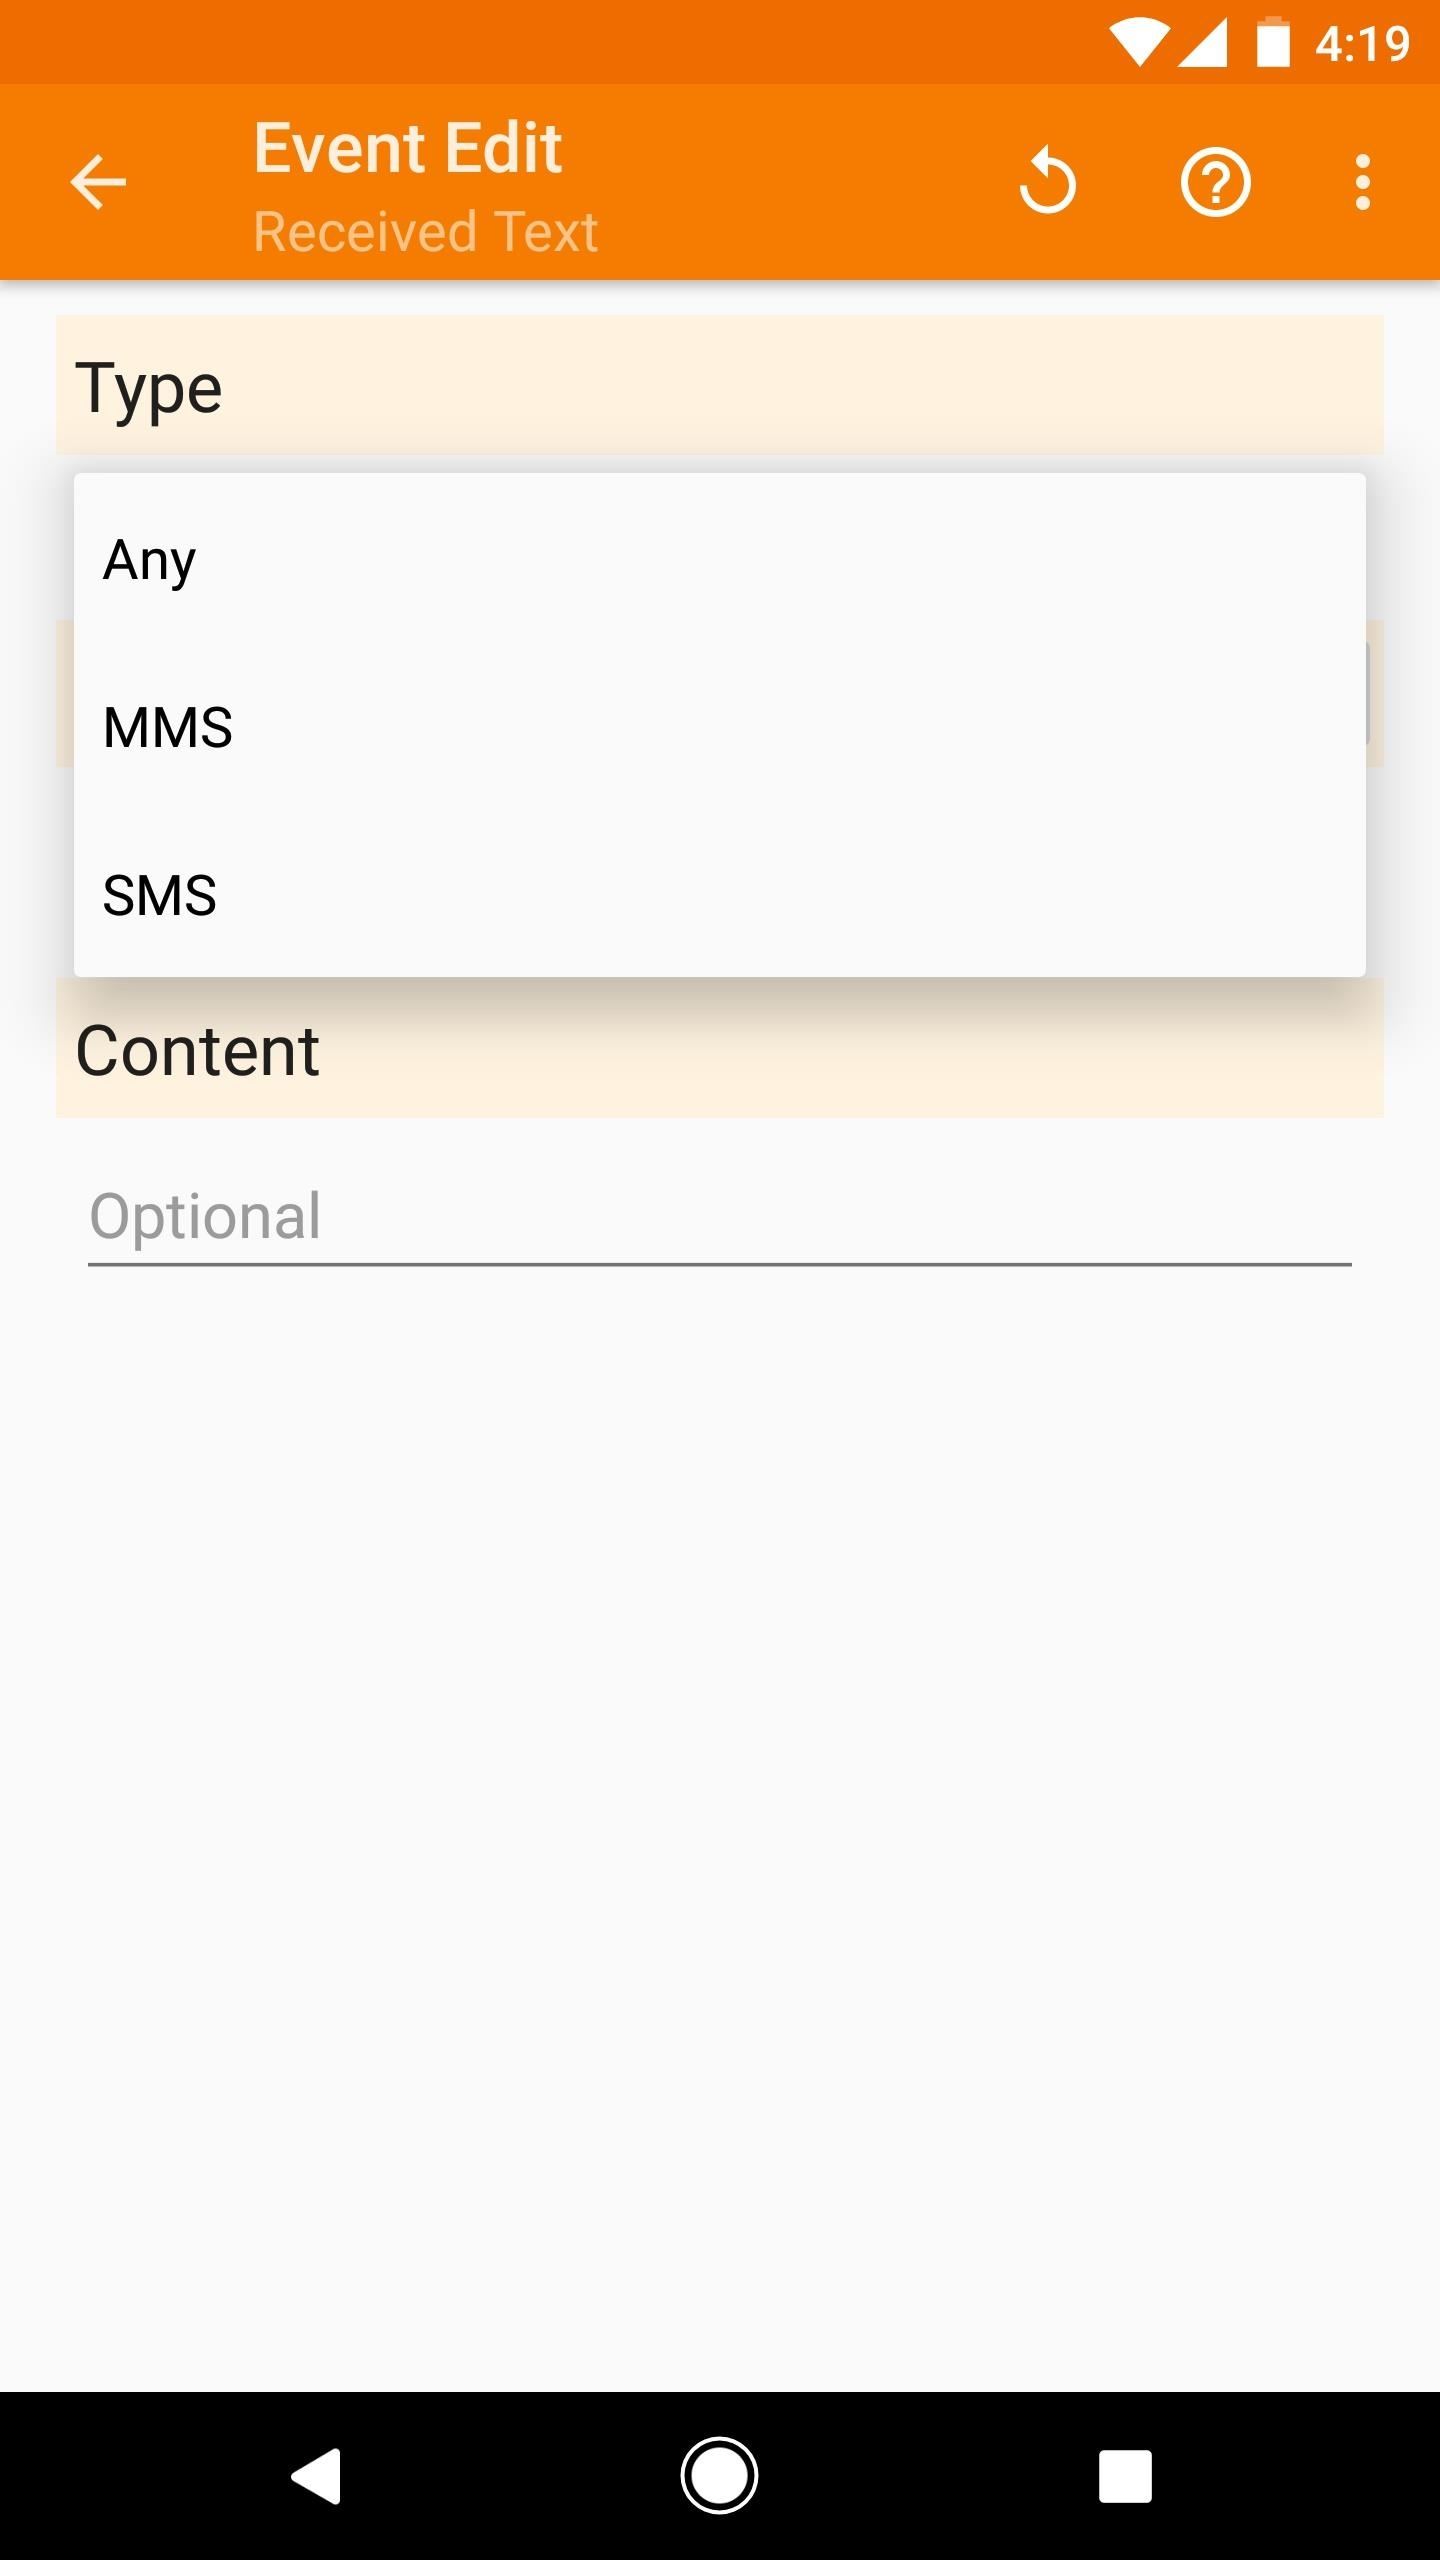
Once you've selected an event as your context, you may see a menu that allows you to specify a few details. For instance, when selecting "Received Text," you can enter a contact's name or number to specify that your task should only be triggered when you receive a text from that particular person. You can also have Tasker scan the message for a particular keyword or set of words, and you can have it only respond to either MMS or SMS messages.
Depending on the event type you choose, this customization menu will look slightly different and include varying options. But it's a pretty straightforward process, and when you're done, just tap your back button twice to head back to the Profiles tab in Tasker's main menu. When you do that, you'll be prompted to name your profile and assign a task that it should launch when your selected conditions are met.
4. Location
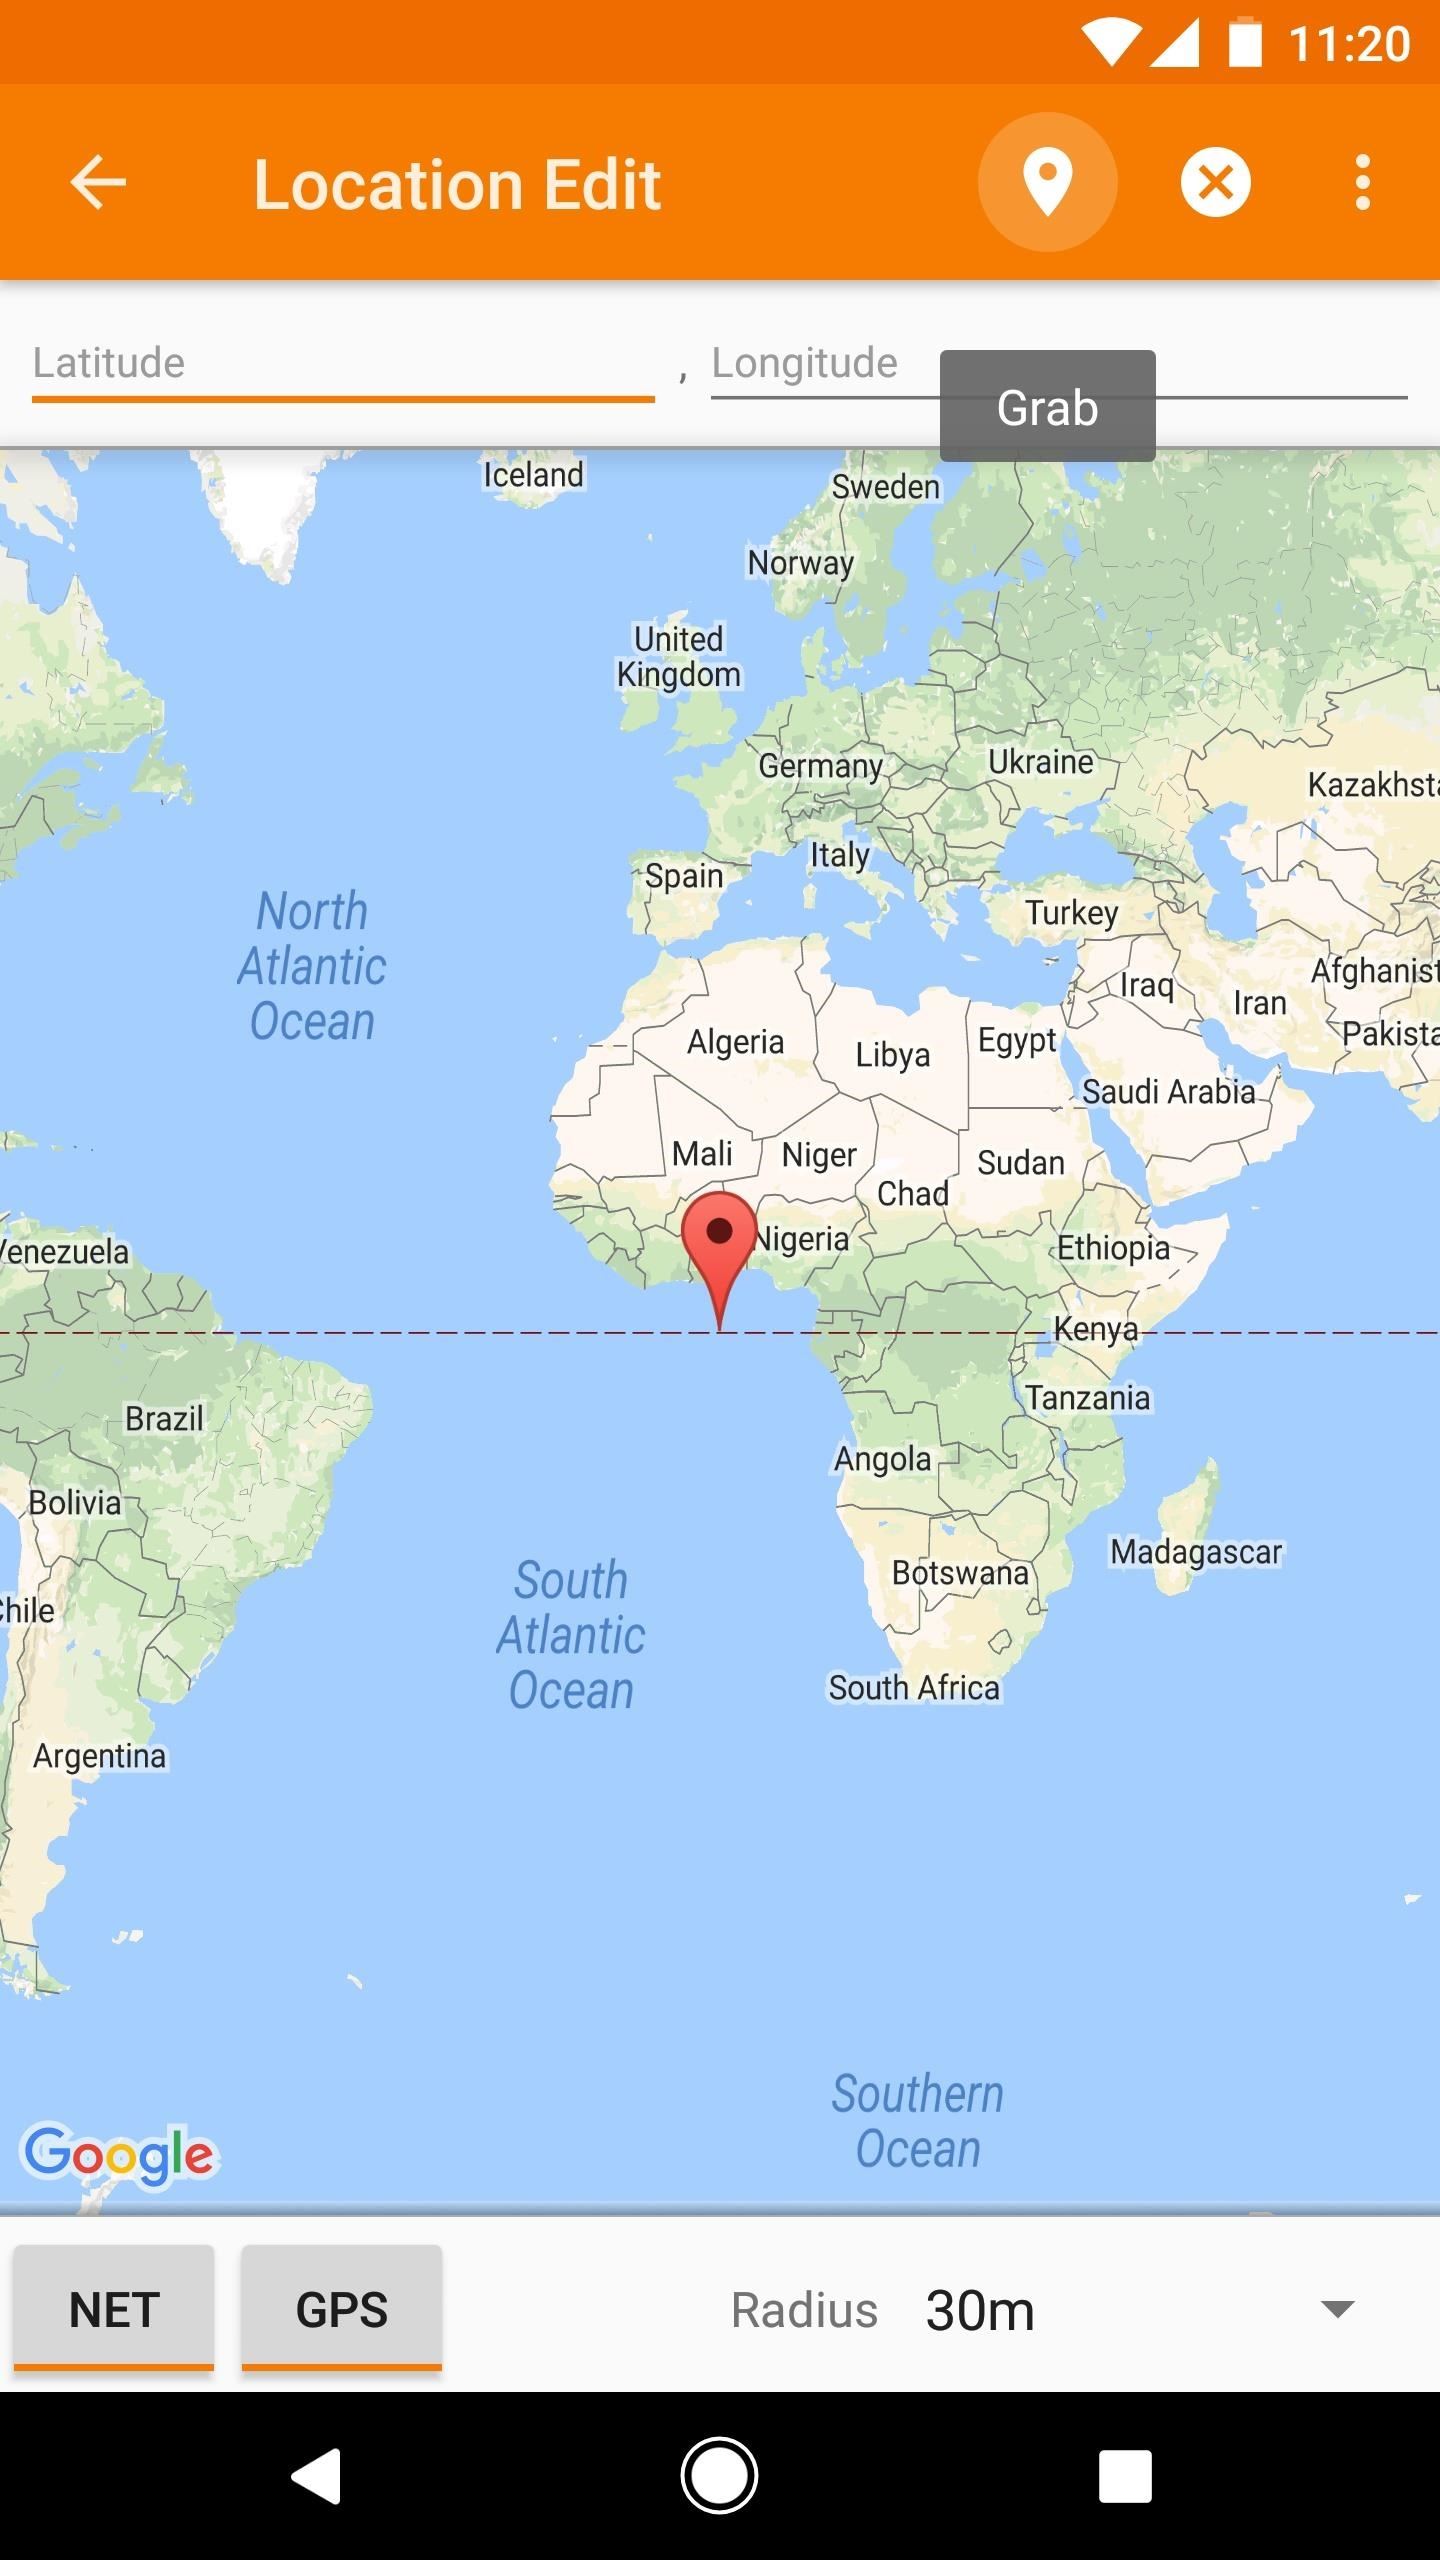
The "Location" category is one of my personal favorites — it causes your phone to execute a task whenever it's within a certain radius of a particular spot on the map. This is very useful for triggering tasks that lower your volume or change other system settings when you get to work or school.
You can manually stick a pin in the map by long-pressing any location, or you can tap the location icon near the upper-right corner to have Tasker queue up your current location. Once you've settled on a spot, you can use the Radius setting to choose how sensitive you'd like this profile to be.
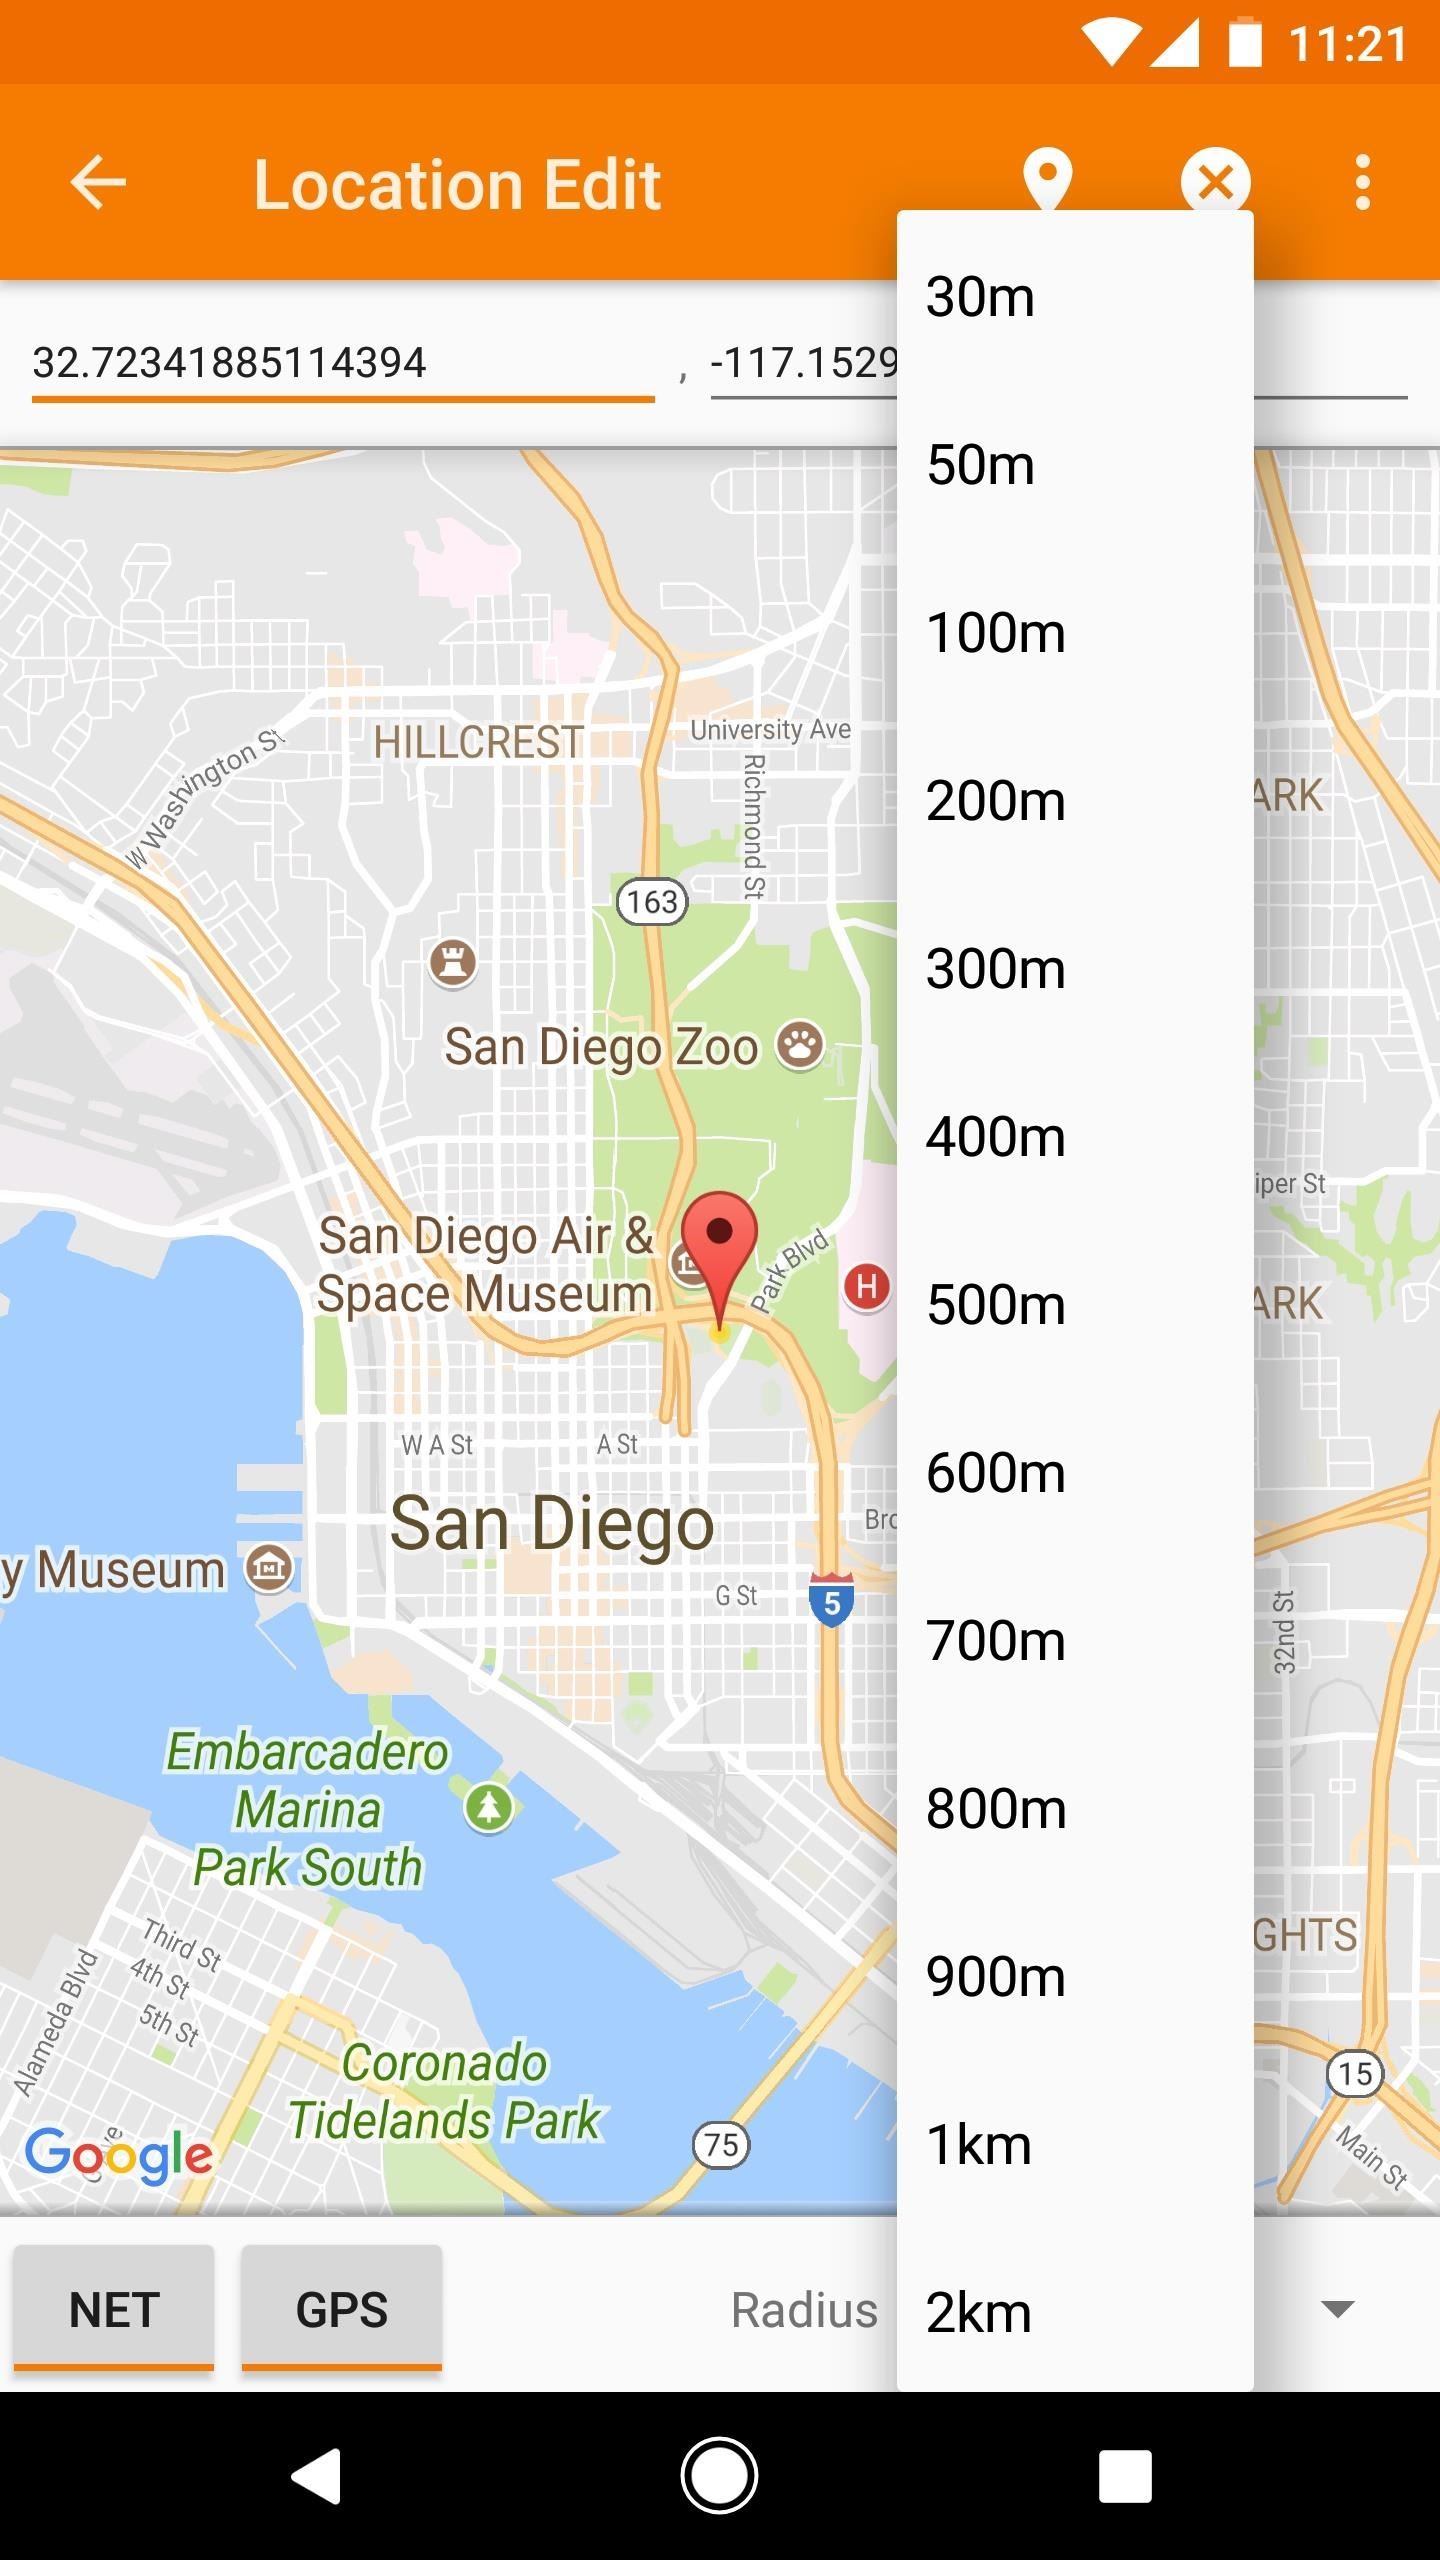
Once you've sorted all of that out, tap your back button, then enter a name for your profile when prompted. After that, choose a task to associate with this profile, and from now on, your phone will behave as you've programmed it when you're within that location radius.
5. State
Next is the "State" category, which again, is very similar to the "Event" category. The main difference is that a state is an ongoing condition, whereas an event is a singular occurrence. Ultimately, this means that any tasks you set to trigger with a state change will stop running when the state changes back, which reduces the need for an exit task.
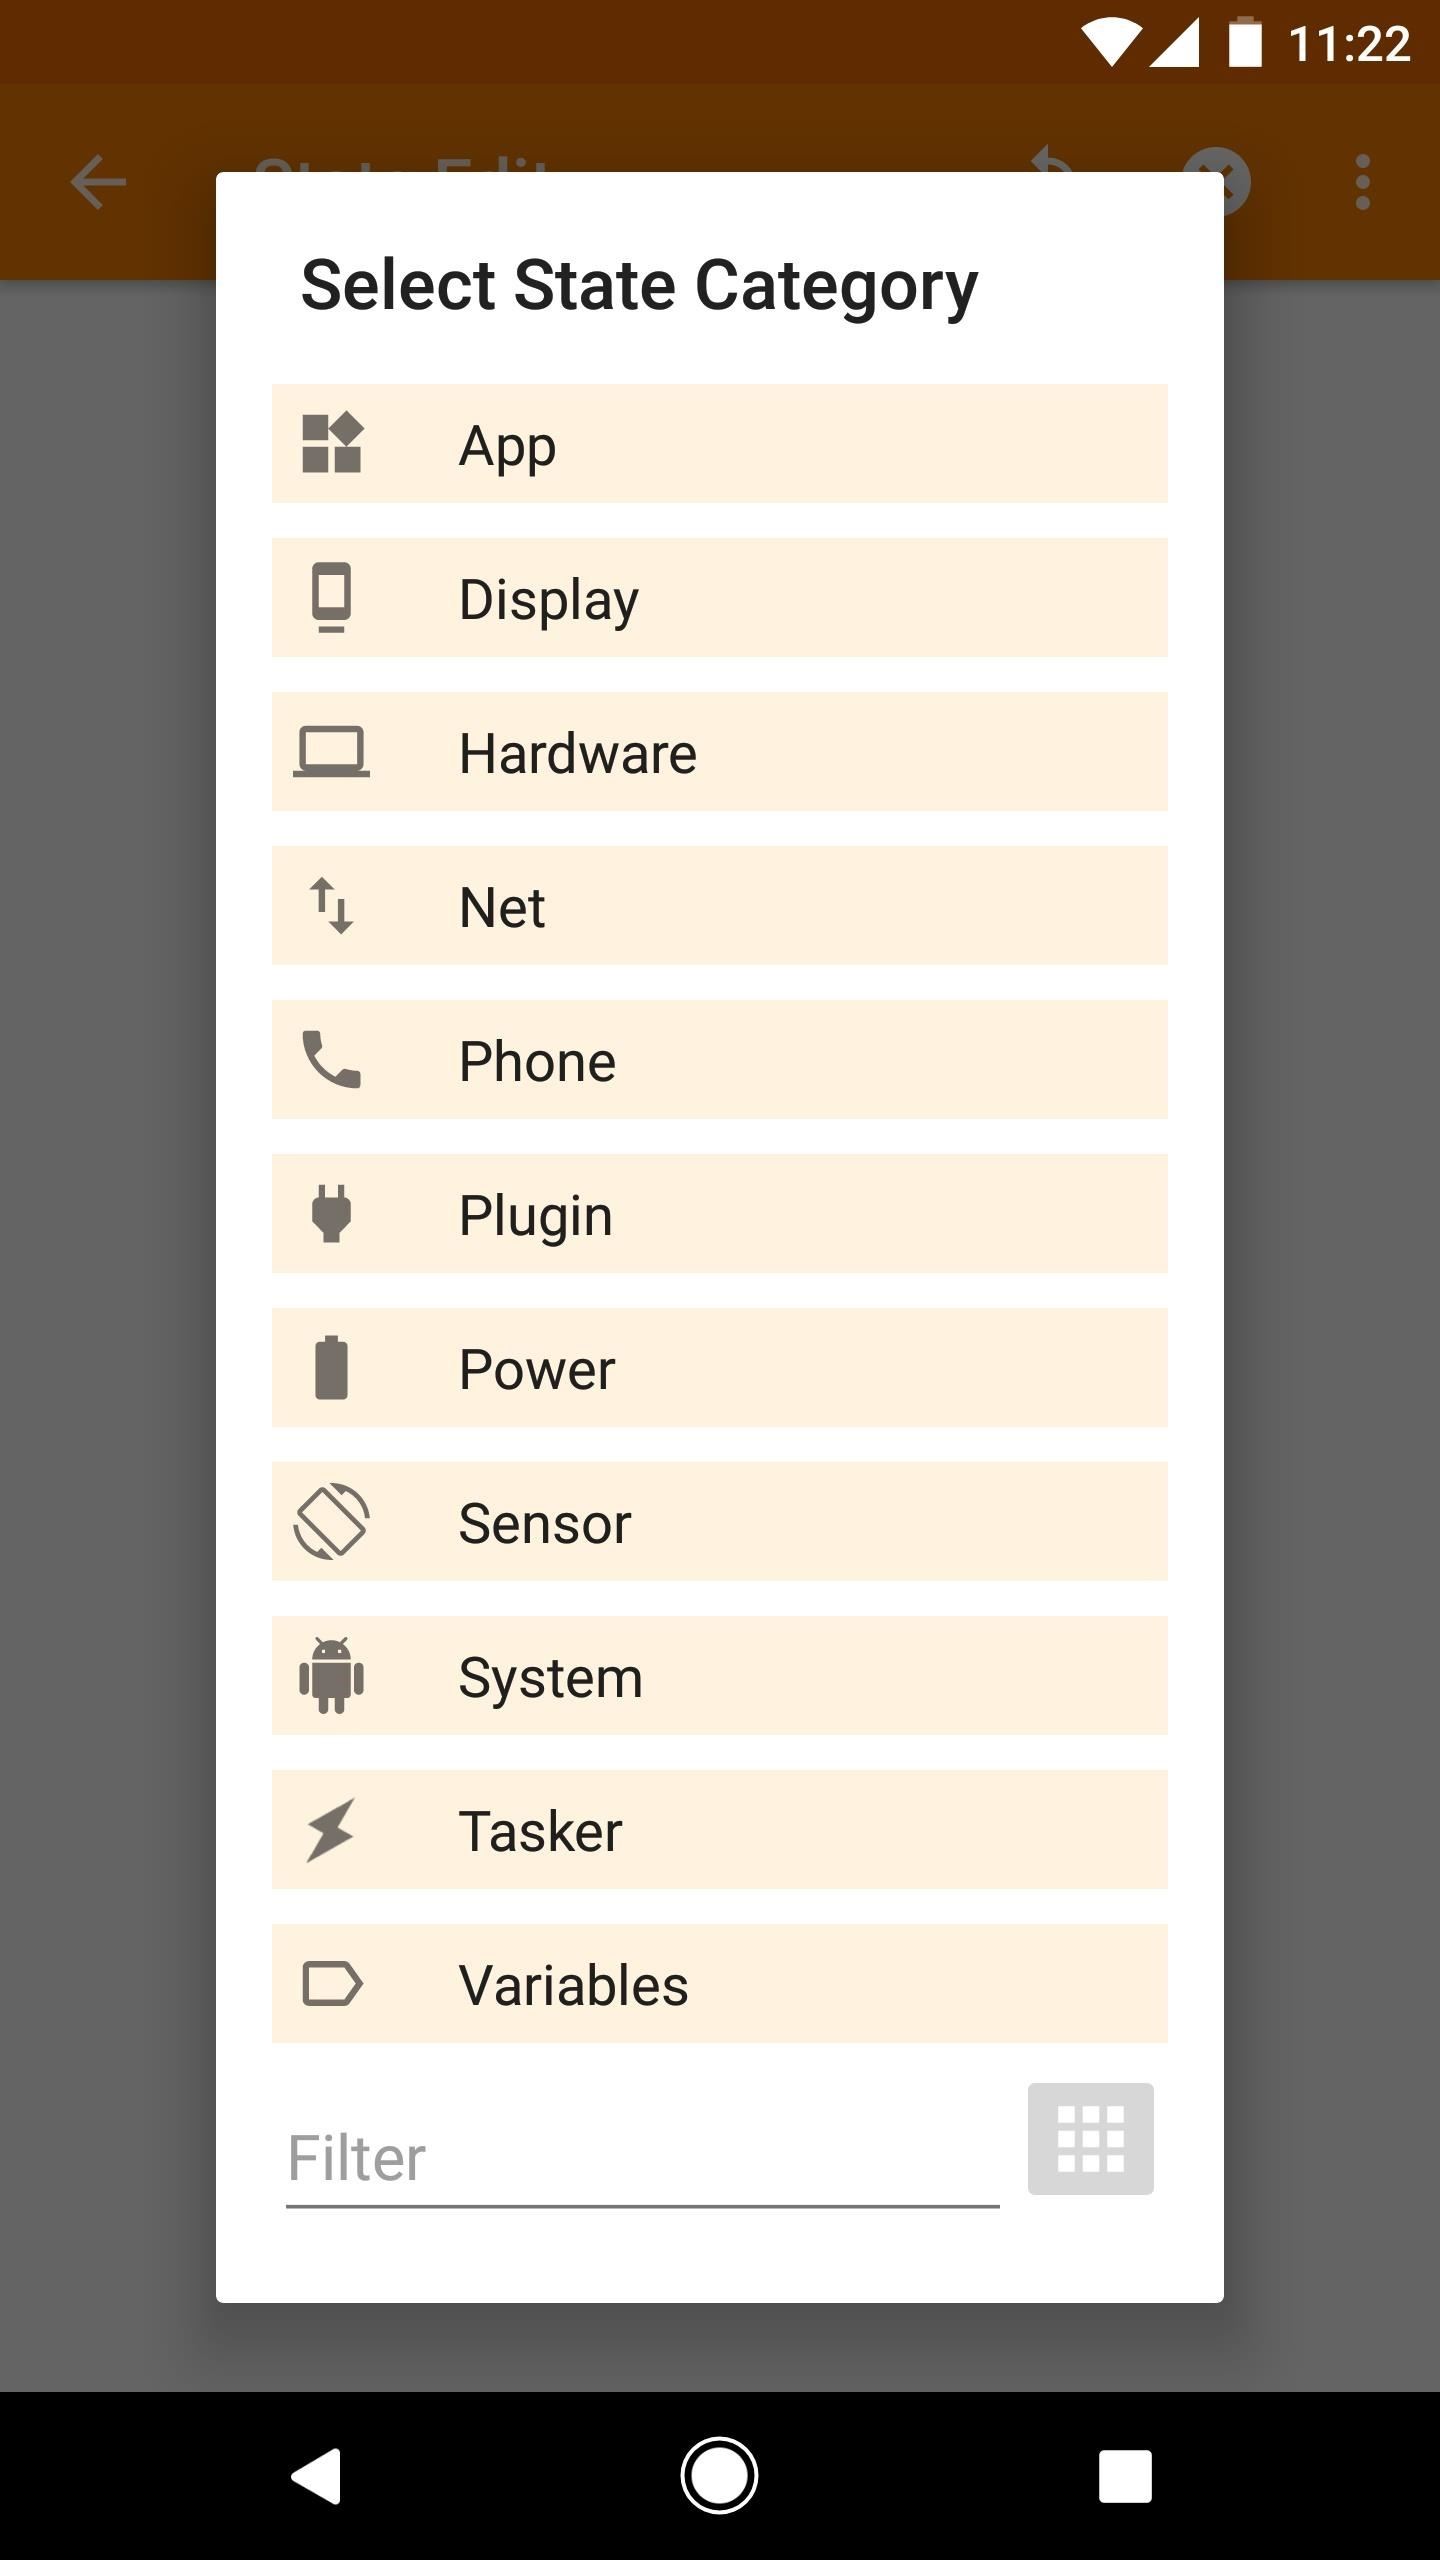
Just like the "Event" menu, a sub-menu will appear when you select "State" as your first context in a profile. Most of these sub-categories pertain to hardware in your phone, though some are software states and others relate to connectivity. As such, if you want Tasker to execute a task when something changes with your phone itself, this is the place to be. To find a specific state, it's always easiest to use the Filter field at the bottom of this menu.
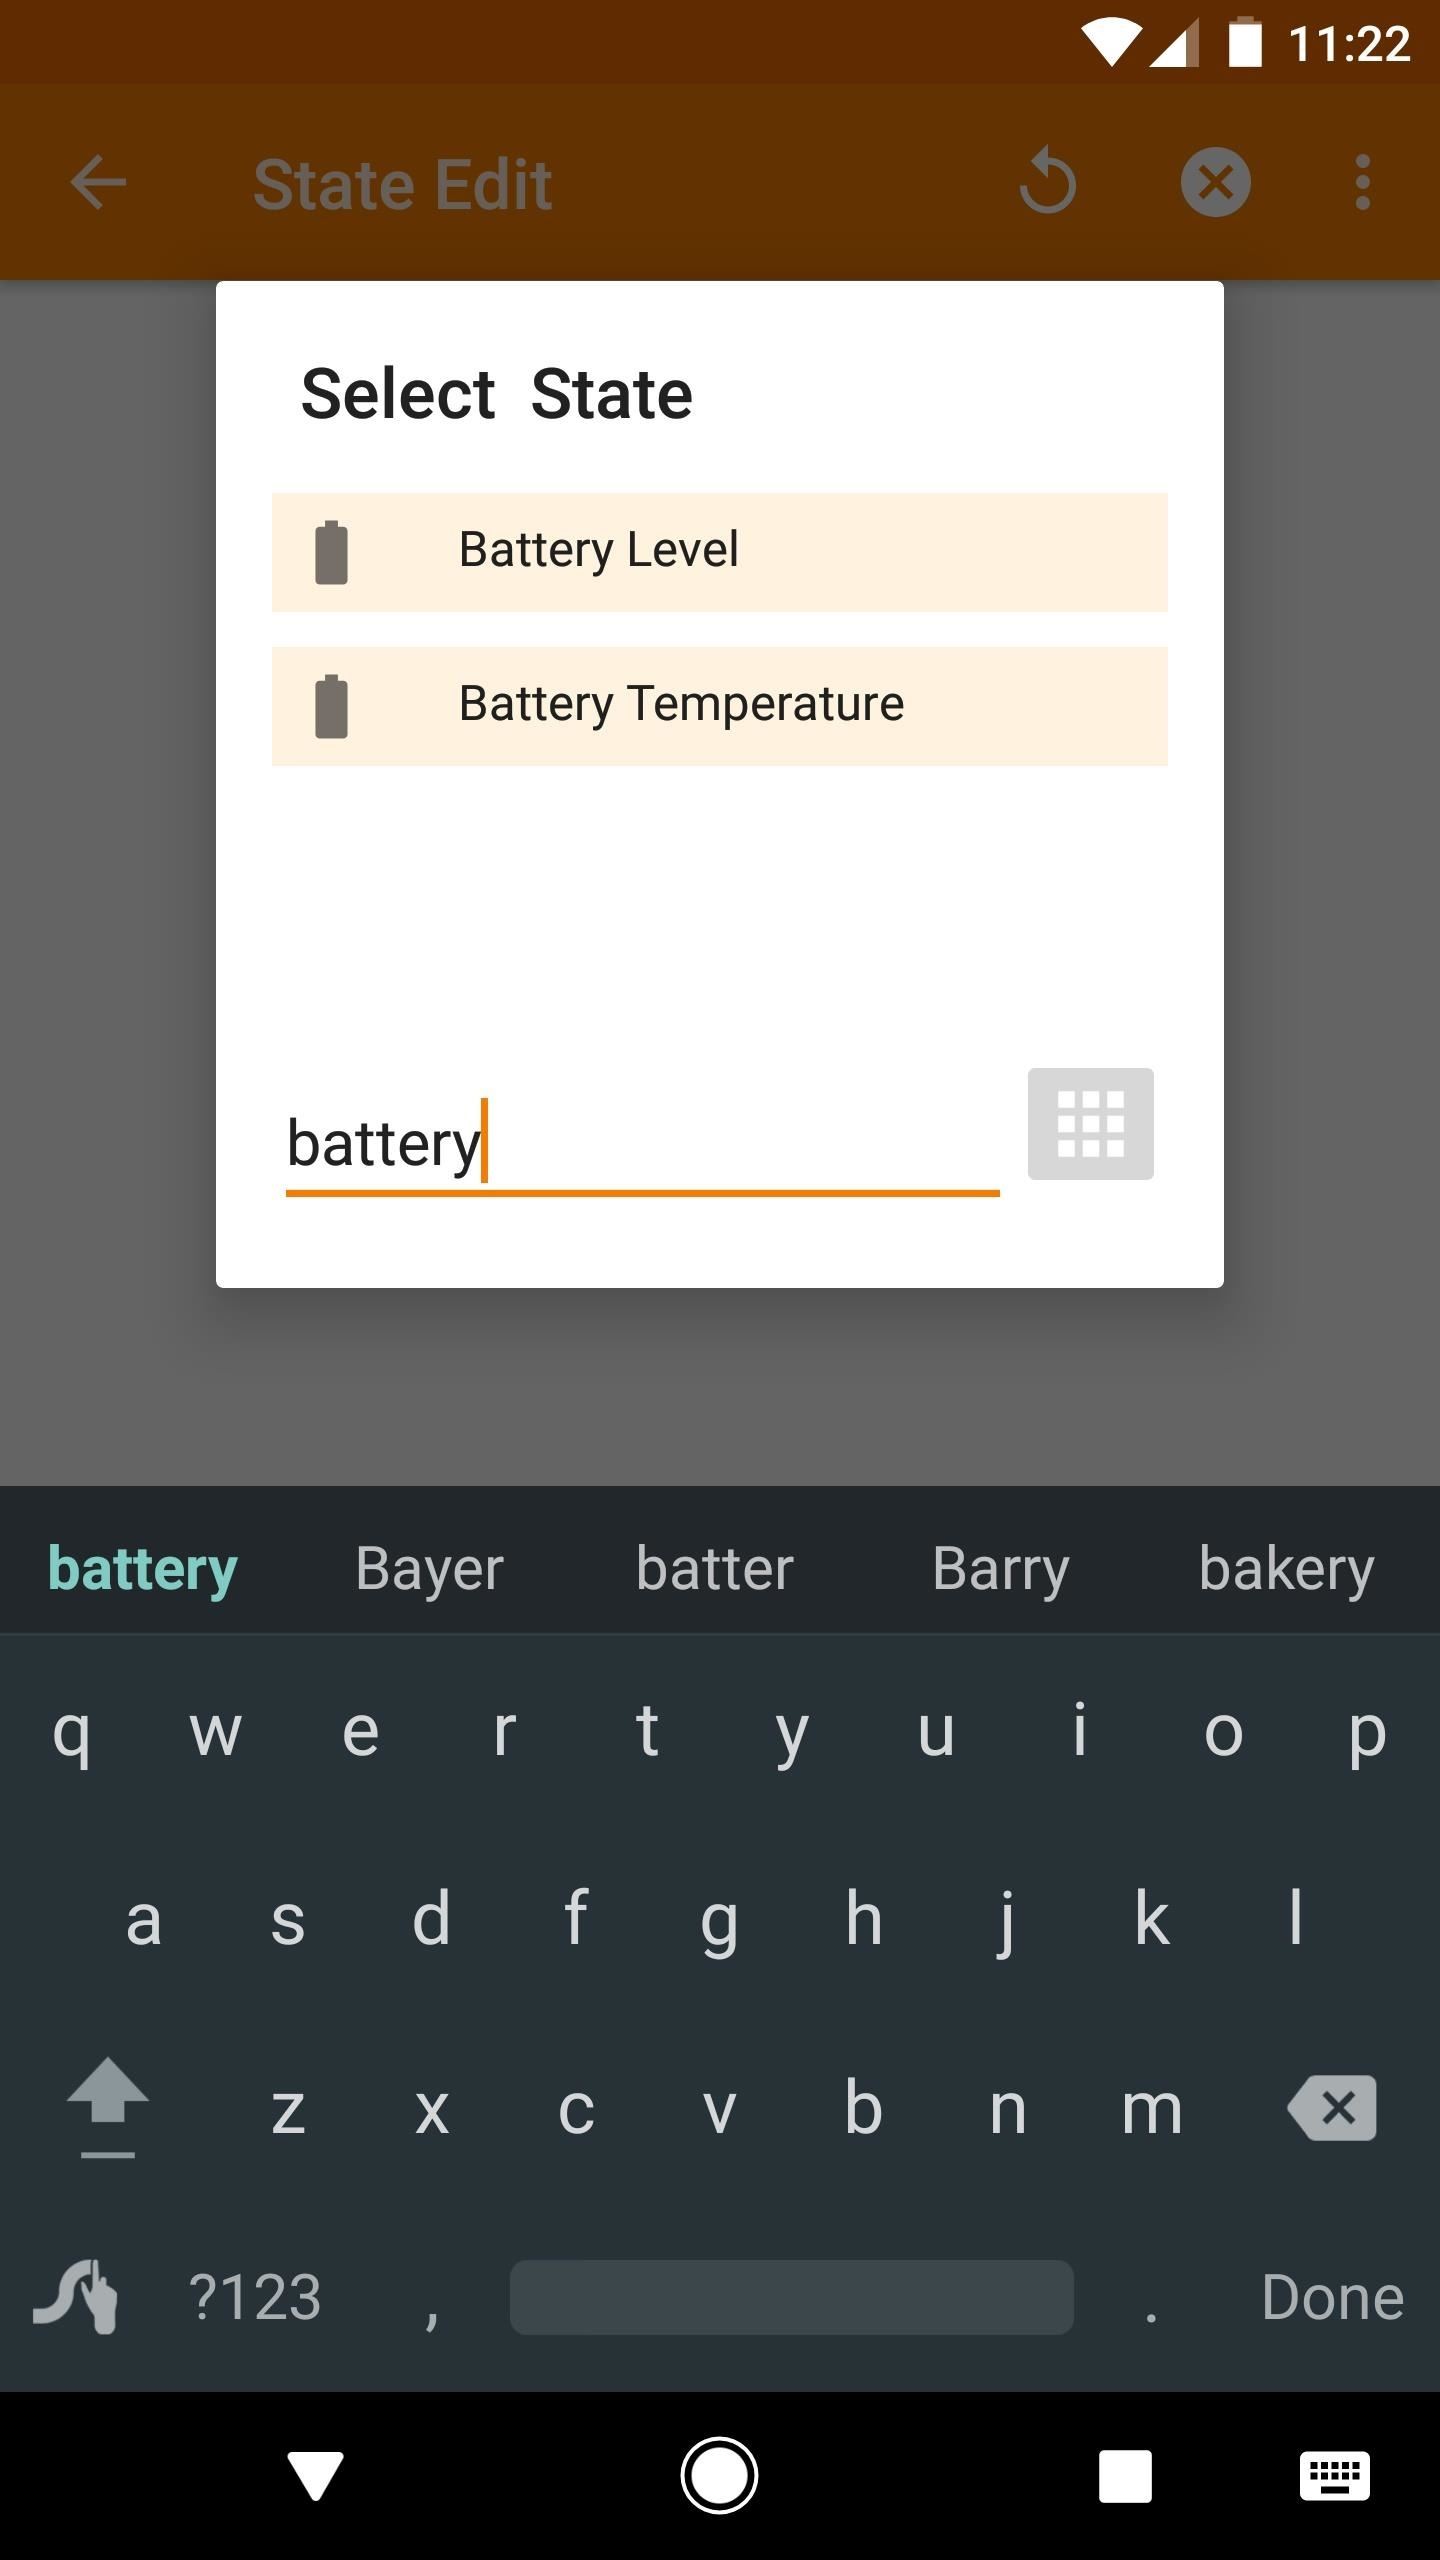
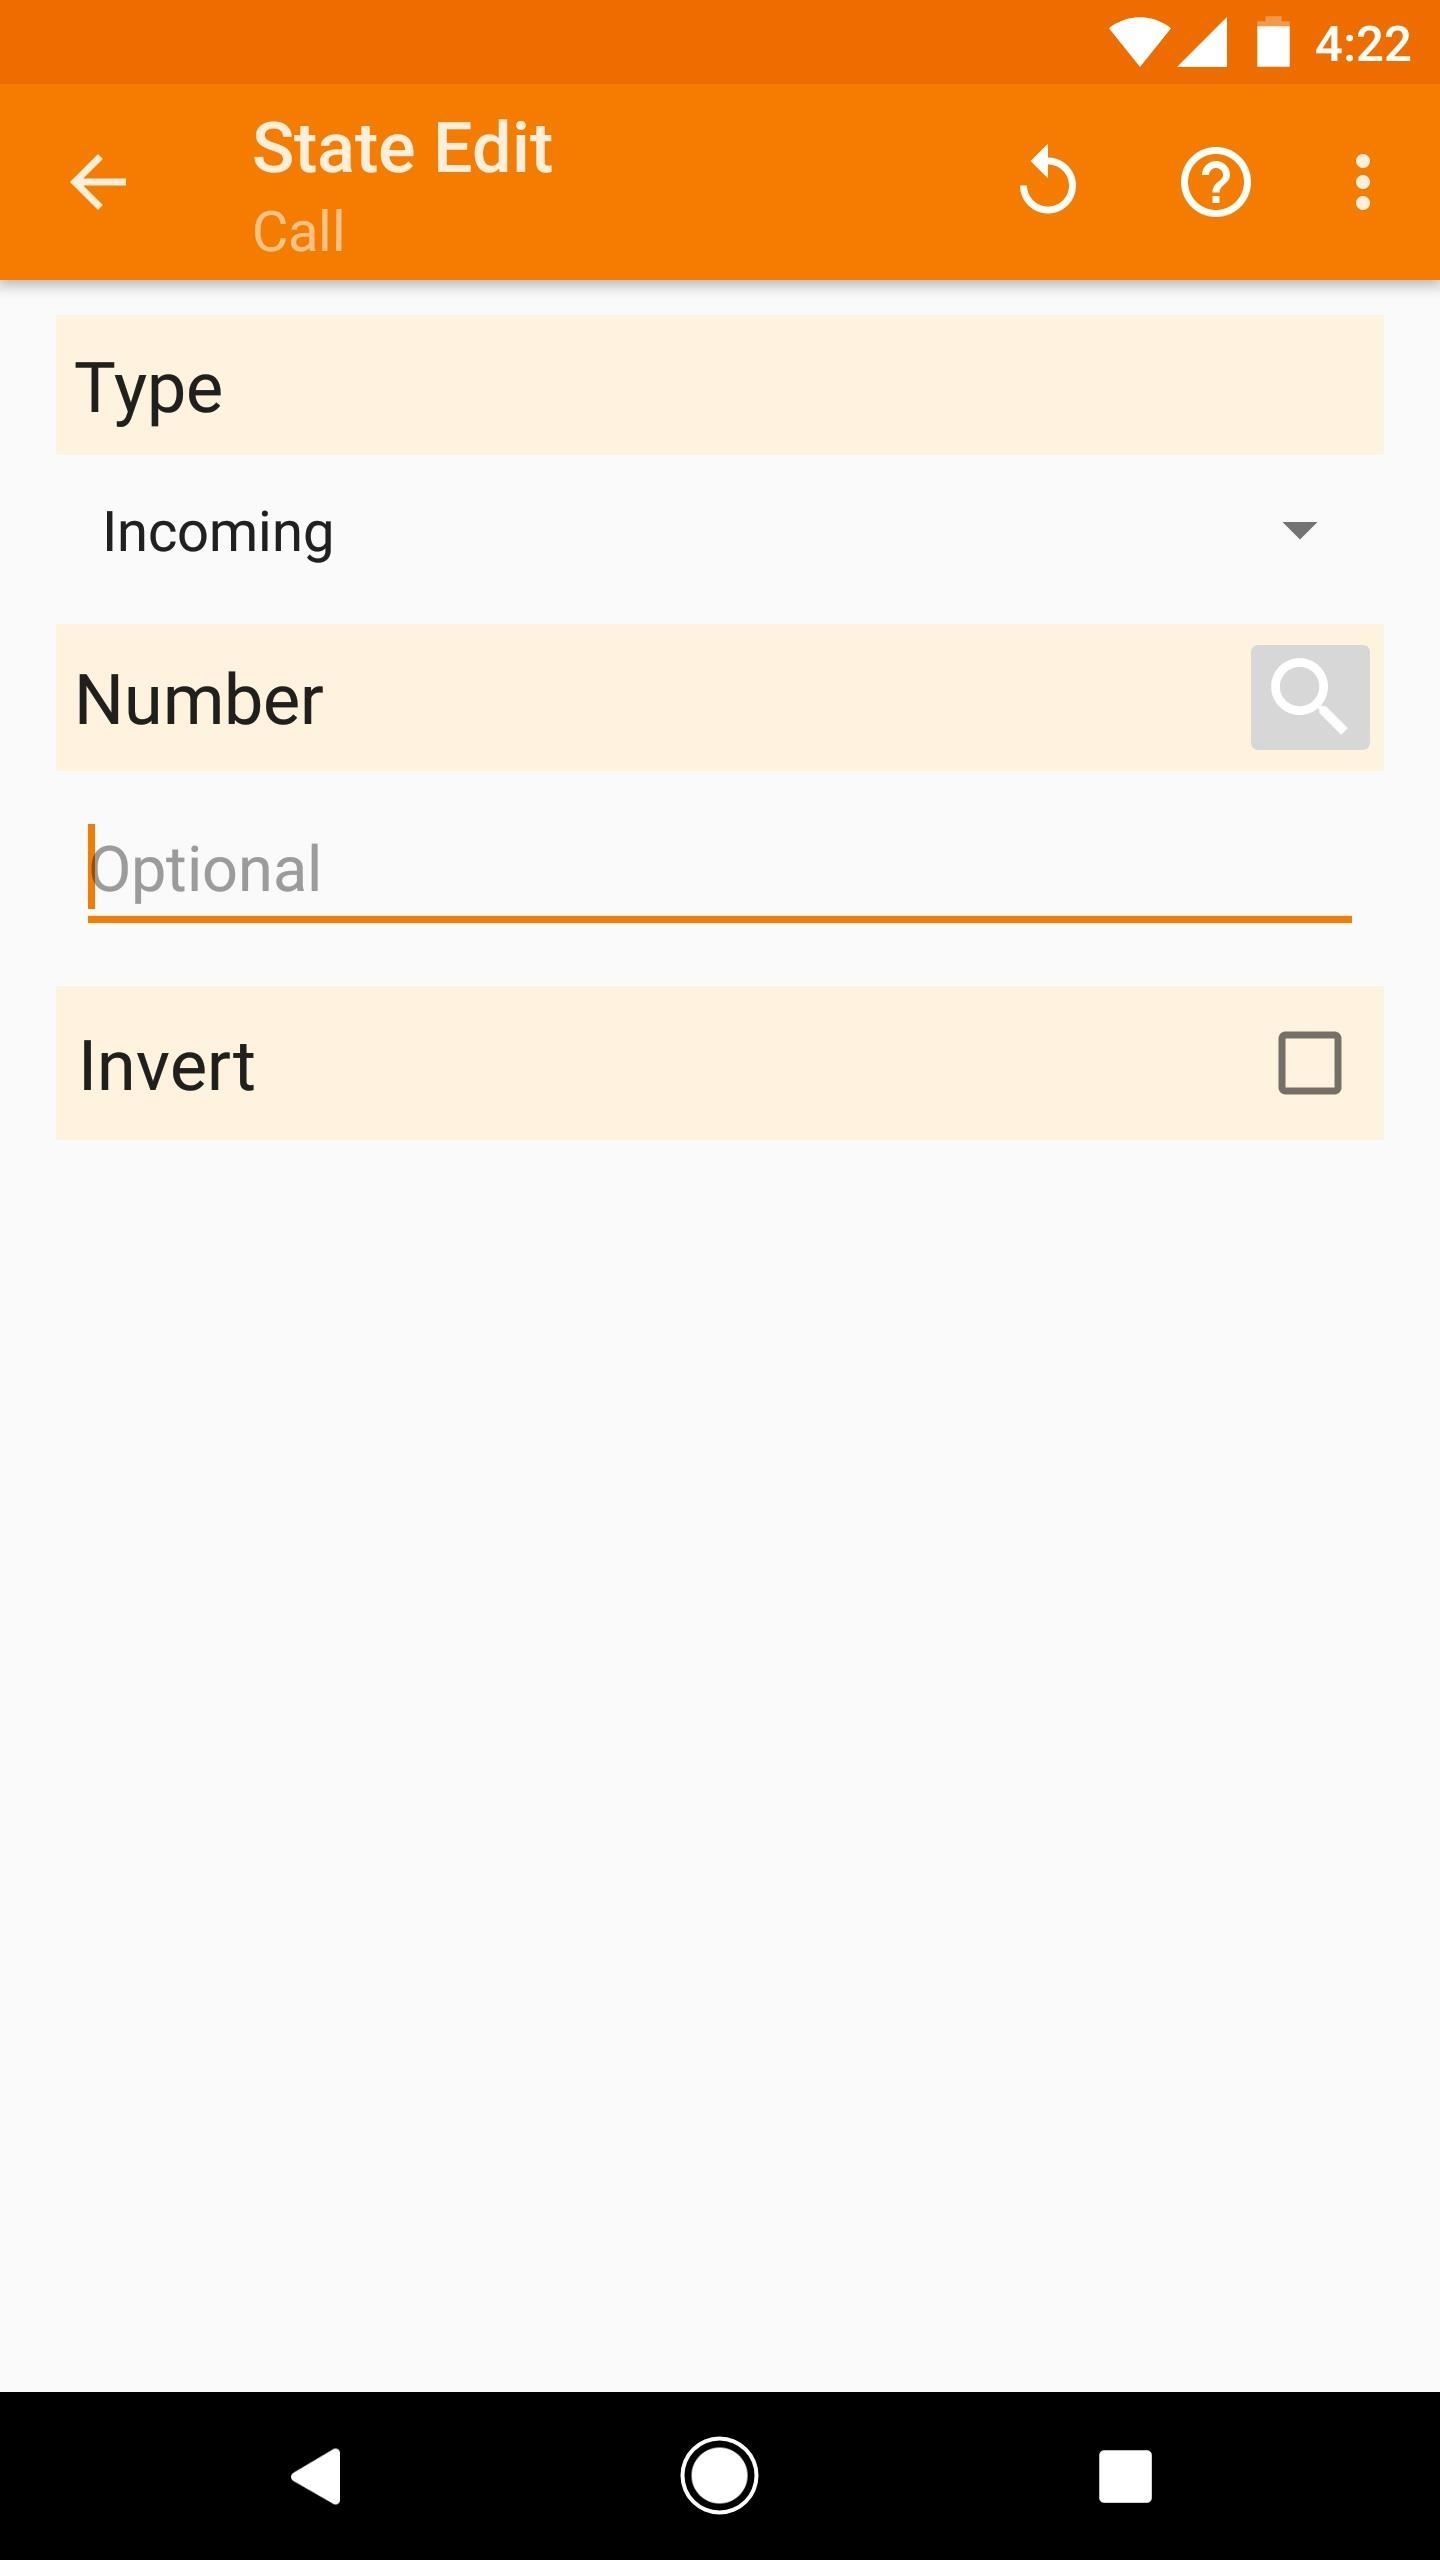
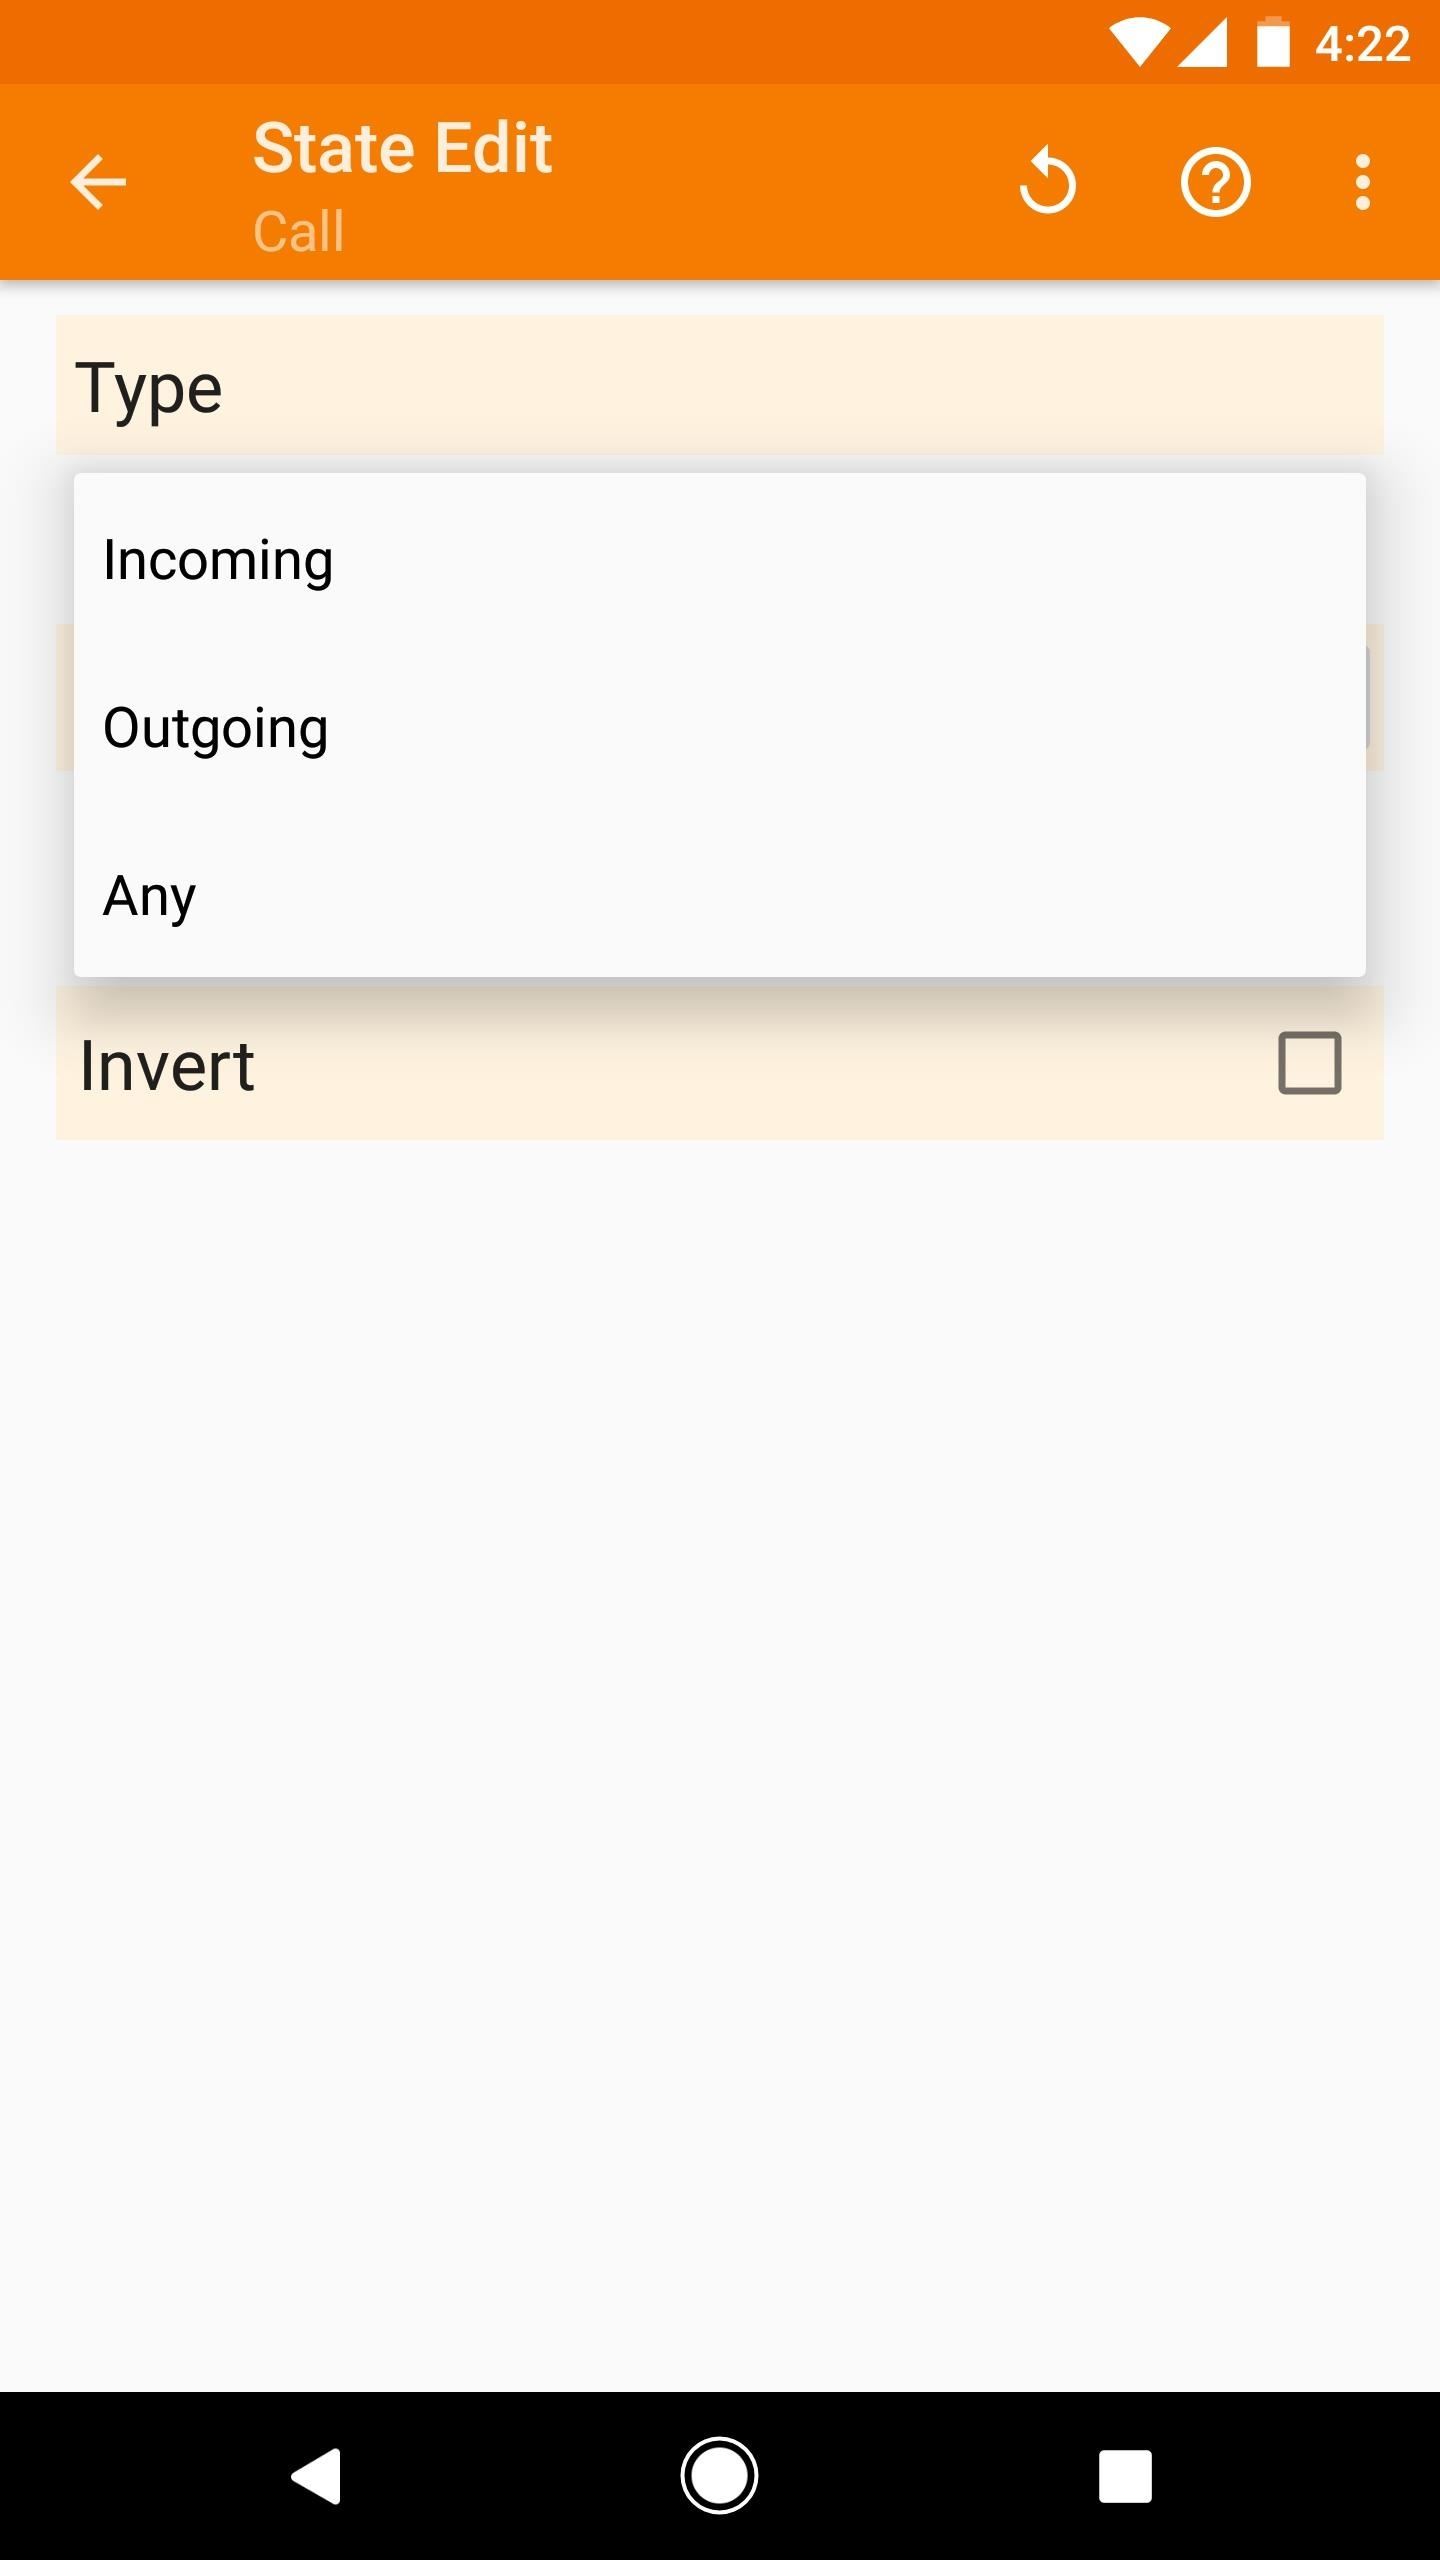
Once you've selected a state, you'll likely see the State Edit screen, which lets you specify a few more rules. For instance, with the "Call" state, you can specify a number or contact and Tasker will only trigger your task when that person is calling. You can also specify whether you want the task to be triggered on incoming calls, outgoing calls, or any calls.
This menu will have different options depending on which state you chose, but the setup process is mostly the same — just specify any extra conditions that you'd like to apply to the first context in your profile. When you're done here, tap your back button twice to head out to the Profiles tab in Tasker, then you'll be prompted to name your profile and associate a task with it.
6. Time
The "Time" category is reminiscent of the "Calendar" category in terms of the interface, but its best usage is similar to the "Location" category in that you'll typically use this one to automatically change notification volume and other system settings when you get to work or school. It's more reliable than Location because the system always knows the exact time, but it works best if you keep a tight schedule.
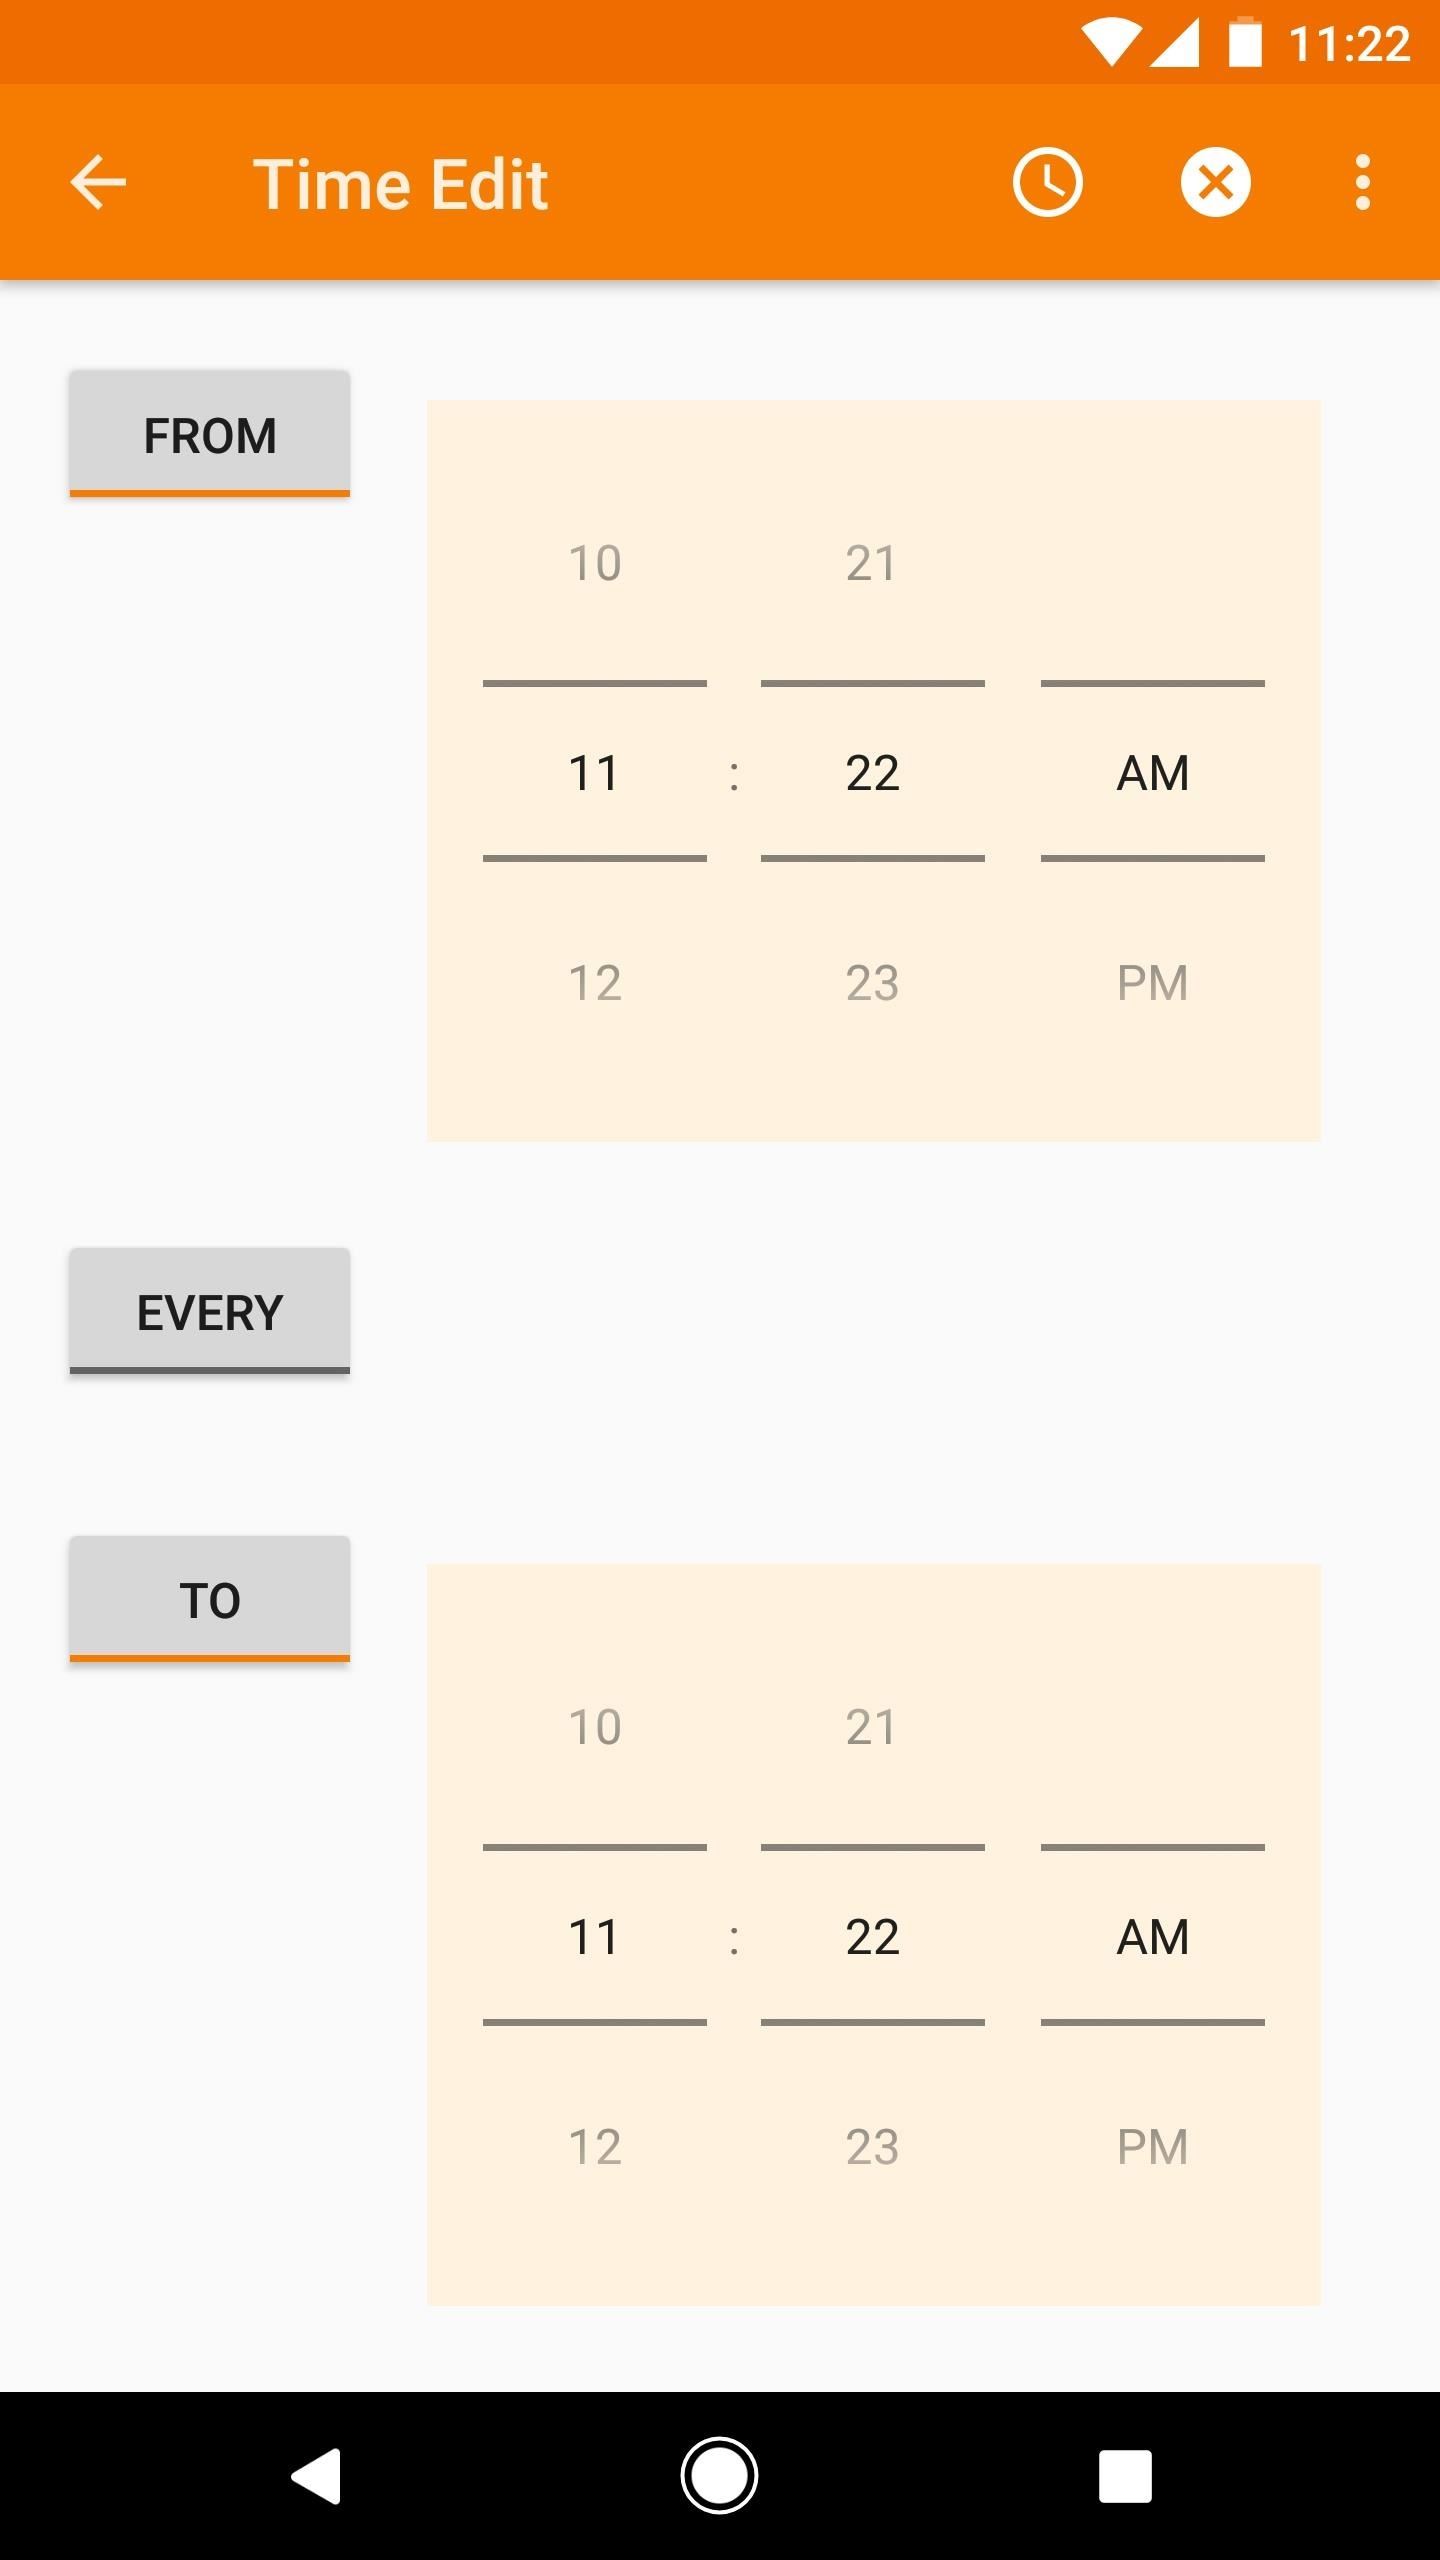
On the left of this screen, there are three buttons. When one is enabled, you'll see an orange indicator beneath it. "From" represents the starting time for your profile, so the first time it'll become active. "To" is when your profile will stop being active, and if you don't select this option, the profile will stop at midnight every night.
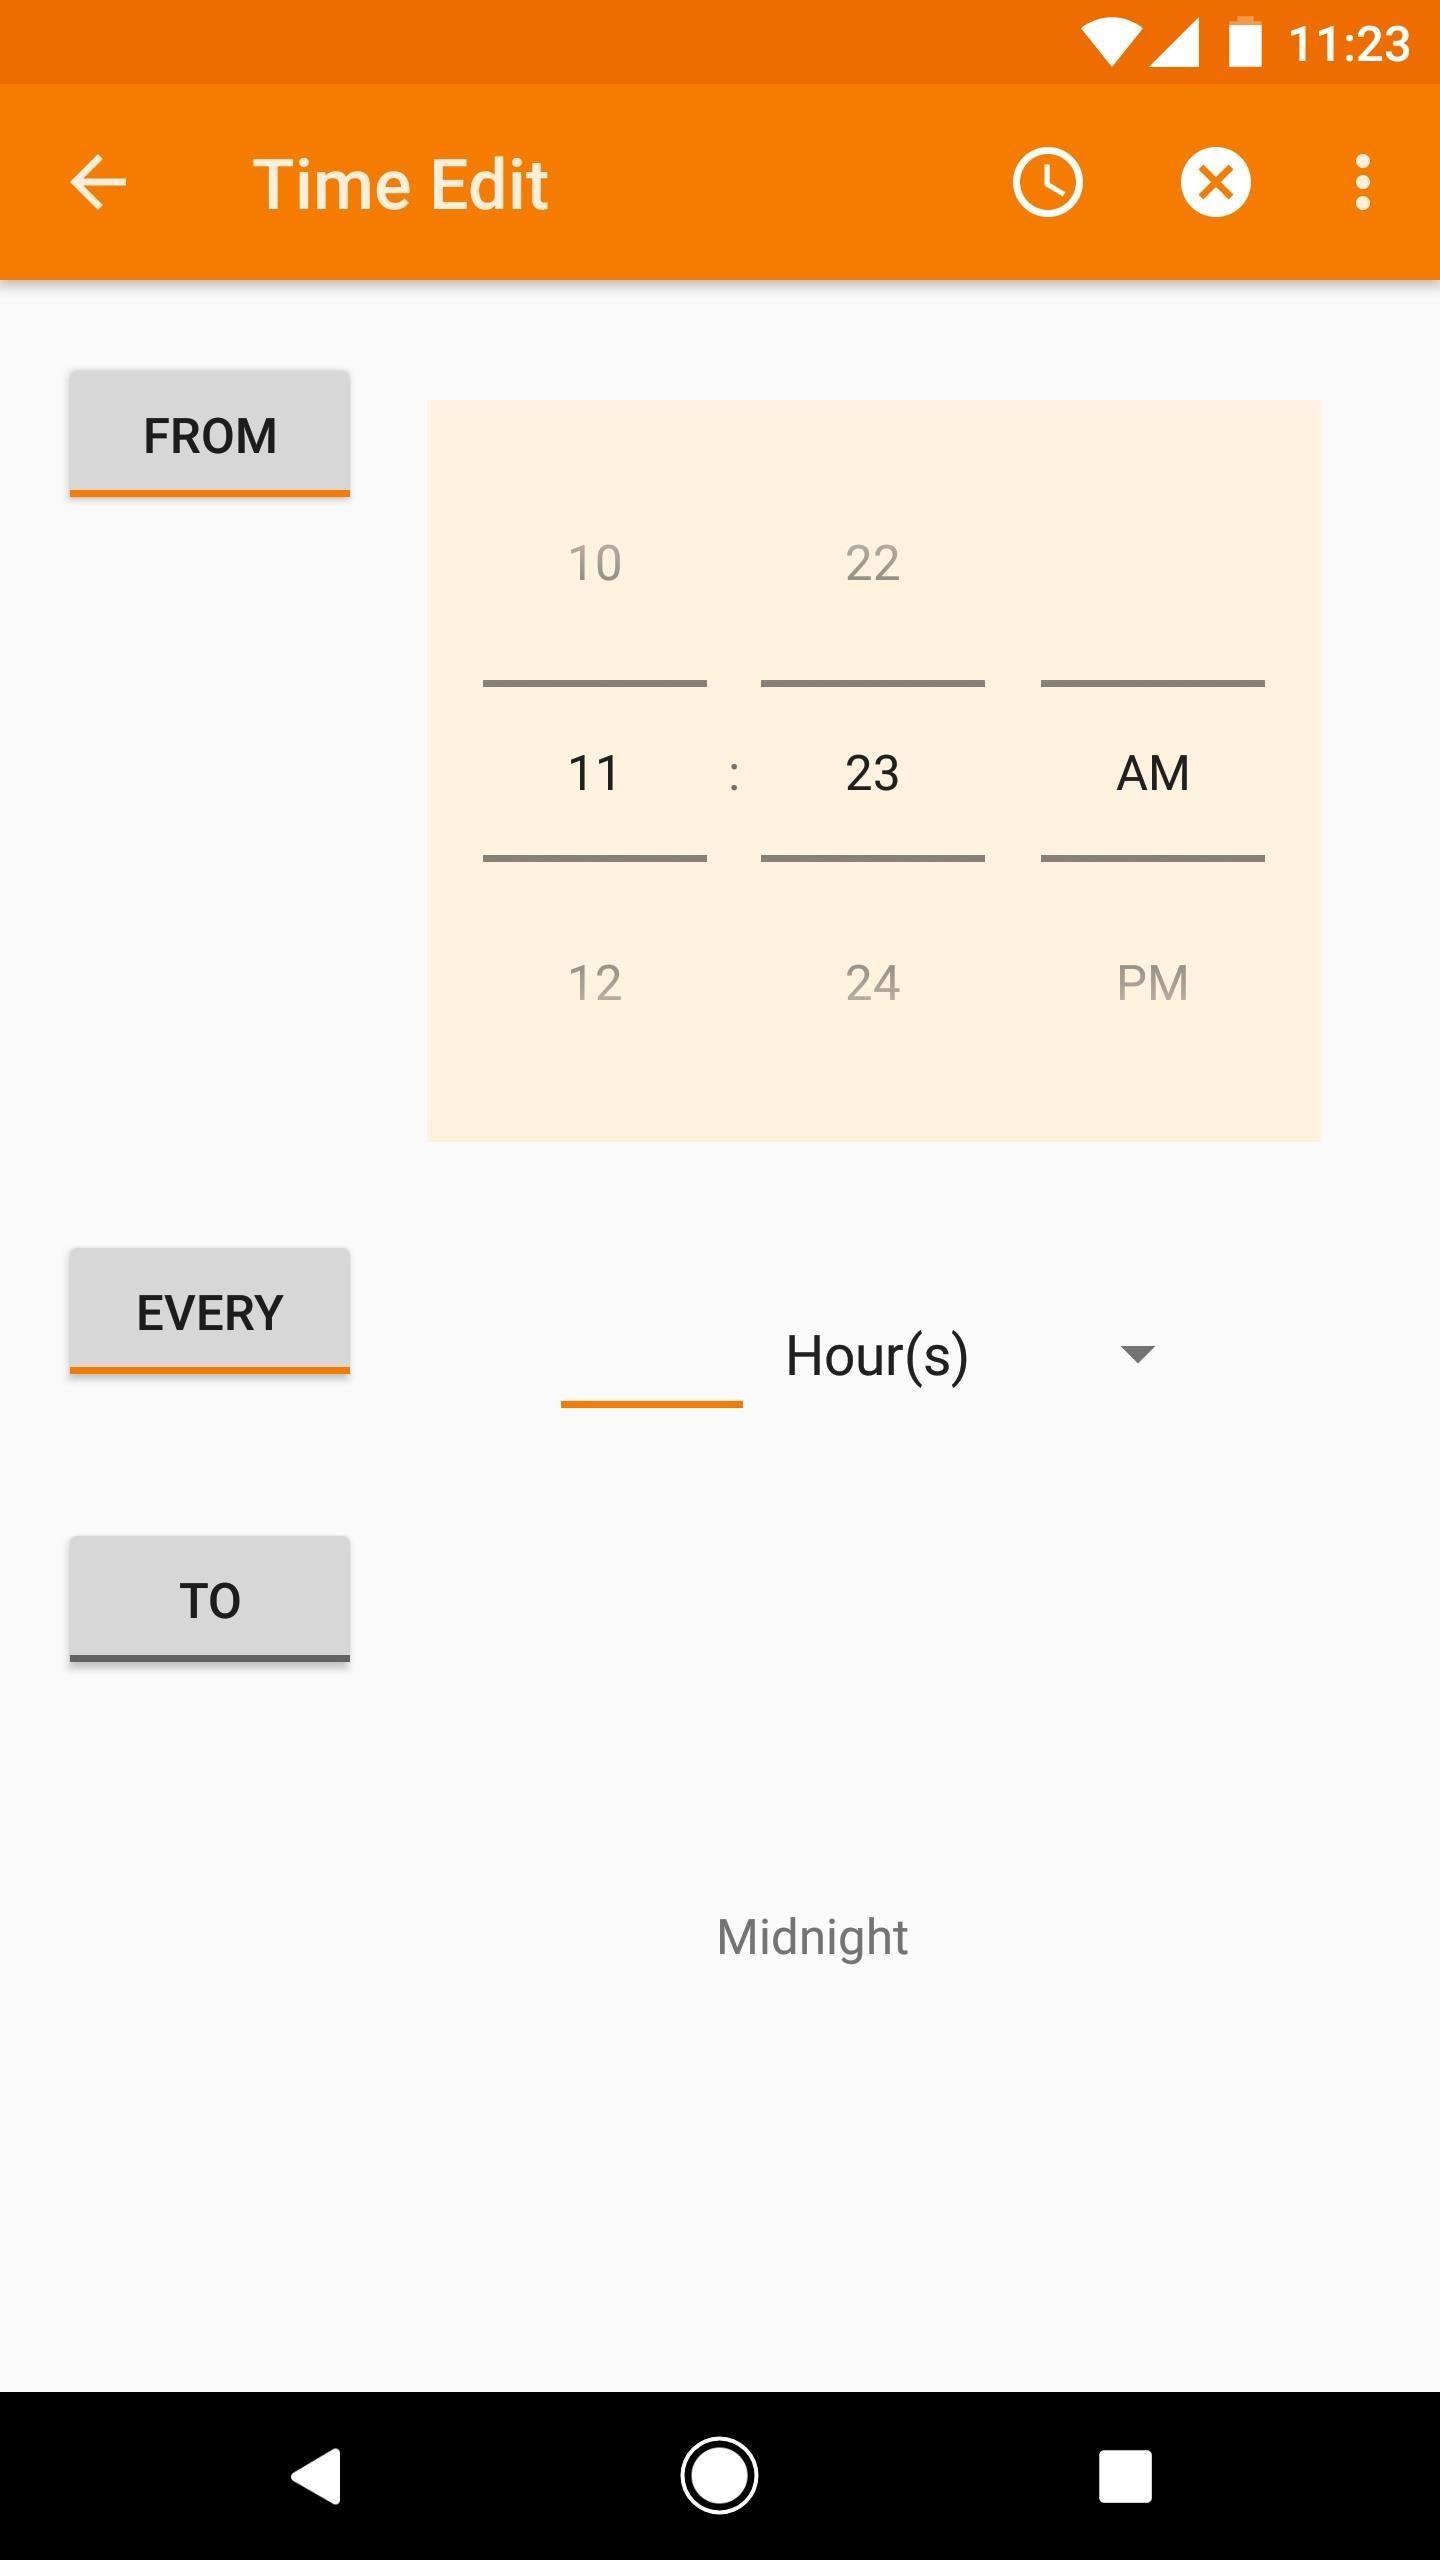
If you don't want your profile to trigger at a certain time, you can select "Every" instead. This lets you enter a number that will cause your profile to become active every X hours or X minutes. You can also combine this with the "From" and "To" options so that your profile becomes active every X hours, but only during certain periods throughout the day.
As with all of these categories, tap your back button when you finish configuring things. This will cause Tasker to ask you to name the profile, then associate a task with it. When you've done that, you'll have successfully created a profile.
Now that you have a better understanding of Tasker profiles, what automation scenarios can you envision yourself creating? Have you made any cool or unique profiles yet? Tell us all about it in the comment section below.
Who needs a wand? Unlock your magical powers and transform yourself from a Muggle into a Wizard or Witch just by using your Android phone. See how:


2 Comments
In section 1, "The first category, labeled "Automation," is pretty straightforward — once you select this, you'll see a list of all the apps that you have installed on your phone." I could not find a category labeled, "Automation." I hope it's a typo. I went to the category labeled, "Application."
Good catch! Yep, that's a typo. A little Freudian slip since automation was on my mind so heavily here. Fixed it now.
Share Your Thoughts