
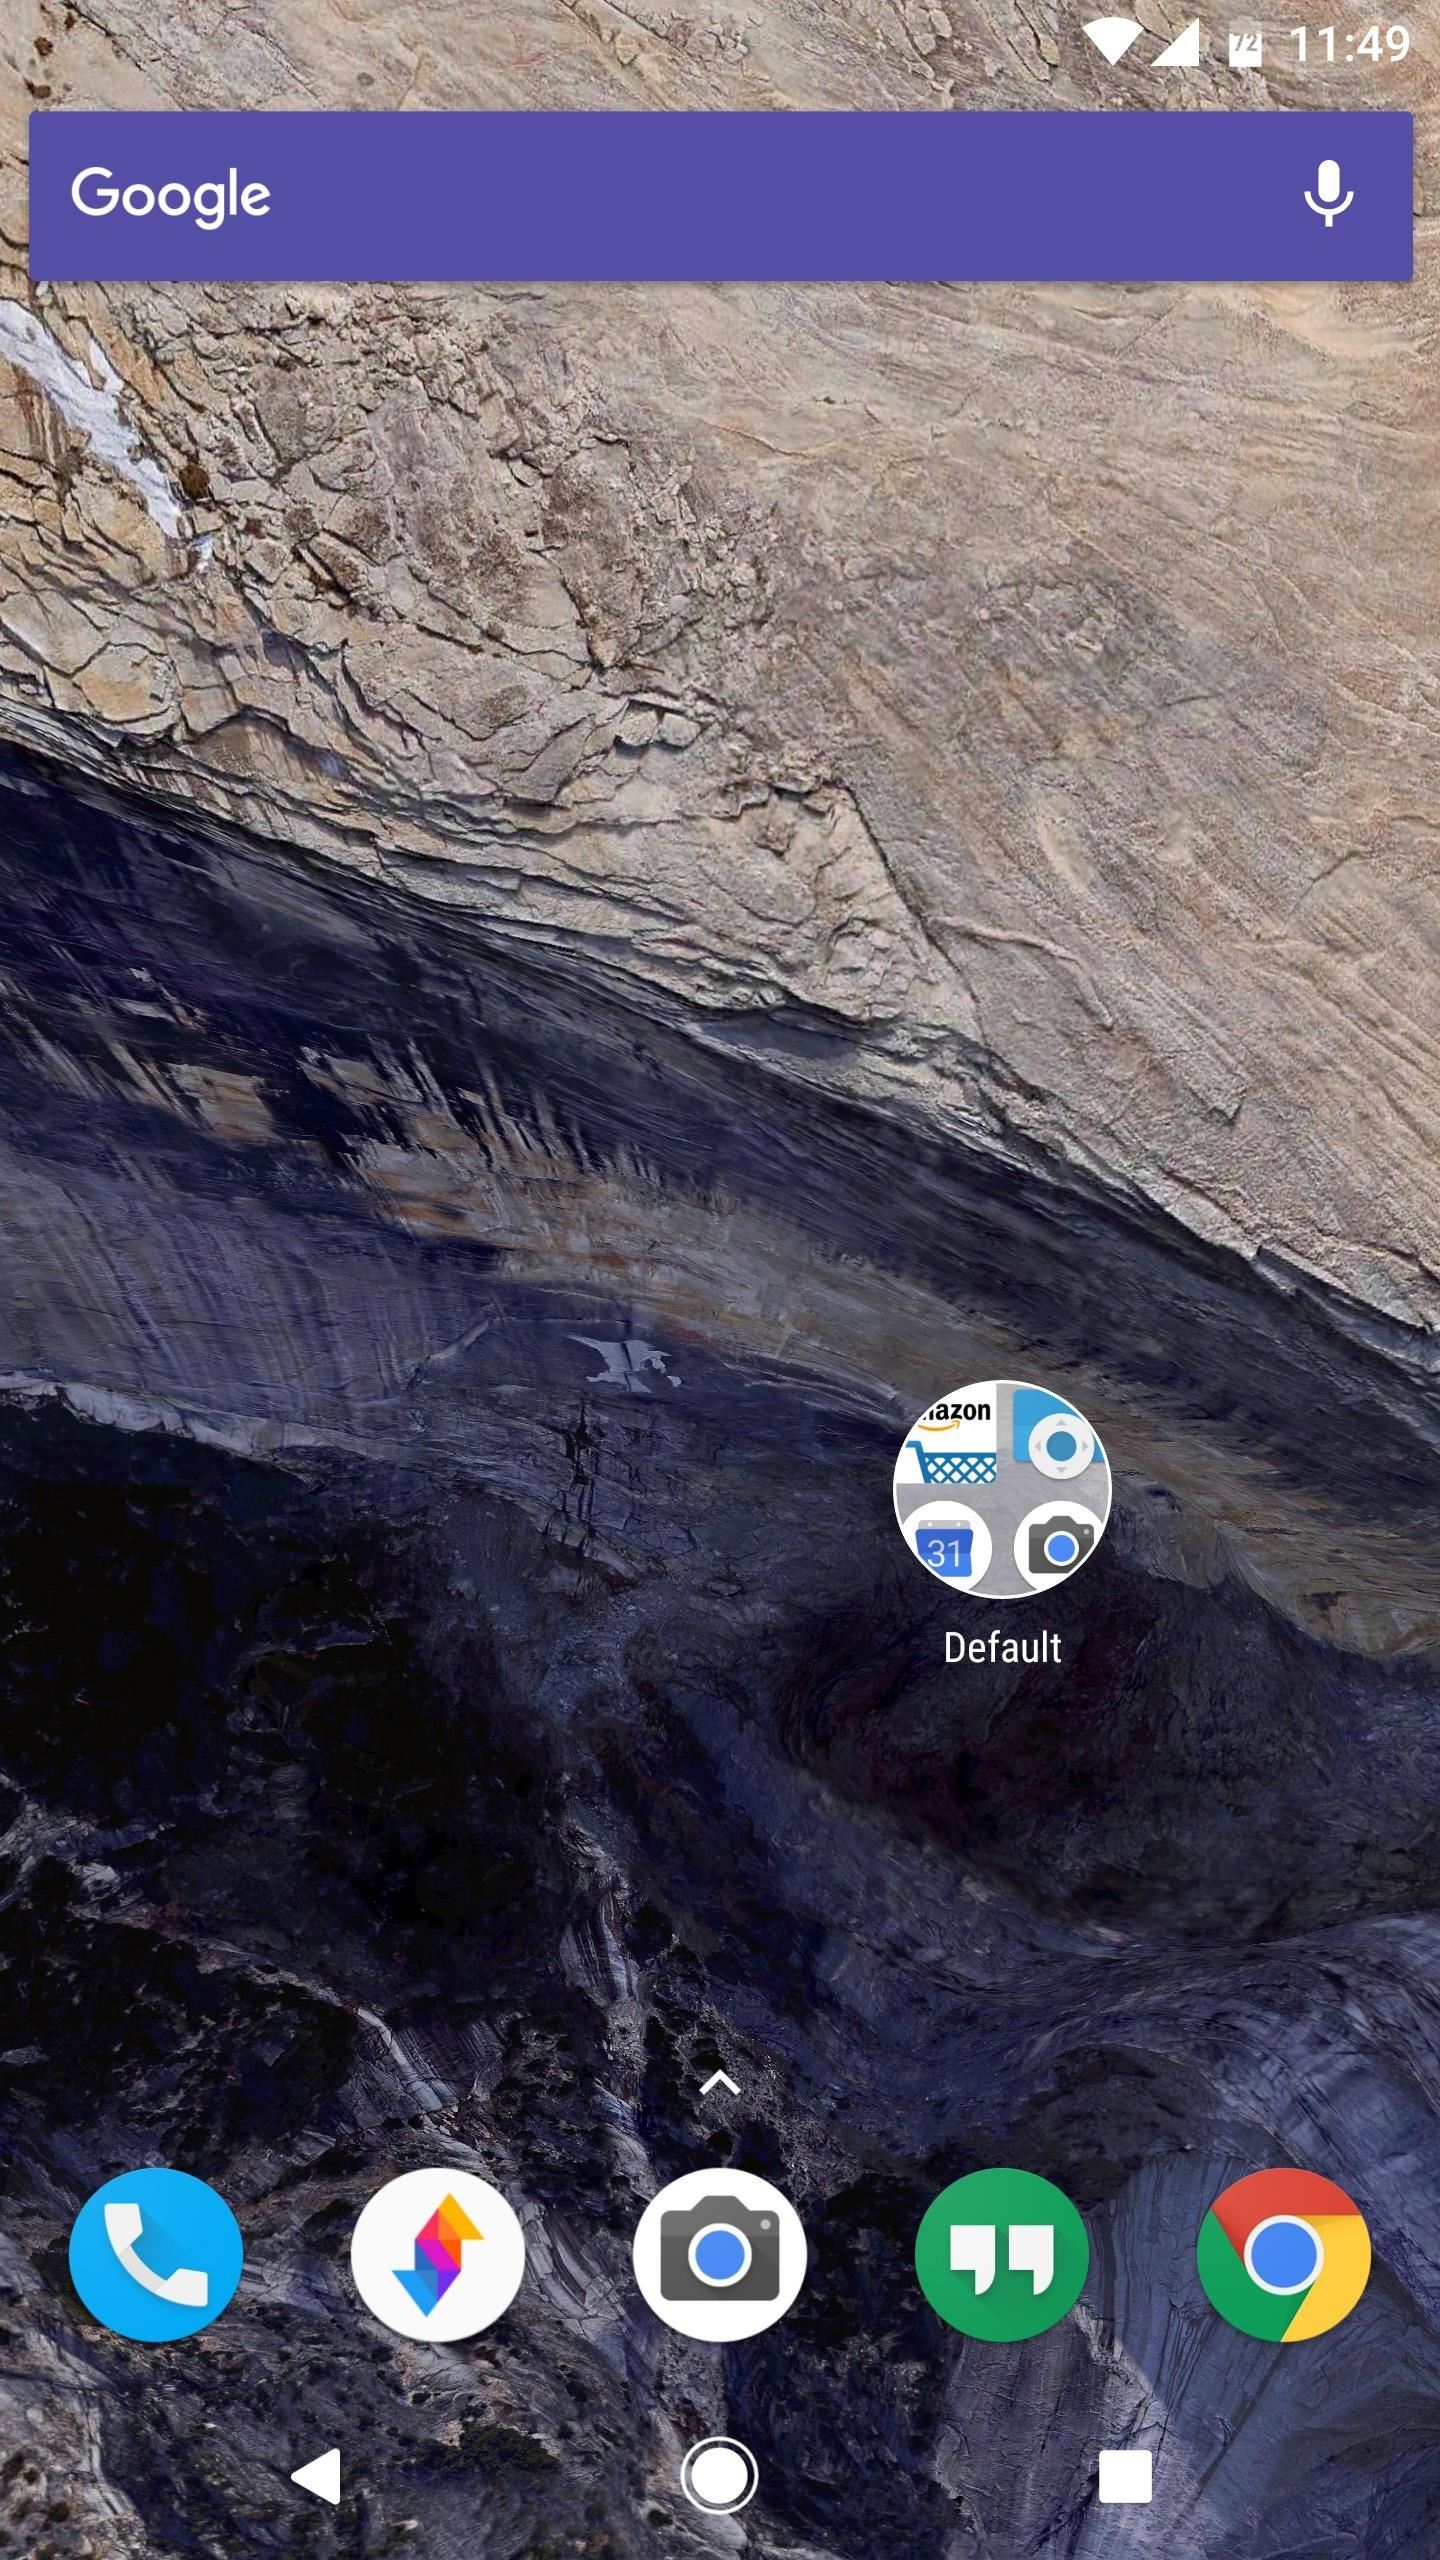
An app from the development team at ts-apps has the potential to make your Android device smarter than it's ever been. At first glance, you'd think it's just an ordinary home screen folder—but depending on what you're doing at a given time, the folder can show a completely different set of apps.
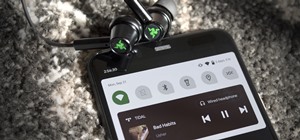
It's a contextually-aware folder, so you can set it to show a different set of apps when you do things like connect a pair of headphones, join a specific Wi-Fi network, or make a phone call. This means that no matter what you're doing, you'll always have quick access to the most pertinent apps right on your home screen.
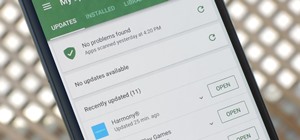
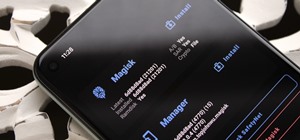
Step 1: Install Contextual App Folder
To get this one going, start by installing the app, which is called Contextual App Folder.
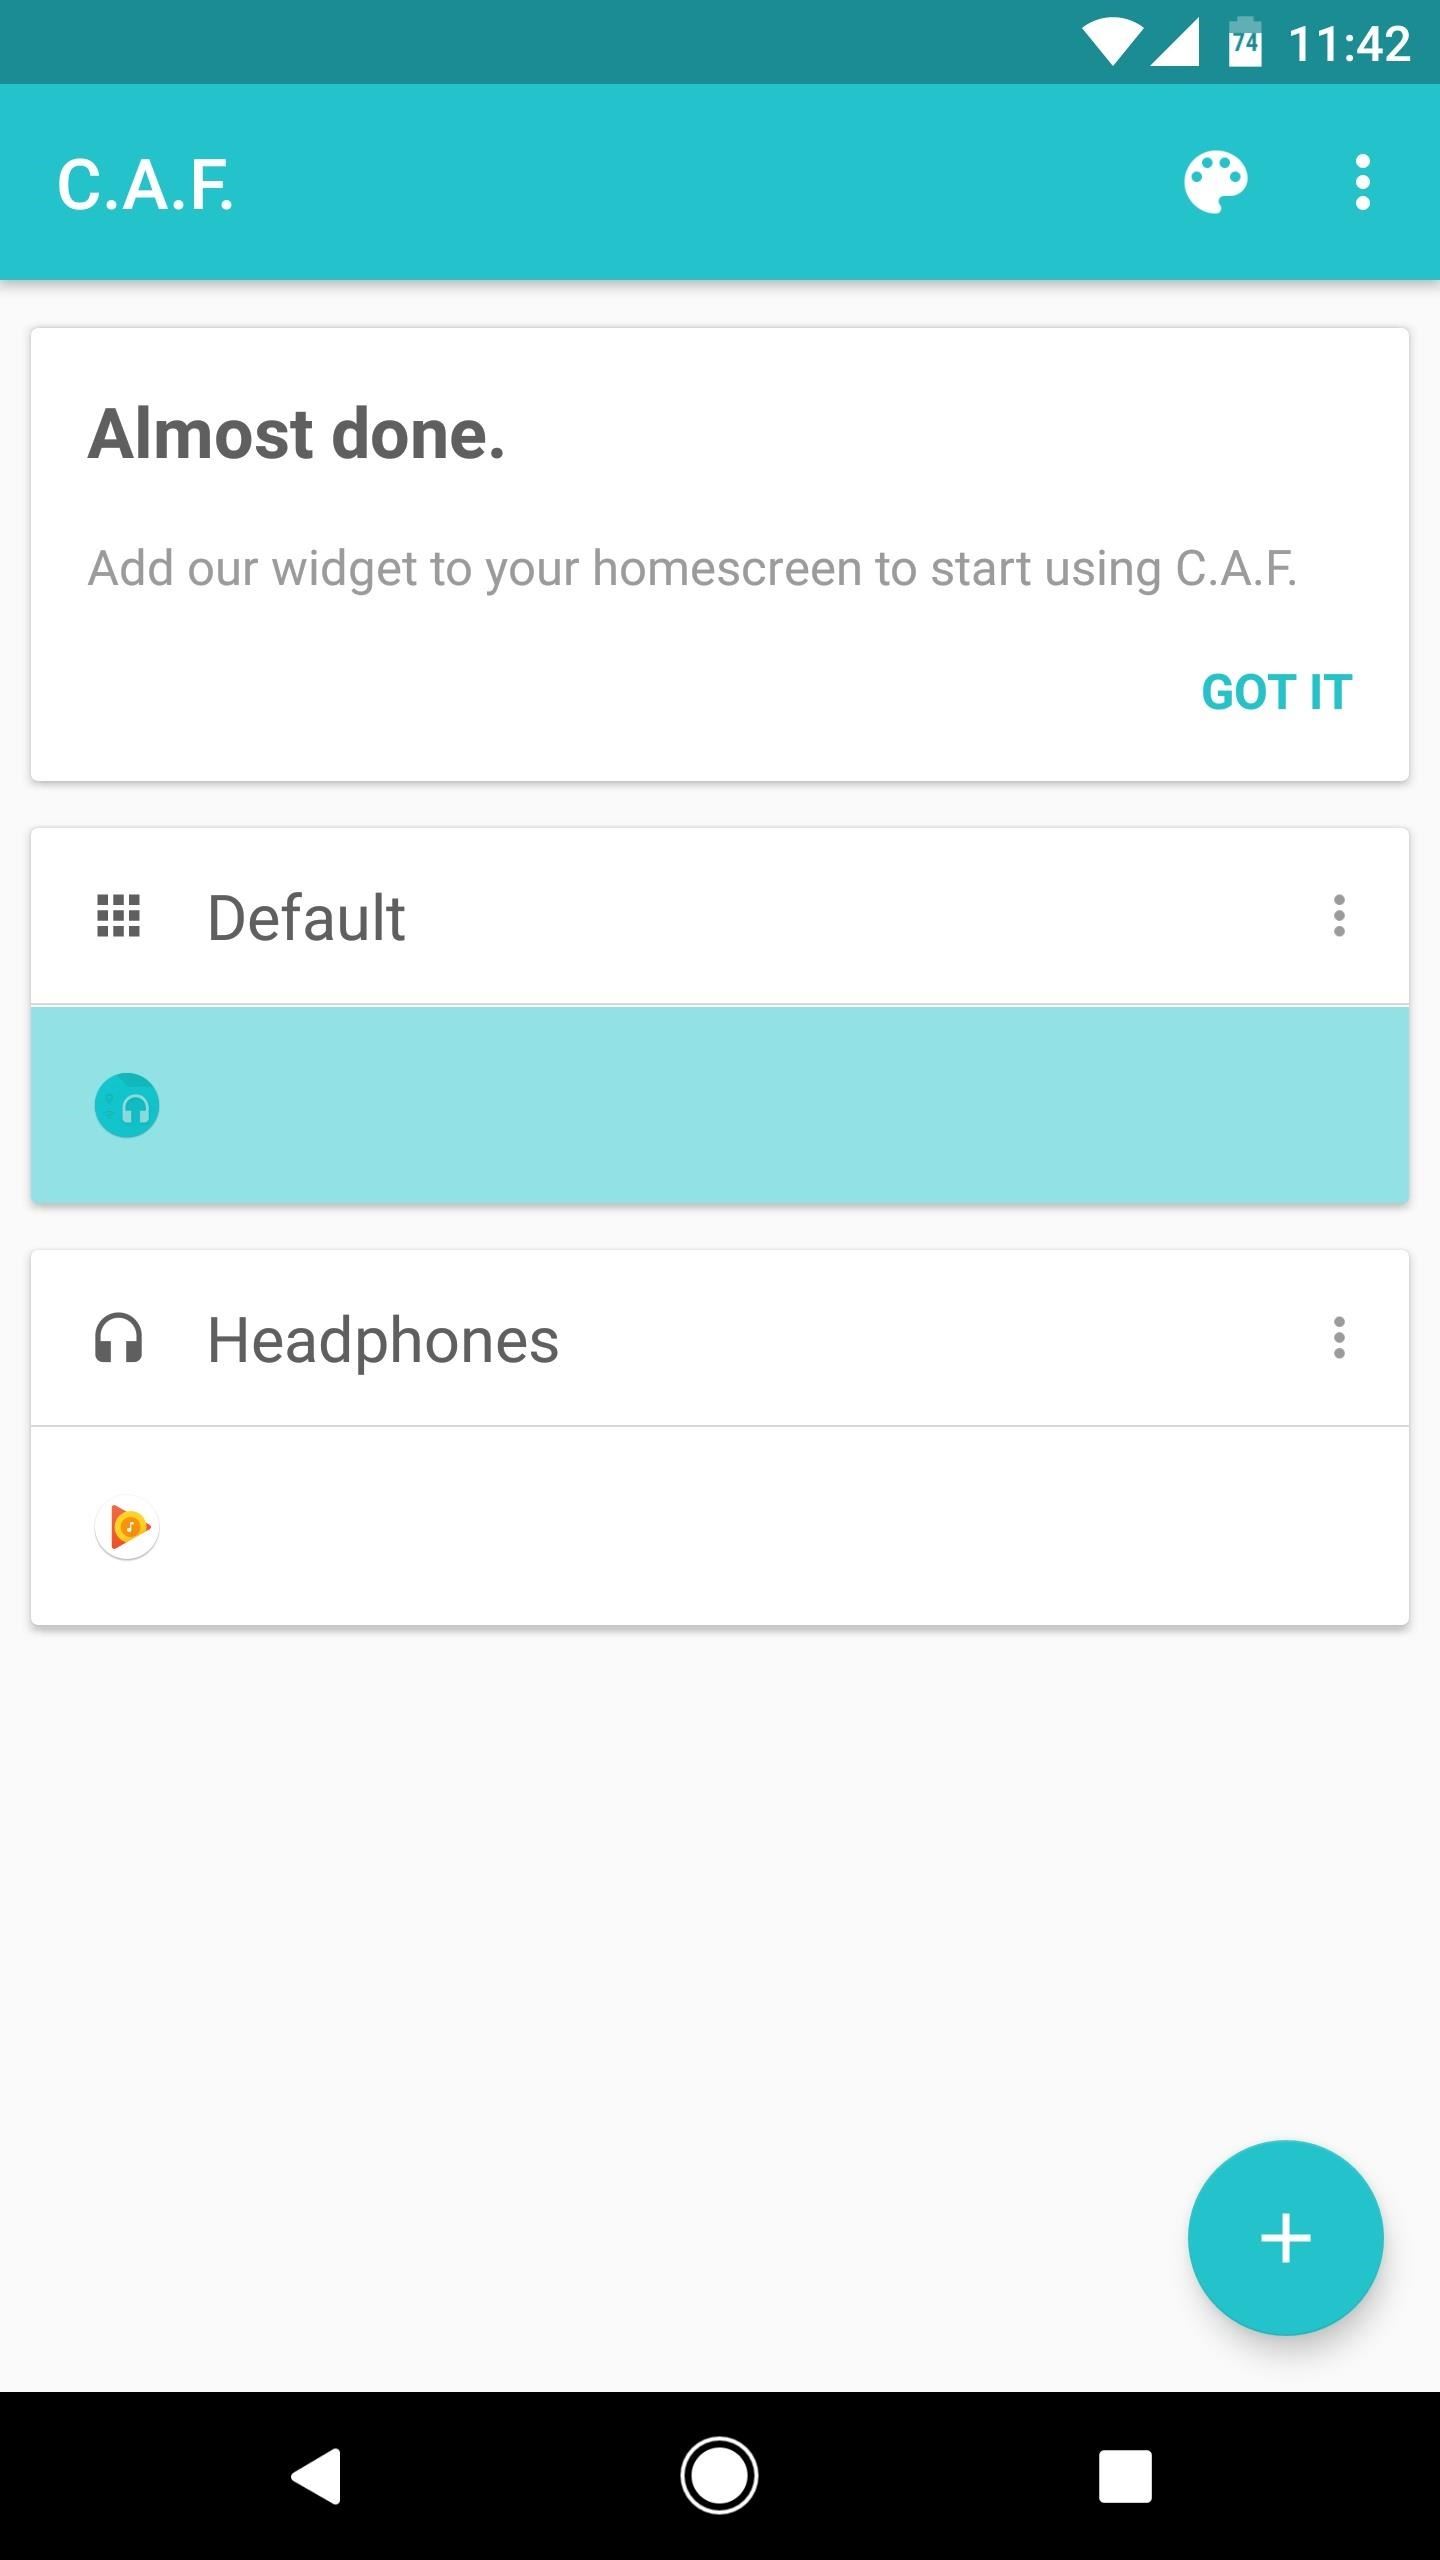
Step 2: Set Up Your Default Folder
When you first launch the app, you'll be greeted by a set-up guide. Once you make it to the main menu, though, you'll be ready to start creating contextually-aware folders.
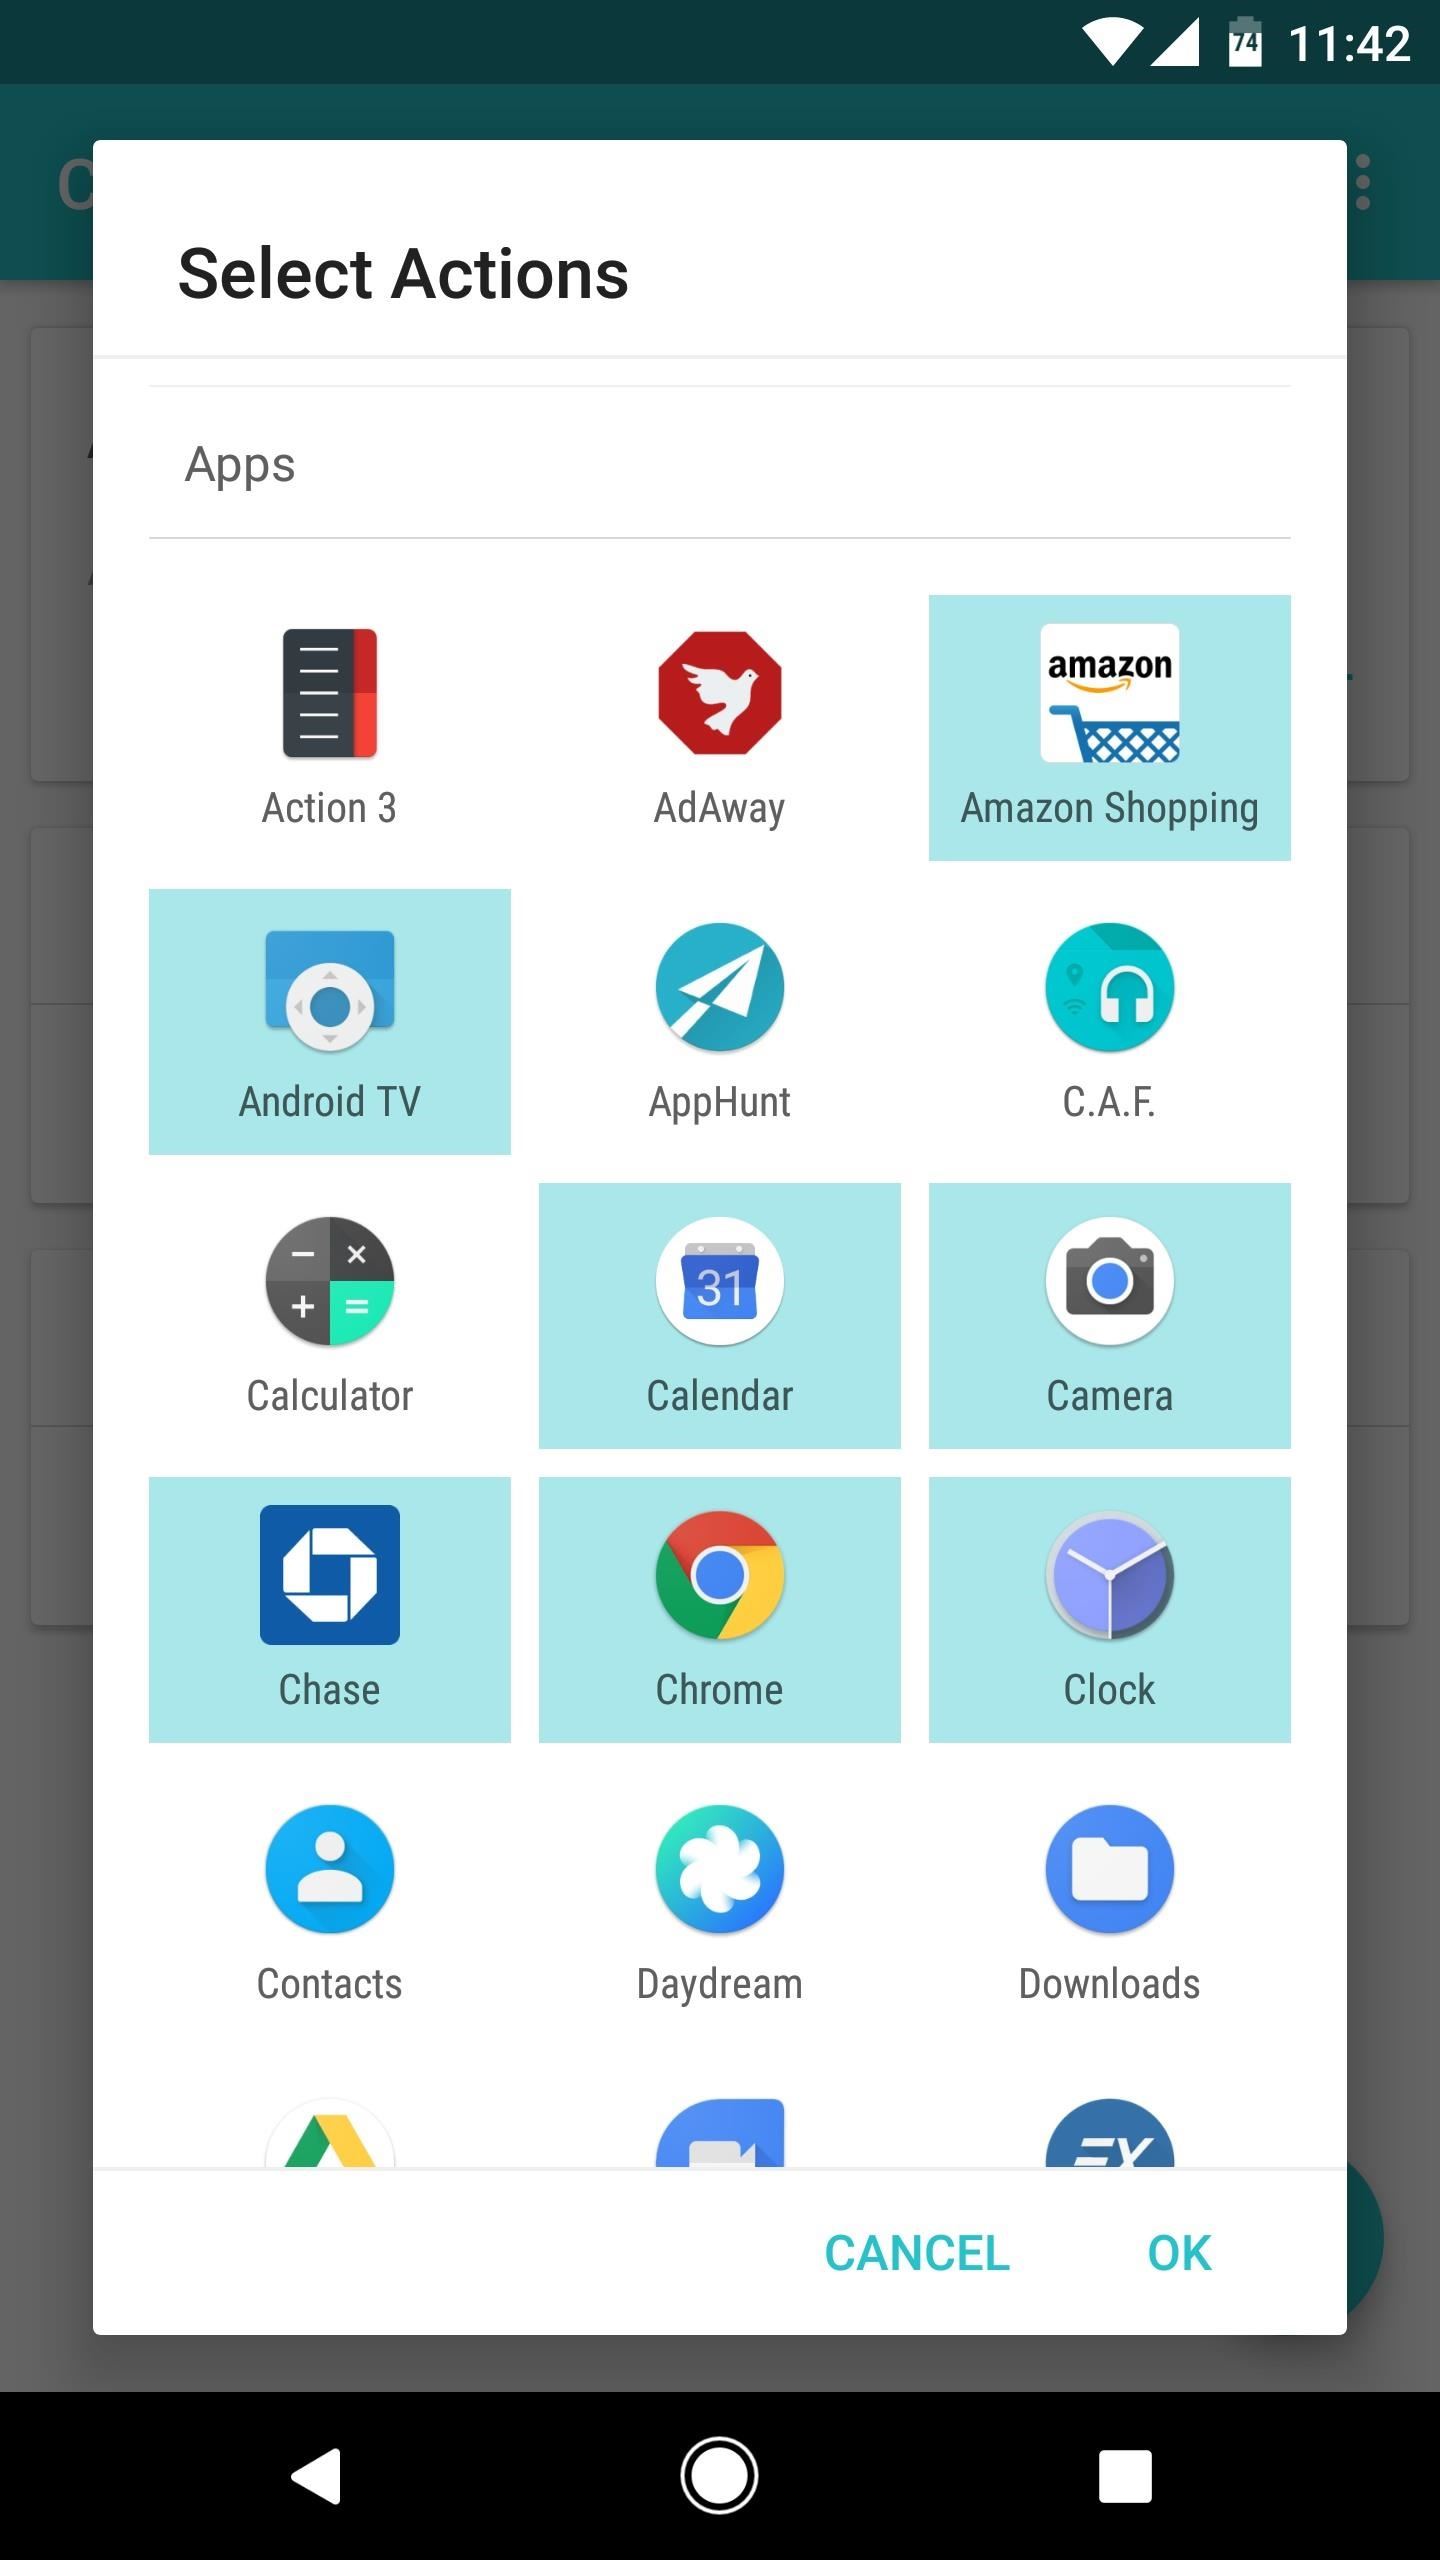
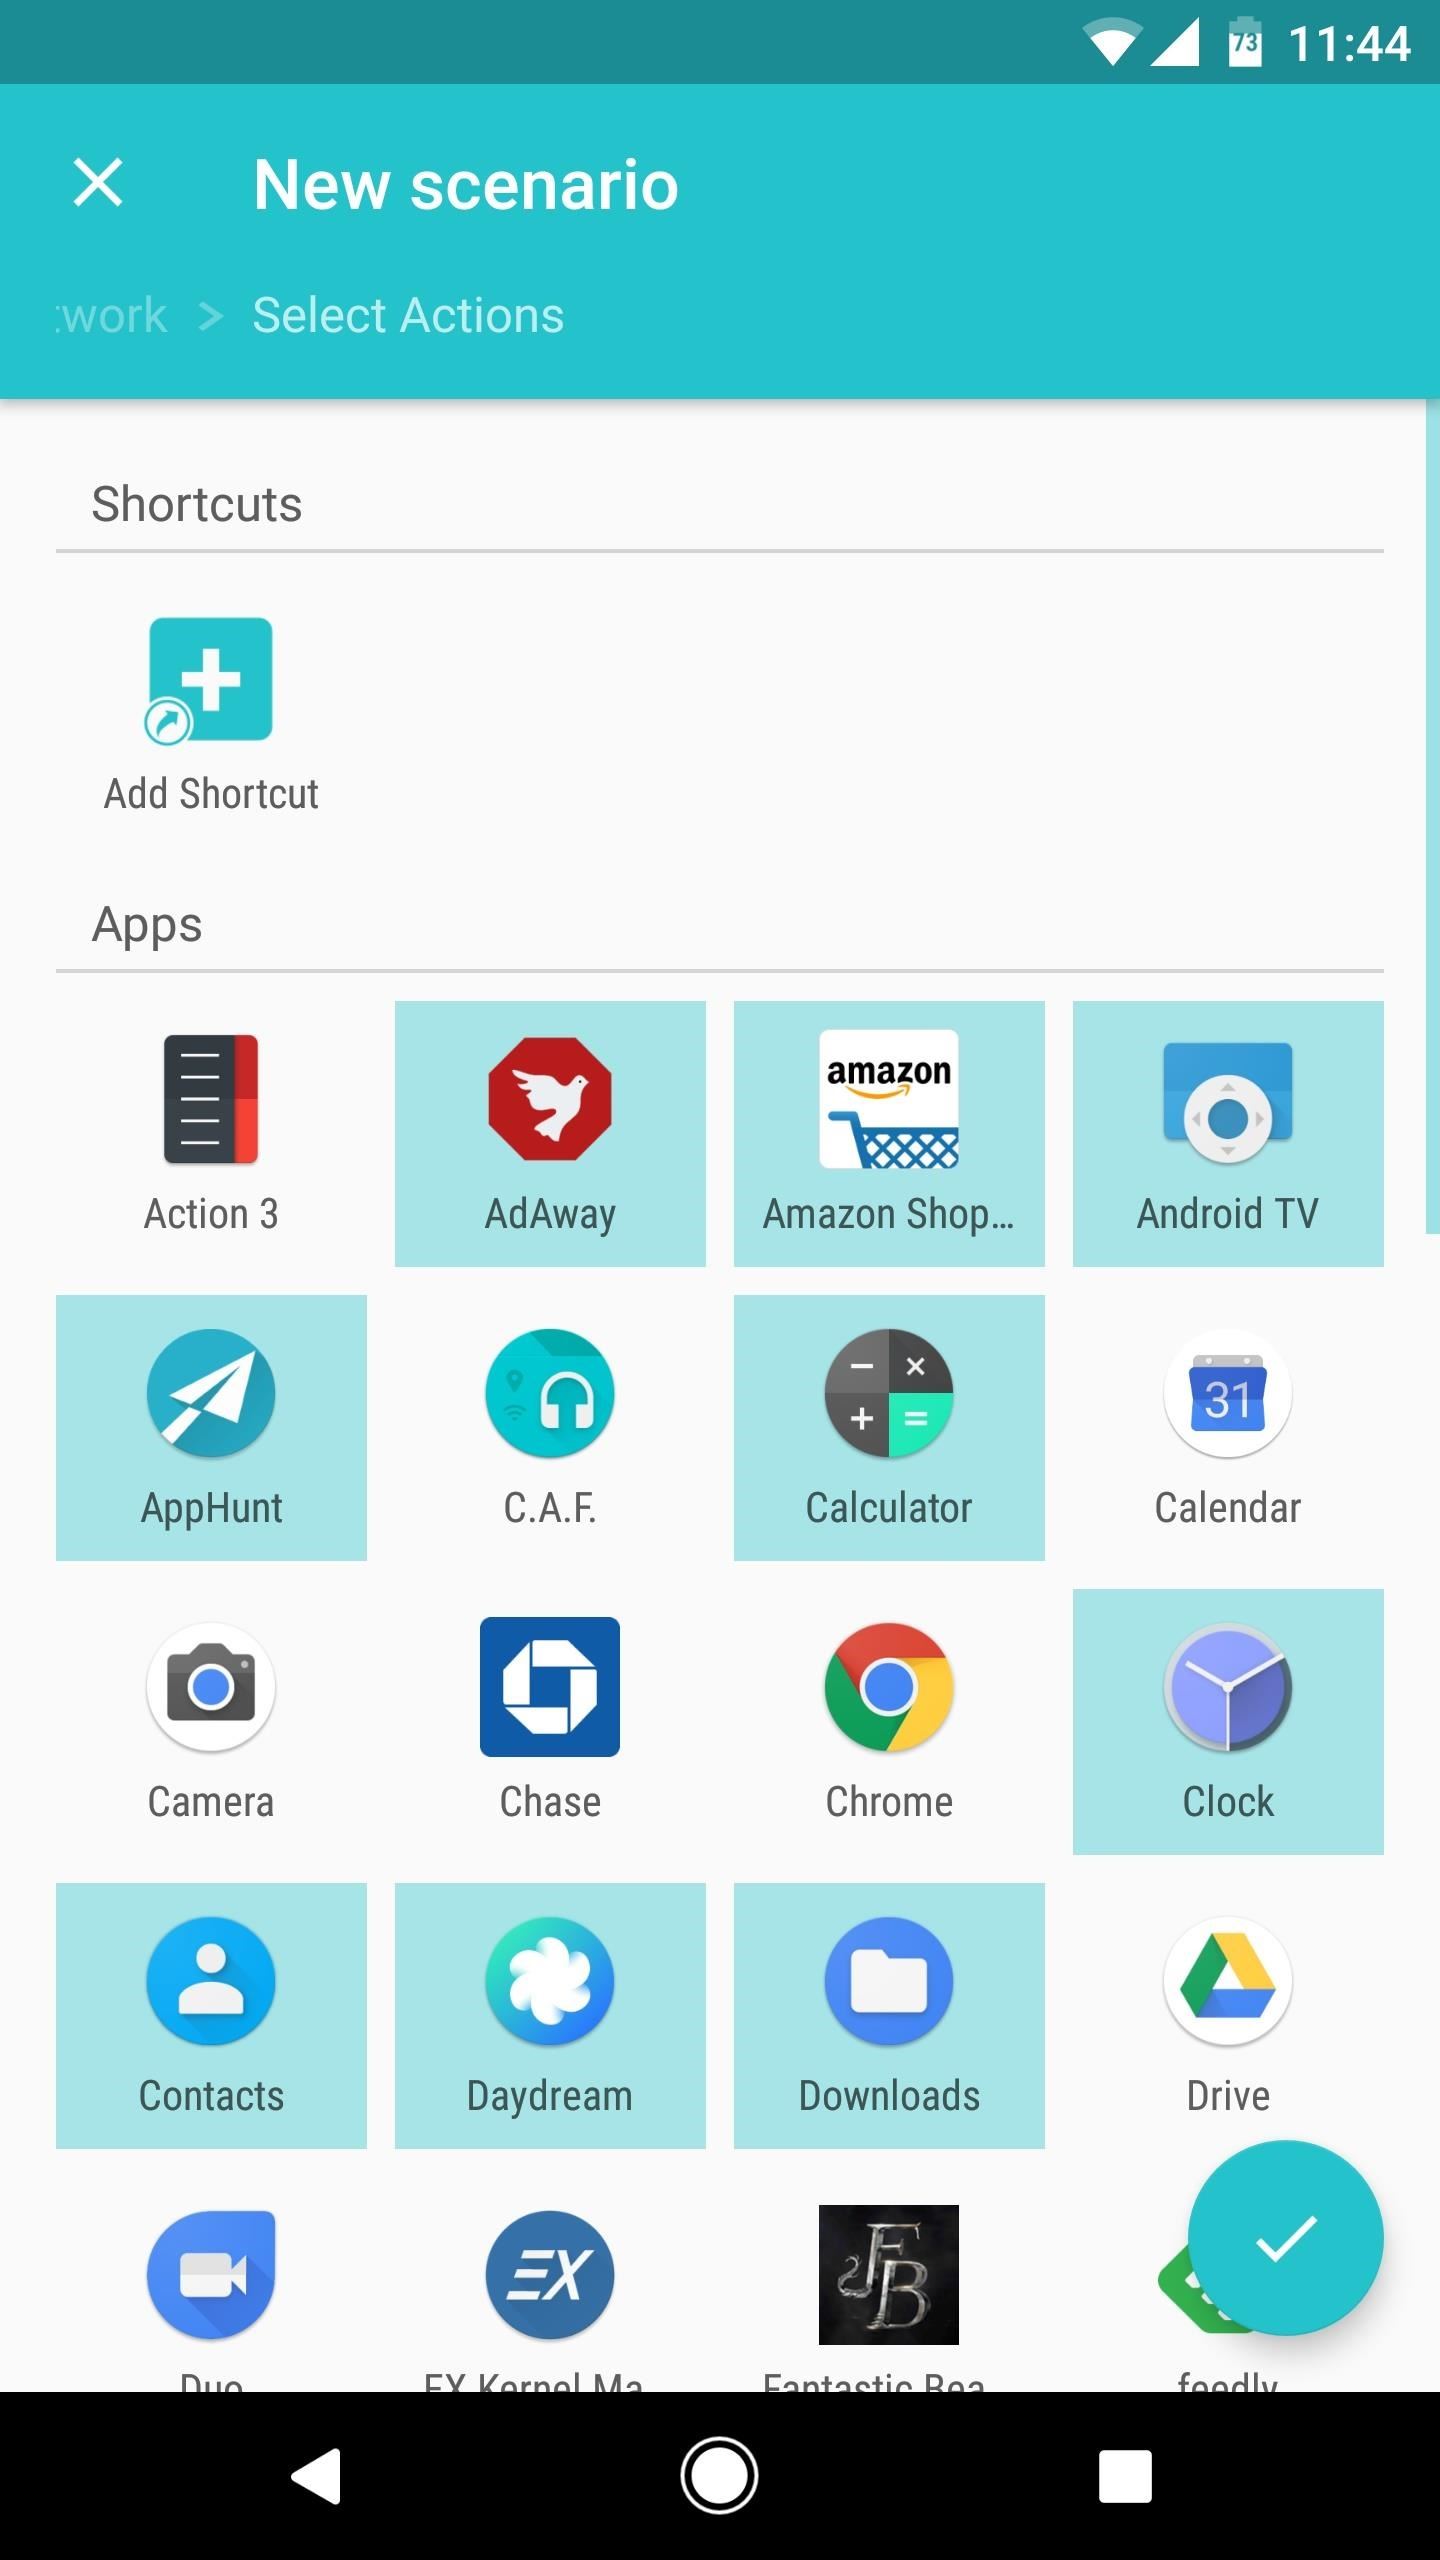
First, you should set up the "Default" folder, so tap the corresponding entry on the main screen. From here, you'll see a list of all your installed apps, so select the apps you'd like to see in your smart folder when no special conditions are active.
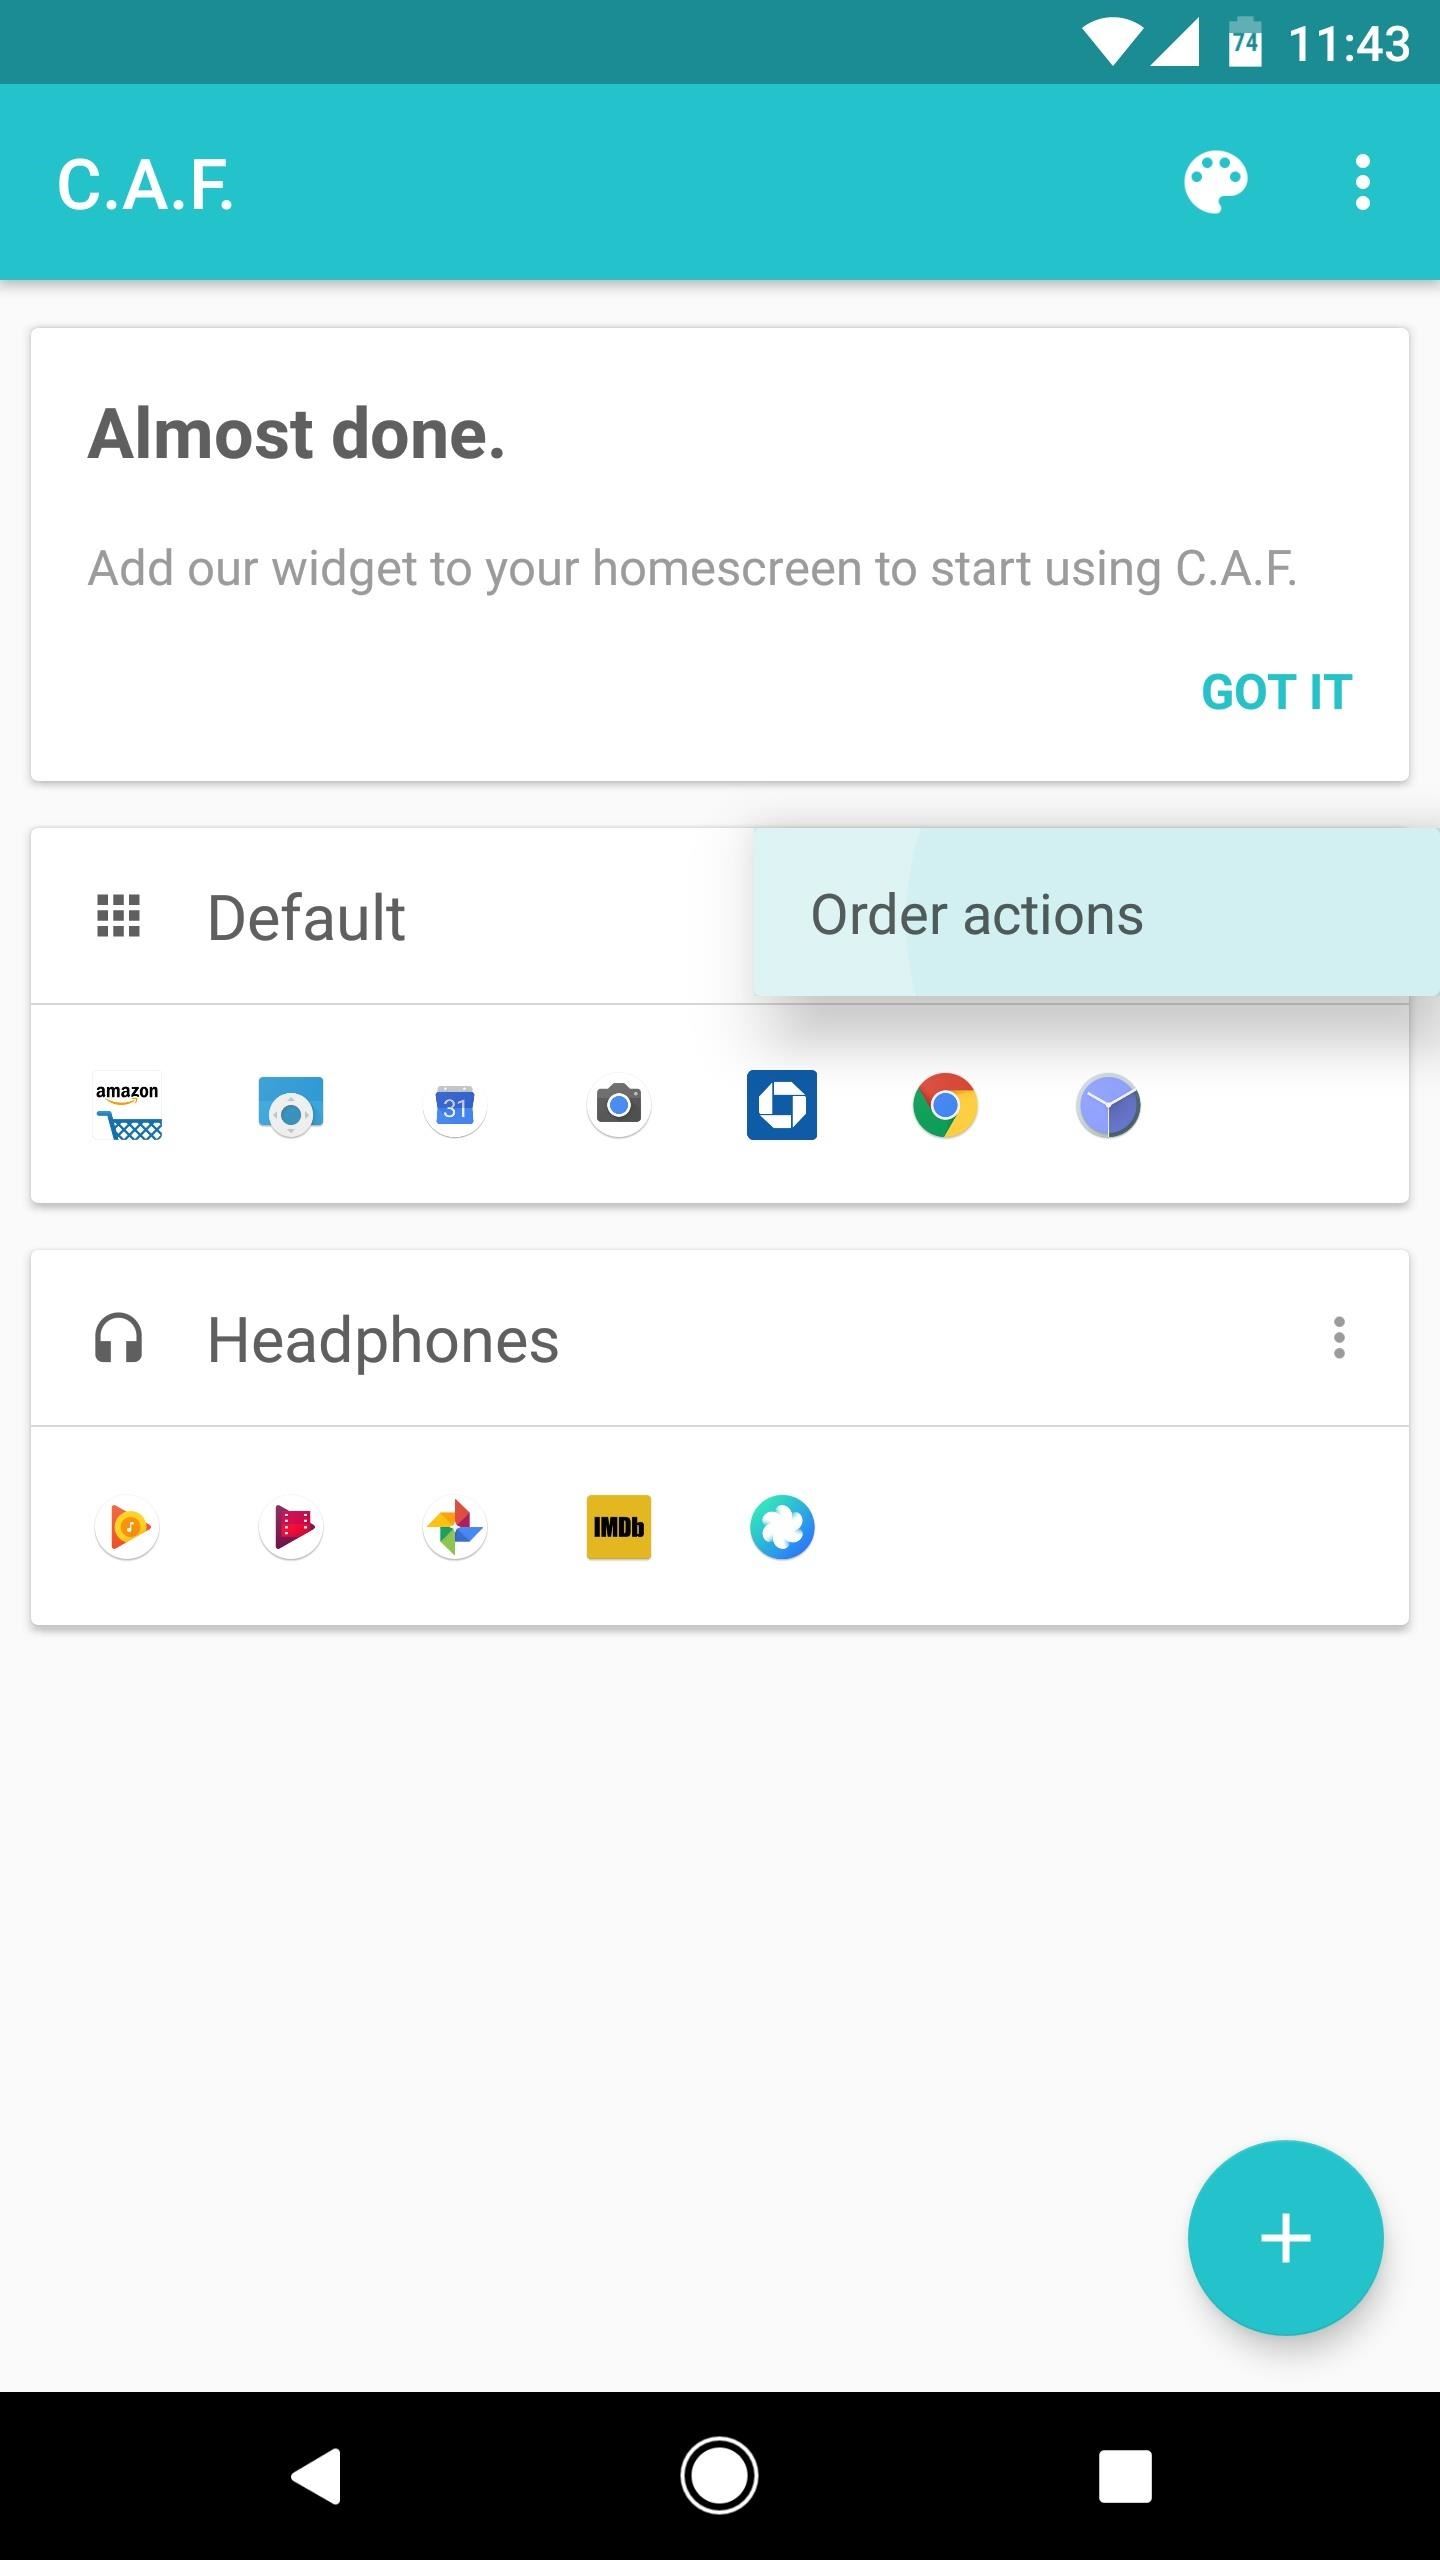
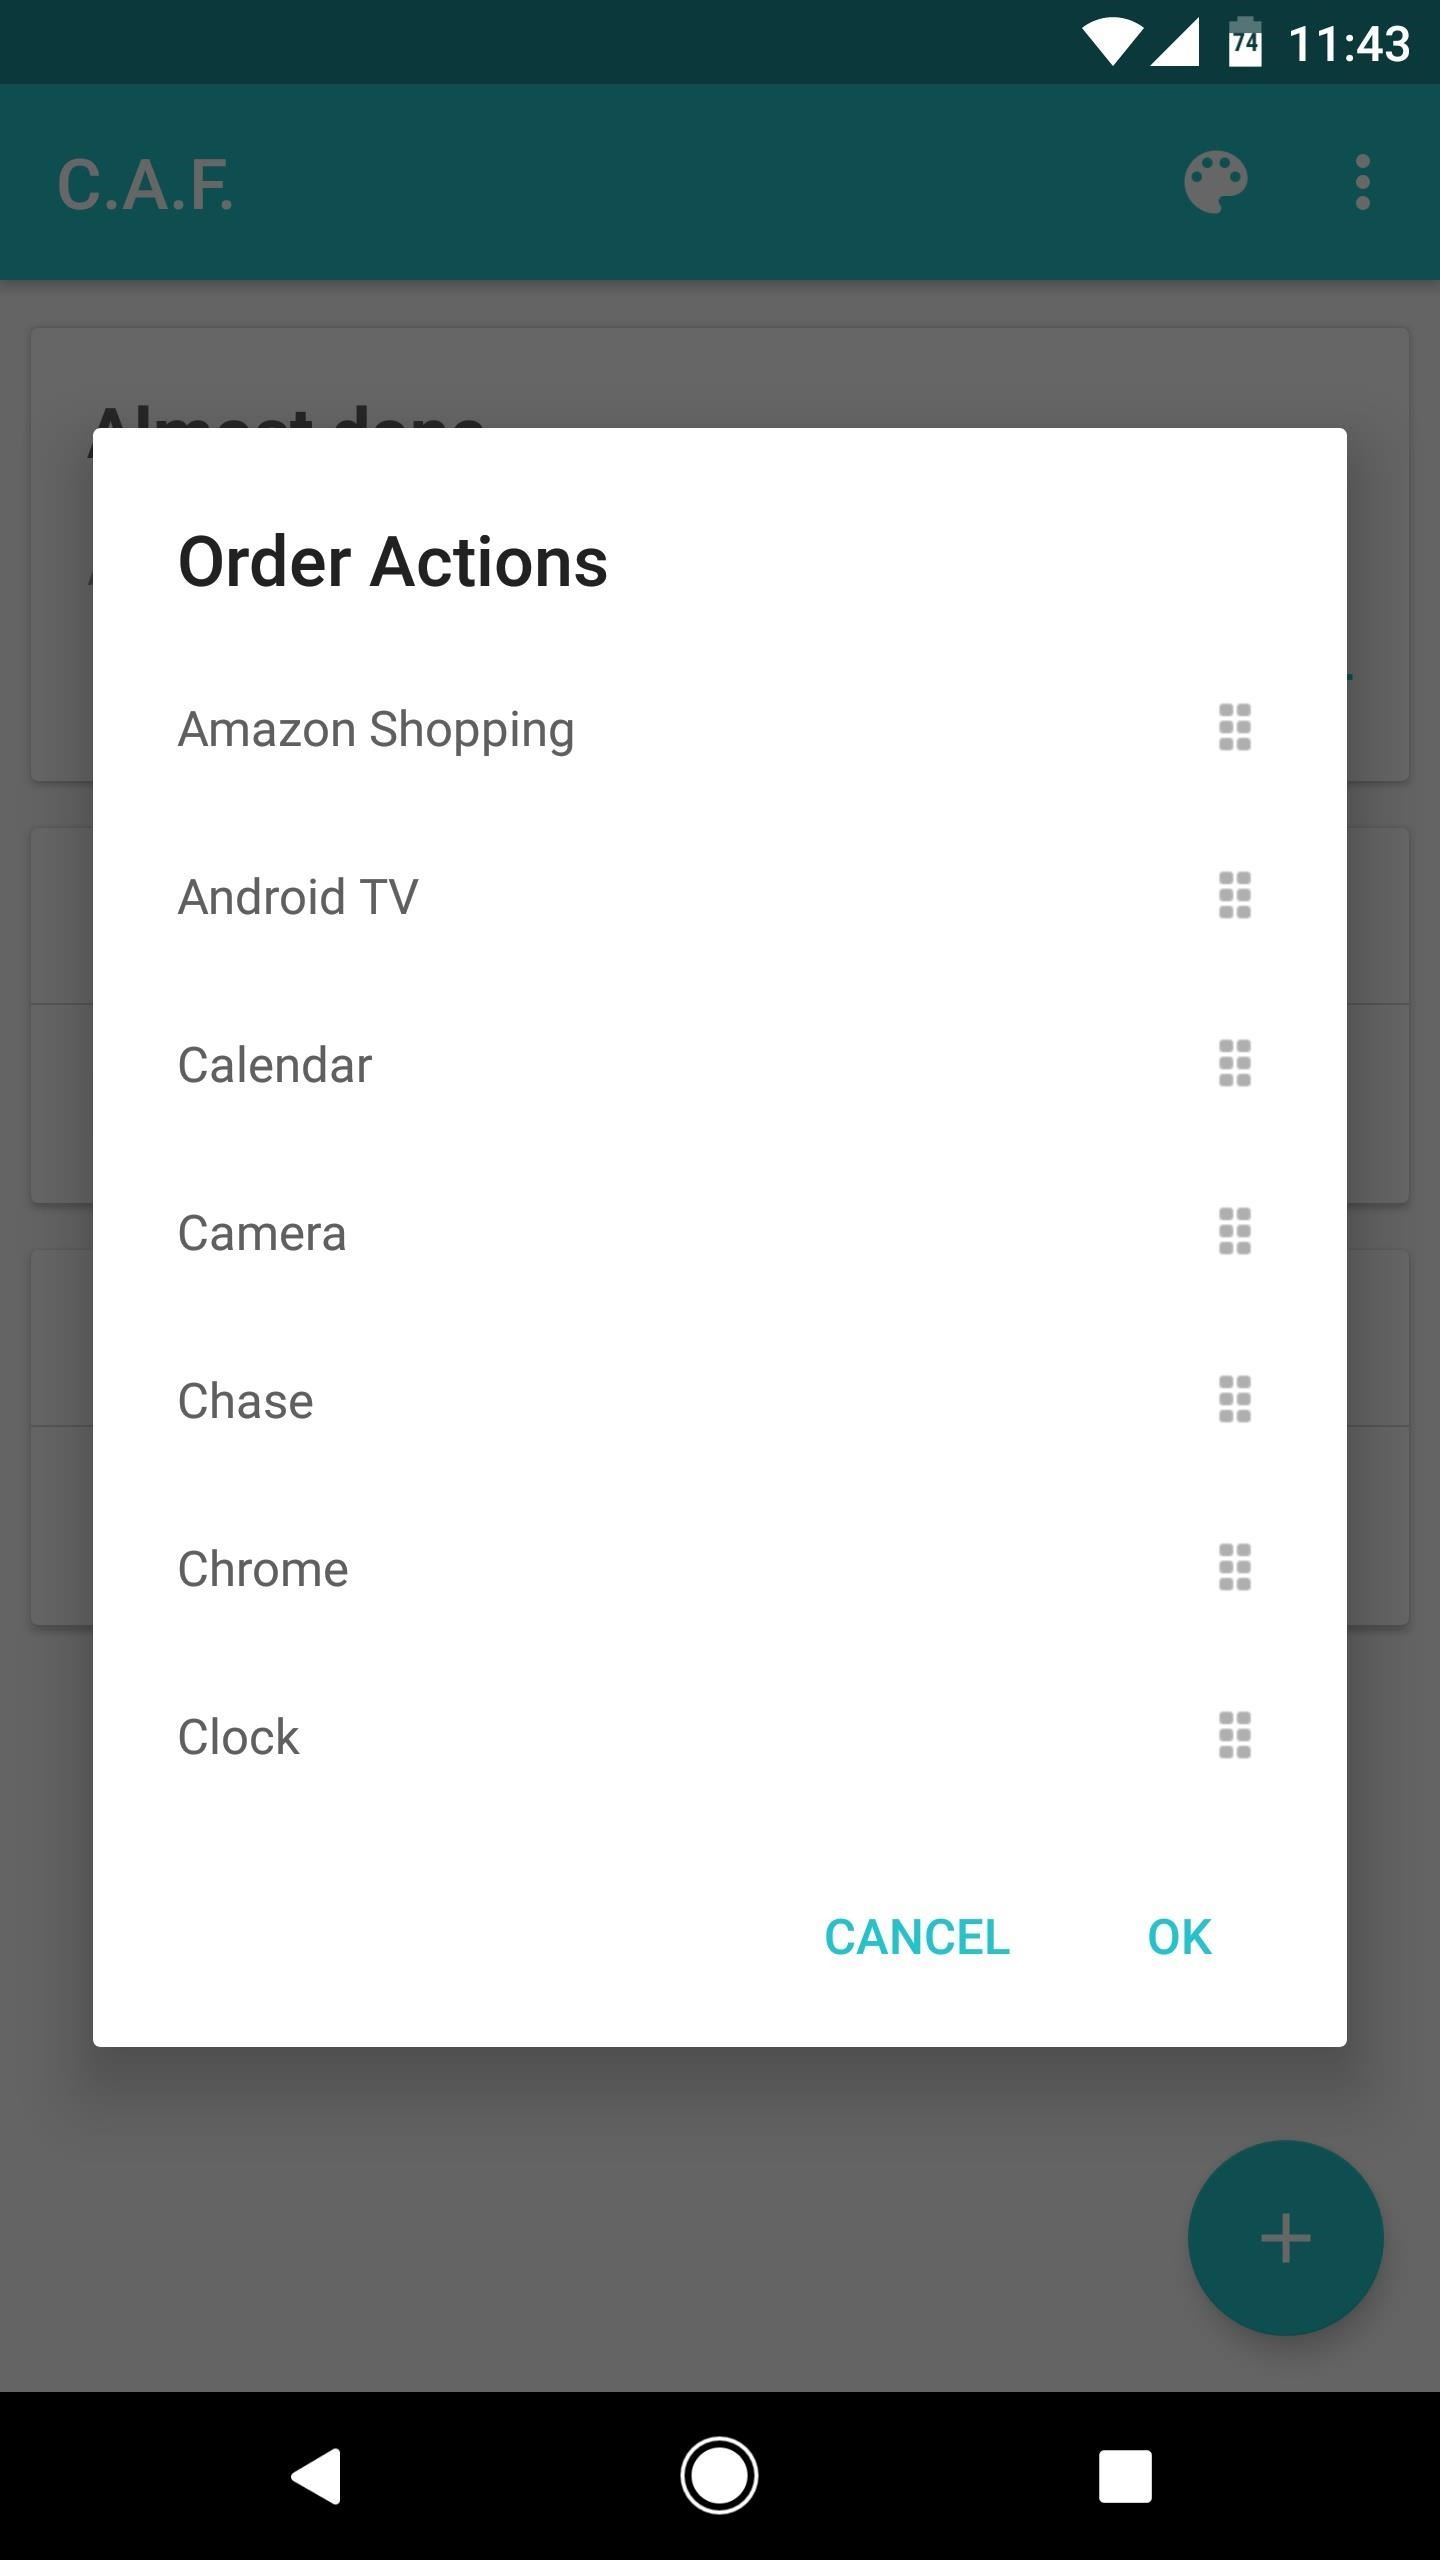
Next, you can reorder the apps in this folder by tapping the three-dot menu button next to its label on the main screen, then selecting "Order actions." From there, just drag and drop the apps to put them in your preferred order.
Step 3: Create Your Own Contextual Folders
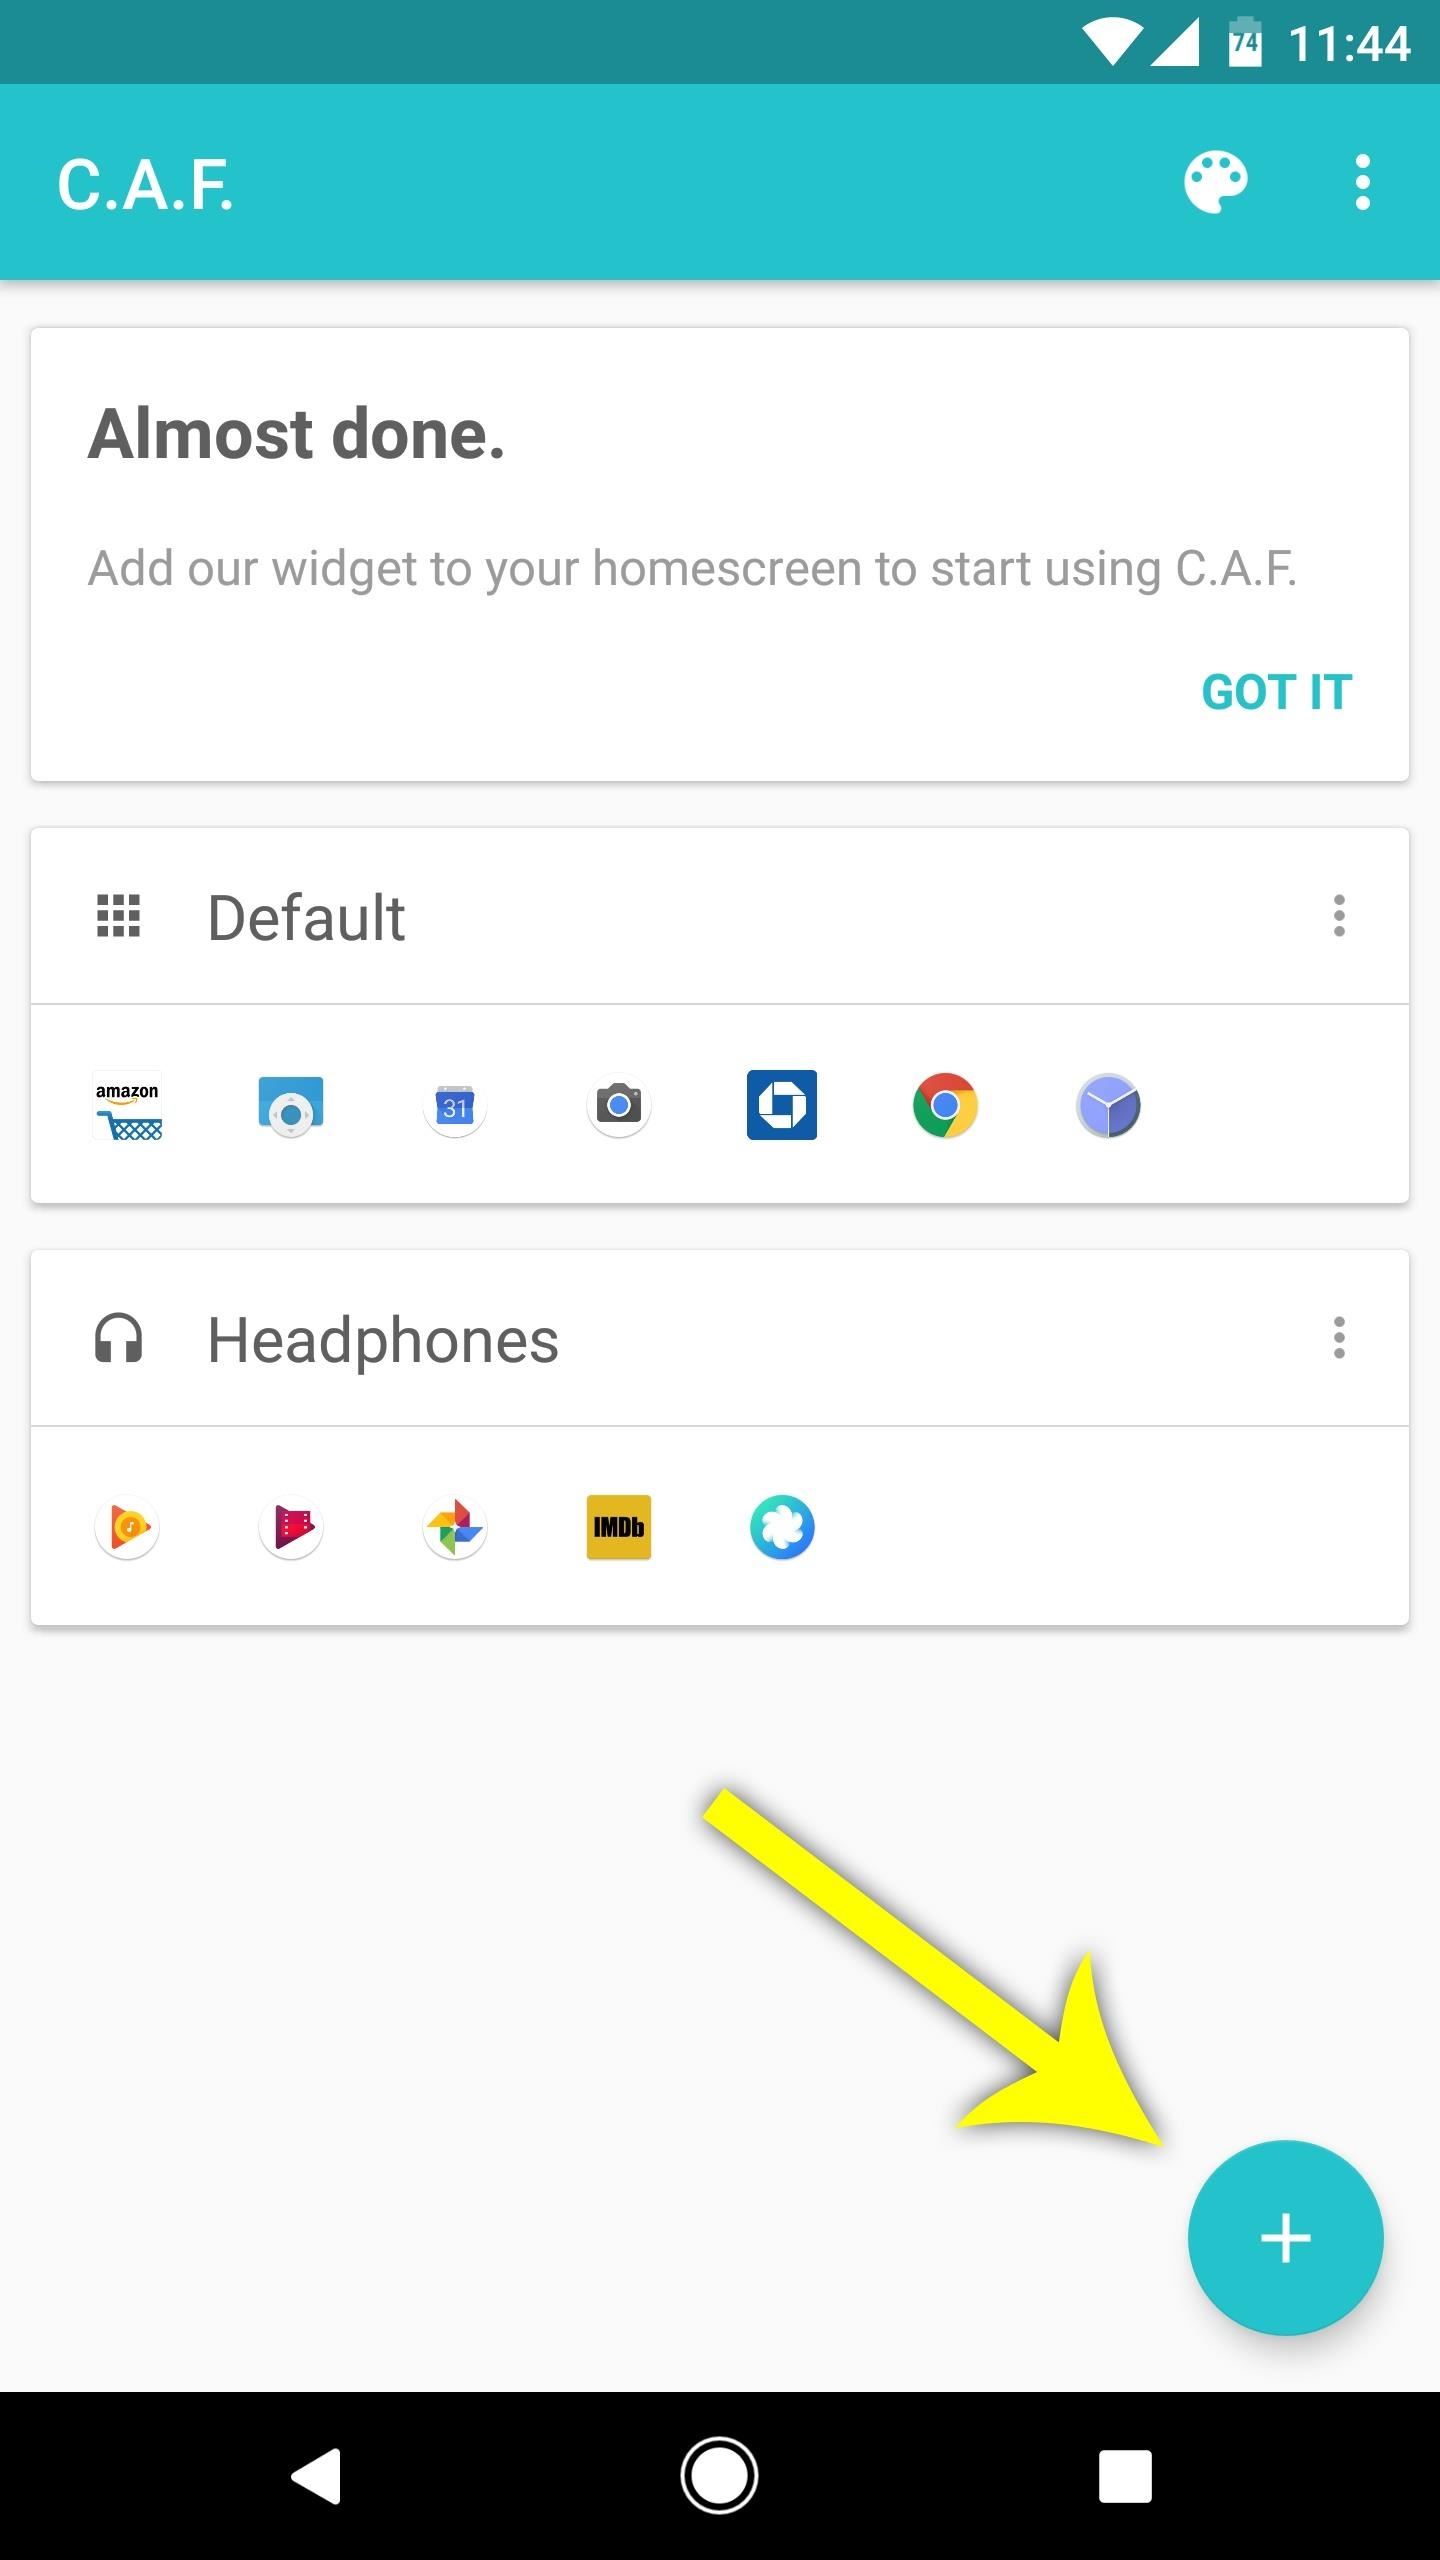
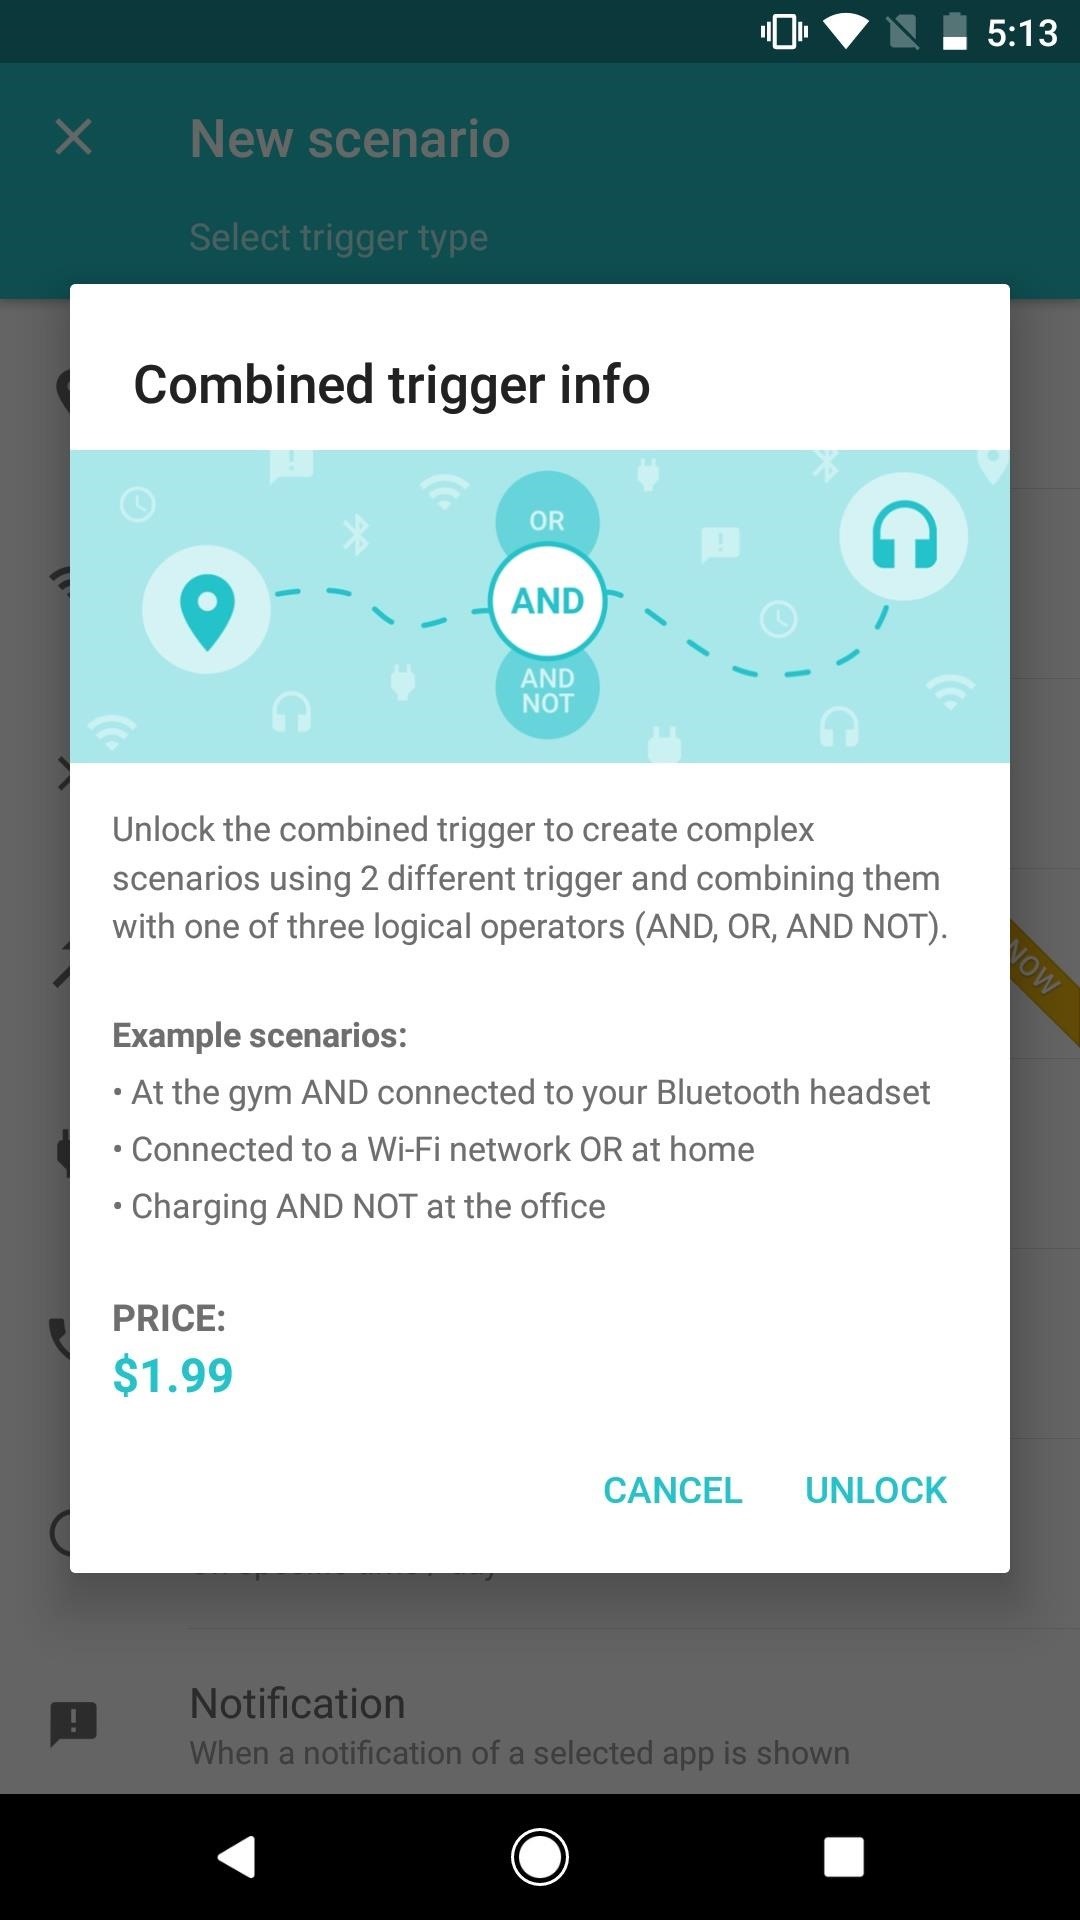
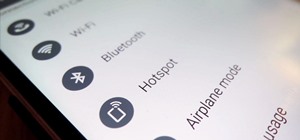
Now that you've got the default folder set up, it's time to configure some contextual folders, which is the main feature here. So from the app's main menu, tap the + button in the bottom-right corner, then select a "Trigger Type" from the list. Options here include location, Wi-Fi, Bluetooth, and even the time of day, and each of these triggers can have their own set of apps in the smart folder. There's also an in-app purchase available for $1.99 if you'd like to combine two scenarios.
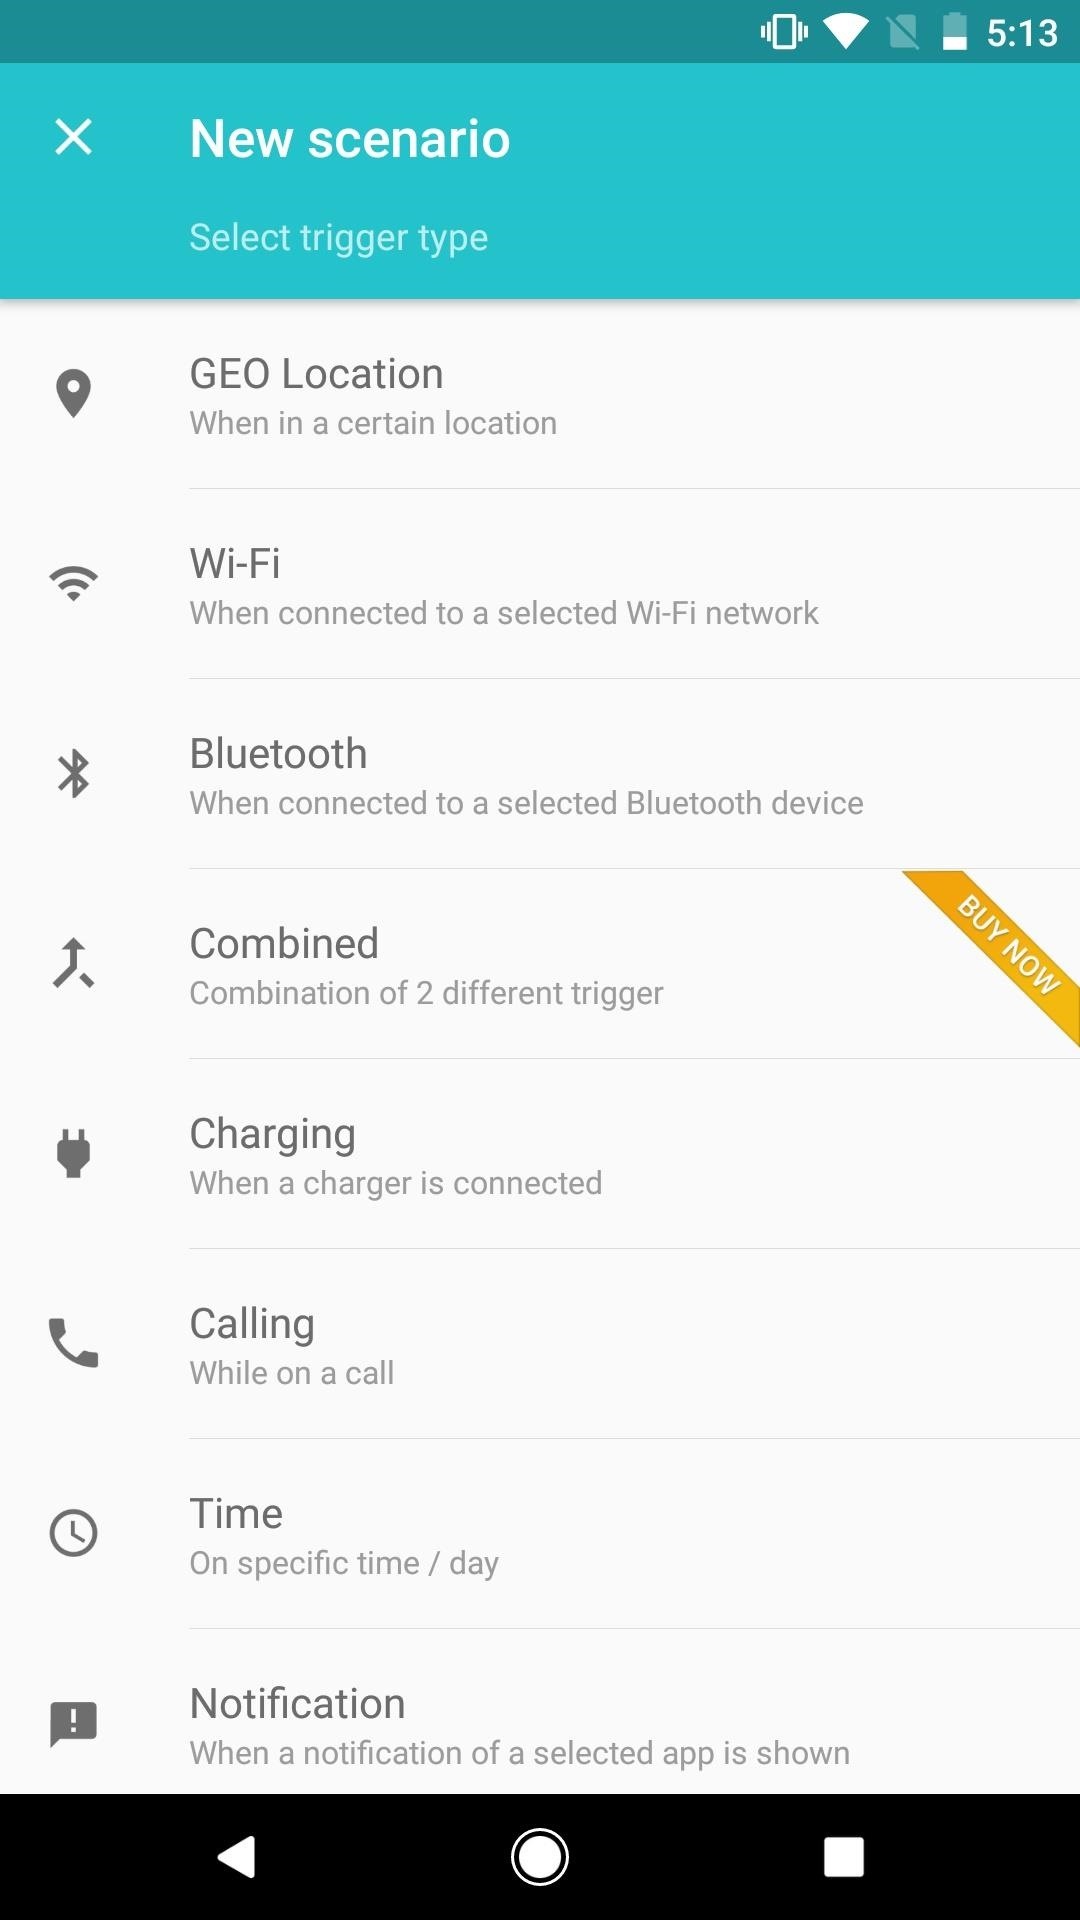
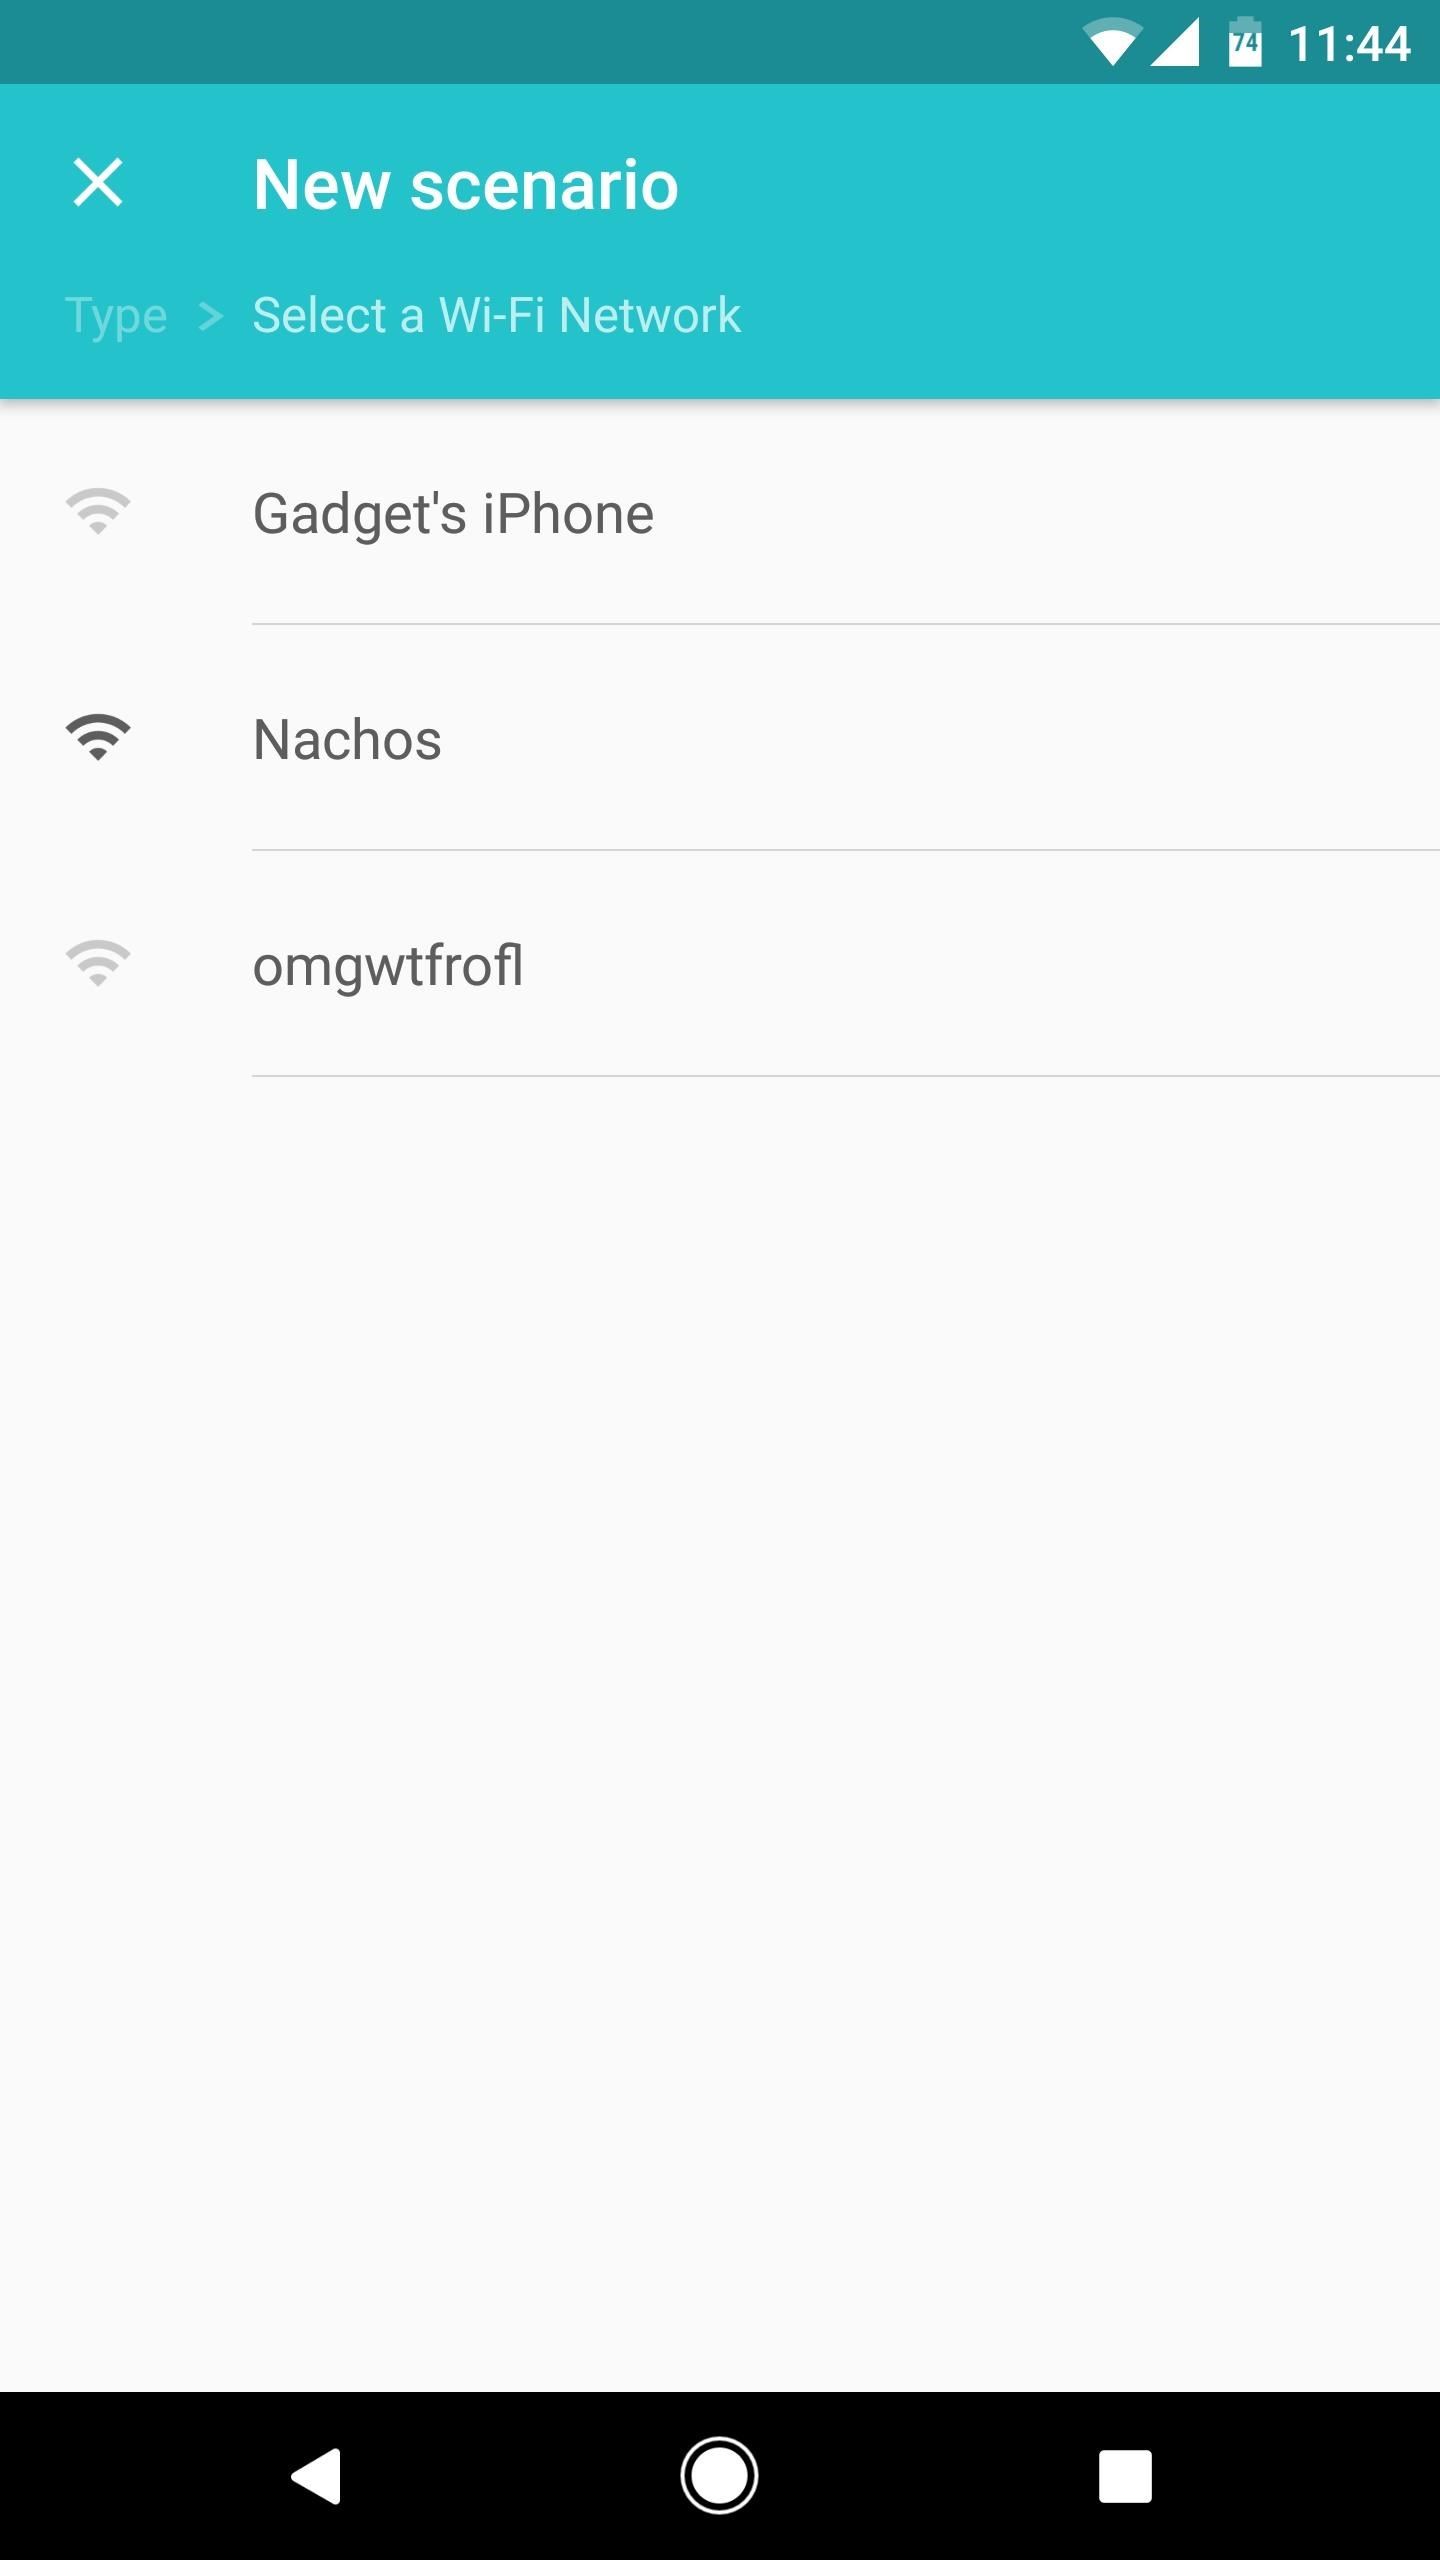
Some triggers will ask you to specify further conditions—for instance, selecting "Wi-Fi" will prompt you to choose a specific Wi-Fi network. Once you've done that, you'll be able to choose a different set of apps that will be visible in your smart folder when this trigger event occurs. When you're done here, make sure to tap the check mark to finalize your work.
After that, you can repeat this same process for other triggers, which can each have their own different set of apps in the smart folder if you choose.
Step 4: Theme the Folder
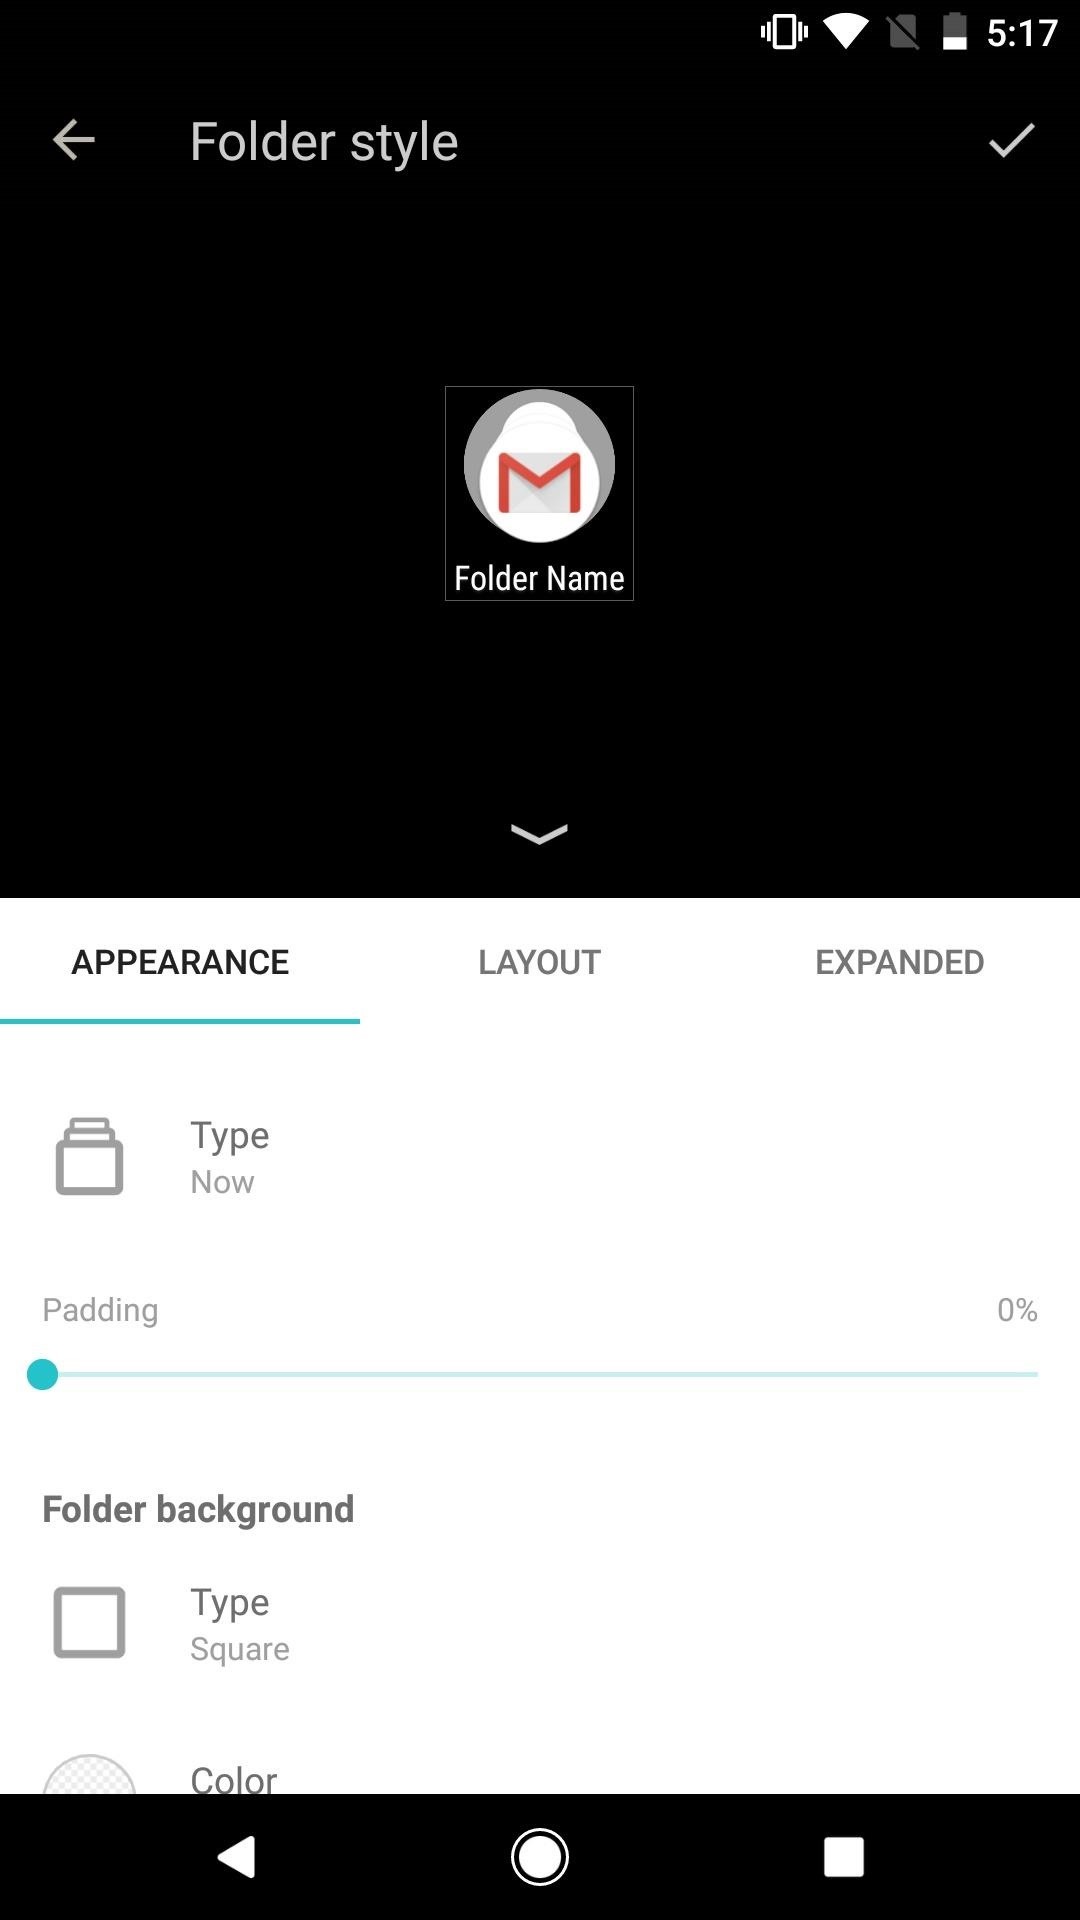
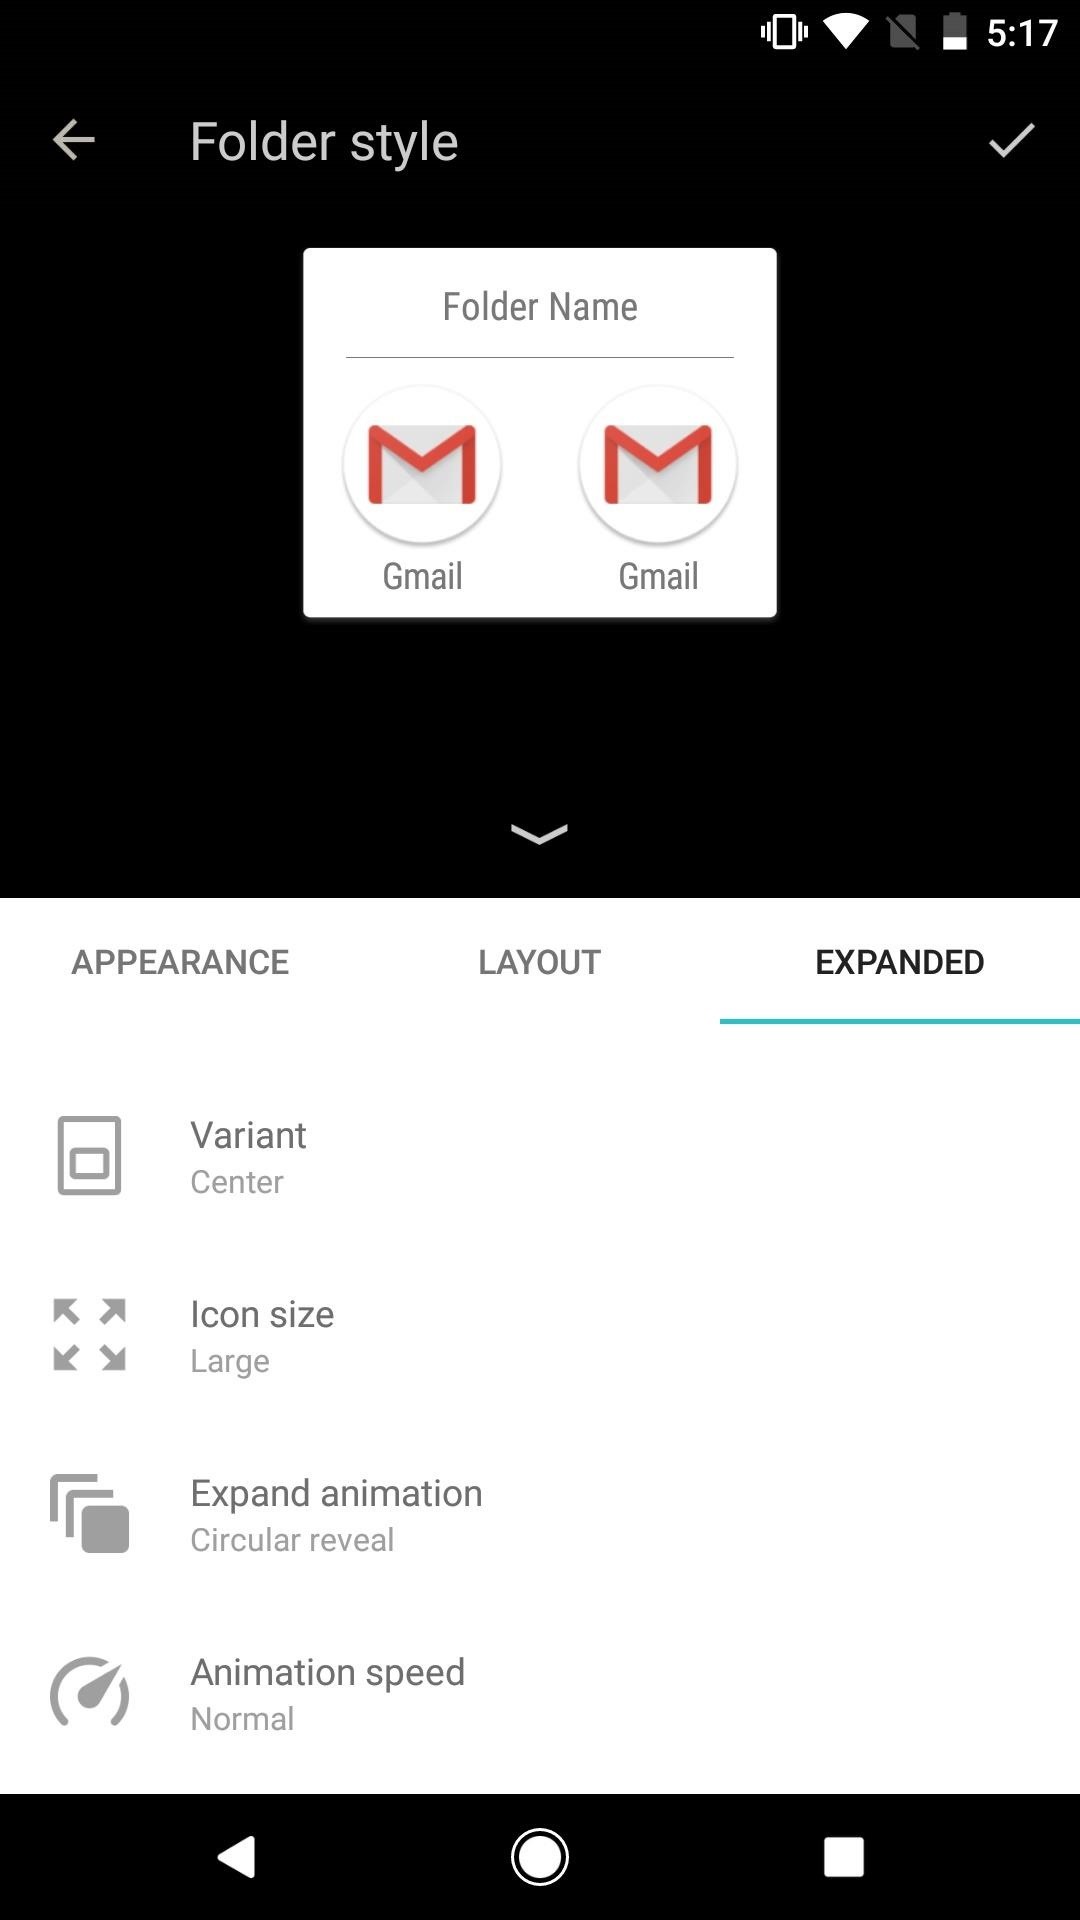
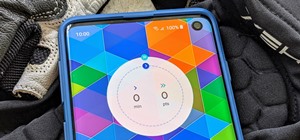
Once you've set up your trigger events, tap the palette icon in the top-right corner to theme your smart folder. The next menu will allow you to customize the look and feel of the folder to make it match your existing home screen folders, which is a nice touch.

Step 5: Add the Folder to Your Home Screen
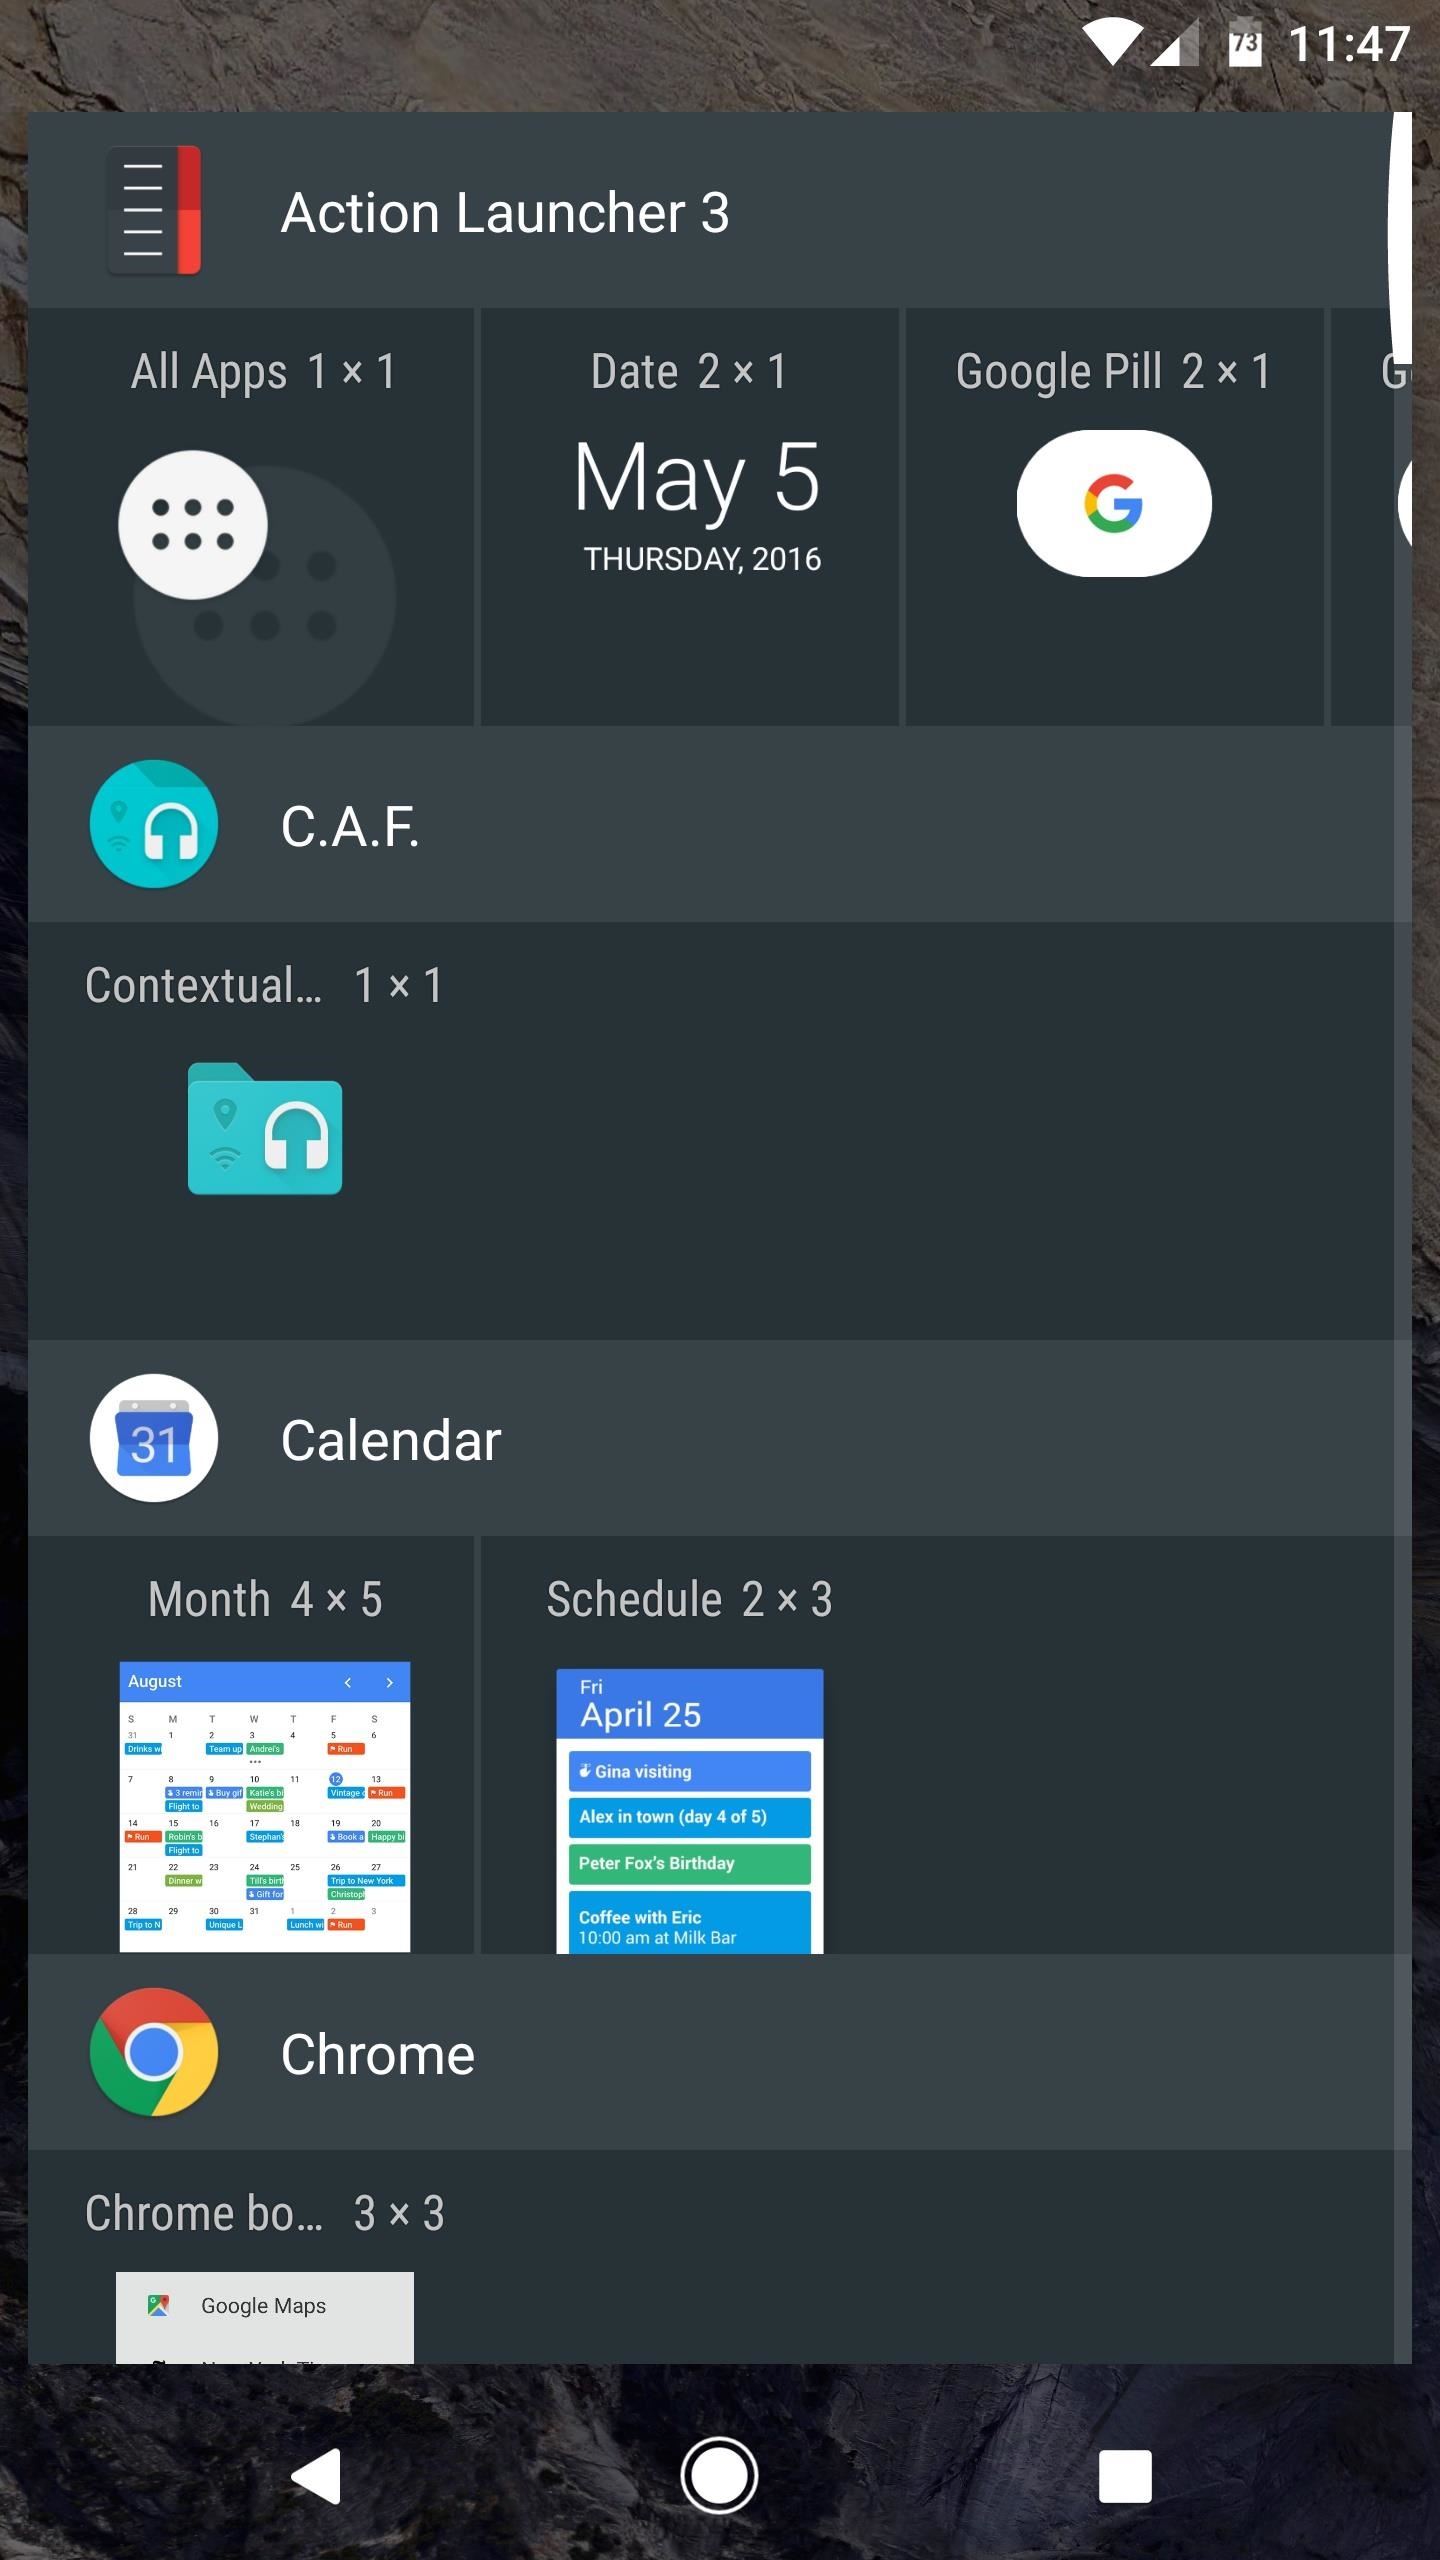
From here, all that's left to do is to add the folder to your home screen. To do that, long-press any empty space on your home screen, then choose "Widgets" from the menu. After that, long-press the "C.A.F." widget, then drag it and drop it into place on your home screen.

Step 6: Always Have the Right Apps for Any Situation
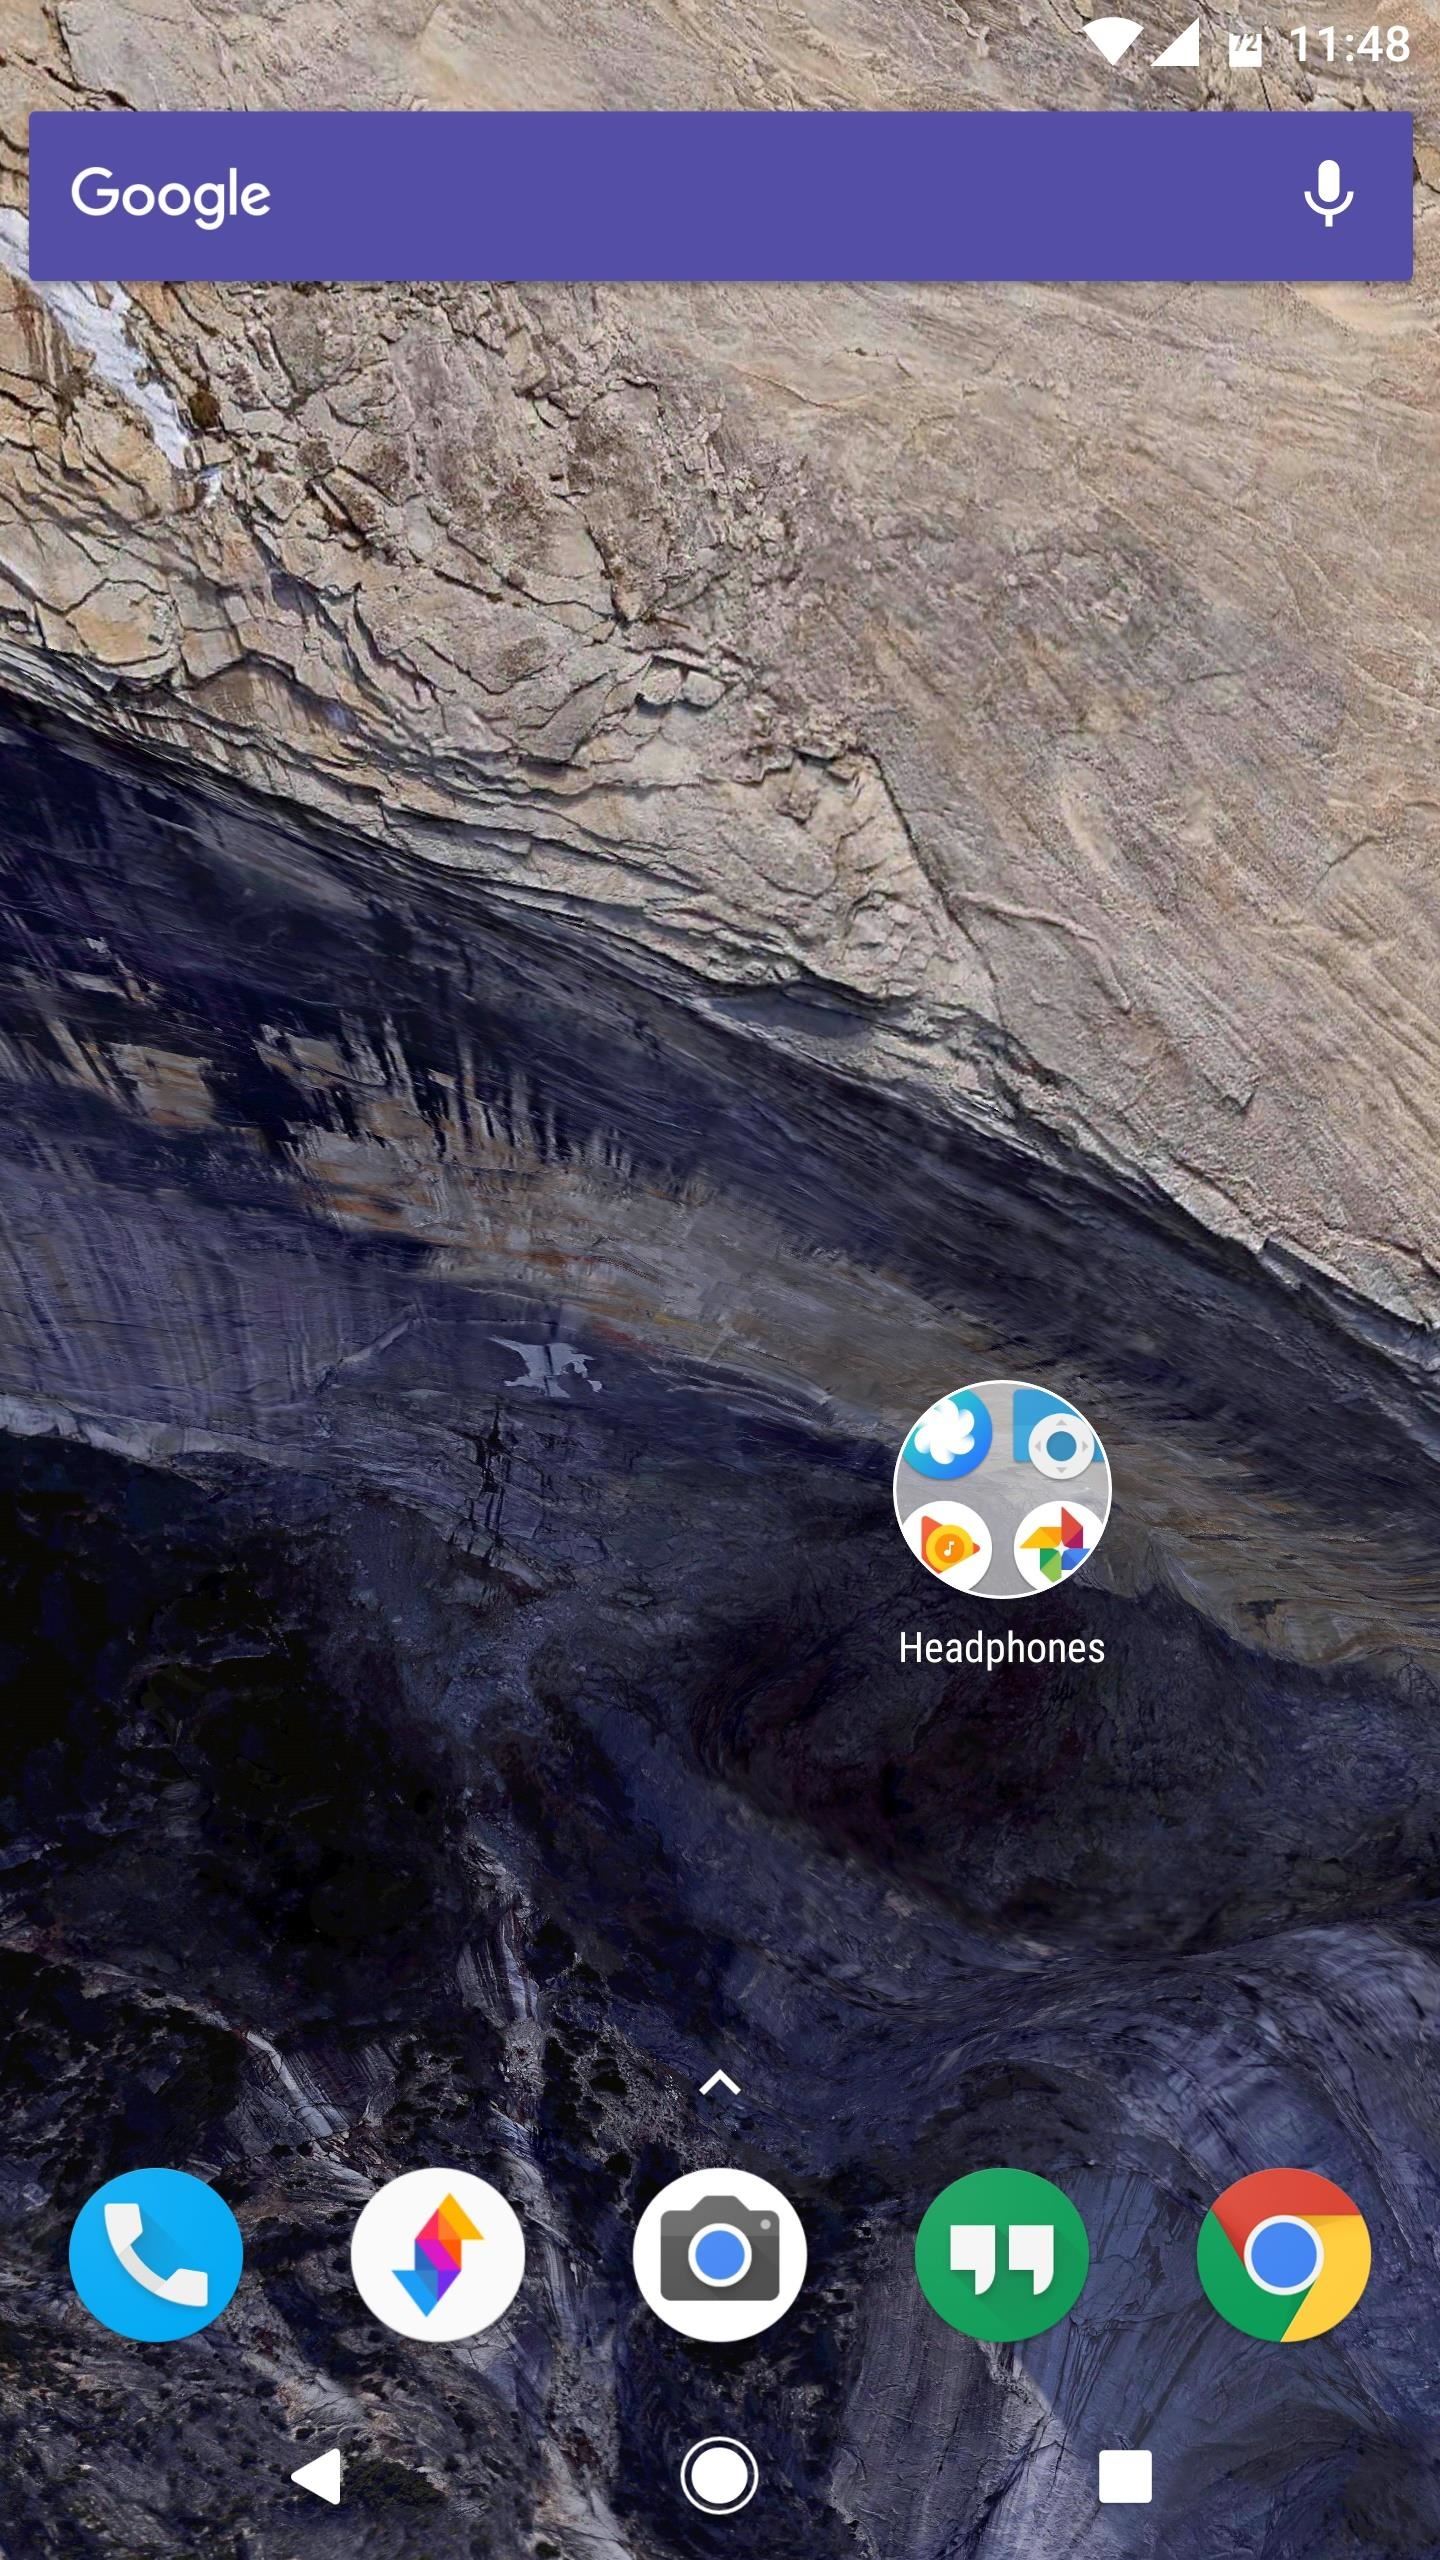
From now on, your home screen folder will react to trigger events on its own. When one of your trigger conditions is met, the folder will instantly change names, and the apps it contains will change as well. Then, when none of your conditions are met, the folder will go back to its default state automatically, including all of the apps you selected in Step 2.
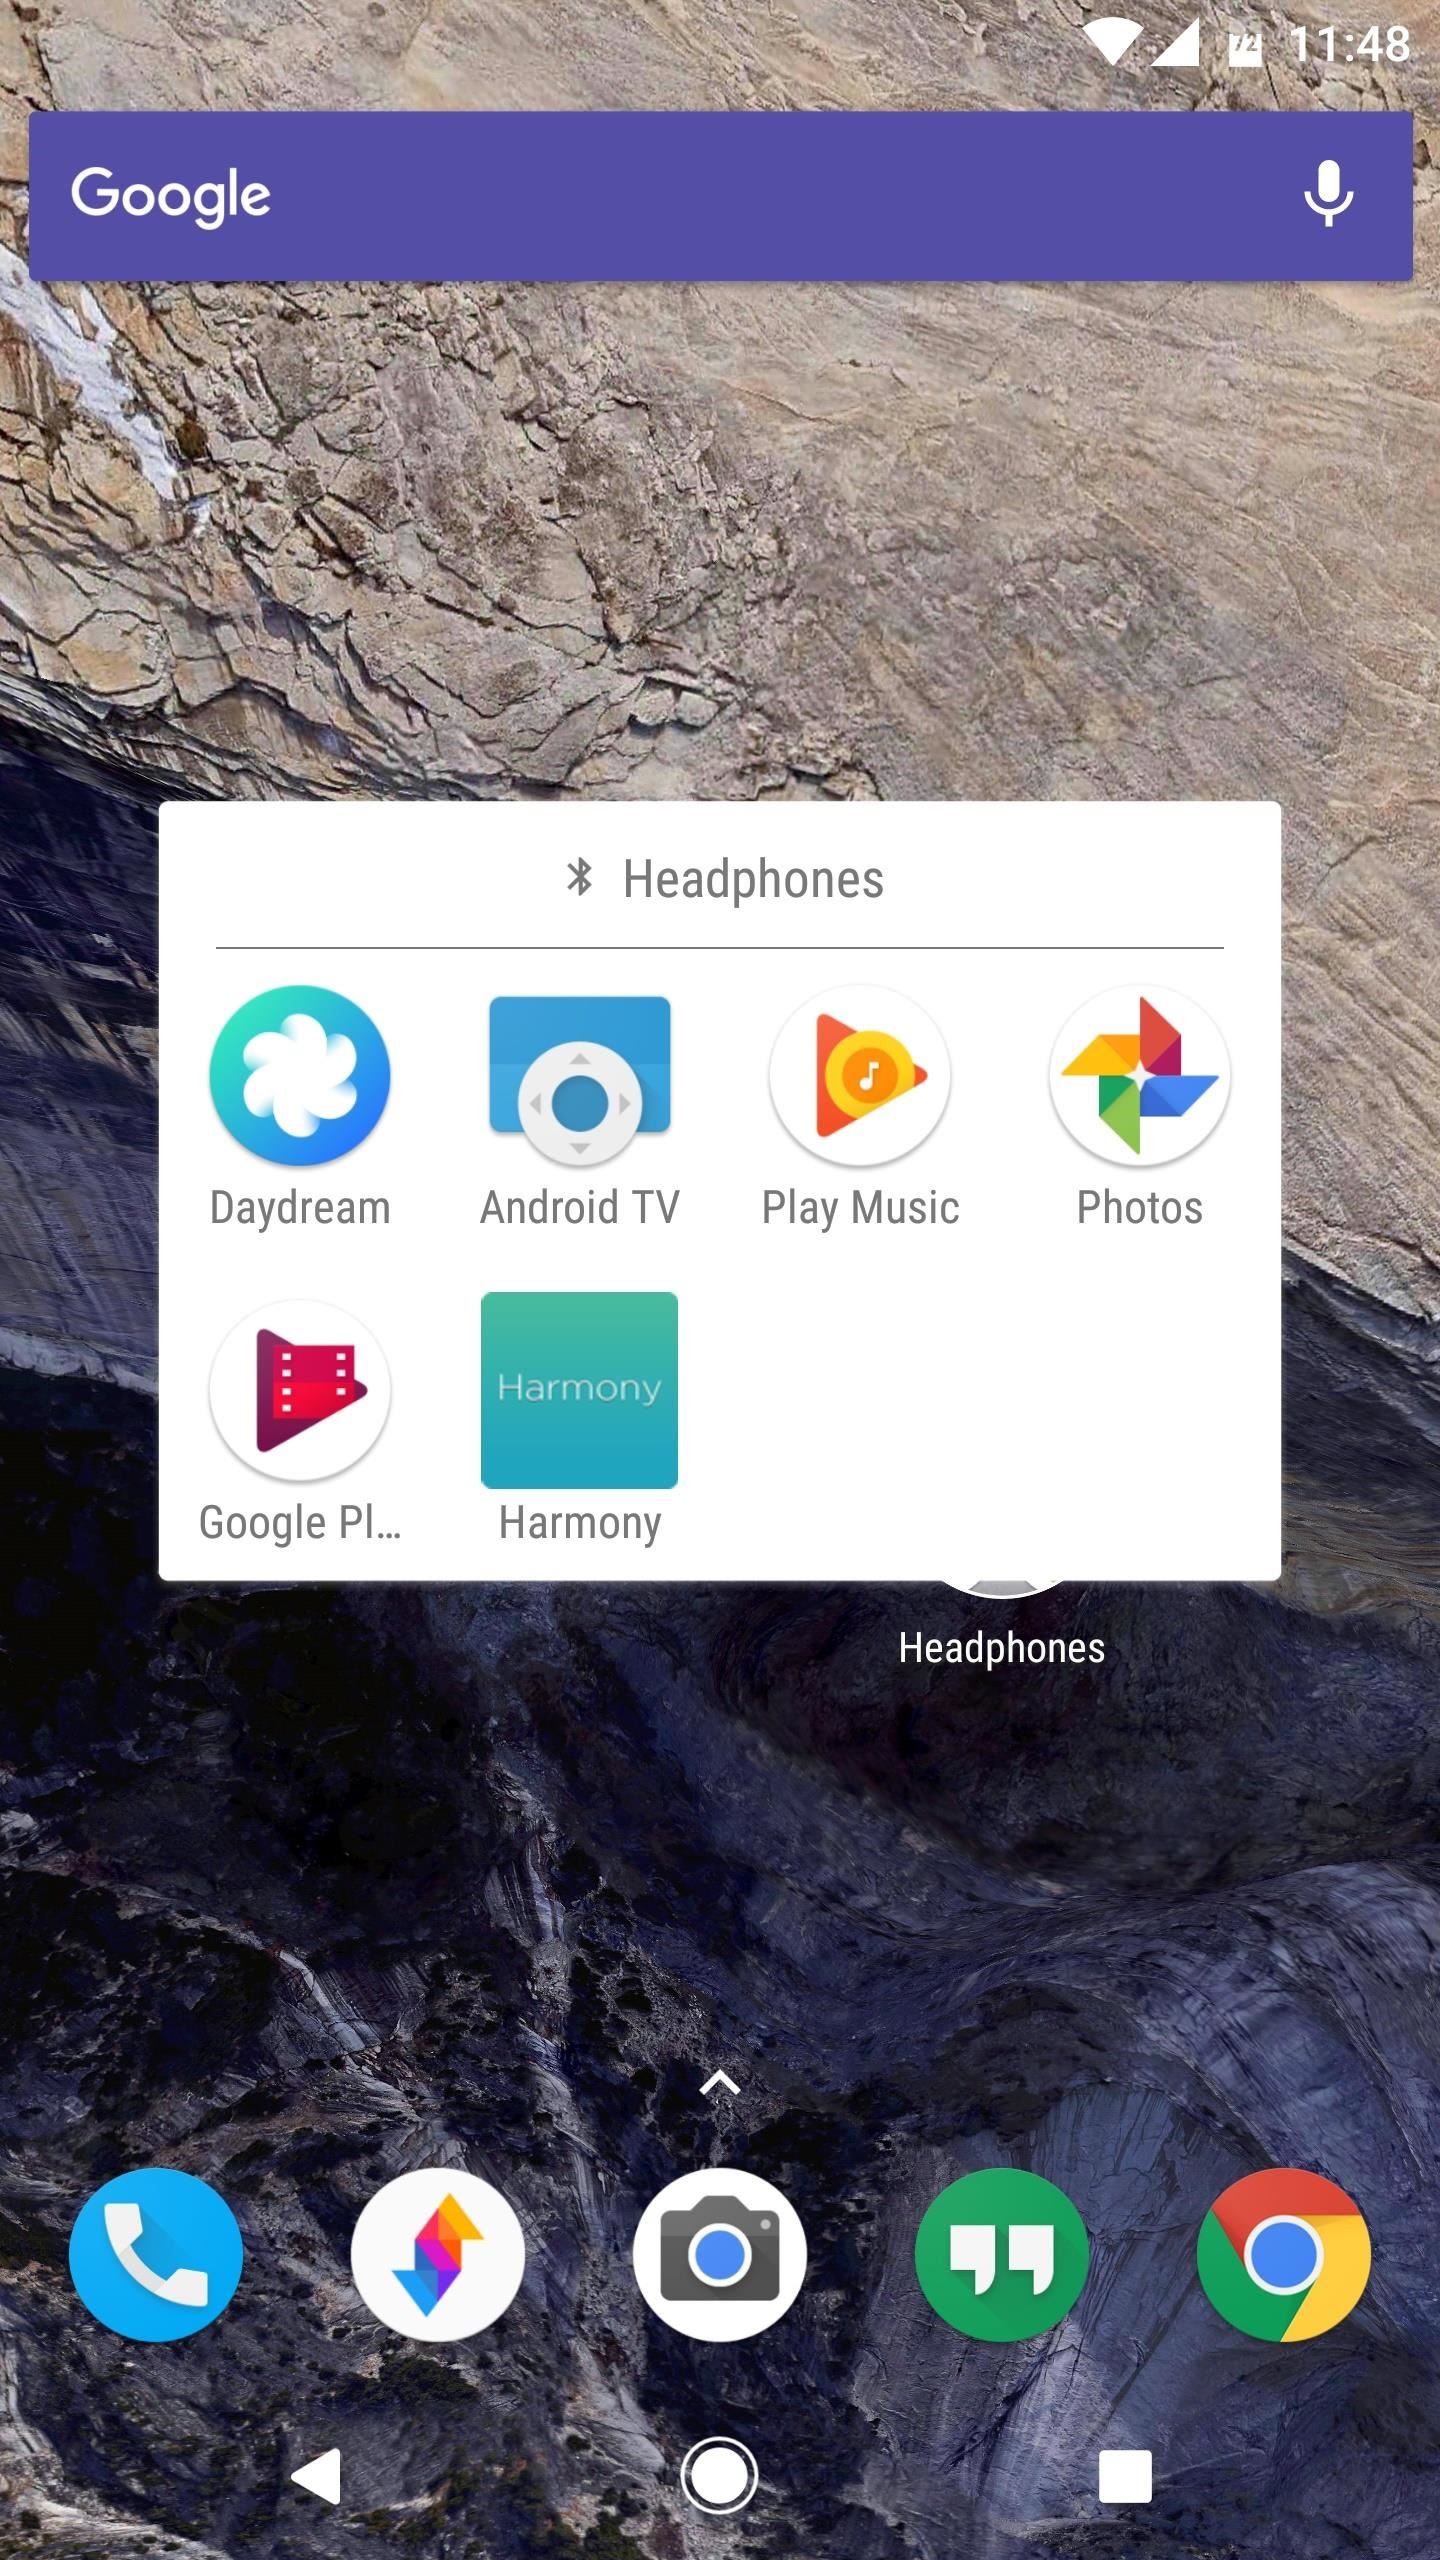
Ultimately, this means that your smart folder will always show the most relevant apps for almost any situation, and it's completely customizable. What apps have you added for some of your trigger conditions? Let us know in the comment section below.
Who needs a wand? Unlock your magical powers and transform yourself from a Muggle into a Wizard or Witch just by using your Android phone. See how:


Be the First to Comment
Share Your Thoughts