

With all the talk about privacy concerns recently, Google's name keeps coming up because they are a very data-driven company. As an Android user, they know basically everything about you based on your device usage. That can easily scare some people off who are worried about their privacy and security. You do have some say in what personal data Google controls, but what if you want total control?
One of the best ways to take complete control over your device is to install a custom ROM. A typical custom ROM comes without Google's core apps (Gapps), but you would typically install the separate Gapps package to get them back. However, if you want more freedom and privacy, you would just skip the Gapps package and go with MicroG instead.
You should note that many apps require Google Play Services to work correctly; otherwise, there would be no point in having them installed. MicroG injects a modified version of those core Google services required by most apps, but without all of the tracking that comes with having a Google account. This increases your level of privacy and can even improve battery life as well.
Requirements
Step 1: Make Sure Your ROM Supports Signature Spoofing
Just about all custom ROMs support signature faking by default, which is used to make the system think the real Google Play Services are installed. It is required and necessary for this whole thing to work. You might need to double-check the place you got your custom ROM from to see if it does support signature faking in the first place for MicroG.
Step 2: Skip the Gapps Installation
At this point, you should already have picked out a custom ROM you plan on flashing to your device, and it should have support for signature faking. As mentioned before, you would typically install a Gapps package after flashing a ROM to get the Google services back onto your device. However, to use MicroG, you must make sure you do not install a Gapps package at all when following this guide.
If you did install Gapps by accident (second nature), go ahead and flash the custom ROM again and wipe data to be safe. After you take care of that, boot into the operating system, and make sure the Google apps and services are not present, then you can move onto the next step.
Step 3: Install MicroG for Your Device
In the past, to get the entire MicroG package to work, you would have been required to download multiple separate apps. However, NanoDroid has now come along to simplify things with a single ZIP file that you can flash right in a custom recovery, such as TWRP. There's also a newer and more convenient Magisk module that's perfect for the root users out there. You can't go wrong with either method!
For TWRP Users
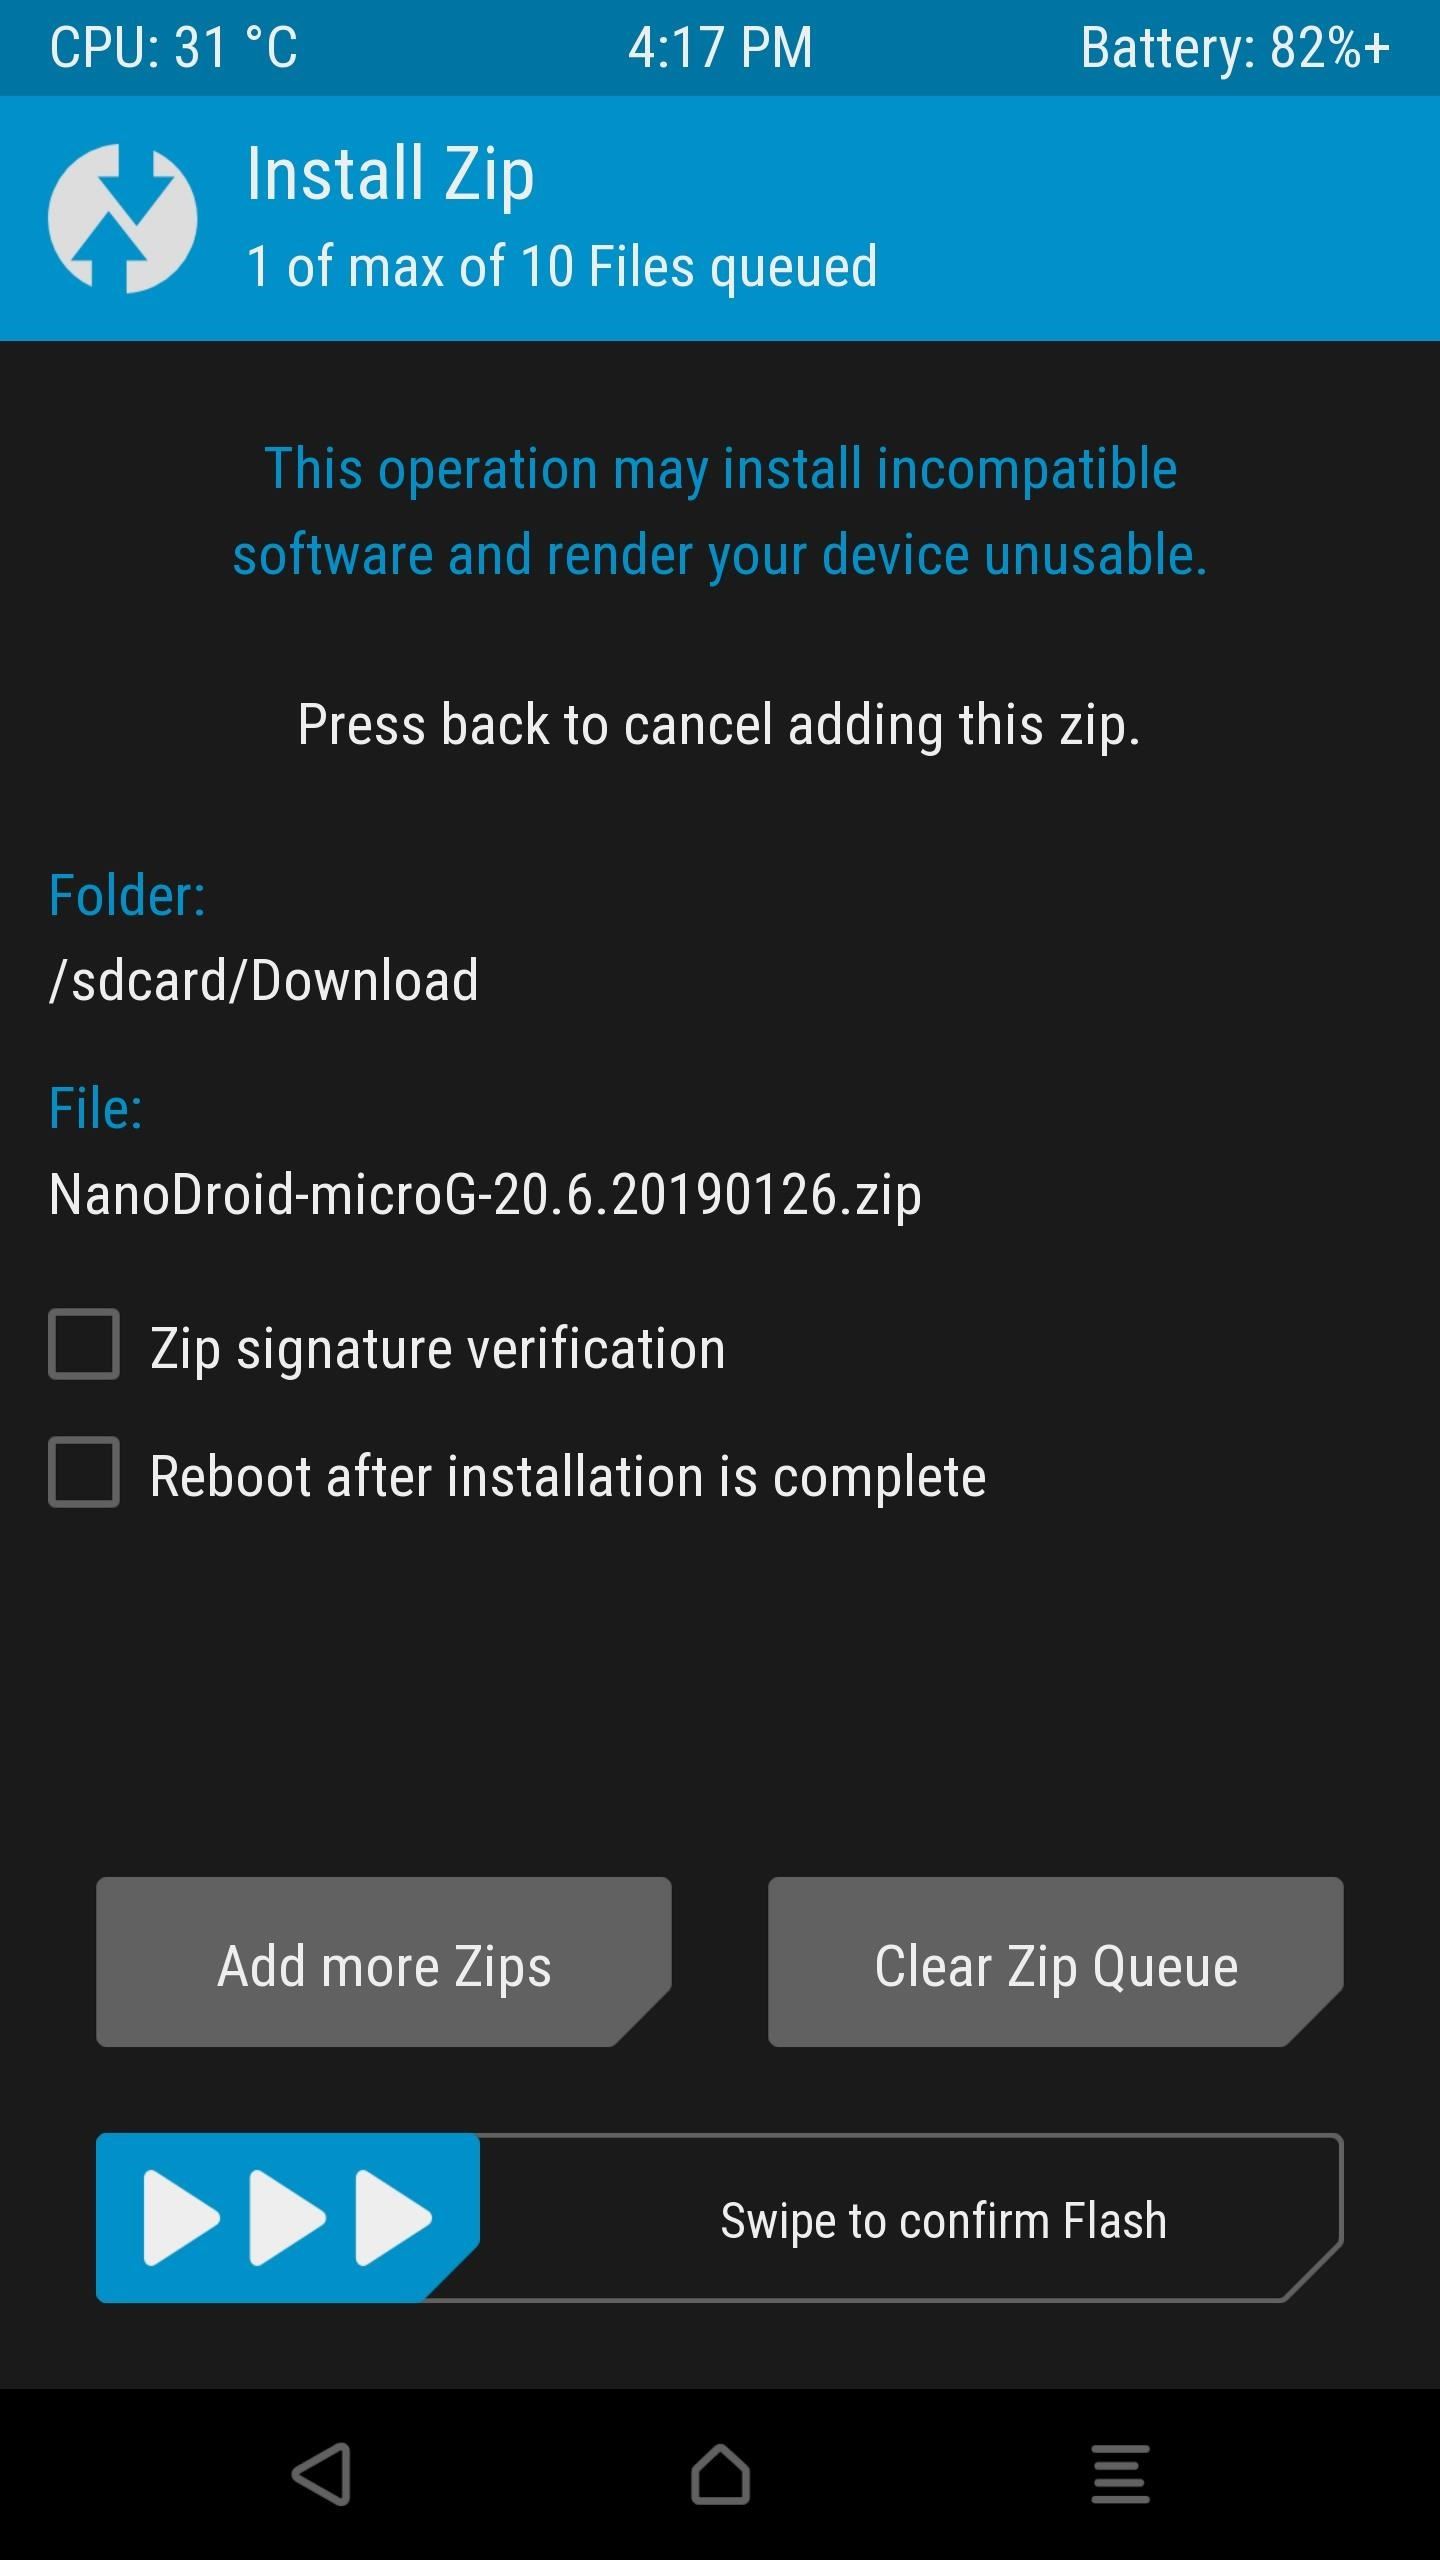
For all of the TWRP people out there who like to keep things as simple as possible, installing NanoDroid with MicroG baked right into it couldn't be any easier. To get started, hit up the download link below and save the file onto your Android phone's internal storage via the "Download" folder.
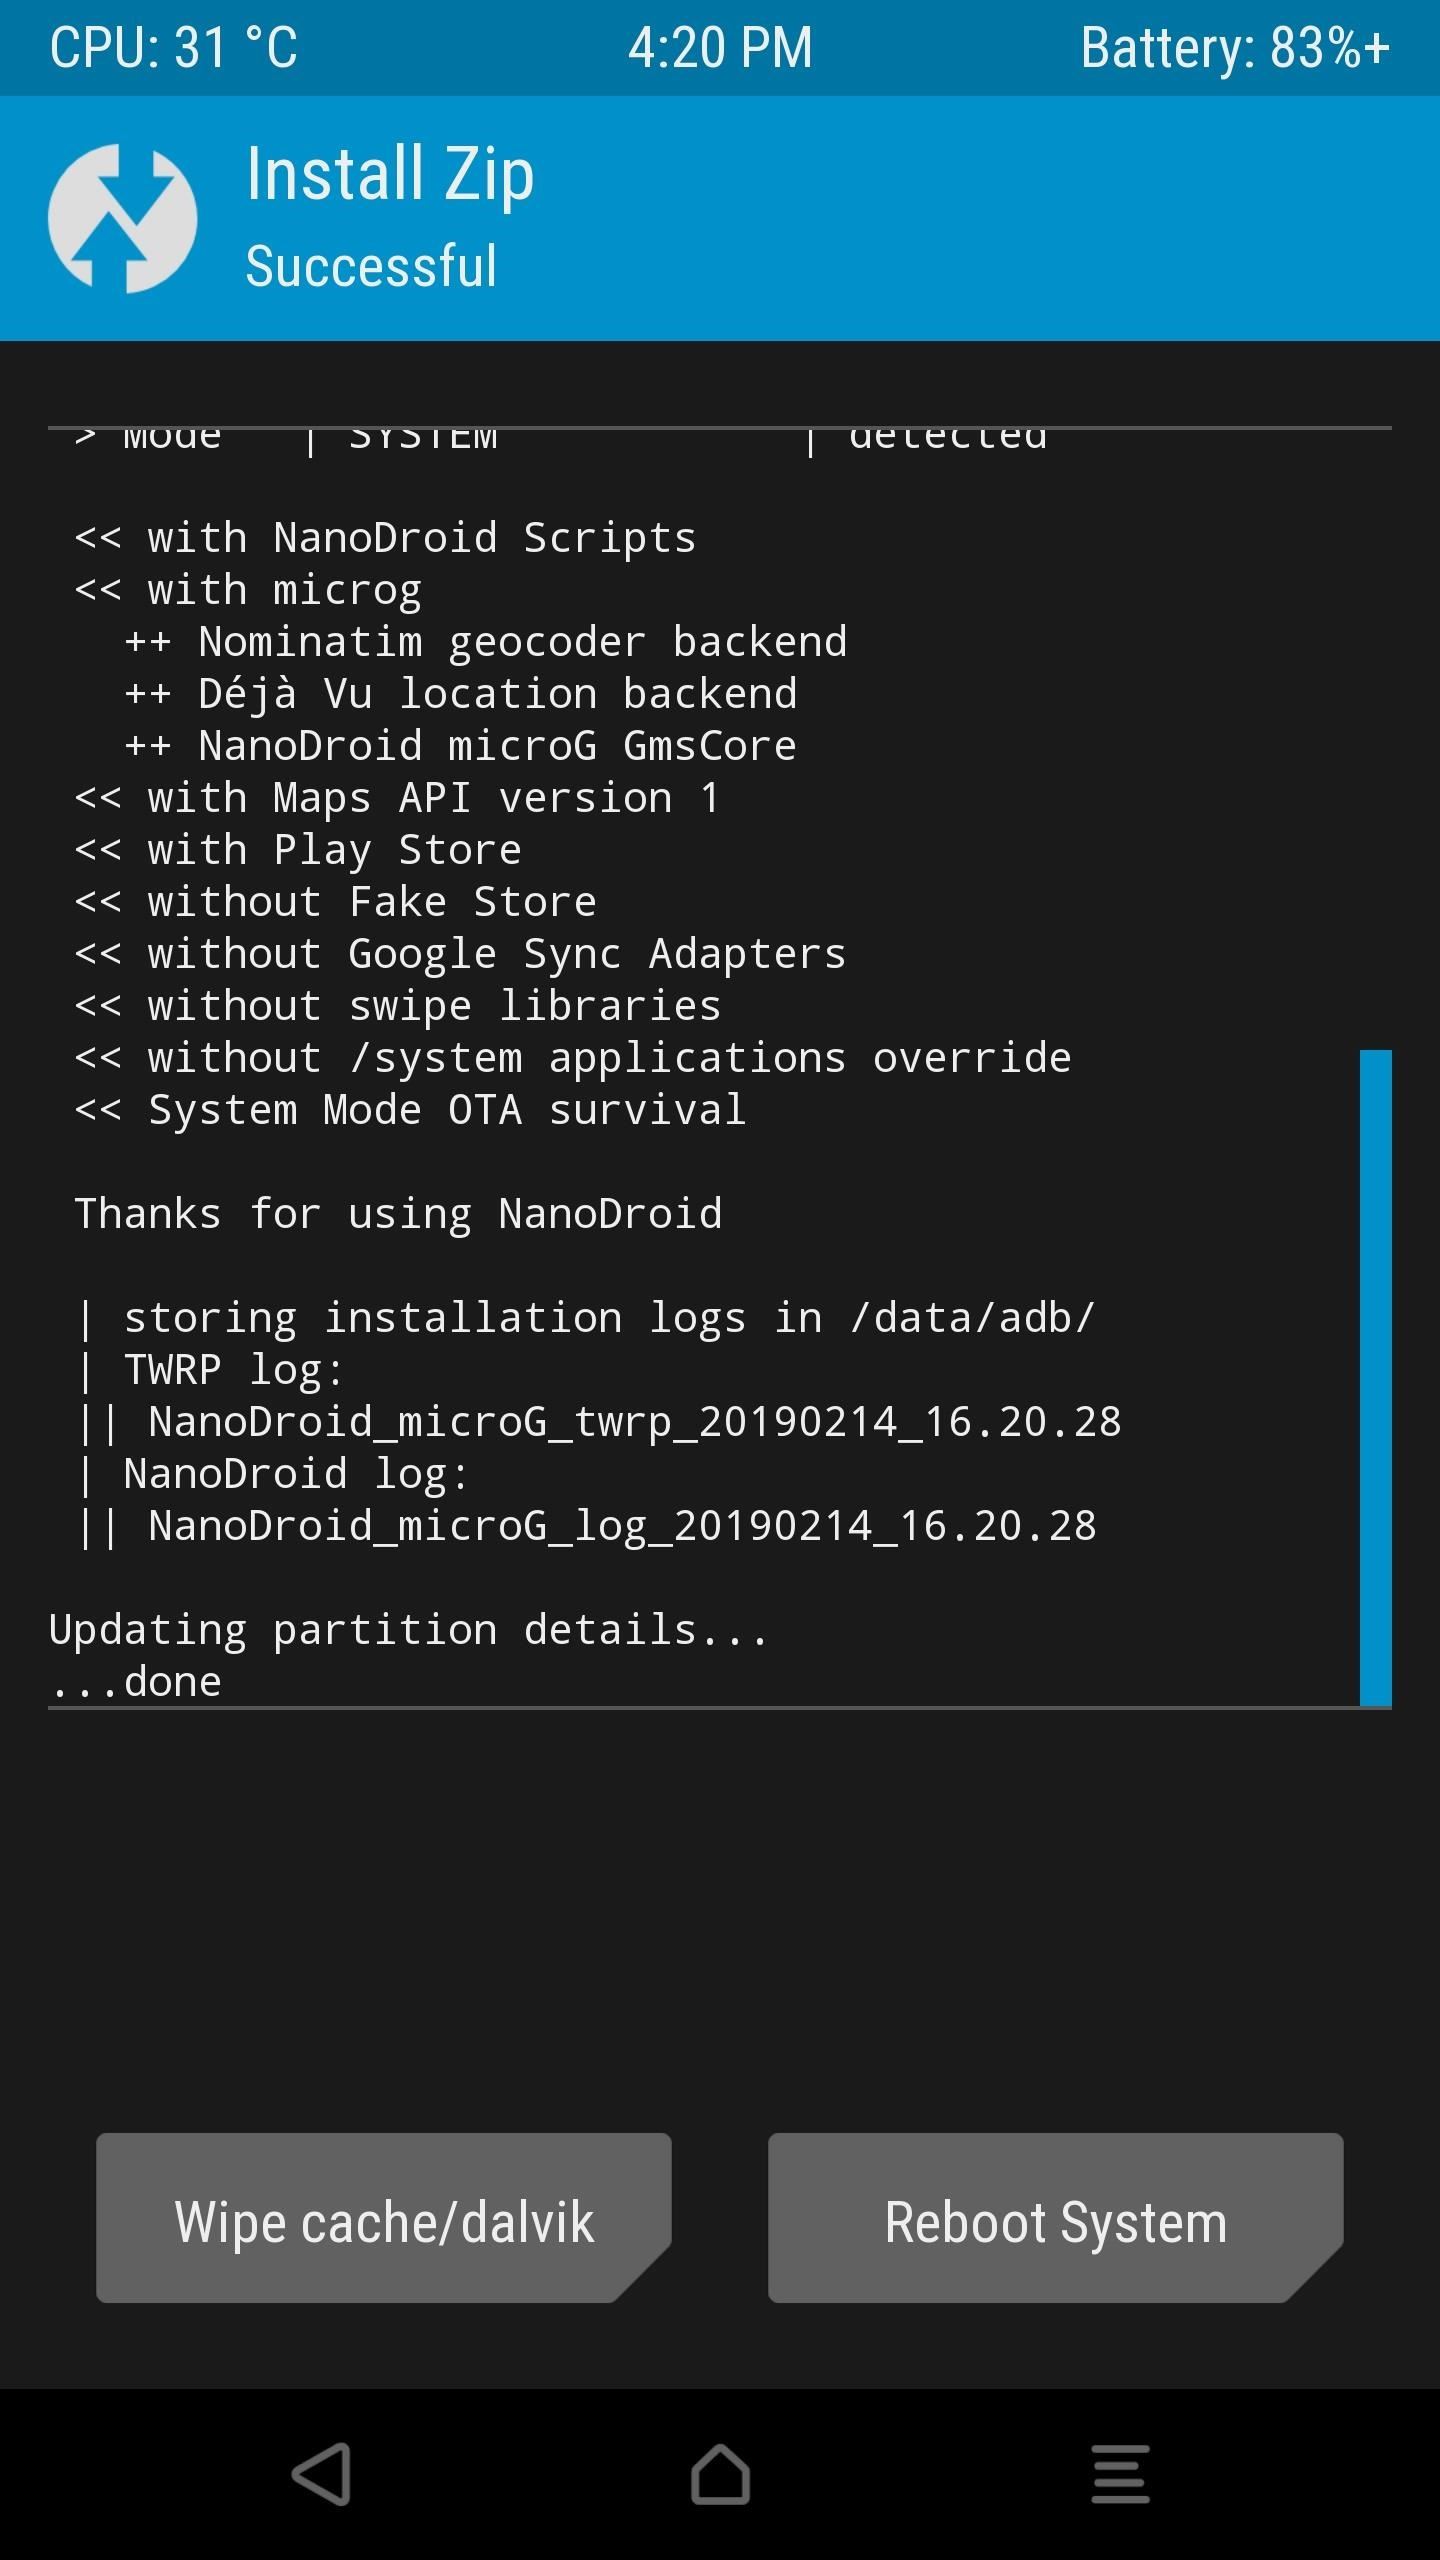
Once you download the file, go ahead and boot into recovery mode to the TWRP main screen. Tap "Install," browse for the location where you stored the NanoDroid file, tap it once, then swipe the slider to begin the installation. After it finishes the install process, you can reboot your device, then you can head onto the next step below.
For Magisk Users
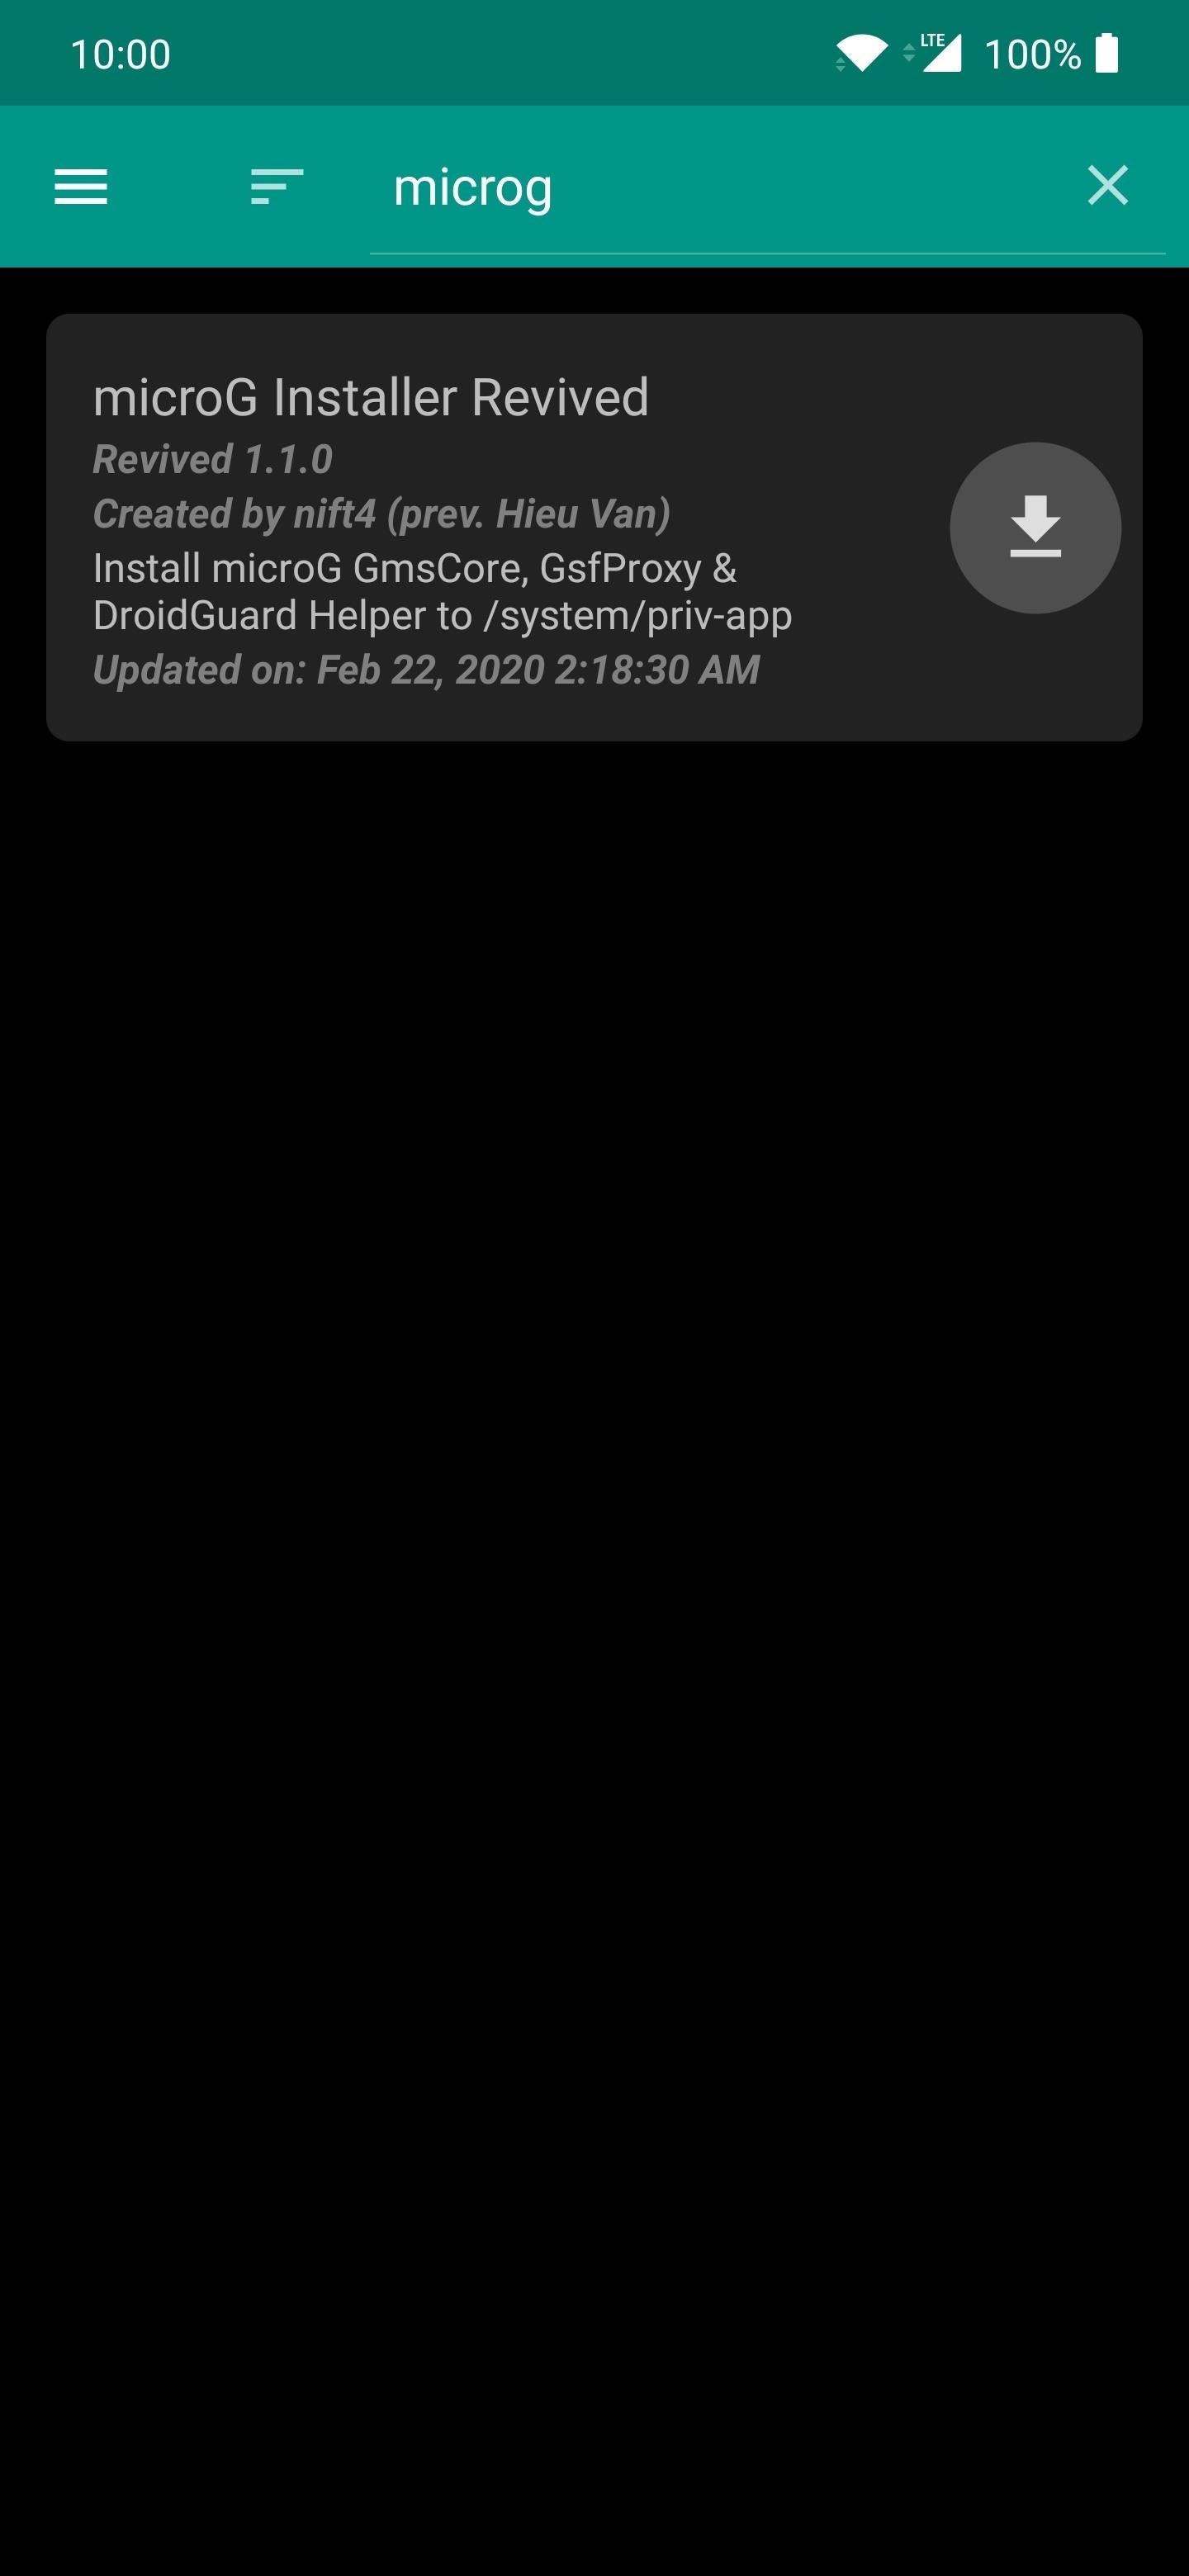
For the root users, developer nift4 (previously Hieu Van) has cooked up a special Magisk module for getting the job done systemlessly without needing to rely on TWRP. To get MicroG up and running through Magisk, follow the quick instructions below.
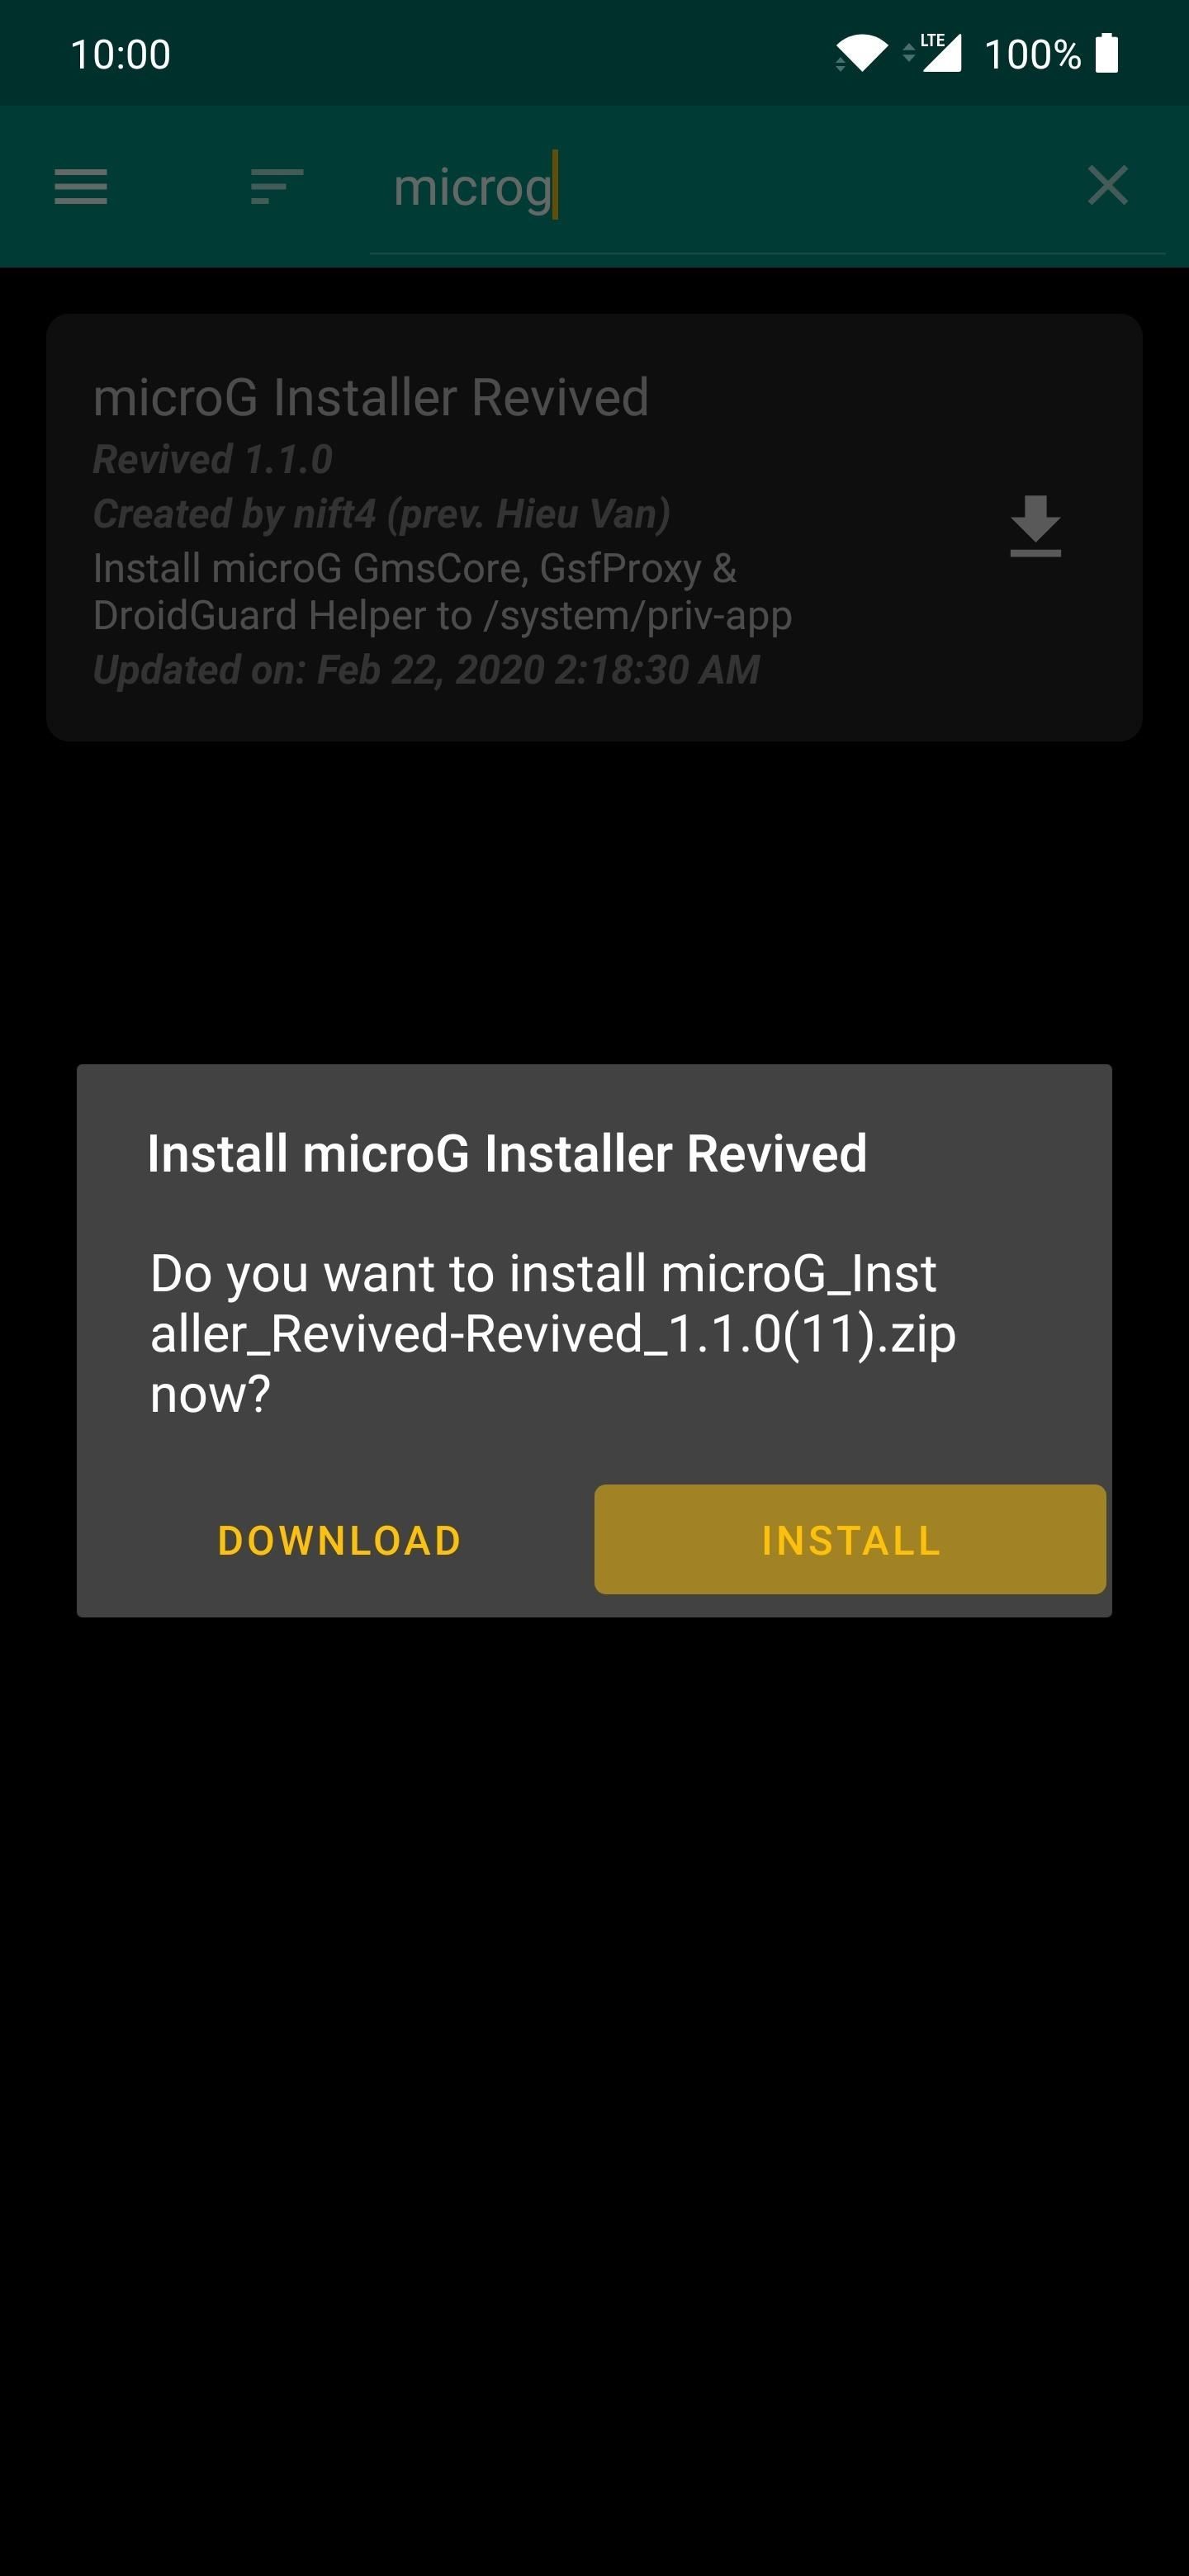
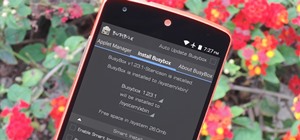
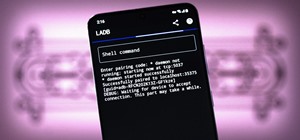
Open the Magisk Manager app to the main screen, tap the menu icon on the left, then head on over to the "Downloads" section. Tap the search icon the do a search for the term "microg," then the required module should pop up on the list right away as the only entry. Tap the download arrow once, then "Install" to get started.
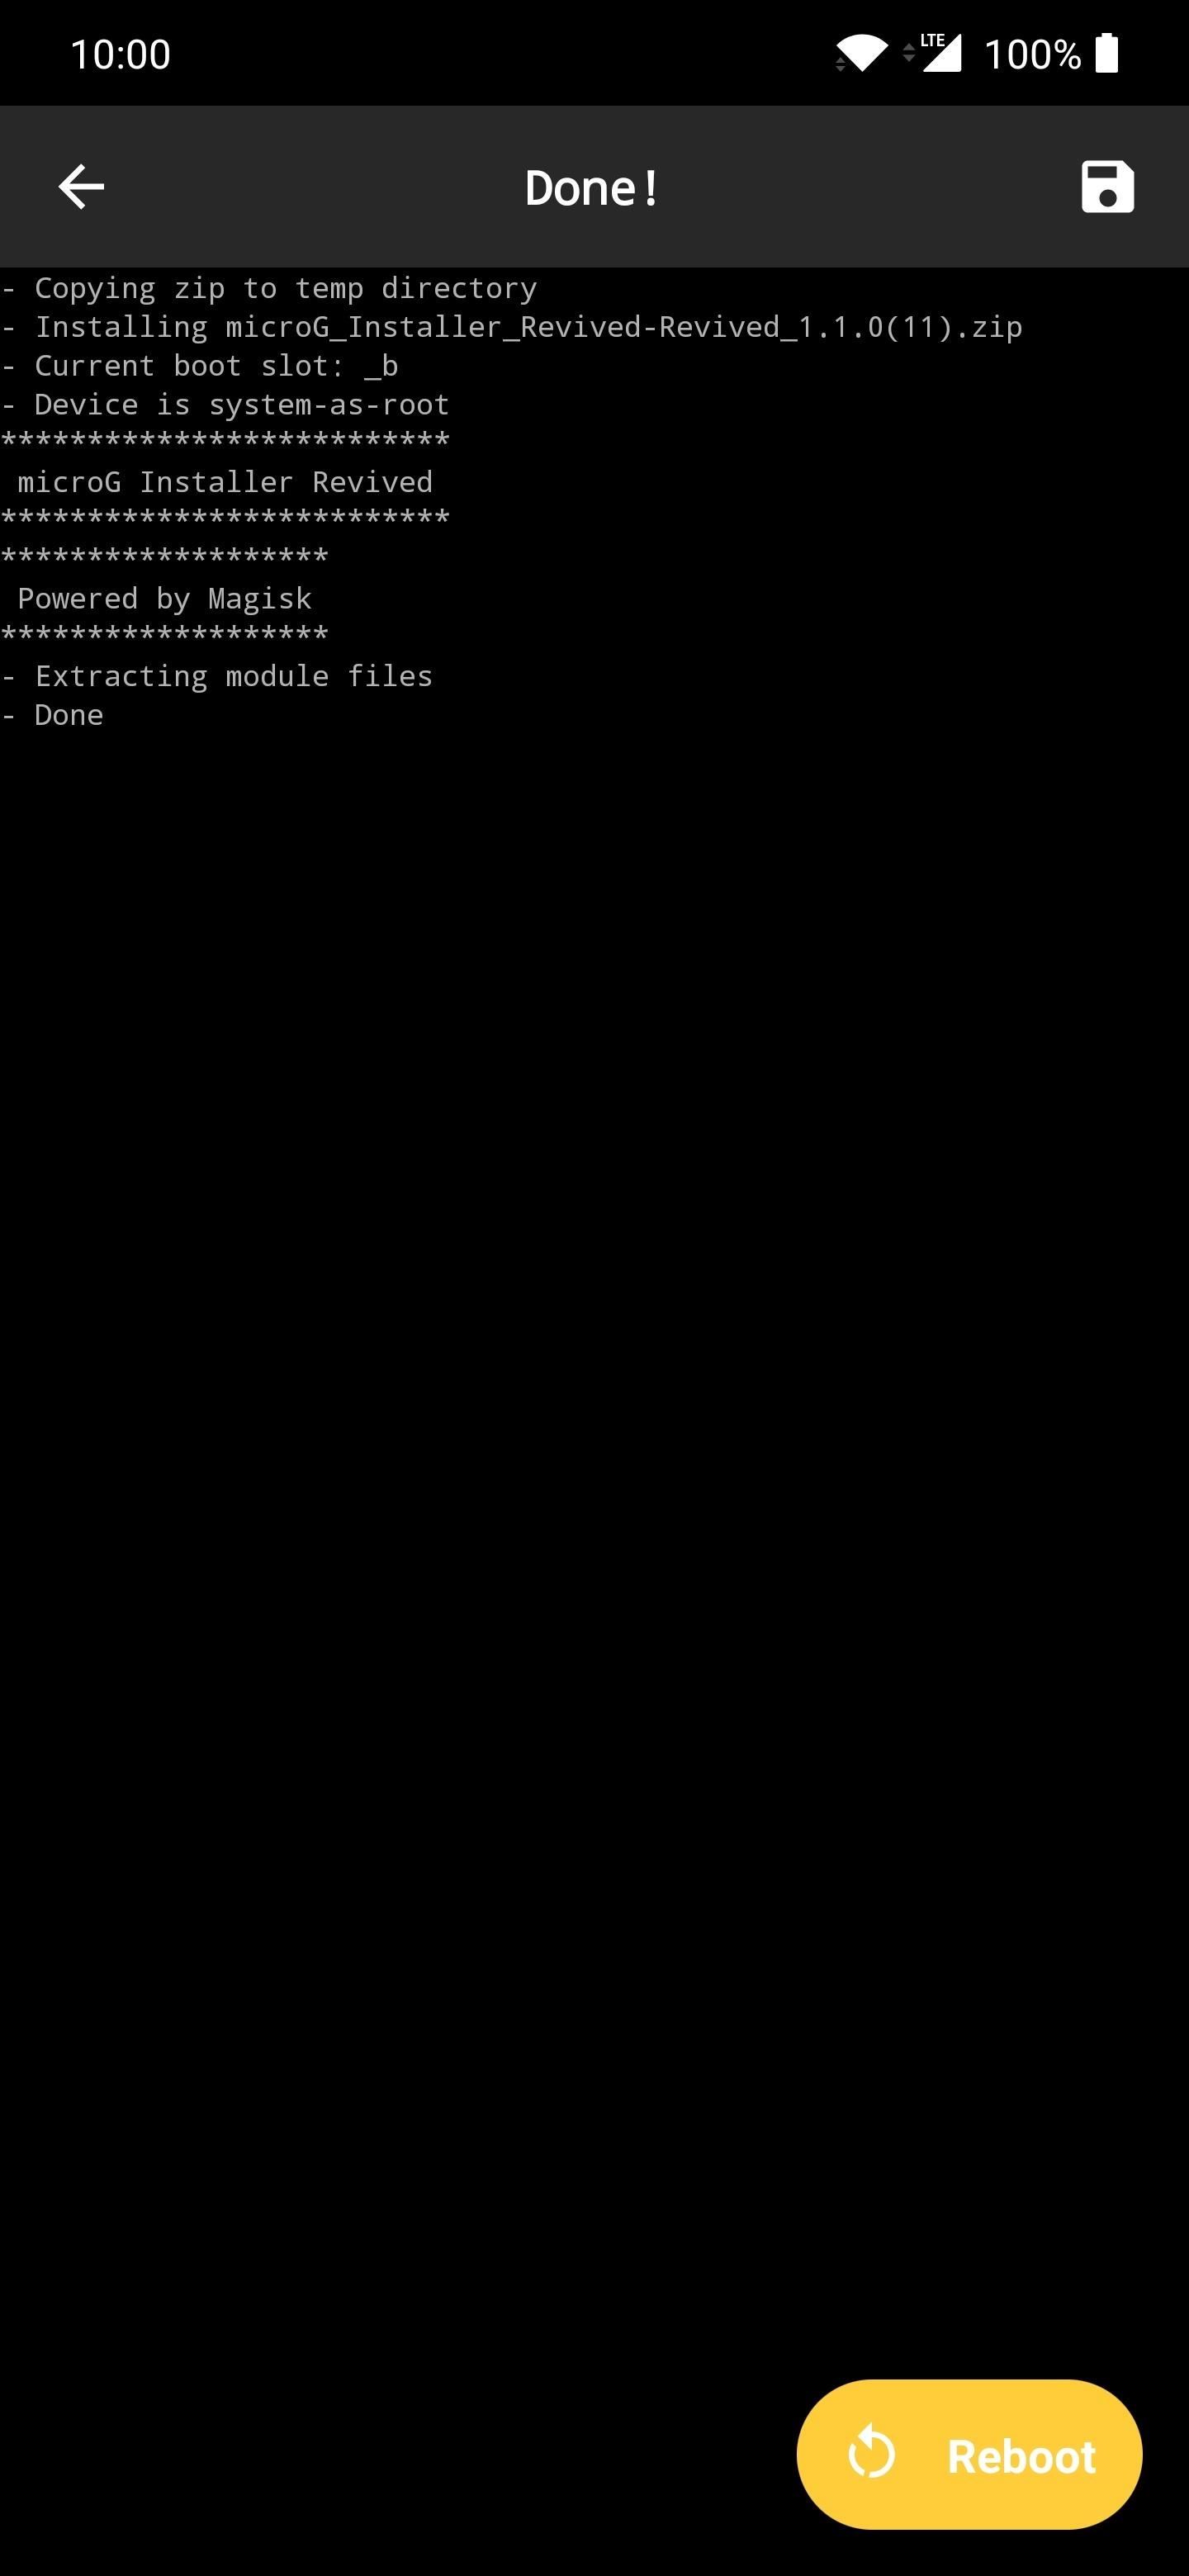
Once the install process finishes, tap the reboot button to restart your system. Now you can head onto the next step below.
Step 4: Grant the Proper Permissions
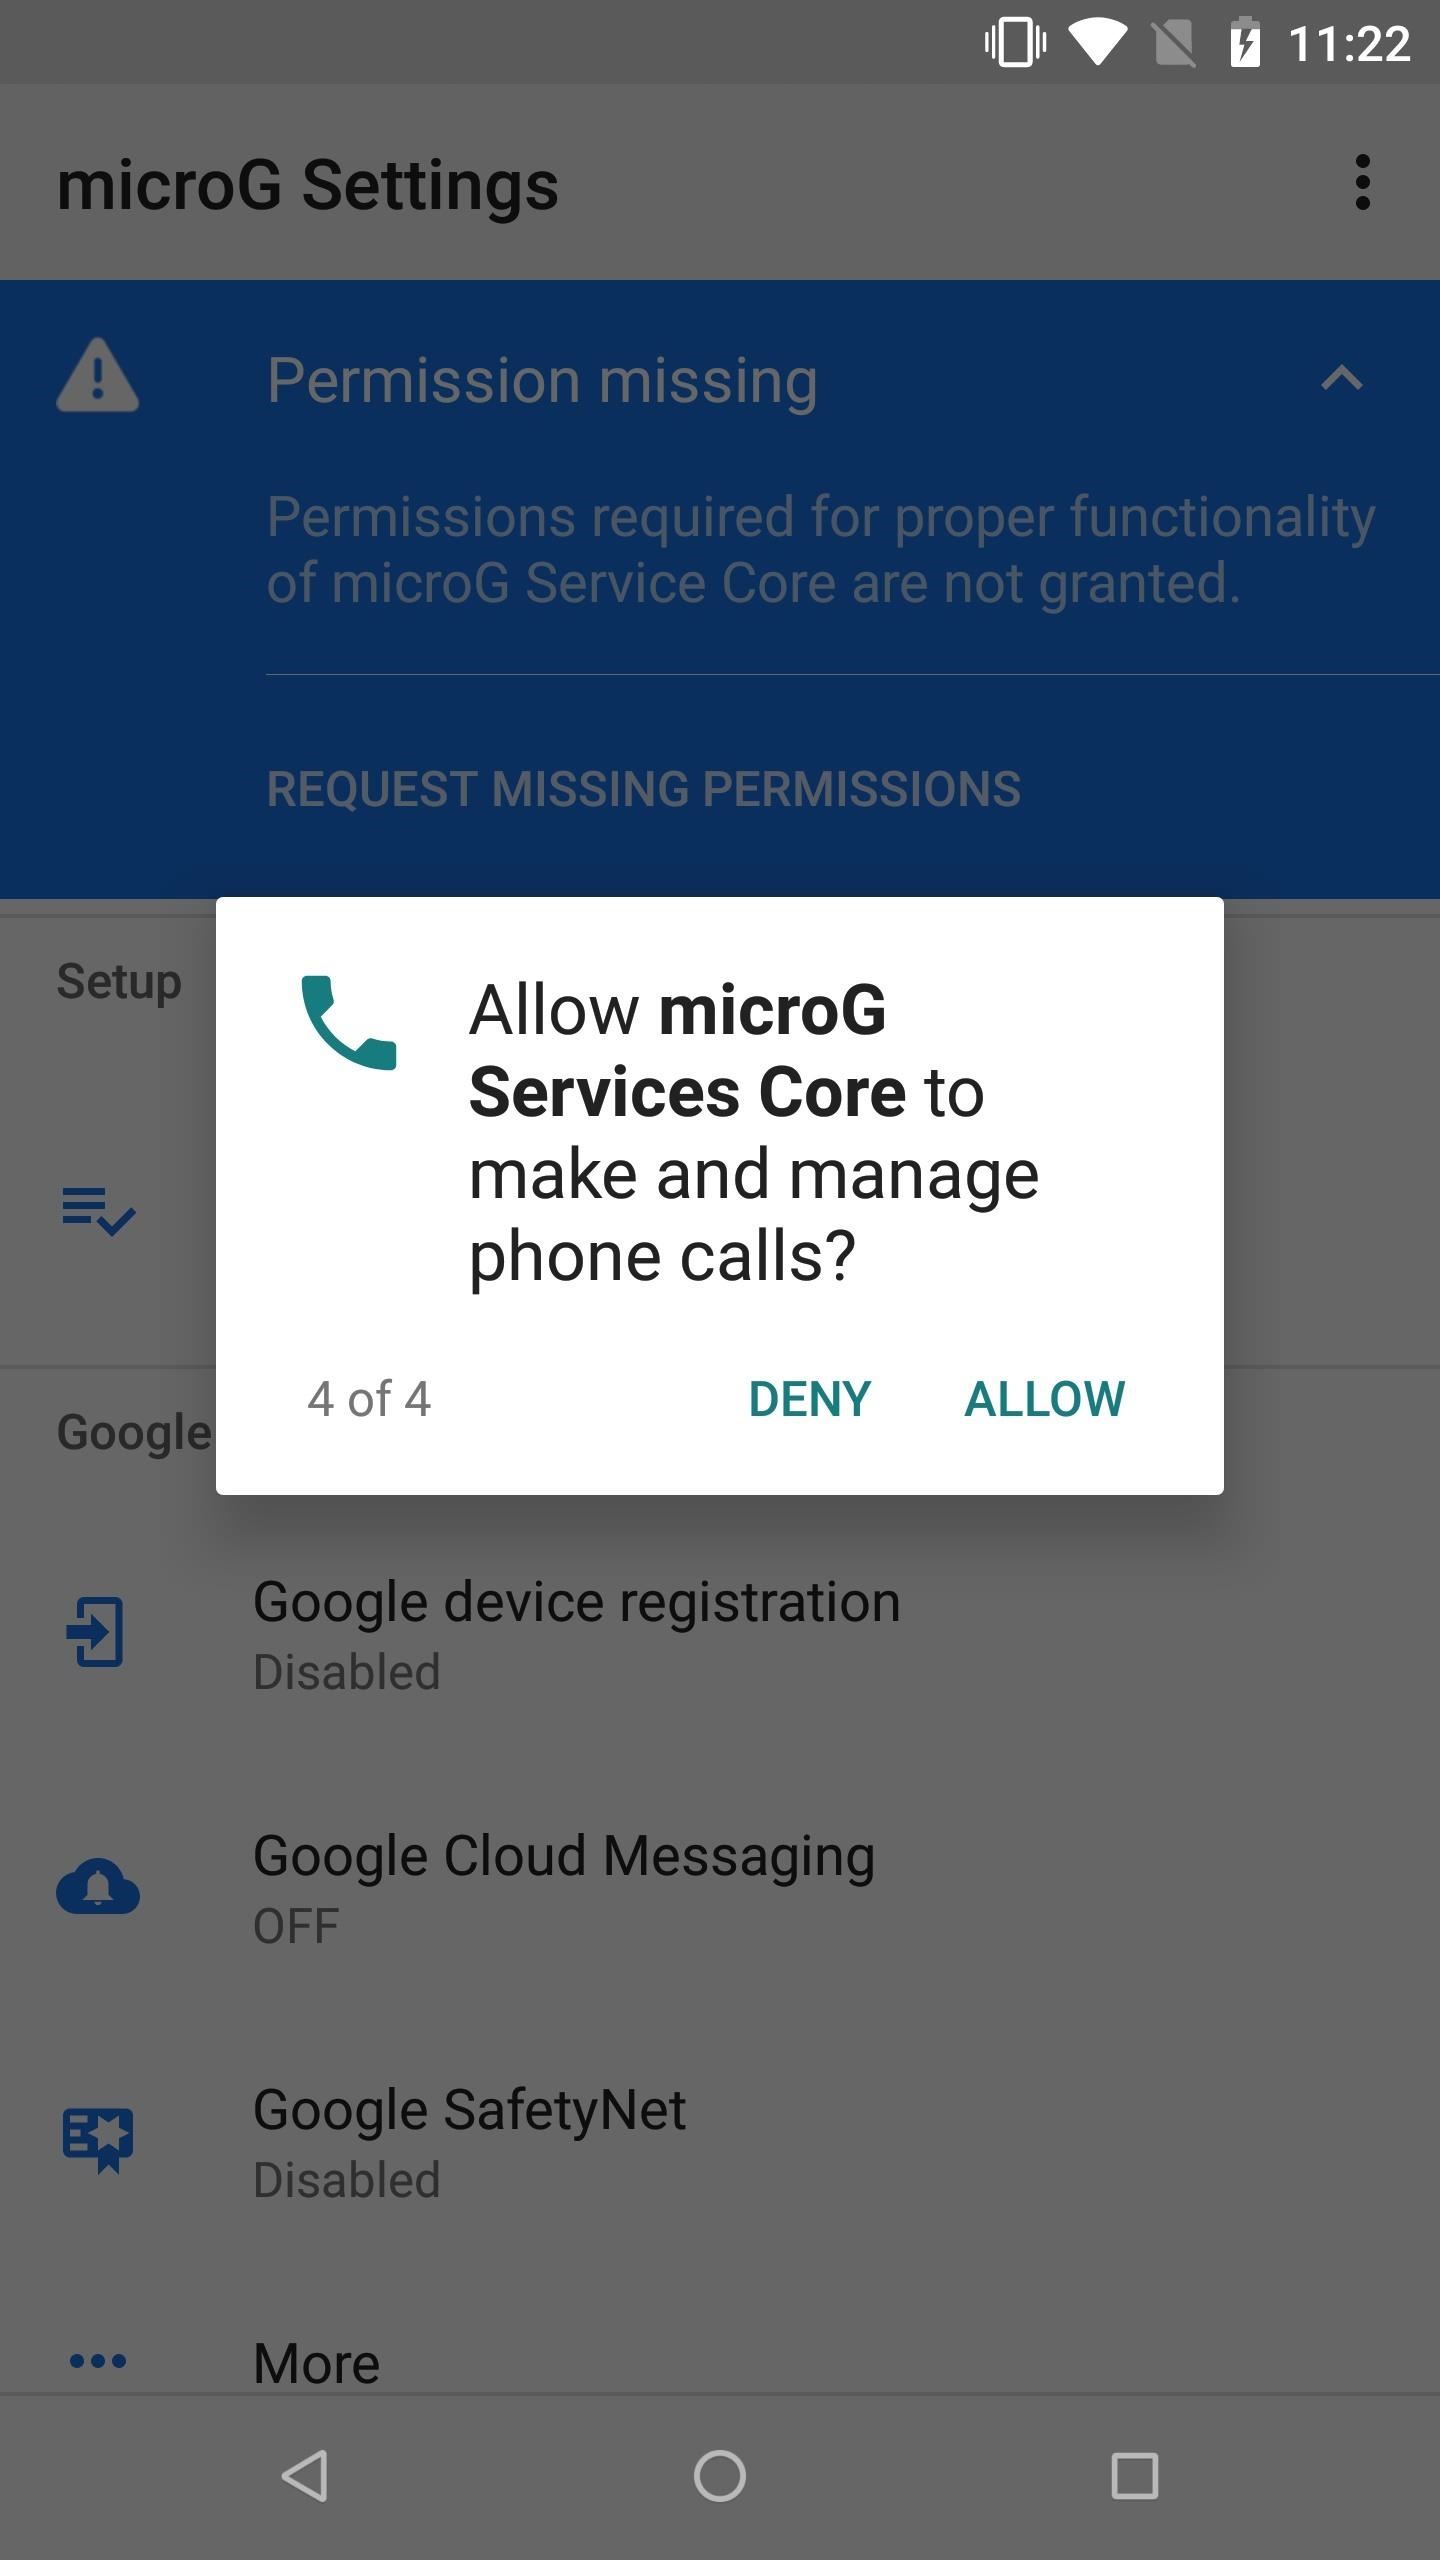
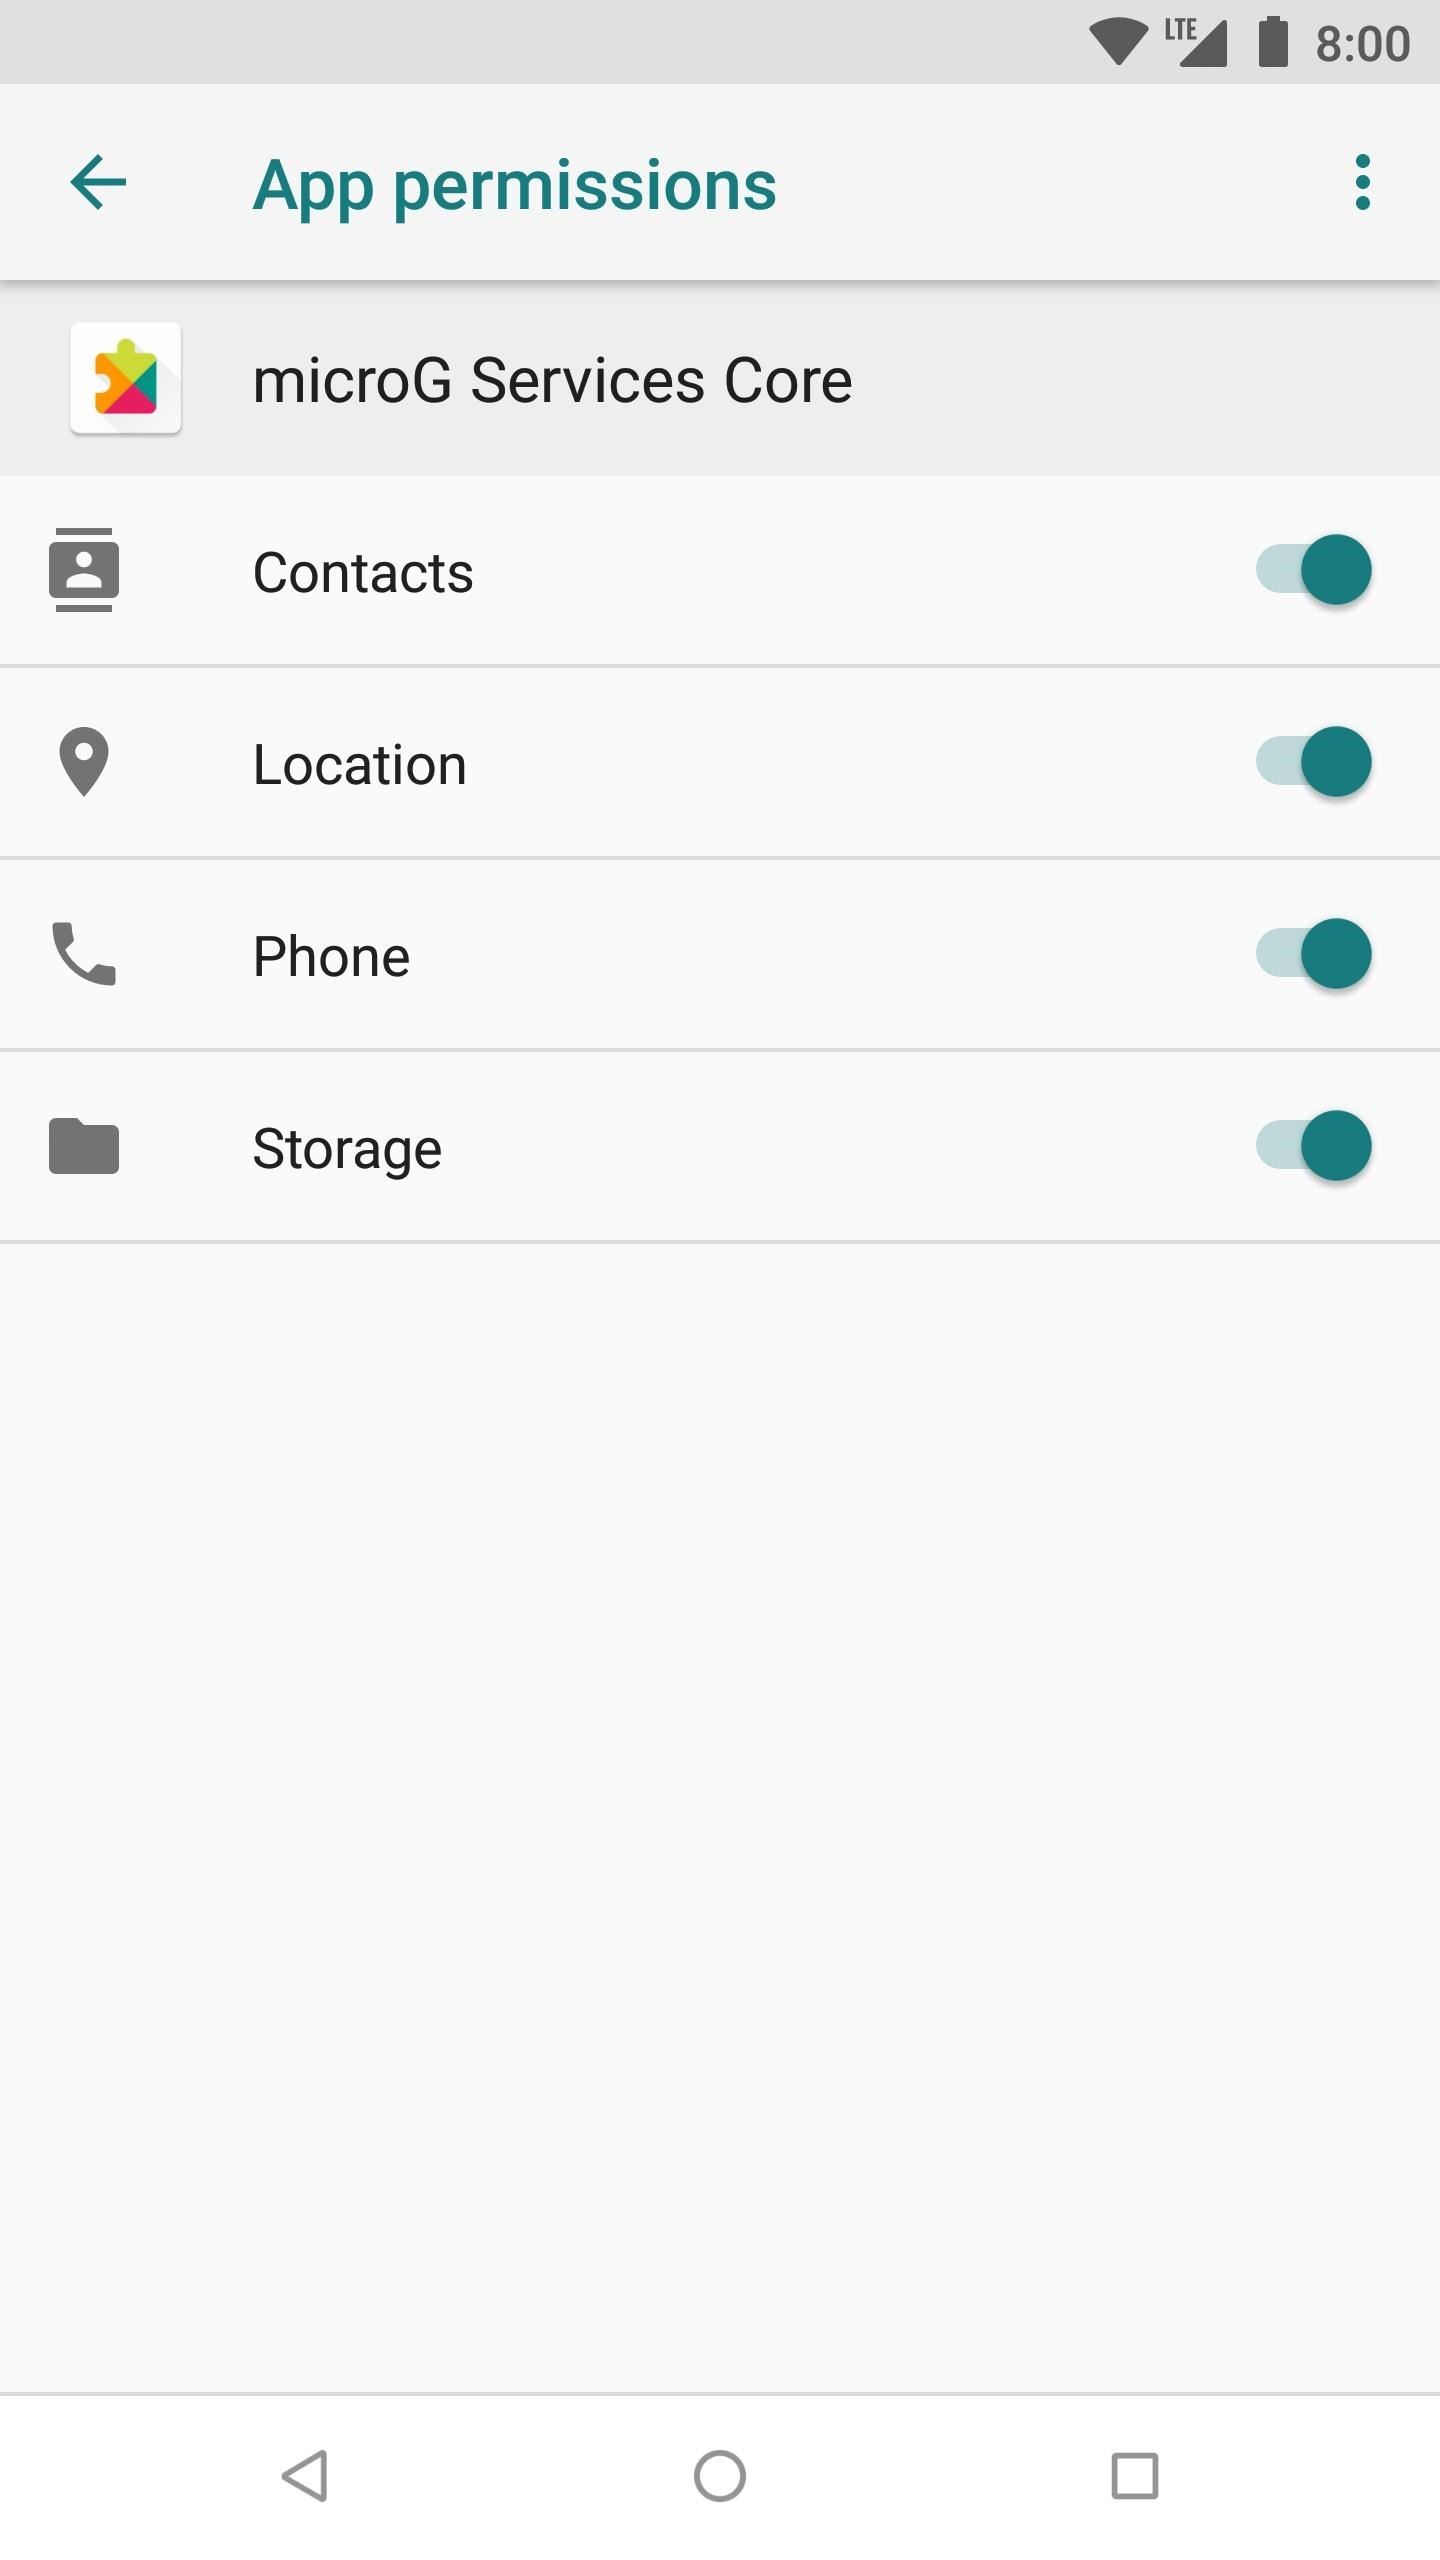
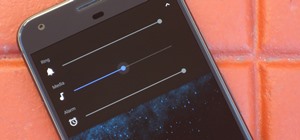
Go into your app drawer, locate the Micro G app, then open it to the main screen. You might see a notification at the top, letting you know to grant permissions to the app. Expand the notification, tap "Request Missing Permissions," and then allow the permissions as requested. If you don't do this, your apps won't have access to the modified Google services, which defeats the purpose of MicroG.
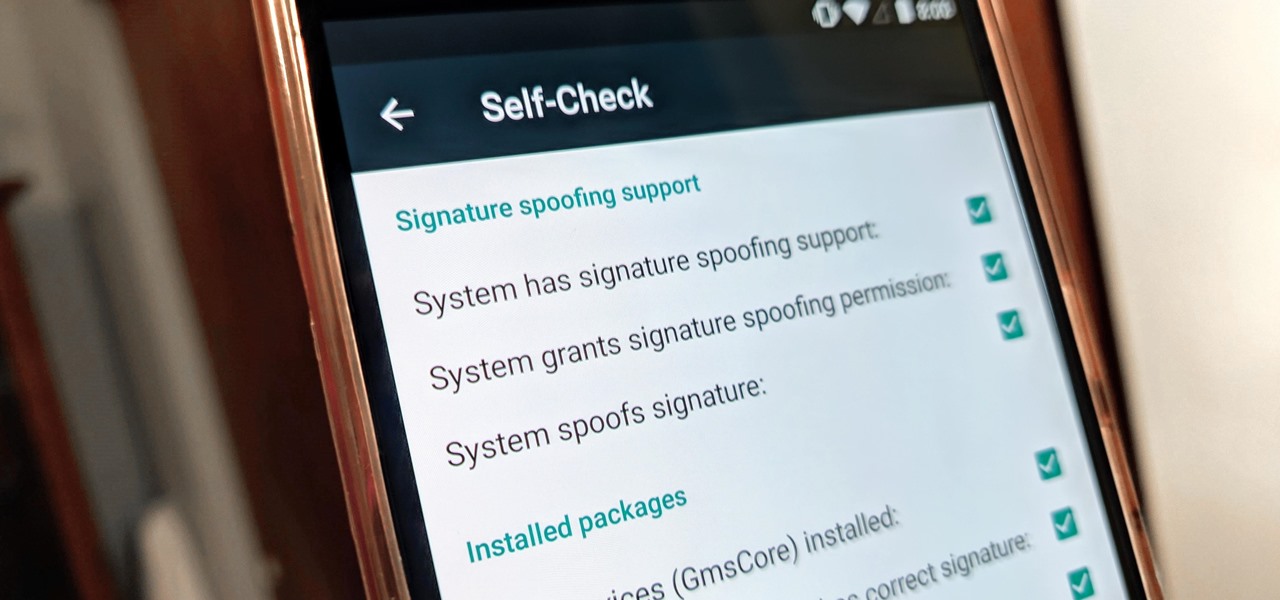
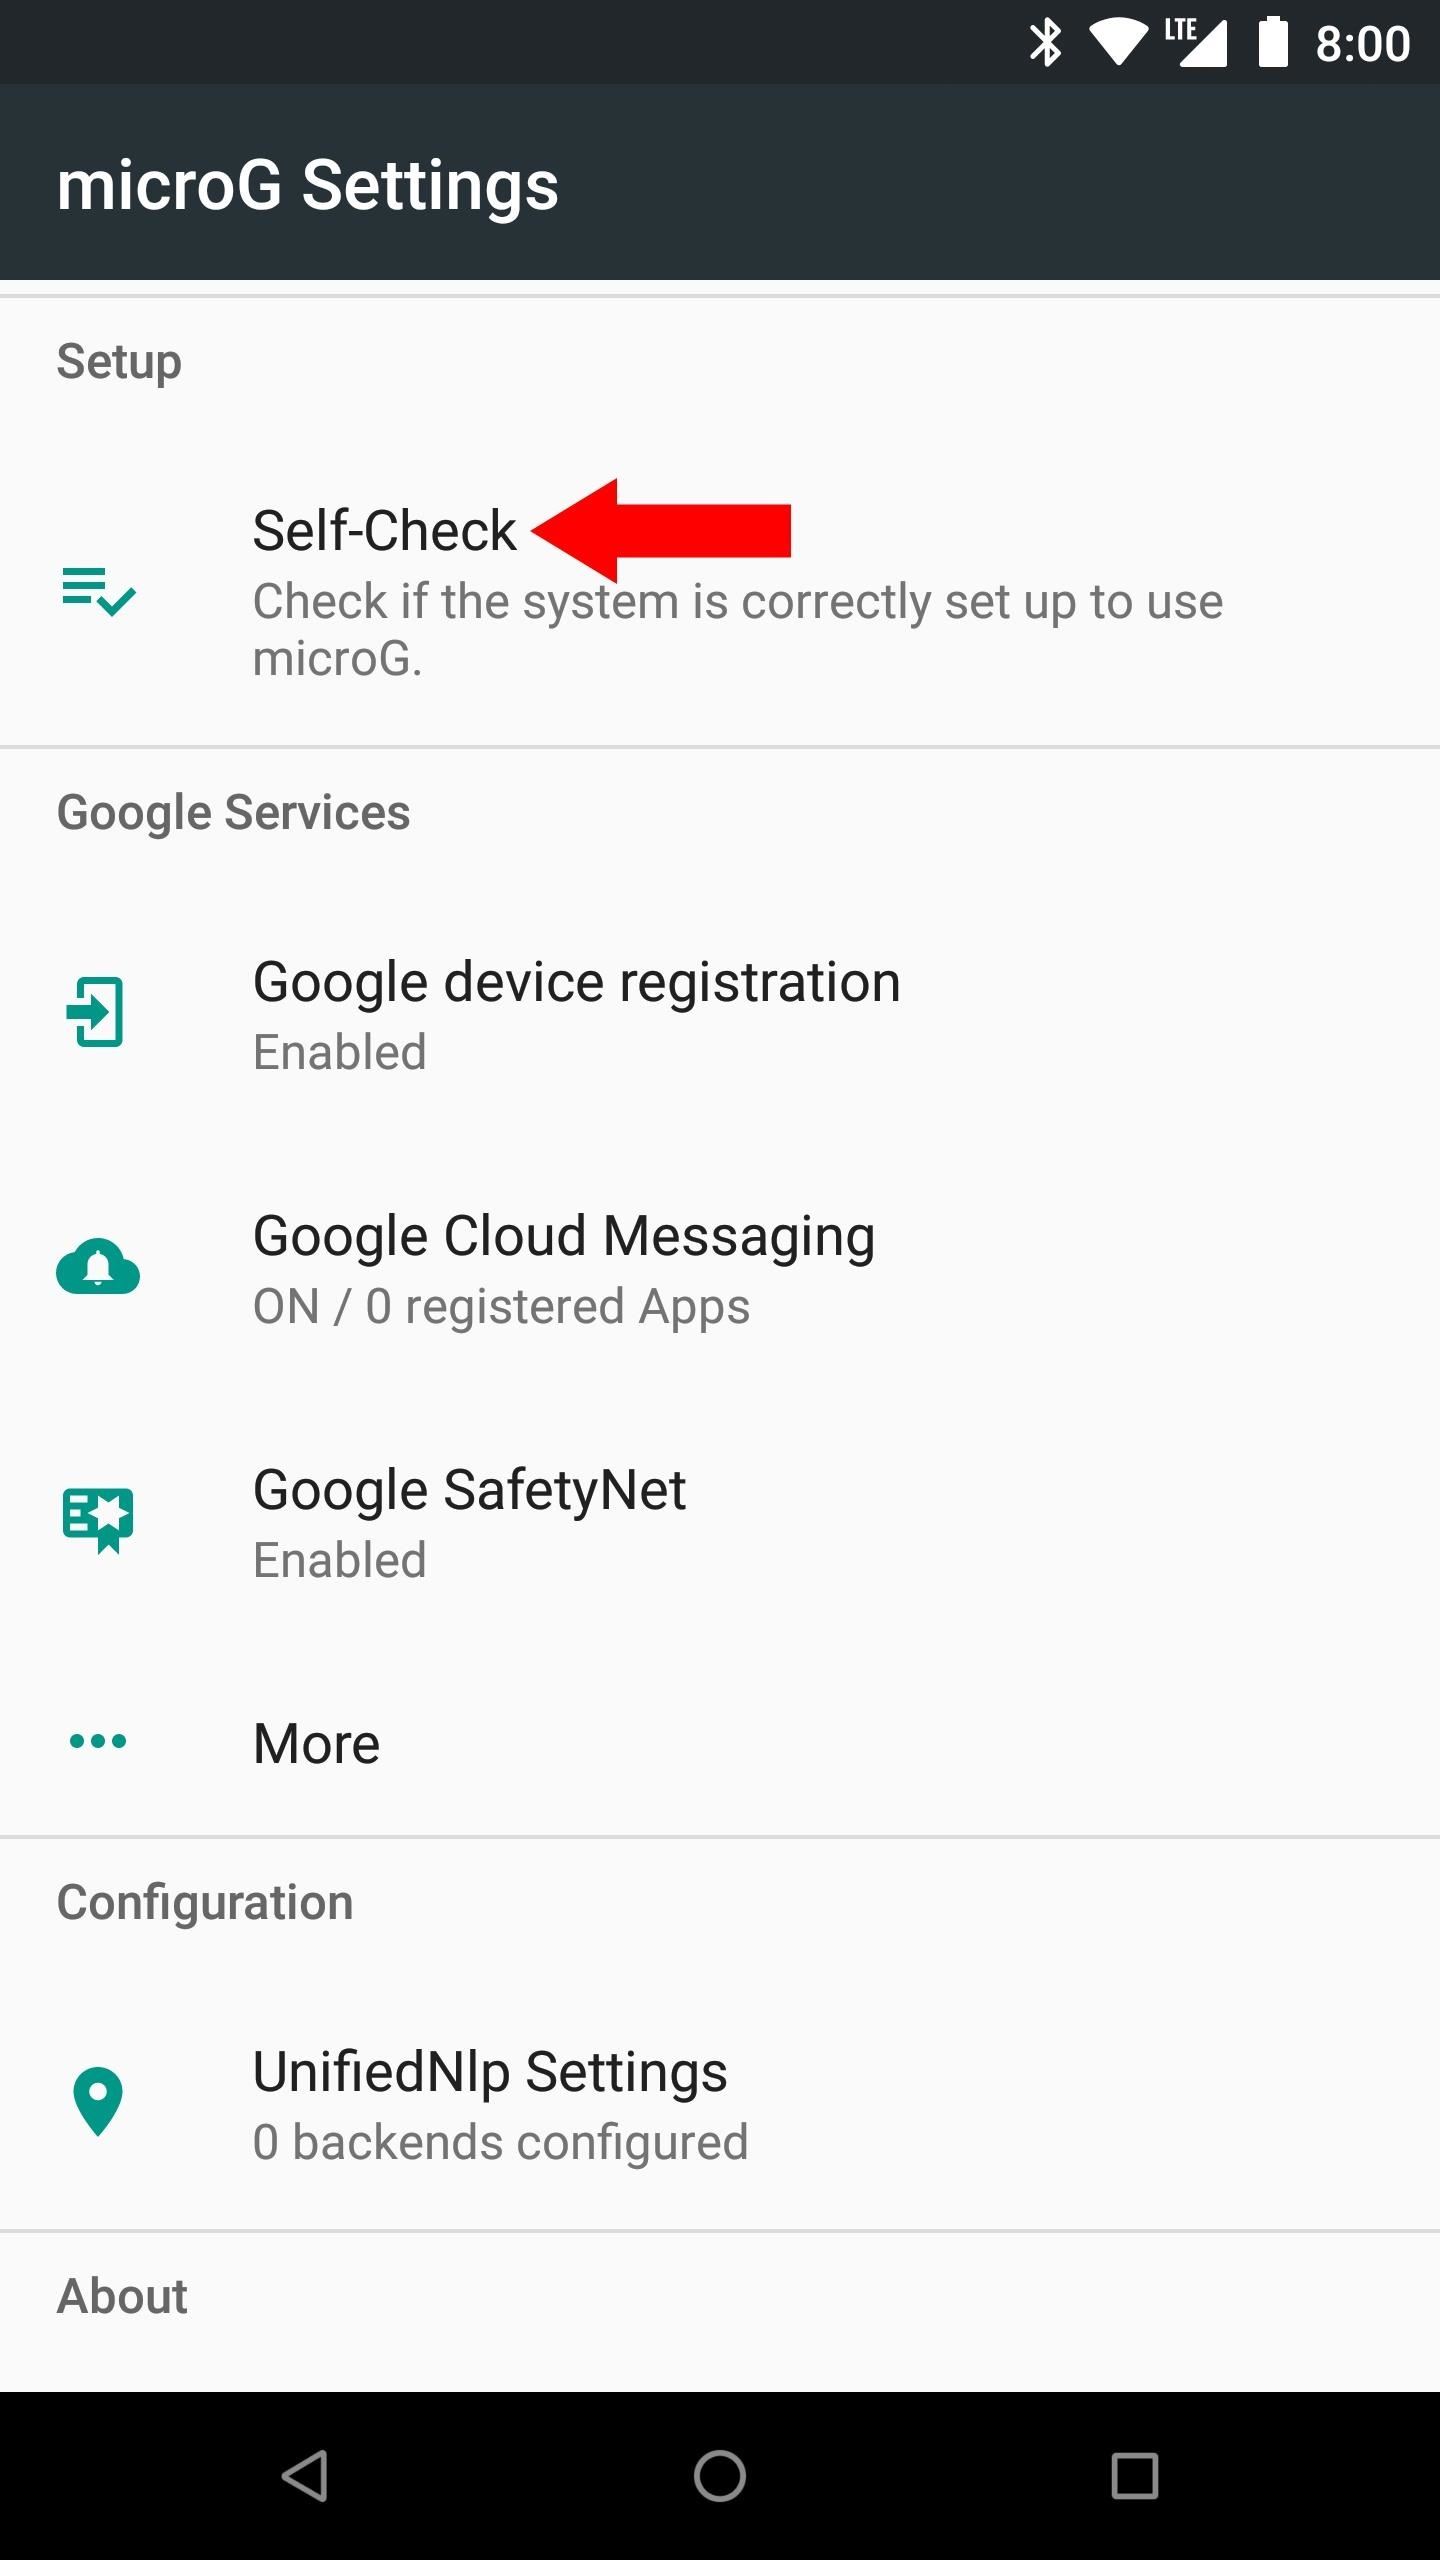
Step 5: Take the Self-Check Test
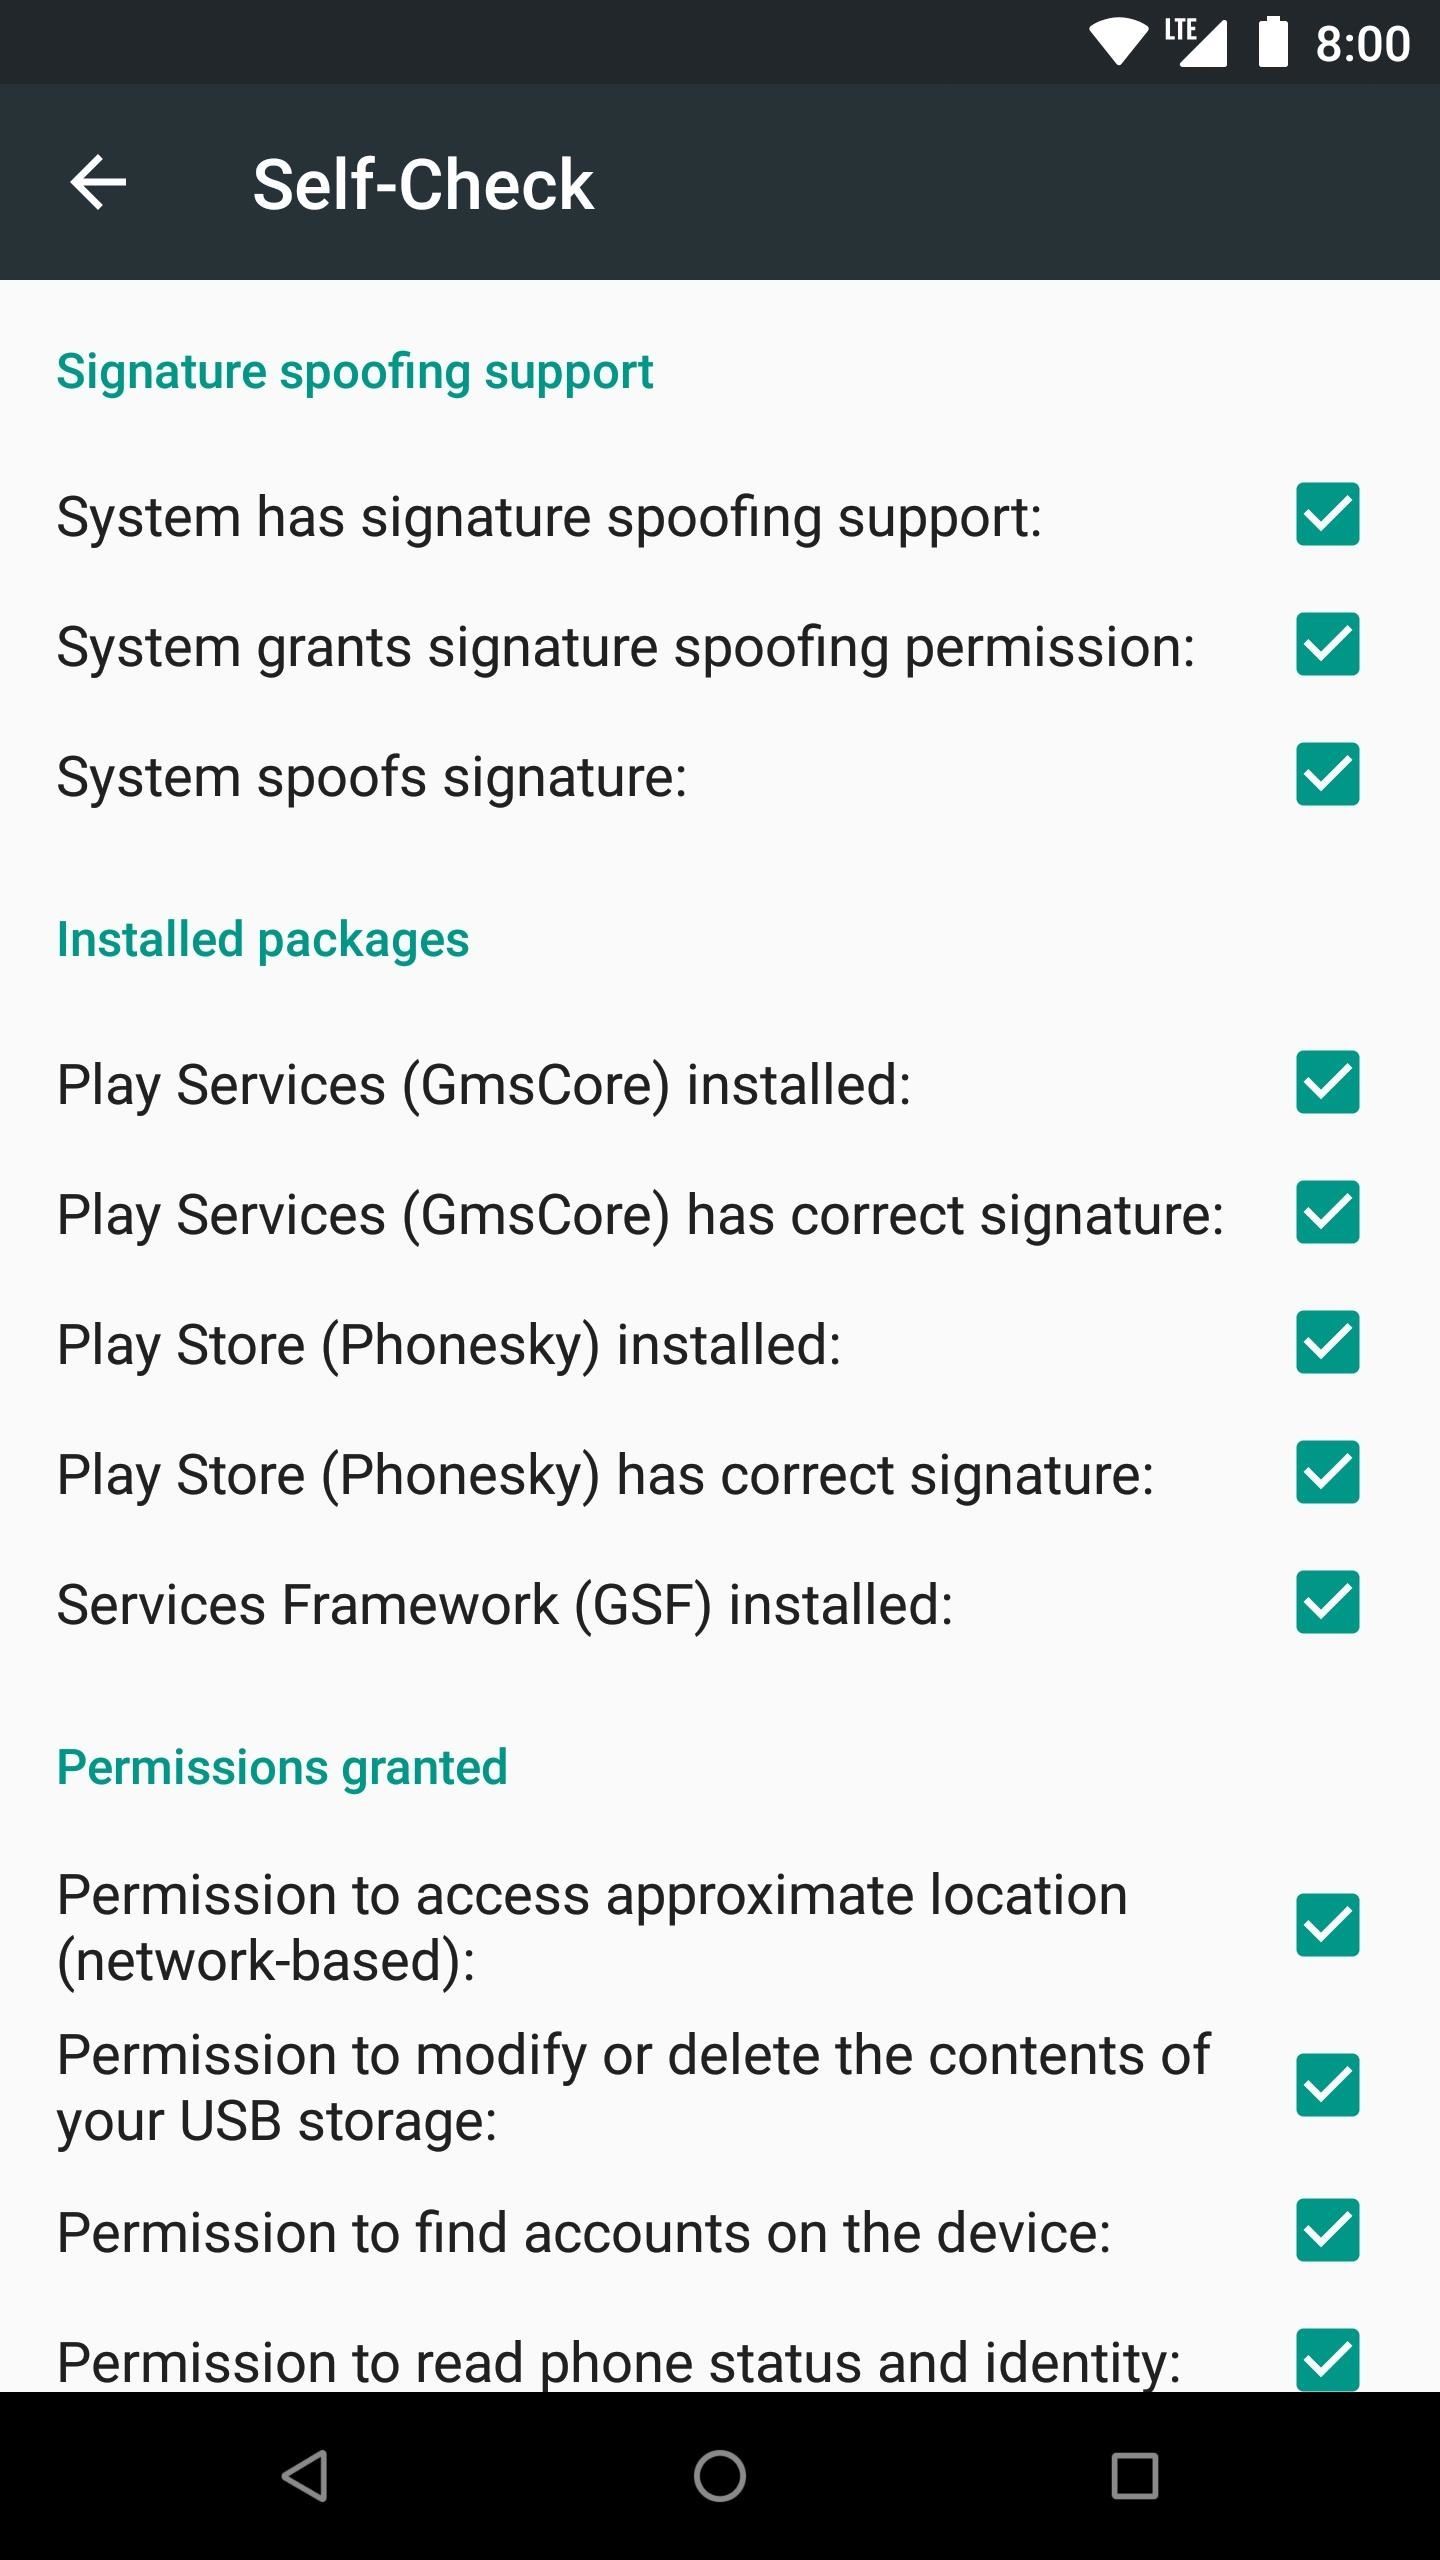
Open the MicroG app and tap the "Self-Check" section at the top of the screen. If your ROM supports signature faking mentioned from Step 1, the first checkbox should be checked. It will say, "System has signature spoofing support" if everything looks good from here.
You should also notice that just about everything else has an active checkbox, which is precisely what you want to see. If you're getting a message that says, "Your ROM has no native support for signature spoofing," then you need to go back to Step 1. At this point, you'd need to do a little more searching and find a custom ROM that does support signature spoofing before you can continue.
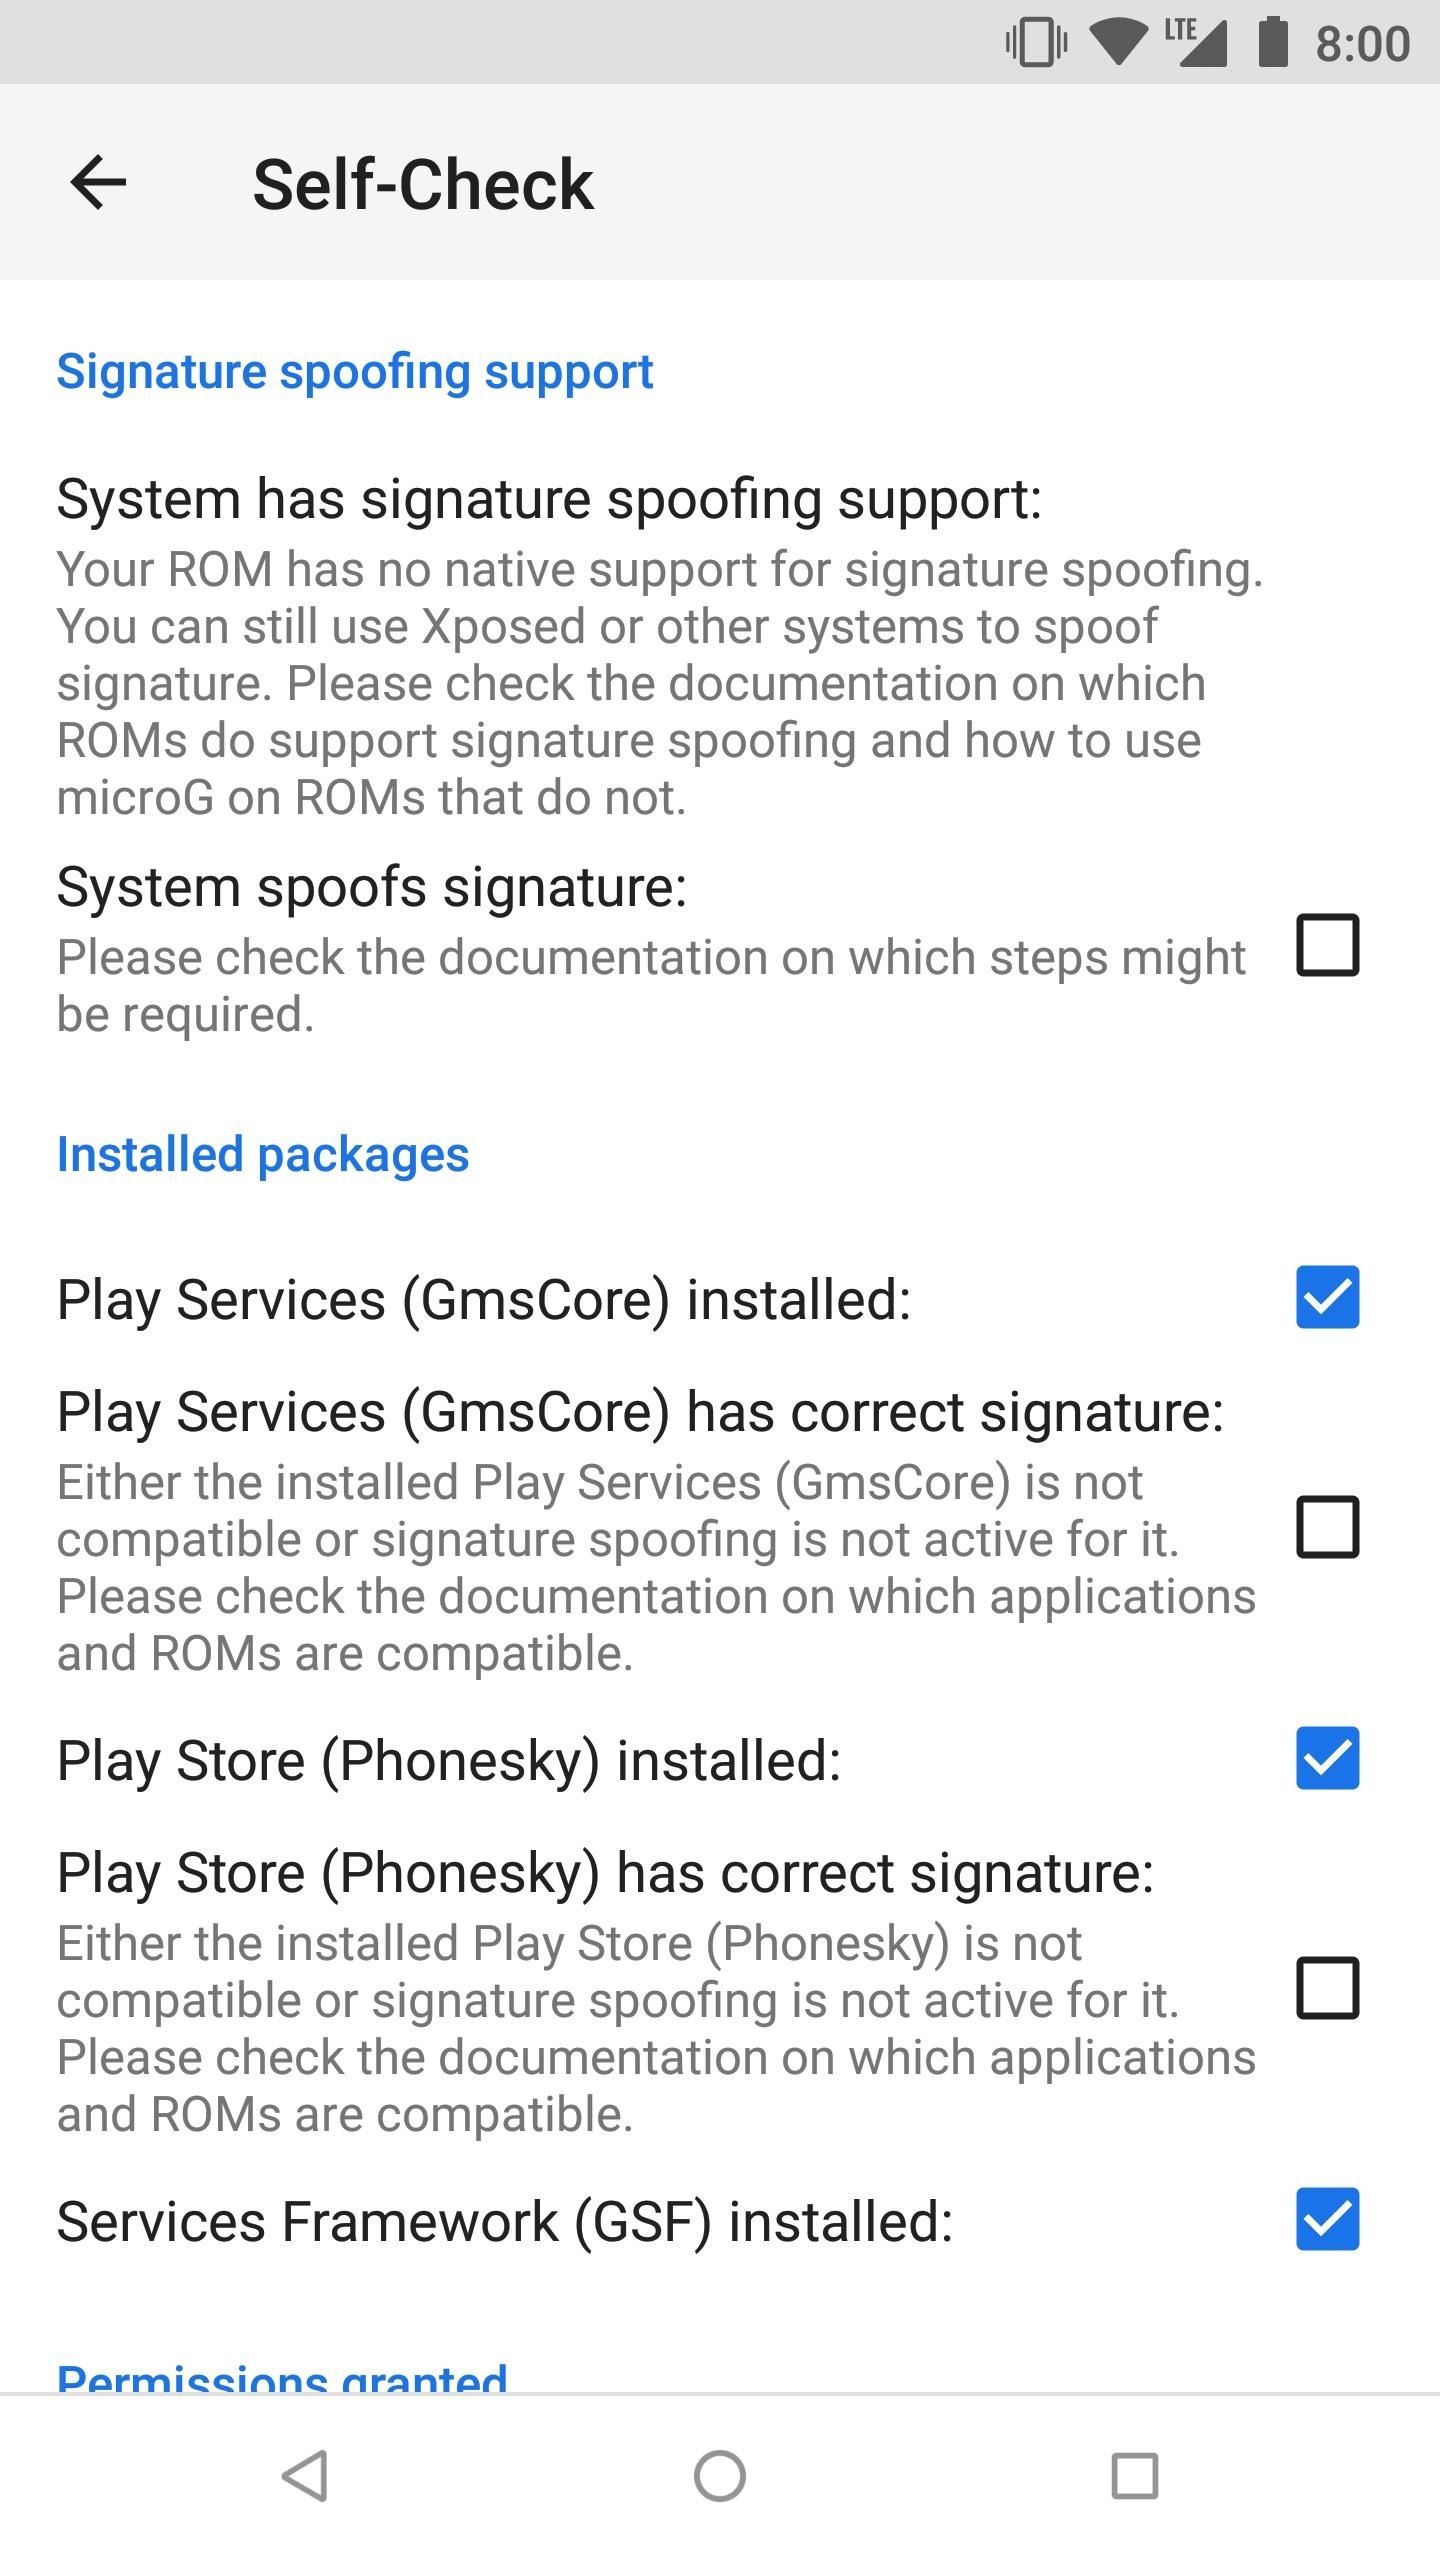
Your experience will not be great without signature spoofing, so you must get a custom ROM that supports it. Look at the documentation for the ROM, ask the developer, or even ask the community if you can't figure it out. Alternatively, you can flash a ROM and take the Self-Check test to find out in an instant. Once your custom ROM that passes the test, then you can move onto the next step.
Step 6: Configure Location Services (Optional)
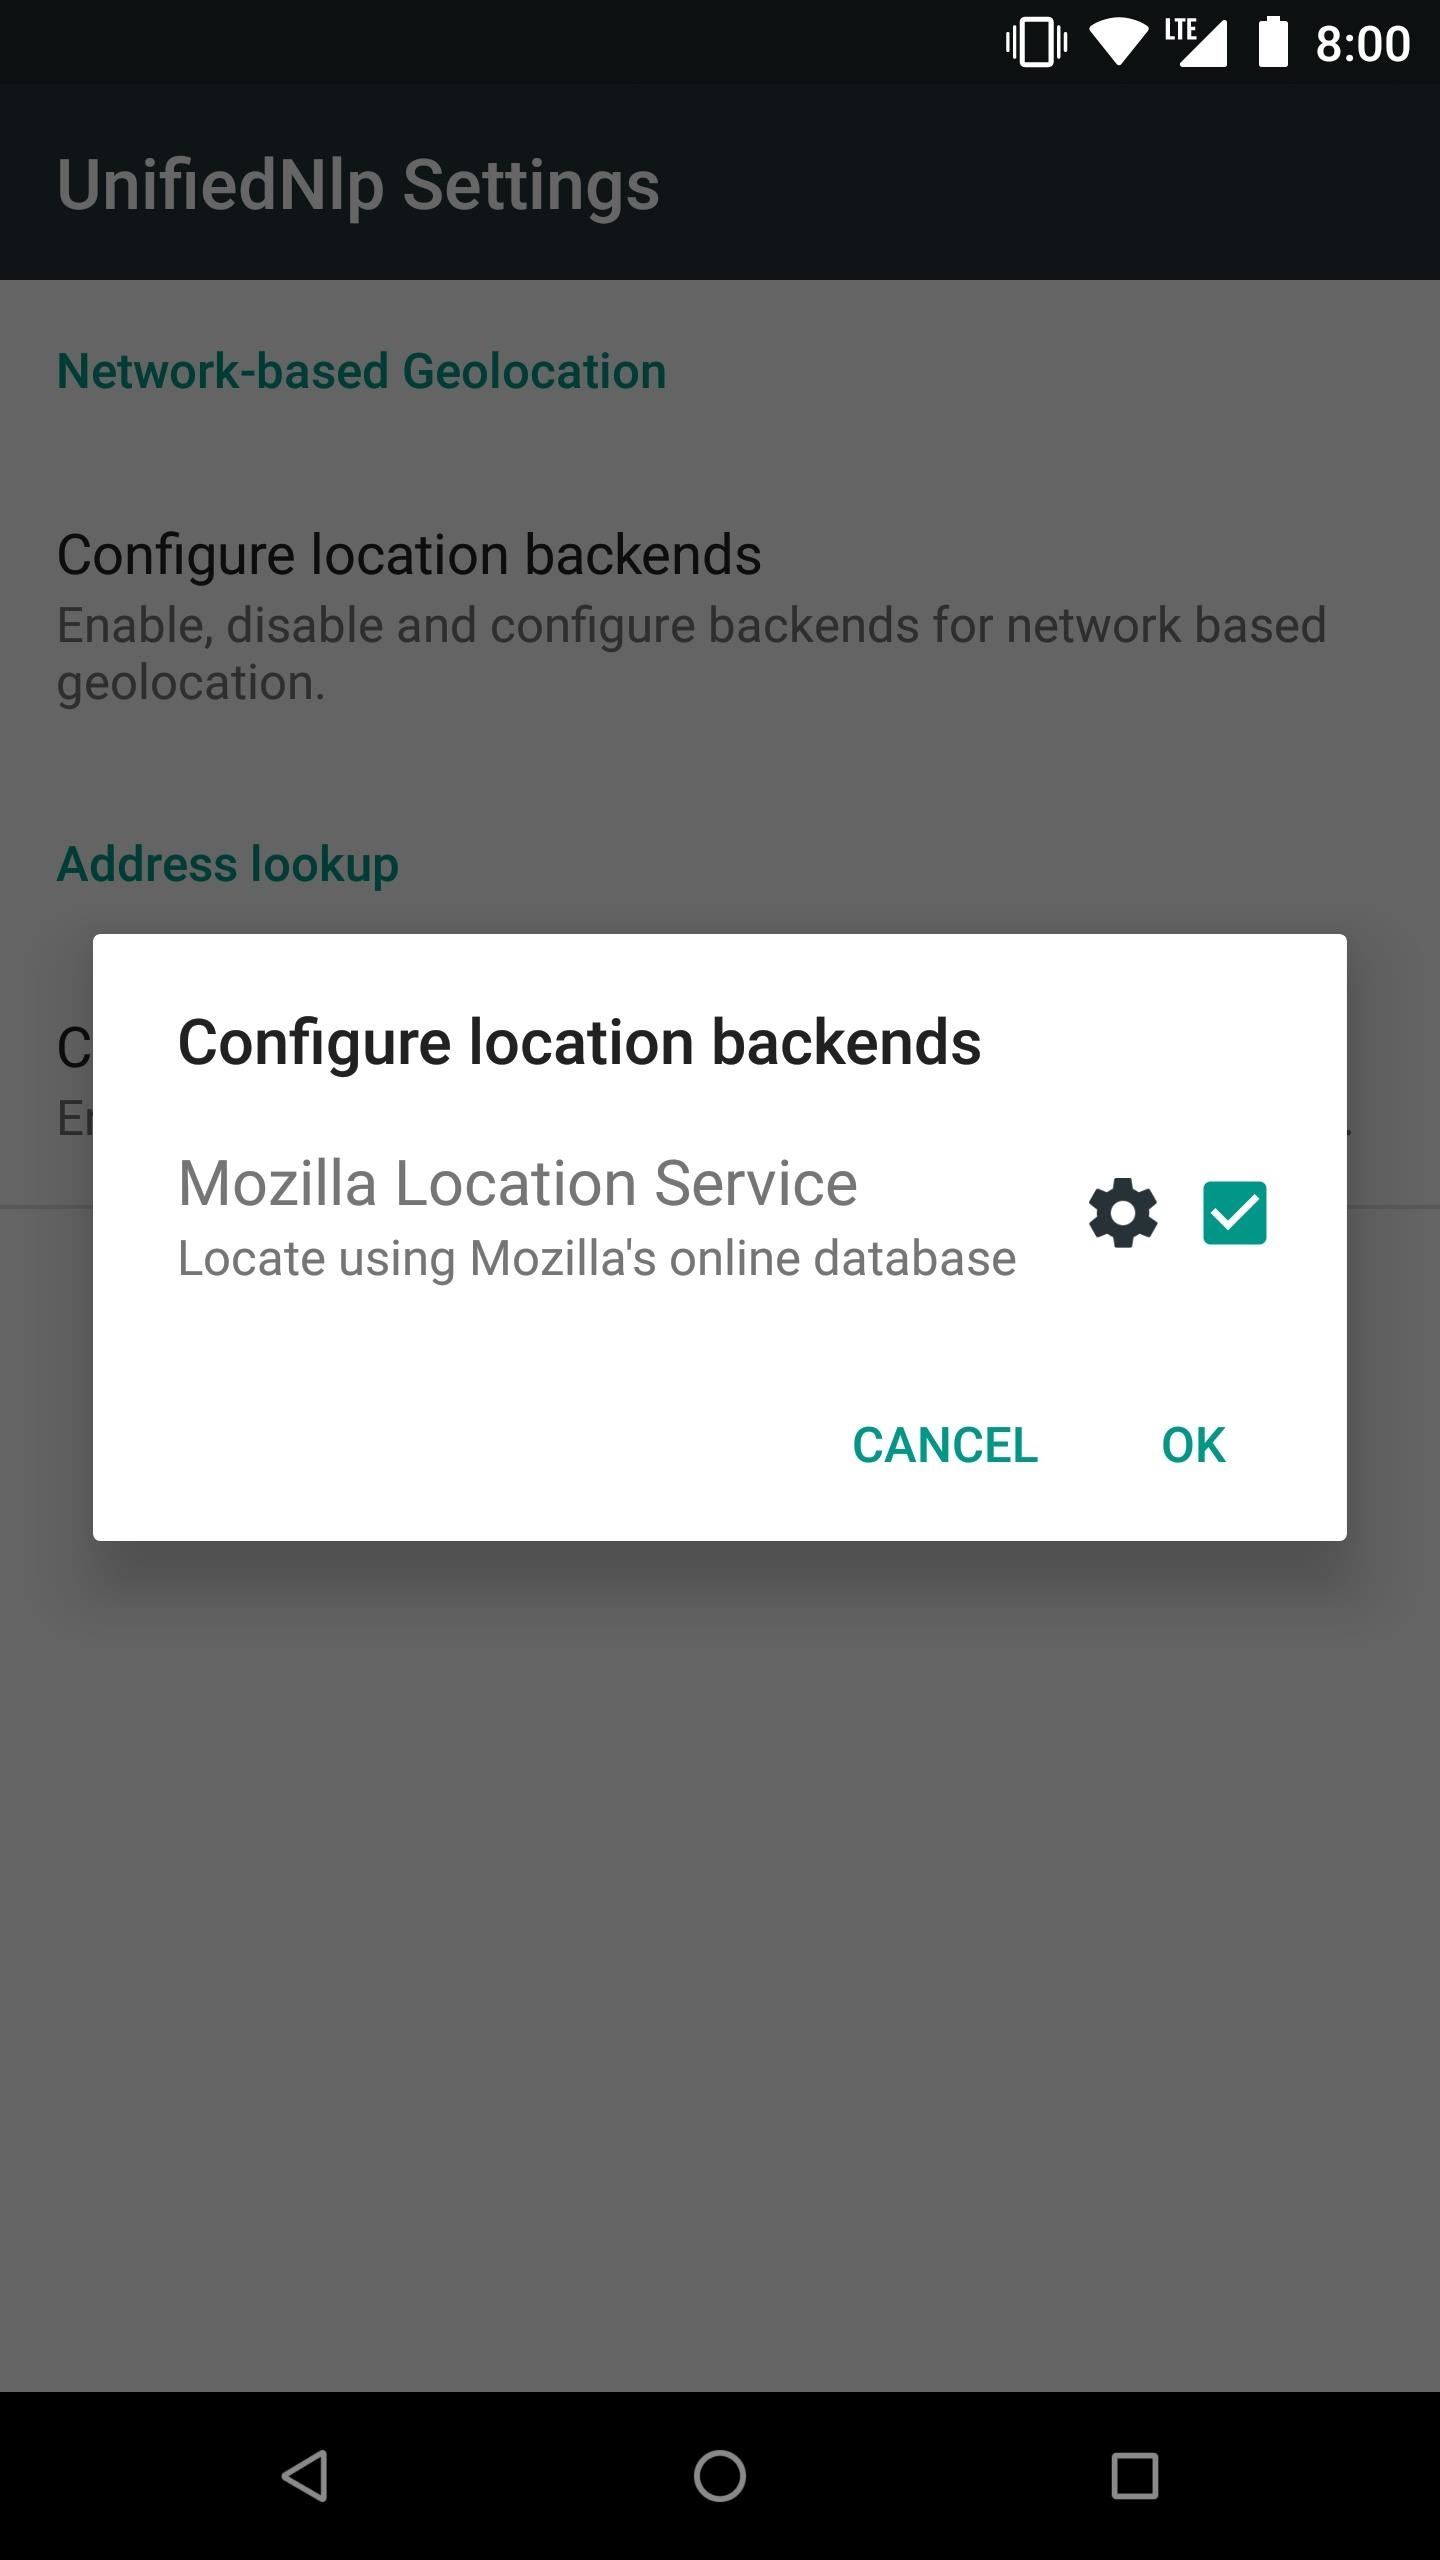
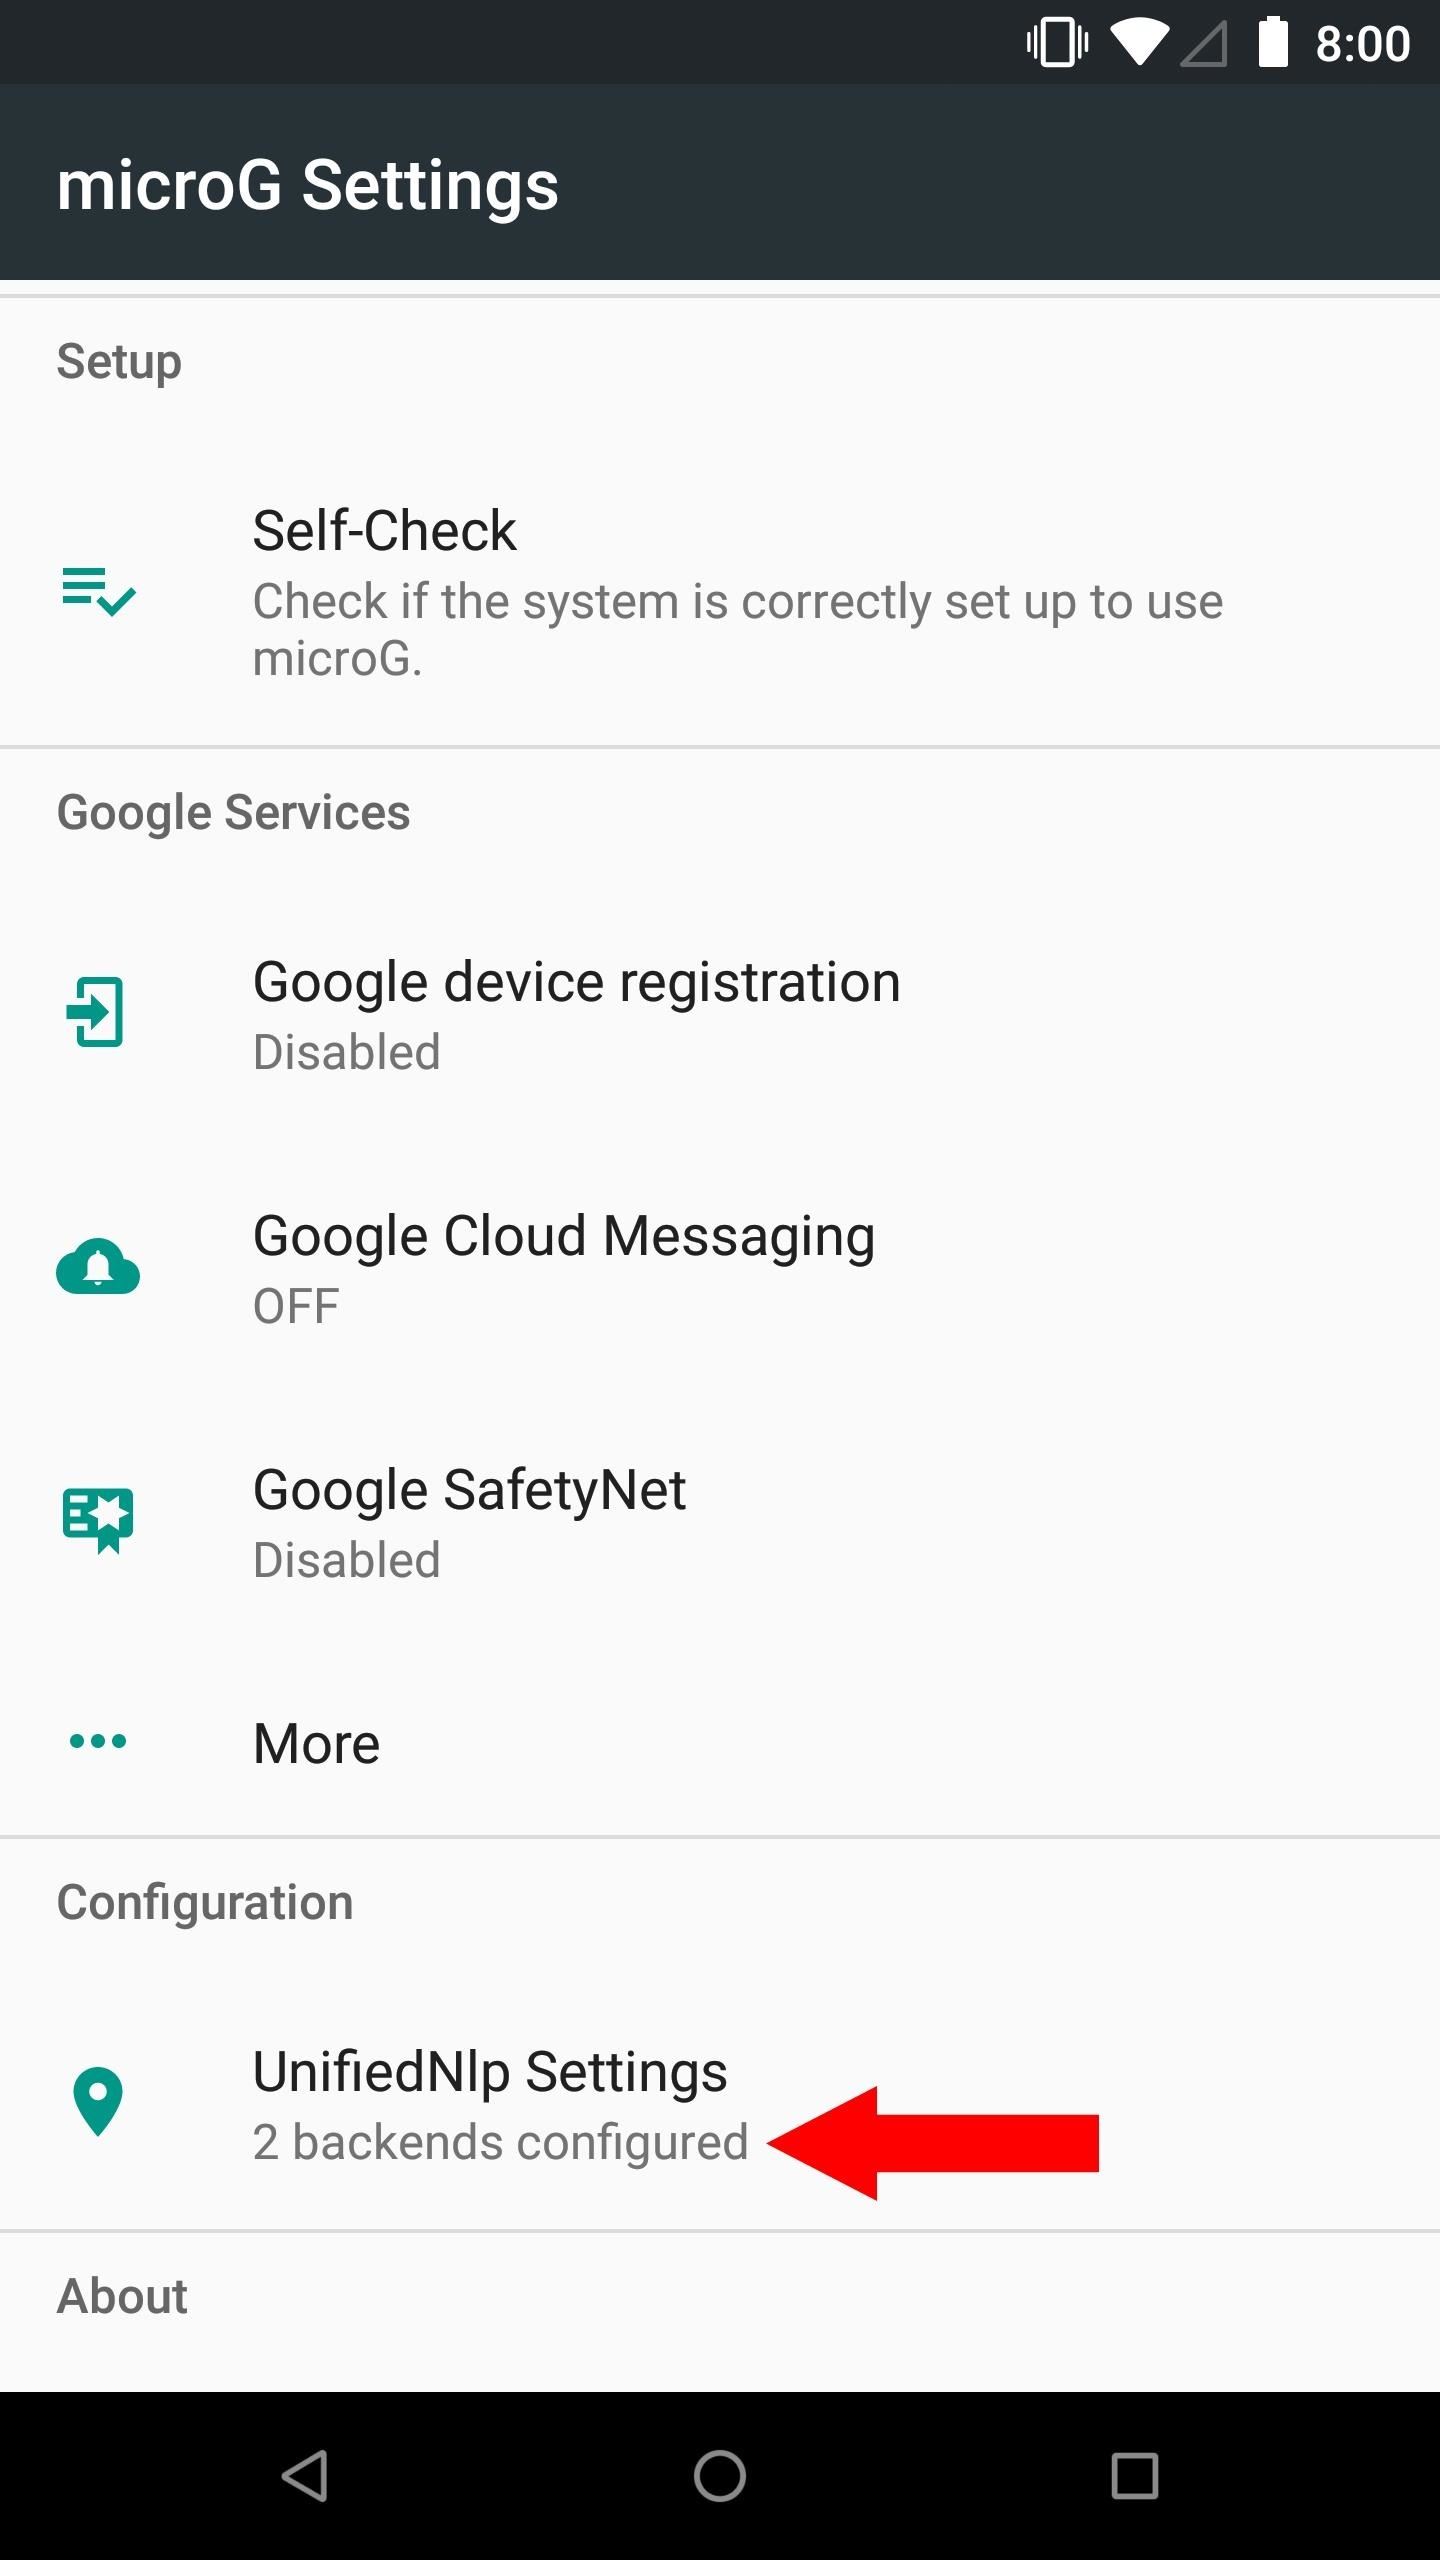
If you want to be able to use location services, such as GPS for maps or weather, you need to enable the options within the MicroG app. Since you are no longer relying on official Google Play Services to fetch your location data, MicroG handles it through the UnifiedNlp settings.
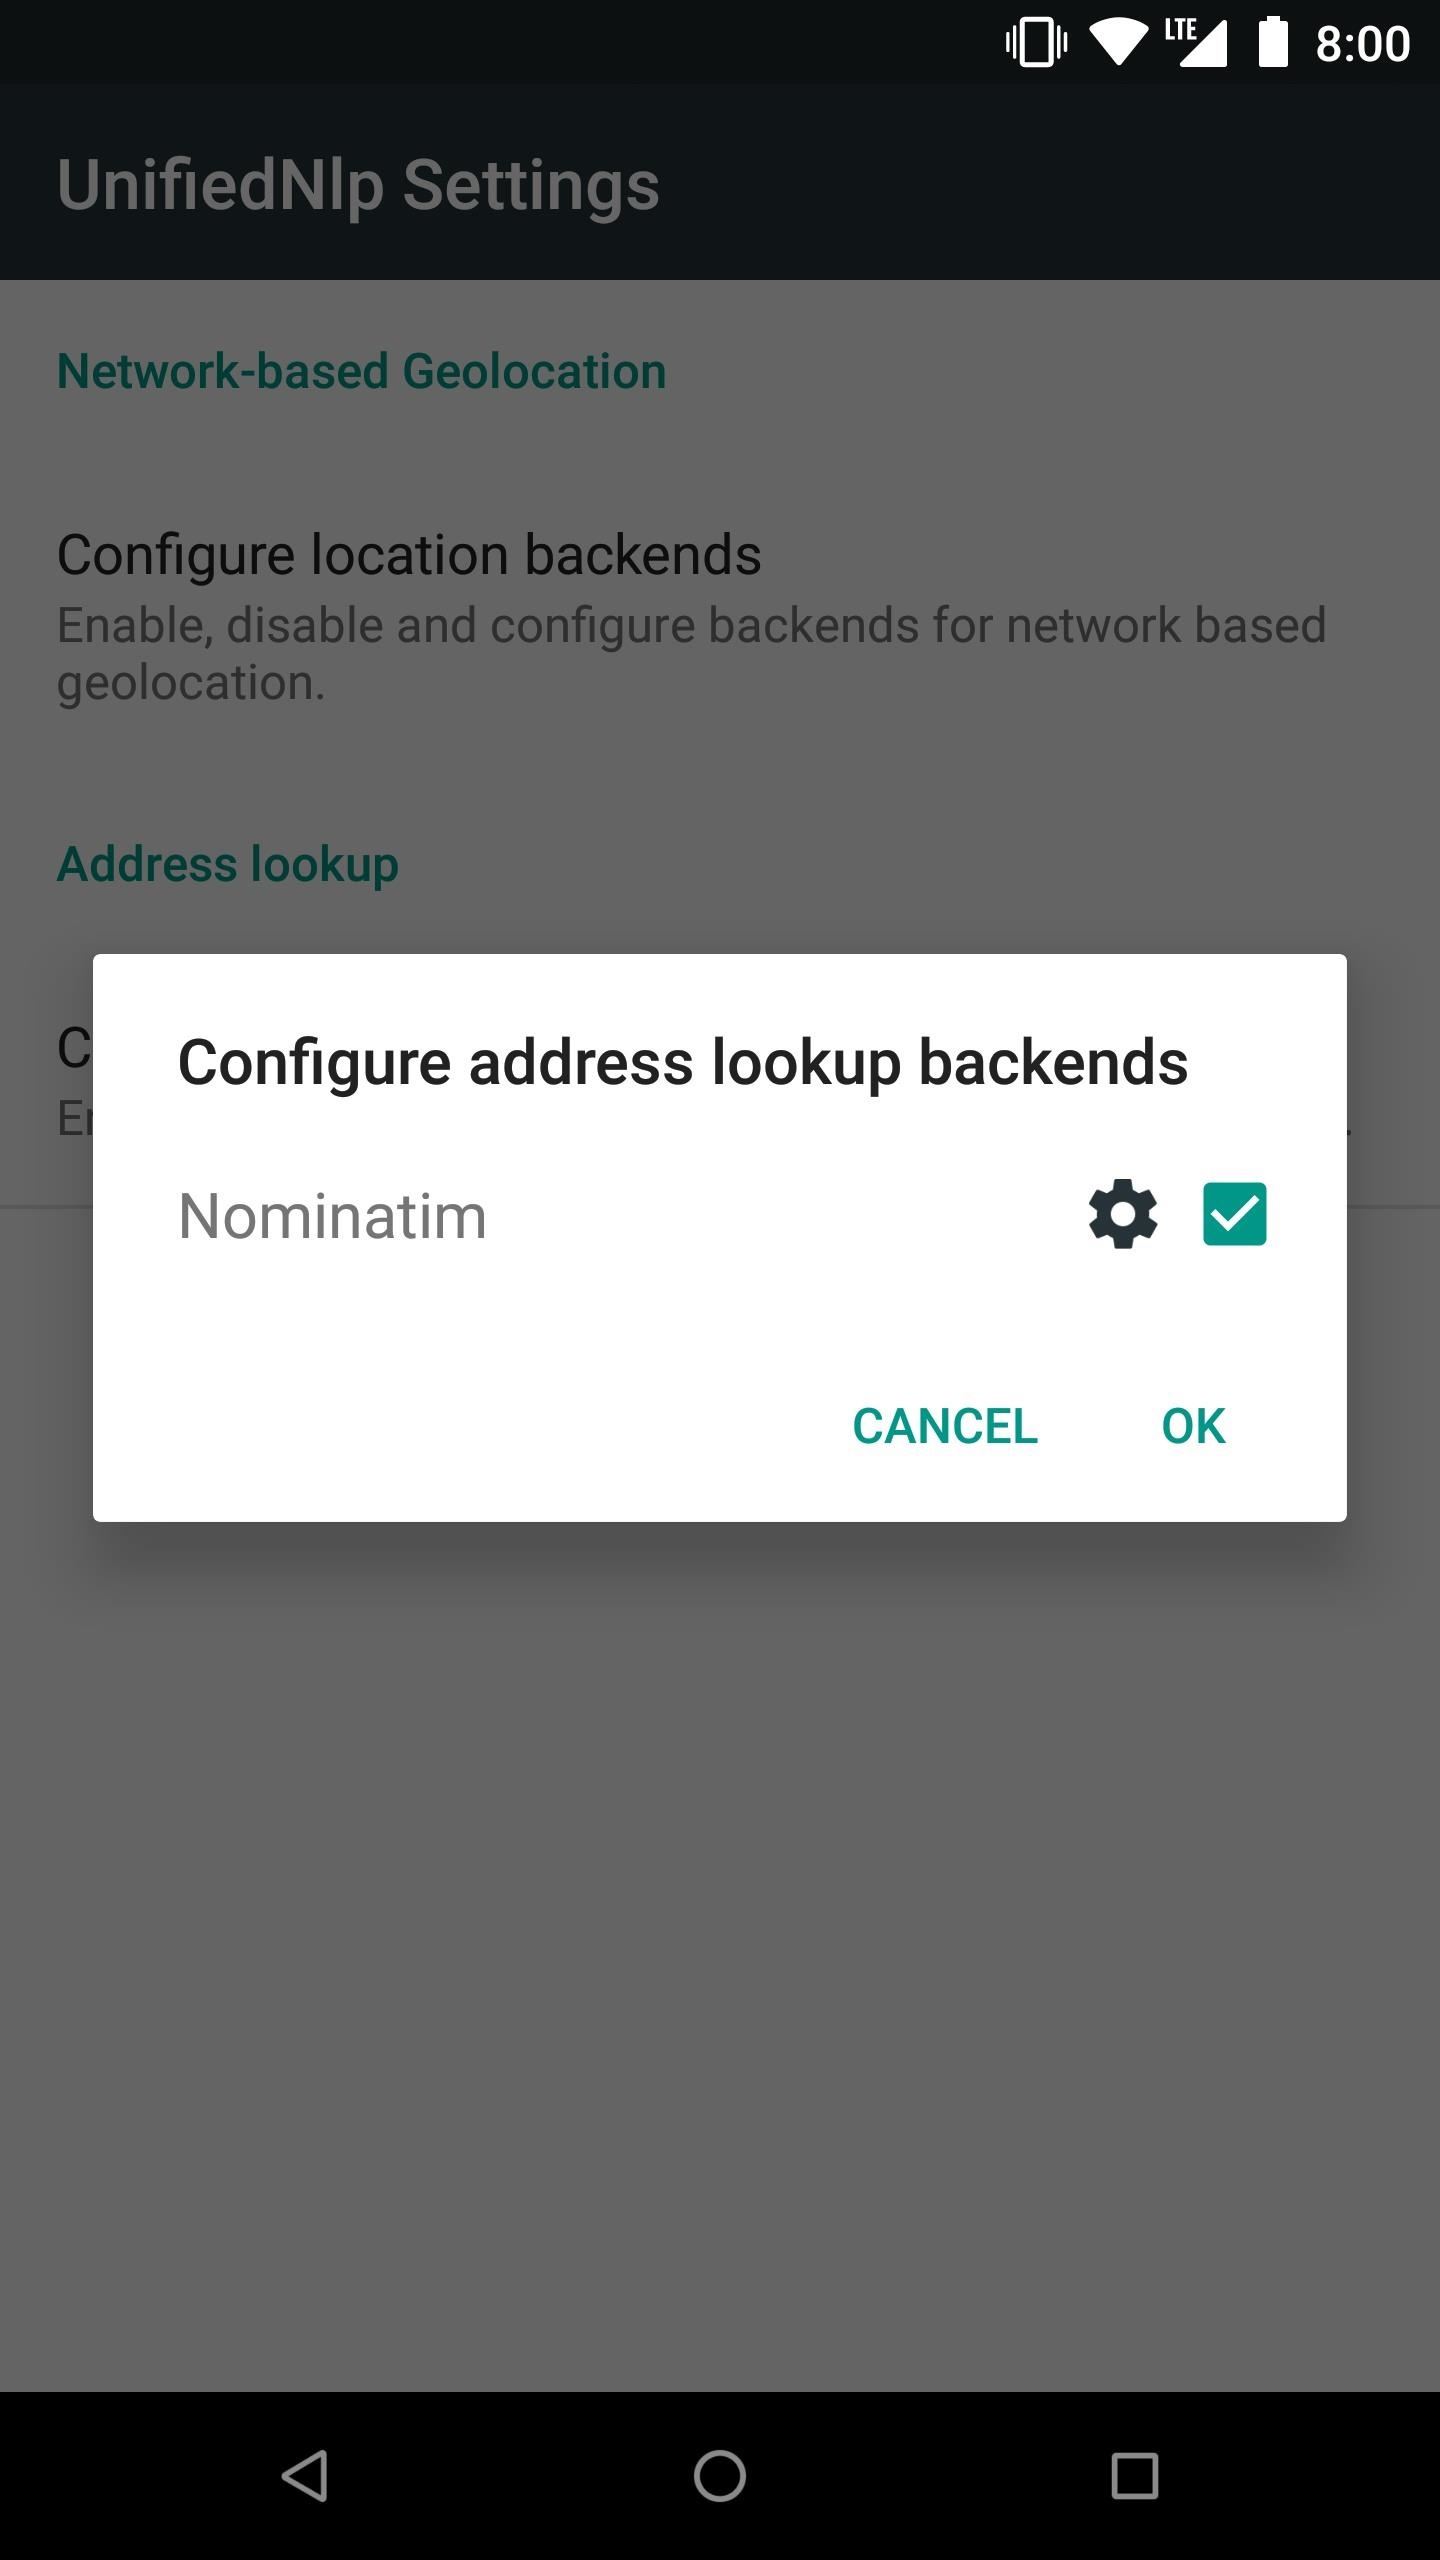
From the main screen on the MicroG app, tap "UnifiedNlp Settings," then "Configure location backends," and make sure Mozilla Location Service is checked. Tap "OK," then tap "Configure address lookup backends," and also make sure that "Nominatim" is checked as well.

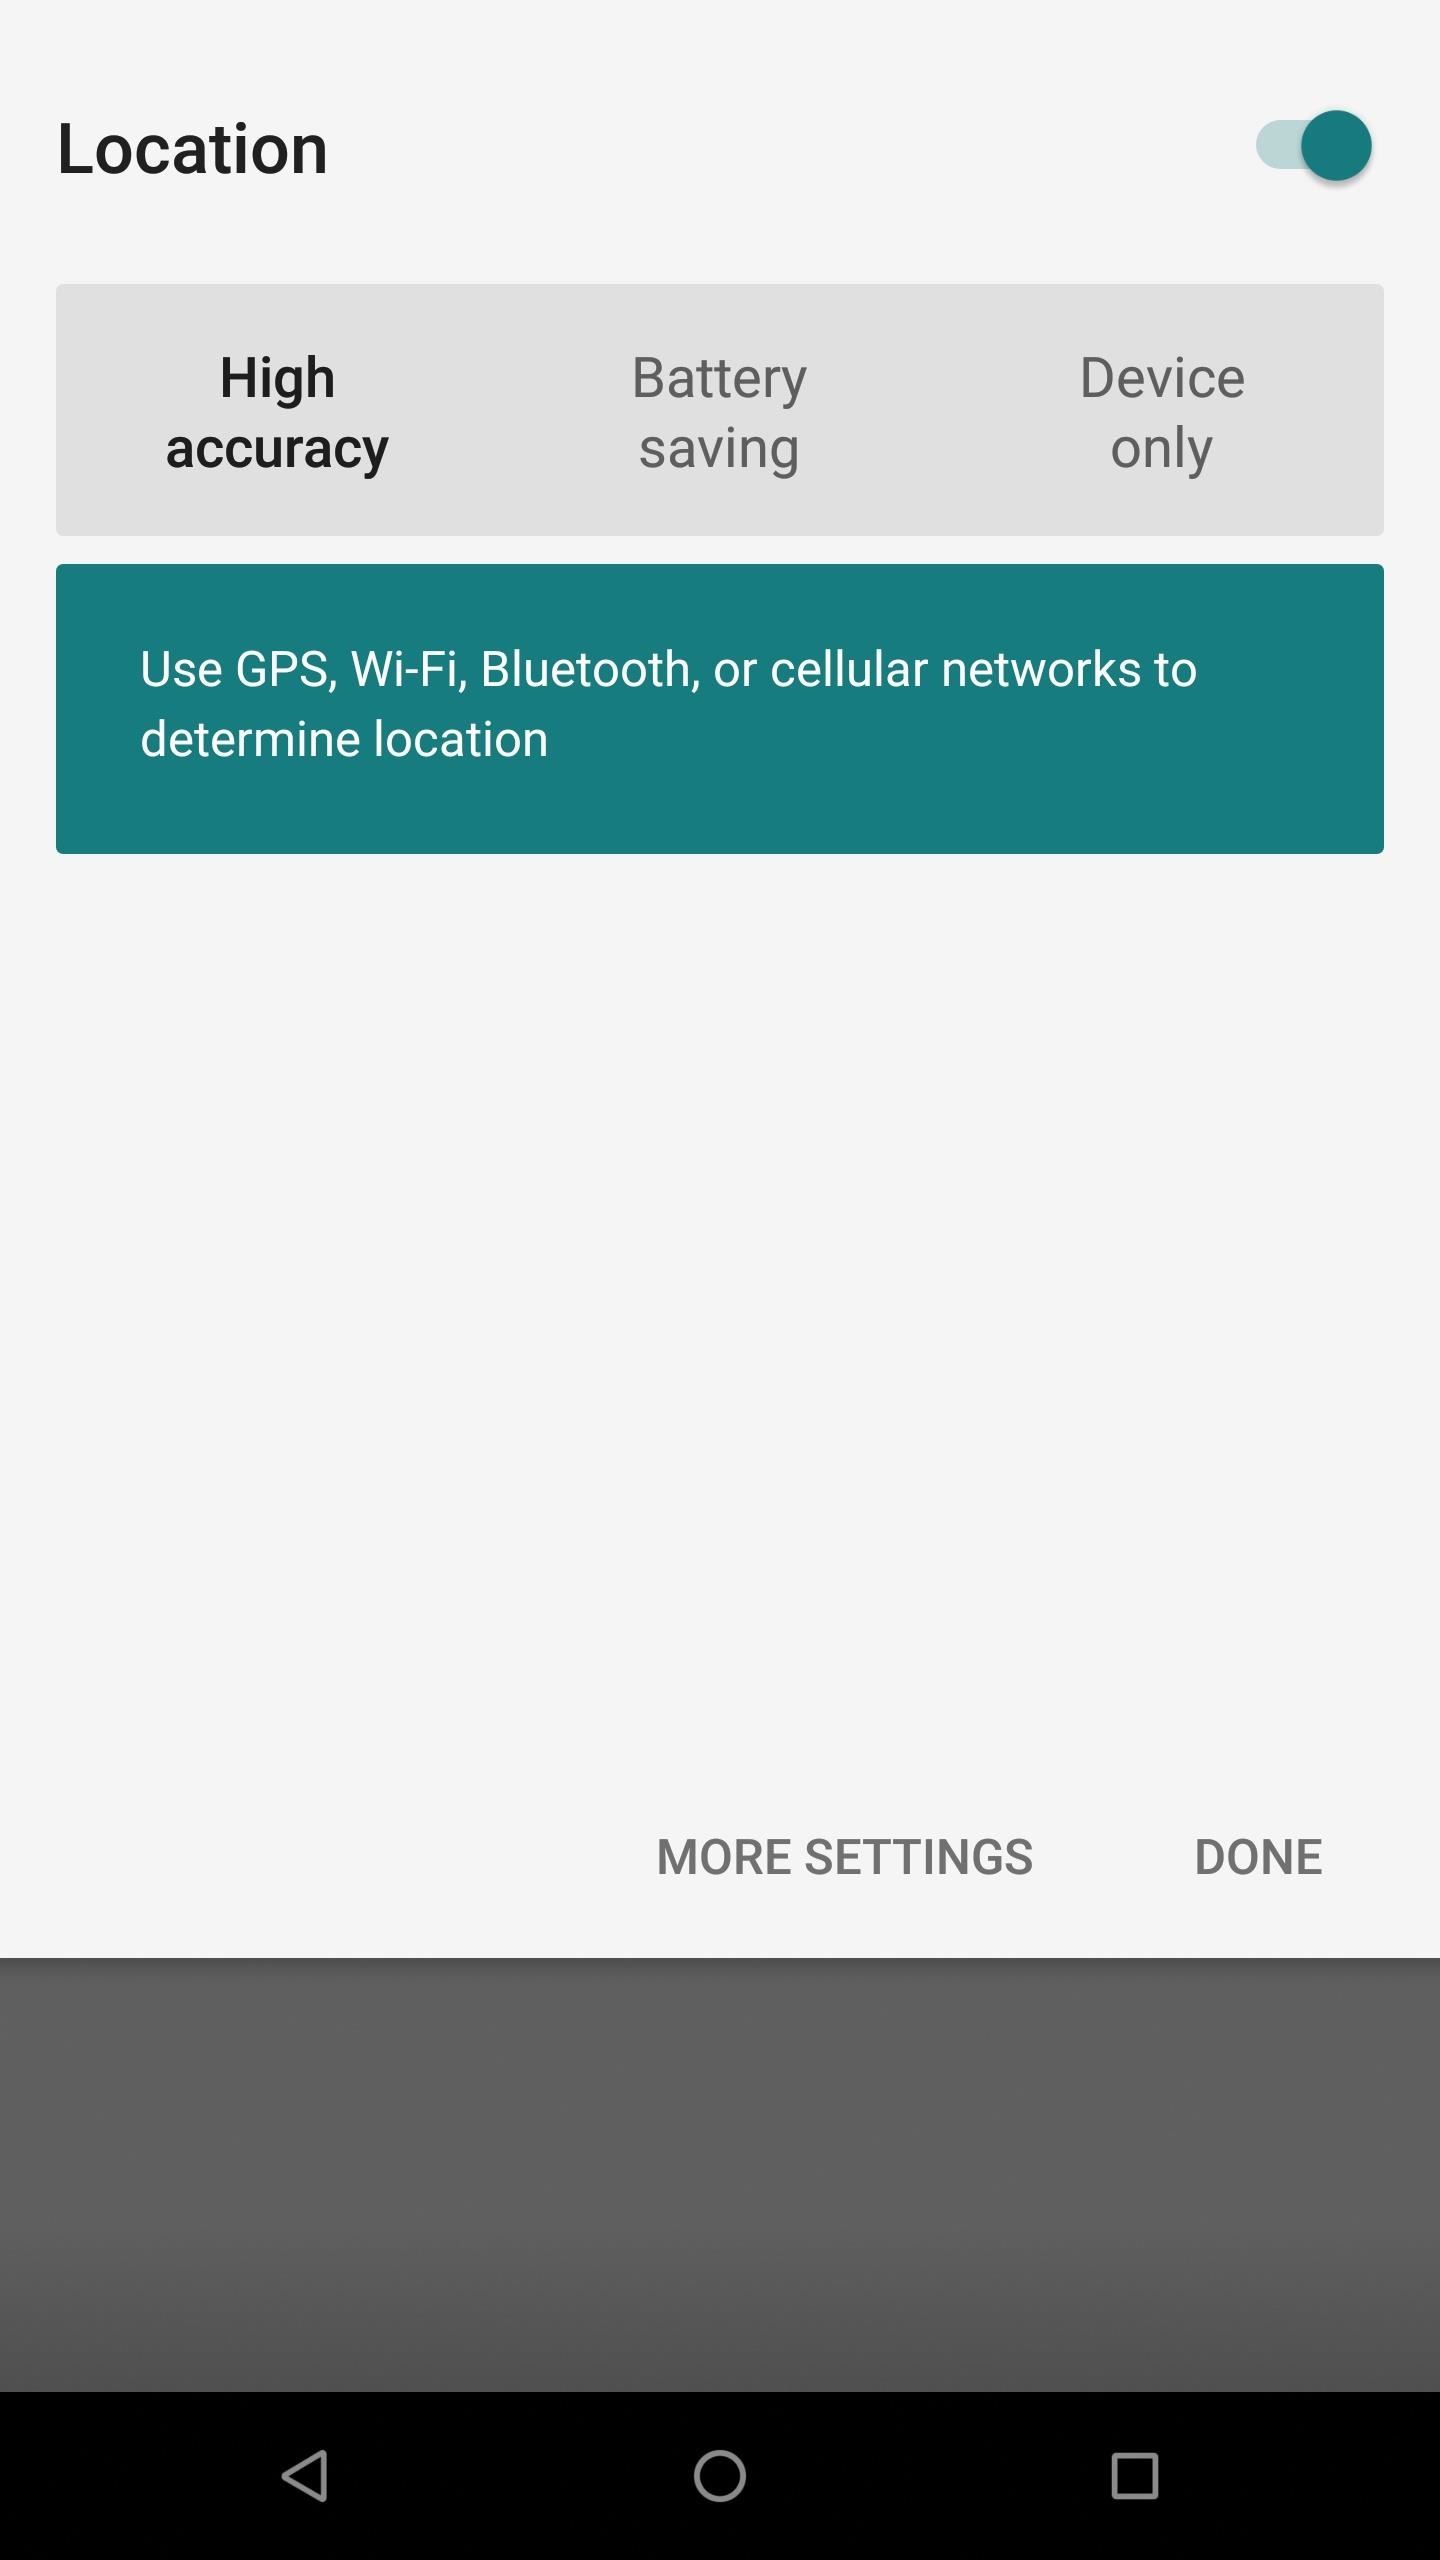
Bring up the quick settings from the status bar and make sure your location settings are on so you can use your new location services without Google. From this point on, GPS should work just like you were using the real Google Play Services. Now you can start building out your list of apps since you had to skip out on the default Gapps package. This was necessary to keep your privacy intact.

Don't forget that you can use MicroG with any custom ROM that supports signature faking. This ultimately means you'll have a wide variety of choices to pick from at any given time for your device. If you don't have a favorite ROM or don't know which works best for your needs, don't be afraid to experiment until you find a suitable choice. Good luck, and enjoy your increased level of privacy!
This article was produced during Gadget Hacks' special coverage on smartphone privacy and security. Check out the whole Privacy and Security series.
Who needs a wand? Unlock your magical powers and transform yourself from a Muggle into a Wizard or Witch just by using your Android phone. See how:


4 Comments
Hi, Thanks for the great article. Just wondering whether it is best to install LineageOS first and MicroG separately or to use MicroG's bundled package? Also are you aware of any issues using OrageFox recovery instead of twrp?
Many thanks.
Hi! You can do either really, it just depends on what you're after in the end — they should both be stable. The benefit of installing MicroG separately is that you can use just about any ROM you want, not just LineageOS. As long as the custom ROM supports signature spoofing, you can have more freedom over your choices.
Of course, you could just use the bundled MicroG package that came with your LineageOS ROM for ease of use. Or any other ROM that specifies it has MicroG support built right into it for that matter. Since MicroG is bundled with the ROM itself, you pretty much know it should work as intended by the developer. Hope that helps you decide!
I've also used OrangeFox recovery on my OnePlus devices with LineageOS before and didn't seem to have any issues compared to TWRP. I'm not aware of any problems right now, so you should be good! I covered OrangeFox a little while ago in my guide here if you do have a OnePlus device just in case. If anything comes up, I'd be happy to help out further.
Hello, and thank you for creating this great article. Being new to Android, I've done quite a bit of research and am trying to anonymize my life as much as possible, starting with my phone.
I purchased a OnePlus 7 Pro and have LOS 17.1 w/ MicroG. Everything seems to work, but I haven't found any articles quite explaining whether or not I should be logging into the google account that MicroG has in the settings. I'm wondering if I'll "blow my cover" from google tracking by logging in with my personal gmail account, or if MicroG will anonymize the login somehow.
I would like to have Outlook Mail (that I got from the Aurora Store) to have my gmail account, but it won't let me and says I am "missing a google library" or something like that and the install fails. Somewhere along the line I was reading I needed the Chrome app for gmail to work. I can't install that either. Something seems to be missing or setup incorrectly with my MicroG. If I need to login once and log back out to make some apps work, that's fine. I just don't want all-the-time tracking from the big G. Thanks for any help! -Nate
Broda, you forgot to write that Signature Spoofing support can be enabled in non supported roms too.
Share Your Thoughts