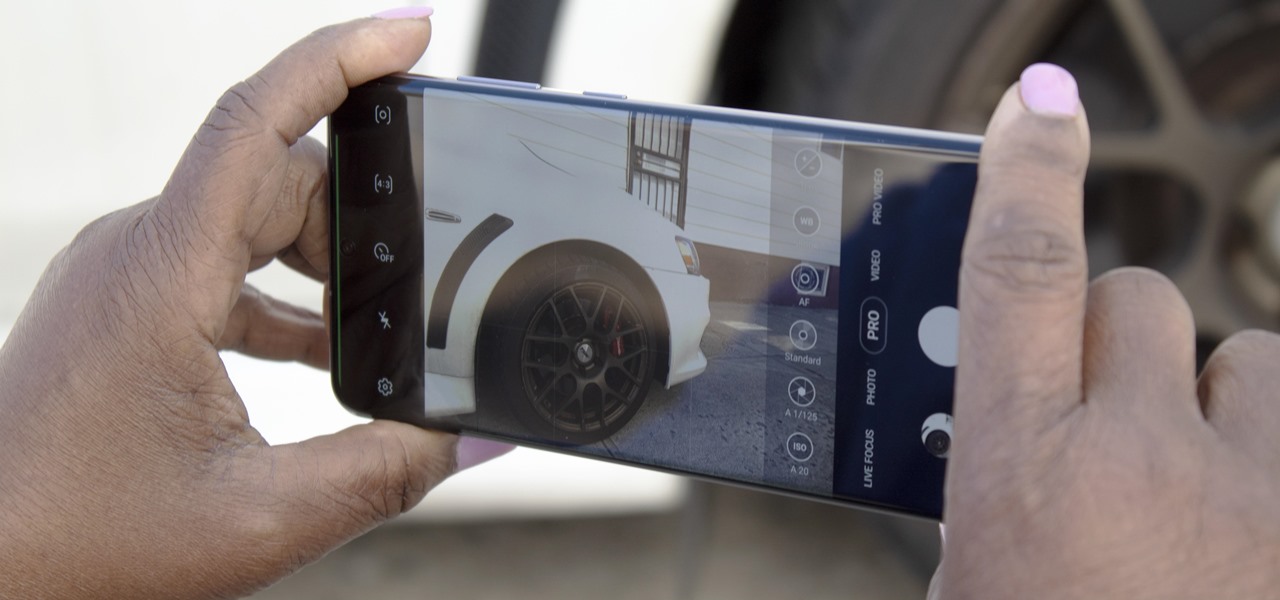

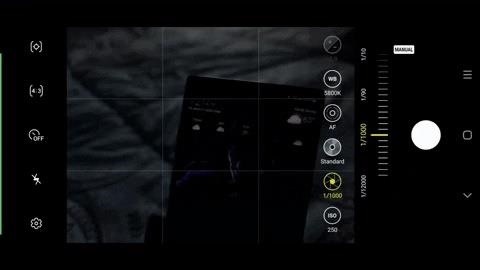
No matter how many camera improvements a phone adds, you're always better off using manual mode. Known as "Pro Mode" on the Galaxy S20, this feature can remove Samsung's pre- and post-processing from photos, putting you in total control.
At first glance, manual mode is intimidating. In auto mode, you simply point and shoot — but with the Galaxy S20's Pro Mode, you need to first set up your shot before taking it. But once set up, no matter the environment, you can take the photo you want, not the photo Samsung's image processing software thinks you want.
Getting Started
You can only use Pro Mode with the S20's primary camera, not the telephoto or ultra-wide angle lenses. To access the manual mode, your best option is to add the tab to the main page of the camera app by tapping "More," then dragging the "Pro Mode" icon into place among the tabs near the bottom of the display.
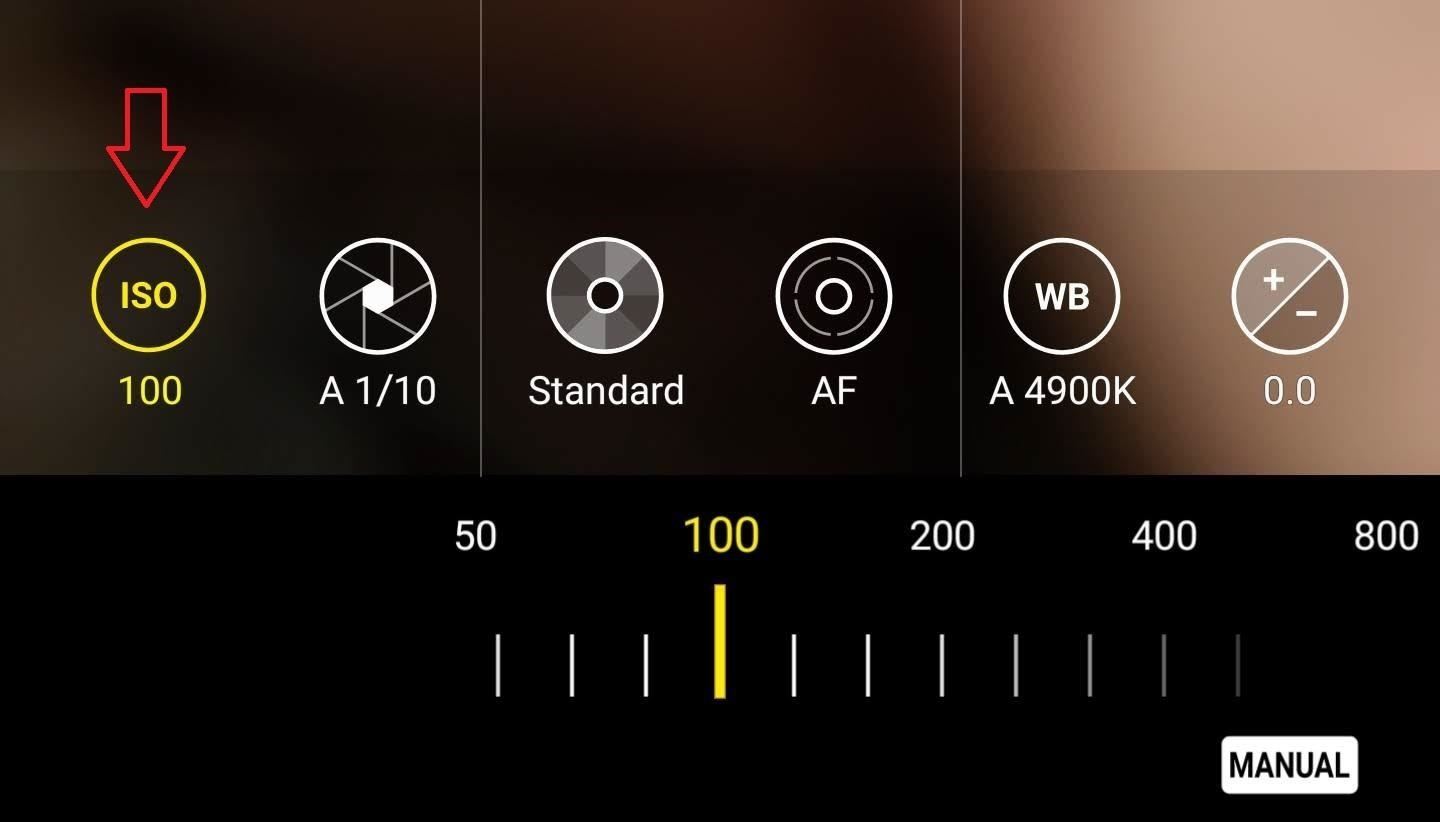
#1. ISO
Think of ISO as a way to touch up the exposure on your photo. ISO is how sensitive the sensor is to light. The higher the ISO, the brighter the photos. However, with this sensitivity comes more noise or unwanted blocky pixels. Because of the increase in noise, ISO should be looked at as a last resort, increasing only when your shutter speed can't increase anymore (more on that next).
A general recommendation for a bright, well lit area is to set ISO between 100 and 200. If your subject is in the shade or it's overcast, set ISO between 400 and 800. And for low light and nighttime photos, set ISO to at least 800. With these types of shots, go as high as you need while taking into account the additional noise.
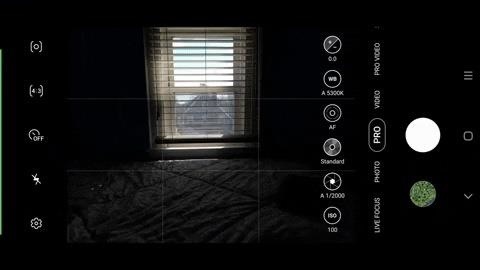
#2. Shutter Speed
Since your Galaxy S20's cameras don't have physical shutters, the term "shutter speed" represents the length of time the sensor is active and receiving light. This is shown as a fraction of a second, so 1/125 is faster than 1/10. Slower shutter speeds allow more light to hit the sensor and provide more detail to poorly-lit scenes, while faster shutter speeds lead to darker images, but make it possible to capture fast-moving objects without blur.
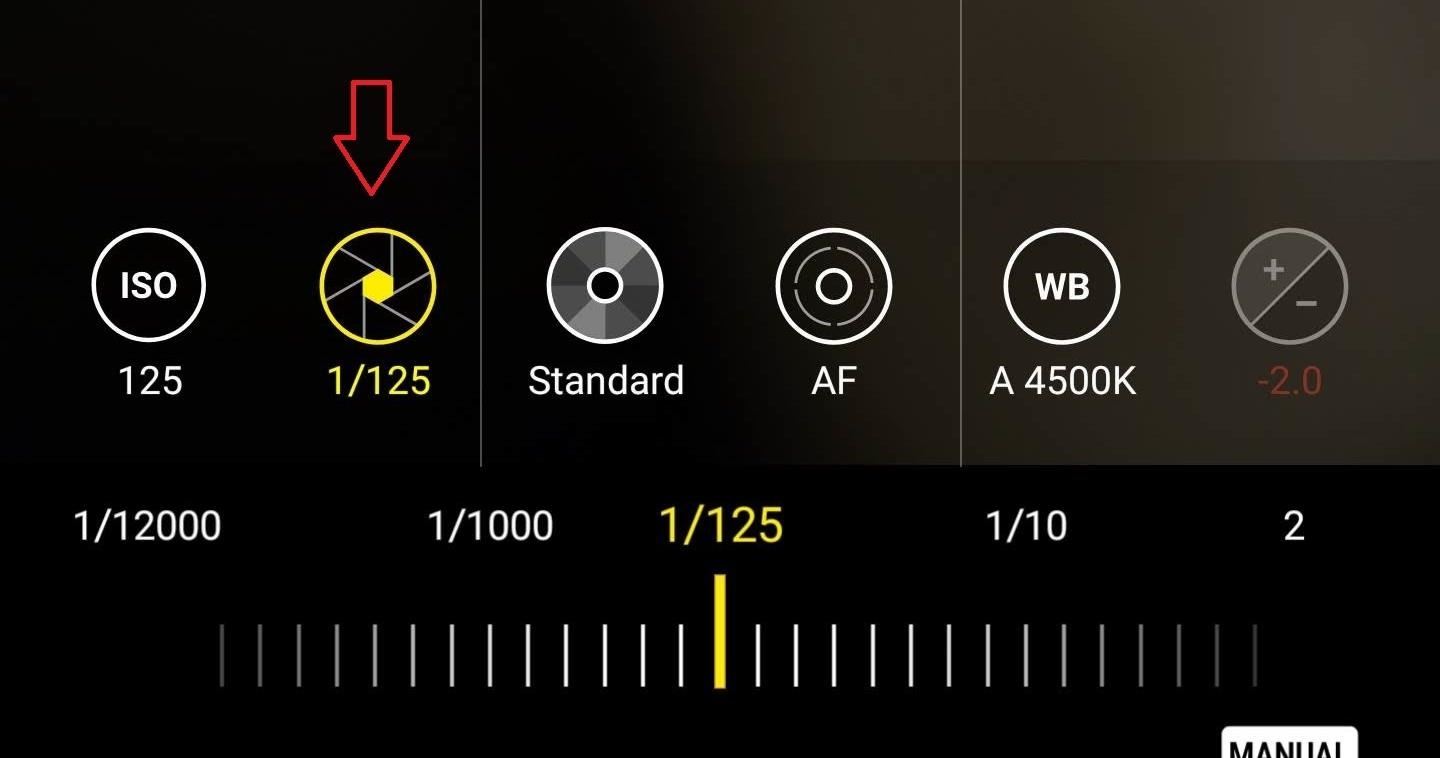
When selecting the icon, the number that appears below it in portrait mode indicates the length of time the shutter will be open in seconds. Adjust the slider to your desired amount then select the shutter speed icon again to confirm the change. The Galaxy S20 Ultra lets you adjust the shutter speed between 1/12,000 of a second to 30 seconds.
For your Galaxy S20's pro mode, few settings will change the picture as much as shutter speed. For example, using a fast shutter on a fast-moving object freezes the subject, while a slow shutter blurs the motion. Long shutter speeds can create light paintings like the picture below.
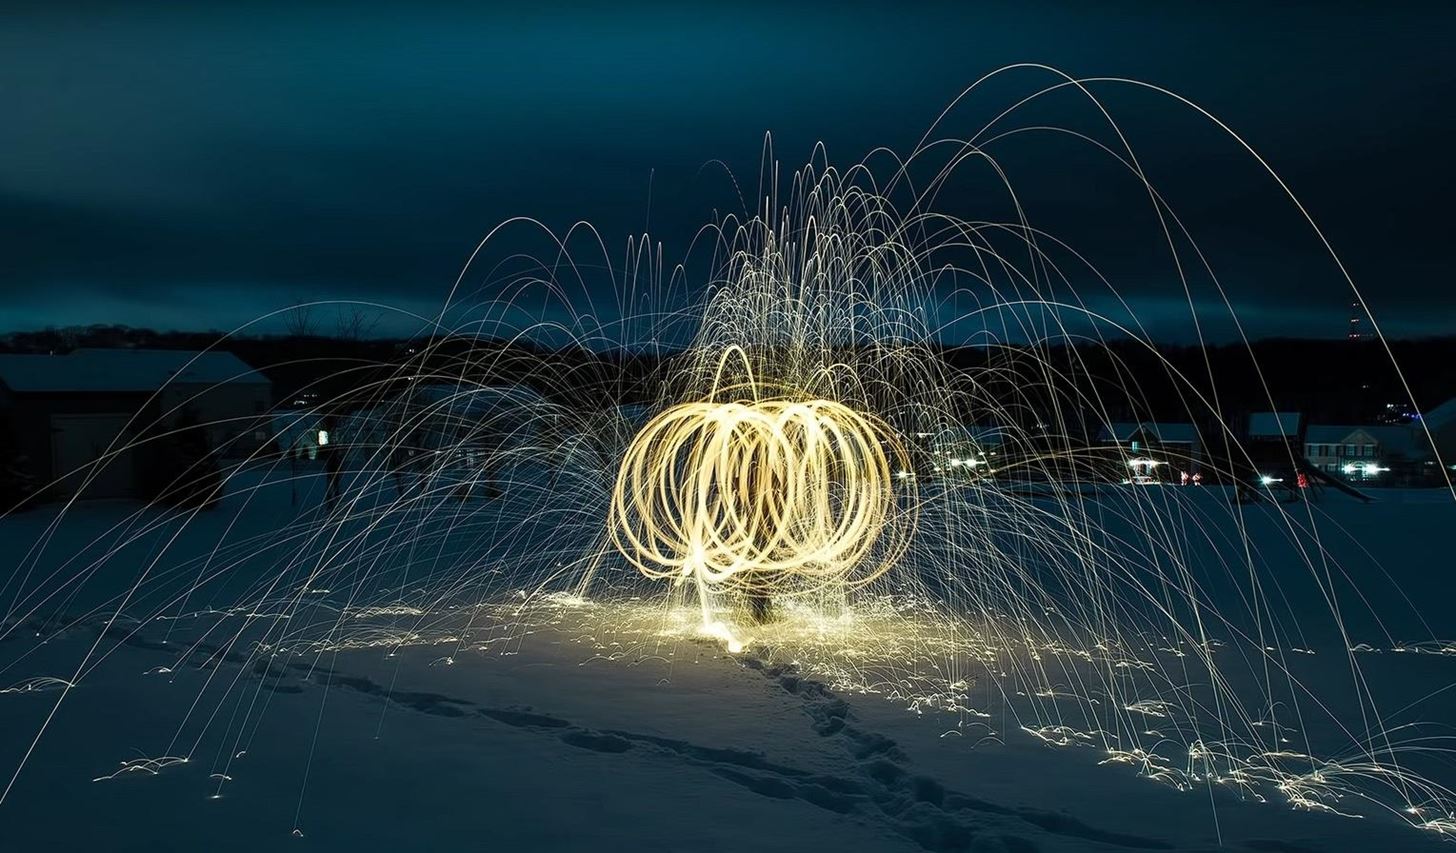
If you shooting longer than 1/125 of a second, use a tripod. Around this speed, the photo will be noticeably affected by your hand vibration, resulting in blur, so a tripod like the Fugetek FT-569 ($24.99 on Amazon) will allow you to capture the photo as intended. As far as a starting point, you usually want a shutter speed of around 1/100 for a stationary object. For a fast-moving object, start at 1/1000 and adjust accordingly. For night images, setting a longer shutter speed (e.g., >1 second) is often your best bet, as it will provide the necessary exposure without the addition of large amounts of noise.
#3. Aperture
Aperture is the opening of the lens where light passes through. It is represented in f-stops, where a lower bottom number indicates a larger opening and a higher number equates to a smaller hole and less light. A larger number also means a shallower depth of field (think portrait mode).
Besides aperture, you can also control the depth of field by adjusting your distance from the subject. The Galaxy S20, S20+ (f/2.2), and S20 Ultra (f/1.8) all have relatively large aperture, so when wanting to bring the background into focus, you will need to take a few steps back from your subject. Get in close, and you can add bokeh effect to your photo similar to the "Live Focus" feature.
#4. White Balance
White balance refers to the warmness or coolness of your photo. Warm light appears more yellow, while cool light is blueish. In manual mode, this setting is used to correct the natural light of the scene by applying a "filter" so that the light appears neutral or white. It can also be used to get the desired effect without the need for external lights, such as giving a photo an old-time feel with a warmer white balance.
For most photos, we recommend leaving this setting on automatic. You can edit white balance after the photo is taken with virtually no loss in quality, and the phone does a great job of adjusting the white balance based on the scene anyway.
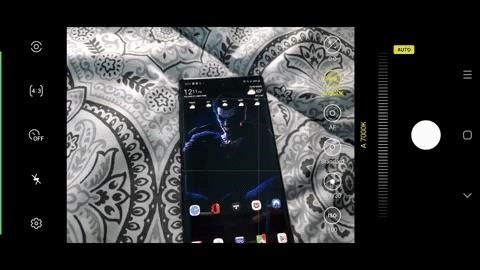
#5. Metering
Metering is how your smartphone's camera determines the correct shutter speed based on the amount of light reaching the camera and the current ISO. Essentially, it is your camera's light meter. On your Galaxy S20, you will see three options: Spot, Matrix, and Center-weighted.
Matrix metering takes the entire frame, divides it into multiple areas, and then analyzes them for light and dark tones. It also determines the most important zone and adjusts exposure to prioritize that zone. Center-weight evaluates exposure based on the middle of the frame, ignoring any focus point you select. Spot metering determines the exposure based on your focus point, ignoring everywhere else.
As you can see in the GIF, metering can dramatically change how your photo looks prior to you changing any settings. Ideally, you want to use the default metering mode, Matrix, for most photos. For headshots or other photos where a large area is the focus, center it in the frame and use "Center-weight." For small objects such as flowers and birds, use "Spot."
#6. Other Tips
When taking photos, consider ISO, shutter speed, and aperture as being interconnected, where a change to one will require a change to another. It will also do more than adjusting the exposure, as raising each one will affect other aspects of the picture.
One tool to assist you is the light meter in the camera app. Any change to shutter speed and ISO will be reflected in the light meter, which will tell you if your subject is over or underexposed. A positive number indicates an overexposed photo while a negative means it's underexposed. You can also use this meter to create your own HDR in software by combining different exposure images of the same subject.
RAW is an uncompressed, unaltered version of the photo you have taken. Once you enable this format by going to the Camera app's settings and toggling Save RAW copies on, every picture taken in Pro mode will create two photos: the compressed, processed JPEG file and the uncompressed, unmodified RAW photo.

All three camera sensors have different apertures, which you can use to get the desired depth of field in your photo no matter the focal length. While you can't change cameras in manual mode, use this information to upgrade your auto mode photos — for example, switch to telephoto to get some natural bokeh. And if you're not sure, check our smartphone comparison tool for a complete specs list of all three Galaxy S20 models!
Who needs a wand? Unlock your magical powers and transform yourself from a Muggle into a Wizard or Witch just by using your Android phone. See how:


3 Comments
Very useful information. I have a question, we don't have the option to adjust the aperture in the S20 Plus, so how can I control the aperture of the photos I'm taking?
If the adjustment of the aperture is not available, how I can replace it to have control on the aperture of the photos?
For instance, how can I control if I want to blur the background or if I want to keep it sharp as the main subject using the pro mode? Maybe using the manual focus? But do you think it completely replace the aperture adjustment?
Why do you think the adjustment of the aperture is not available similar to the ISO and shutter speed?
Thanks!!
The short answer is you can't replace the lack of aperture. Manual focus and your physical distance can help but these aren't perfect replacement options. As to why it isn't adjustable, I believe it is a limitation of the technology. Remember, Samsung had dual aperture lens in all their flagship since the Galaxy S9 and this is the first launch to remove them but the industry didn't follow in this direction.
Jon, thank you very much for your great response. It confirmed what I was thinking and provided me further technical details. I'll take some photos and see the results.
Share Your Thoughts