
Smartphones don't generally play nice with tripods, so videos taken with our handheld devices make terrible source material for time-lapse photography.
Back in August, Instagram countered this dilemma with an app called Hyperlapse that used an image stabilization algorithm to eliminate a lot of the shakiness in these videos. The only trouble with their stabilization algorithm is that it's hardware-dependent—meaning it would need a complete re-write for every phone on the market—so this app is only available for the iPhone.
Around that same time last year, Microsoft demonstrated a similar technology with the same name. What separated Microsoft's Hyperlapse algorithm from Instagram's was the fact that it used cues from the source video rather than the camera sensor to stabilize the footage. By creating a 3D map of a video's contents, Microsoft Hyperlapse can stabilize any footage into a silky-smooth time-lapse video.
After more than a year of preparation, Microsoft has finally debuted its new Hyperlapse software. At launch, it's available for PCs and Windows Phone, and a beta version can be installed on select Android devices. So if you own a Nexus 5 or Nexus 6, an HTC One M8 or M9, a Galaxy S5, Galaxy S6, or Note 4, you'll definitely want to check this one out.
Step 1: Sign Up for the Beta Program
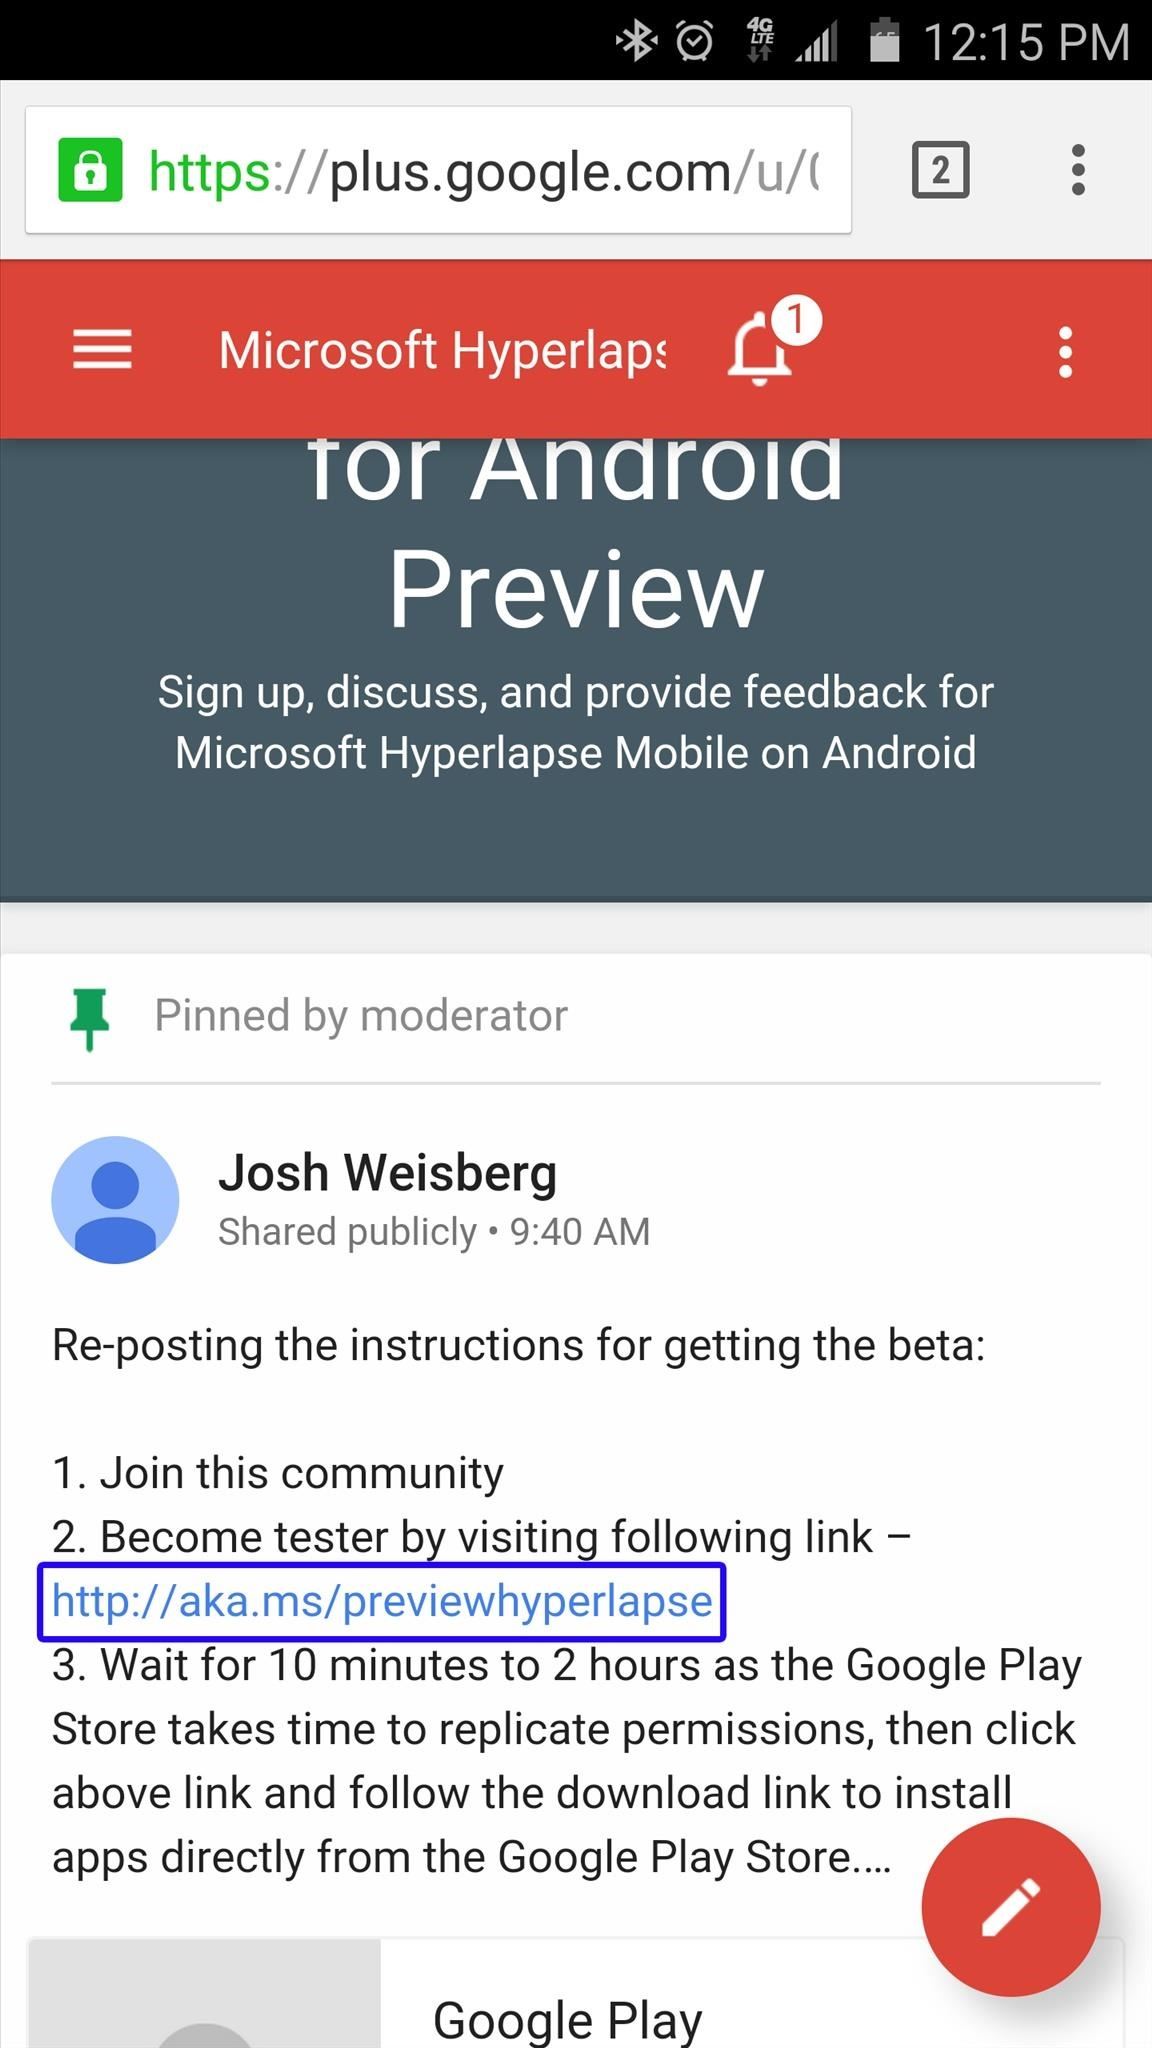
To sign up for the Microsoft Hyperlapse beta testing program, head to this link from your supported Android device. From here, tap the "Join" button at the bottom of the screen, then scroll down a bit and tap the link in step 2 of the description. If you're having trouble finding the beta signup link, you can use this link instead.

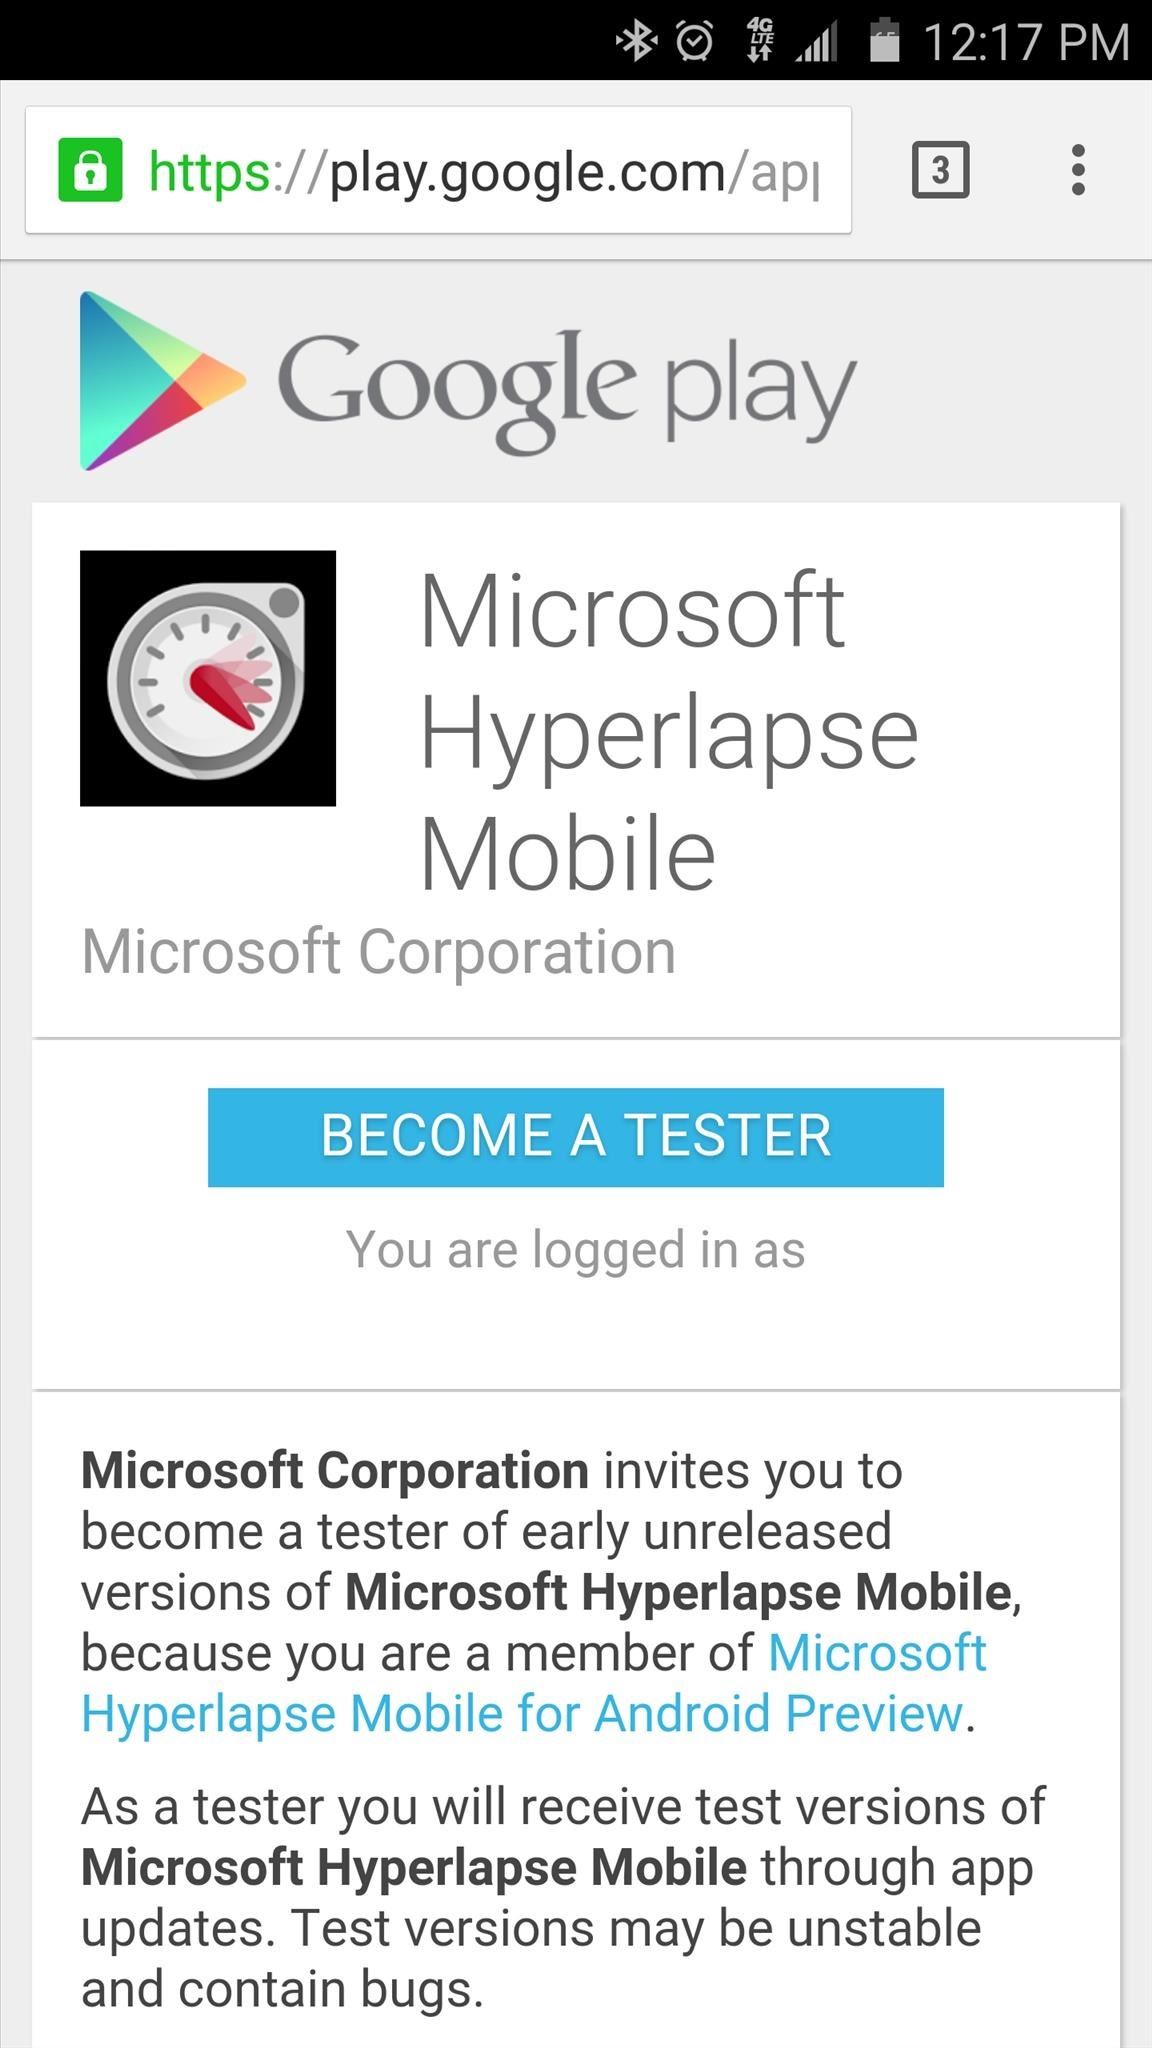
Next, tap the "Become a Tester" button in the middle of the screen, then use the link labeled "Download it from the Play Store" to head to the app's install page. Note that it may take as much as an hour before the app will become available to you.

Step 2: Install Microsoft Hyperlapse
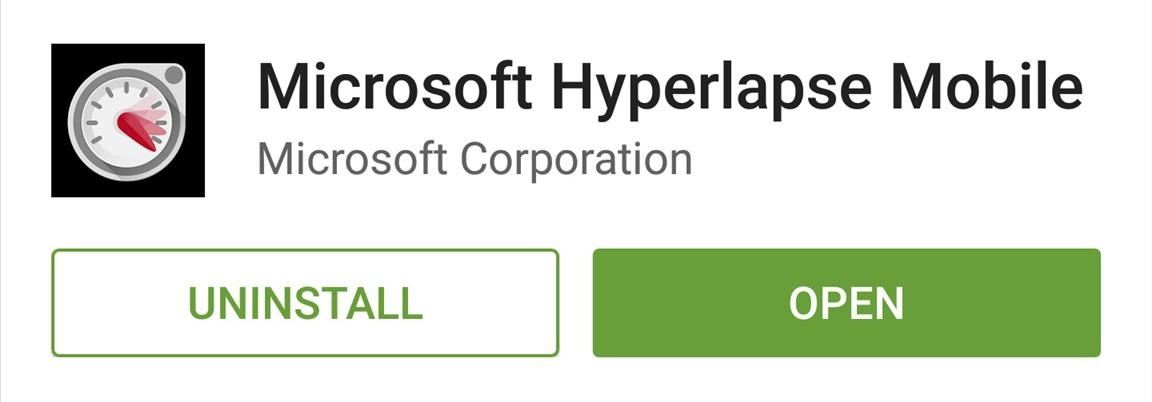
Now that you're a member of the Hyperlapse beta program, you can install the app like you would any other. In case you need it, here's a link to the app's Play Store page.
Step 3: Record a Time-Lapse Video
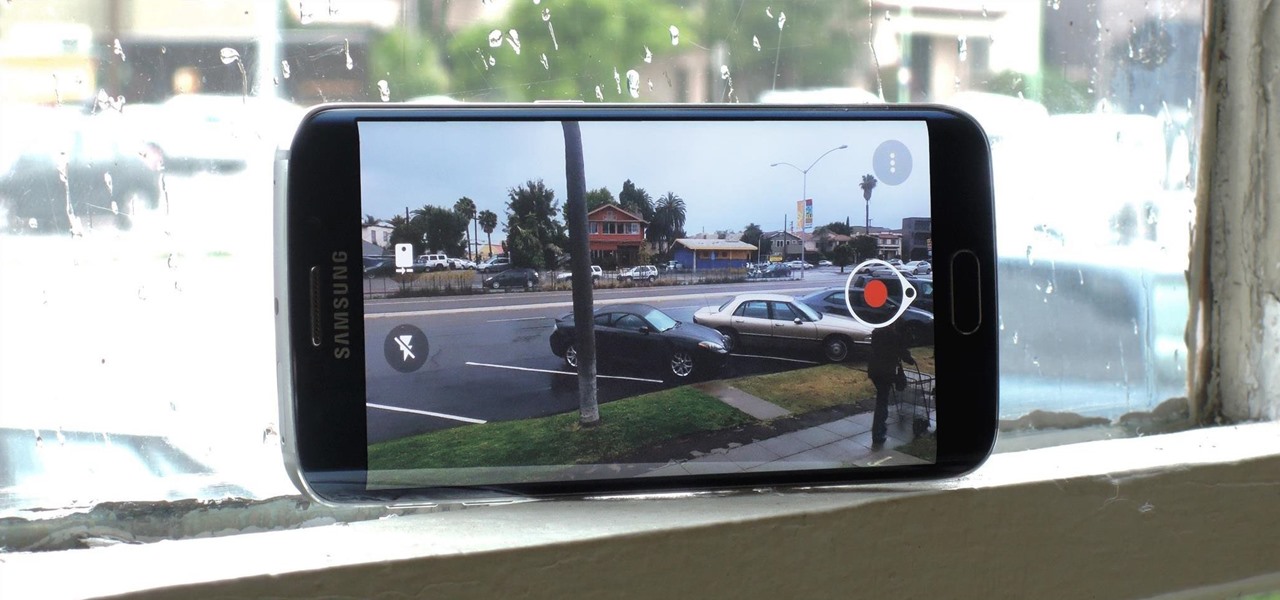
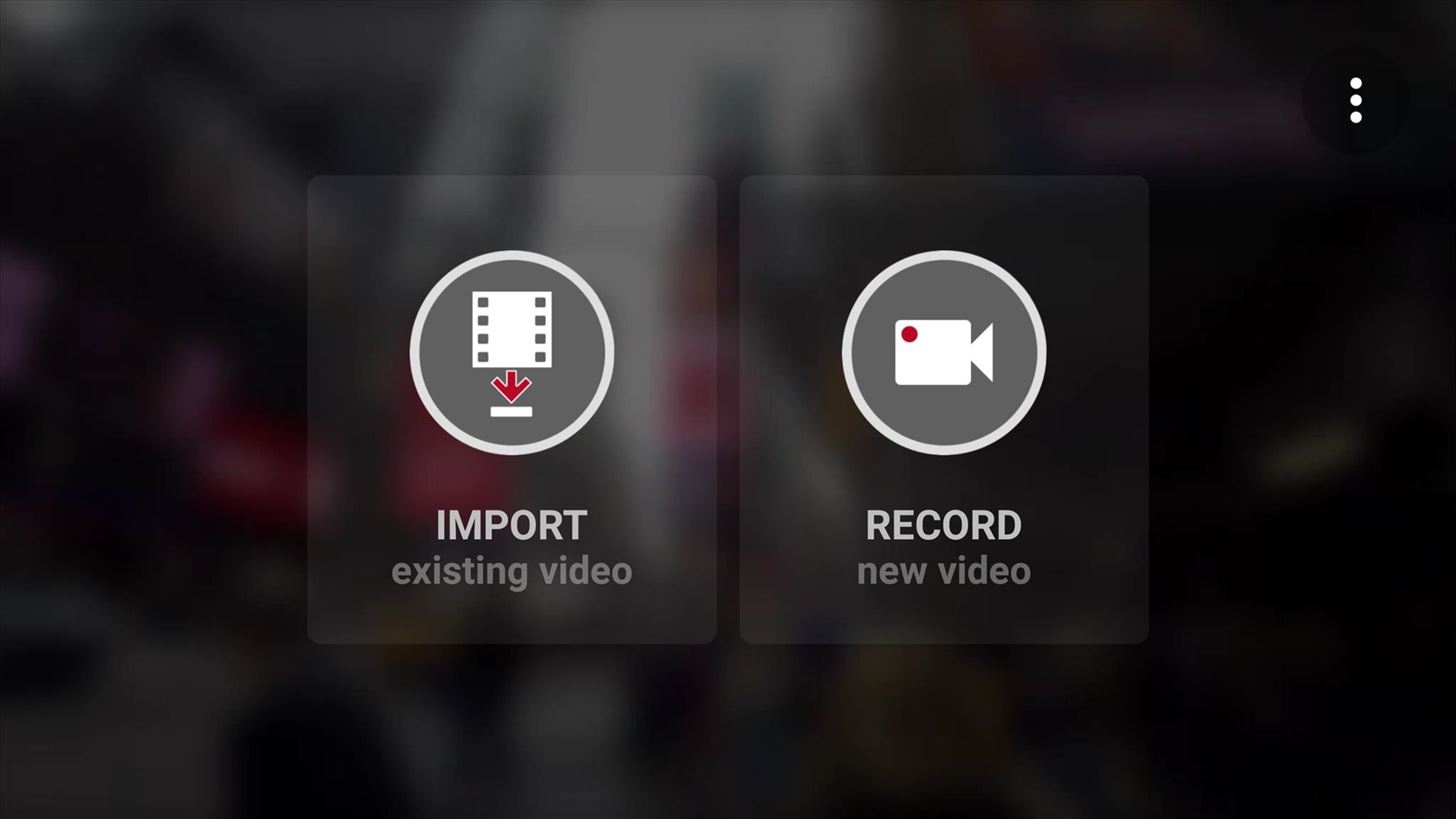
Once you have the app installed, it's incredibly easy to record a smooth time-lapse video. The app only has two options—you can either import an existing video, or record a new one. Tap the "Record" button to begin.
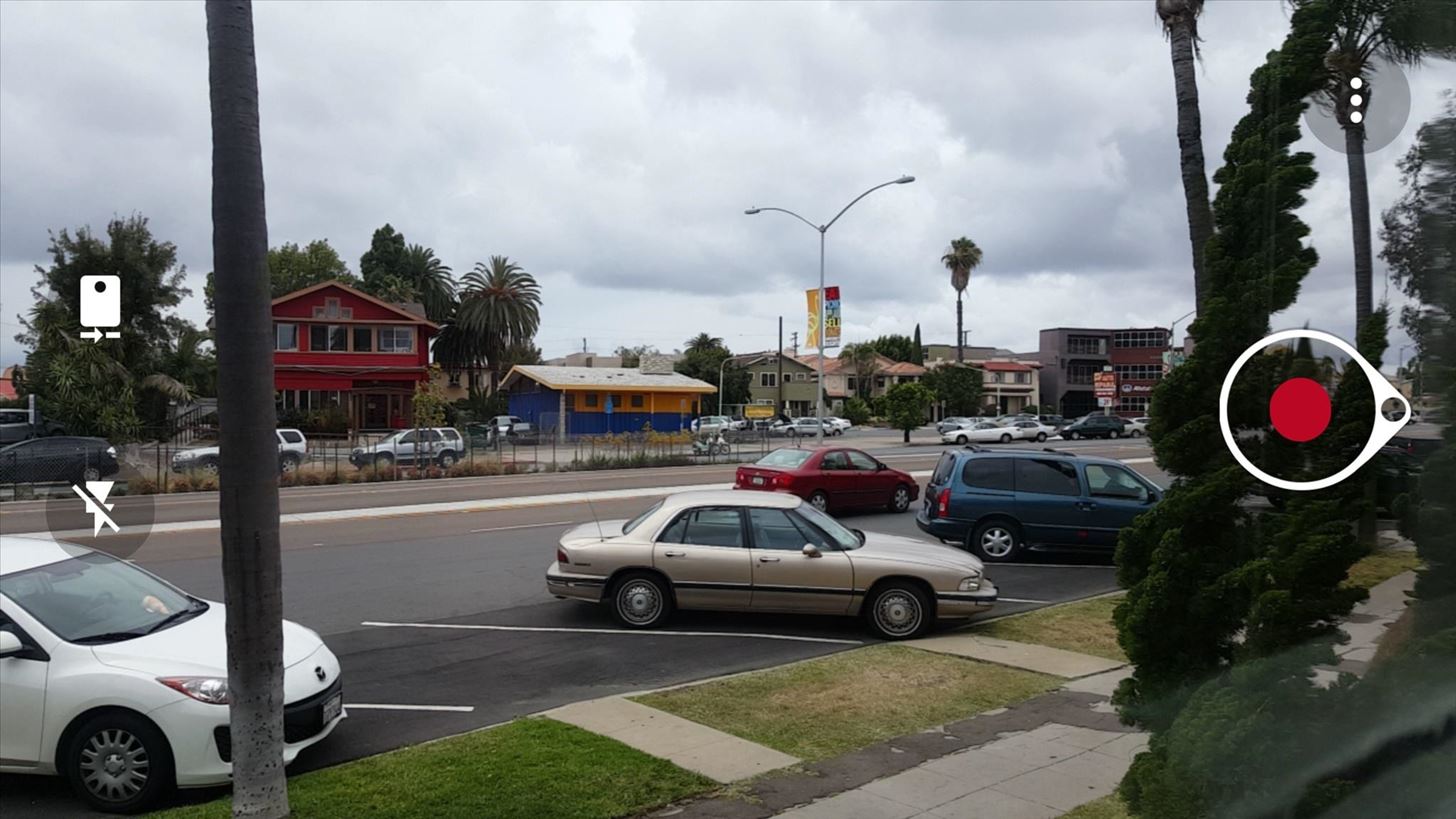
From here, tap the shutter button to start recording your time-lapse video. While the algorithm is very good at stabilizing videos, it would still be helpful if you could minimize any shaking while recording.
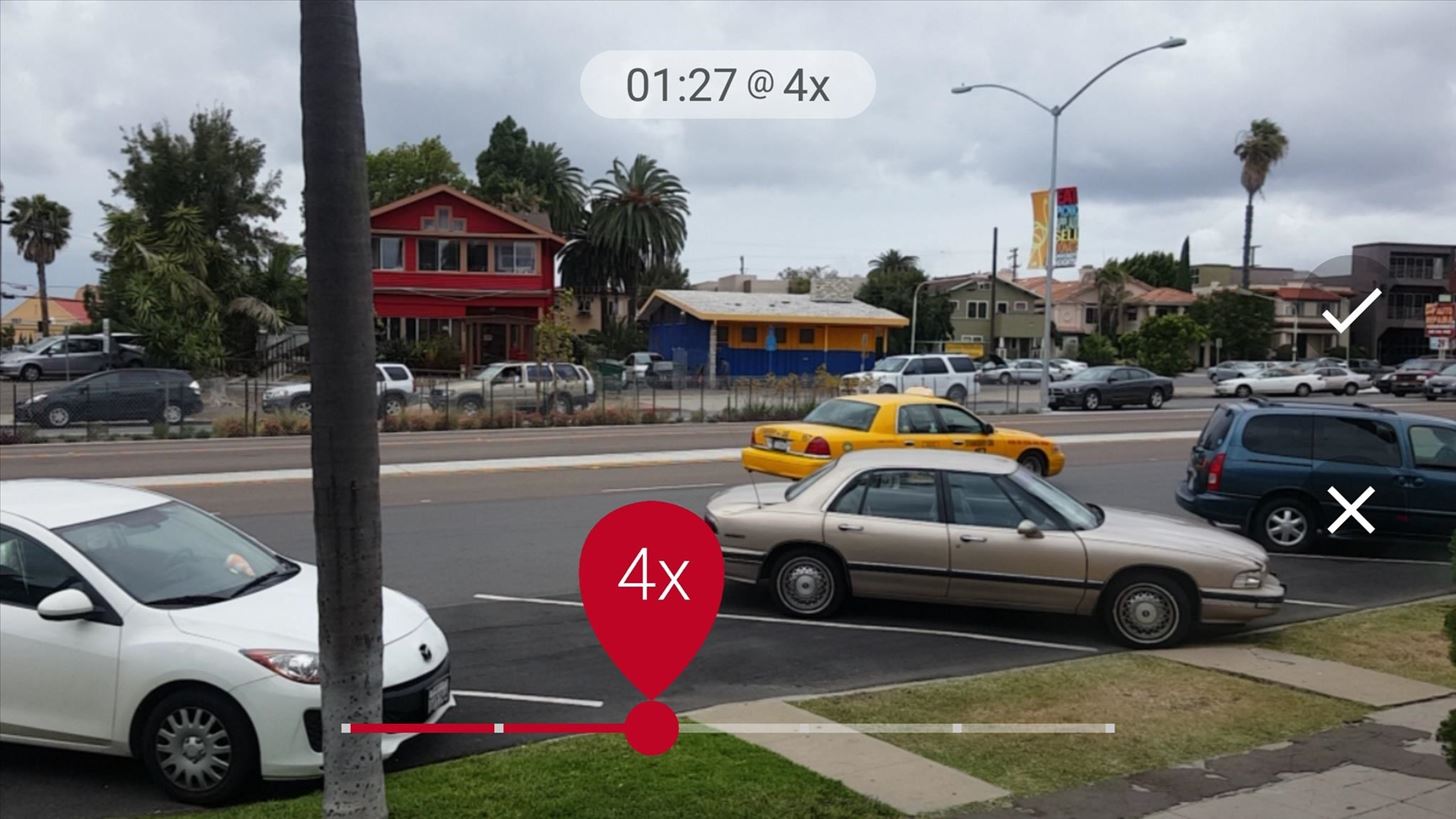
After that, tap the shutter button again to stop recording, then you'll see the speed adjustment menu. Use the slider at the bottom of the screen to change the speed of your time-lapse, then hit the check mark to save your work.
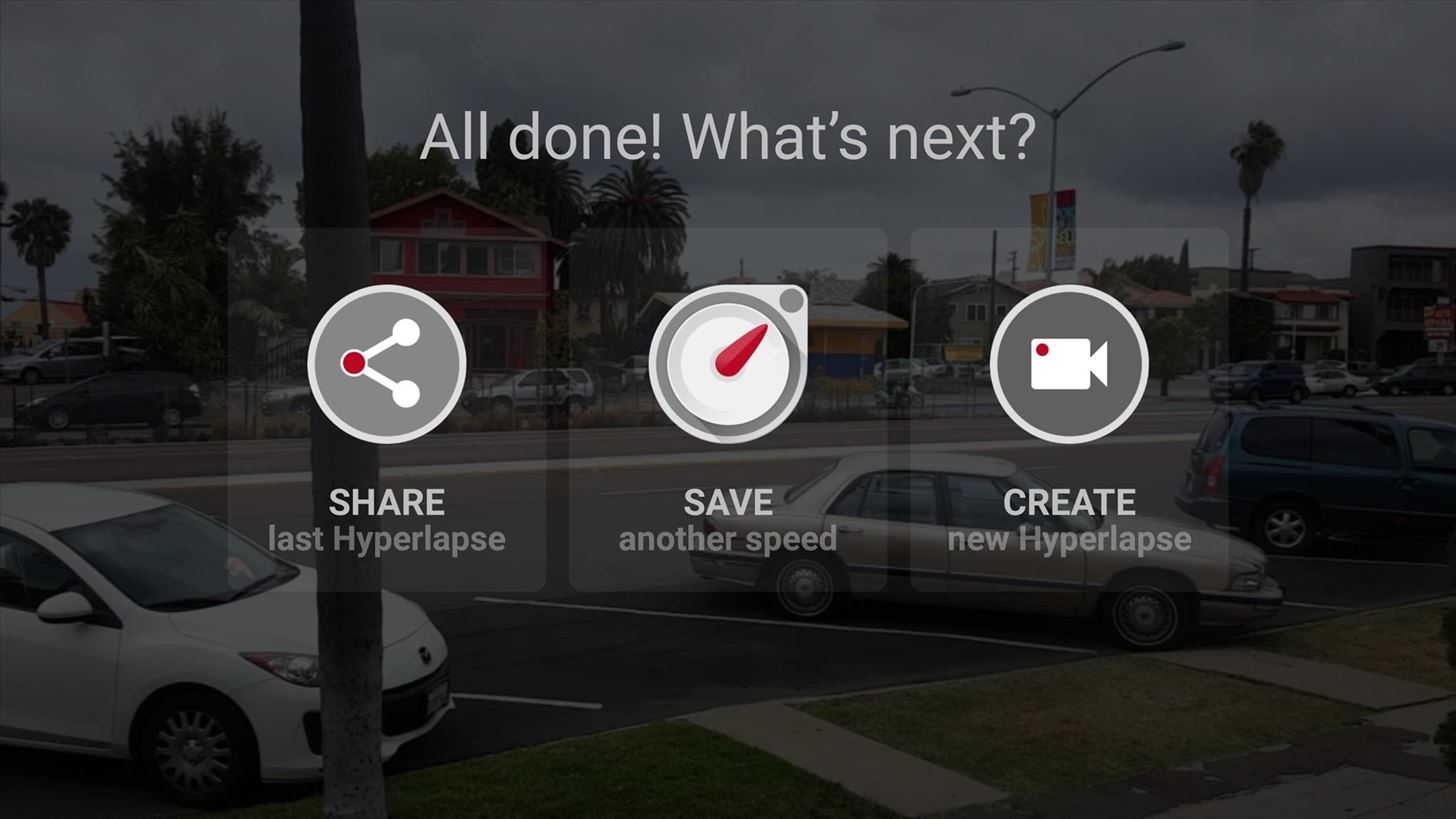
When the video has finished processing, you'll be given a chance to share your new time-lapse. The file will also be stored on your internal storage, so you can use any compatible app to share the video as well.
Have you created any time-lapse masterpieces yet? If so, post a link in the comment section below, or drop us a line on Android Hacks' Facebook or Twitter, or Gadget Hacks' Facebook, Google+, or Twitter.
Who needs a wand? Unlock your magical powers and transform yourself from a Muggle into a Wizard or Witch just by using your Android phone. See how:


Be the First to Comment
Share Your Thoughts