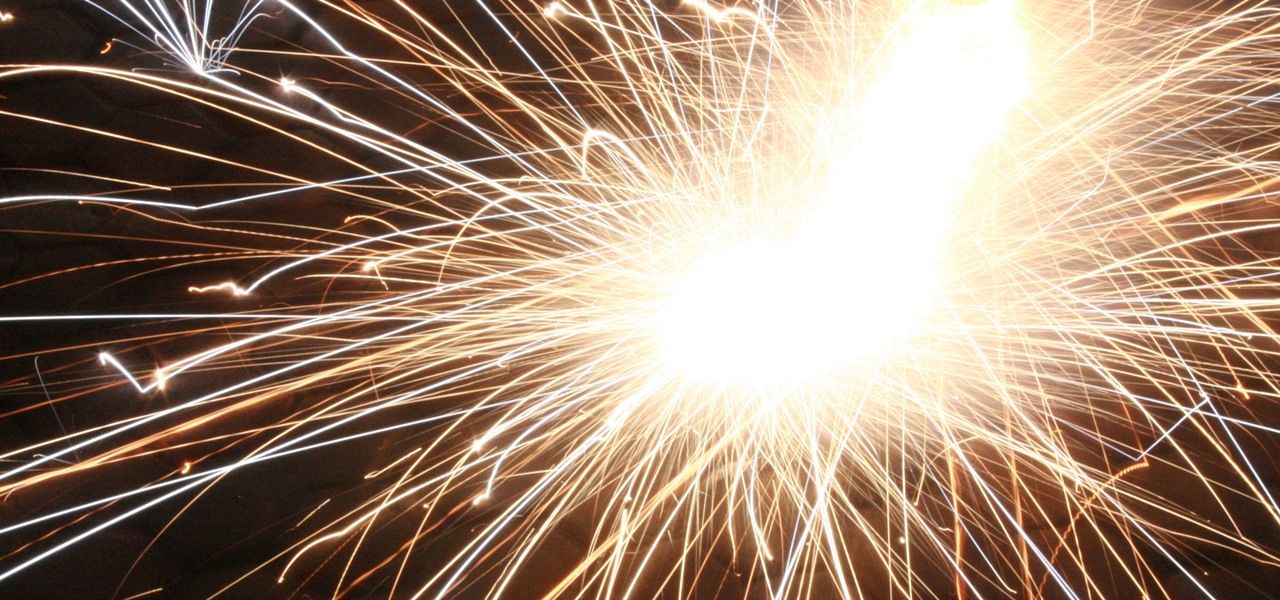

Long-exposure photography gives us the ability the capture some pretty amazing shots by delicately capturing moving elements in an image while keeping the shutter open at a slow speed. While that's great for things like traffic, scenery, and carnival rides, it can come in especially handy for 4th of July fireworks.
While DSLRs are second-to-none when it comes to taking long-exposure shots (their shutter can stay open for an extended period of time), you don't need one to capture some great long-exposure shots on the go. You'll have to use a third-party app to accomplish this, but with nothing more than your trusty Android device, you can snap some great long-exposure fireworks shots.
Step 1: Get a Tripod
As with all long-exposure photography, the key here will be making sure your phone stays steady while you're taking the picture. It's almost impossible to get a non-blurry picture while holding the phone in your hands, so you really need a tripod.
Any tripod will do — just make sure you get a smartphone camera mount for it. Here are some highly-rated smartphone tripod camera mounts from Amazon.
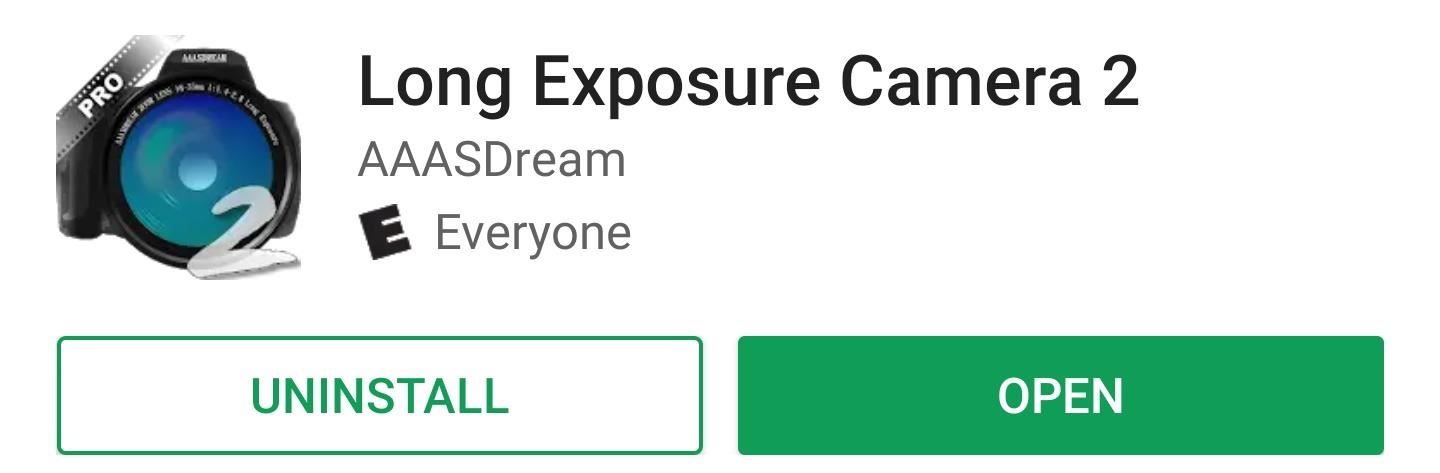
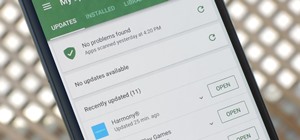
Step 2: Install Long Exposure Camera 2
After testing many different apps, by far the best long-exposure camera app for Android is called Long Exposure Camera 2. As a heads up, the UI leaves a lot to be desired, but the functionality is where it's at.
Step 3: Change Exposure Duration
By default, Long Exposure Camera 2 is set to a 10-second exposure timing. Fireworks don't last this long, so you'll probably want to turn this down. After some experimenting, I've found a 3-second exposure works best.
To change exposure duration, tap the "10S" button on the app's main menu, then drag the "Expsure Time" slider to the right or left and press "OK."

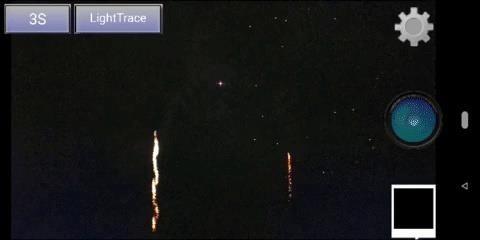
Step 4: Take Long-Exposure Photos
With your tripod set up and the app configured to take pictures with 3-second exposure, you're ready to shoot. Tap the shutter button on the right side of the screen and wait a few seconds to see the results. Don't worry if things look a little sloppy at first, you'll be able to fix that next.
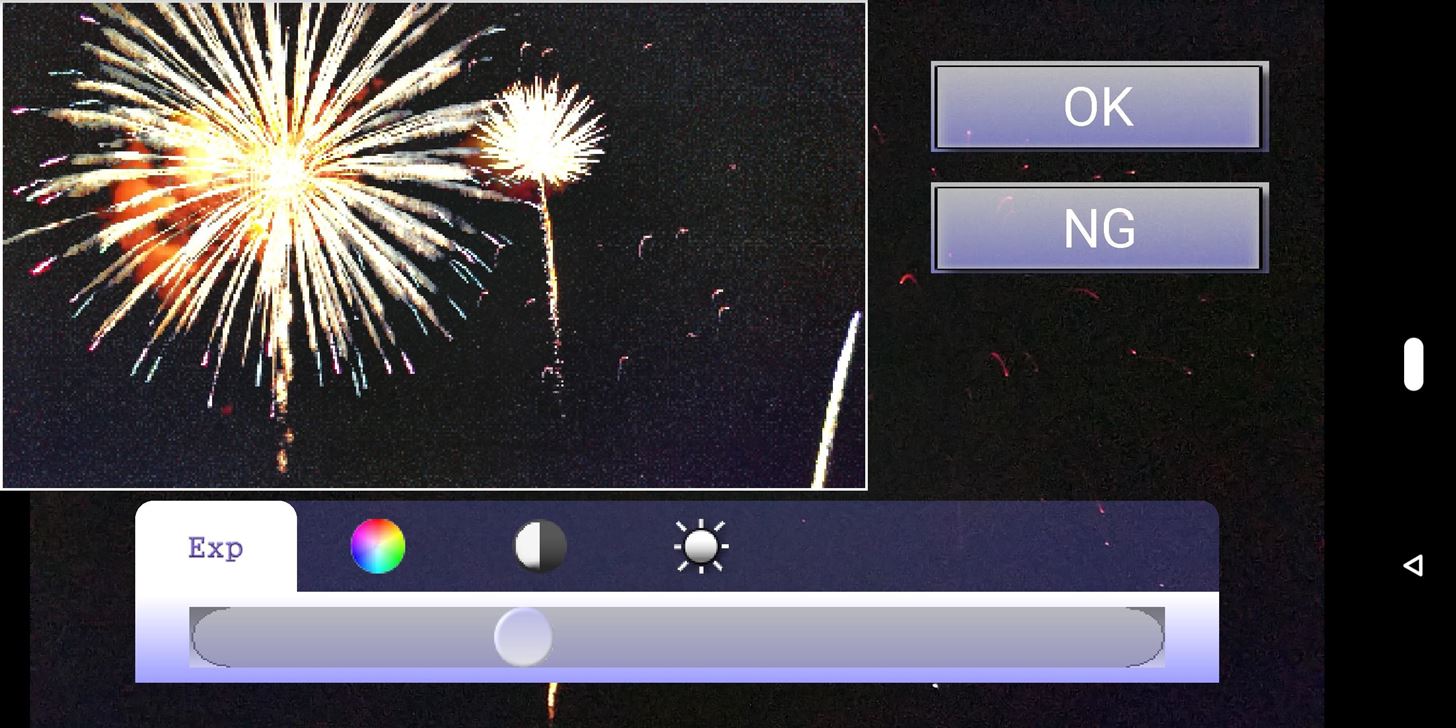
Step 5: Adjust Settings in Post
After taking the photo, you'll get a chance to tweak its appearance. The first tab lets you change exposure, the second lets you change the hue, the third changes saturation, and the fourth changes brightness. Particularly with low-light photos and firework pictures, I've found it's best to decrease brightness a bit to drown out some of the low-light noise.
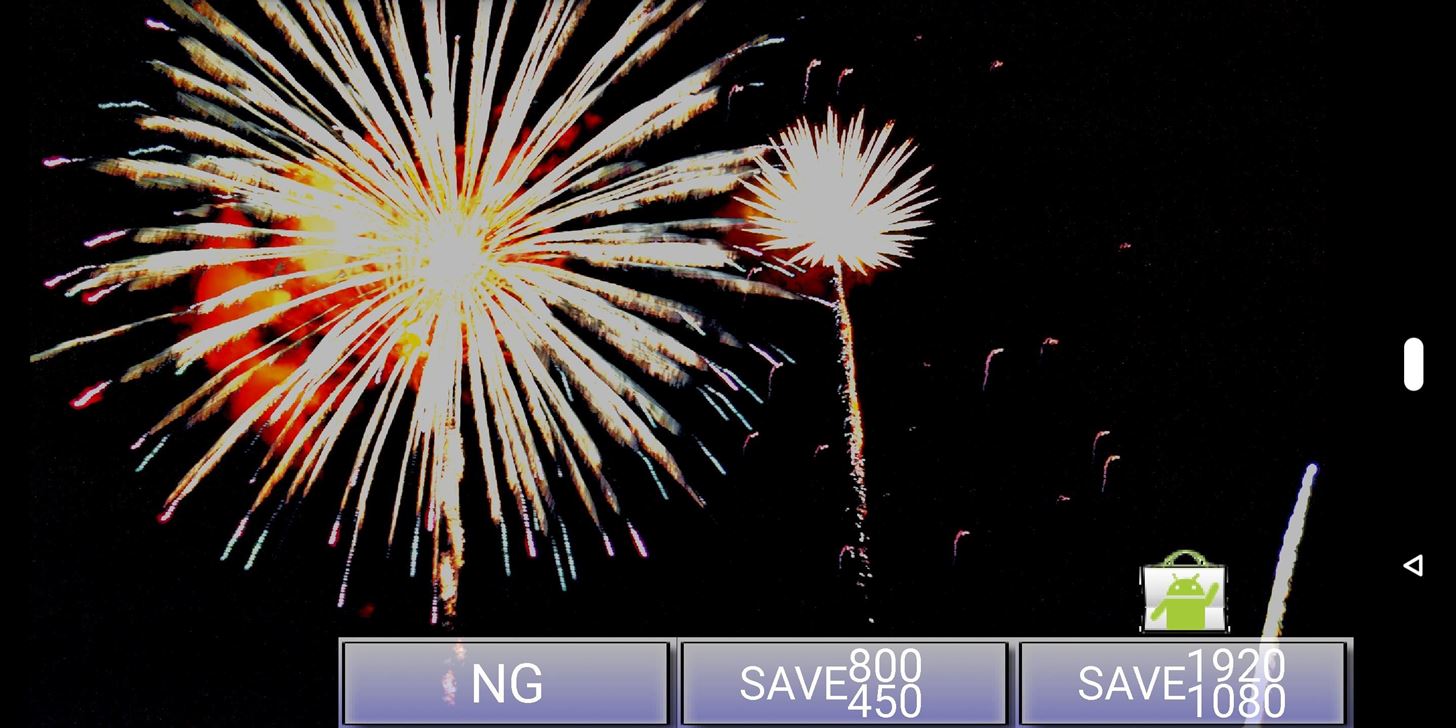
Once you're satisfied with your changes, tap "OK" if you want to save the picture, or "NG" to discard it.
Next, you'll see some options for saving the image. "NG" means "No Good," as in discard this photo, so don't tap that. The first save button will save your image at a fairly low resolution with a watermark. The second will save your image in high-resolution without a watermark, but this requires an in-app purchase of $1.99.
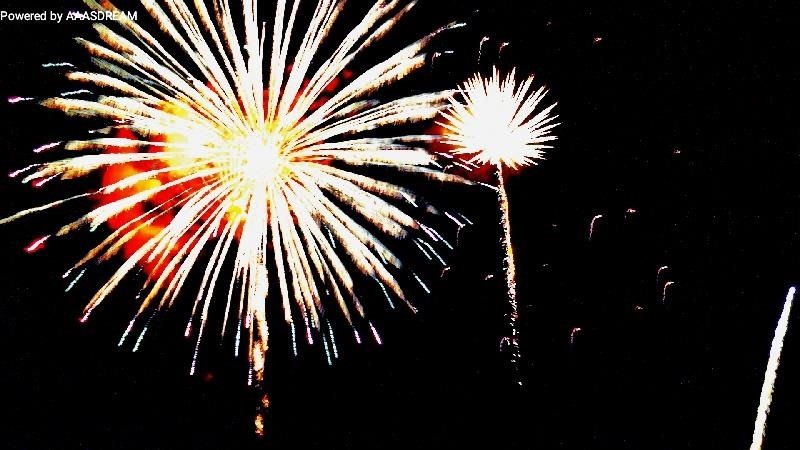
When you're done, the photo should be saved on your phone's internal storage or SD card in the normal "Camera" folder. Check out the one I captured below — it's the low-res watermarked version, but it did a great job of capturing that long-exposure effect!
Who needs a wand? Unlock your magical powers and transform yourself from a Muggle into a Wizard or Witch just by using your Android phone. See how:


Be the First to Comment
Share Your Thoughts