

Your HTC EVO 4G LTE has been lying to you. It will tell you when you're connected to a 4G network, but it will say 3G even if you're connected on 1X, which is a 2G CDMA network!
This issue is just one of the many things you can fix after rooting, which allows you to take full control of your device's hardware and software. From customizing themes to overclocking for smoother gameplay, there's no limit to the things you can do on your EVO.

So, how exactly do you begin the ultimate customization of your device? Once you've unlocked your bootloader, you can gain root access—but first you need a custom recovery.
In this guide, I'll be showing you how to install TWRP, which stands for Team Win Recovery Project, as your custom recovery.
Step 1: Download TWRP
First, download the newest flashable TWRP .zip file from this link onto your computer. These are the PJ75IMG-twrp-2.x.y.zip files towards the bottom.

While the images above have newer versions, it's much easier to update later than to install them manually.
Step 2: Rename the File
Open up your Downloads folder on your computer and rename the file you just downloaded to PJ75IMG.zip. Then, put it on the root (i.e. not inside any folders) of your SD card.
You can do this by connecting your EVO 4G LTE to your computer via USB, double-clicking SD card, and copying it from your Downloads folder to the SD card. If the folder doesn't pop up automatically, you can find it in My Computer -> EVO -> SD Card.
Step 3: Install TWRP on Your EVO
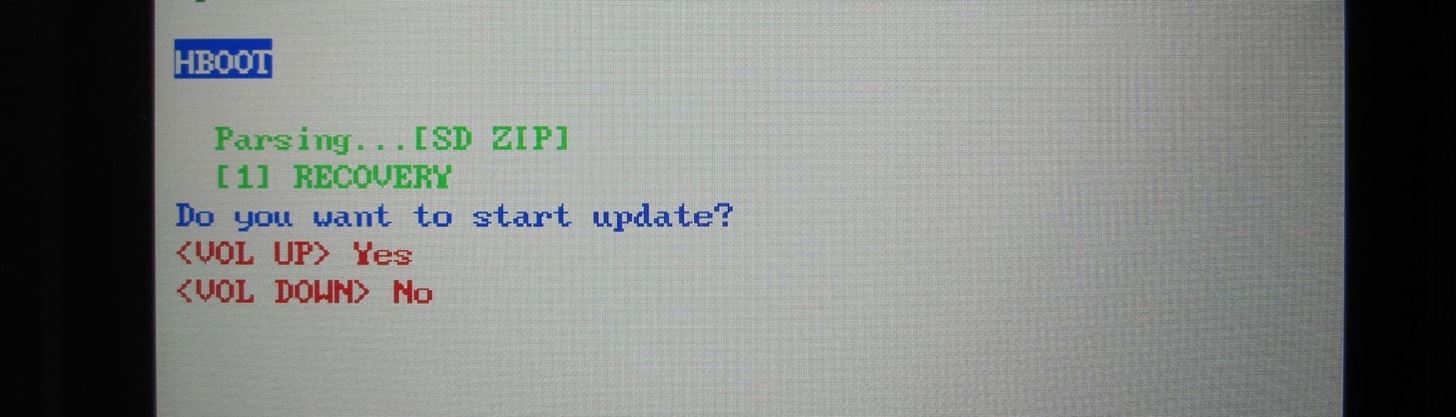
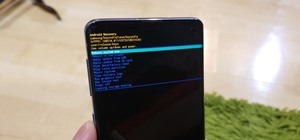
Power down the phone, then hold the Volume Down button while you turn it back on. The bootloader will automatically scan for any updates—and detect your new PJ75IMG.zip file.
When it asks you if you want to install it, press the Volume Up button to confirm, and you will have the recovery installed!
You can now install SuperSU, which will let you control which apps are allowed root access on your device.
Step 4: Install SuperSU
Note that this zip file can only be flashed from the recovery you just installed above. These have to be prepared differently than those that are for the bootloader. Always follow the developer's instructions to make sure you flash it correctly.
Download the SuperSU app as a flashable .zip file and install to the root of your SD card. To do so, turn on your device normally and connect it to your computer again, then copy the SuperSU-v1.25.zip file to your SD card.
Also, make sure to delete or rename the PJ75IMG.zip file that's still on your SD card. You'll need to do that before you can boot into the recovery.
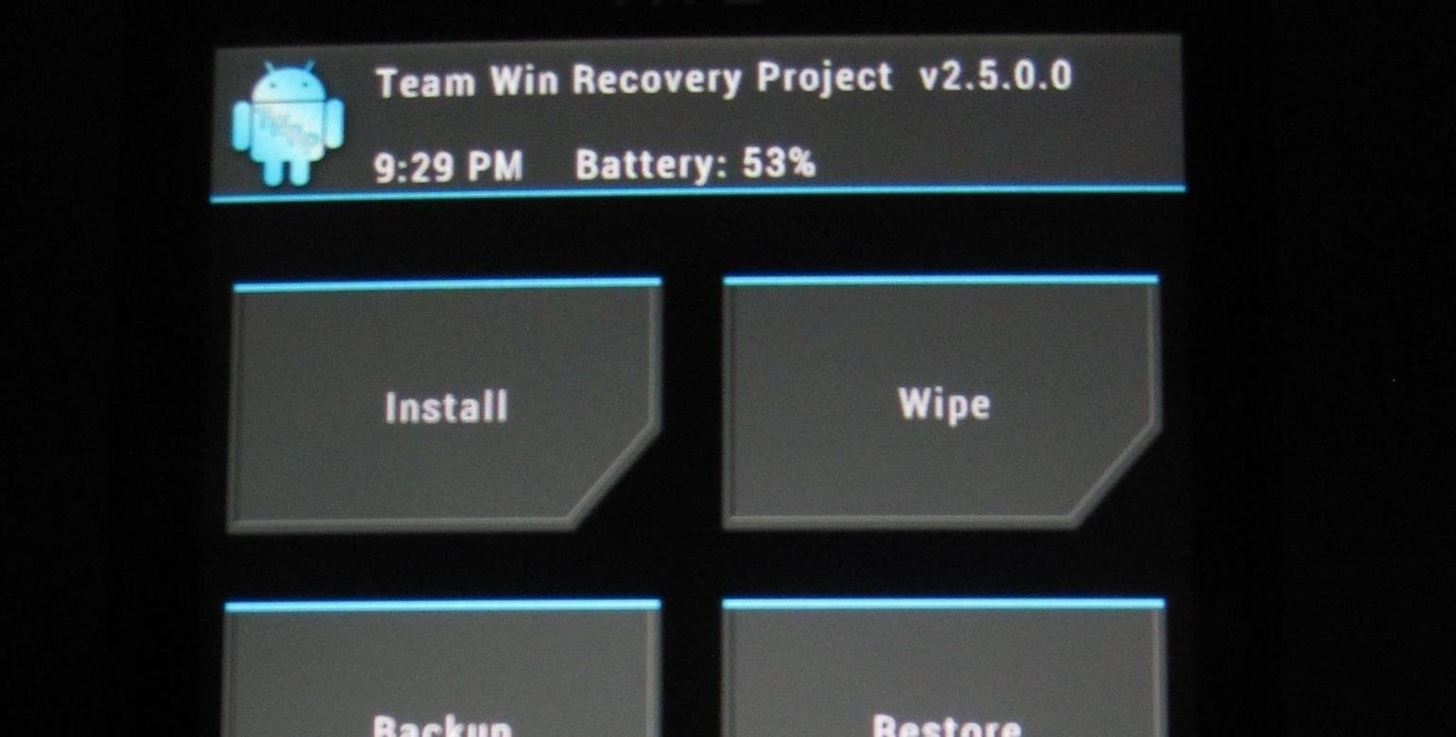
Once finished, boot into the bootloader again, highlight RECOVERY, and press the Power button.

Tap on Install, navigate to the .zip file using the Volume buttons, press the Power button to install, and Swipe to Confirm.
You can then press Back until you get to the main menu and Reboot to system.
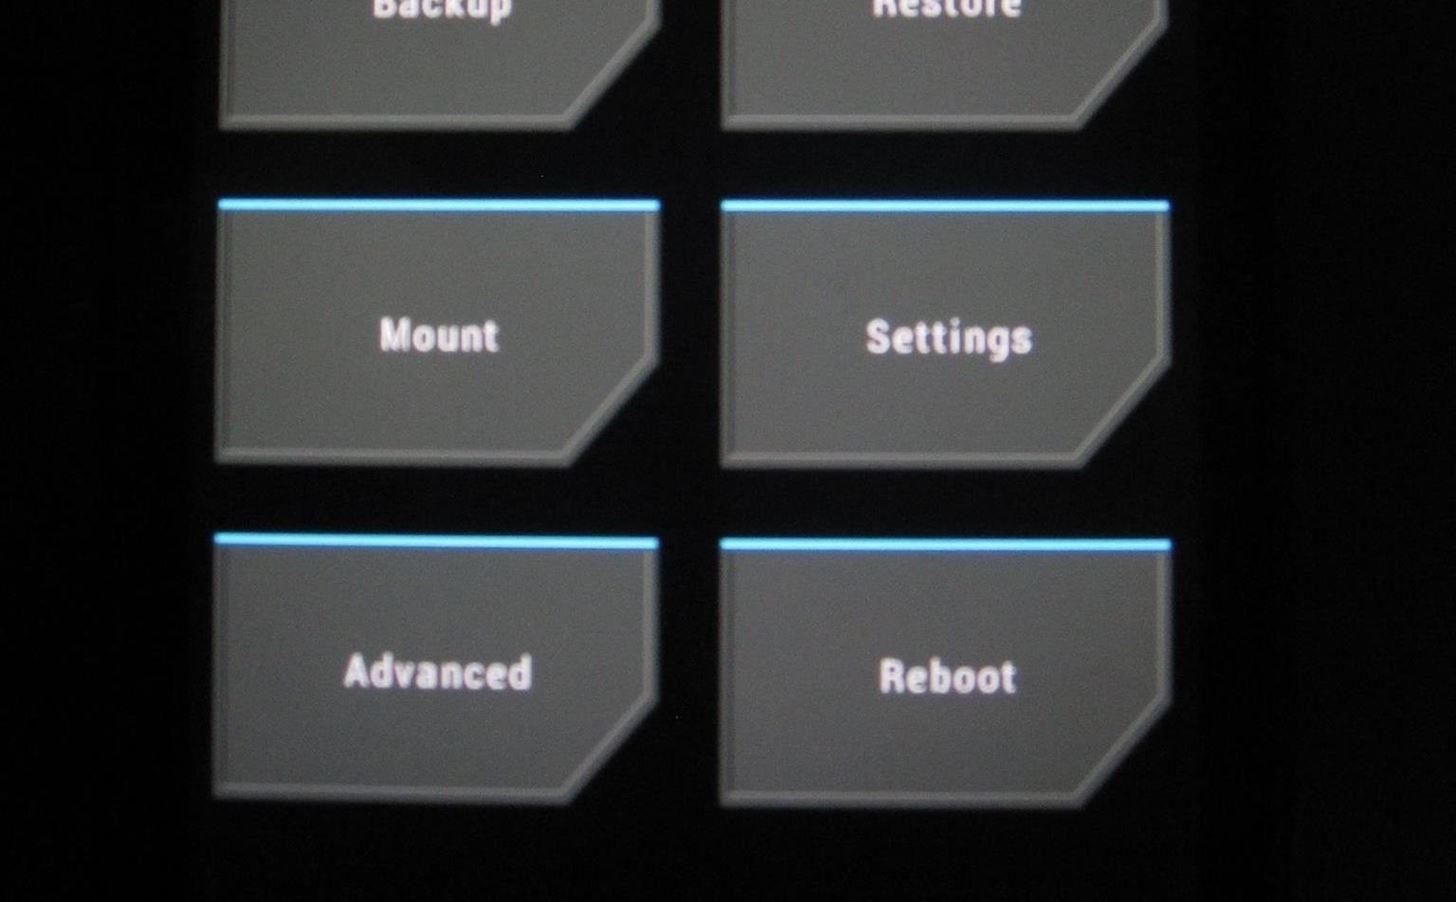
When your phone is done restarting, go in your app drawer, open the SuperSU app, and update the binaries. It should ask you to do this with a popup notification, but if it doesn't, you can find it in "SETTINGS."

Your phone is now rooted! Now we can update the recovery the easy way.
Step 5: Update TWRP
Install Goo Manager (free) onto your EVO from the Google Play Store.
Tap the Menu icon on the top right and select Install OpenRecoveryScript.
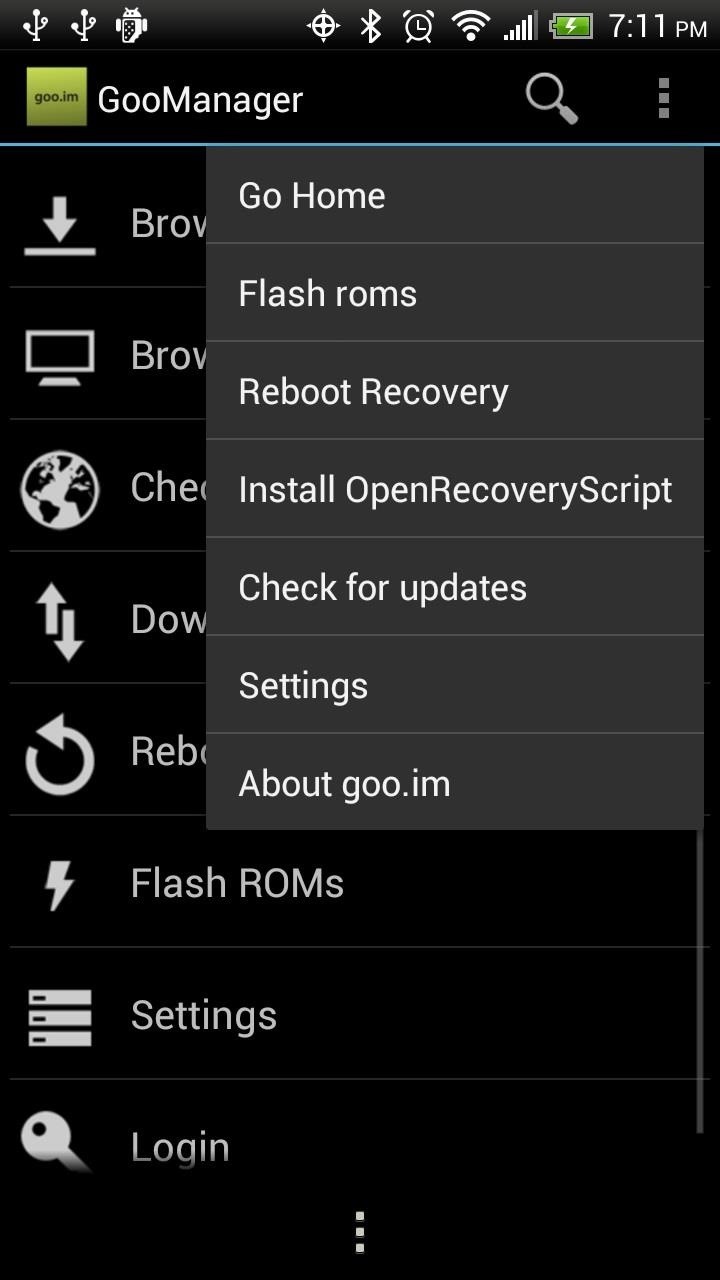
Confirm that you want to download and install the recovery, and Goo Manager will download and flash it for you, notifying you when it has finished.
You'll now be able to flash themes, tweaks, or even custom ROMs. Happy flashing!
Who needs a wand? Unlock your magical powers and transform yourself from a Muggle into a Wizard or Witch just by using your Android phone. See how:


3 Comments
I have copied newest pj75 file to sd card. Powerd off phone restarted bootloader and says main version older update failed pre power to reboot. Can't access bootloader menu. And can't find any info on what to do. Please help. Bootloader is unlocked
If it is giving you the message above, just use cmd prompt and flash the image manually using fastboot.
If it is giving you the message above, just use cmd prompt and flash the image manually using fastboot.
Share Your Thoughts