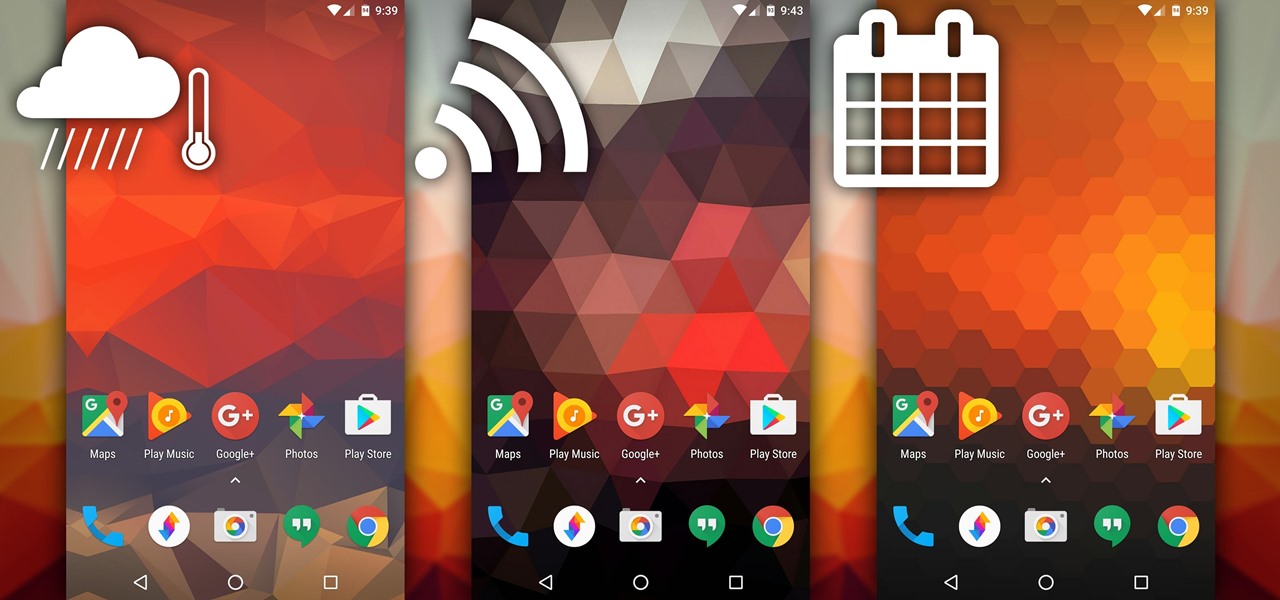

Imagine if you combined Tasker with your favorite live wallpaper—that's roughly the gist of a new app from developer feedK. With this one installed, your home screen background will finally be aware of its surroundings.
After a little setup, the app will automatically change your wallpaper based on several different contexts. You can have it change when you connect to a different Wi-Fi network, or you can set it to switch with the weather, the month, and even the day of the week. There's a time of day setting as well, so if you'd like, you could set a light background during the daytime, and have it automatically change to a darker wallpaper at night.
Step 1: Download Some Background Images
You'll need your own wallpapers to start out with, as this app only changes your background for you. If you don't already have a handful of good pictures to use, grab some of the beautiful ones linked below.
Step 2: Install Smart Wallpaper
To get contextually-aware home screen backgrounds, the first thing you'll need to do is install the app, which is called Smart Wallpaper.

After launching Smart Wallpaper for the first time, you'll get a quick feature tour. Go ahead and read through this, then move onto the next step.
Step 3: Select a Condition for Your Automatic Wallpapers
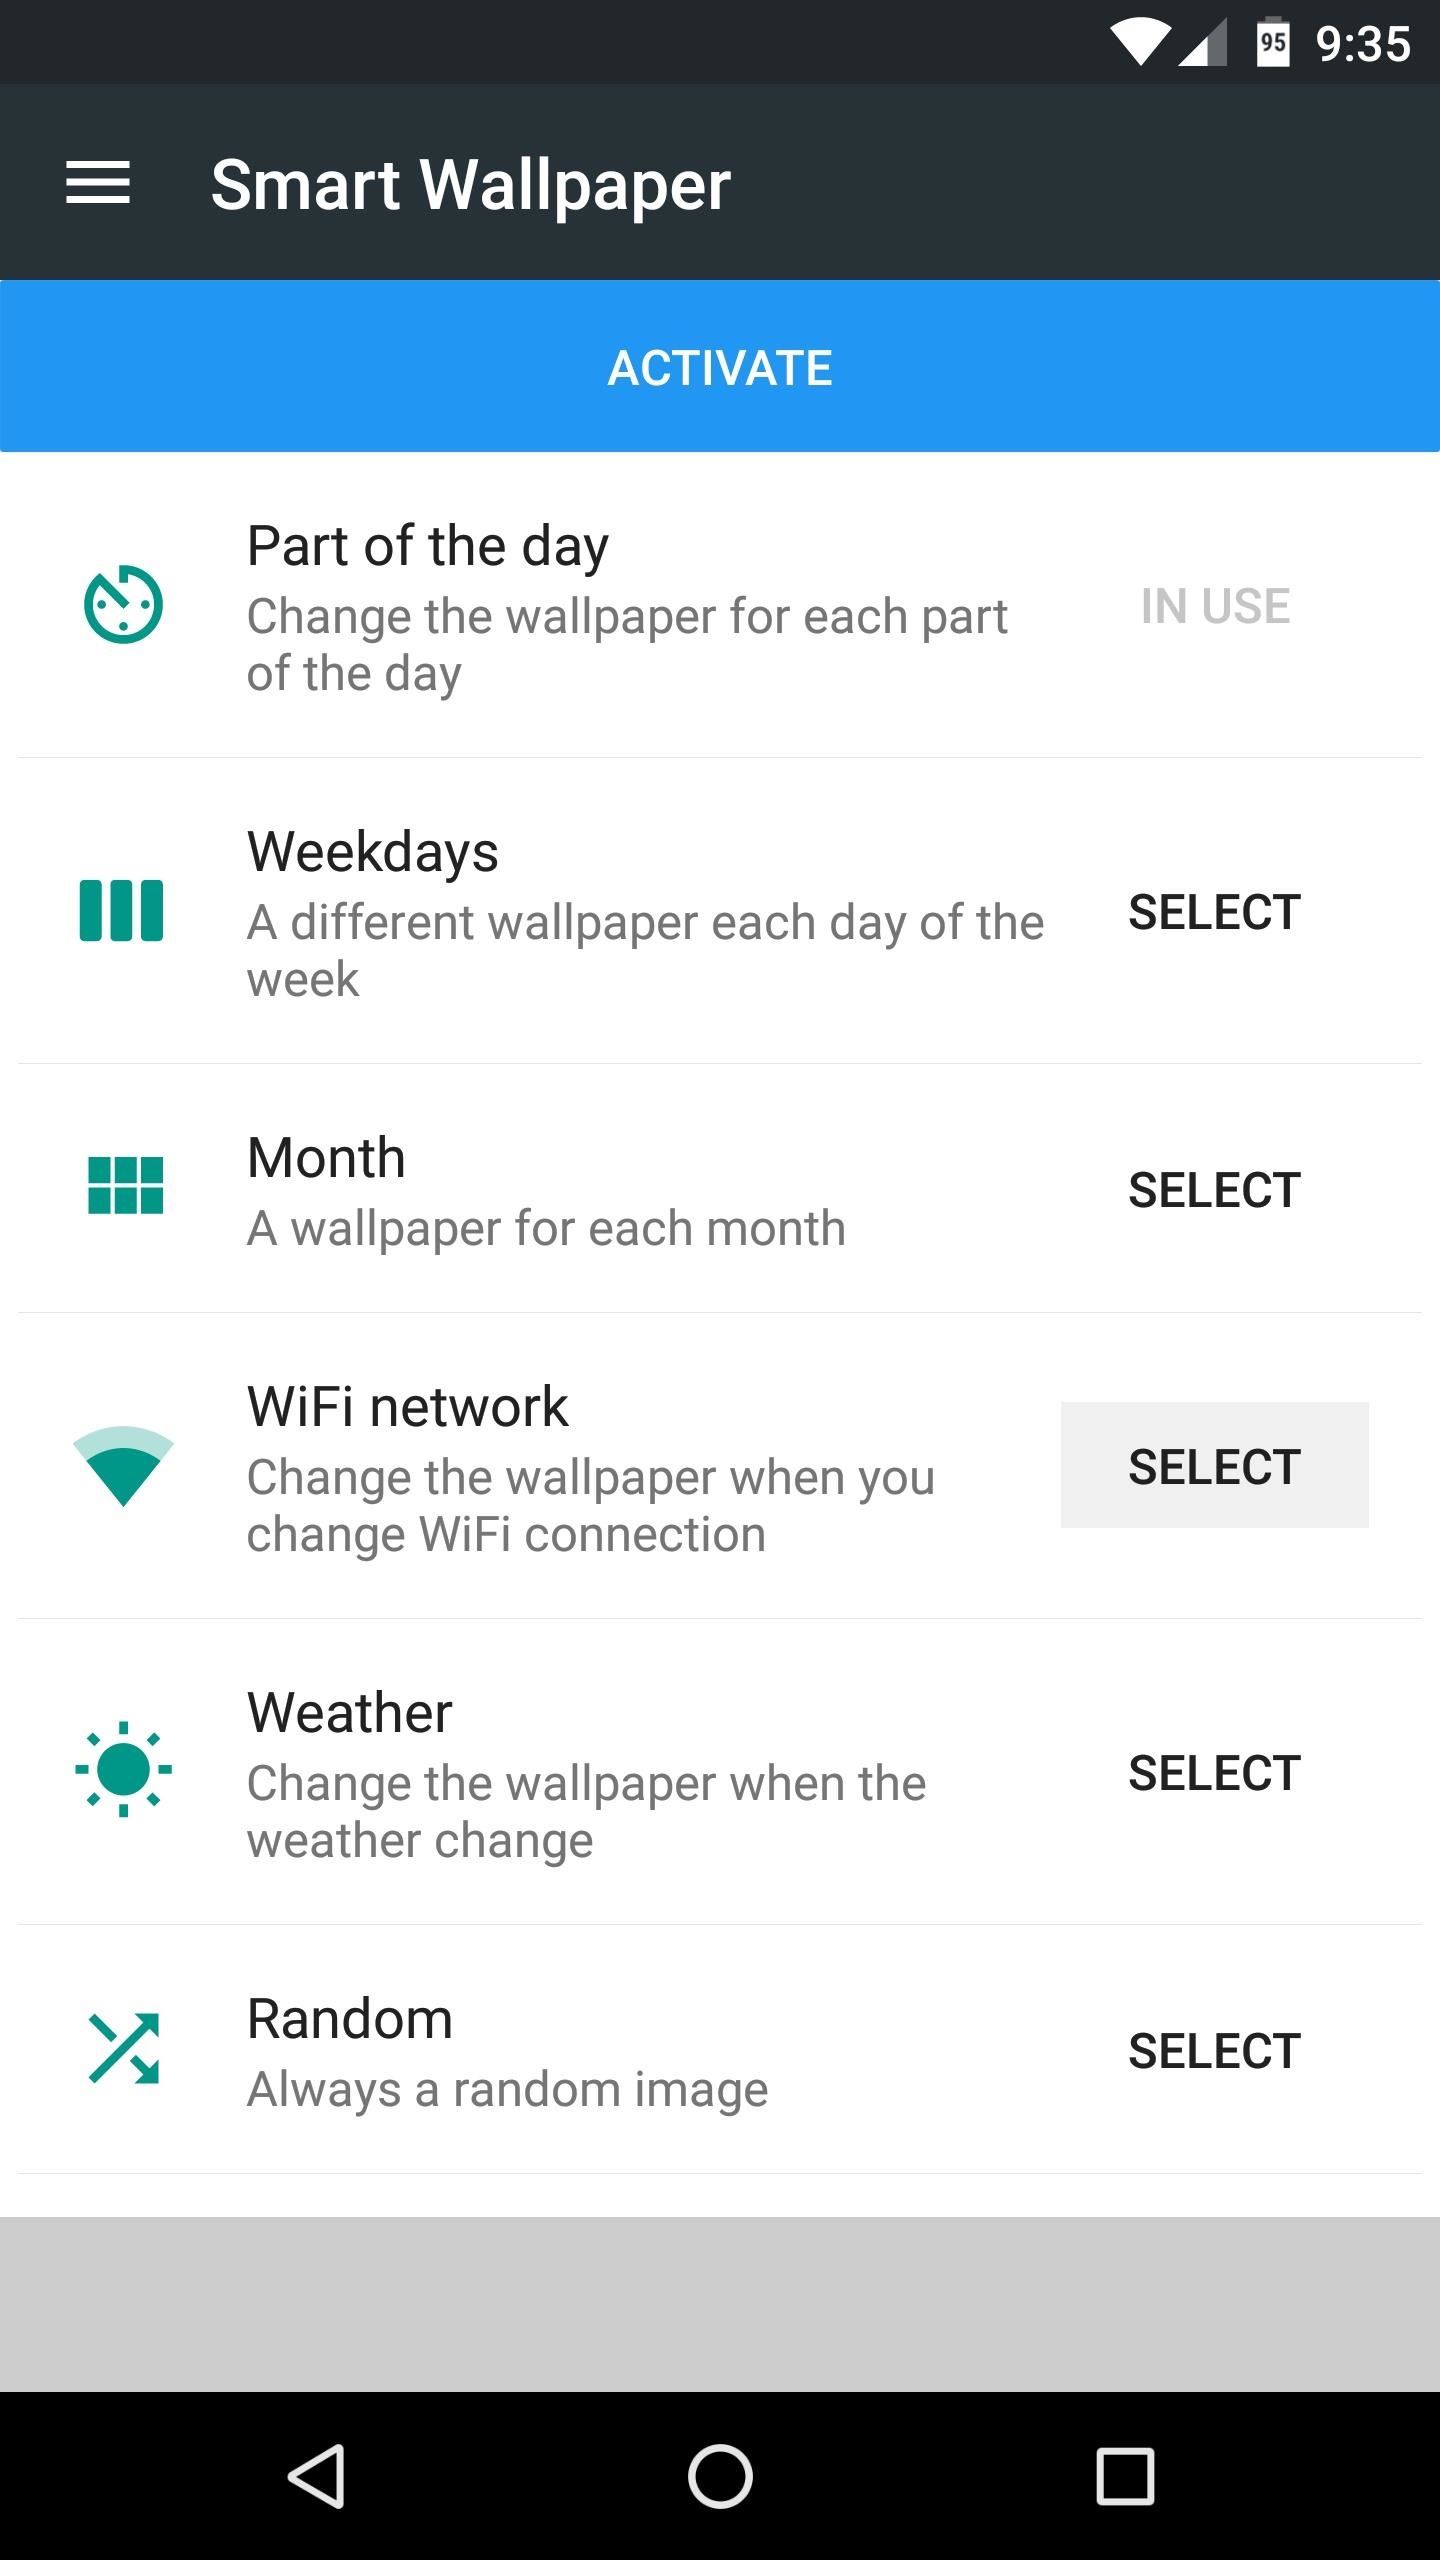
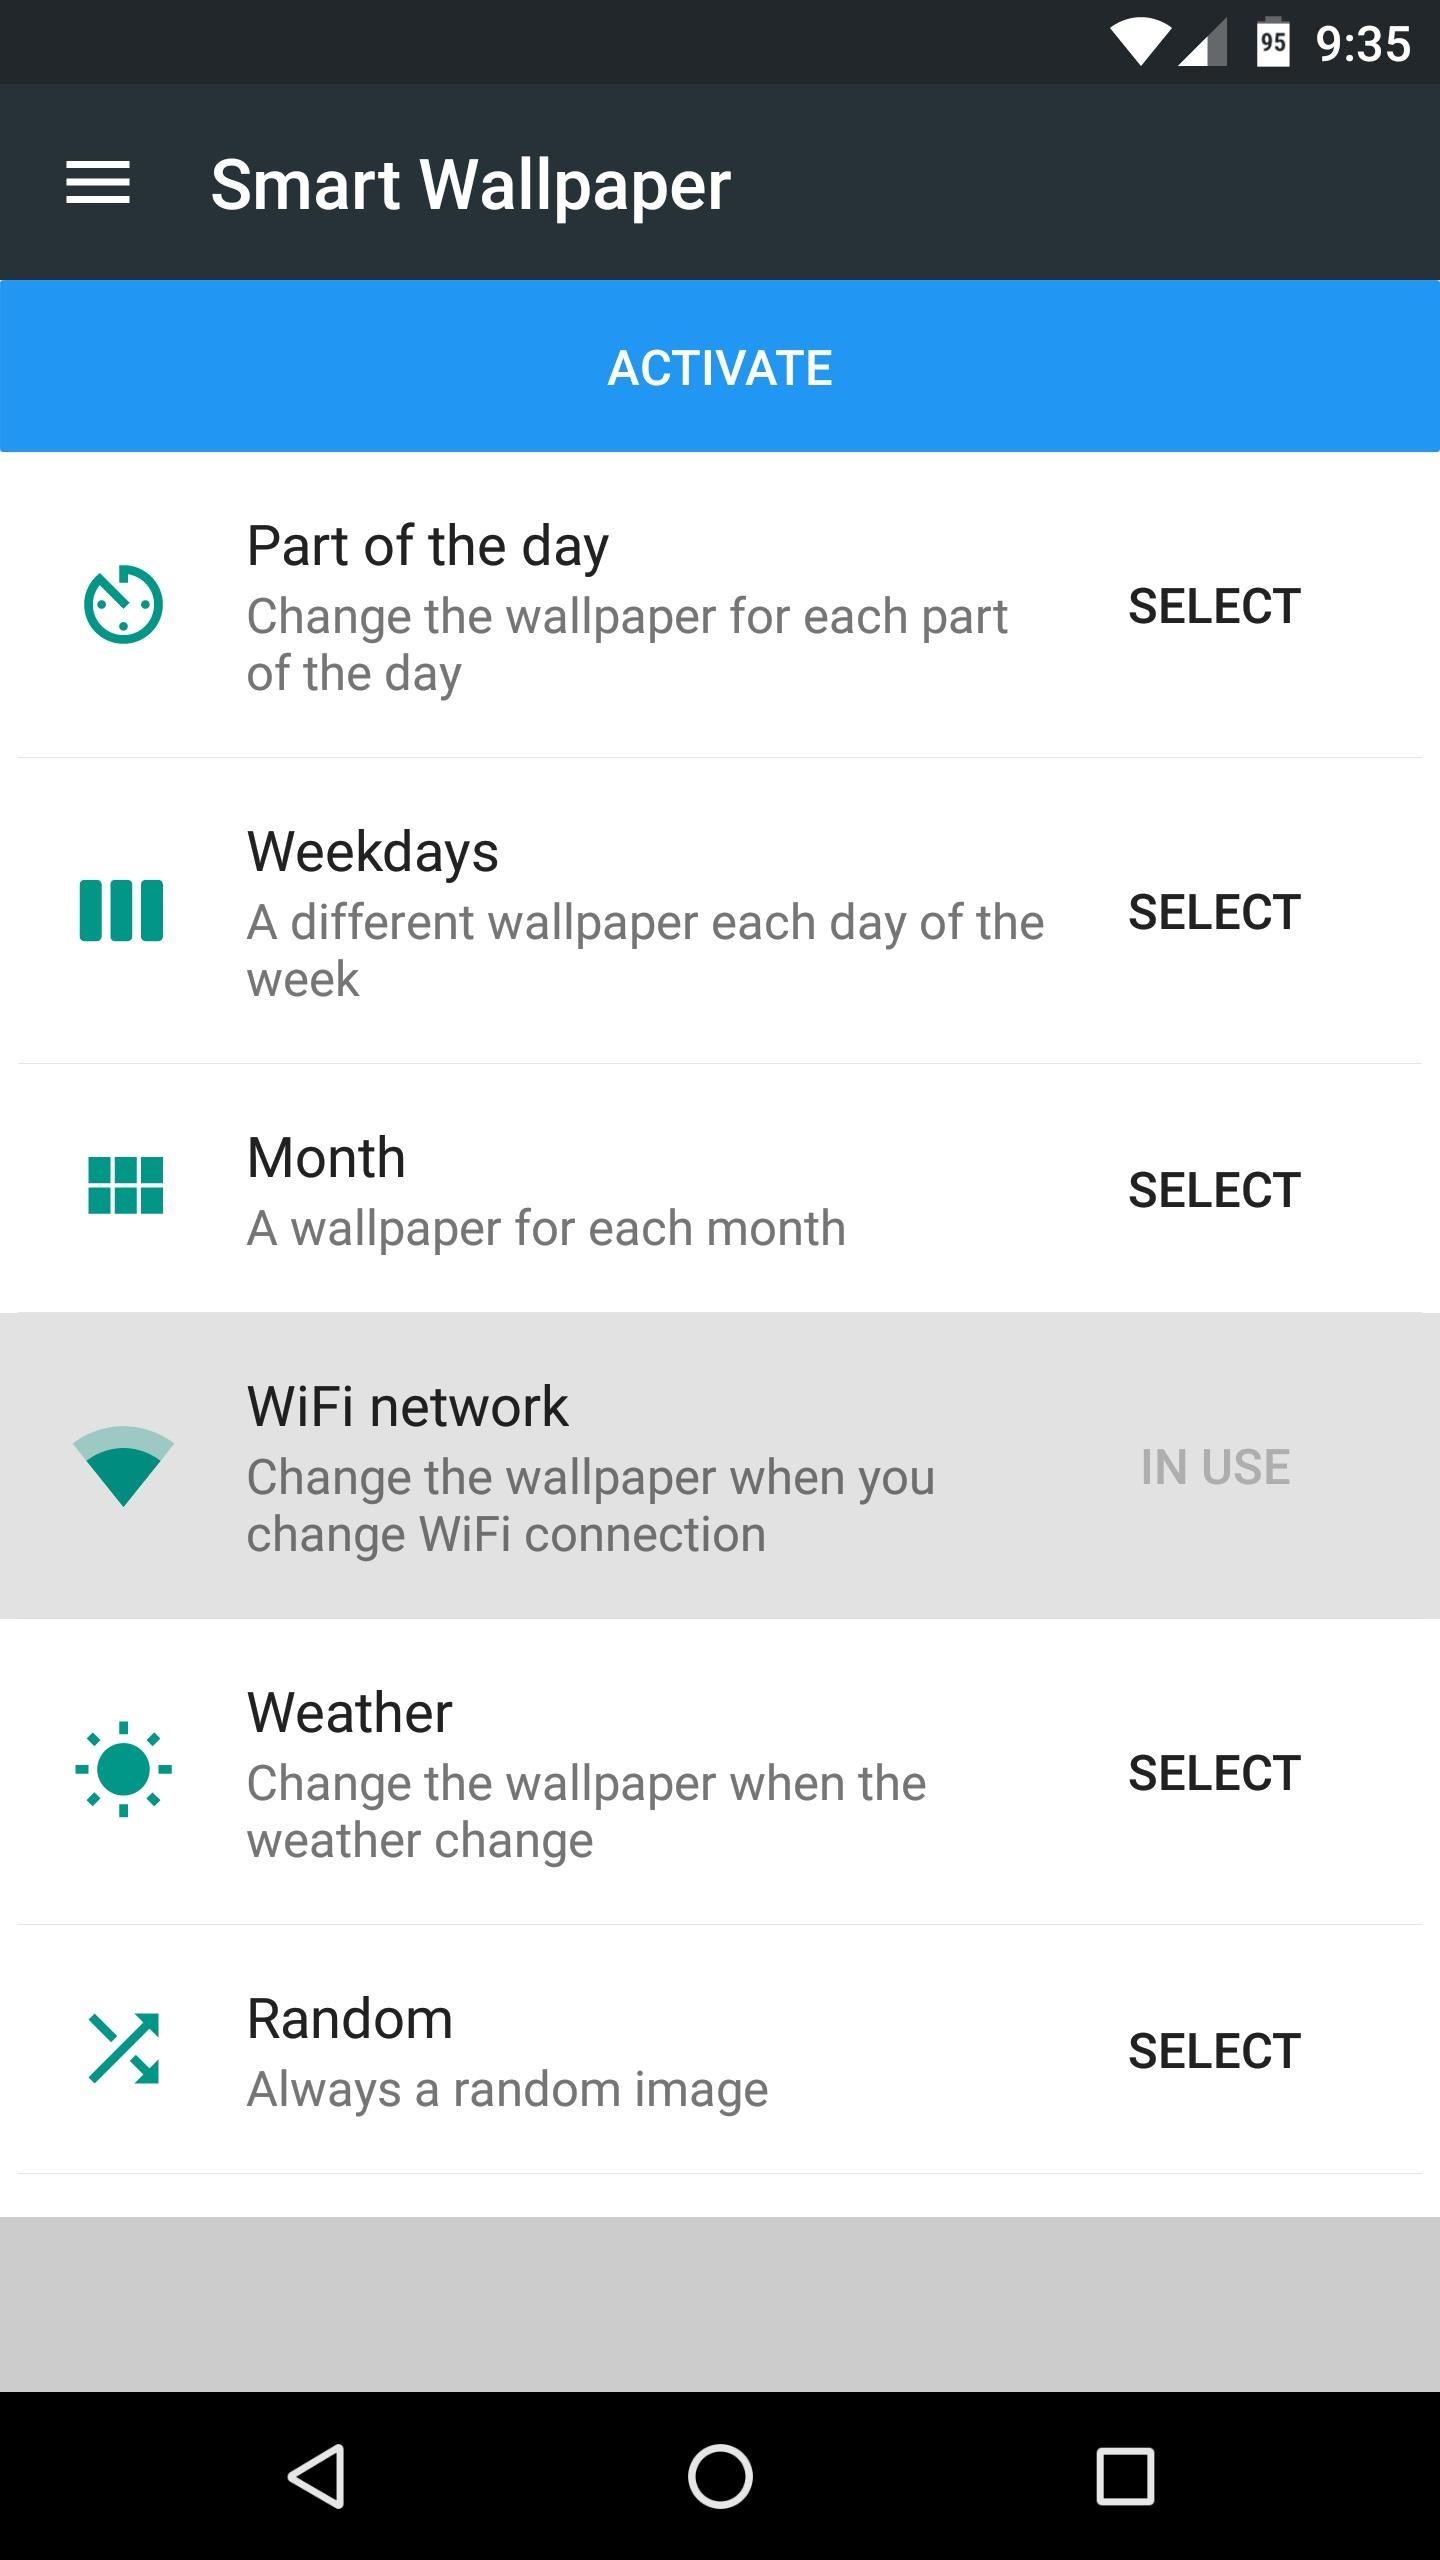
When you make it to the main menu, you'll see a list of all the conditions that Smart Wallpaper can use to automatically change your background image. To start, tap the "Select" button next to one of the entries, then tap the entry itself to do a bit of customization.
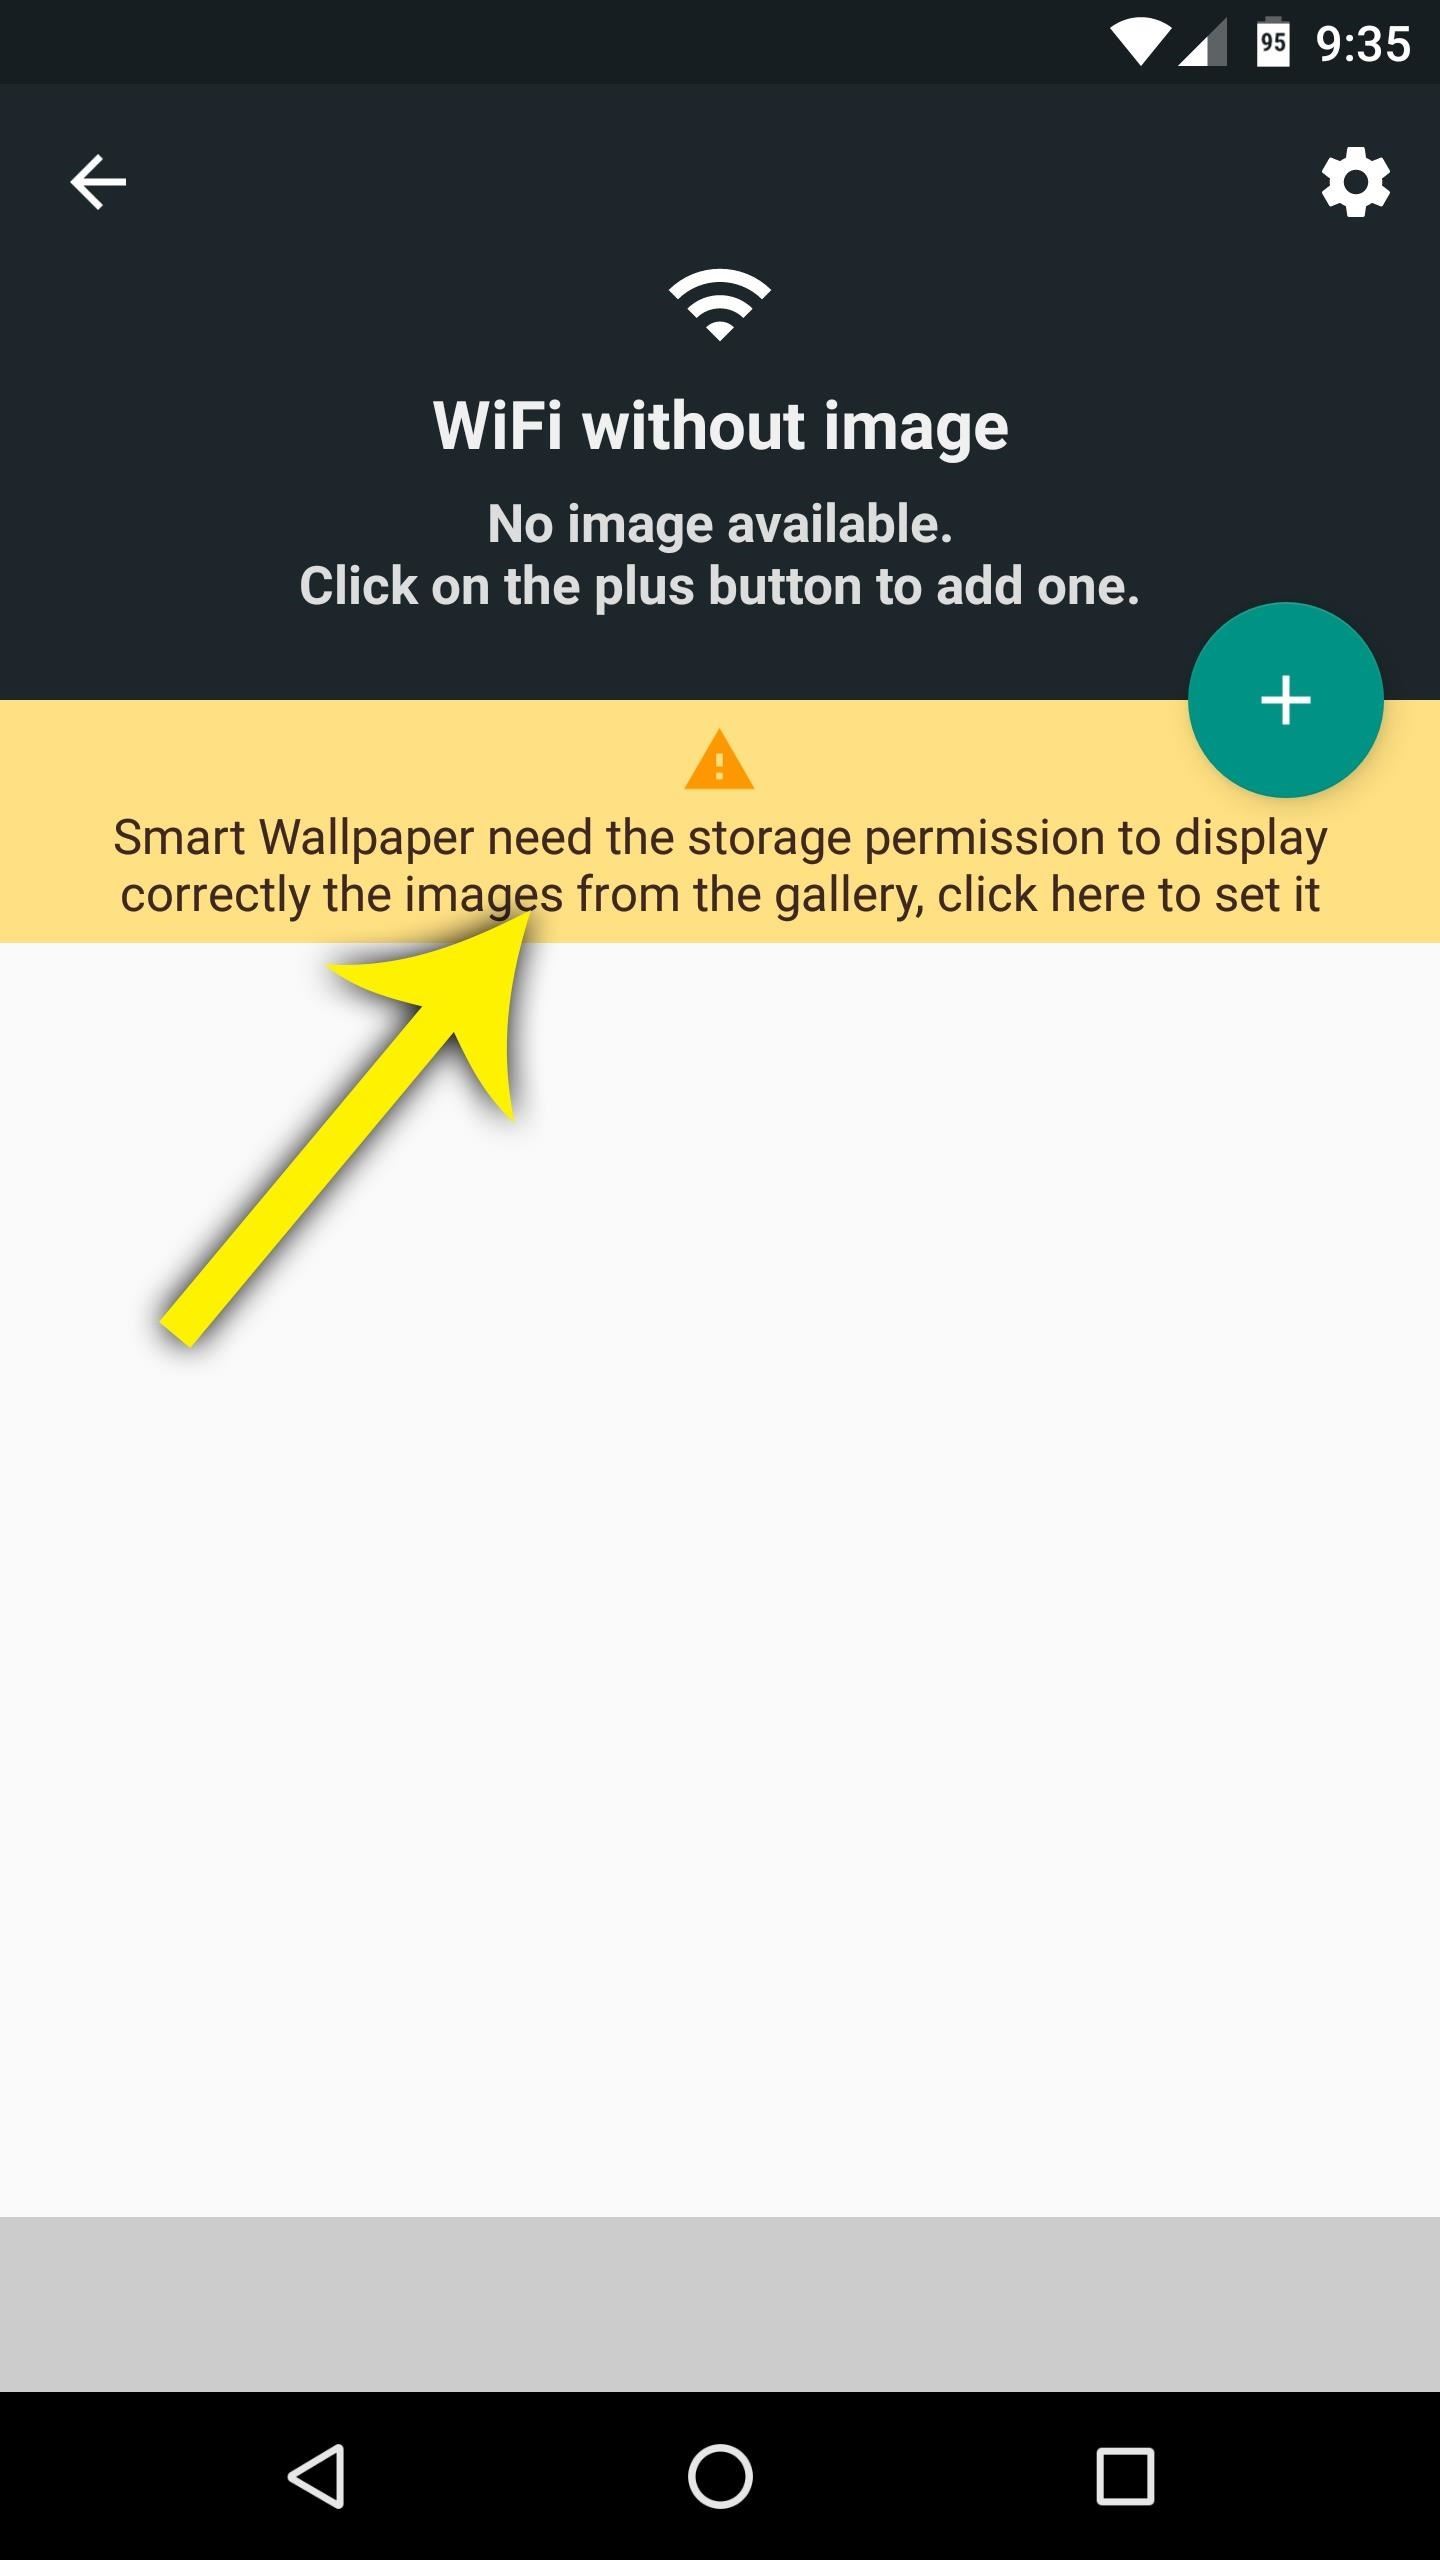
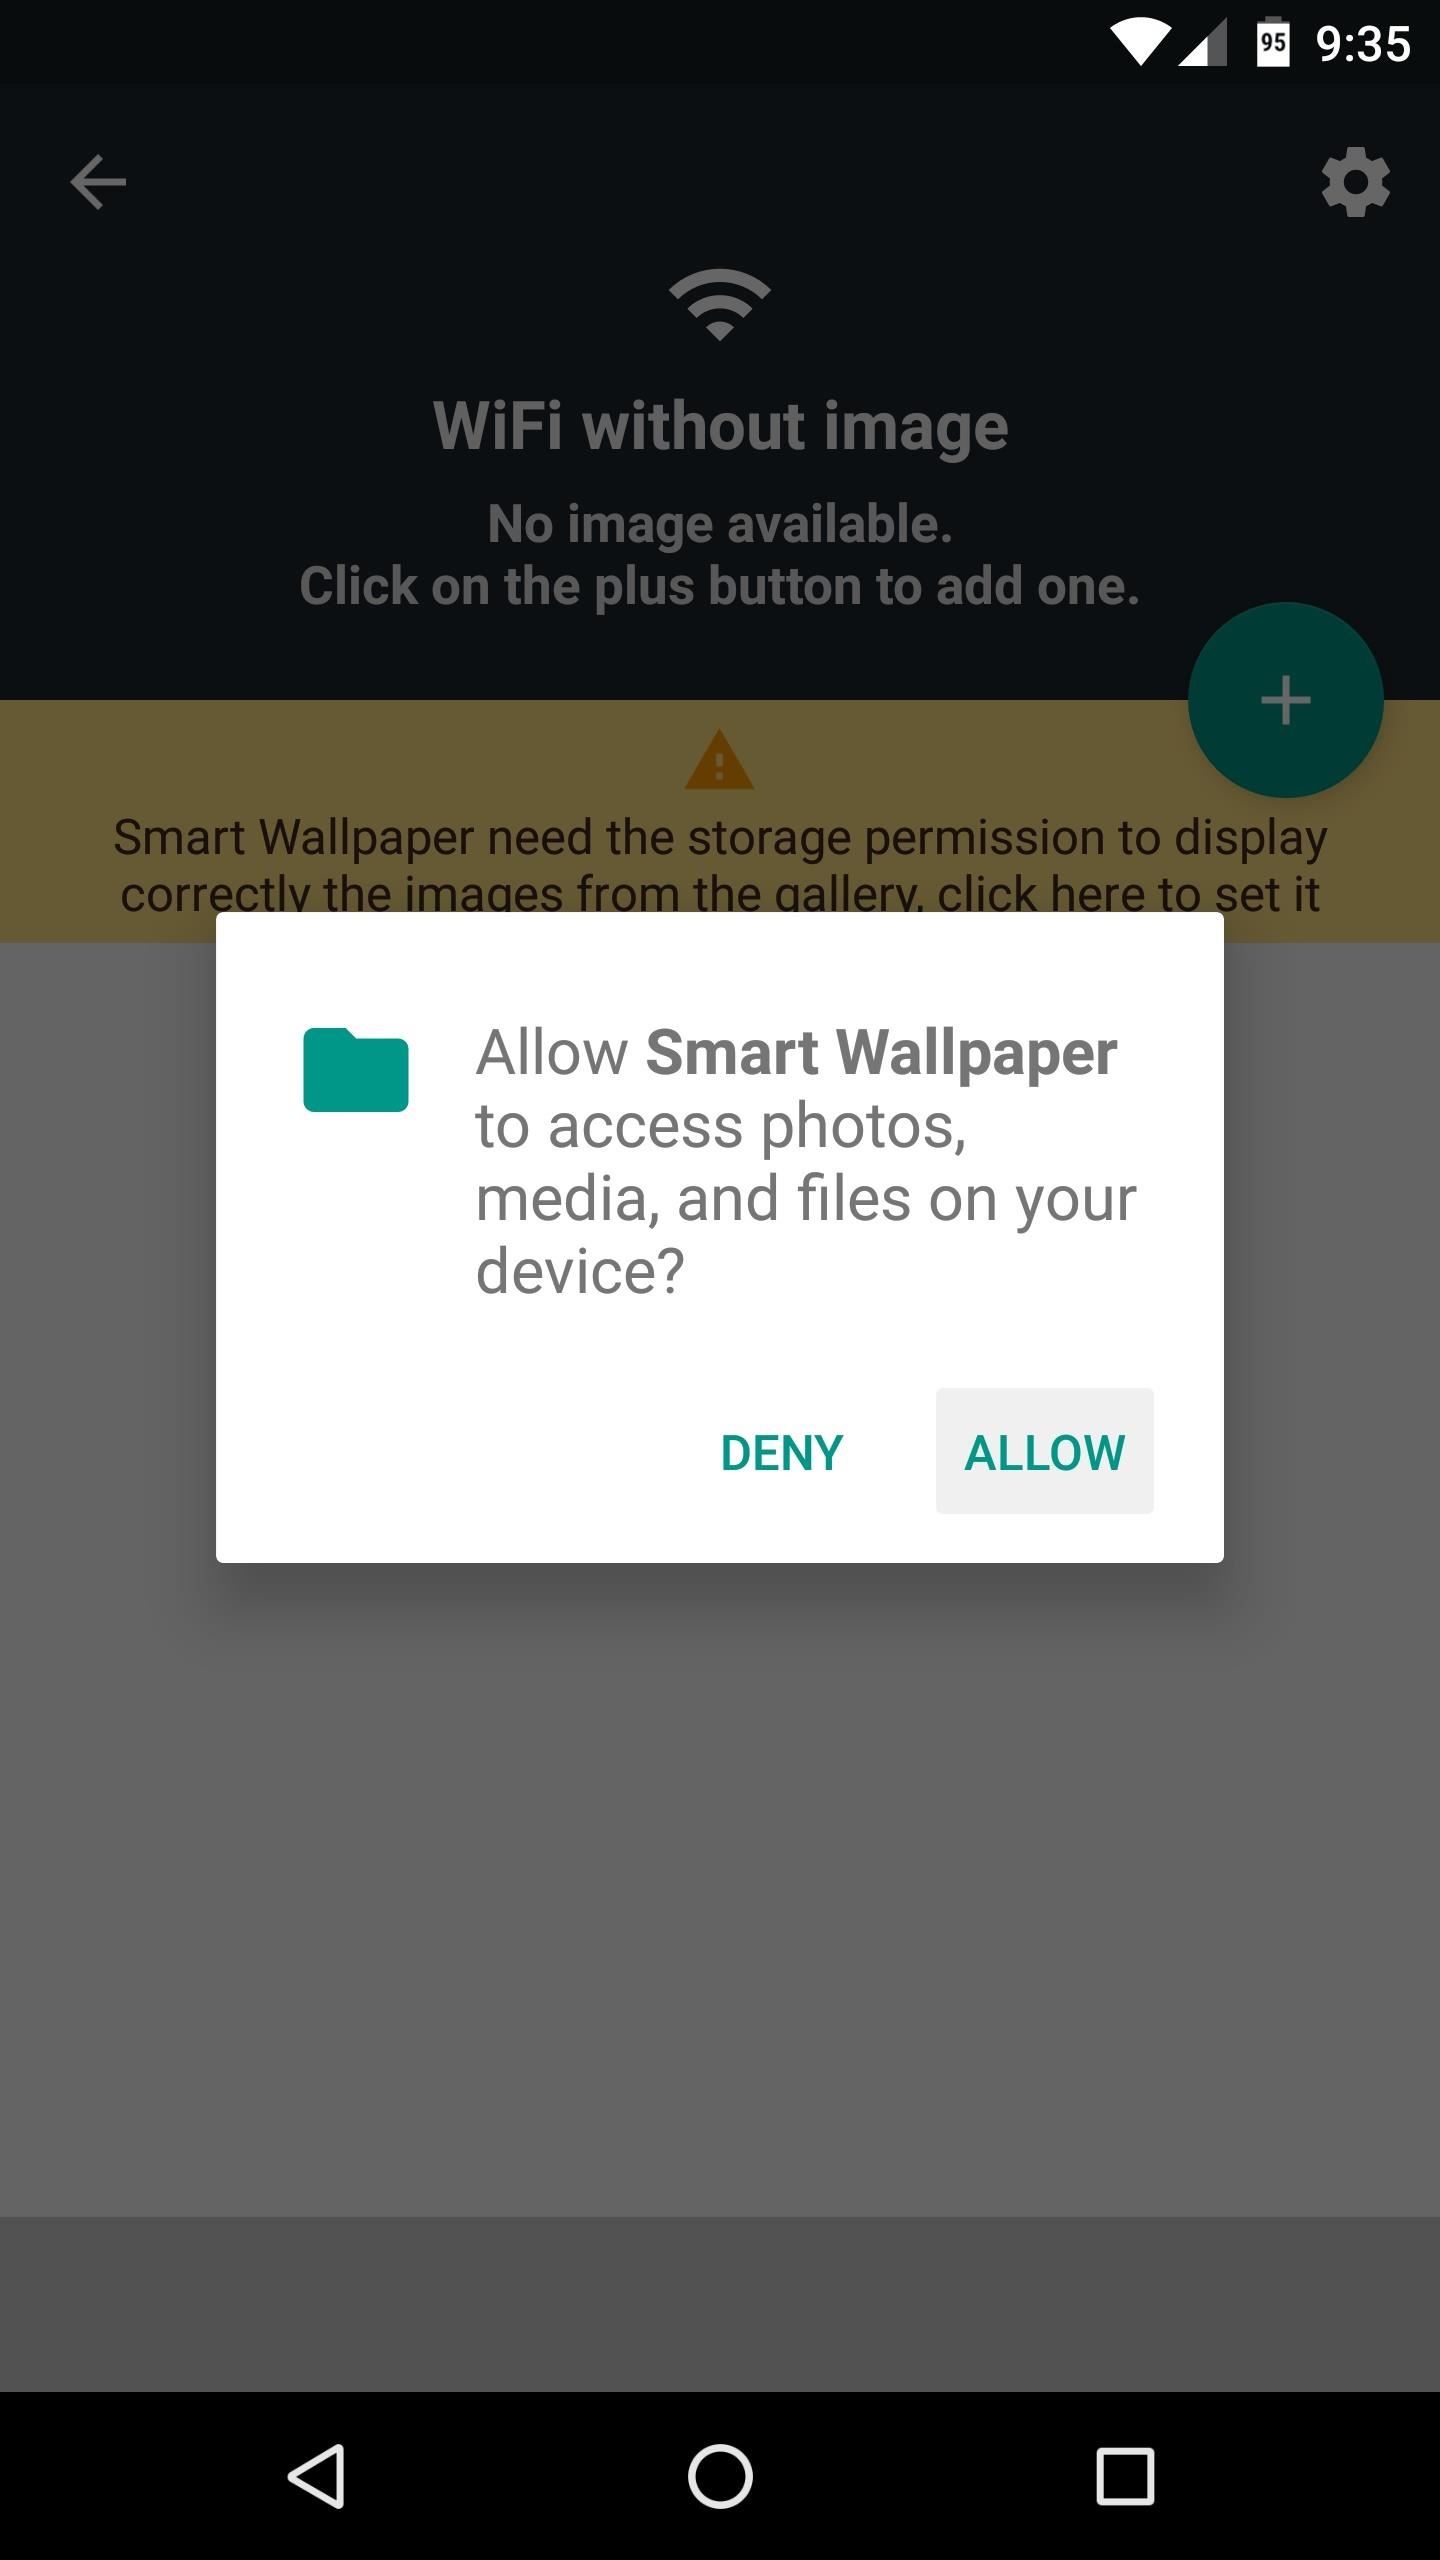
From here, if you're running Android Marshmallow or higher, you'll have to give Smart Wallpaper permission to access your photos. So tap the yellow bar near the top of the screen, then press "Allow" on the subsequent popup.
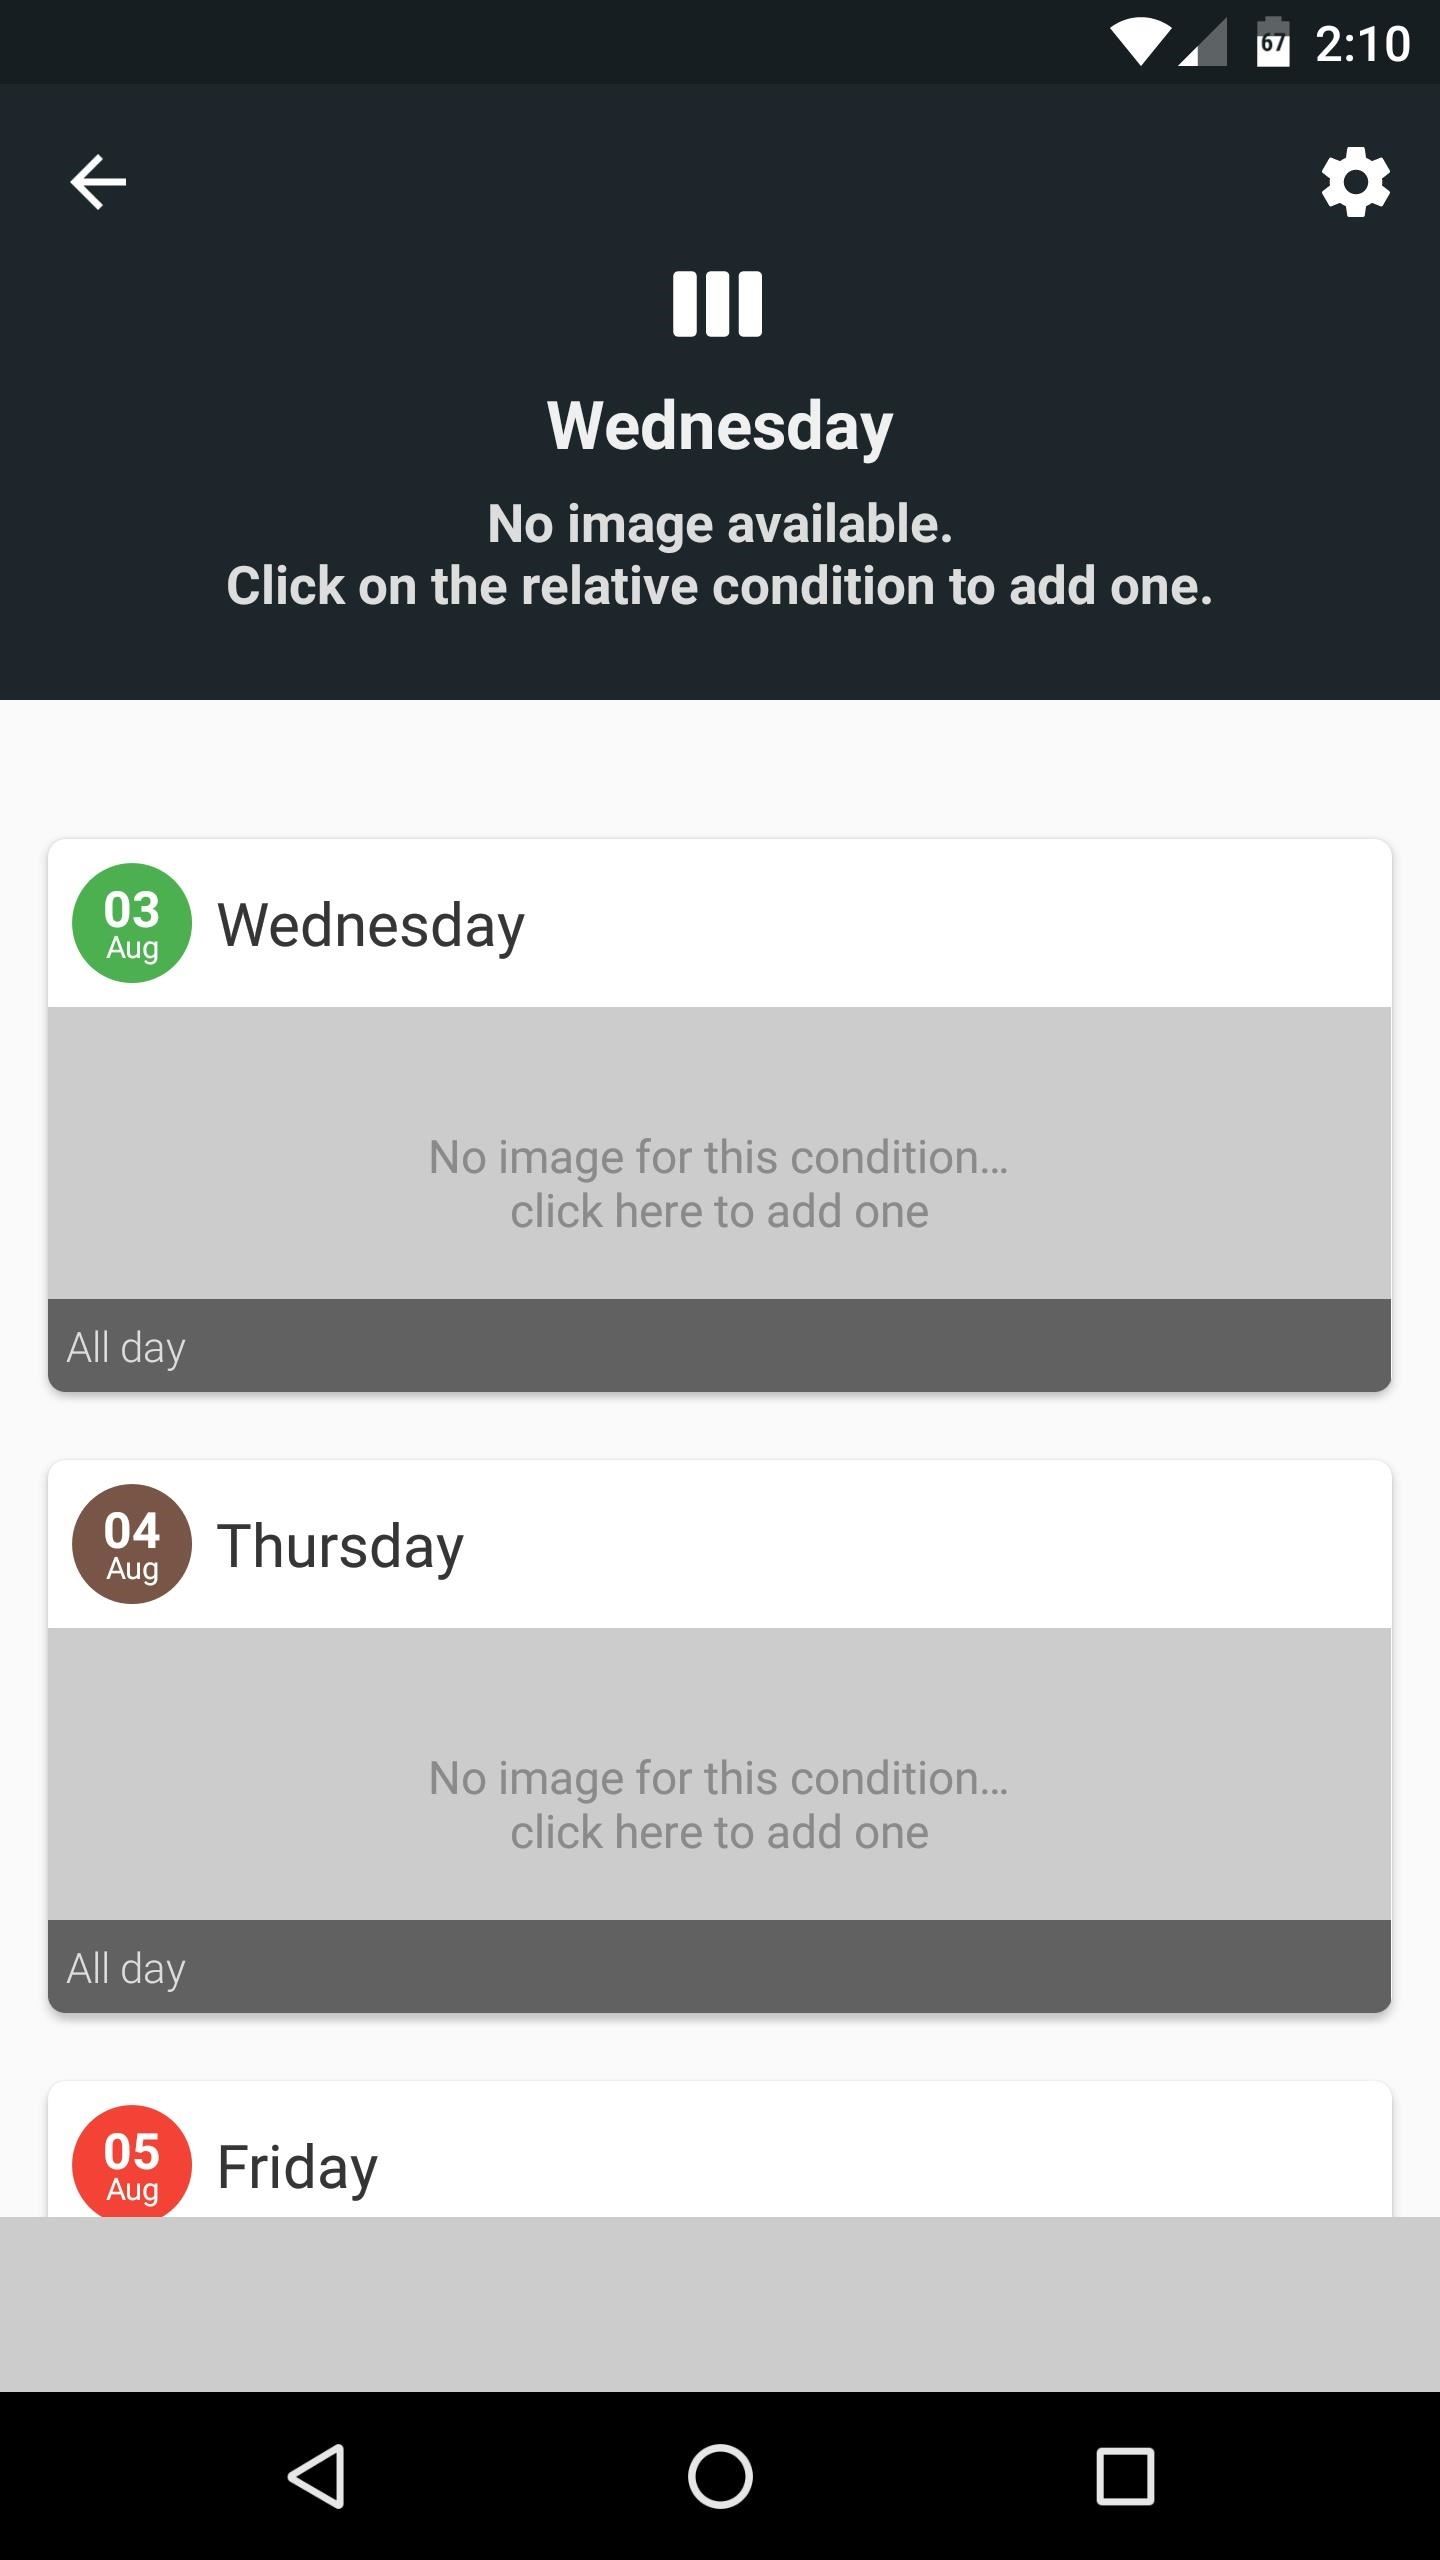
Step 4: Set Different Wallpapers for Each Sub-Condition
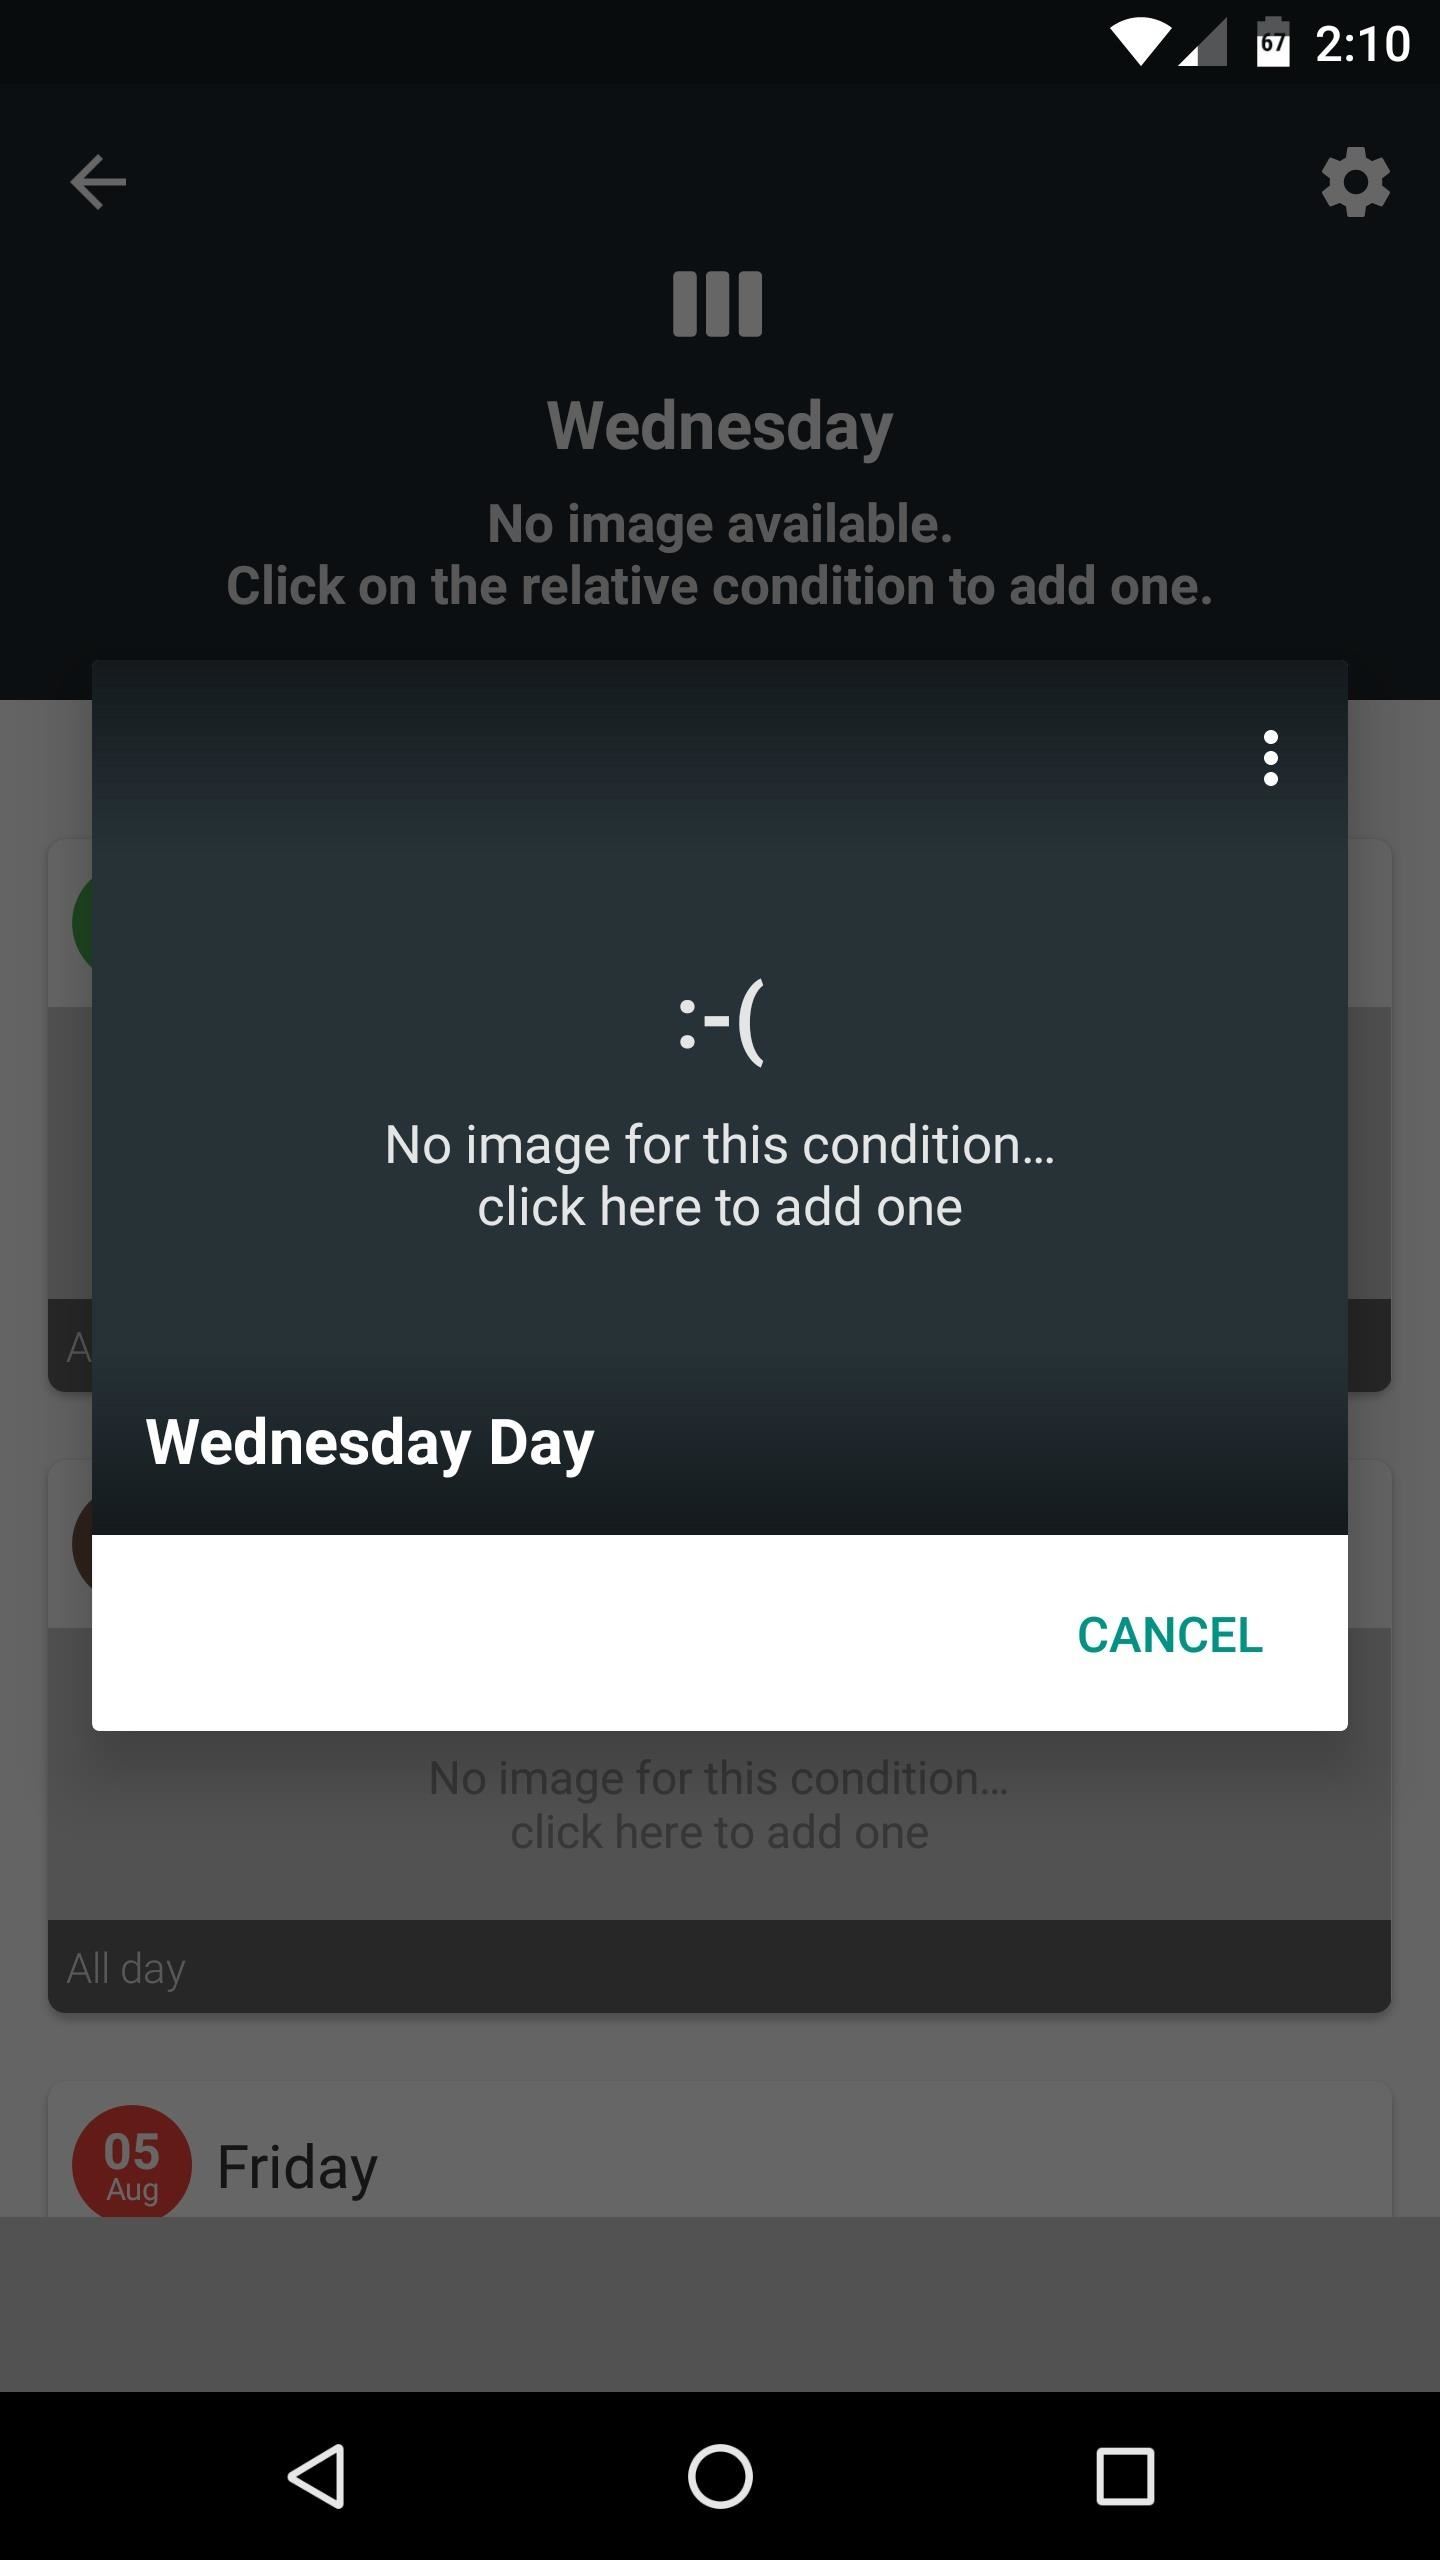
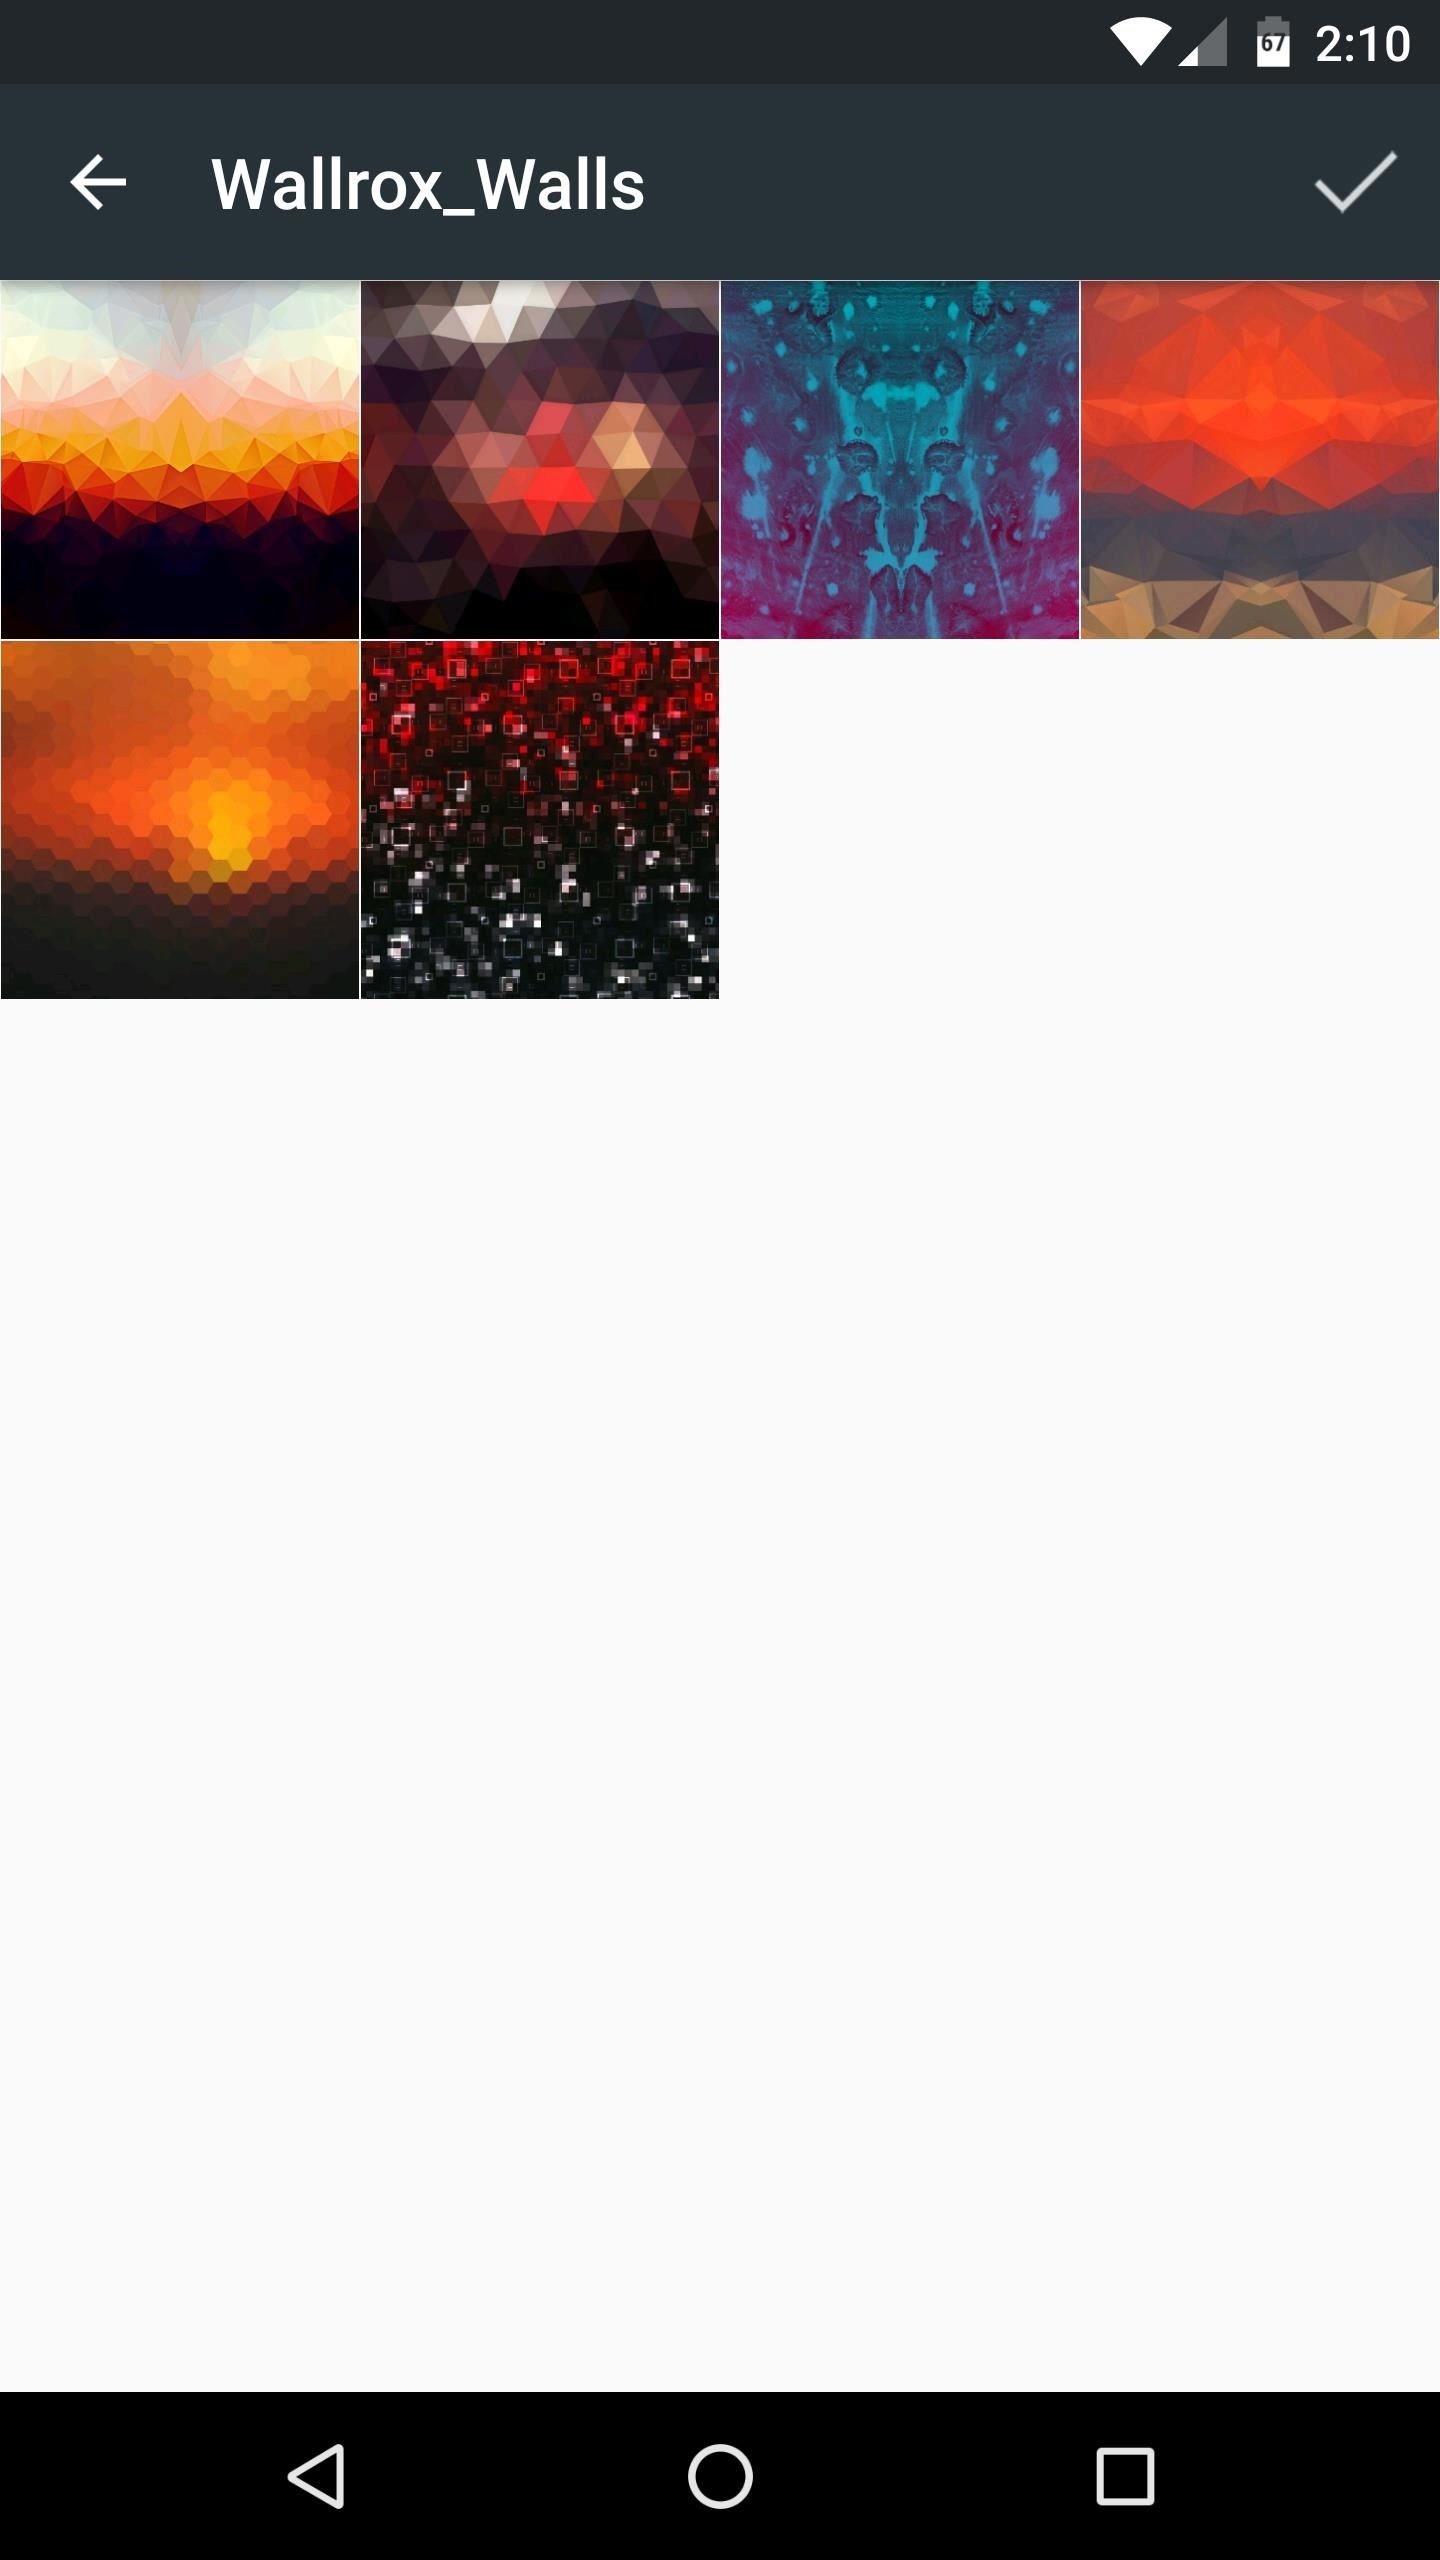
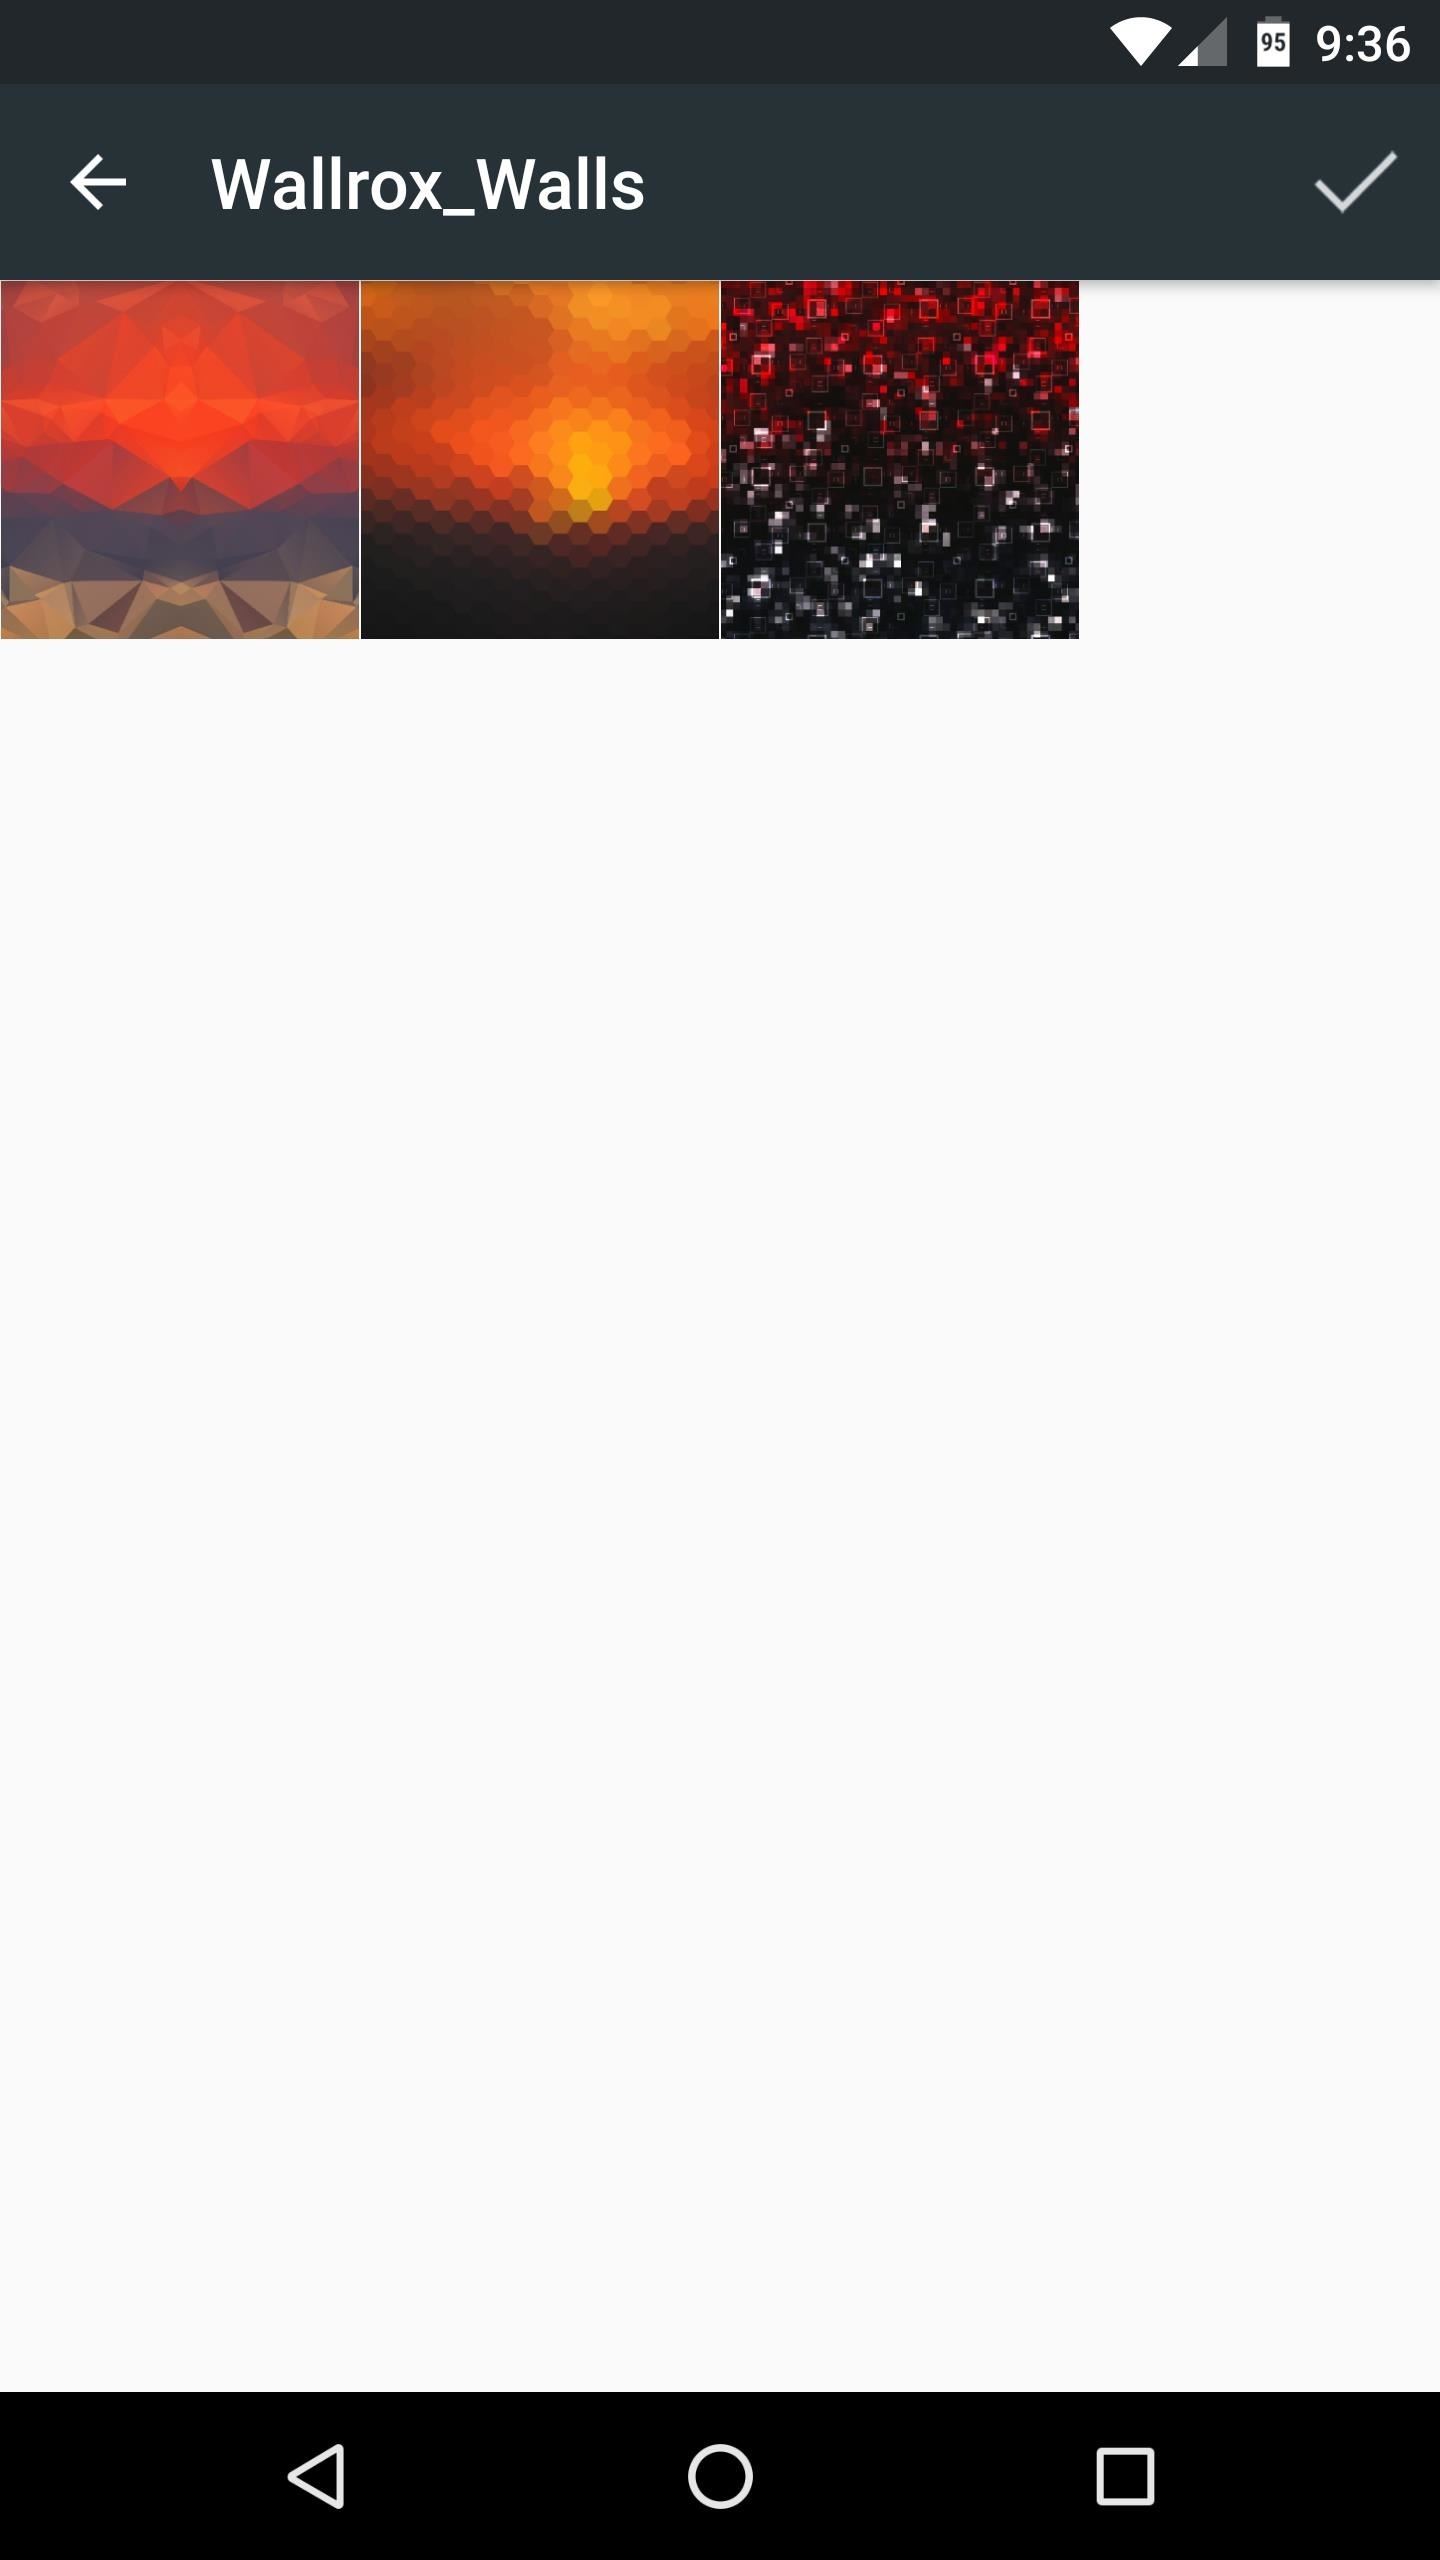
From here, you'll see a list of the sub-conditions that you can assign a unique wallpaper to. So tap one of these, then tap the frowny face on the next popup. From here, simply select an image for this particular sub-condition, then repeat this process for any of the remaining sub-conditions.
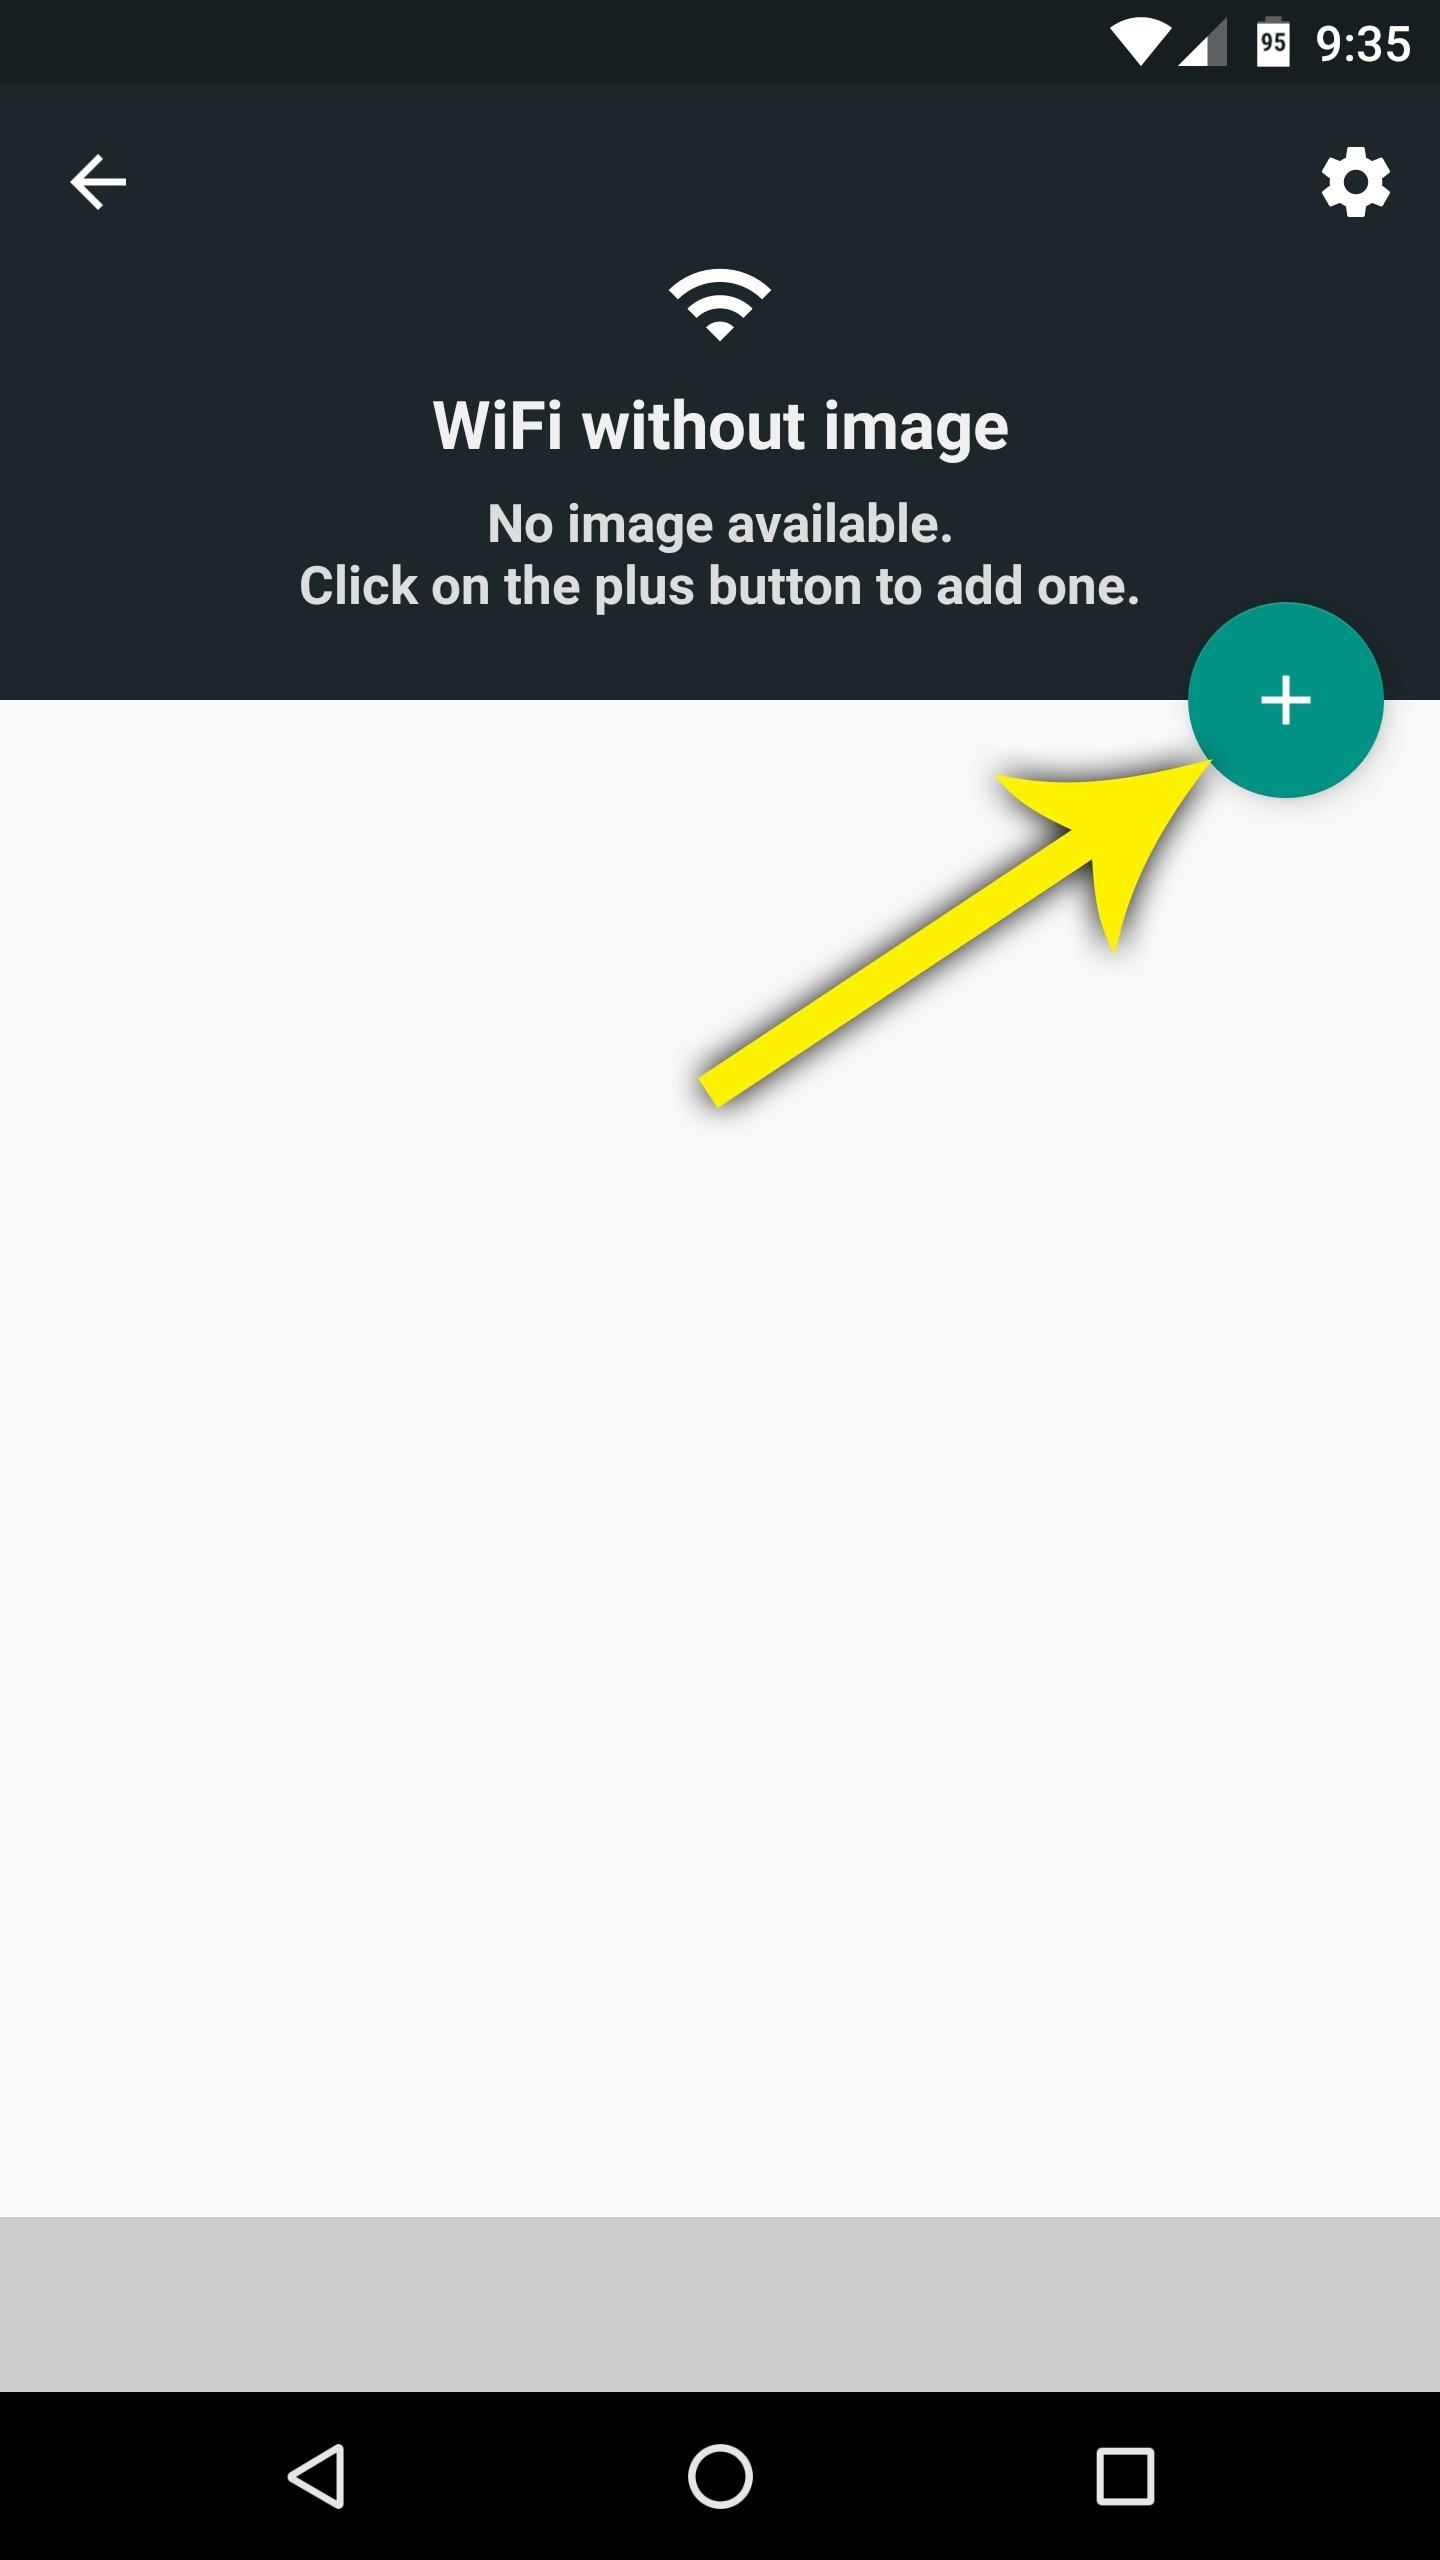
Step 5: Add WiFi Networks (WiFi Condition Only)
If you chose Wi-Fi as the condition for your smart wallpaper, things will be a little bit different, since you'll have to add the networks you connect to.
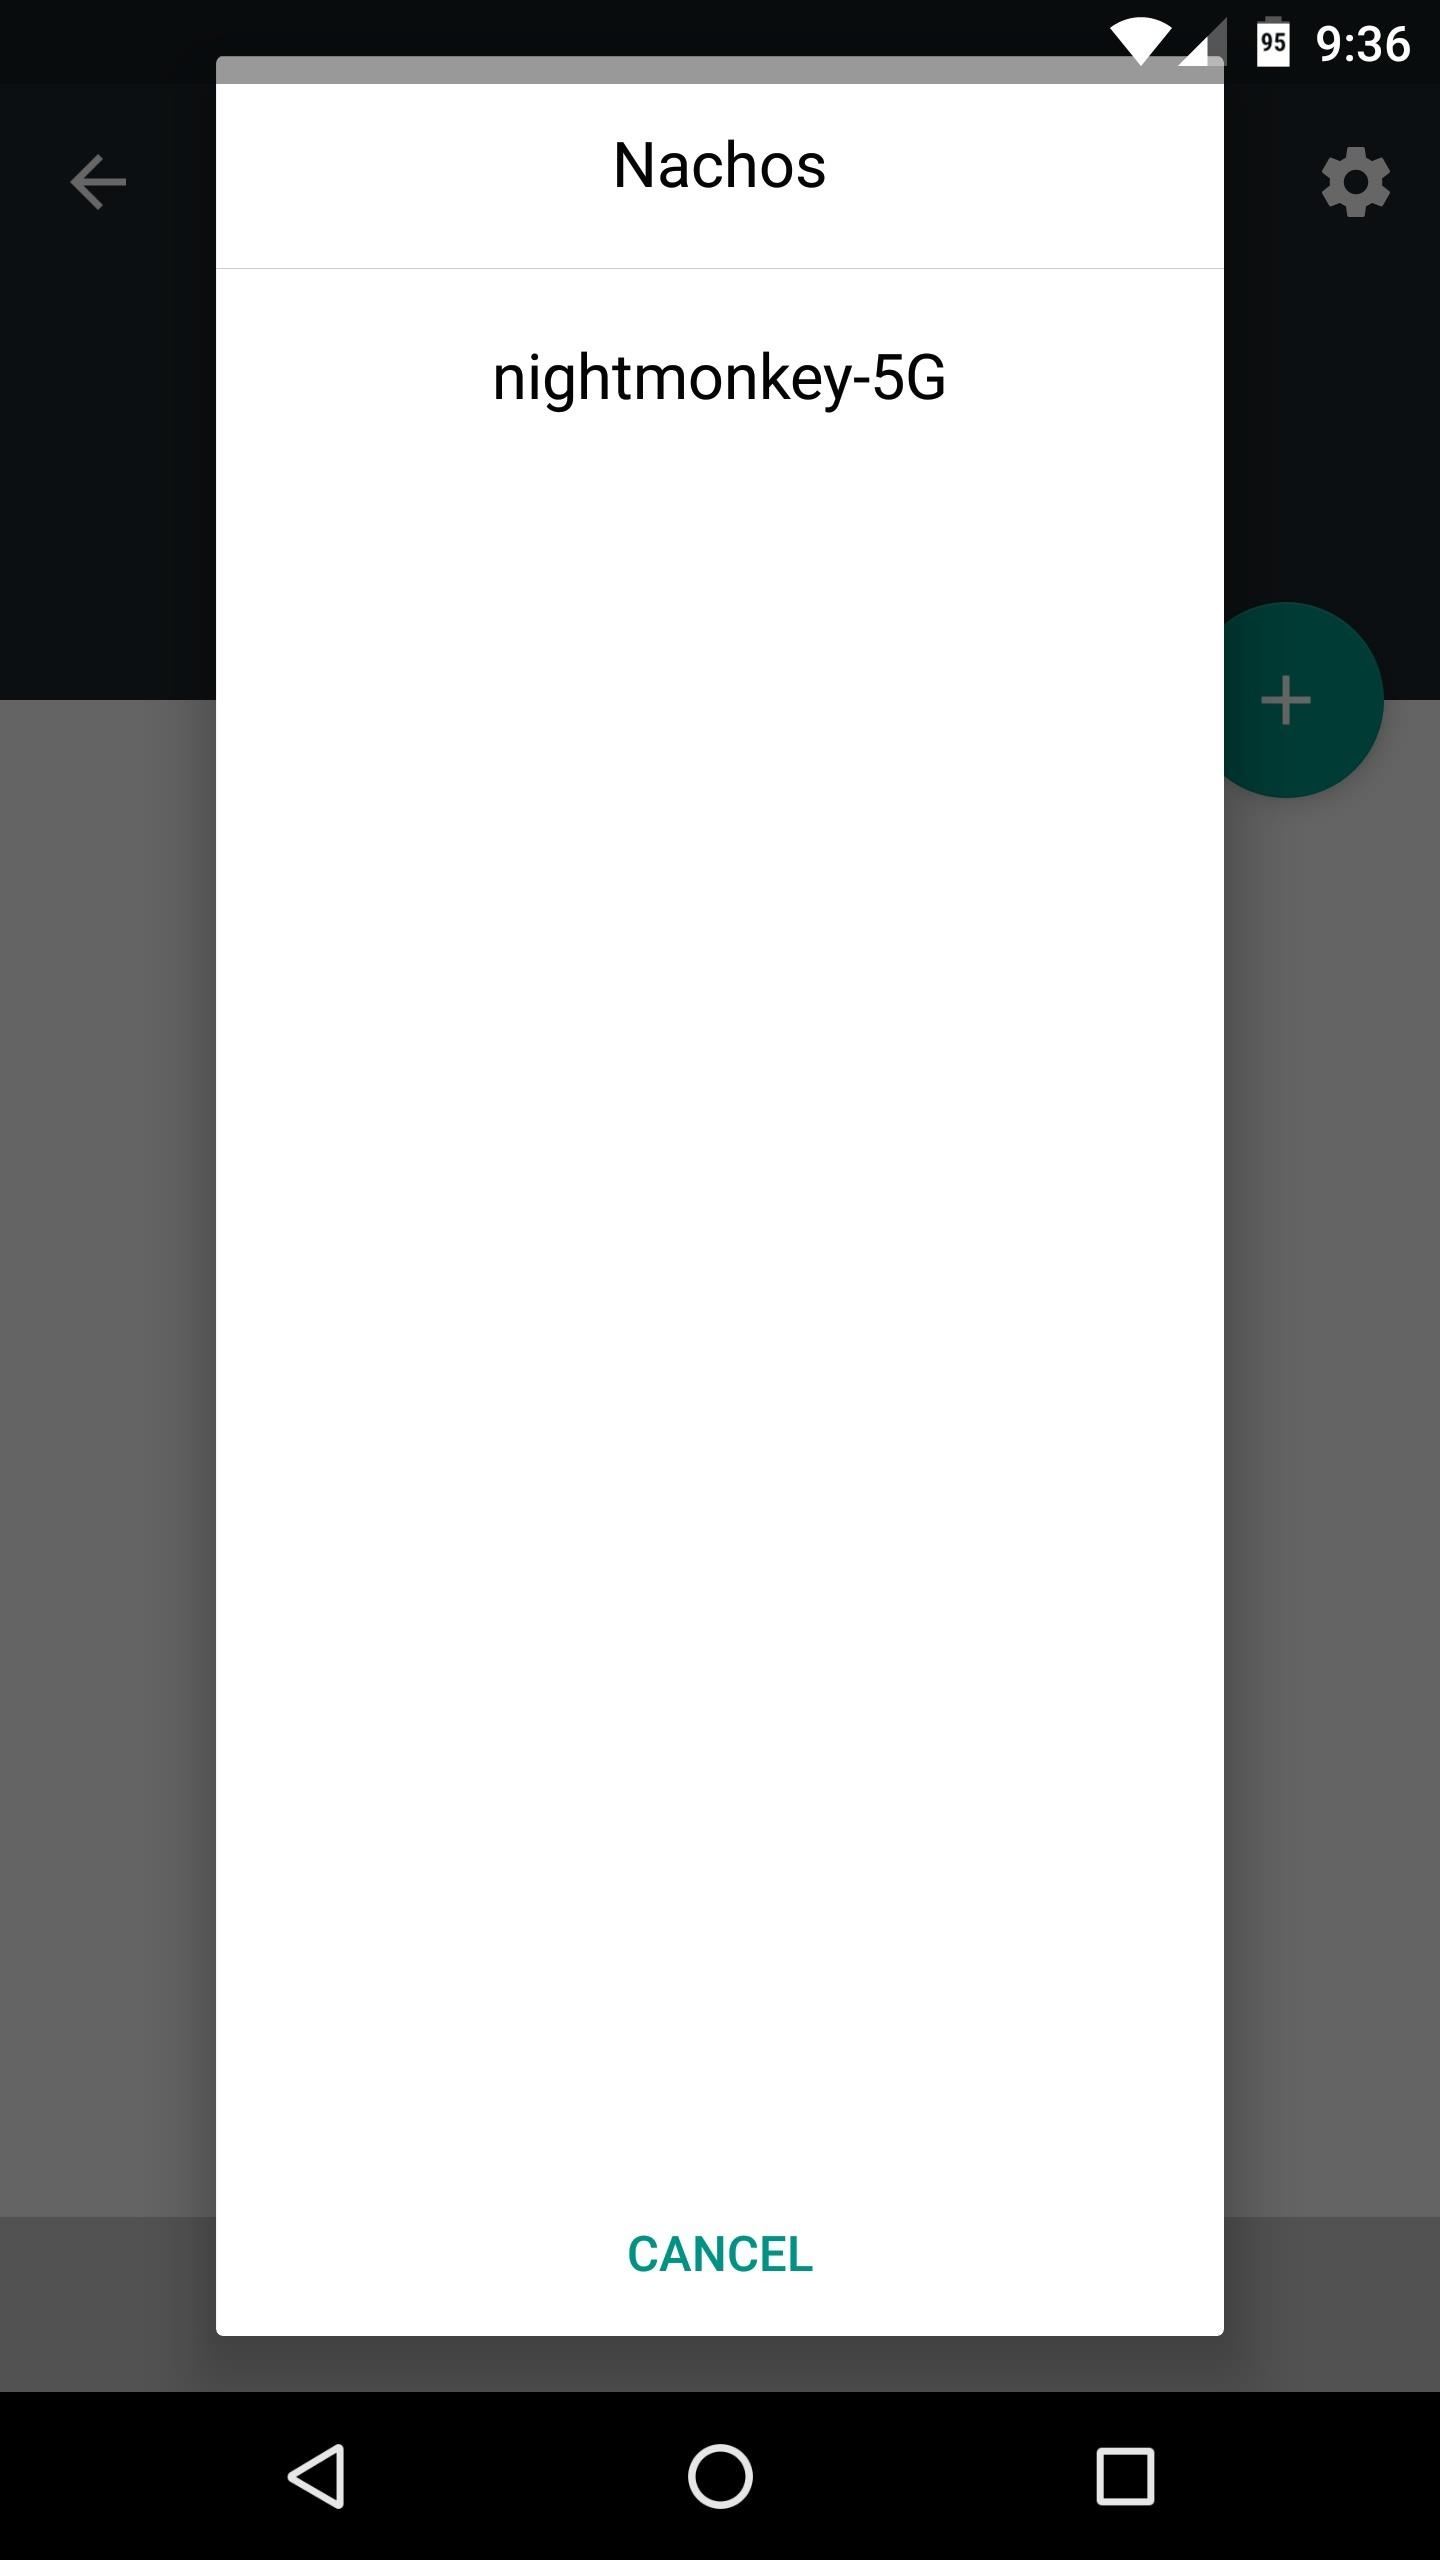
So tap the + button on the right side of your screen, then select a Wi-Fi network from the list. After that, you'll be prompted to associate a wallpaper with this Wi-Fi network, so pick one using the file browser menu. When you're done there, you can add automatic wallpapers for other networks using this same process.
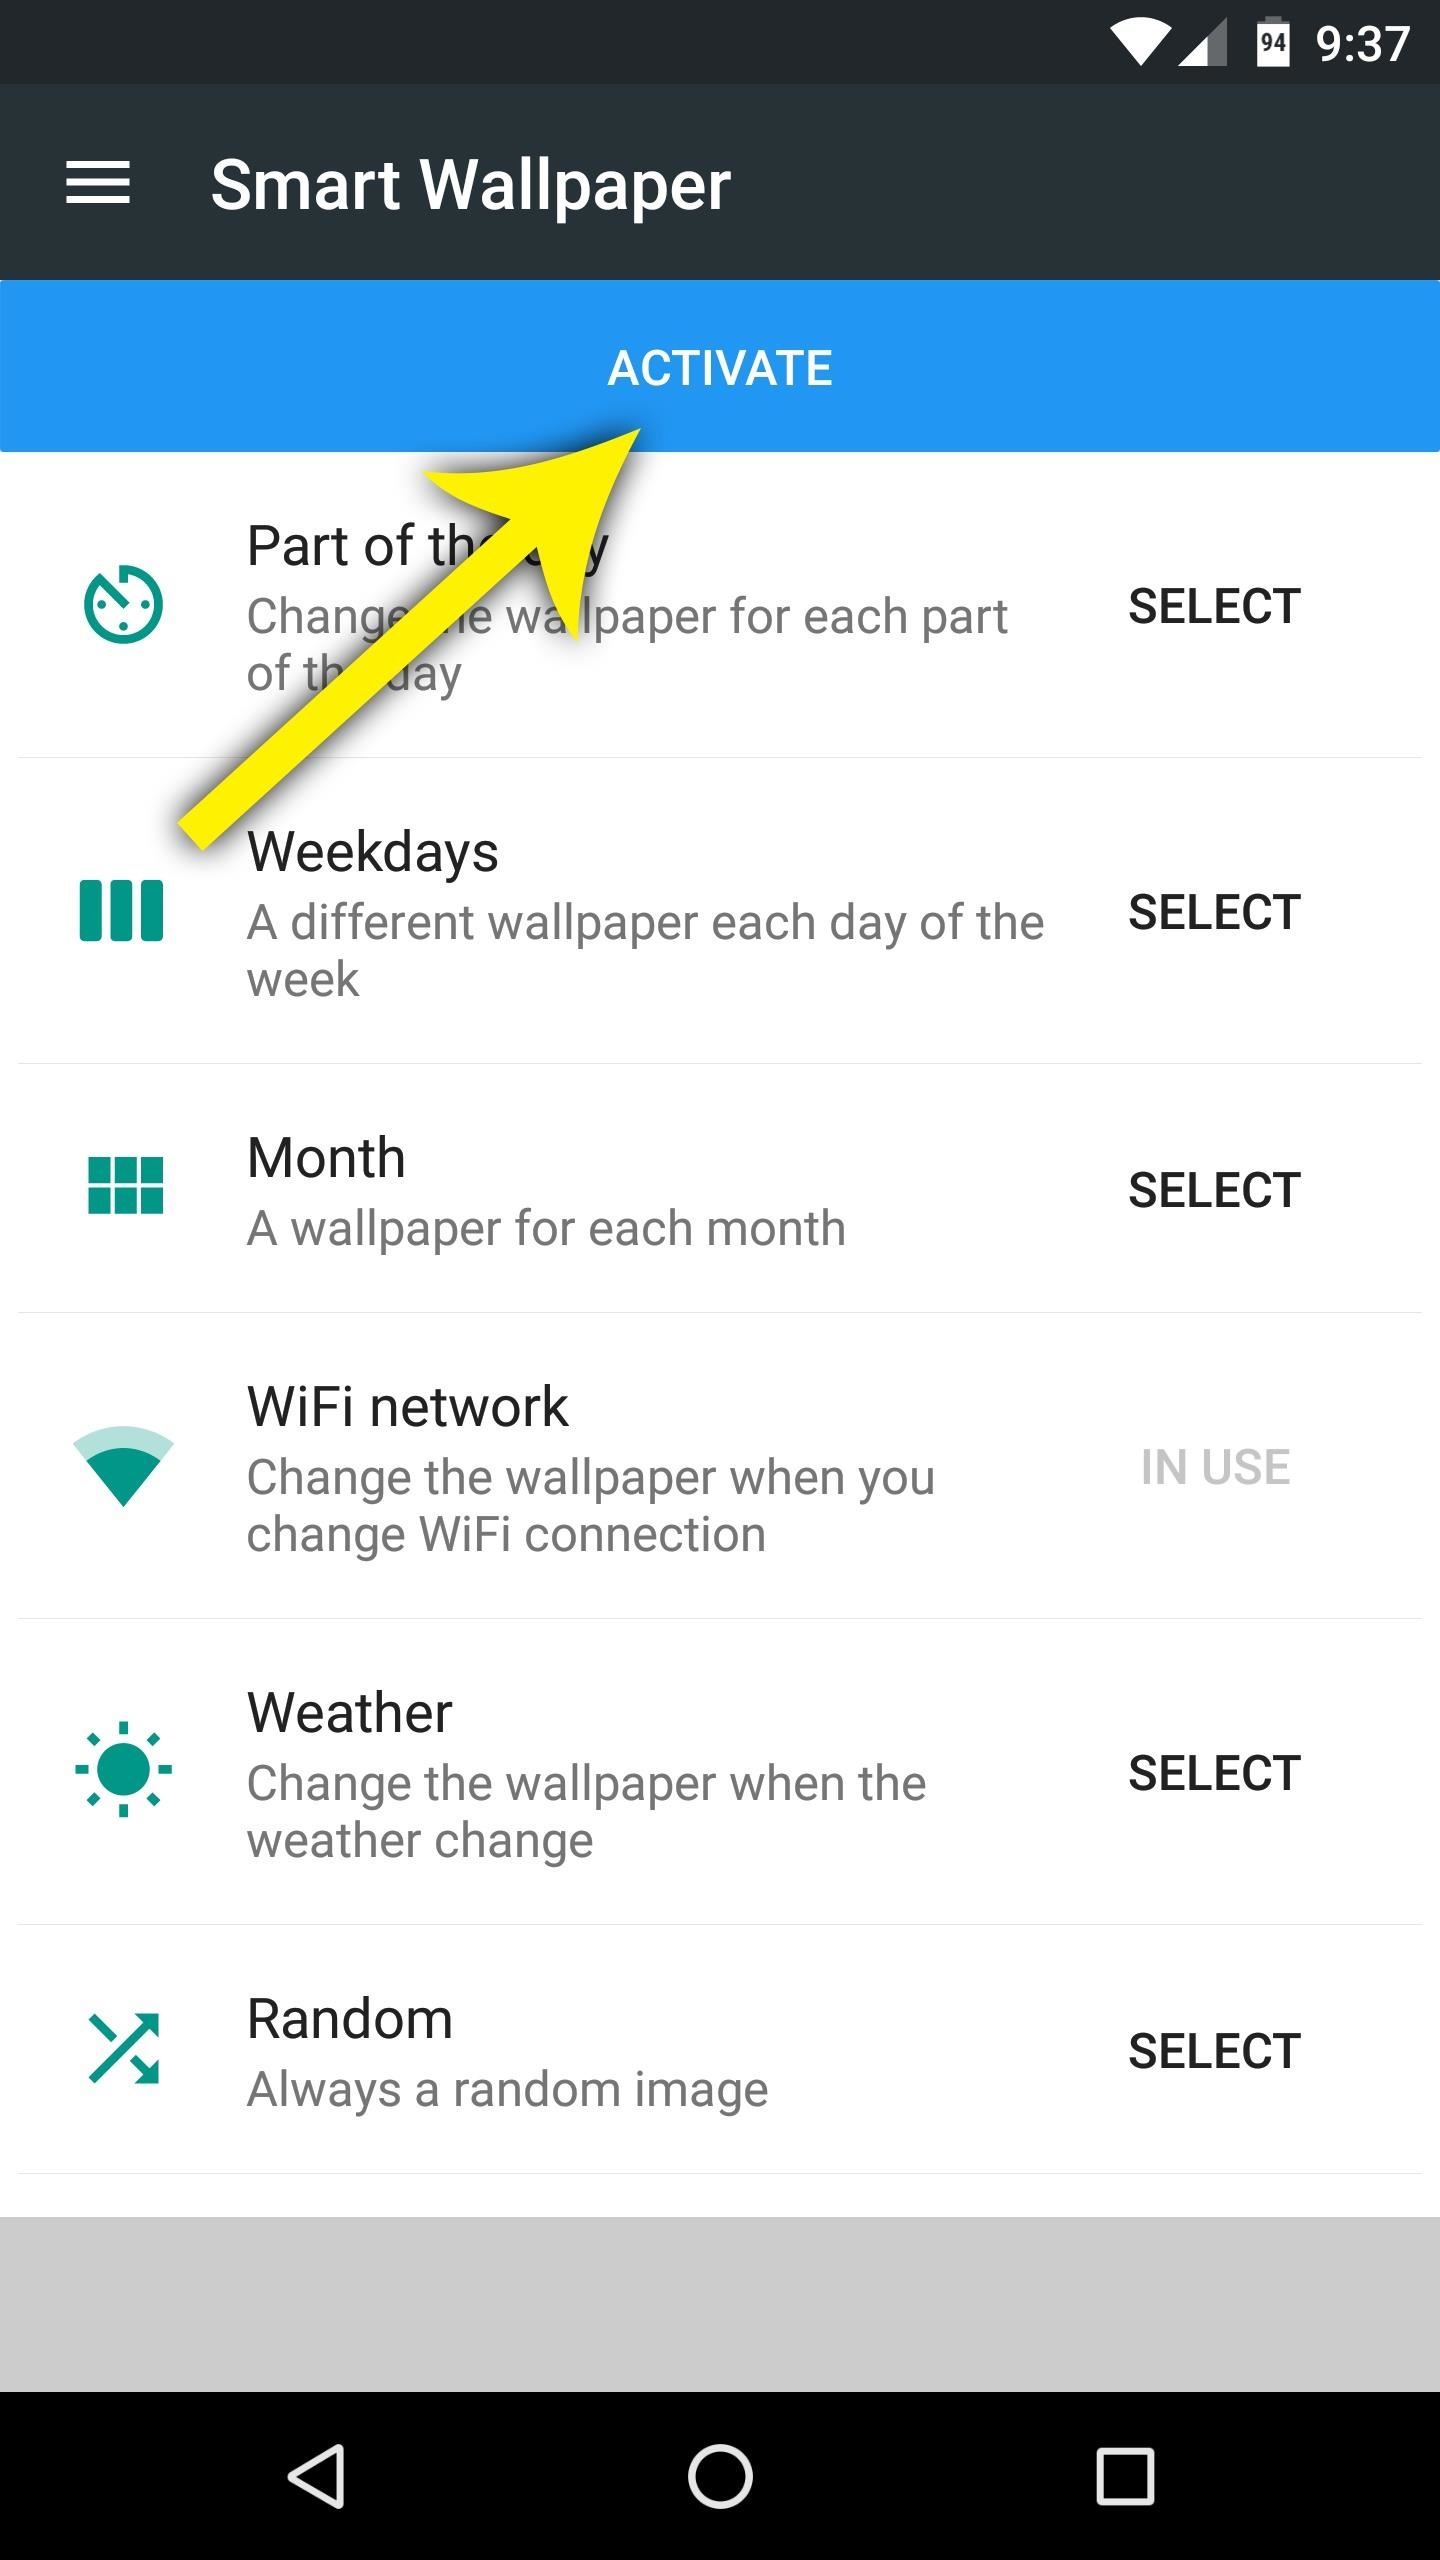
Step 6: Activate Smart Wallpaper
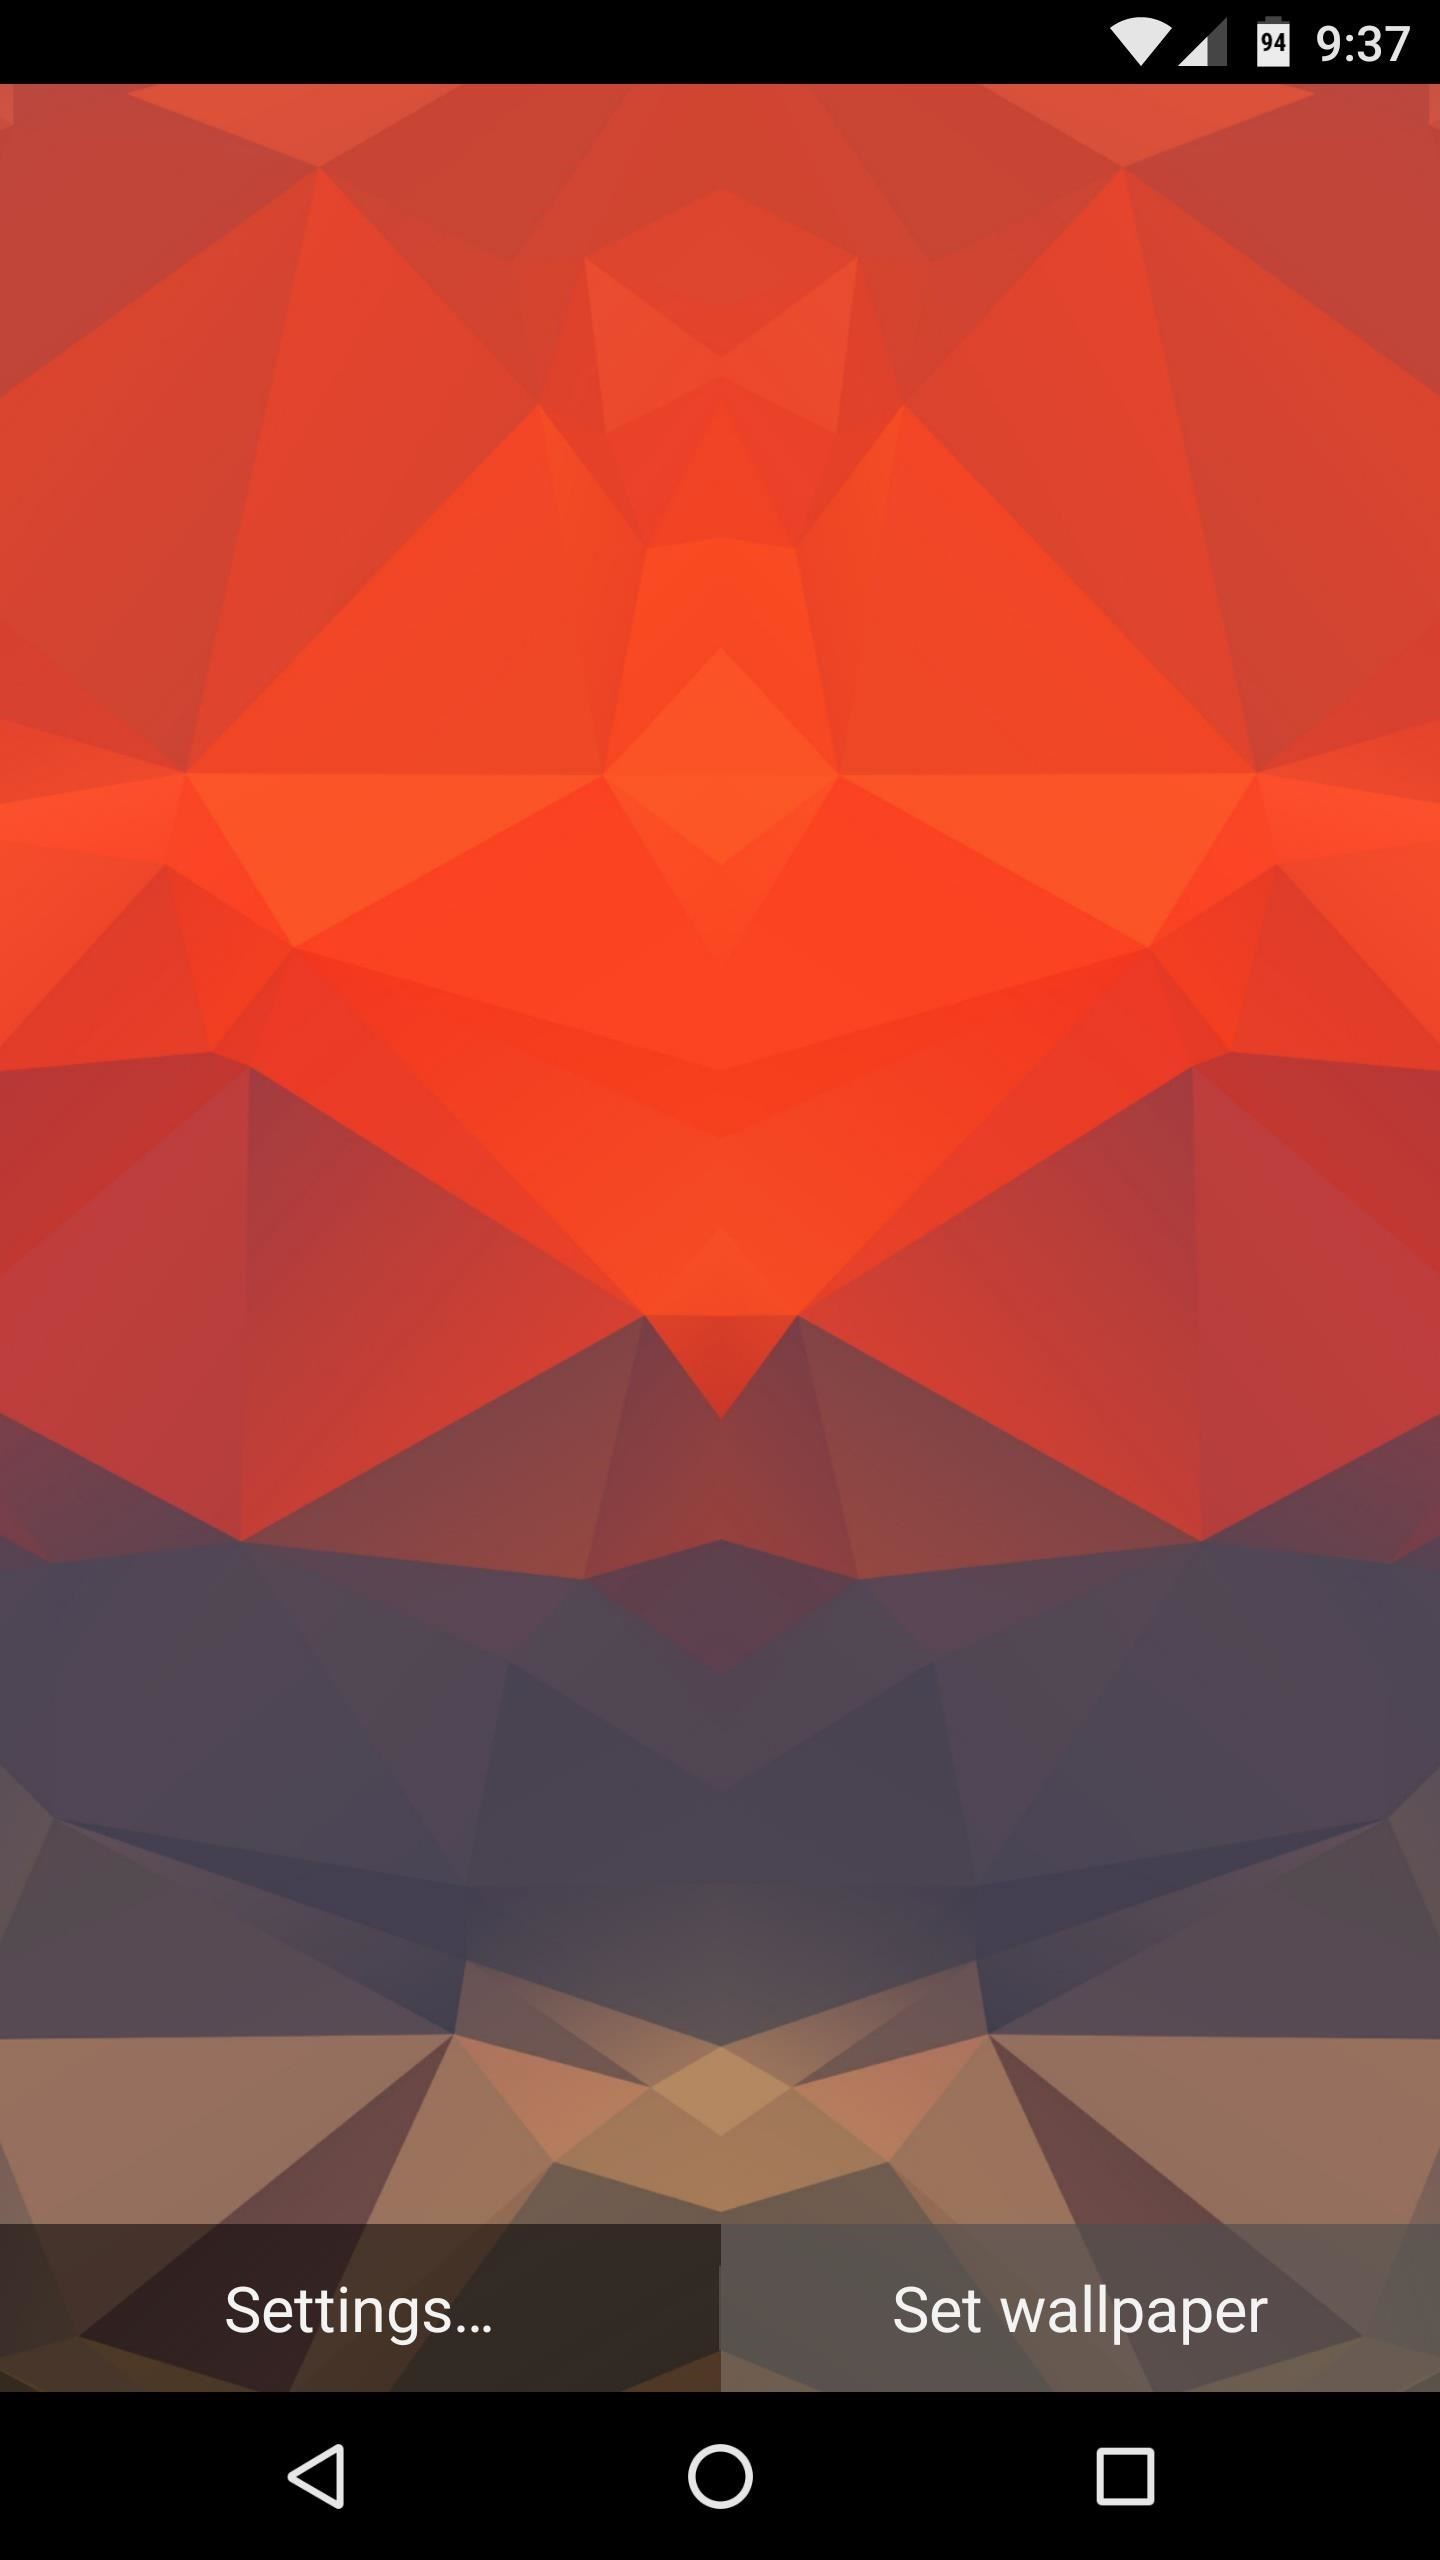
At this point, the only thing left to do is to set Smart Wallpaper as your home screen background. So after choosing images for each sub-condition, press your device's back button once. From here, tap the "Activate" button near the top of the screen, then press "Set wallpaper" on the following menu.
At this point, you're all set to go. From now on, your wallpaper will change automatically when your condition changes. With some conditions, it may take a few seconds for the new wallpaper to apply after something changes, but you'll probably never notice this, as it happens silently in the background.
Who needs a wand? Unlock your magical powers and transform yourself from a Muggle into a Wizard or Witch just by using your Android phone. See how:


2 Comments
when I set the location , it says "failed to detect location" what do that mean ,and what do i do.
Check that the app can access the phone's location. Or set, in the app settings, a location manually.
Share Your Thoughts